
My FAL goal setting post is here and my ALYOF goal setting post is here.
Kerry persuaded me that the best way to finish it was with faced binding. She sent me the link to this tutorial by OP Quilt which worked really well. OK, it's not perfect, but I was working with the edge of a 1/4" bias binding rather than a whole quilt. As you can see it's not perfectly flat at the edges.
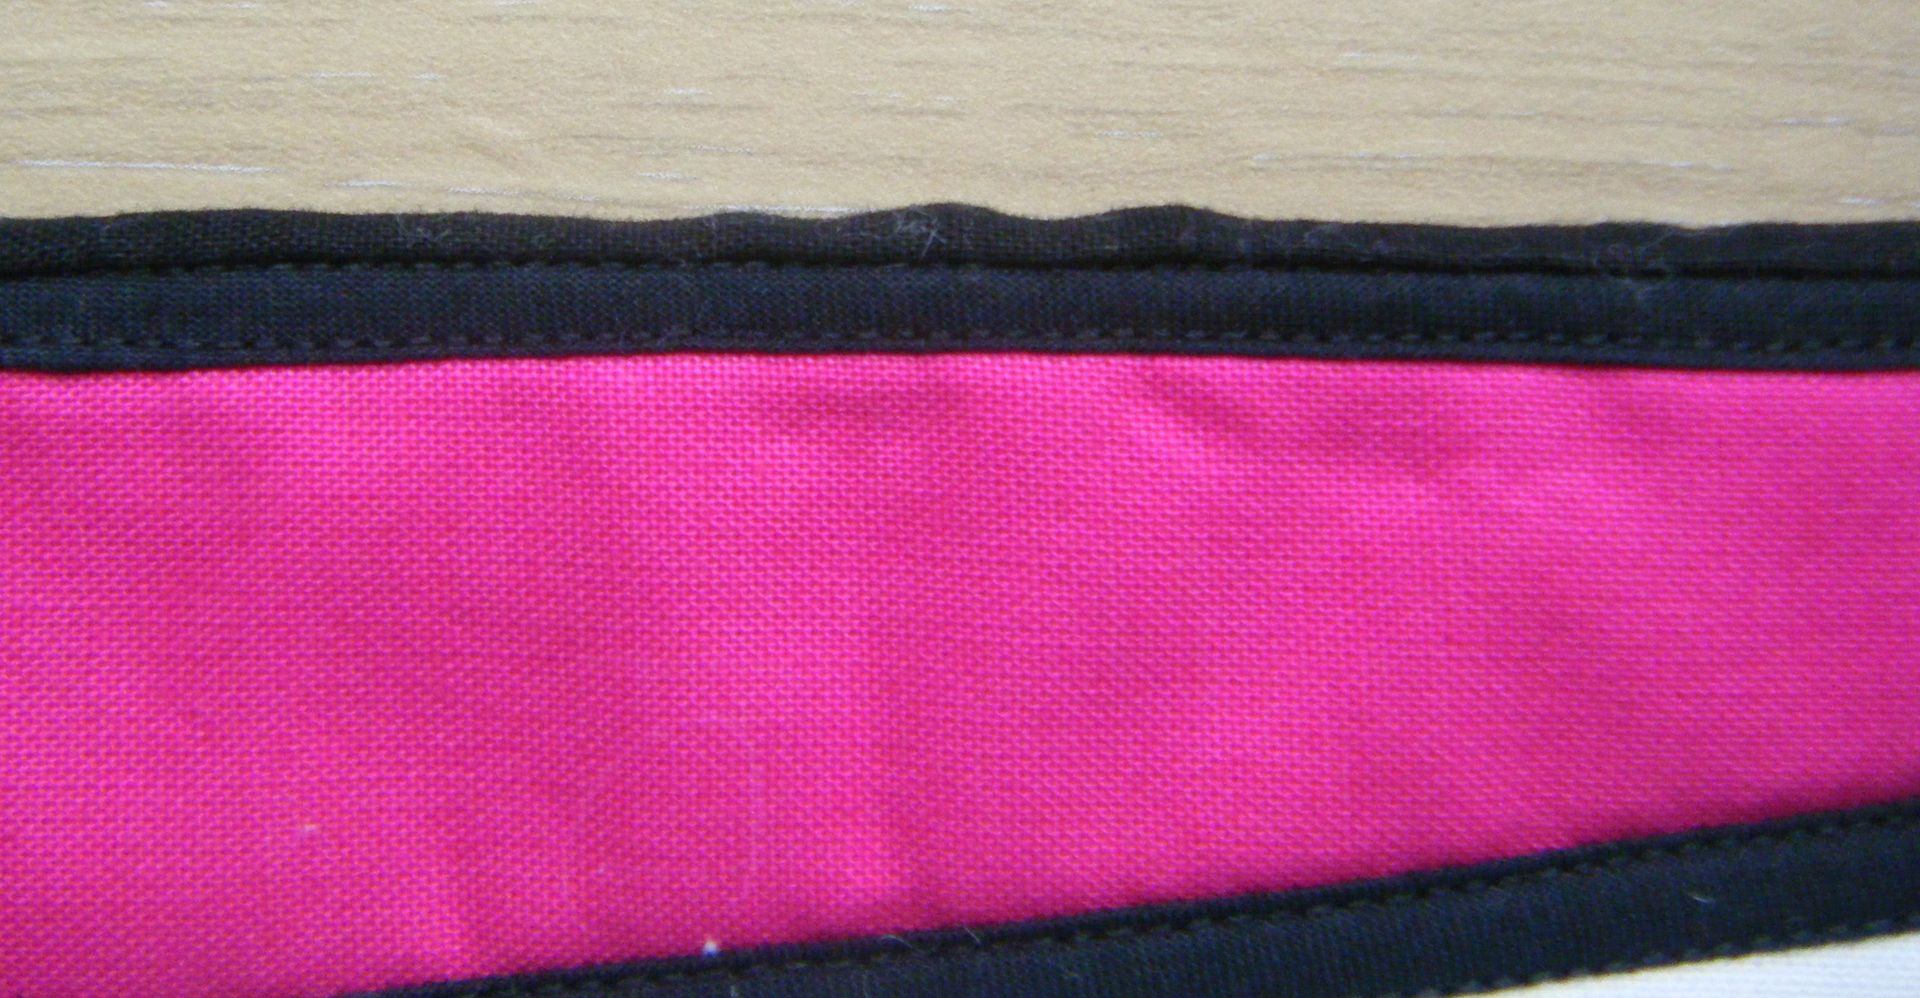
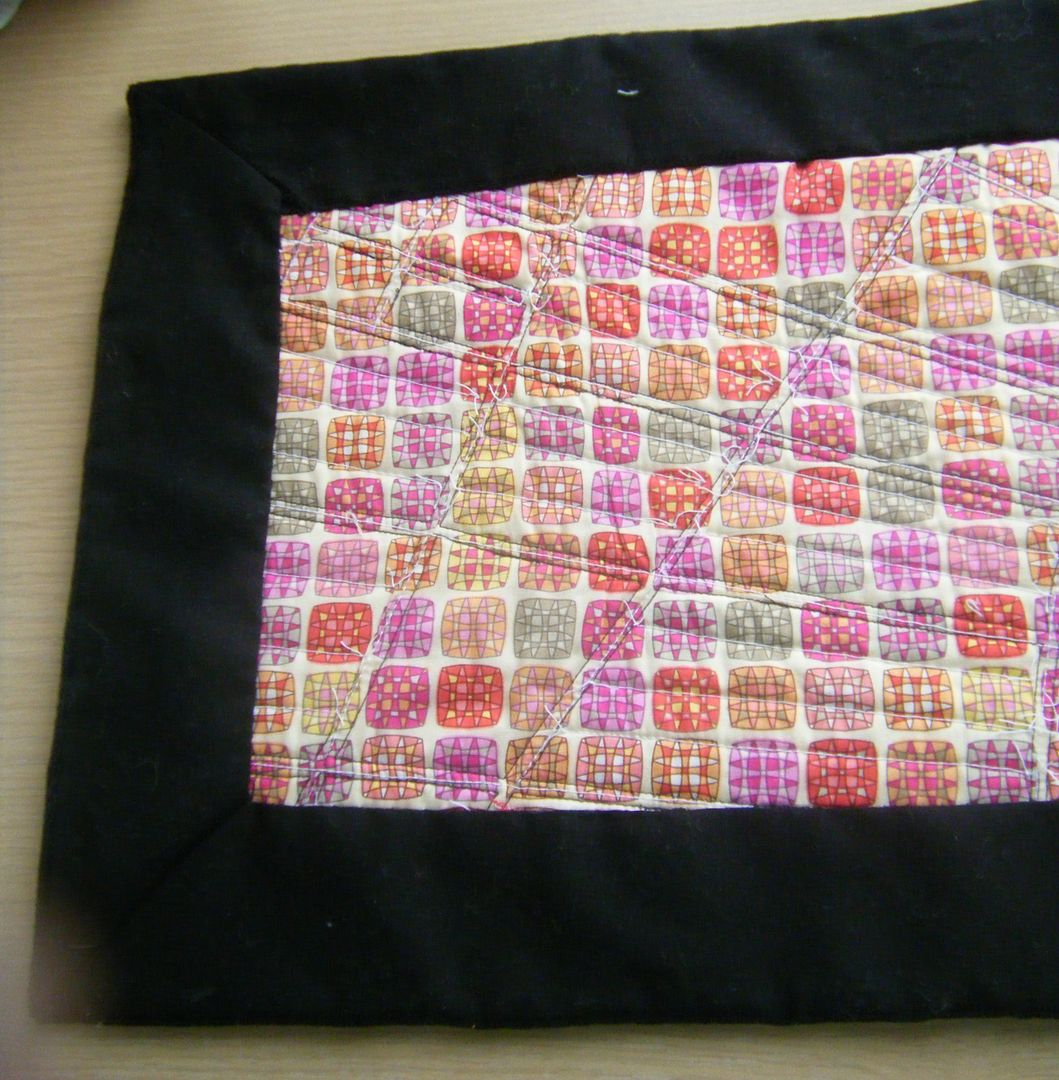
But, quite frankly, I don't care! I also don't care that the back is an absolute mess.
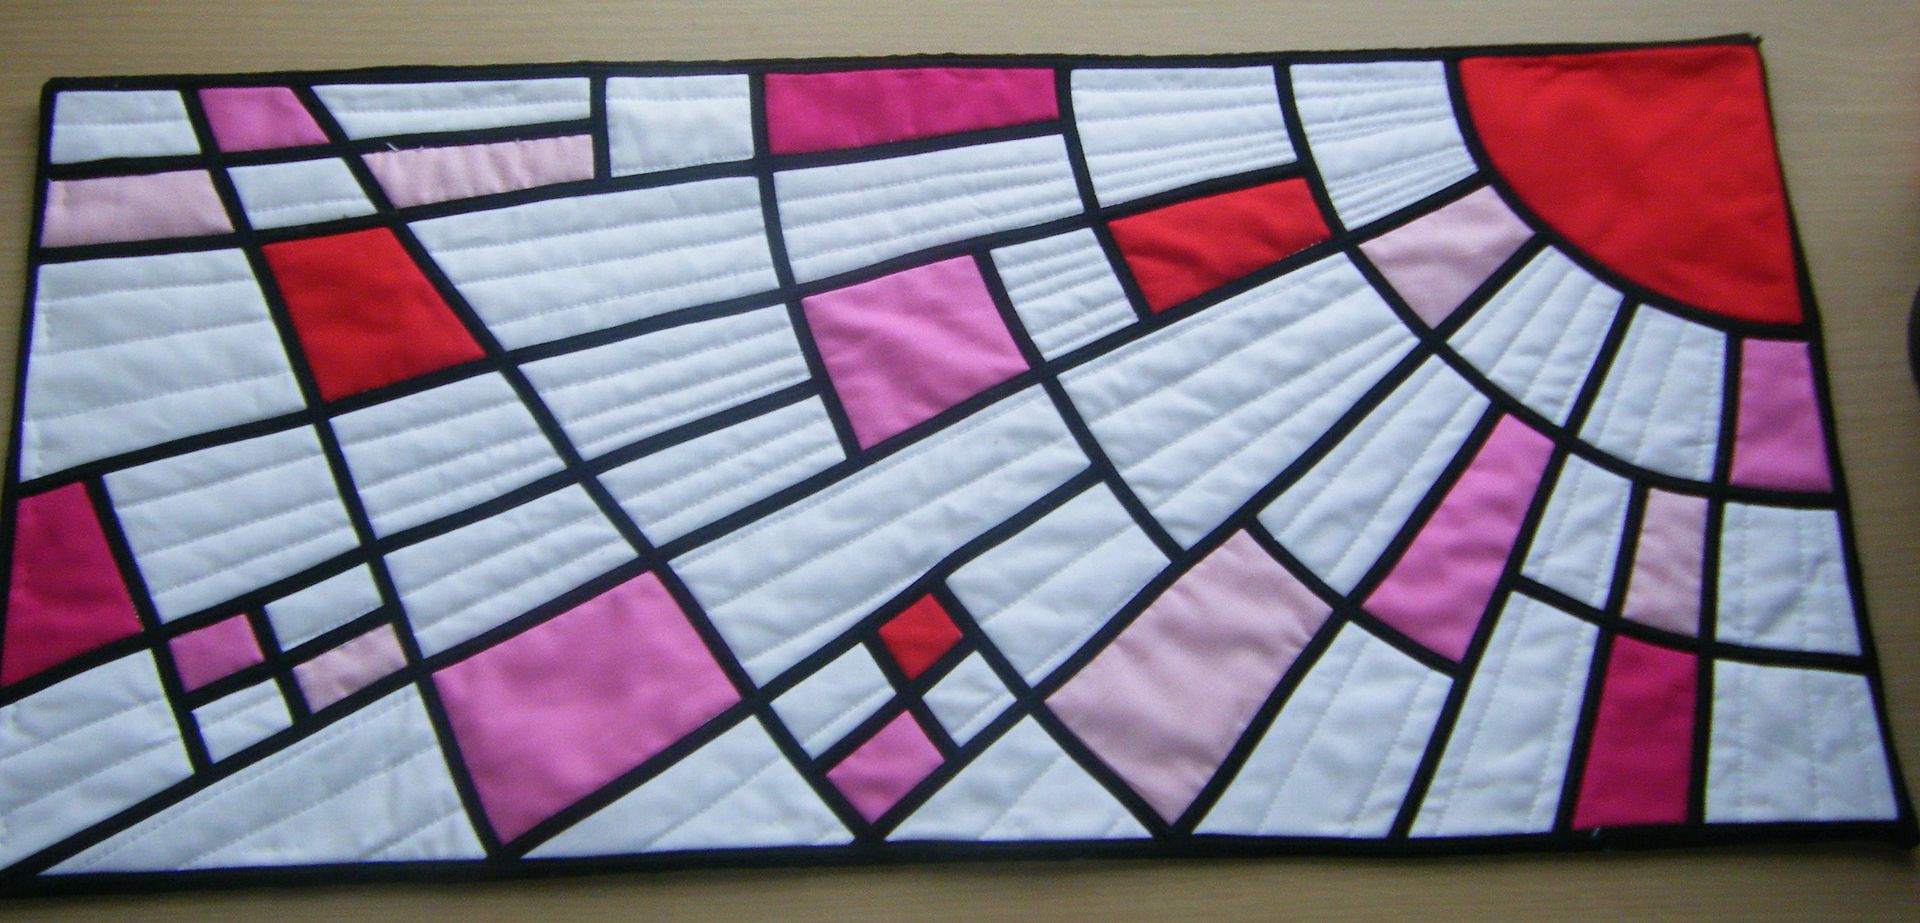
I am very happy with the way the front looks and that's all that matters. Now I just need to get this baby on the wall. How the hell do I hang it up?!?


Related Posts
reverse applique
bias binding on
the quilting
It looks beautiful! I've only ever had to hang one little quilt, and I had to make a sleeve along the top edge on the back. Don't know if that would work here, but I guess you could give it a try! Merry Christmas, Wendy :D
ReplyDeleteVery special. I'd be tempted to put it into a big picture frame before hanging it. The glass would protect it forever.
ReplyDeleteCongratulations on the finish, it is a beauty, have been looking at the past posts when you were working on it. It came together really well.
ReplyDeleteGreetings,
Sylvia
It looks great! Good job!
ReplyDeleteI don't have any hanging suggestions, but this is definitely a lovely finish!
ReplyDeleteLove, love, love your wall hanging, Wendy!!! I've been waiting to see this one finished. It looks perfect in every way from where I'm sitting.
ReplyDeleteIt looks fabulous. Can you put a hanging sleeve on the back?
ReplyDeleteso good to see this completed have loved it every time you shared it with us and it will look fabulous on the wall
ReplyDeleteAttach a sleeve to the designated top edge, feed a pole through and kumihimo a cord and tassels to hang it from...
ReplyDeleteOops, sorry, multiplying projects again - a very bad habit of mine!
I LOVE it! It turned out gorgeous!
ReplyDeleteSquee can you send that to me?? I love it! It's beautiful and the front is what matters :)
ReplyDeleteIt's stunning! It's been fun to see the different stages of progress as you worked on it.
ReplyDeleteThat looks so lovely! You did a great job of it. The front is all that matters if it's just a wall hanging, right?
ReplyDeleteA very nice finish. The quilting looks great!!
ReplyDeleteAbsolutely stunning. Great design.
ReplyDeleteOMG it's true!!! Awesome well done- you know how to do the binding again for future projects now too. I normally add a thinner binding and trap in some traingles in the corners for hanging but you could make a little sleeve for dowel instead since you'e got this far?
ReplyDelete