
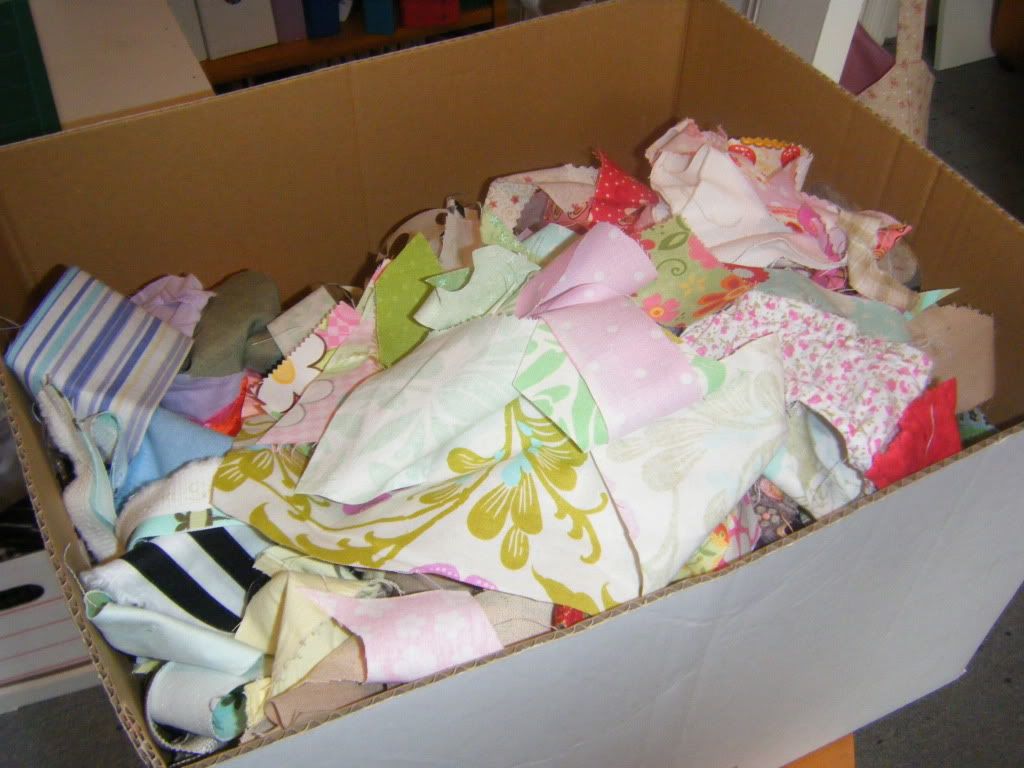
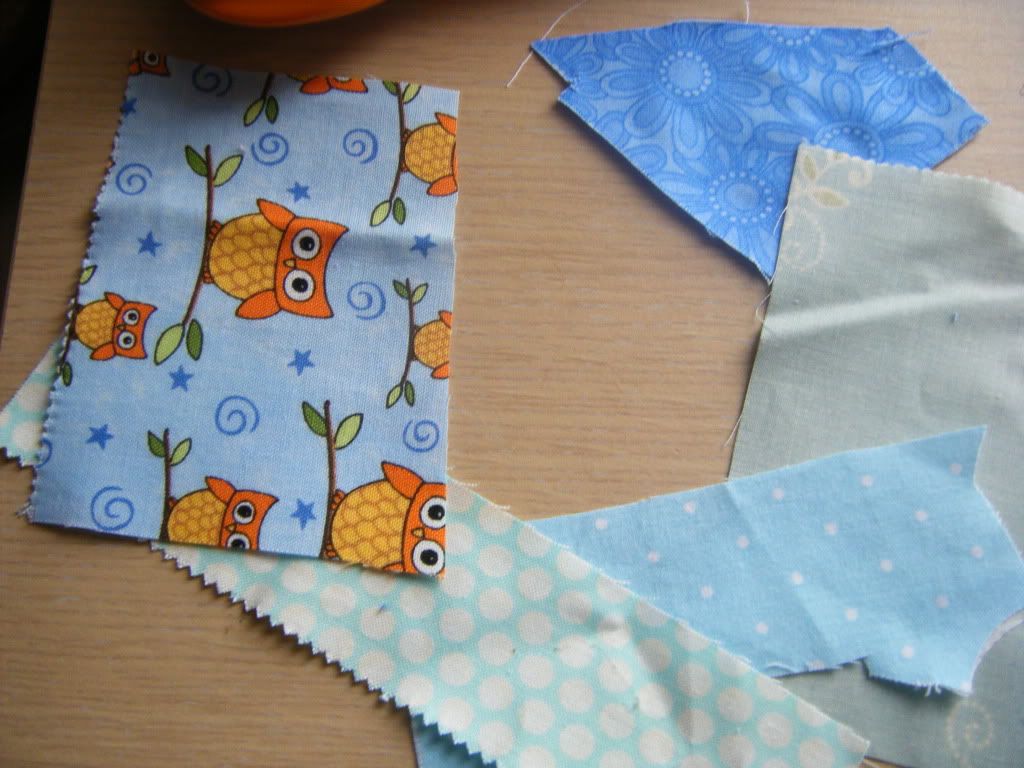
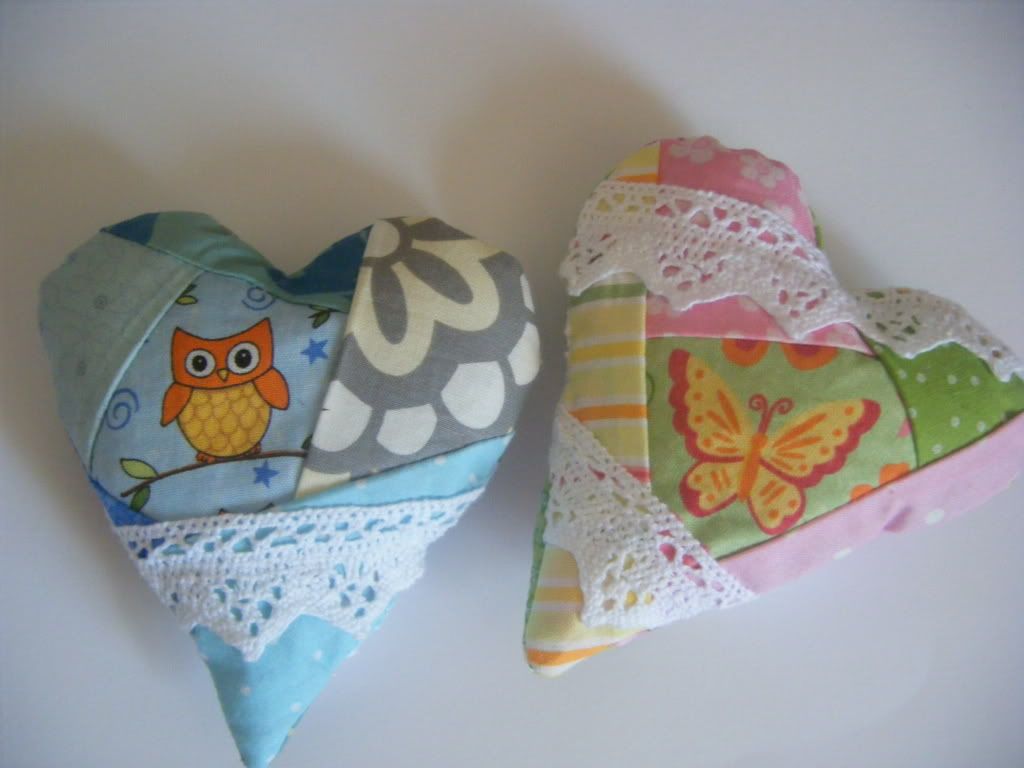
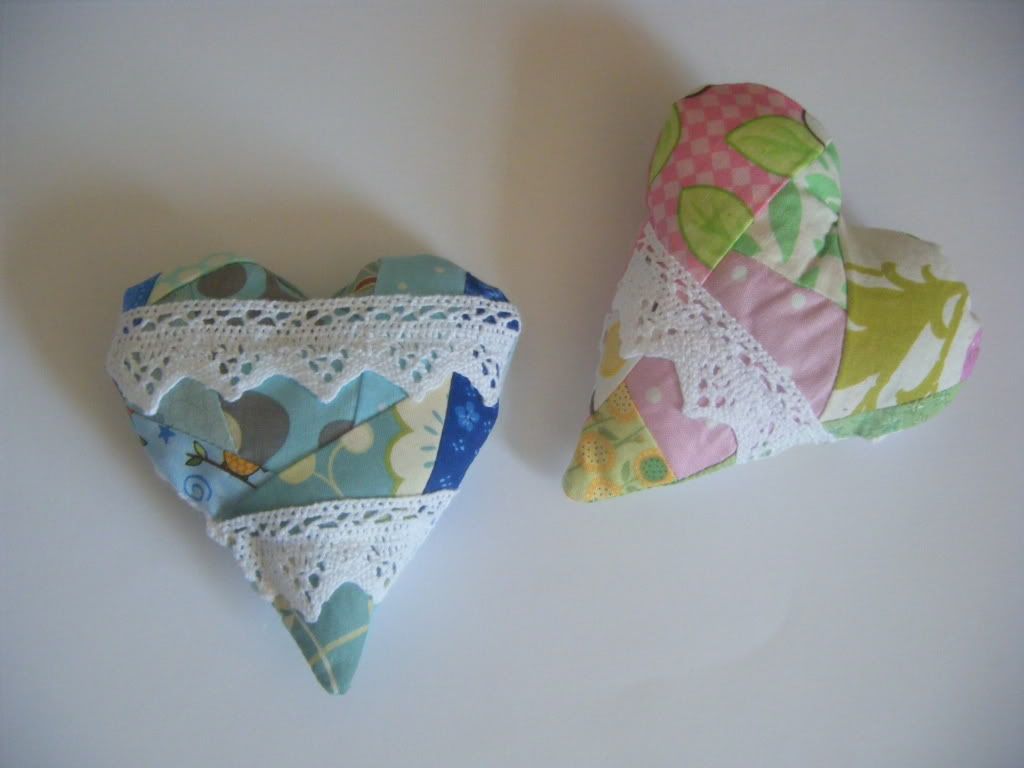
Pick your colour scheme and pull out all the fabrics you have. You can then refine them down to ones that go together. I was trying to avoid having all fabrics from one range here, but you can work that way if you have a charm pack or layer cake. I chose a little owl to be my centre focal point, but it's not necessary to have one.
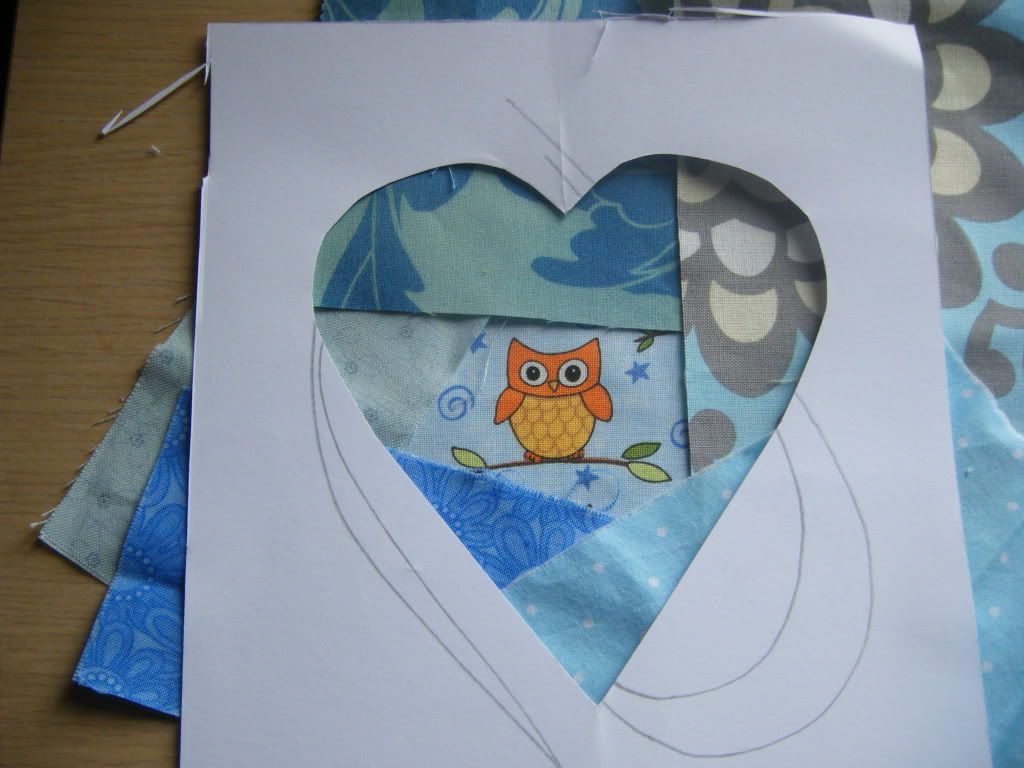
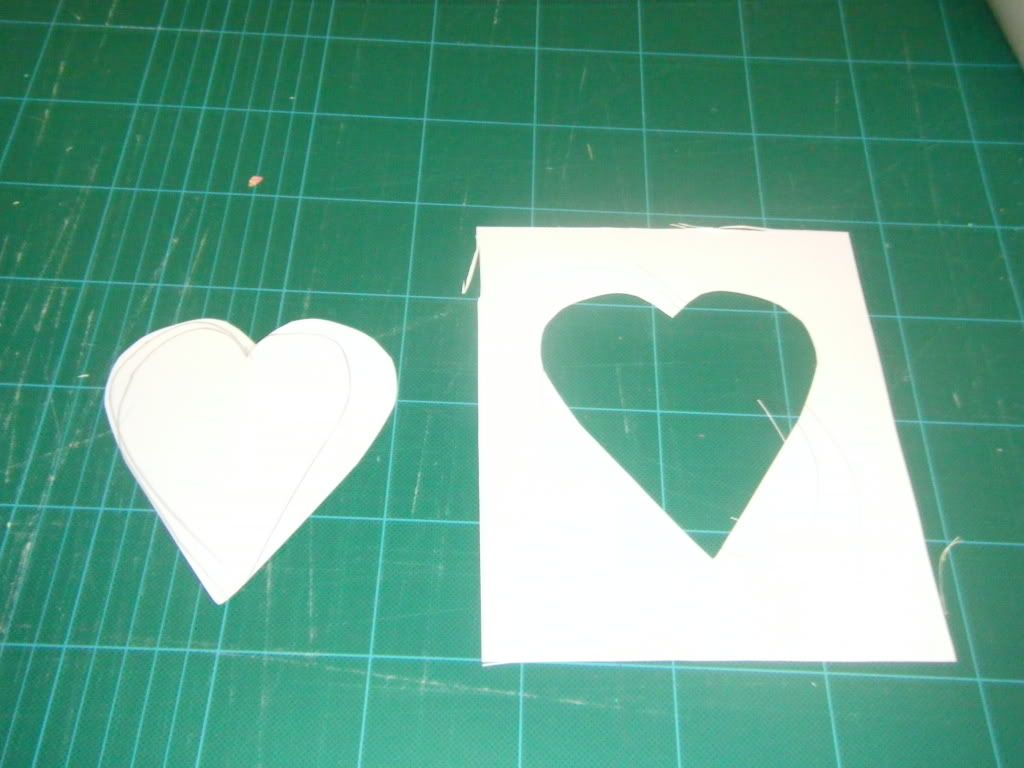
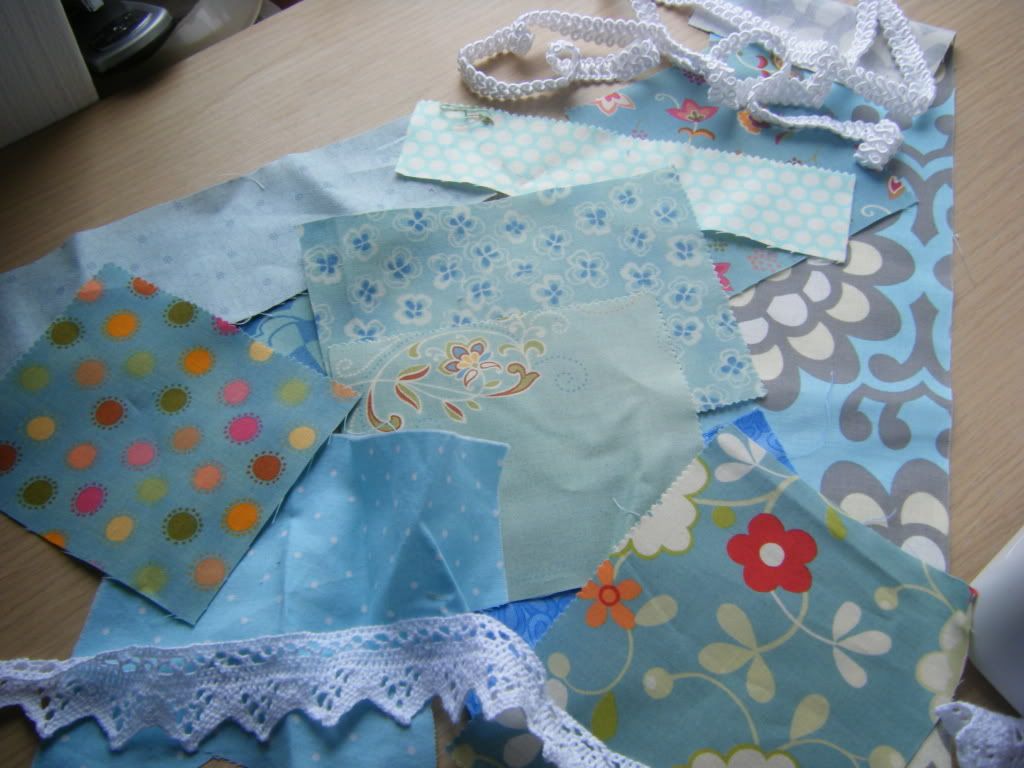
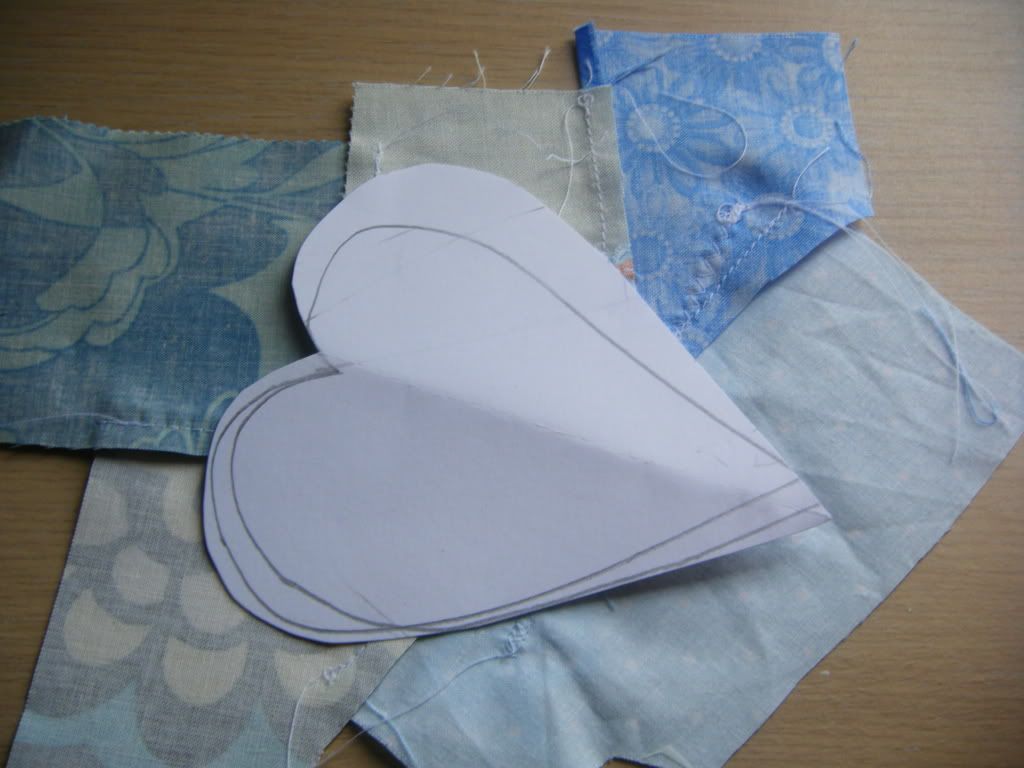
Lay your fabrics out to find a pleasing arrangement. Put the aperture heart over the top to make sure they all fit within the window. Once you have your arrangement, just lift the edges of the heart to make sure there is a decent seam allowance to the sides, you don't want the edge of a piece of fabric right on the edge of the template or it wont get caught when you stitch.
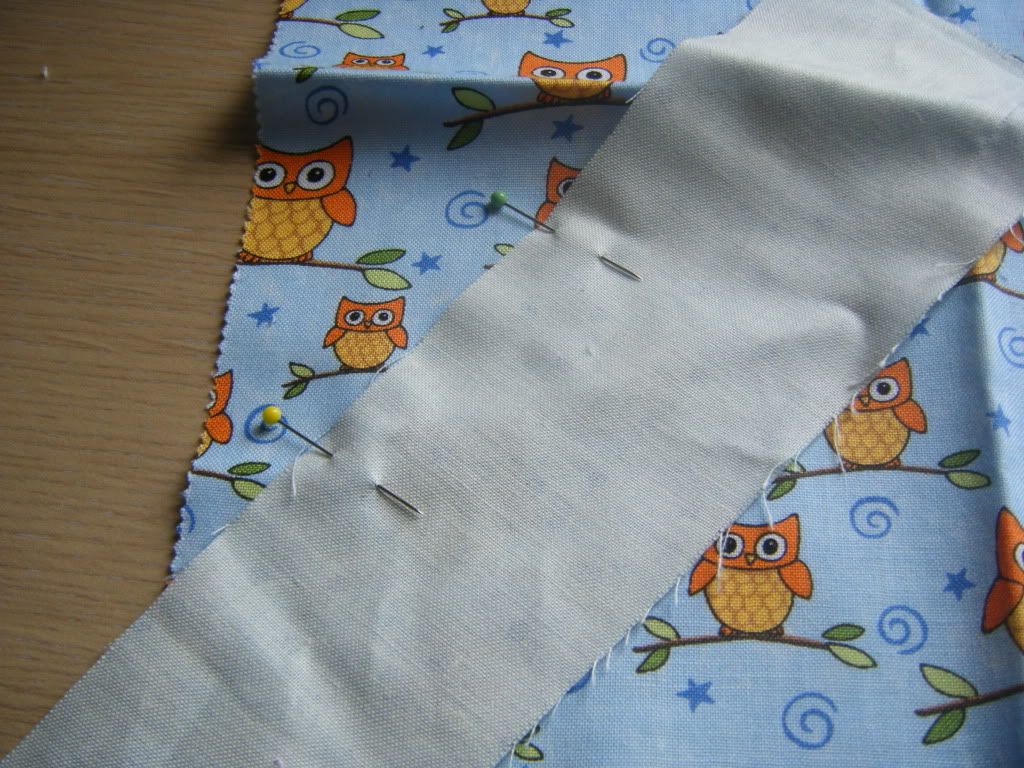
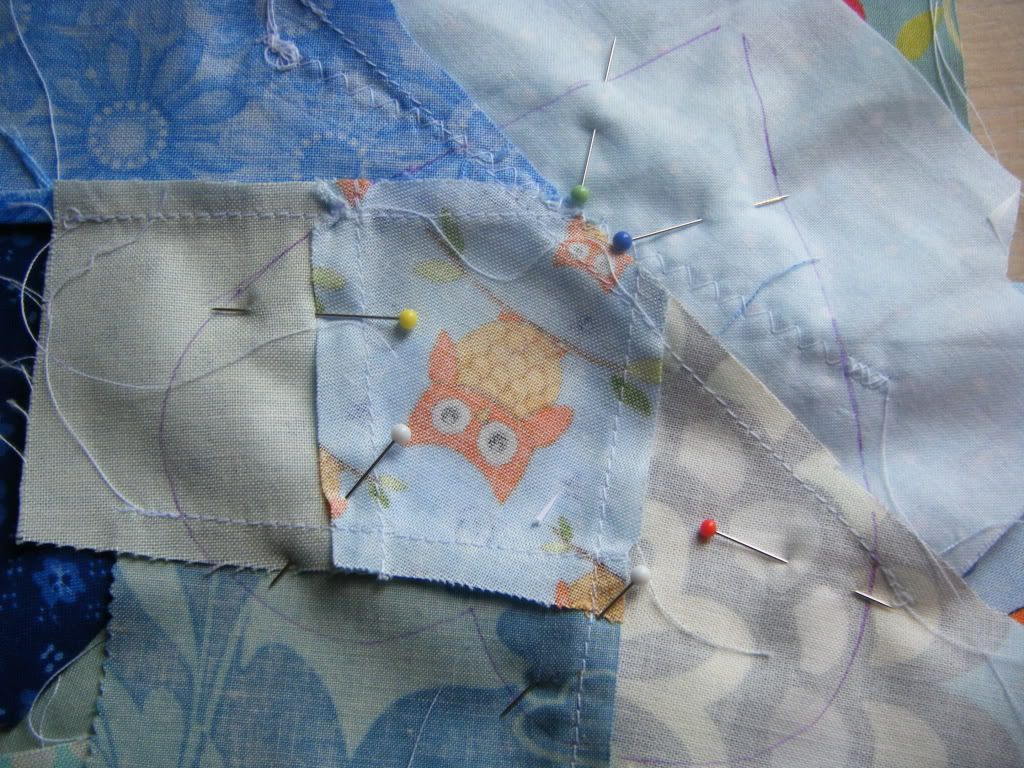
Take your central piece and an adjacent piece and lay one right side up on the other (so both right sides are facing). Pin in place.
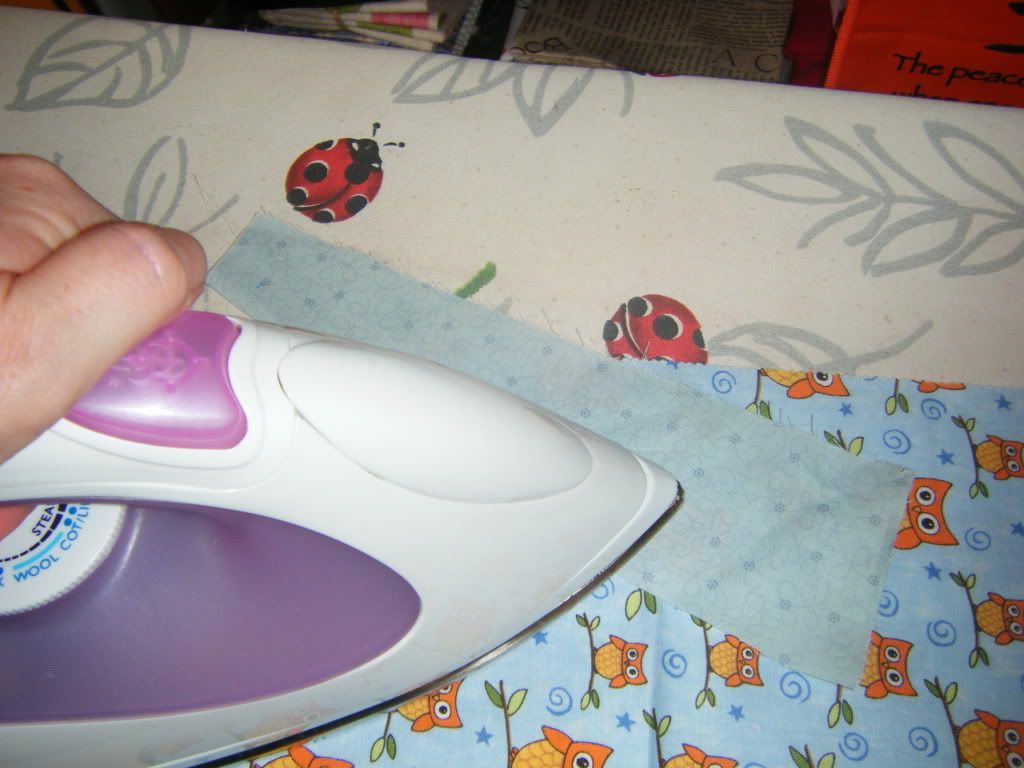
Take your fabric to the ironing board and flip the top piece back and iron it flat.

This is what it will look like, hopefully without the big crease next to the seam! Oh, might be a good idea to iron your scraps first, I'm just too lazy! Now, trim the fabric back BEHIND the seam to about 1/4 inch.
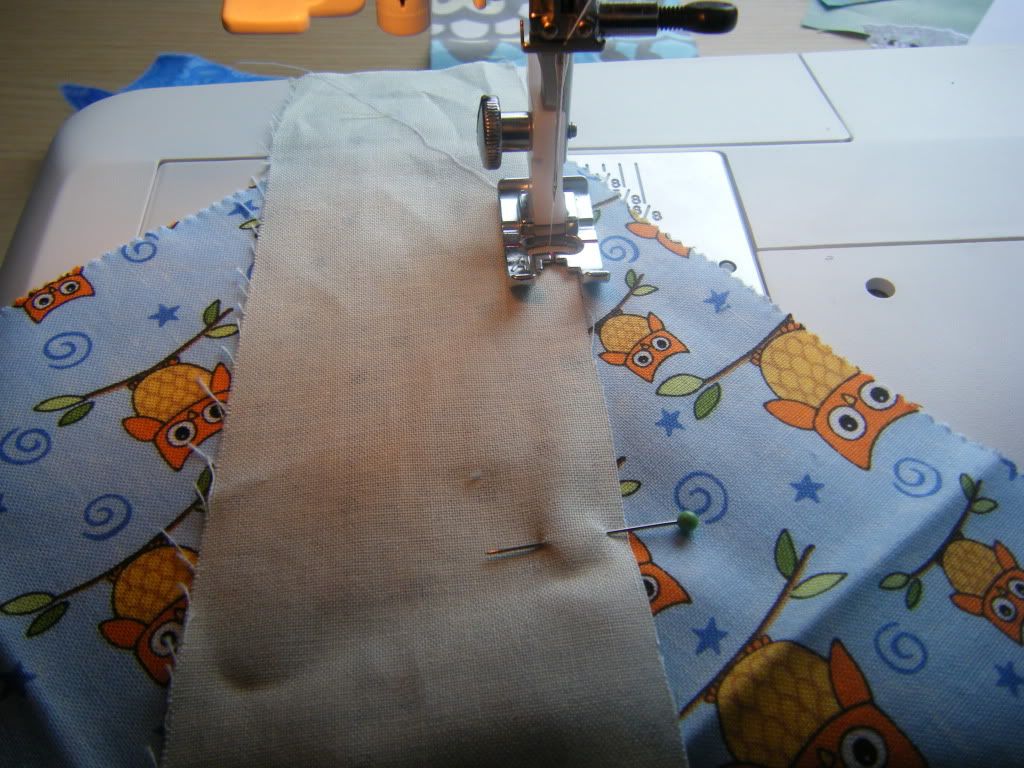
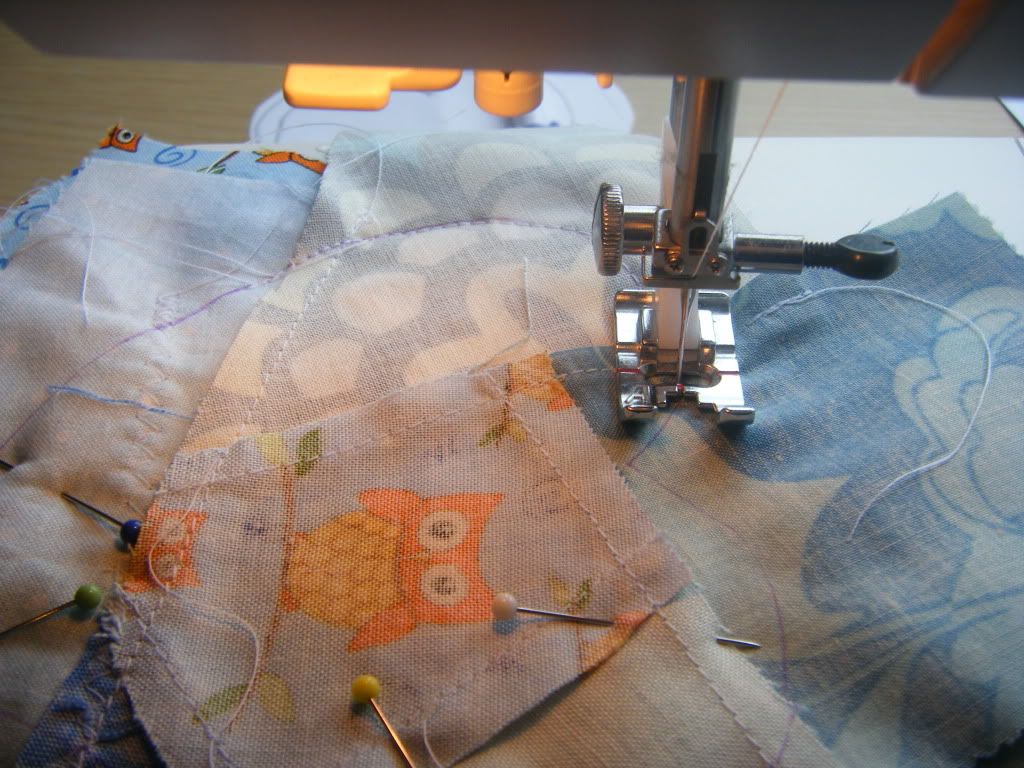
Take your next piece and lay it face down on your patchwork unit. Pin in place. Sew along the seam again, trim, then iron. You will build up your heart like this - place face down where you want it to fold back, pin in place, sew, trim off the excess where it's covered by the fabric and iron.
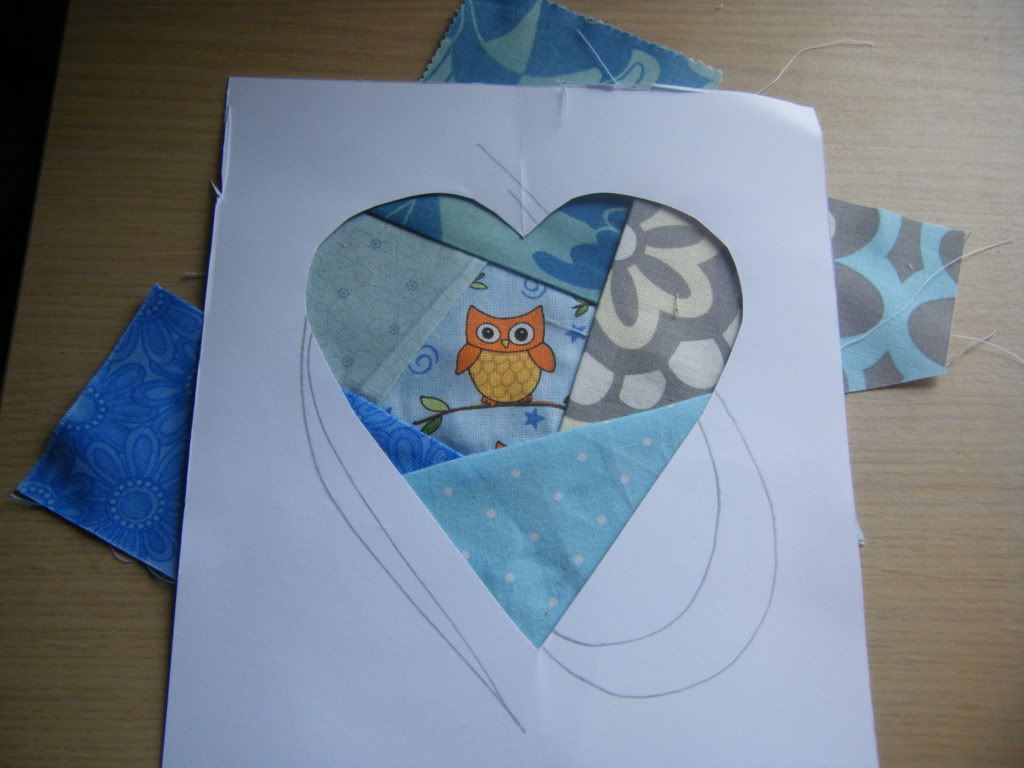
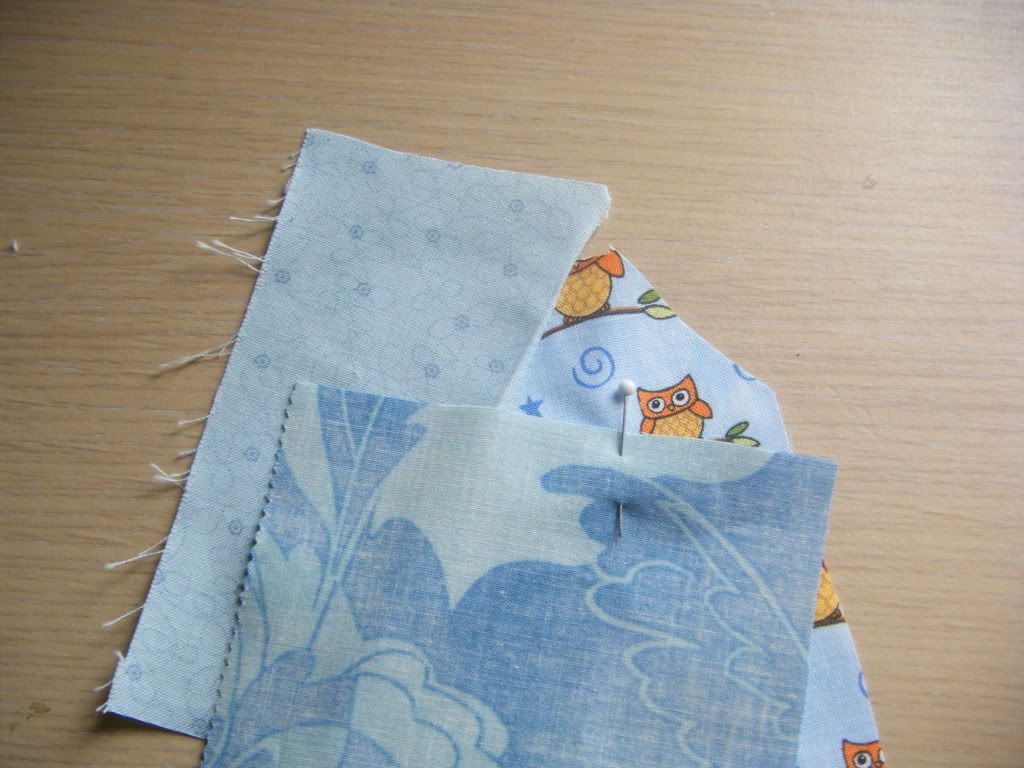
Continue building the pieces around until you've sewn them all. Put the aperture heart over the top to check that everything fits. Once again, lift the sides to check you've got room for a decent seam allowance all round. If not, add another scrap.

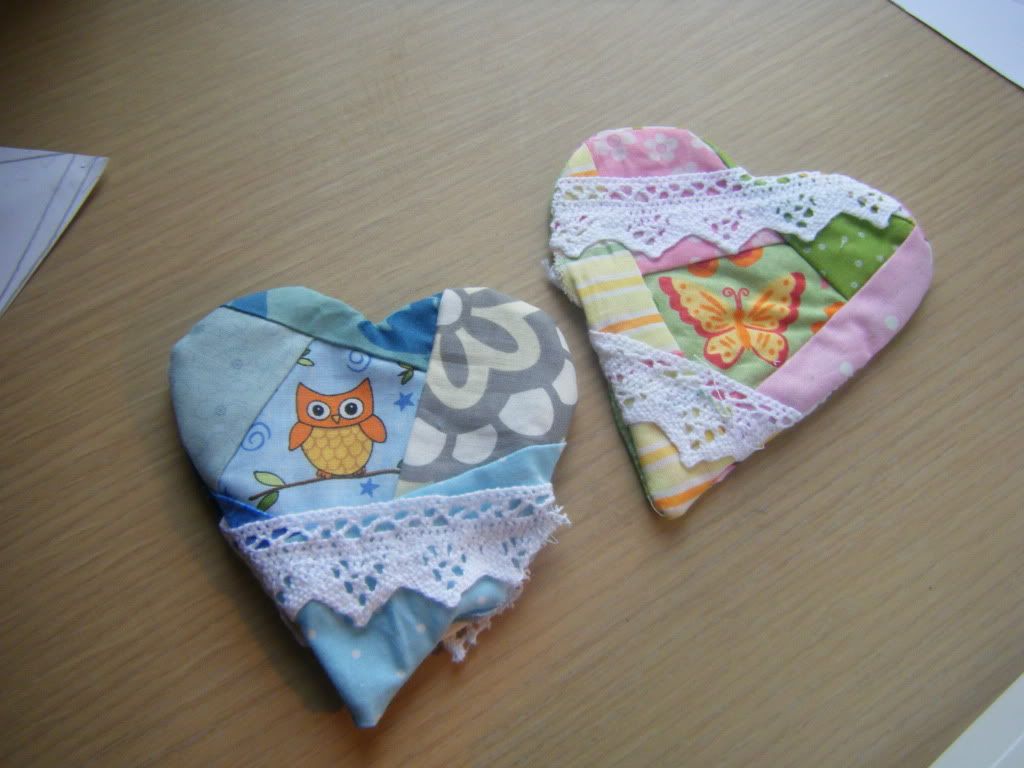
Next, you can add trims. I trialled a couple.
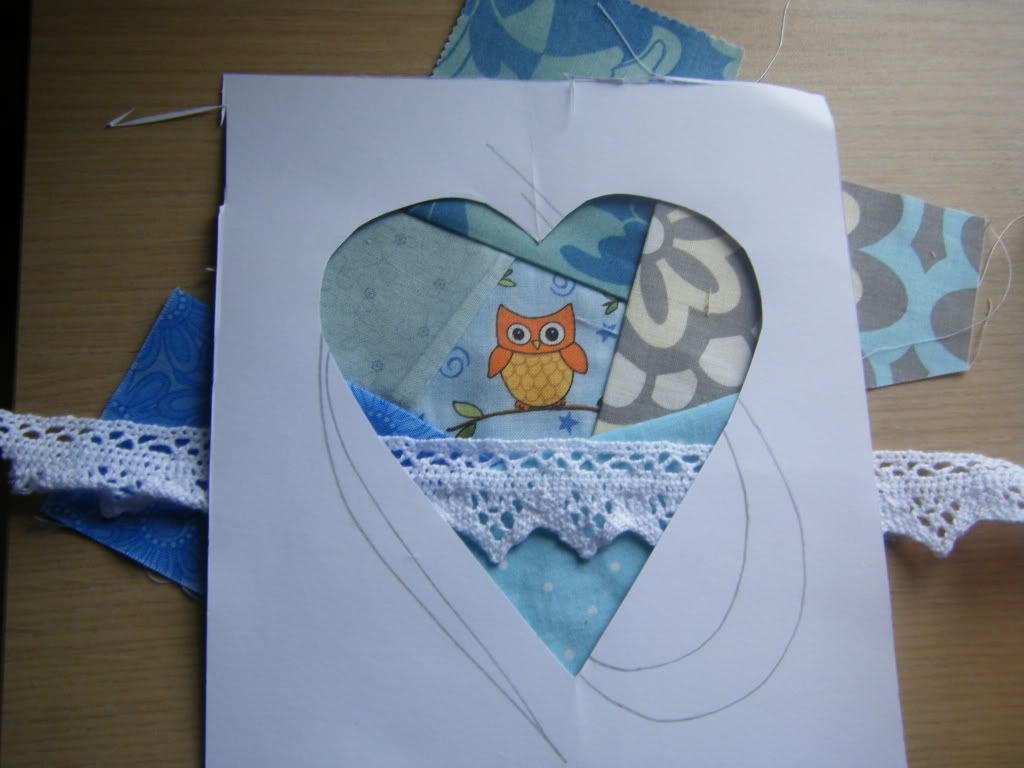
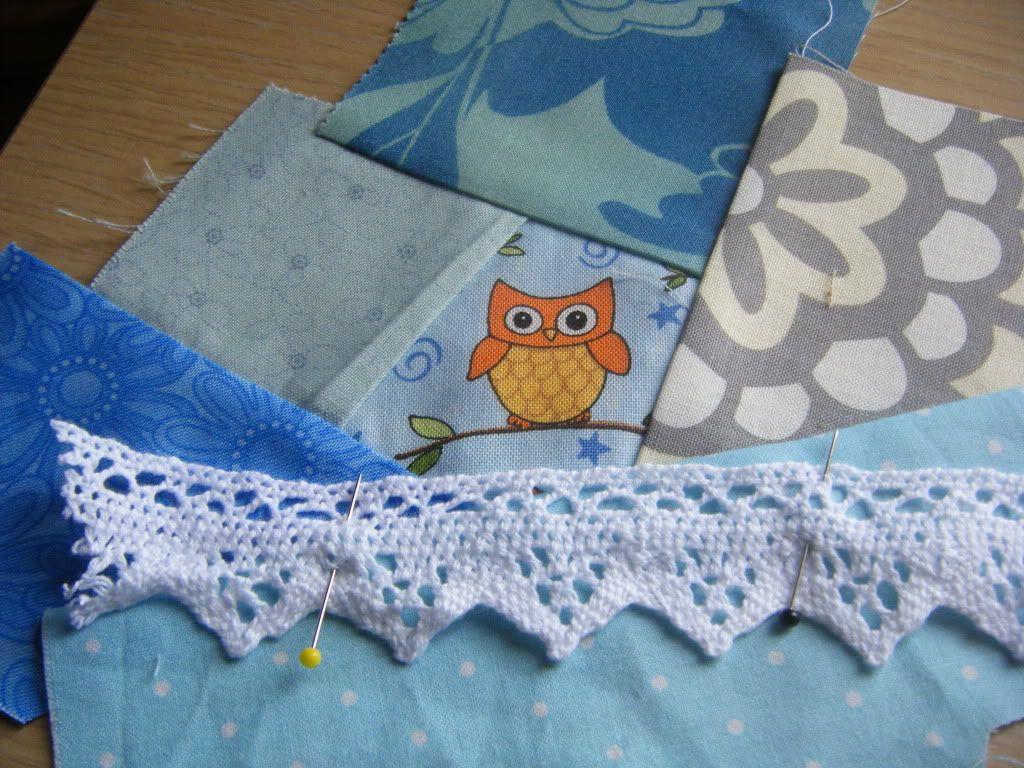
When you've chosen a trim, you do the same as you did with the fabric pieces.


Now make another unit as the back. I chose not to have a focal point on the backs.
To try to remember where each piece was, I laid them out and then left them there, taking each piece as I needed it.
Once you have completed both pieces of patchwork, lay the heart template on the wrong side of one of the pieces and draw round it. I used an air erasible fabric pen.
Then sew slowly and carefully around the line you've drawn, leaving a gap of about 3 inches for turning. Make sure to back stitch at the begining and end of your stitching.

Trim abou 1/4 inch from the sewn line, clip the curves and cut off the point, being careful not to cut your stitches.
Turn and press. Then all you need to do is fill them with lavender, pot pourri or toy filling, then stitch up the opening. I used invisible thread to do that using a simple over stitch.
If you have any questions, please ask. I'm not sure I've been very clear with my piecing instructions.
Feel free to do what you want with your finished hearts - keep them, give them away, sell them, feed them to the dog, but please don't copy the tutorial.
Now get out your scraps. Here are mine!
Hi Wendy; great tutorial. I love these scrappy hearts. I only would like to know how large is the heart you use as a template (approximately)?
ReplyDeleteGorgeous! Thank you
ReplyDeleteThose are too darling - thanks for a GREAT tutorial, hon! Can I use your pic for a link on my blog?
ReplyDeleteADORABLE!!!
ReplyDeleteOh I recognize that gorgeous Hemoine on Allie's avatar - Zoomer says hi, gorgeous! ;)
ReplyDeleteI don't see any eggs in the photographs Miss Wendy - did you forget a step? :) Sweet tutorial!
Awwwwwwwh!!! So cute!!!!! :D
ReplyDeleteSuch a great tutorial! Thanks for sharing!
ReplyDeleteGreat tutorial. Easy to follow and gorgeous results.
ReplyDeleteGreat project. They turned out so cute.
ReplyDeleteI would love for you to share this project at my linky party.
http://carolynshomework.blogspot.com/2011/06/inspiration-board-link-party.html
Hope to see you there.
Thanks for the inspiration.
These are really cute! I could see them hanging from a mobile in a nursery!
ReplyDeleteI love scrappy projects! Very cute heart. I have that owl fabric in pink. Cheers!
ReplyDeletelove those little scraps a bit of this and that awesome come see what I shared on http://shopannies.blogspot.com
ReplyDeleteWonderful tute! Thanks so much! I'm a mediocre sewer...even I might be able to handle this....haha!
ReplyDeleteJust 1 question, though....what is invisible thread? Actually transparent like fishing line? Or something different?
Thanks again :)
THanks for sharing your cute hearts! Off to the sewing room I go!!!
ReplyDeleteGreat tutorial! A very lovely heart that I would probably use as a pincushion - or hang on the Christmas tree...
ReplyDeleteSo cute, I am going to ry this
ReplyDeleteLove the tip about using invisible thread, I've never thought of that but it is going to be very useful
Ooooh, these are nifty. I have a whole pile of small and oddly shaped scraps of Liberty fabric. This would be a great way to use them up. Thanks for the tutorial!
ReplyDeleteThank you, Wendy, for such an user friendly, wonderful tutorial! I love your owly heart :) He's so cute! I must try to make one of these using my scraps!!
ReplyDeleteLove, Amy from California