
The third table we went to was called "handcrafted robin". We had no idea what that might involve and having done it, I'm not sure what I'd call it! I didn't think to take any process photos, which would have been useful.

We were given a wood blank the shape of the whole robin. It had holes drilled in it. The and back are also a wood blank. The red breast is acrylic. We simply had to hand stitch the various elements together.
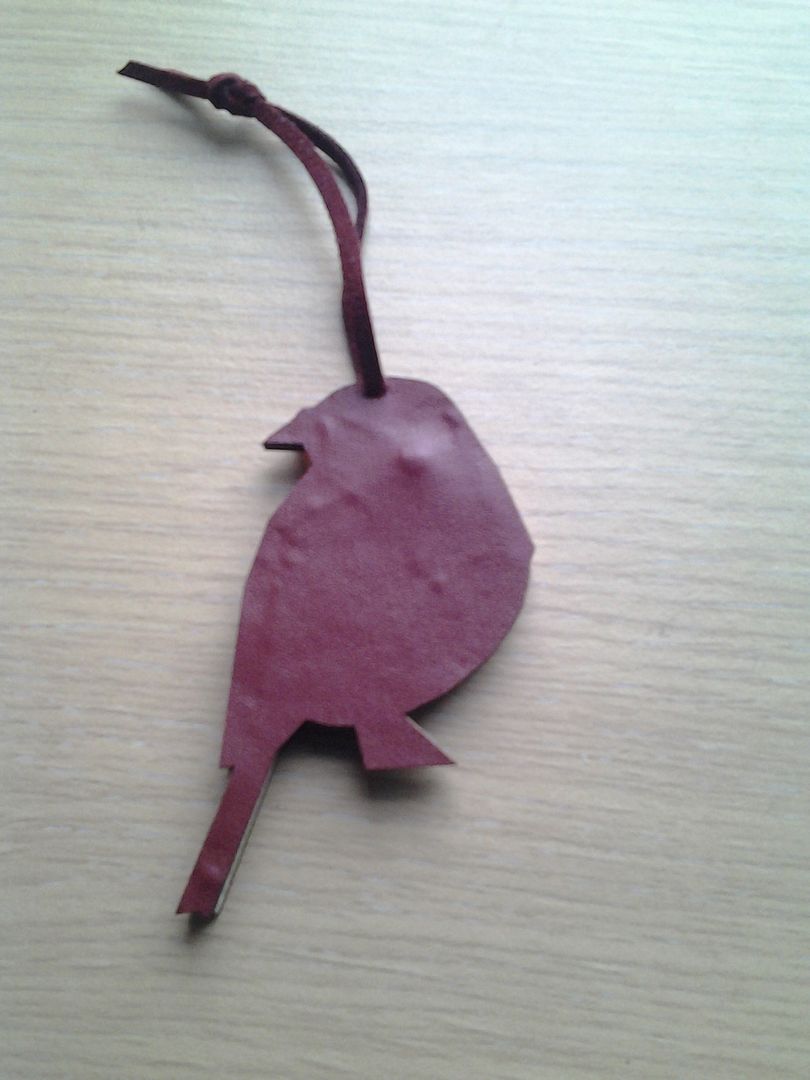
We then glued a piece of leather to the back to hide the messy stitching. I had some time left at the end so I played with some other small blanks the tutor had for jewellery making, but I can't find them now, I might have left them behind.
This was interesting to do, but it was just like doing a kit as everything was pre-cut. It would be interesting to make my own, if I were into cutting wood and acrylic that is! Mind you, I do have a dremel or two...
Next up: Mono printing
7 comments:
Yes, I can see what you mean. Very sweet, but a bit like painting by numbers! You could maybe do some trials with card before you break out the dremel, though..
That's a craft I've never seen before - it looks like they took a kiddy craft and made an adult version with the wood and the leather!
you certainly manage a lot in 45 mins, he is very effective and has a certain charm about him or her
He is rather cute and will gorgeous hung up over Christmas!
Aww, it's so cute! I know what you mean, it would have been more interesting to make everything yourself. Maybe there just wasn't enough time - speed crafting, right?
That looks interesting to do
Having these pre-drilled would make a great project for kids, of all ages. I think it's adorable.
Post a Comment