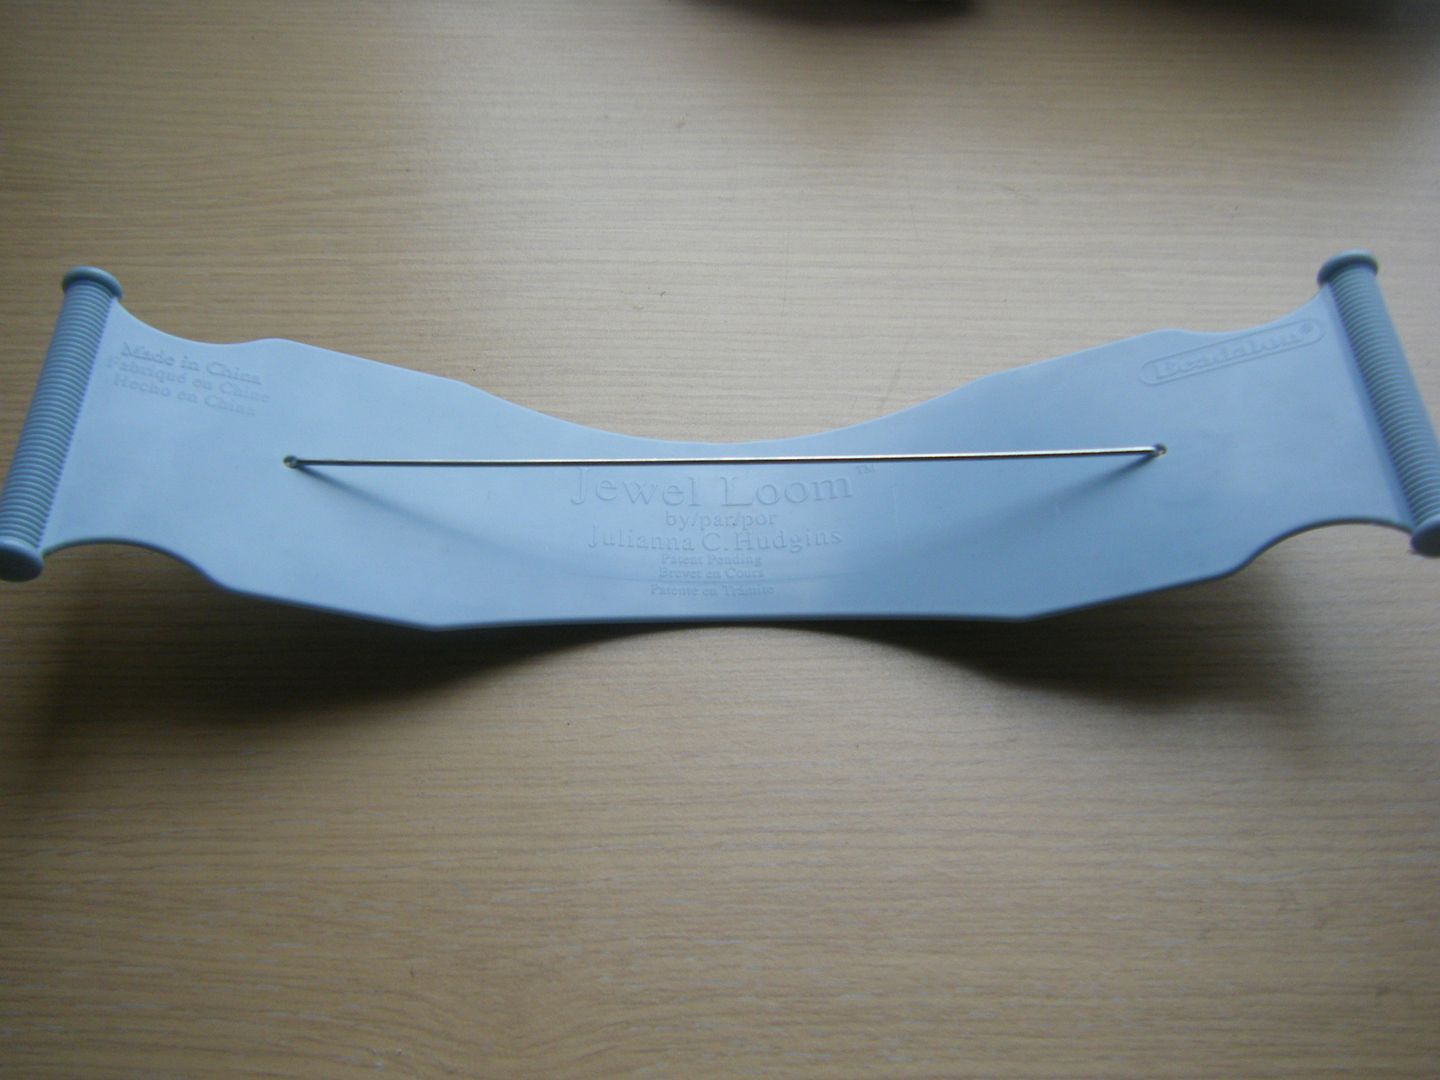
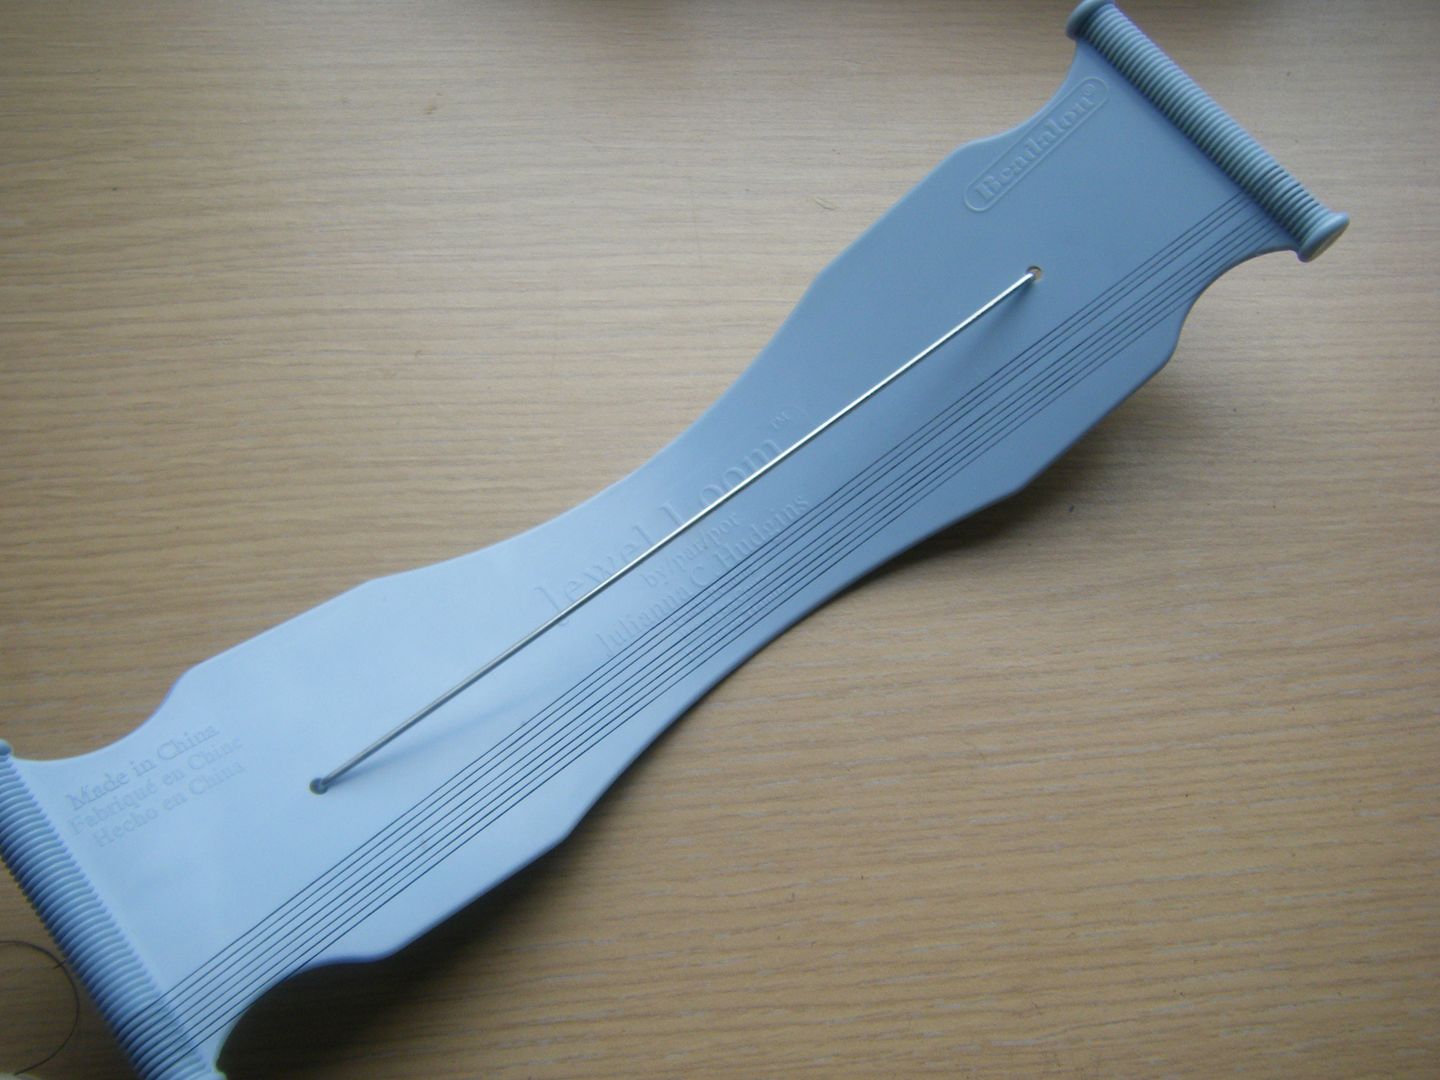
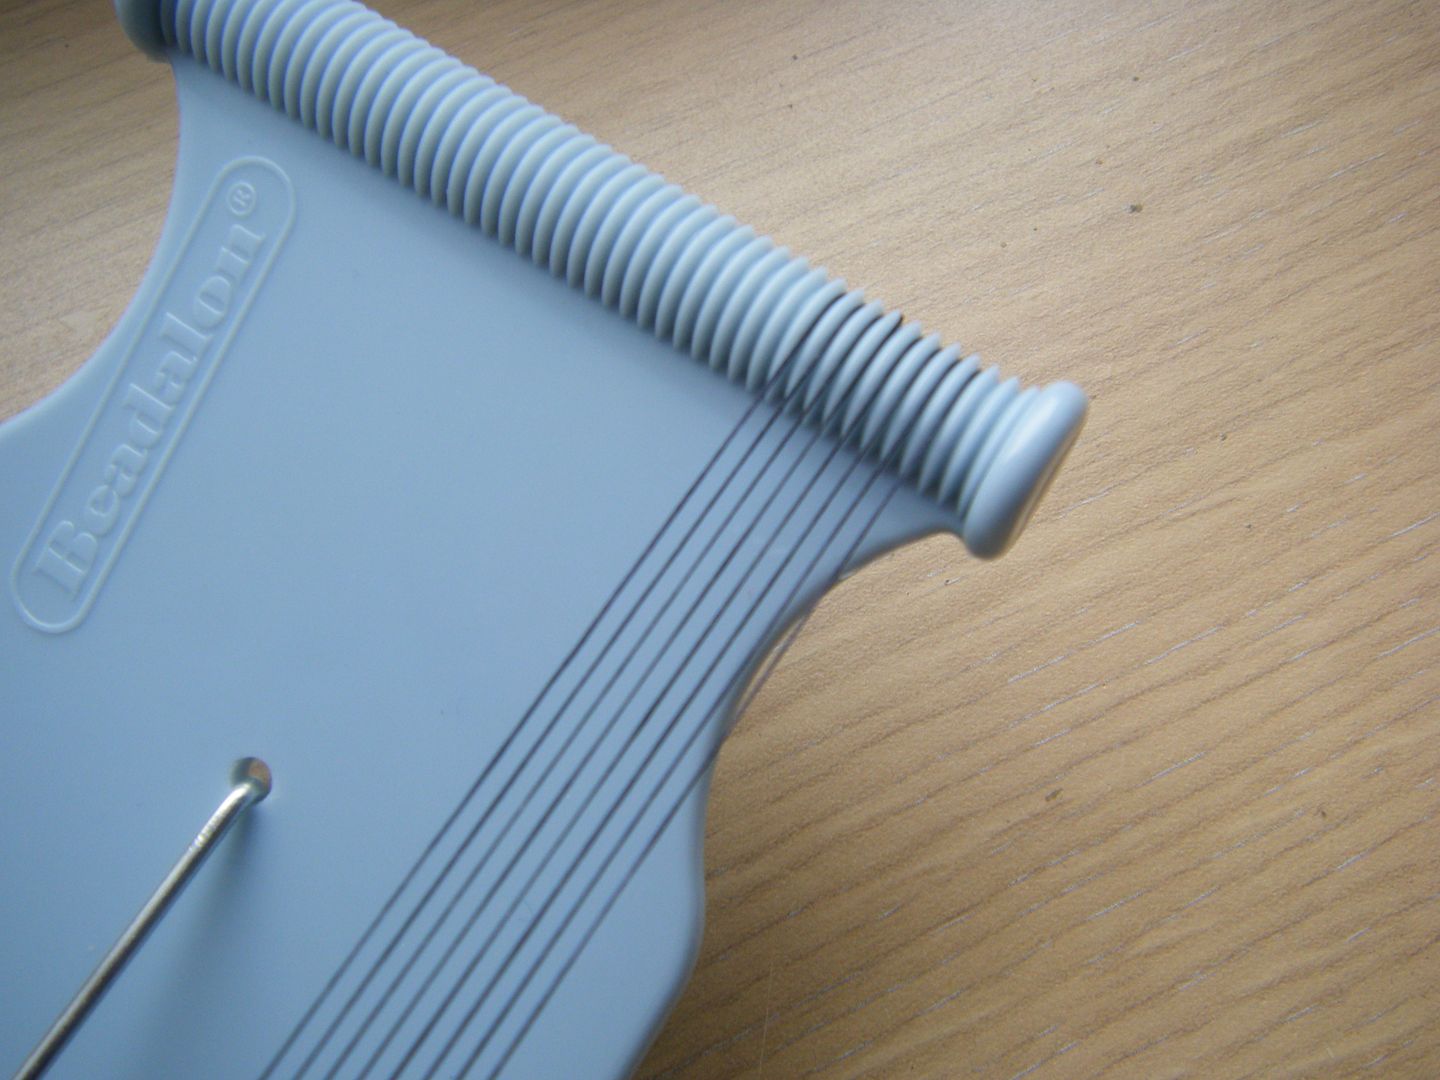
This is the bead loom that I use, it's by Beadalon and costs about £8. It consists of the plastic loom and a metal brace. I'm going to show you how easy it is to set up and why it's better than a traditional loom.
Put the metal brace into the two holes. The loom will curve up. You are now ready to set the warps.
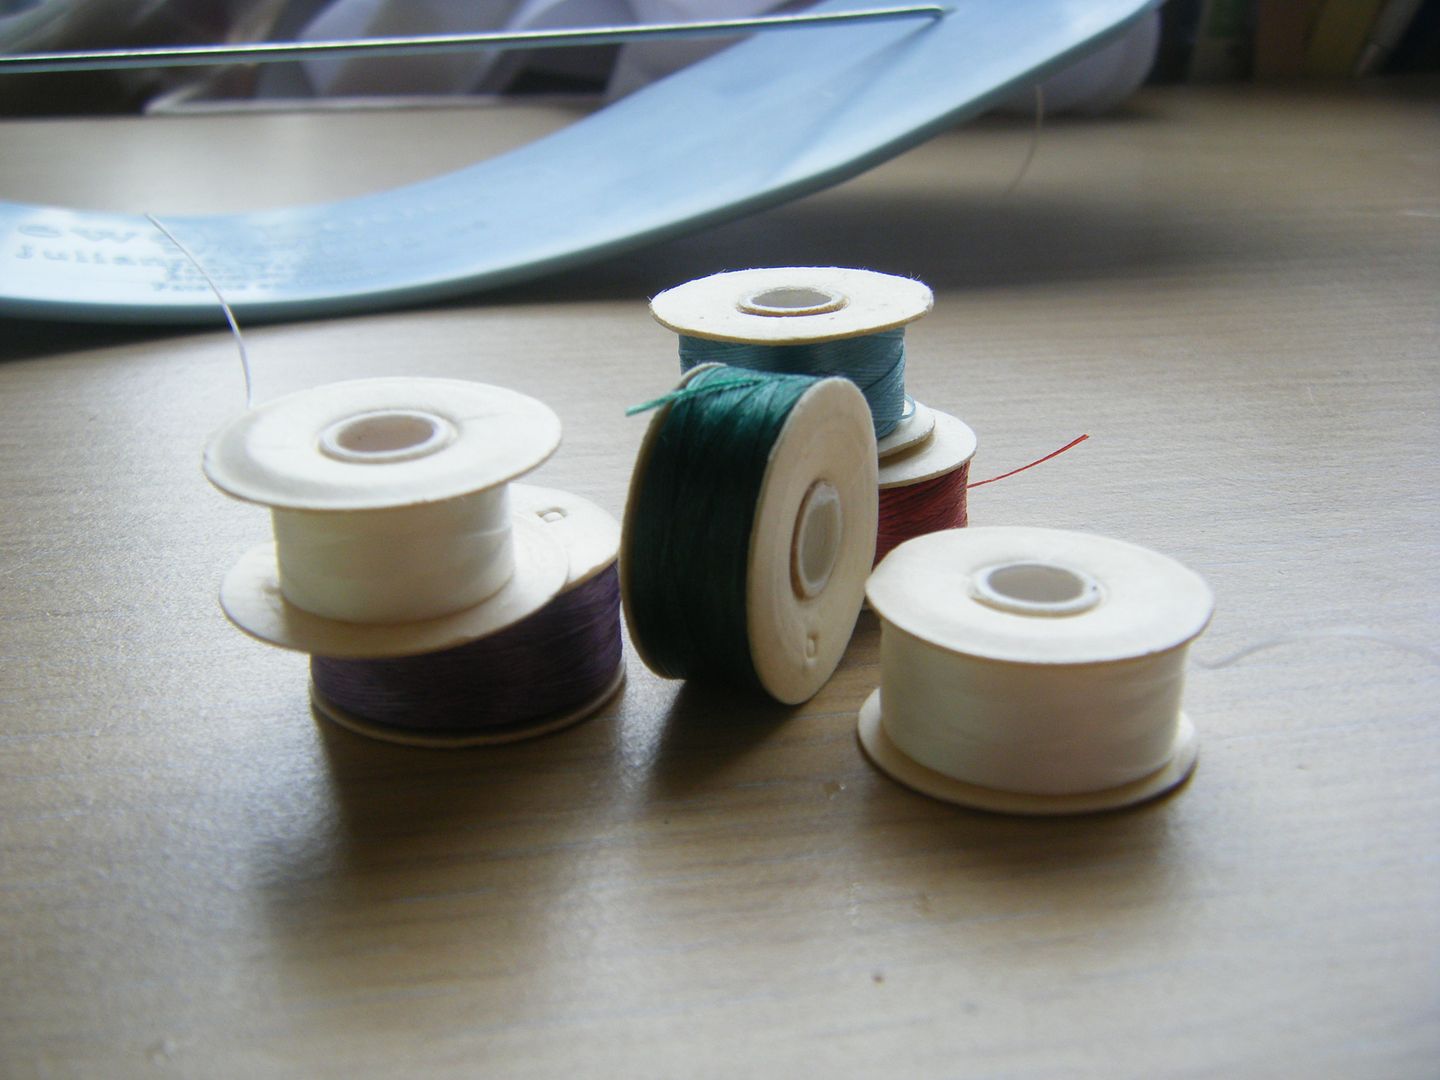
I use Nymo thread, size D. I usually use a colour that will blend in nicely with my beads at the edges. For this how-to I've used black as it shows up better.
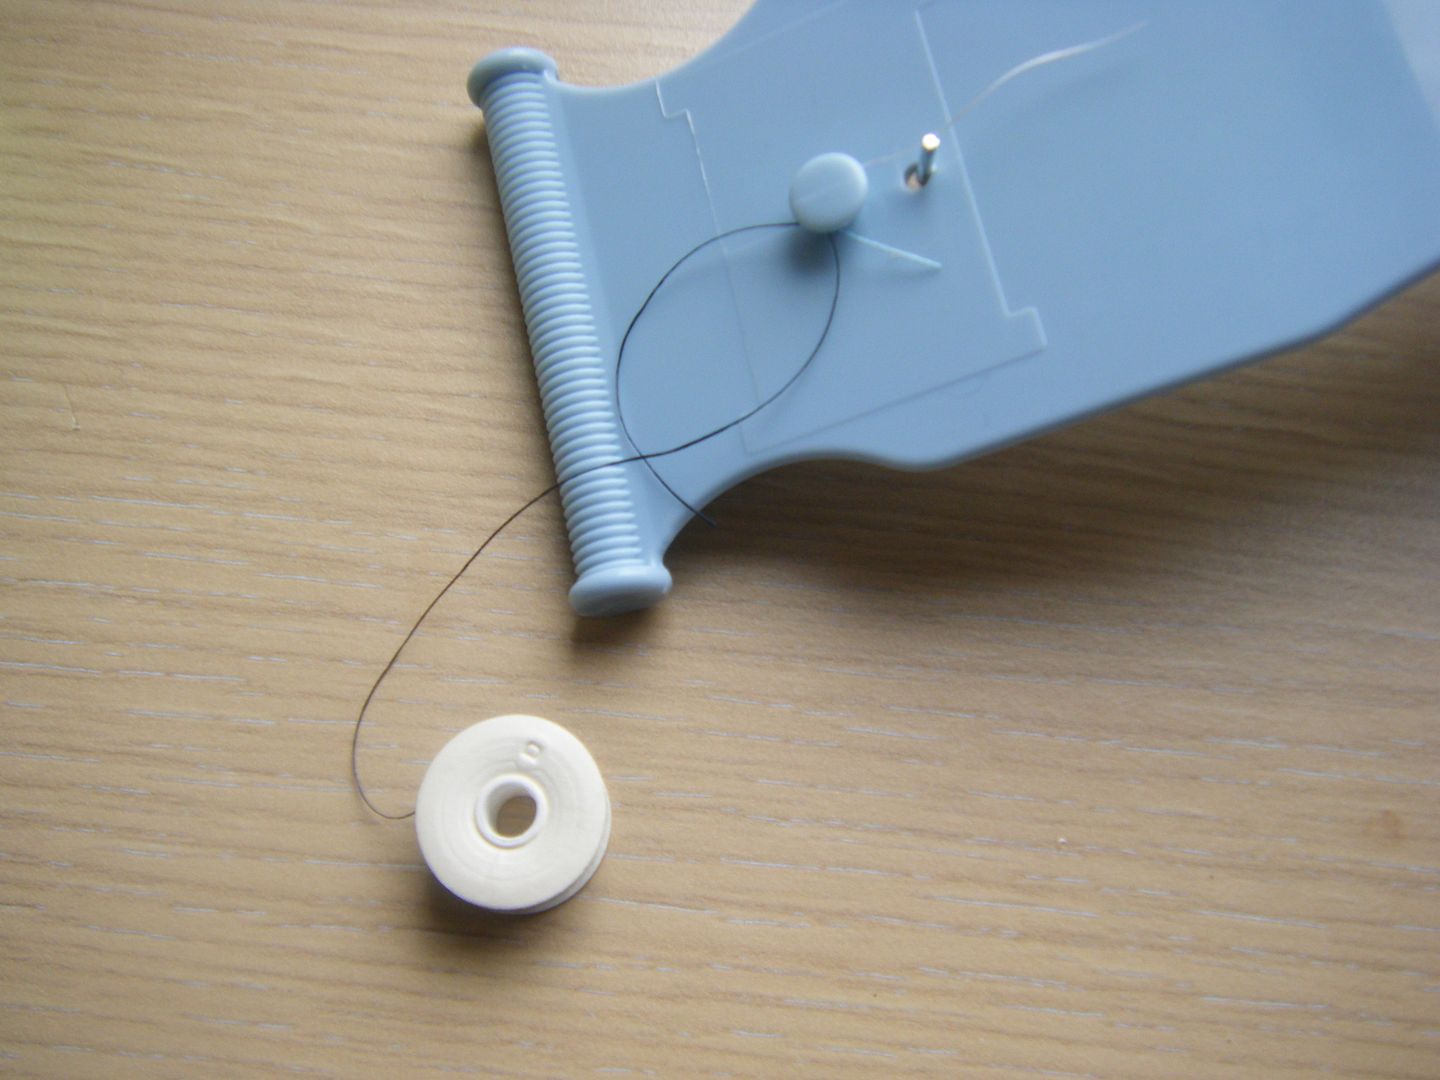
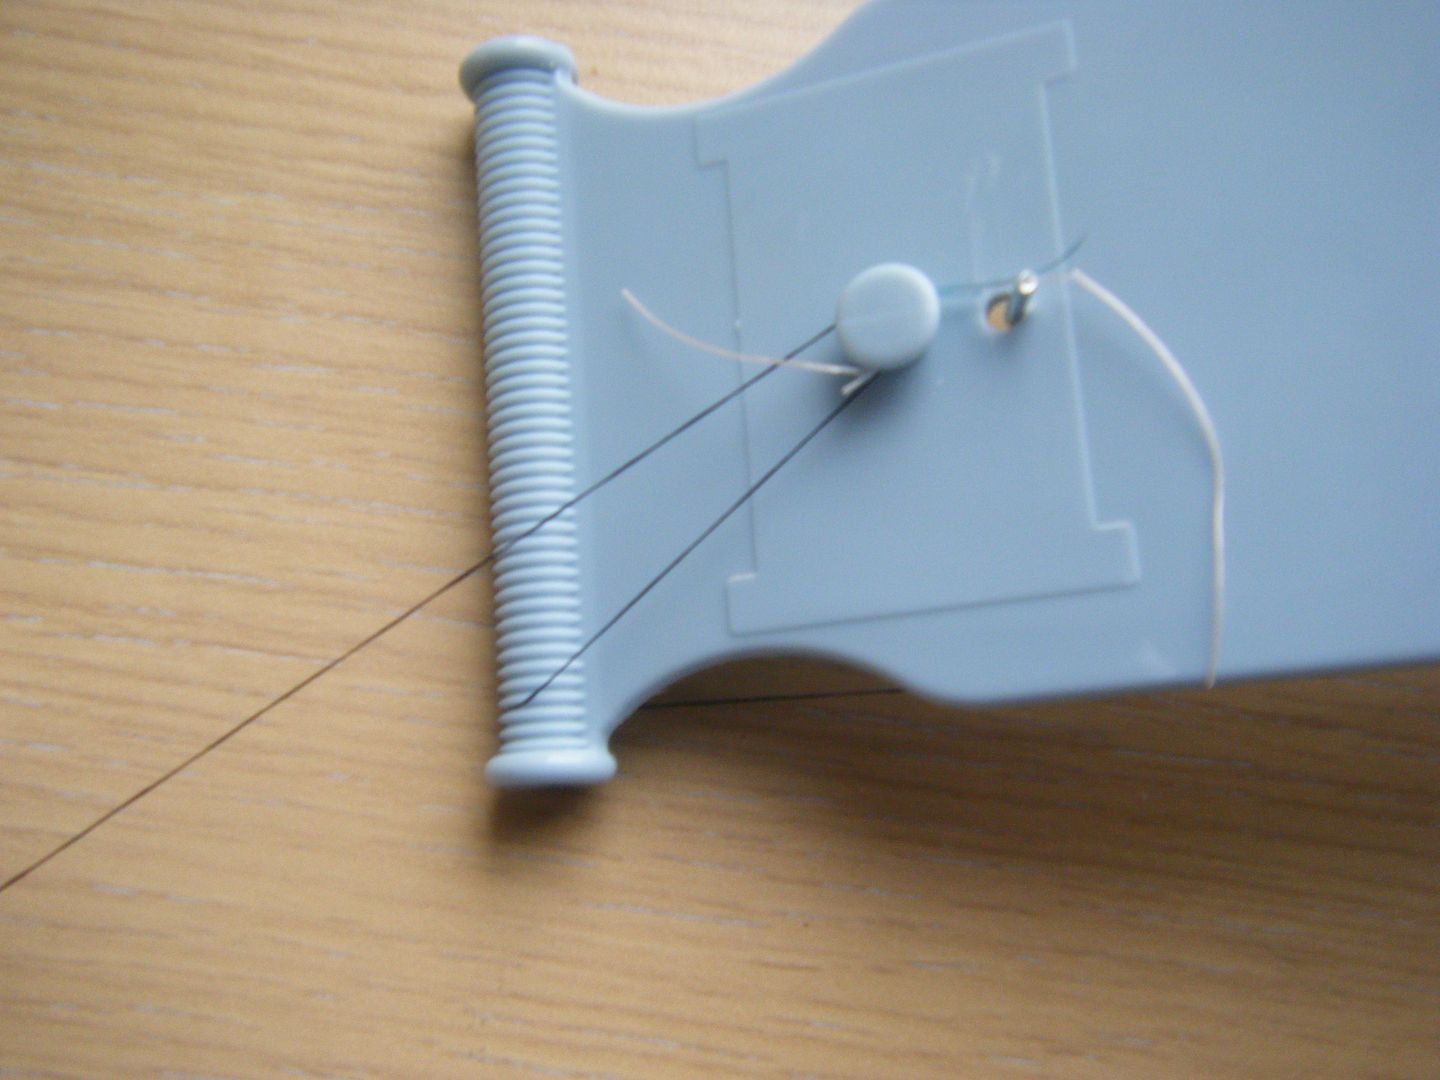
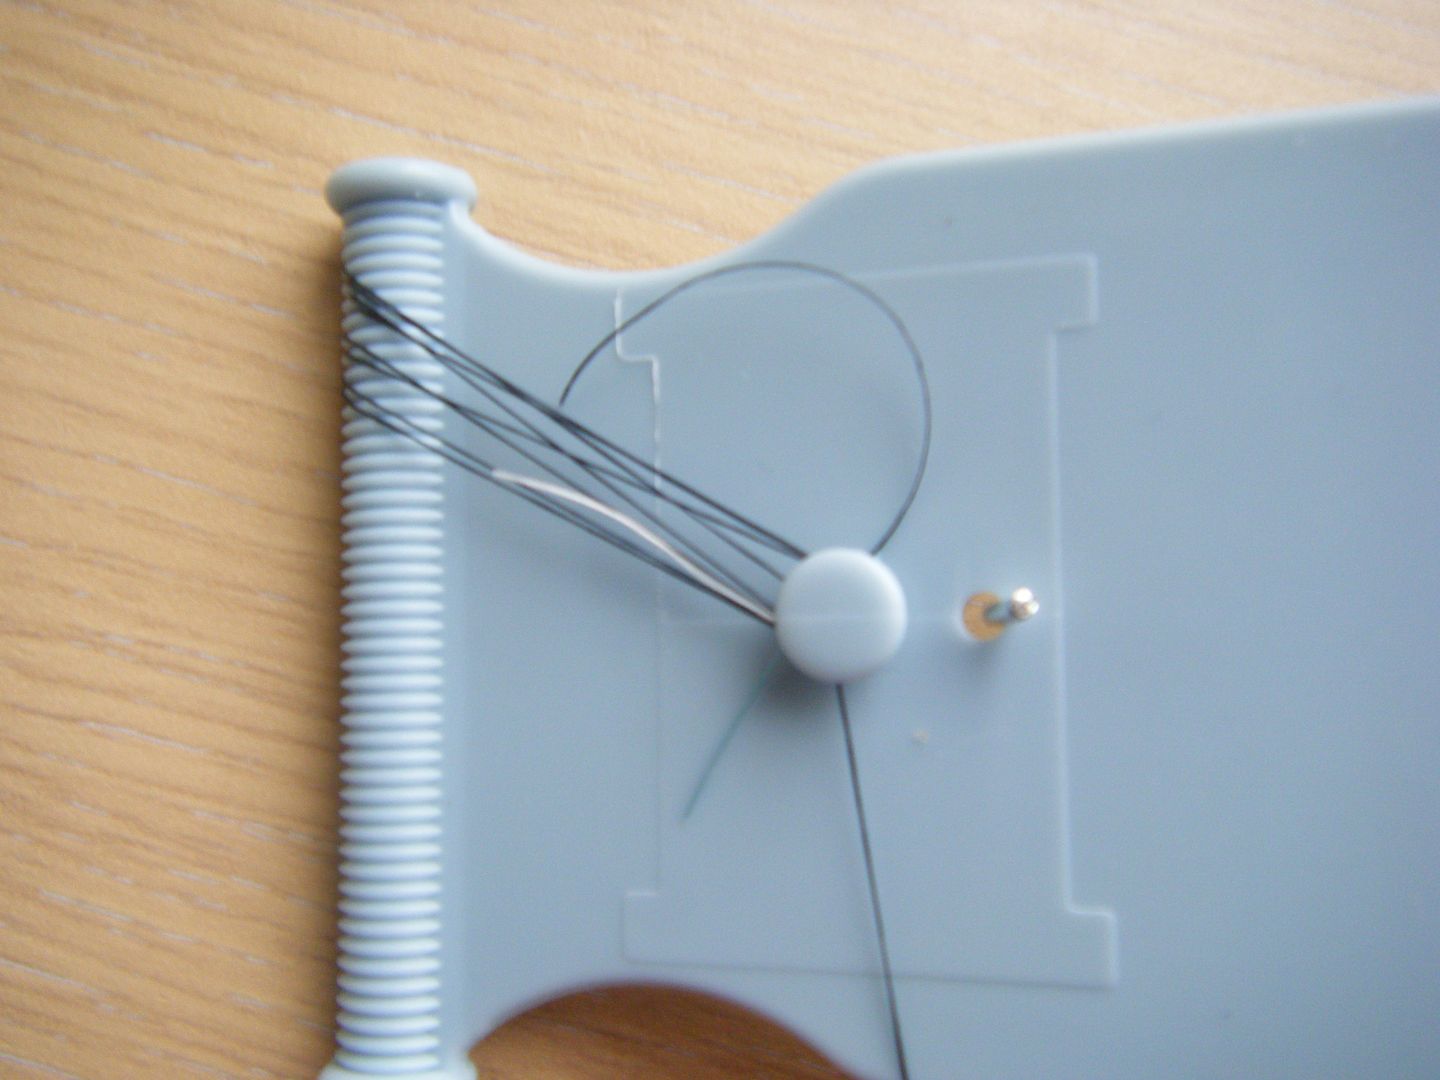
On the underside of the loom are these little "buttons". Tie the thread (straight from the spool, don't cut some off) round the button.
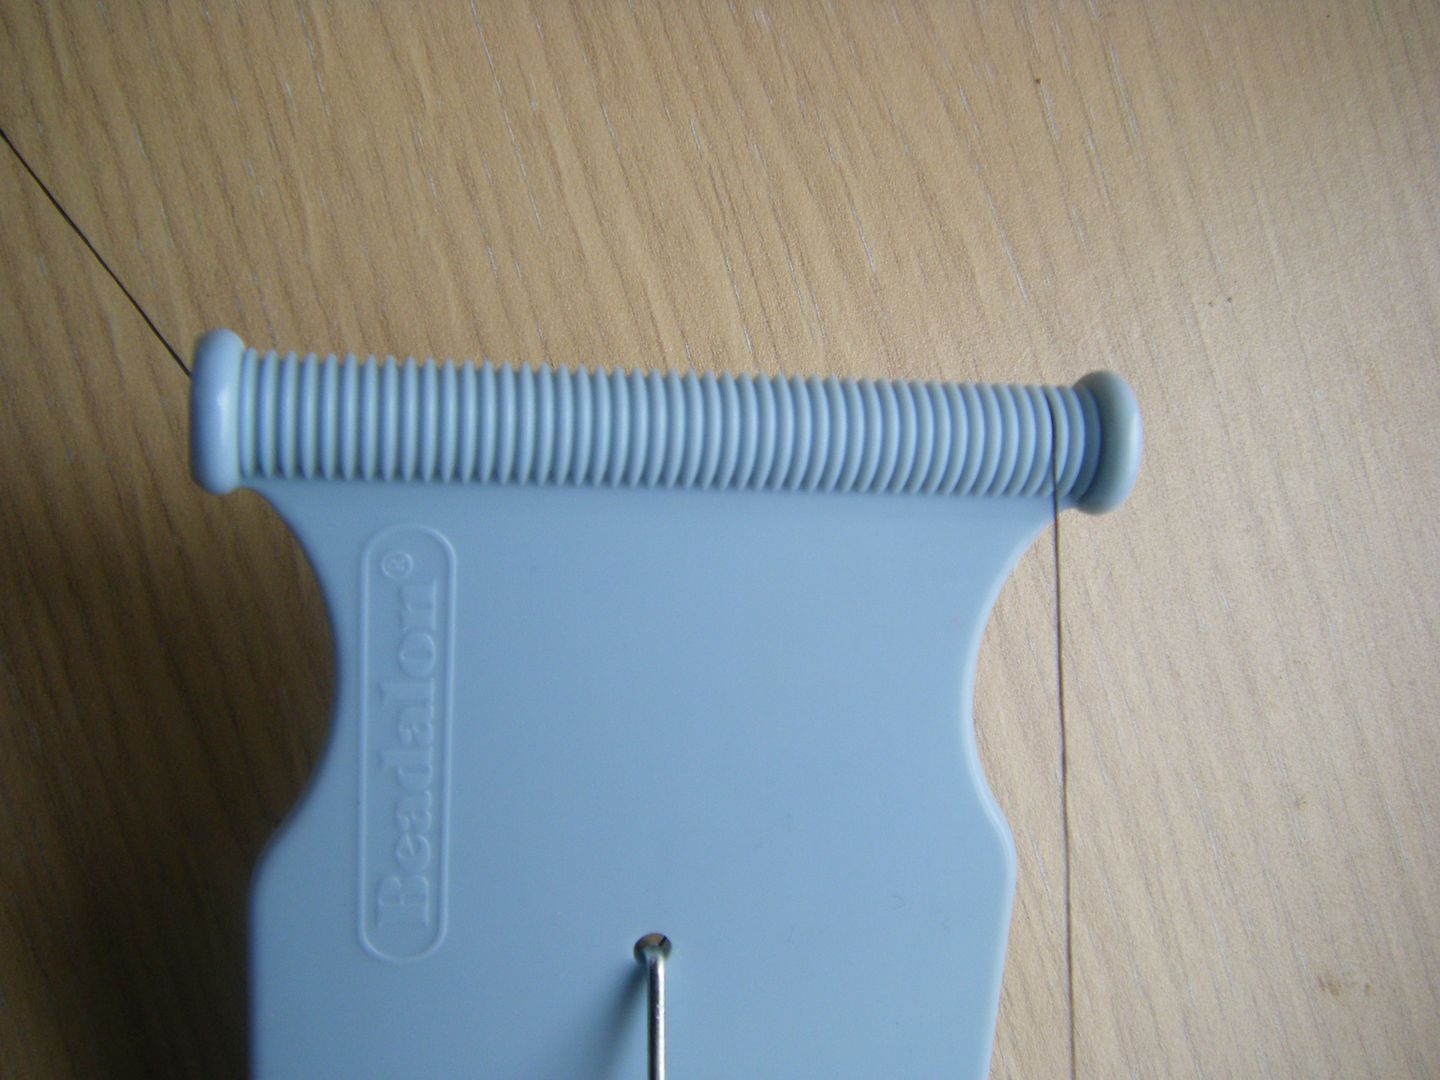
Pull it over the top and into one of the grooves. You can start anywhere you like but I'd recommend near the edge so you can reach it to work and so you can count the grooves correctly. Stretch the thread across and into the corresponding groove on the opposite side. Make sure it's in the correct groove or your warps will be wonky.
This shows that I've put the thread into the 3rd groove from the edge, I'll make sure it's the same at the other end.
Take the thread to the back and wind round the button, put it into the next groove along.
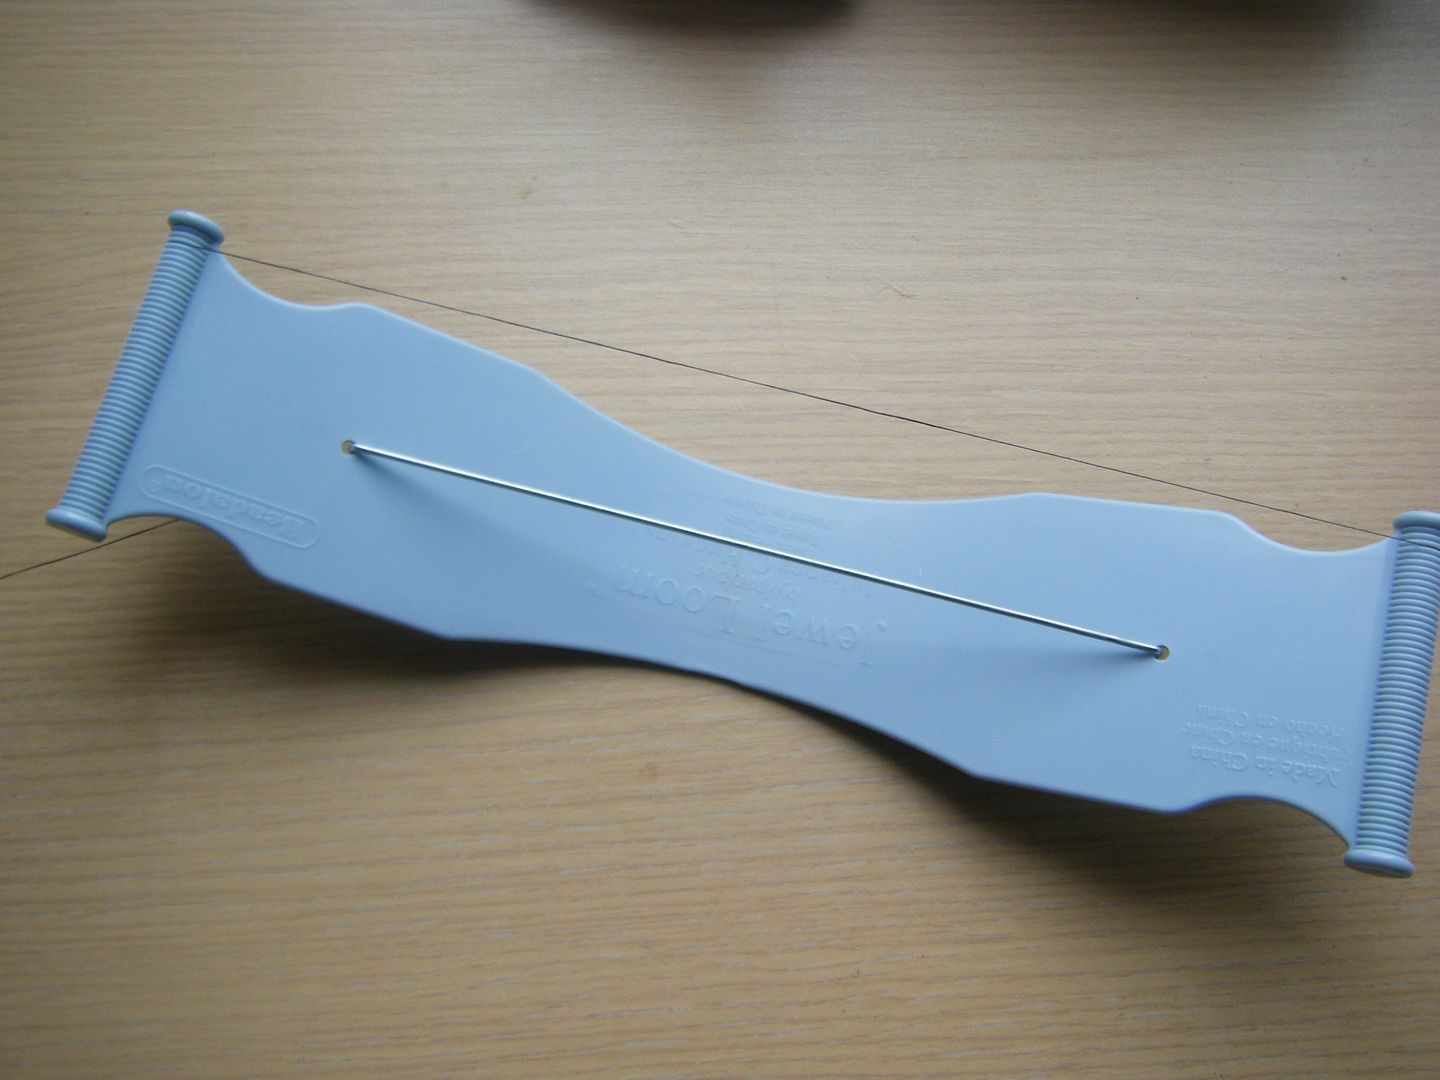
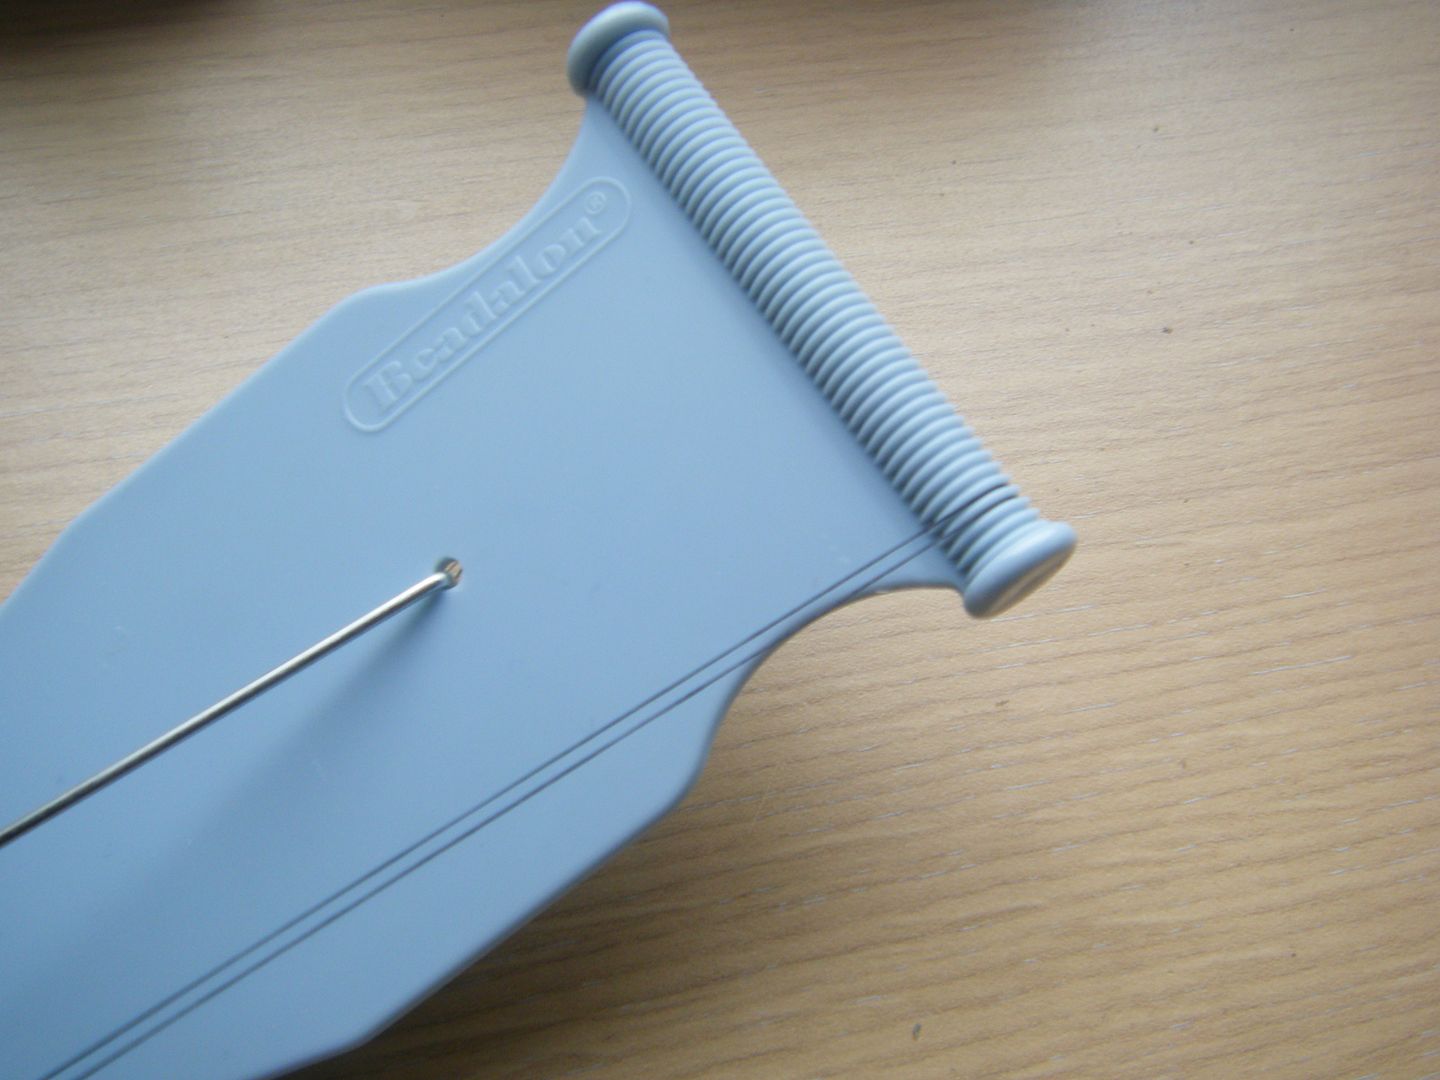
Take the thread the length of the loom, into the corresponding groove and round the back to the button. Repeat until you have enough warps. You need one more warp than the number of beads in a row. The patterns I learnt to weave on are 7 beads wide, so you need 8 warps.
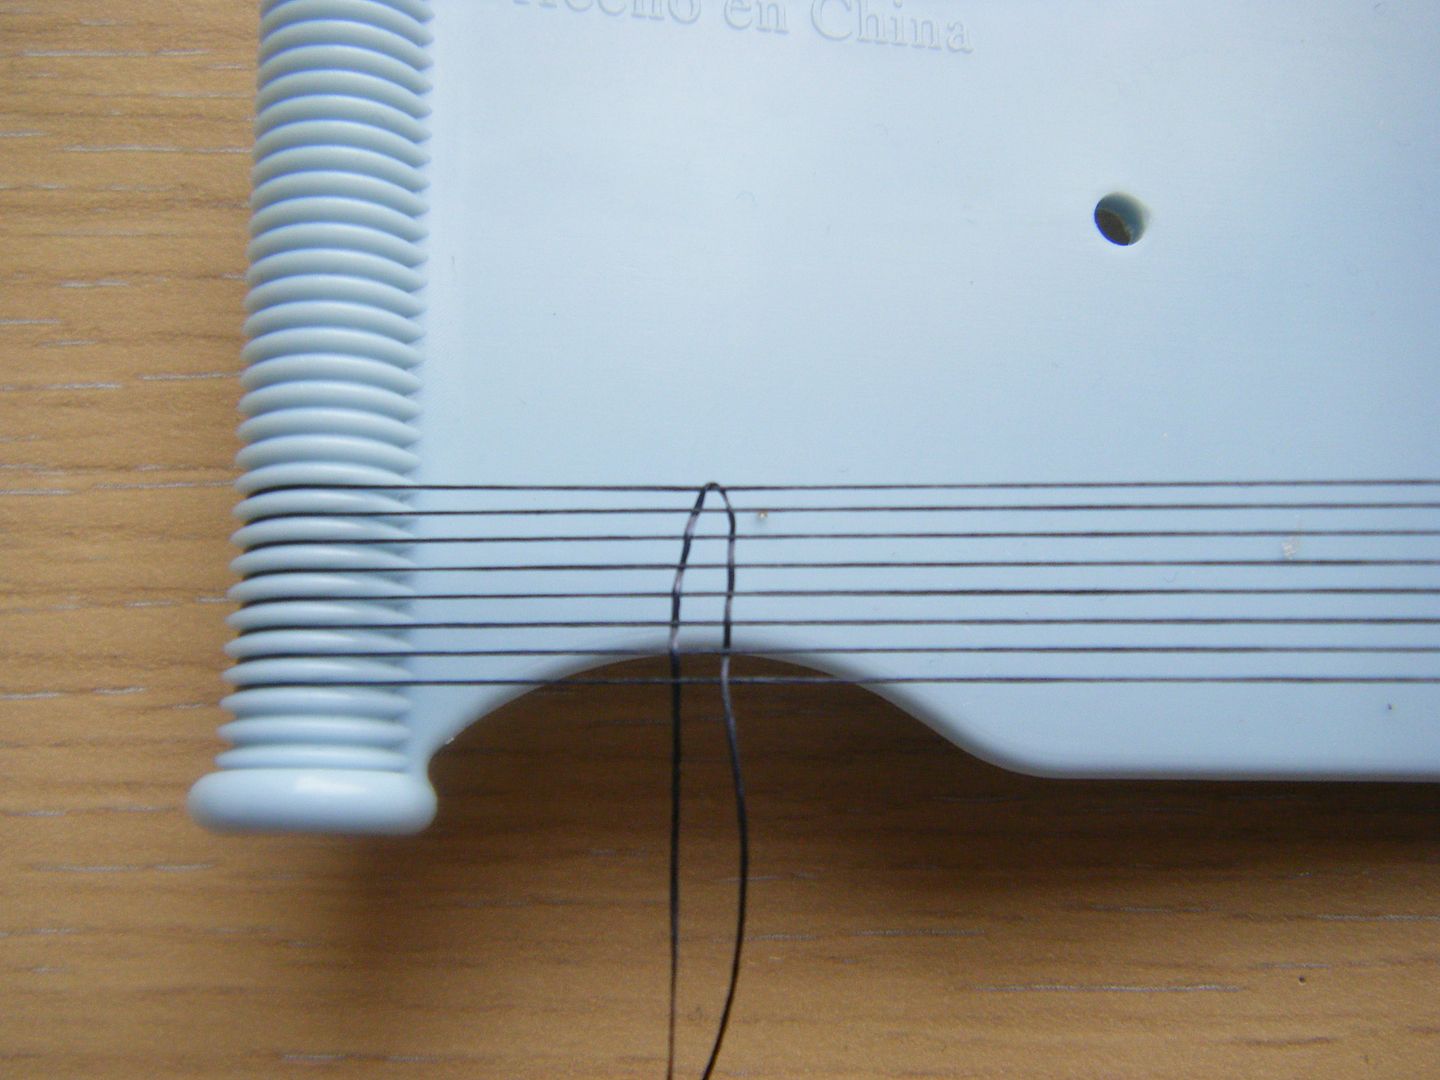
You can see here that I missed groove on the right hand side. I just moved the threads along using the tip of a pair of scissors.
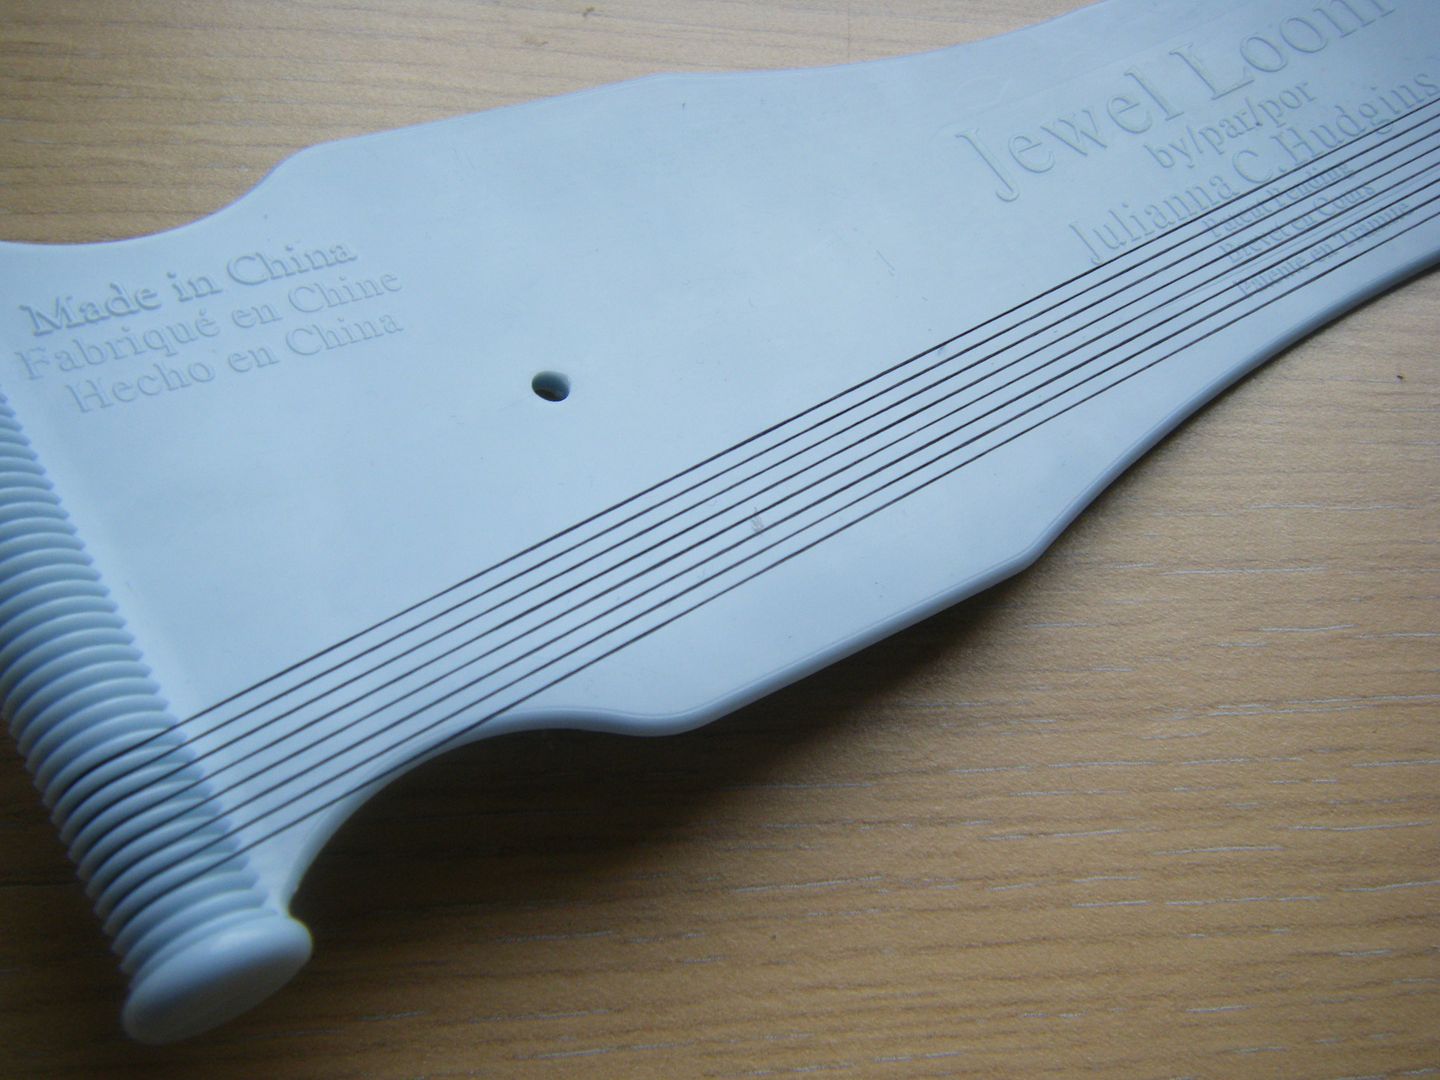
Here are my 8 warps all set up.
Take the thread round the back, tie around the button with a knot and cut the thread.
Now remove the metal brace. Hold one end of the loom against your chest or stomach and gently flex the opposite end to wiggle the metal brace out.
The loom relaxes back down, as far as it can go with the warps. This provides a high tension. On traditional looms it's hard to keep the tension taut enough and involves a lot of rejigging as you work. No need with this. And no, I'm not paid by Beadalon, I just think it's genius!
So now you're ready to weave. Cut a length of Nymo thread and thread it into a long beading needle - size 10 or 11 I believe. Leaving a tail of about 6" weave in and out of the threads away from you, and then back. This will keep the thread held until you've finished your beading.
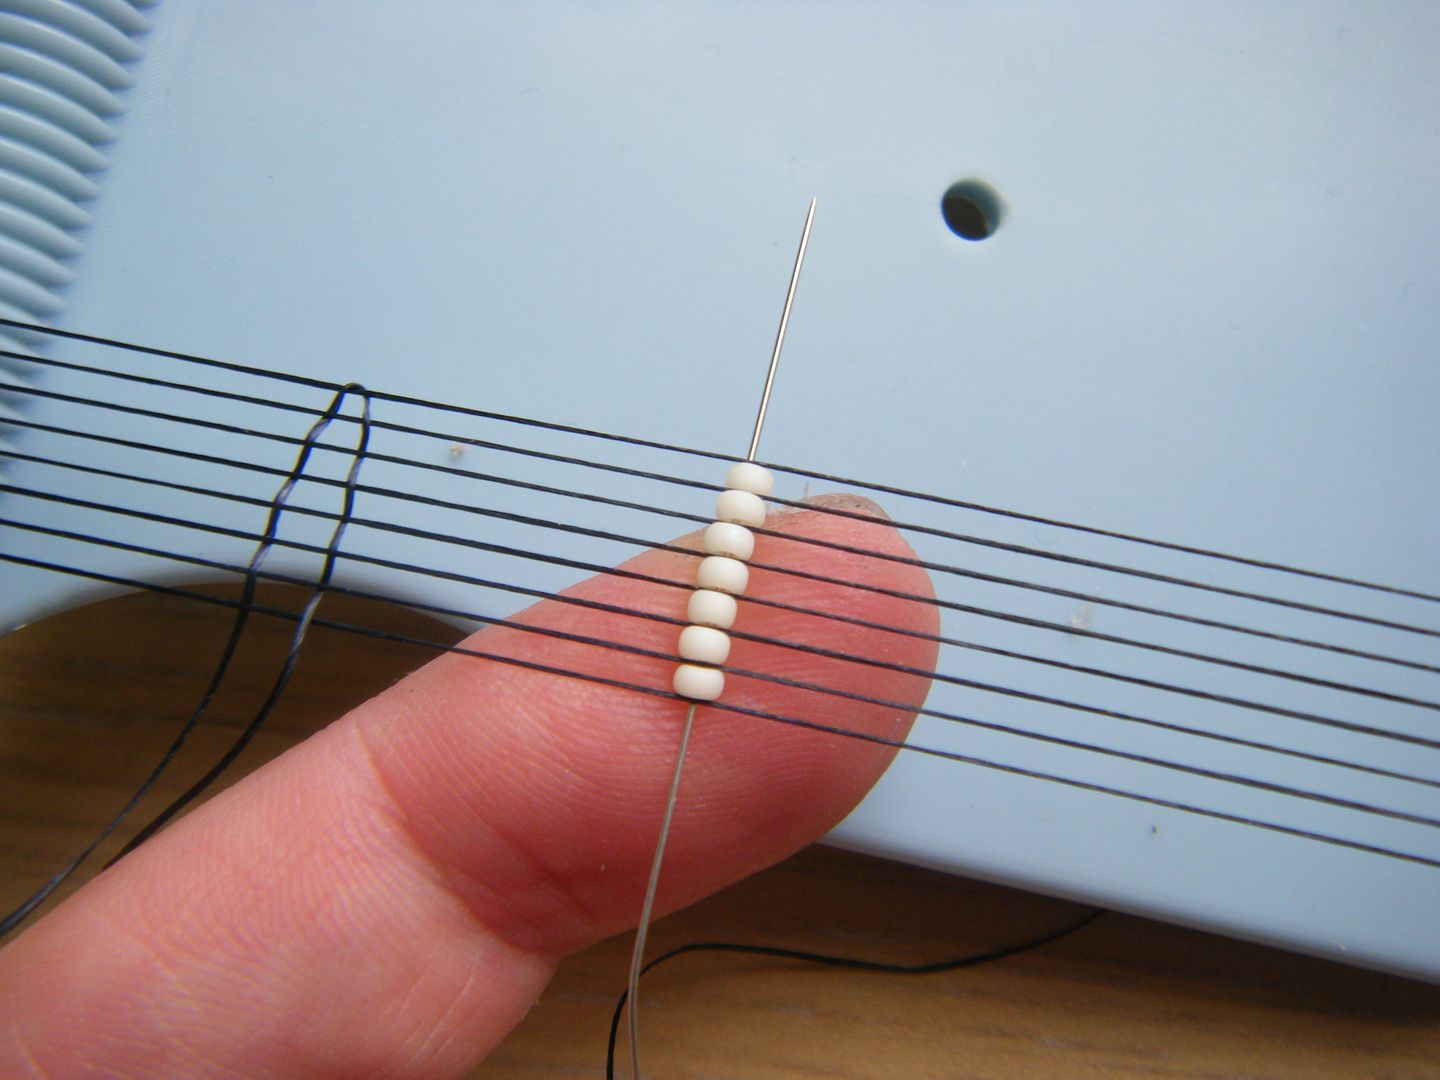
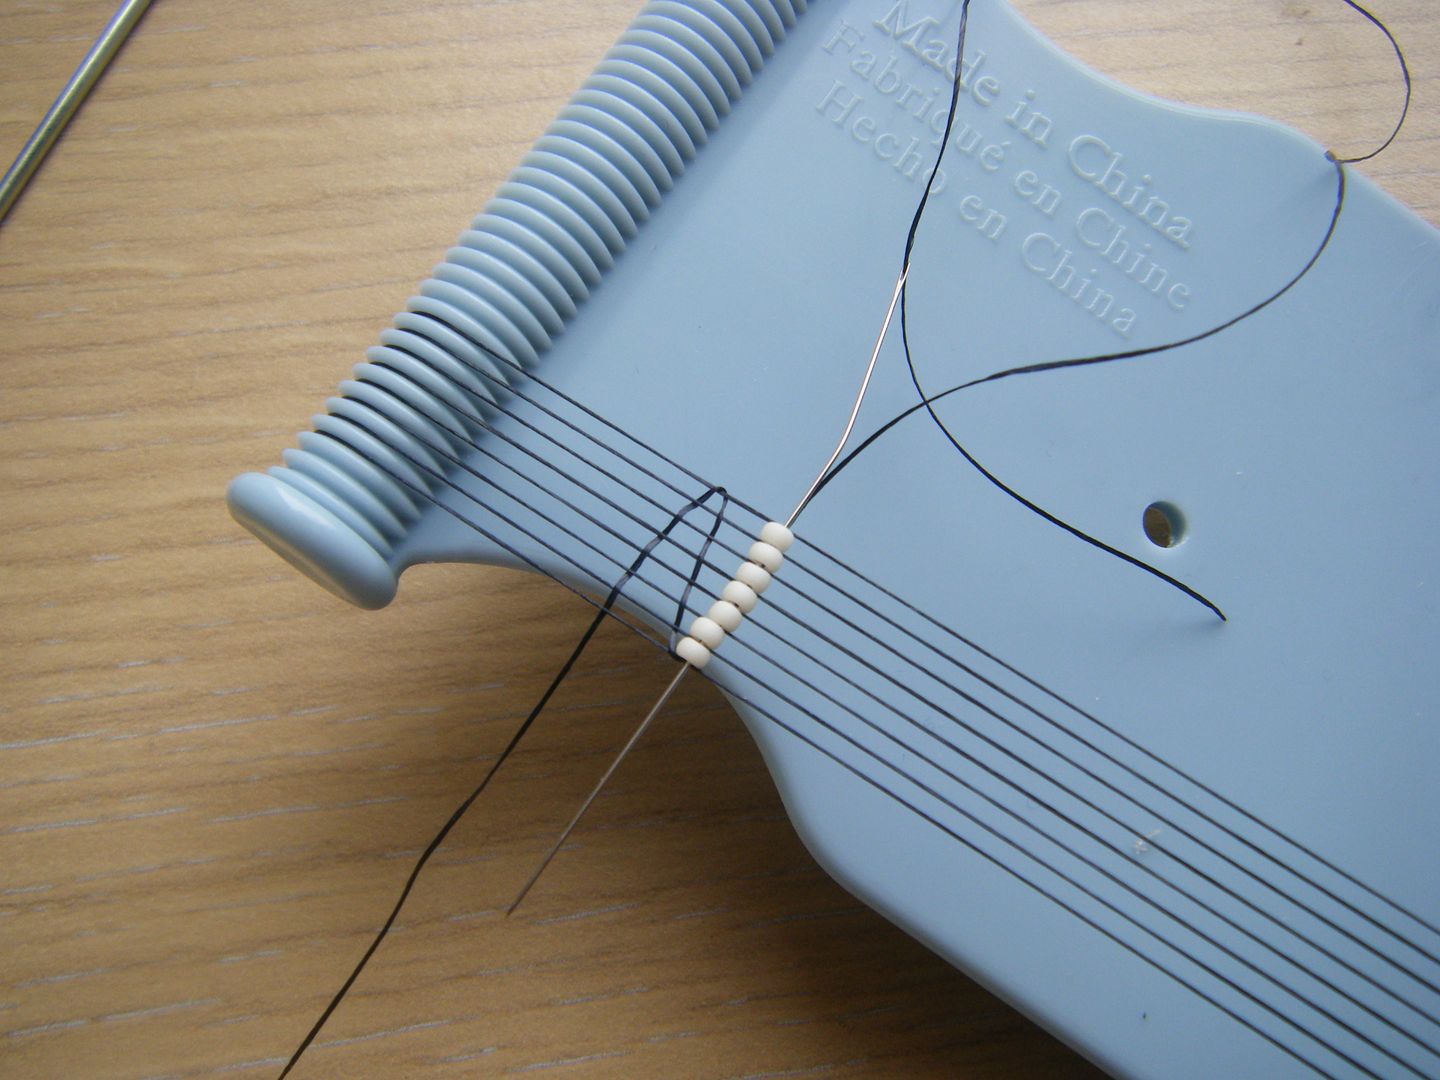
Following a chart (you could use cross stitch charts for this, anything where the chart is on a grid) put the first row of beads on your needle. Size 11 beads are the best size, you can use larger beads but will need to miss a groove each time when setting up the loom. I've put 7 beads on this needle. Put the needle underneath all the warps and press the beads up with your finger so a bead lies between each pair of warps. Keeping your finger in place, pull the needle through.
Now thread the needle back through the beads, making sure you are on top of the warp threads (if you miss one, the bead will drop a little lower, just sew back through it). Pull the needle through and you will have your first row of beads. Continue until your weaving is the correct length. Oh, I didn't take photos of removing it from the loom! You simply weave your remaining thread back through previous rows to secure it and flex the loom until the warps come off, cutting the thread at the back where you tied the original knot.
I haven't provided a chart here, but there are lots either free or for sale on the internet. You could start with my Pinterest board.
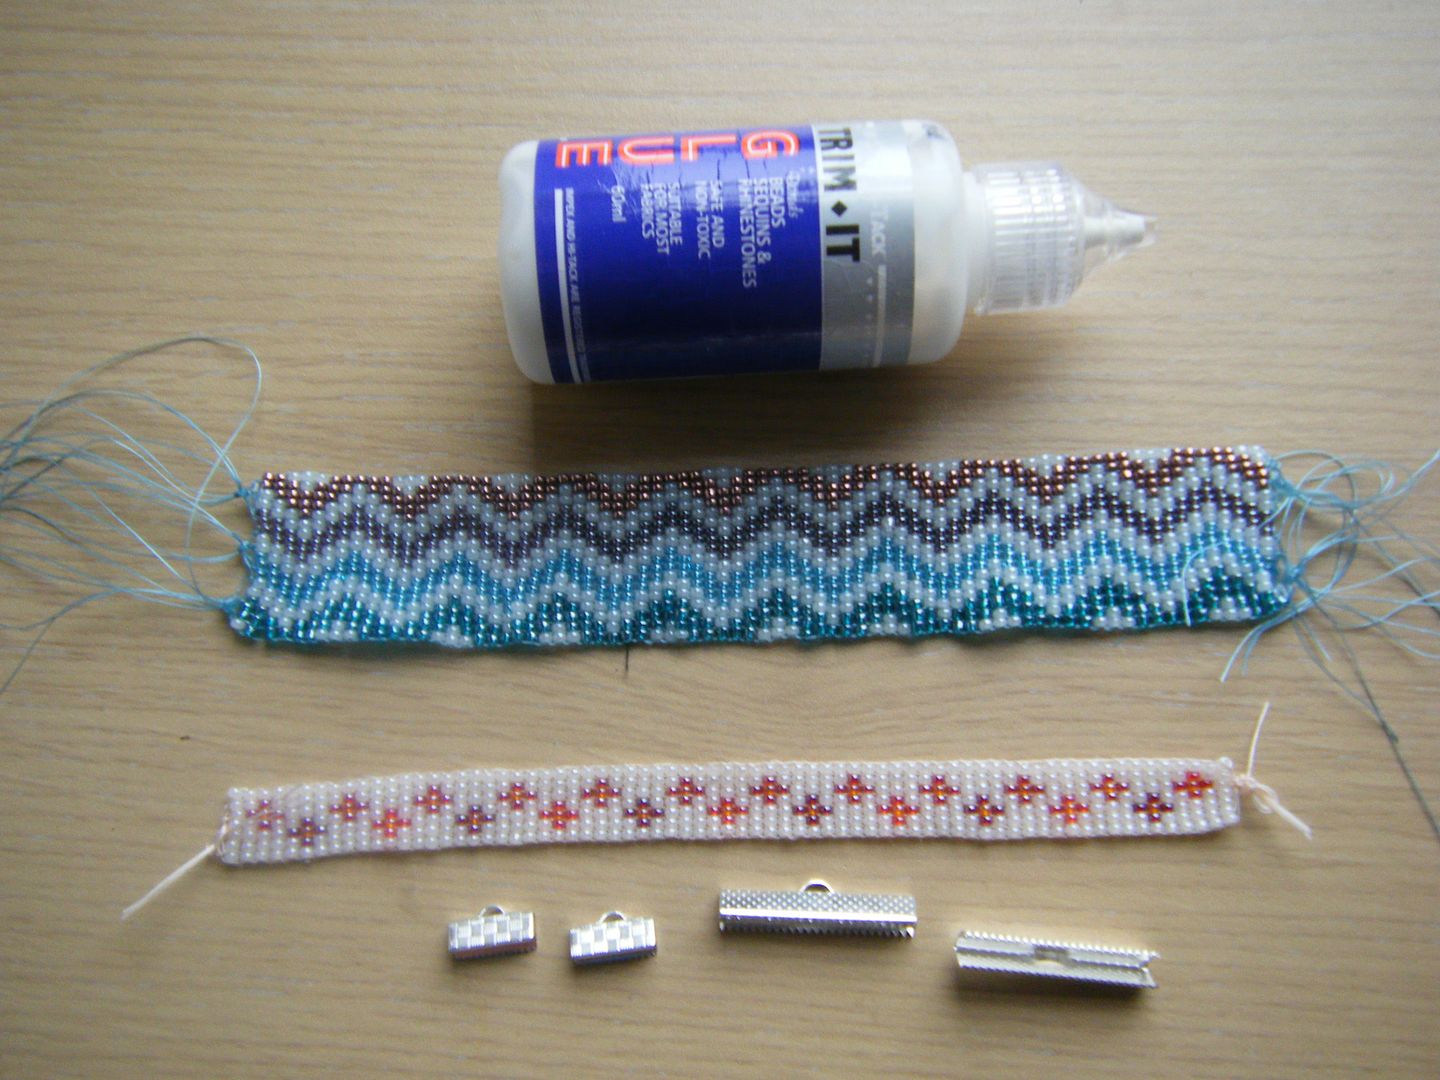
So, you've woven your bracelet, now what? How do you finish it off? You need some jewellery glue (strong, but flexible) and ribbon ends which I bought from Ebay. They come in different sizes so it's an idea to measure the width of your bracelet to get the right size. Or buy the ends and make sure your bracelet is the right width.
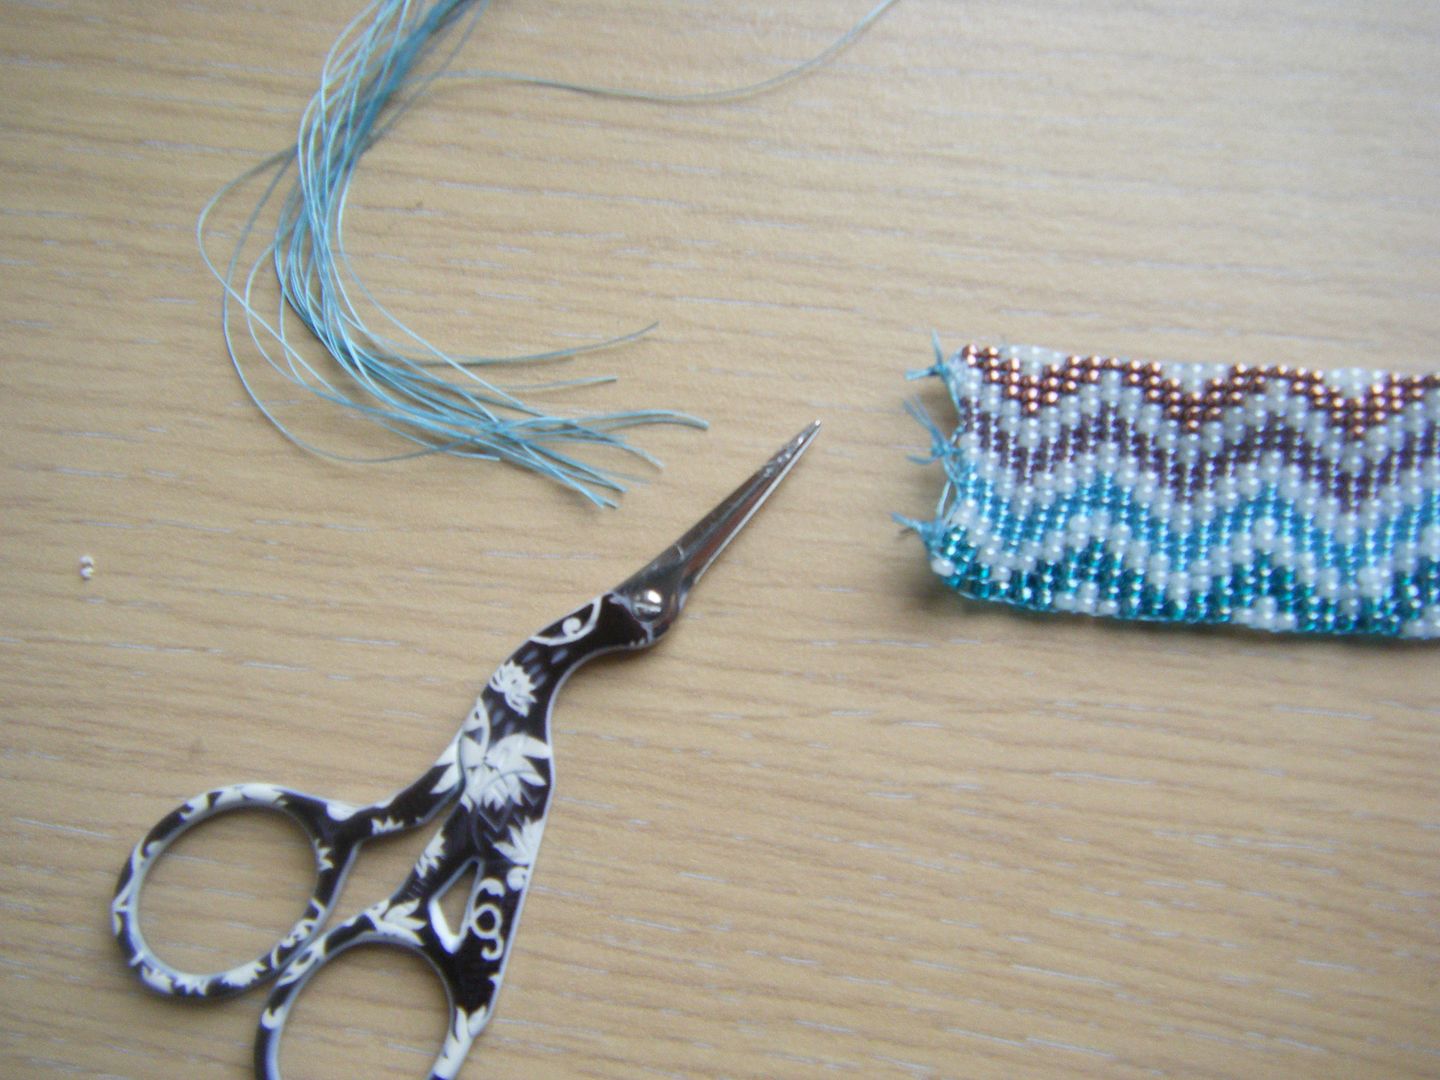
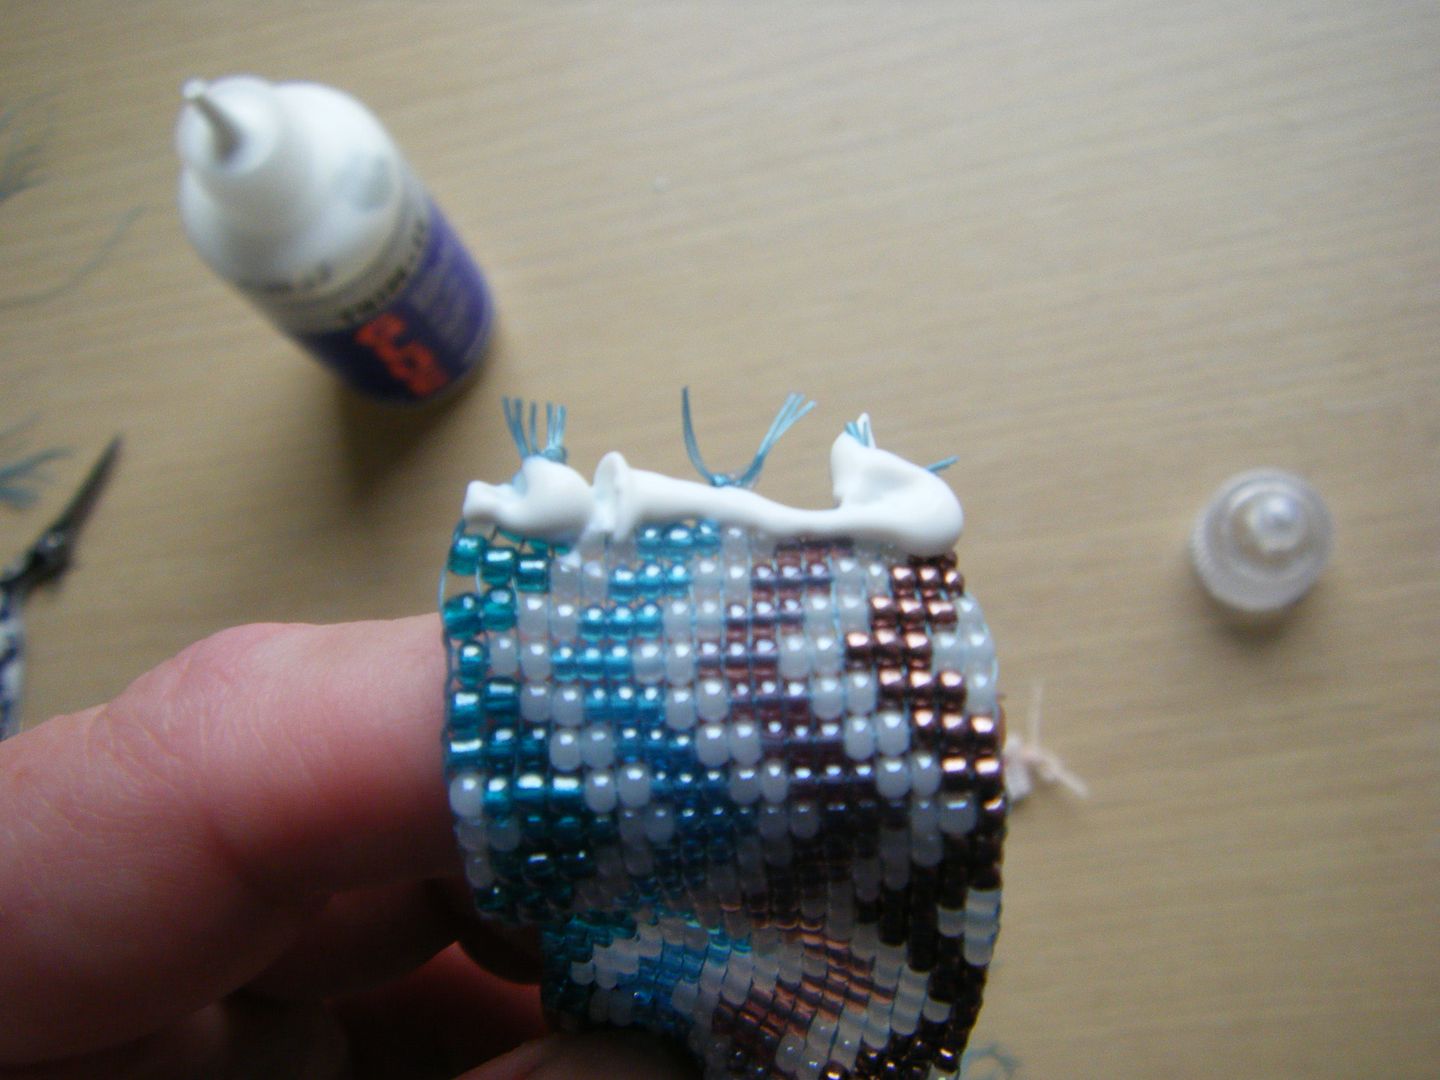
First, cut the warp threads where they looped round the button on the loom. Your bracelet will probably be a bit crinkled up as you've just relaxed the tension. Lay it on a flat surface and gently run your finger from left to right, pushing the beads along a little until they lie flat. Tie each side's threads in pairs, then in a reef knot tie them all. Put some glue on the knot and let dry.
Once dry you can cut the threads near the knots.
Put some glue on the top row of beads on both sides, front and back.
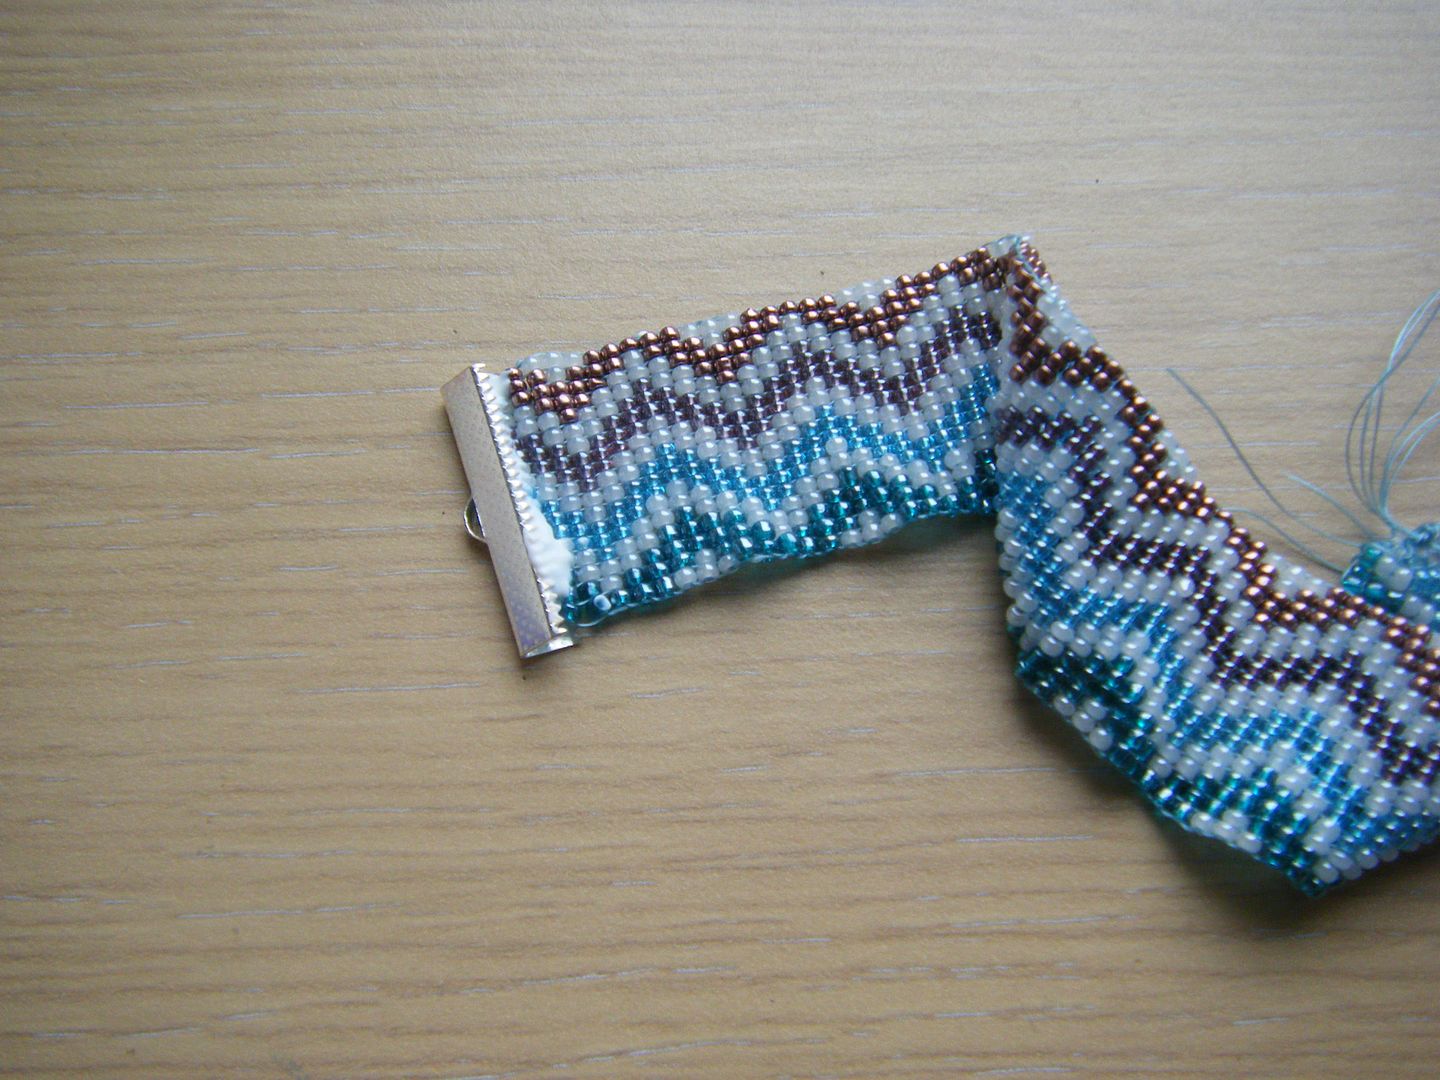
Put the ribbon end in place.
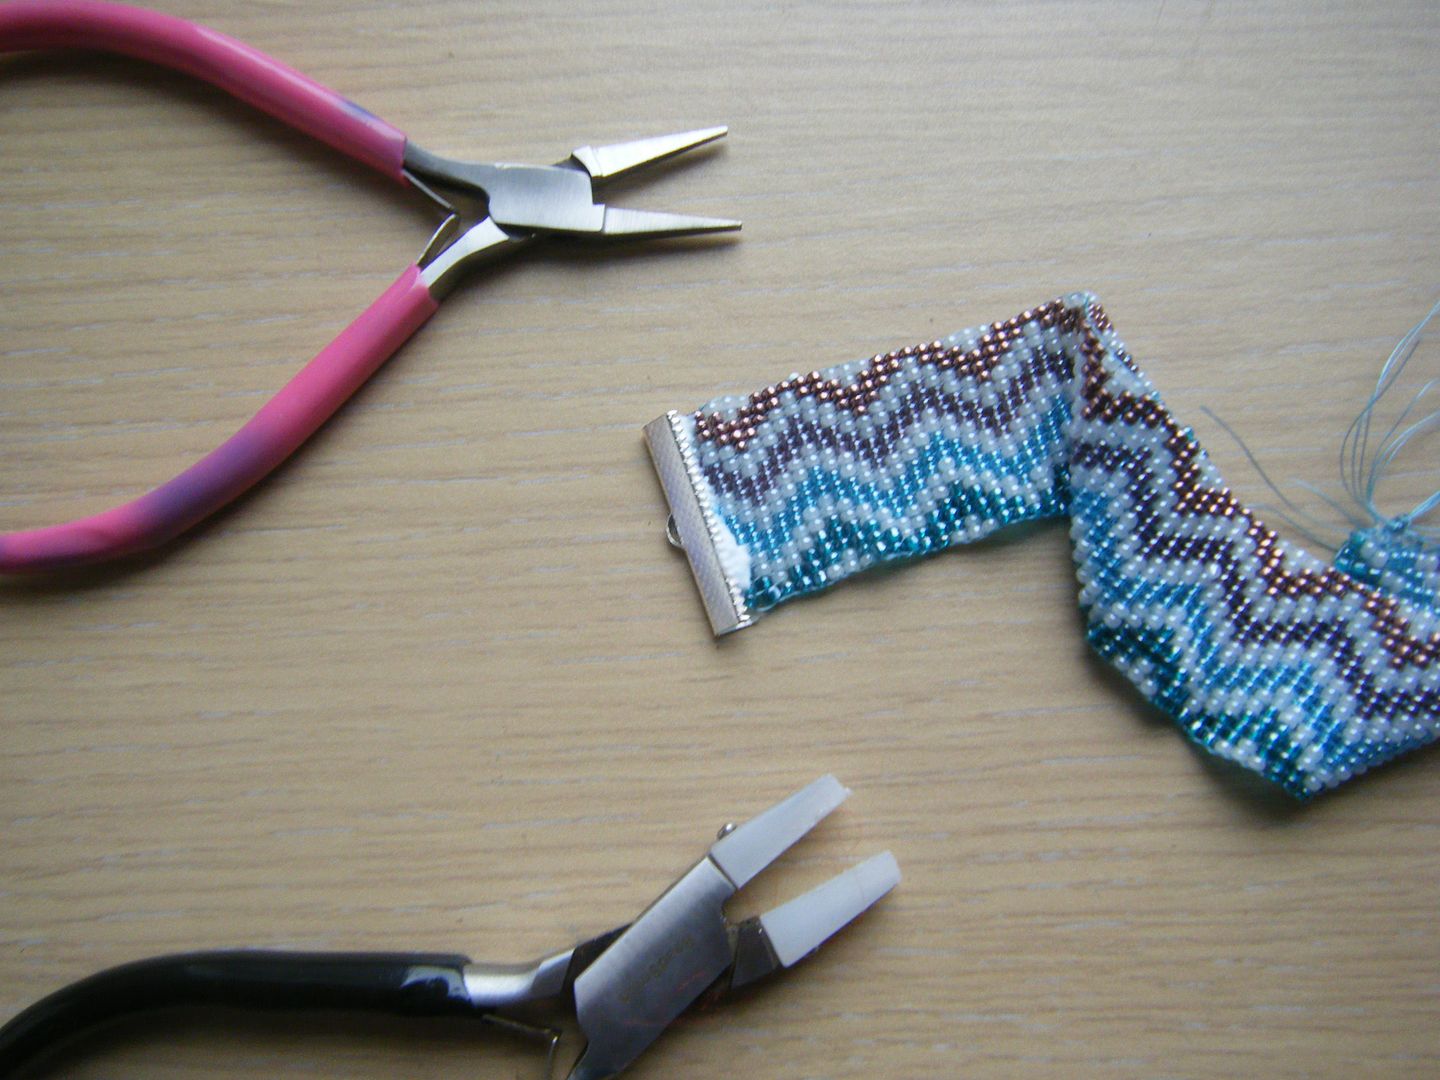
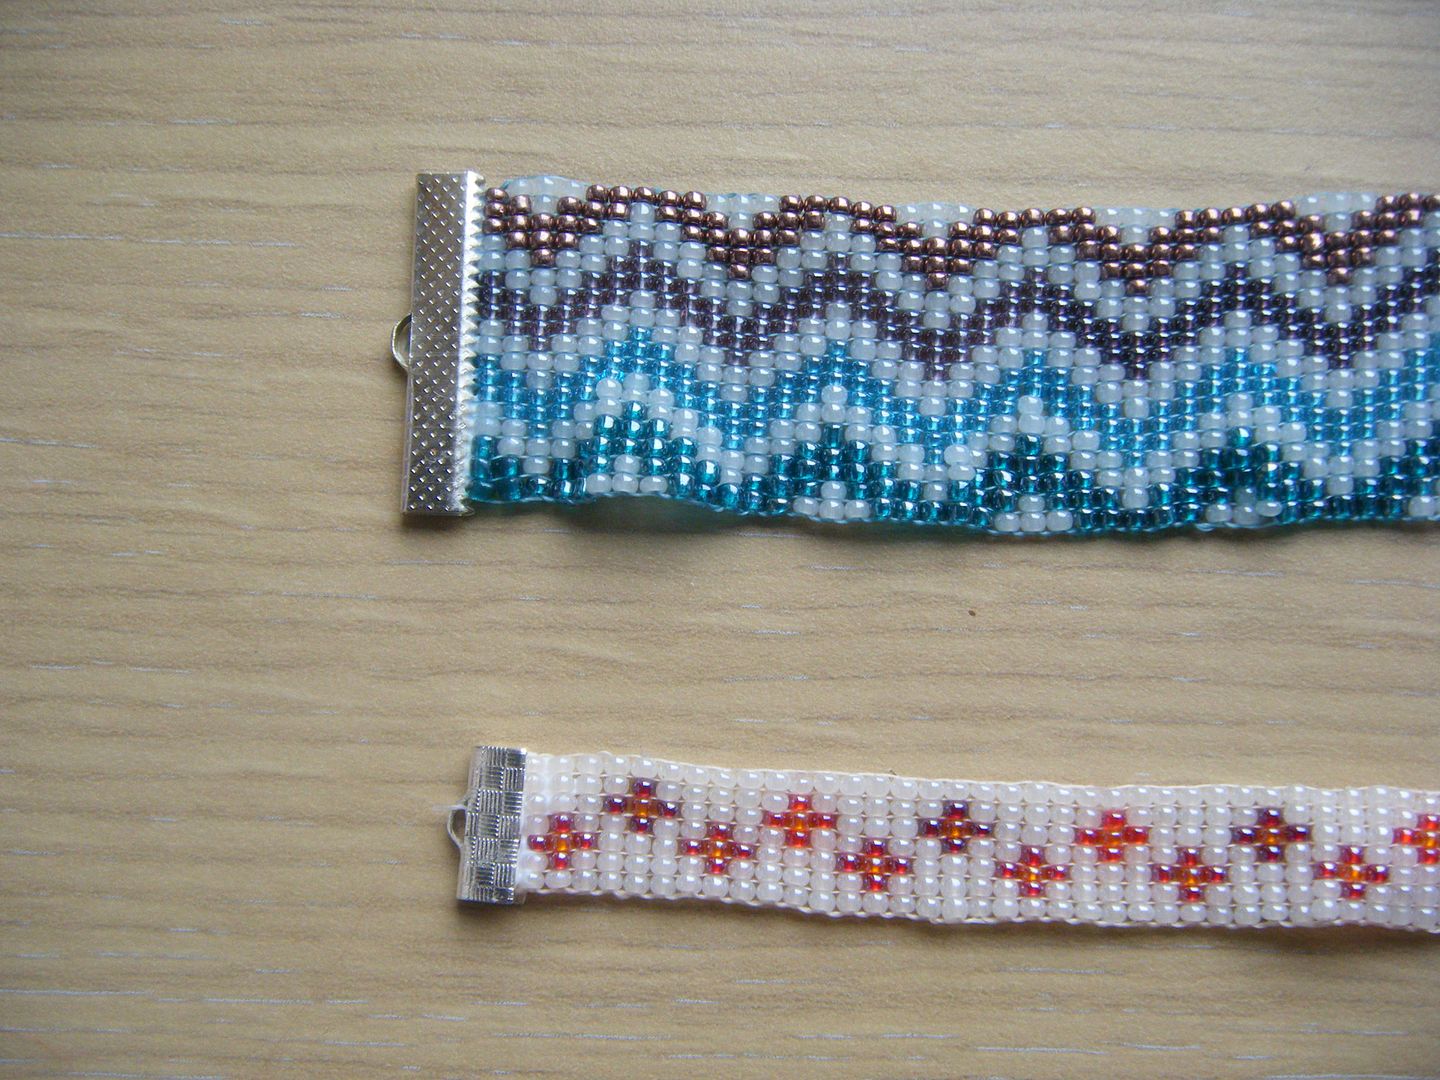
Use nylon-jawed pliers or flat nose pliers to squeeze the ribbon end shut. You will hear some of your beads cracking. Don't worry about it, the glue will hold them in place.
Add a jump ring to one end and a trigger clasp to the other and you can put your bracelet on. I can't show you that bit as my jewellery making supplies are still AWOL amongst the kitchen stuff.
Any questions?



7 comments:
I loved this tutorial. Finishing with the ends has always kept me from bead weaving. I have 2 looms, one is small and was custom made by someone in San Francisco. I was taking a bead class and one of the women said her husband would make us looms if we wanted so I jumped at the chance. The other one is super long, for big projects like guitar straps or hat bands but I've never used it.
Fascinating. I had no idea how this was done
Génial !
Bonne semaine !
Anna
another cool thing! you are so talented.
Hi Wendy, this is a very detailed instruction. I just want to offer further insight. Nymo is a 'stretchy' thread. The wavy or ripples, you refer, is none other then the Nymo being stretched very taut, while weaving. When released, your edges are wavy. You may notice how they won't even straighten when you run your finger over them. To keep good count of a wide column piece, you can mark every ten with a marker. Then, if you loose your place, you'll catch up faster. Also, consider a loom with 'warp tension control'. I have looms custom made, for the classes I teach. Finishing is something else I offer, in a whole different way. I hope you stay with this medium. I look forward to watching.
Wow. What a fun project. Thanks for the tutorial.
This is a great tutorial, your pictures and instructions are so detailed, something more bloggers need to do!
-Catherine
chroniclecat.blogspot.com
Post a Comment