Showing posts with label millefiori. Show all posts

Monday, 8 April 2013

extruding

I know my polymer clay posts aren't very popular, but even if no one reads, I'd like to have a record for myself.  Feel free to skip ladies, I don't mind.  BUT, before you do, please note this is #42. Extruding clay on the ginormous list.  I'd also like to thank you for your comments on my post on Saturday, it's nice to know you're not all going to hate me if I don't get back to your comments!  I hope I didn't come across as self-pitying, that wasn't my intention, I just wanted to explain.

I found the most amazing tutorial on The Crafty Network for using an extruder and I had to put it to the test.  If you play with clay at all, go and check it out.


You start by extruding the canes, here's what mine look like.  This was actually all one cane, but it looks different everywhere you slice it.  Layer them up on some scrap clay, roll over to neaten and smooth the edges, cover with cling film and cut out with a biscuit cutter and...


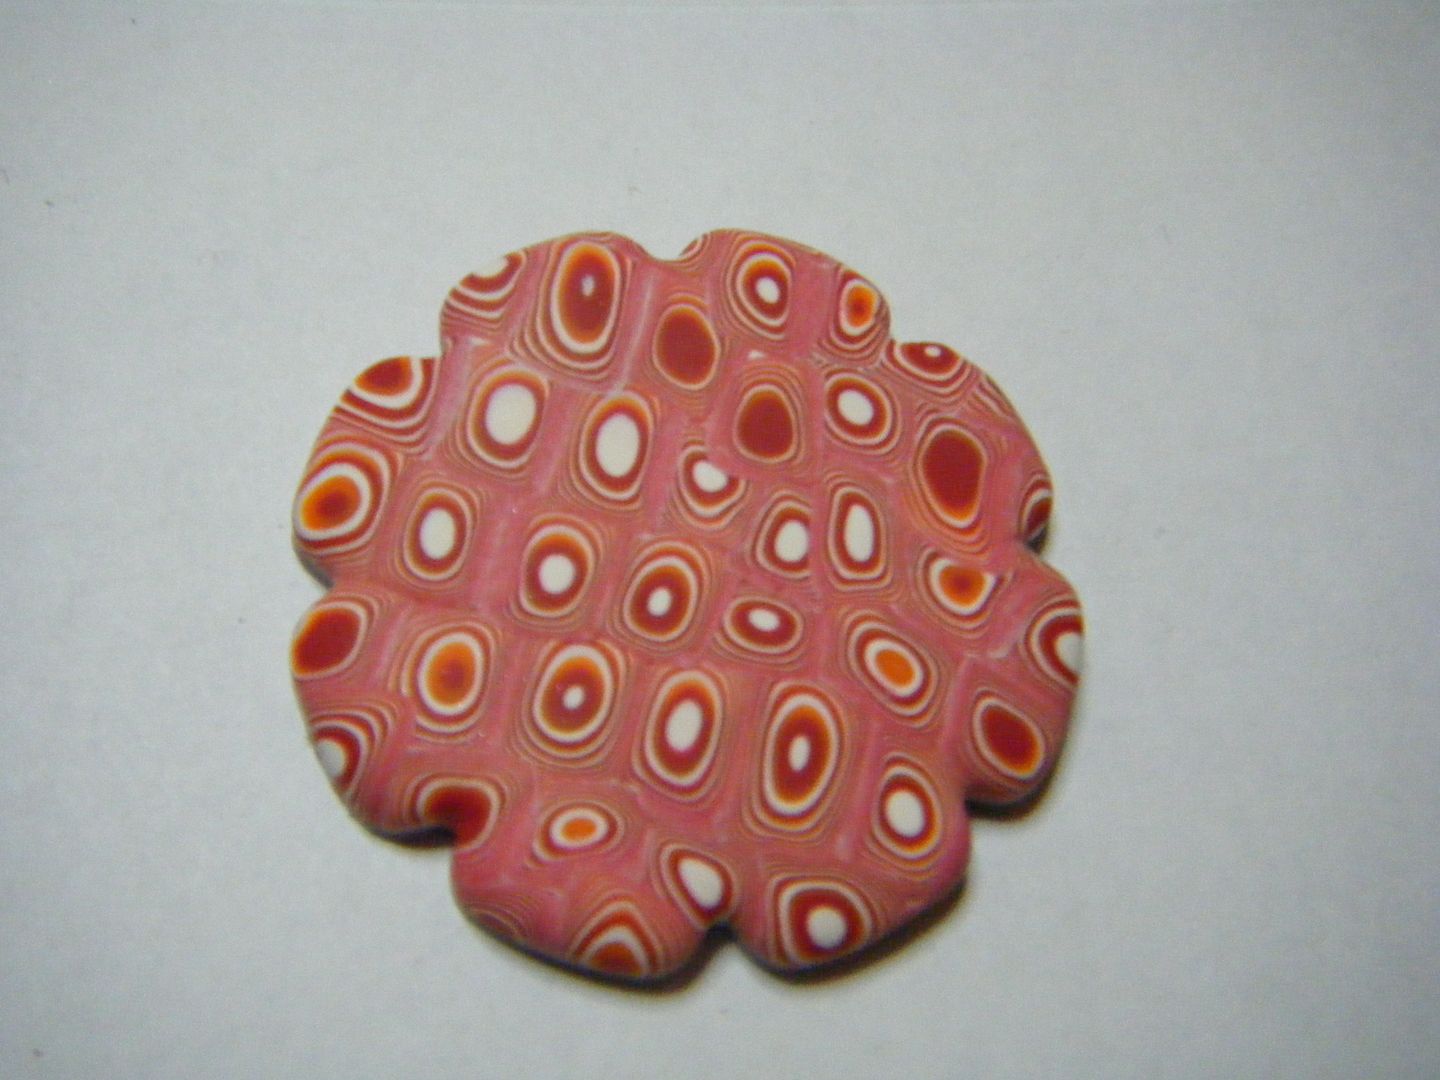
Ta-dah!  How amazing is that! (if I do say so myself...).  This one was made with just red, orange and white.  It was time for a rainbow.


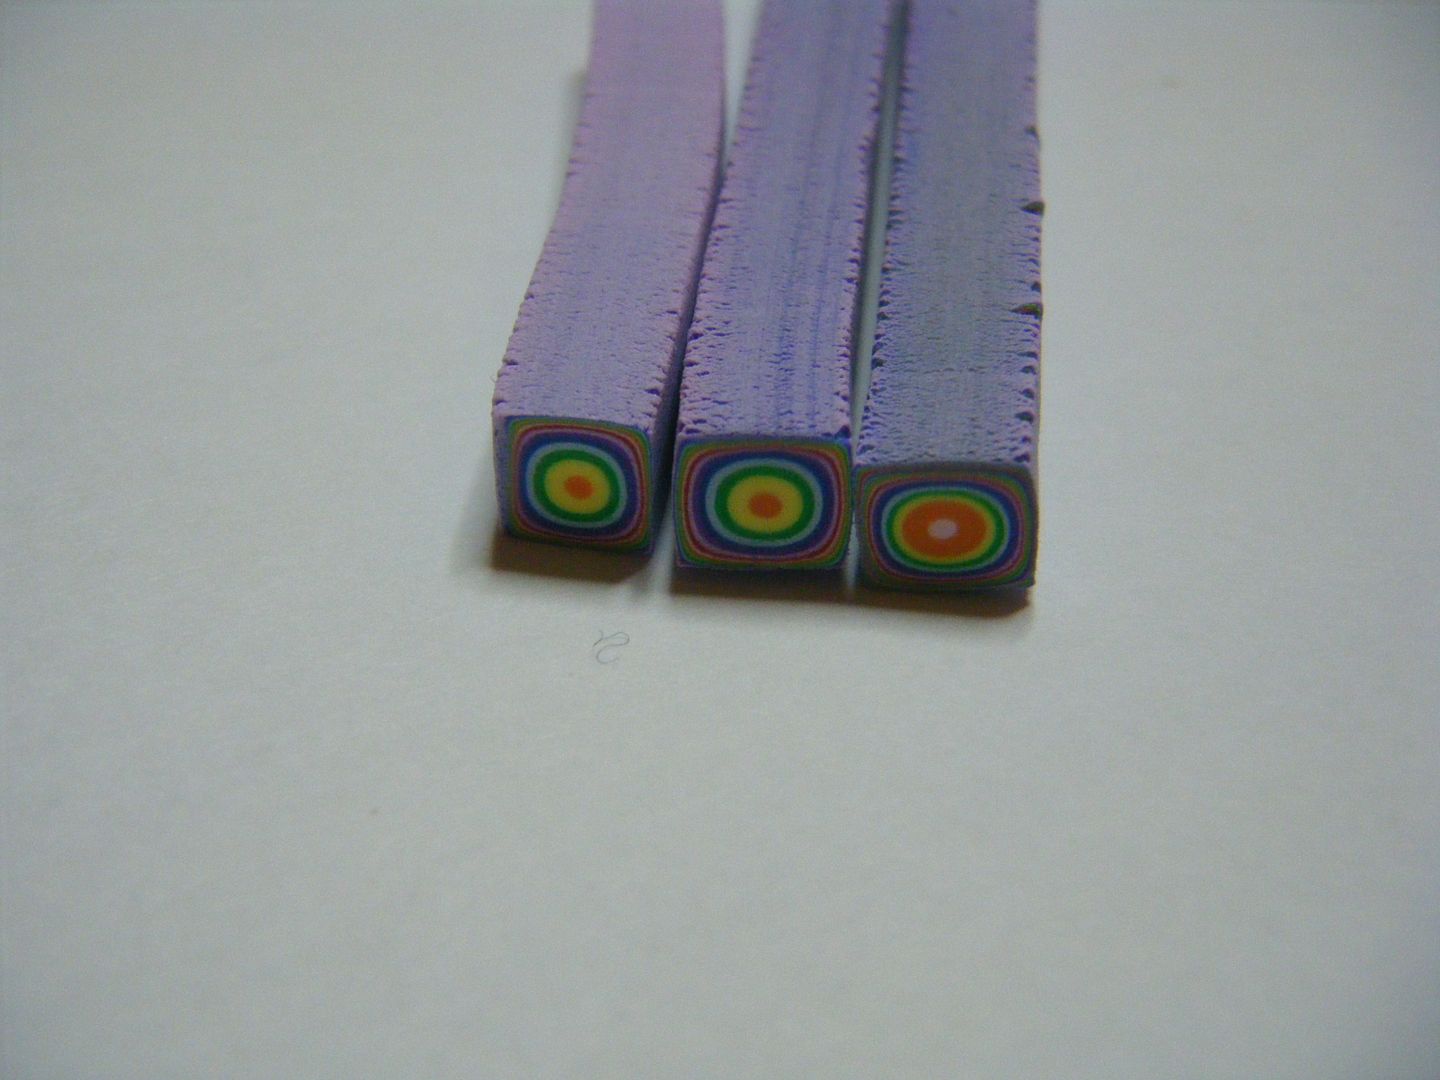
Here are my rainbow canes, looks like the two on the left show the ends of the cane where I cut it, so no difference there, but look at the differences you get!


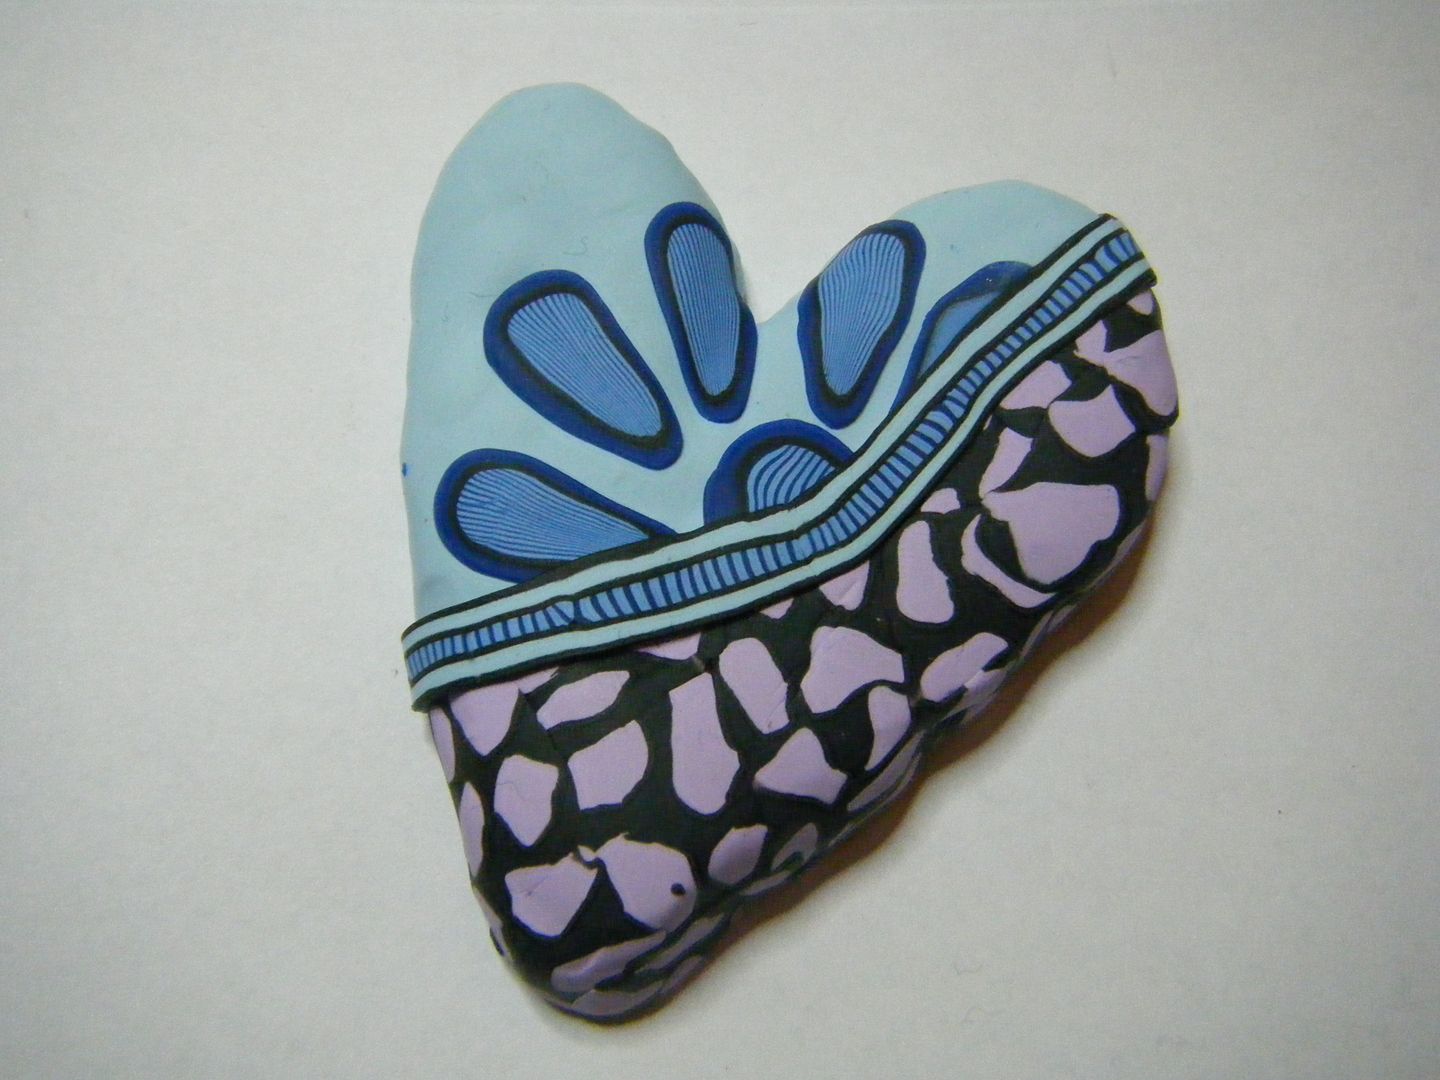
This time I squidged some clay into one of my moulds (made by casting a glass heart necklace I have but didn't make), then added the slices.  The effect is not quite so good... I've since bought some heart shaped cutters.


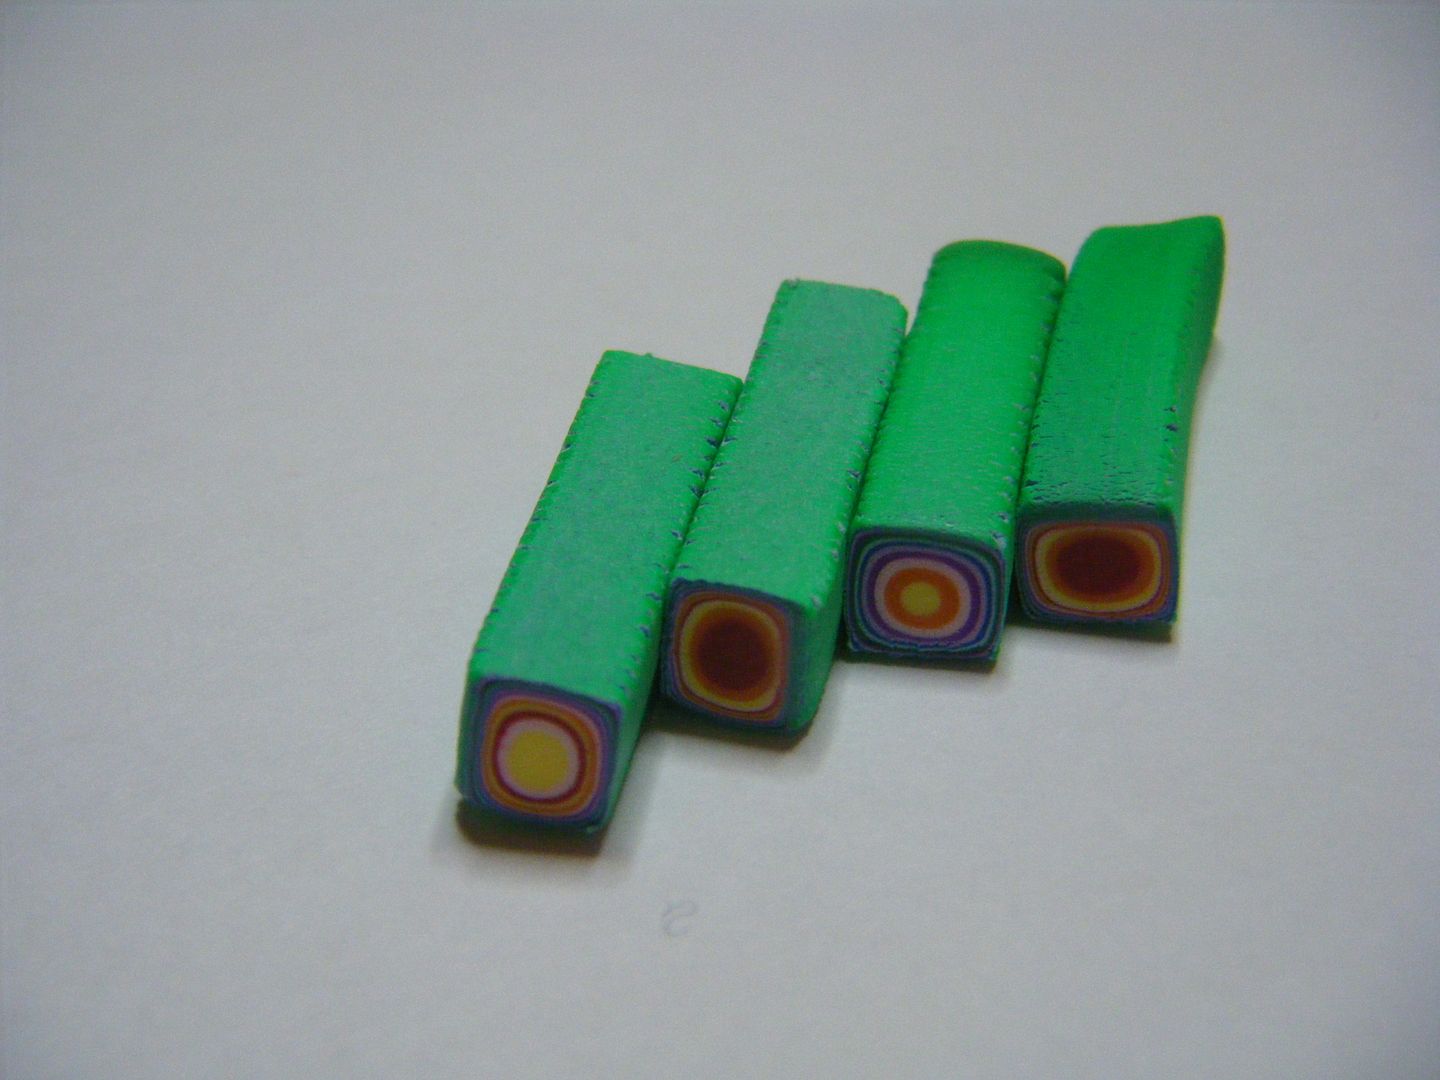
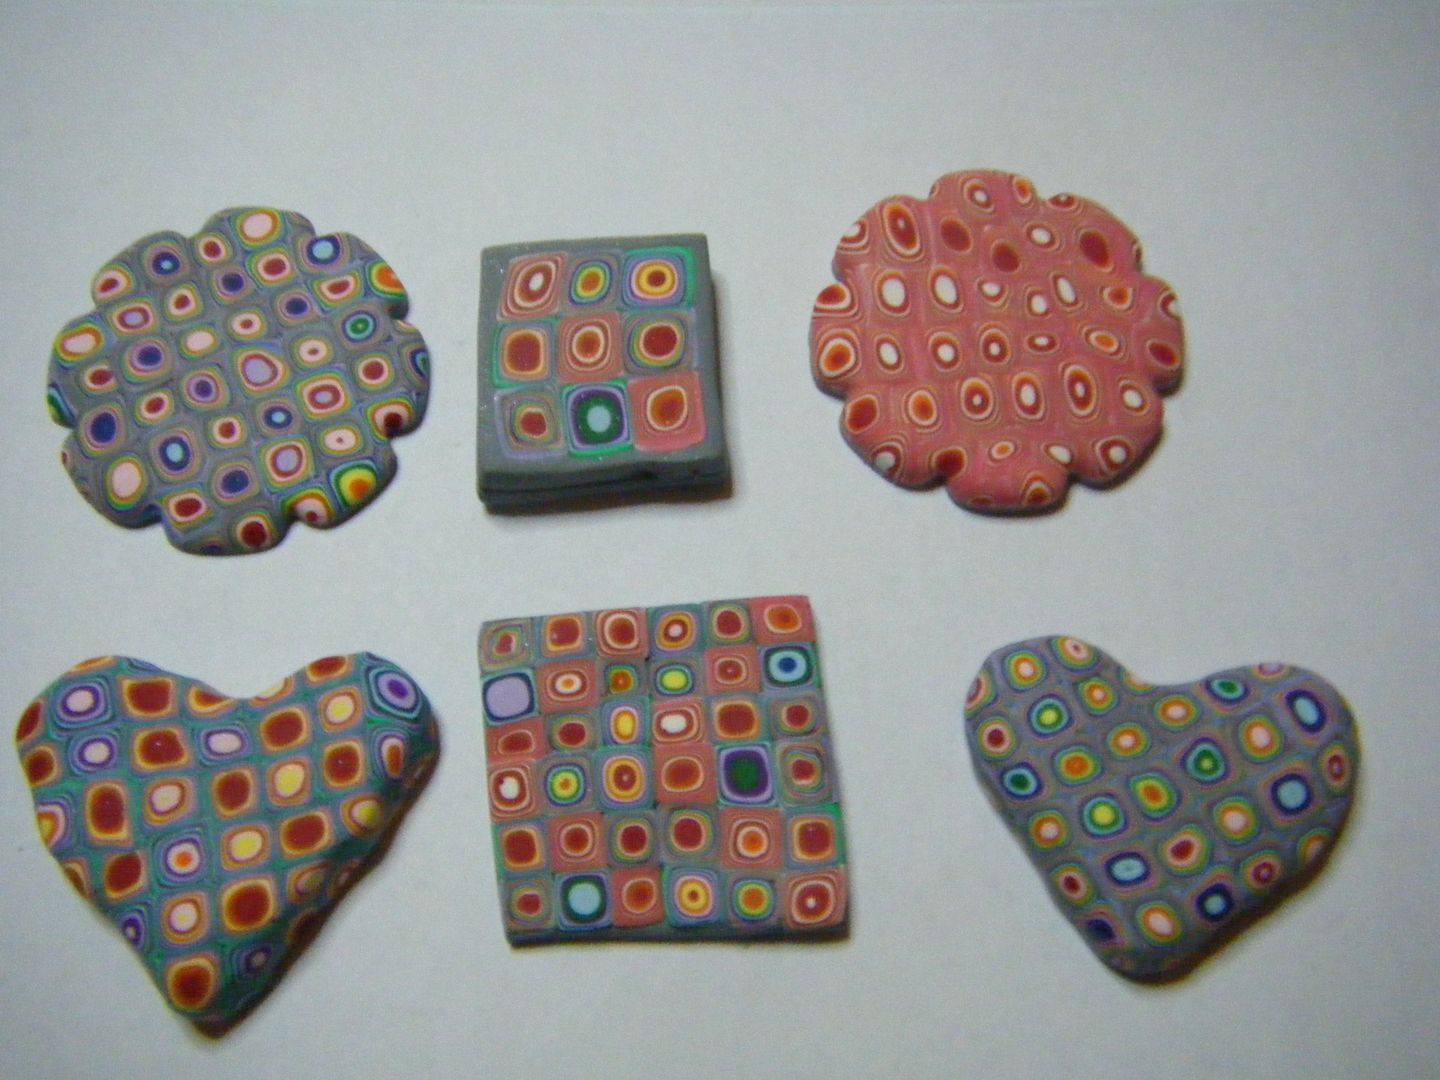
I'd only used half the rainbow of clay colours I'd conditioned and rolled, so I put them together again, this time in chunks of three colours.


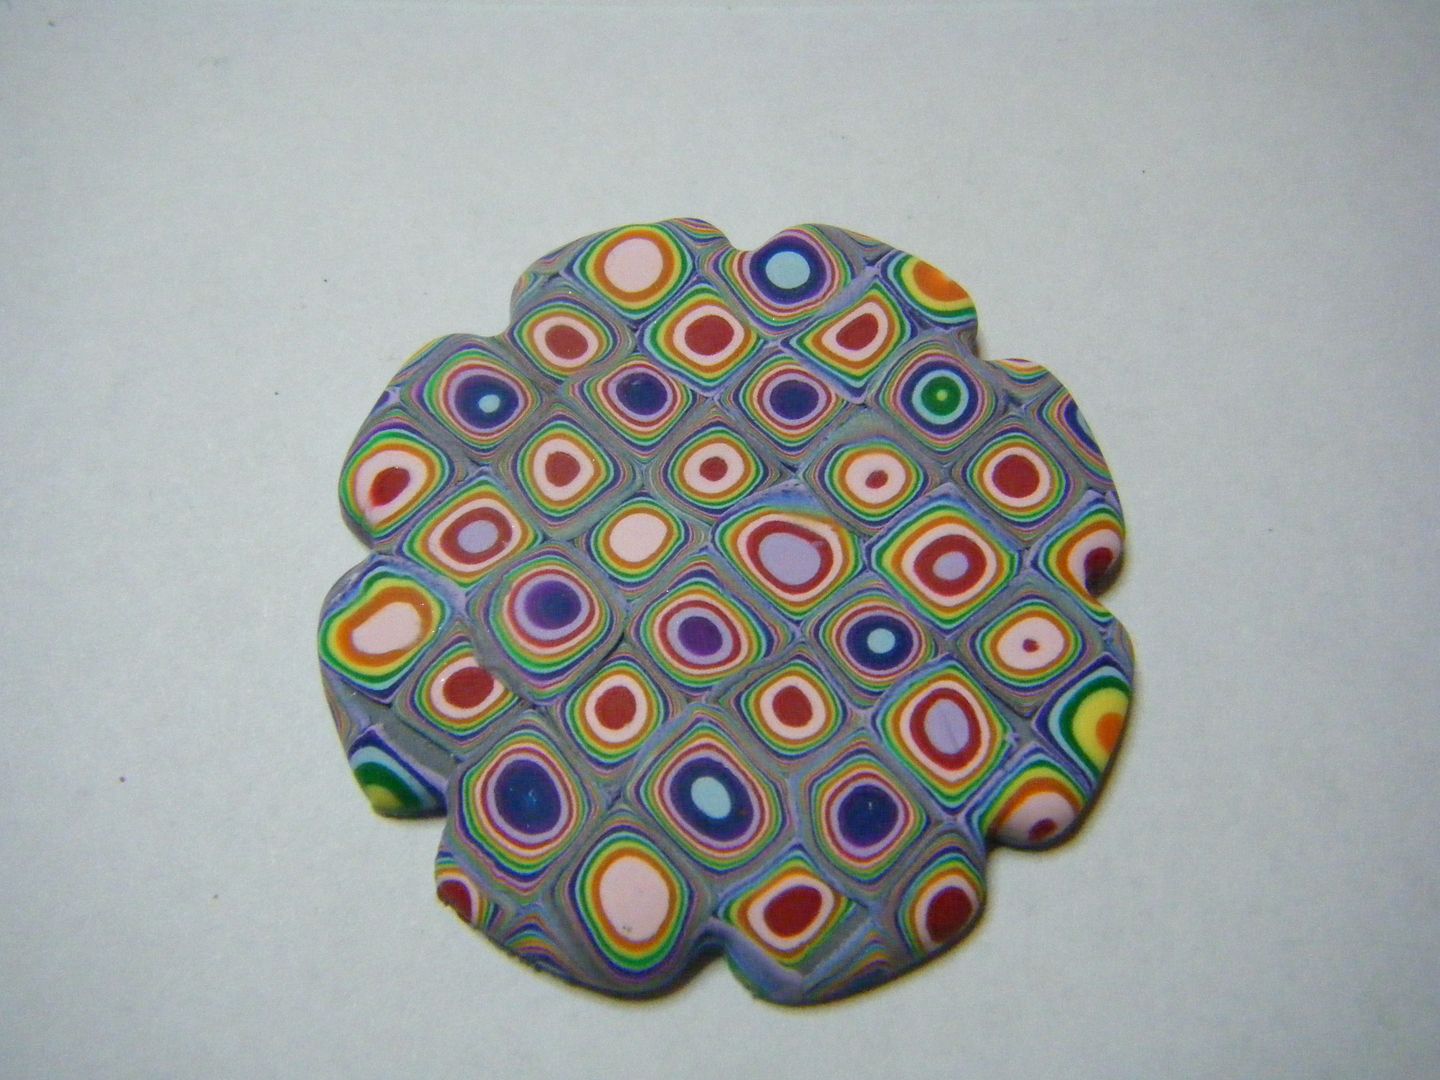
I made another flower shape.  These were destined to become brooches, and no, they're not on my procrastinating pile, I've actually glued the brooch backs on already! 


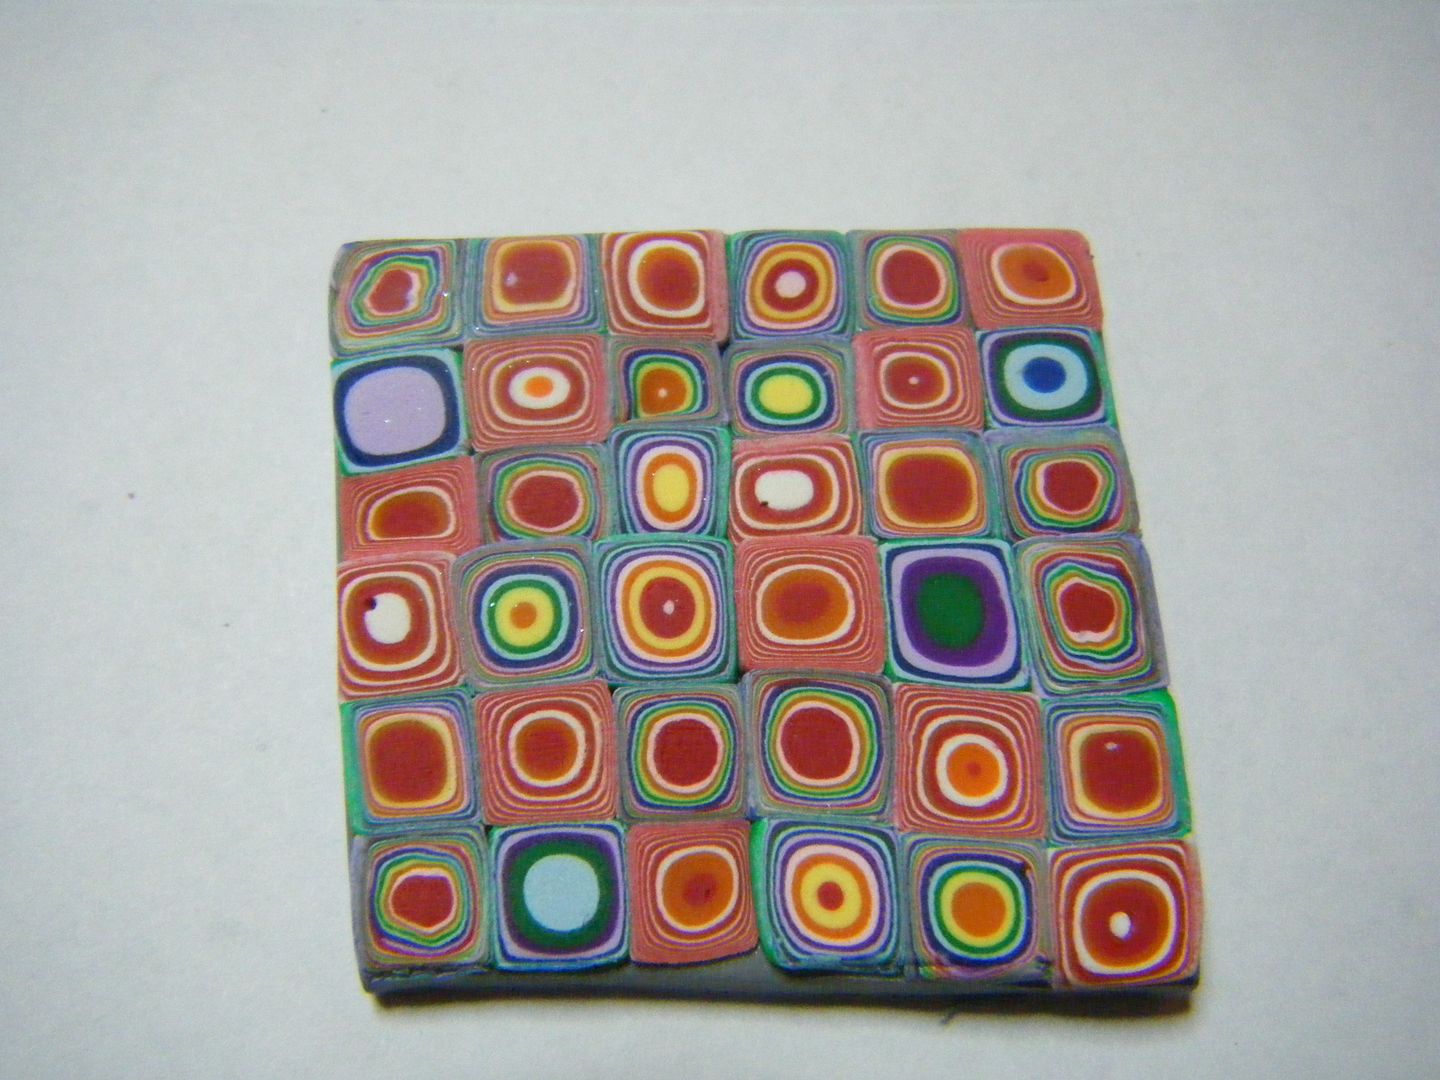
A not-quite square one. There's a name for this shape... is it a parallelogram?  You can see I've used bits of all three sets of canes in this one, and I didn't smooth down much so it has a "stepped" texture on the front.


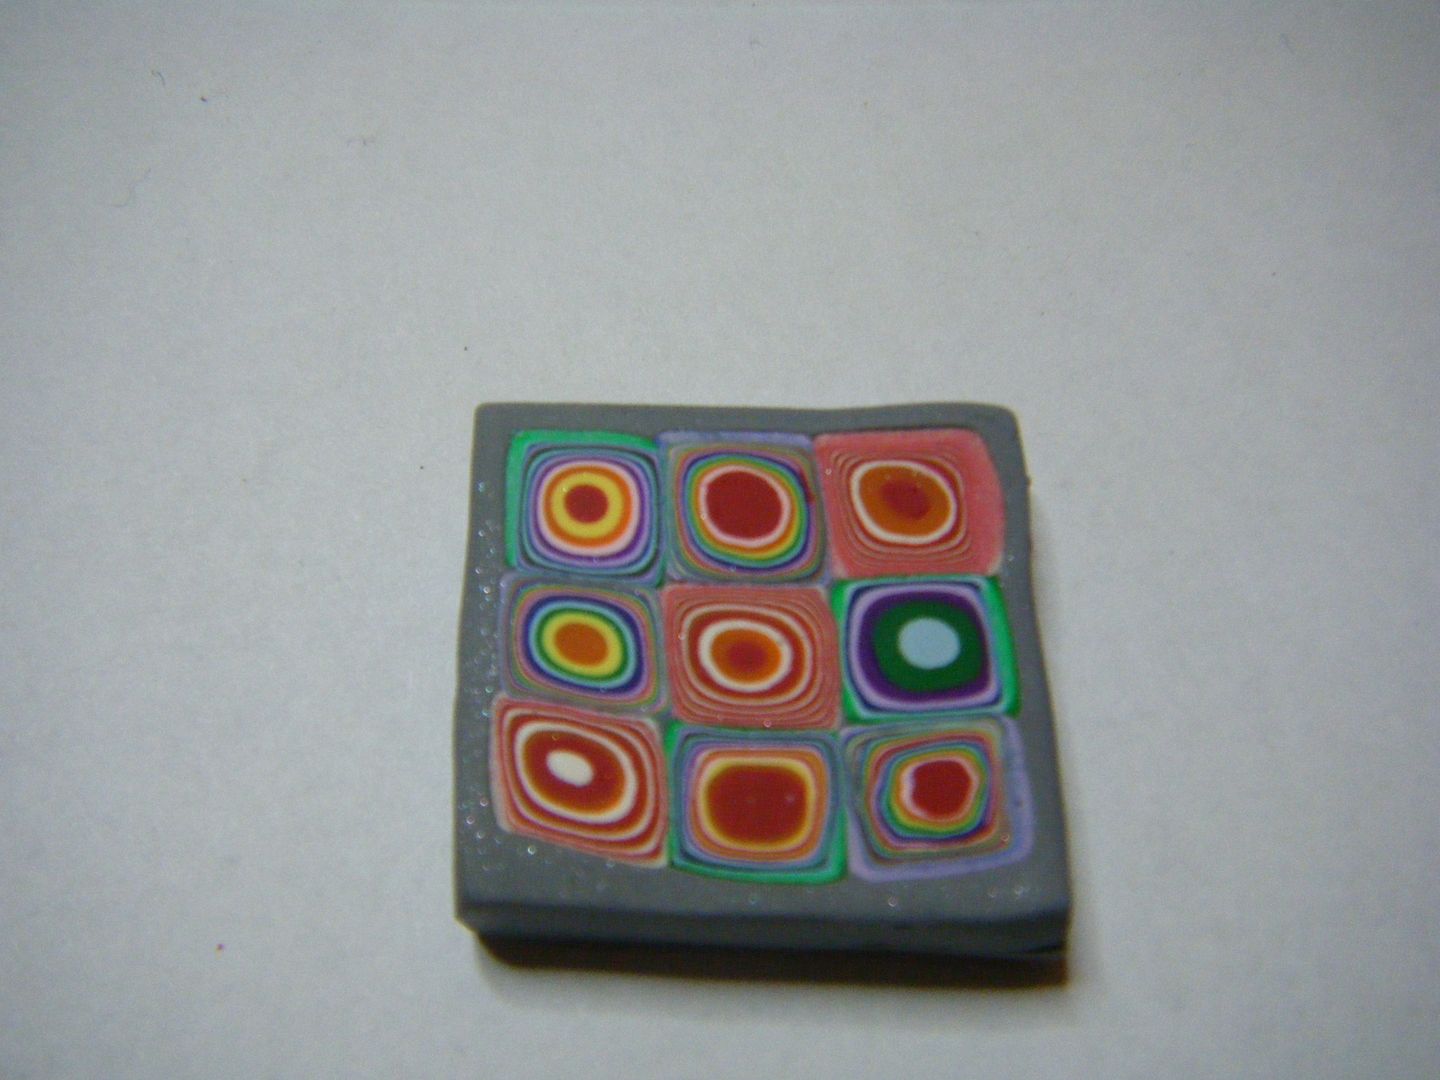
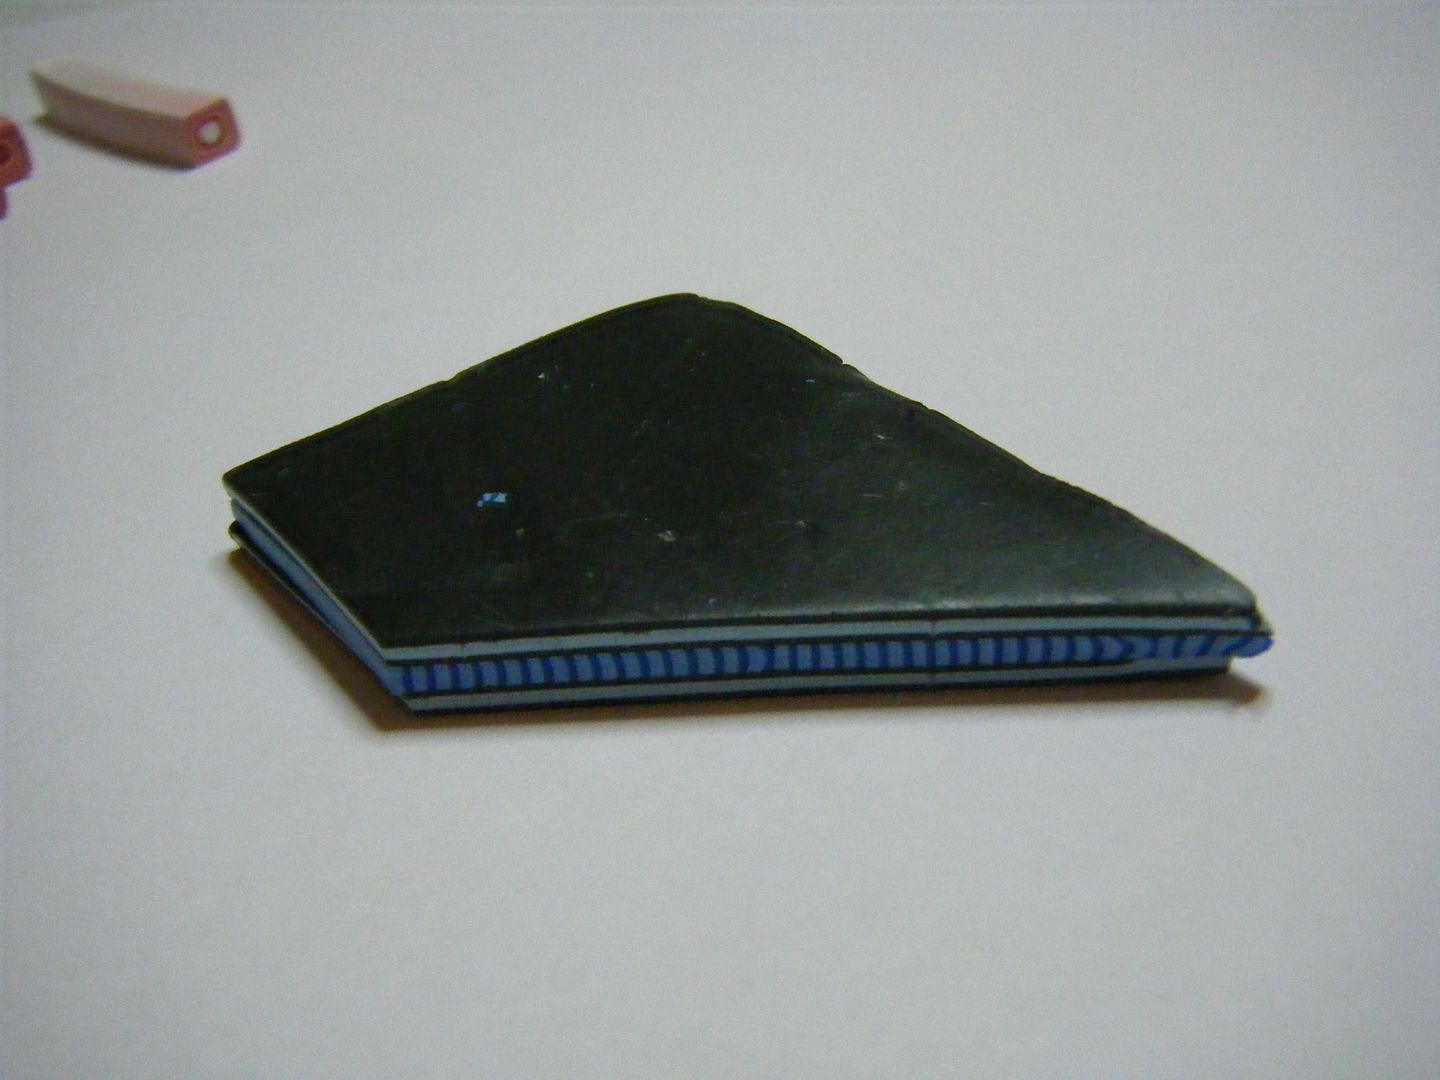
9 assorted slices added to a square of grey, this one became a bead and has a hole through the top corner so it will hang as a diamond.


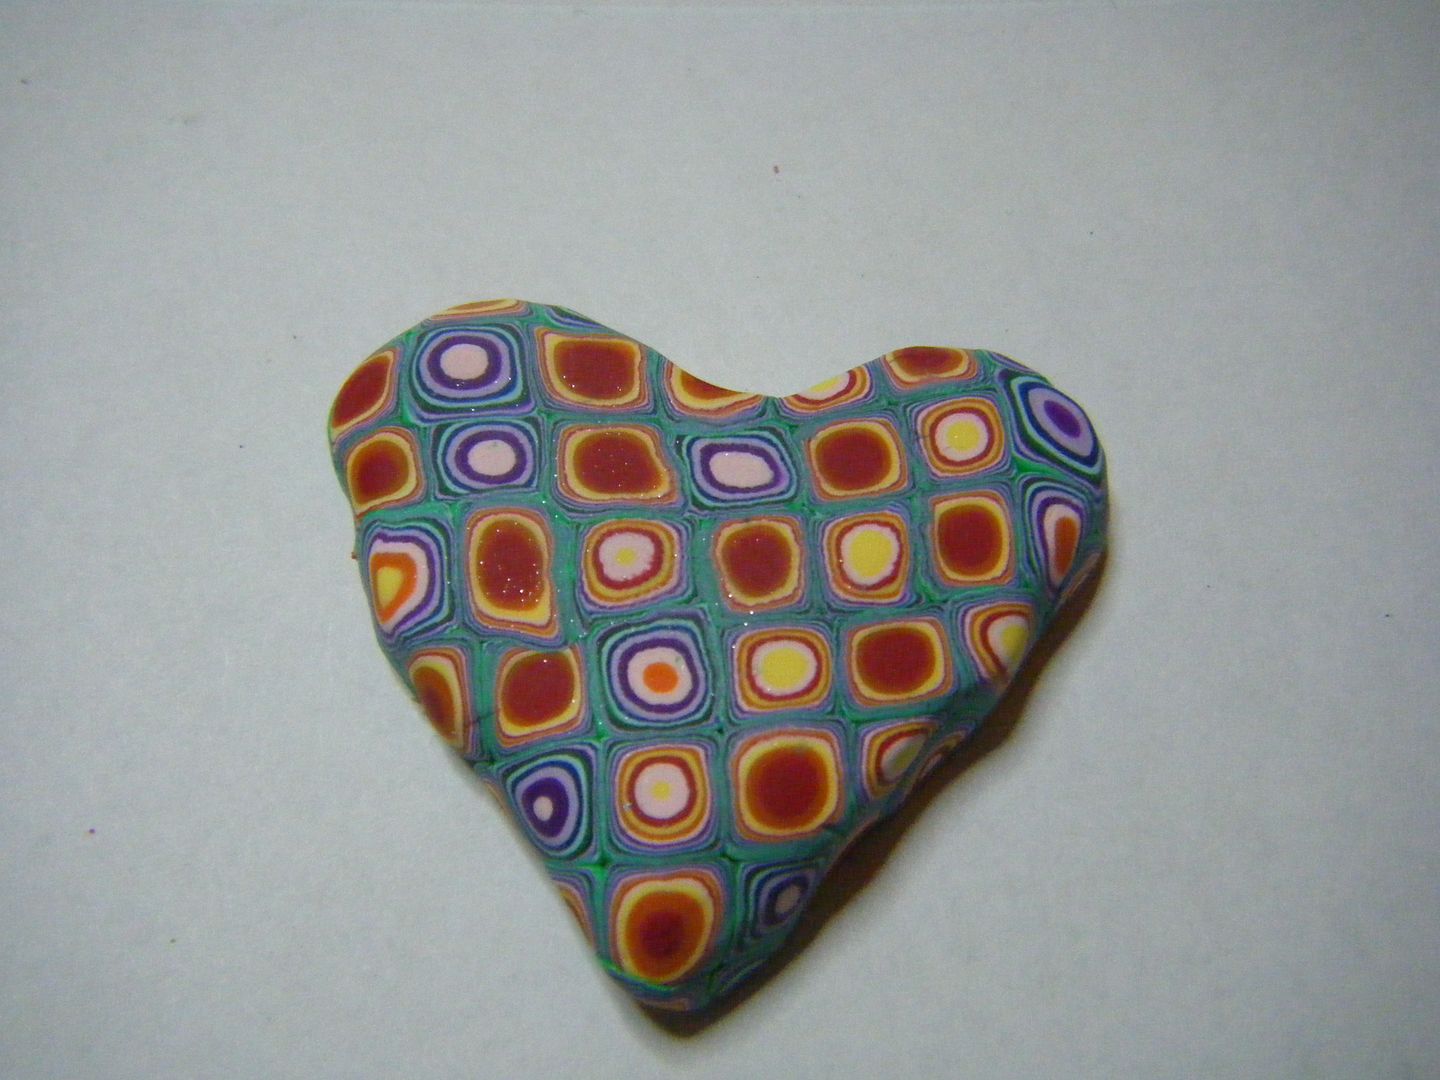
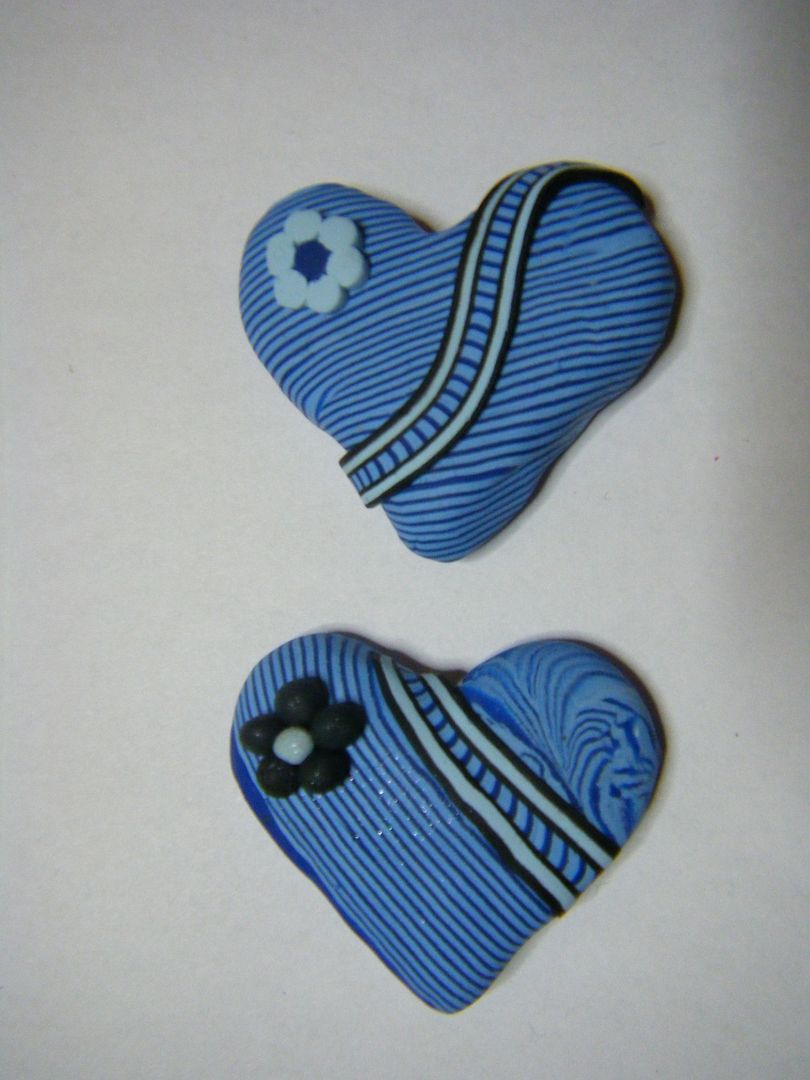
Another heart, this time with the mixed canes.  I had a lot of the red/orange one left!


Next I made a black, white and silver extruded cane and used a sunburst shaped cutter and a teardrop shaped cutter.  The sun has one hole front to back at the top, and three at the bottom, each teardrop has a hole at the top so I can join them together to make either a pendent or a brooch.  This IS still on my procrastination pile!


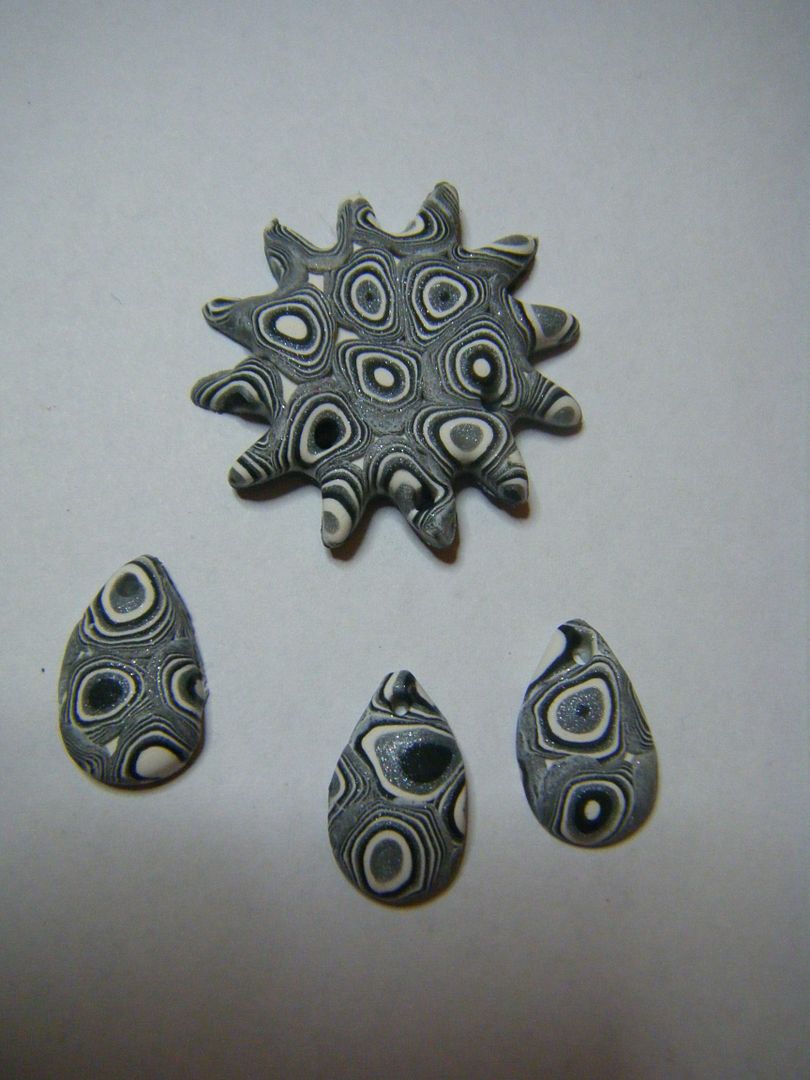
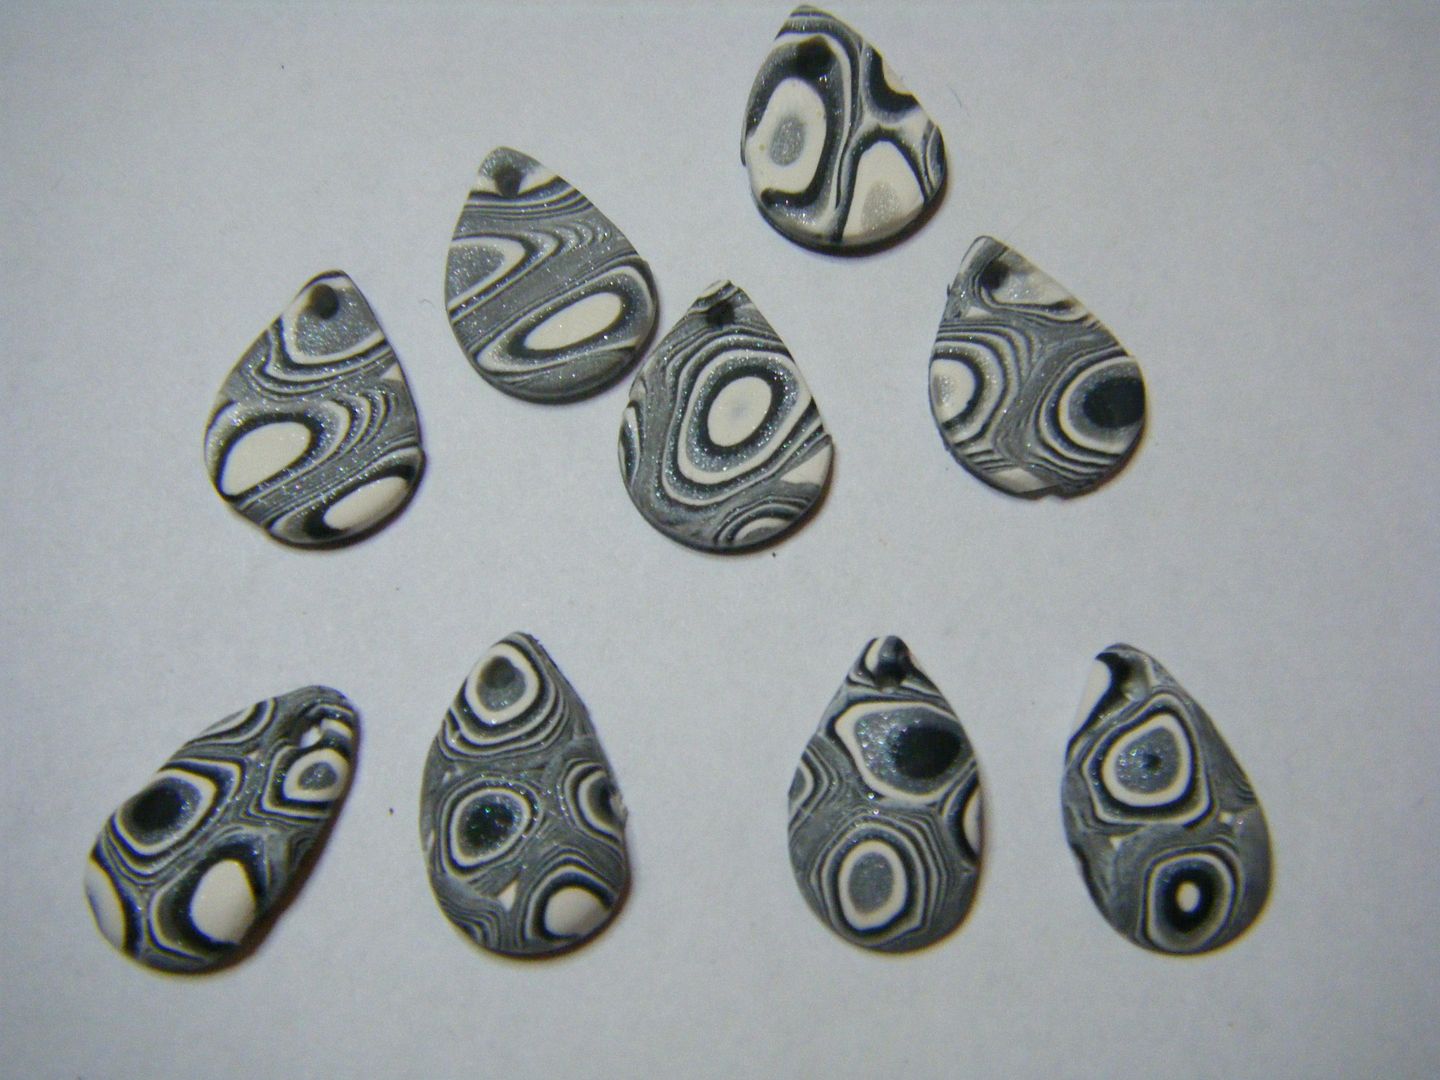
I experimented with running the millefiori sheet through the pasta machine and got these stretched-looking shapes.  I made holes in them all so I can decide which to use later on.


I LOVED this technique and will be doing some more of it, next weekend probably!


Celtic Thistle Stitches


I'm linking up to Fiona's New to Me challenge.

Thursday, 4 April 2013

polymer clay - craft book challenge

I really did intend to join in Ange's craft book challenge last month, but I didn't get time to make a project from a book.  This month, I have!  In fact, I already have two in the bag - I'll write a separate post about the other project.

Over the long bank holiday weekend (in England we get Good Friday and Easter Monday as holiday) I did a lot of experimenting.  The first thing to come out of the craft box was my polymer clay.  

I own a couple of books by Donna Kato and I tell you, I could just sit and read them like books, well I have, they're full of gorgeous pictures and she explains things so well.  This project comes from The Art of Polymer Clay Millefiori Techniques by Donna Kato.  Before we go any further, I'd just like to point out that any failure is on my behalf, not Donna's!

It all started with a few canes and a heart shaped cabochon.  I made a mould for the heart shape using some packaging that some brads came in.  I've completely forgotten to take a photo of either the mould or the packaging, but if you want to know what I mean when I say I made a mould, see my previous posts here.

I also managed to forget to take photos of the canes I used, other than this pretty cool zipper cane.
  

The heart itself is a bit of a mess, it was too big really, but the smaller heart mould I made just wouldn't have been big enough.  It is approximately 4" high.


There is so much I don't like about this.  The purple and black leopard skin-like pattern is supposed to be dots but my cane was a disaster.  Likewise the stripy leaves...  You can also see the joins in the zipper.

But, not to be put off, I decided to try my own thing on the smaller heart mould (approx 2" high) which I cast from a glass necklace I have.


The top one is a heart of scrap clay covered with the stripy cane I'd made and used part of for the zip.  The zip isn't pressed into the heart so it stands proud.  The little flower is made from extruded tubes which I sliced.  The bottom heart started with a heart moulded from scrap play, but I loved that pattern at the top left so incorporated it.  The zip is pressed in to the heart on this one so the only raised piece is the flower which is made from tiny balls of clay.  These two will become brooches with a brooch back glued on.

So, one failure, but two successes!


Heart of Charnwood

I'm linking up to the Craft Book Challenge on Ange's blog