There'll be no review of 2018 or goals for 2019 from me. I did so little craft last year, I can barely believe it. I would like to craft more this year, but I'm not putting any pressure on myself, so I'll make what I make and post when I post!
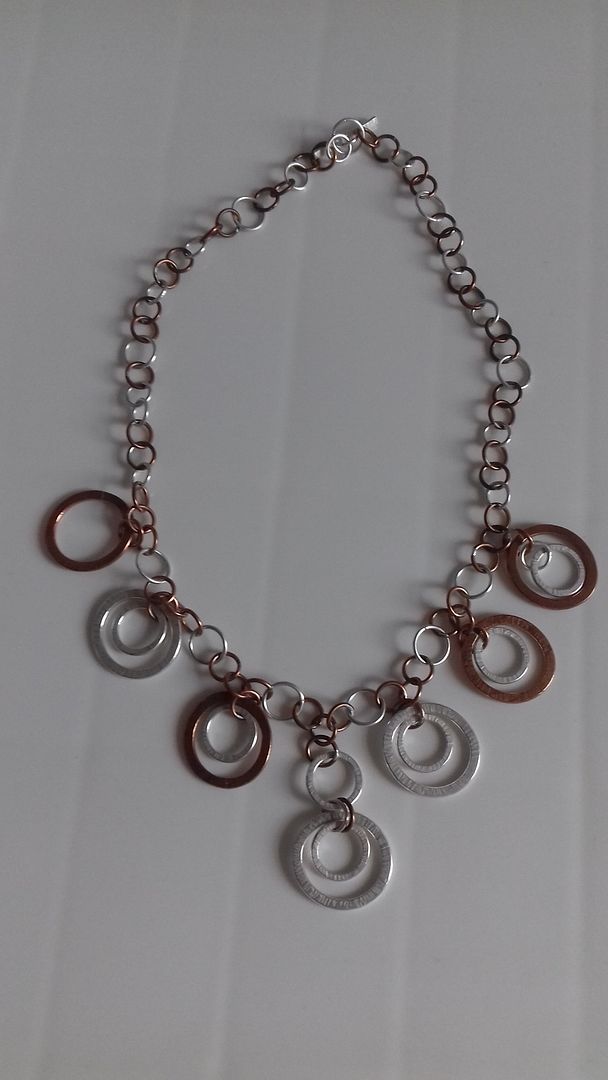
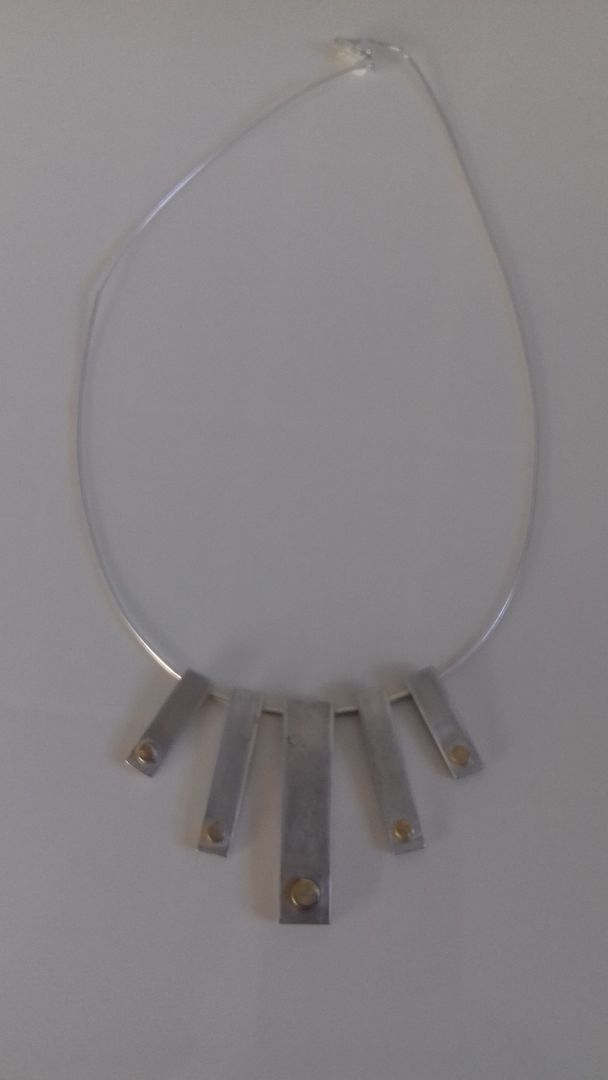
I finished this necklace before Christmas. I've shown you peeks of me making it. In this post from March last year, I showed you a bit of the technique! Making soldered chain IS a time-consuming process, but I'm also quite slow and made various other things at the same time!
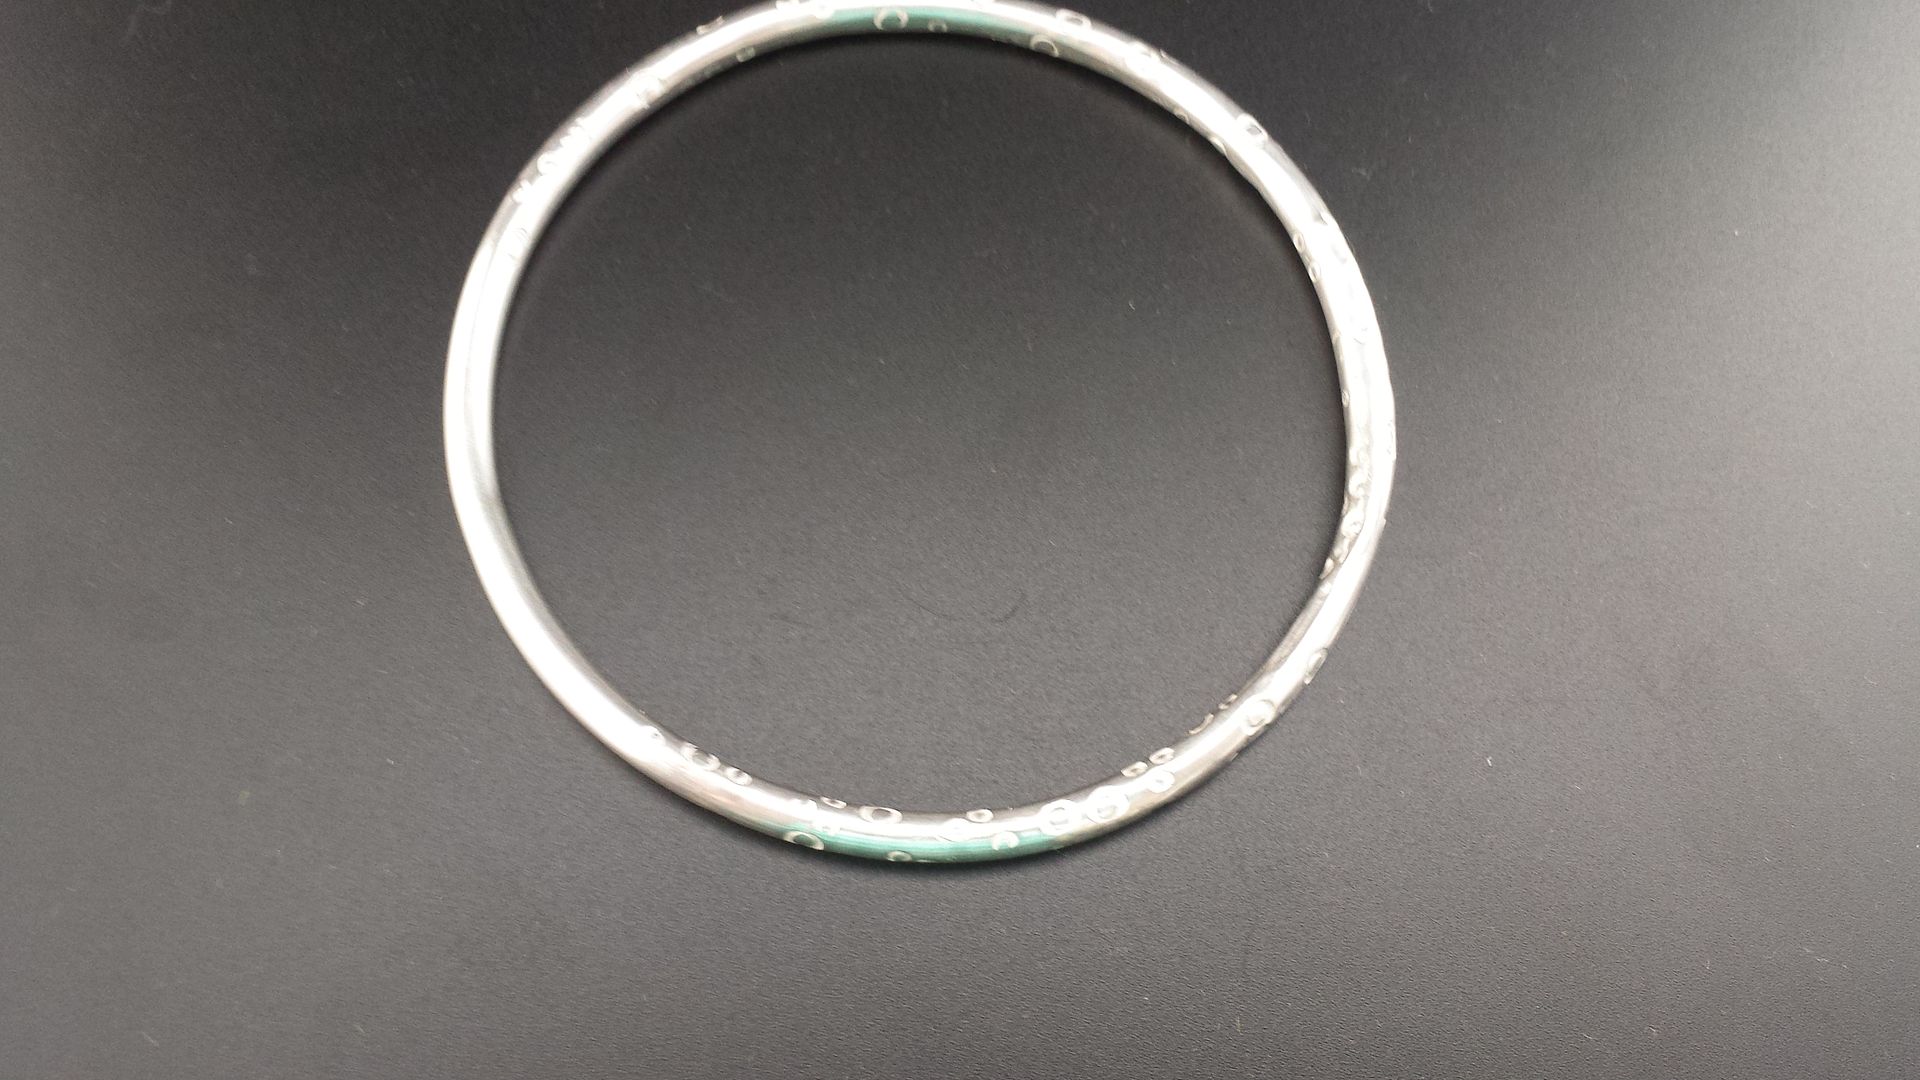
It's made from copper and sterling silver. I made large jump rings, soldered them and cleaned them up, then rolled them through the rolling mill to flatten them. They were then hammered to add texture. I then made what felt like about a gazillion small jump rings and soldered it all together. I then spent a LONG time filing and sanding each and every link!

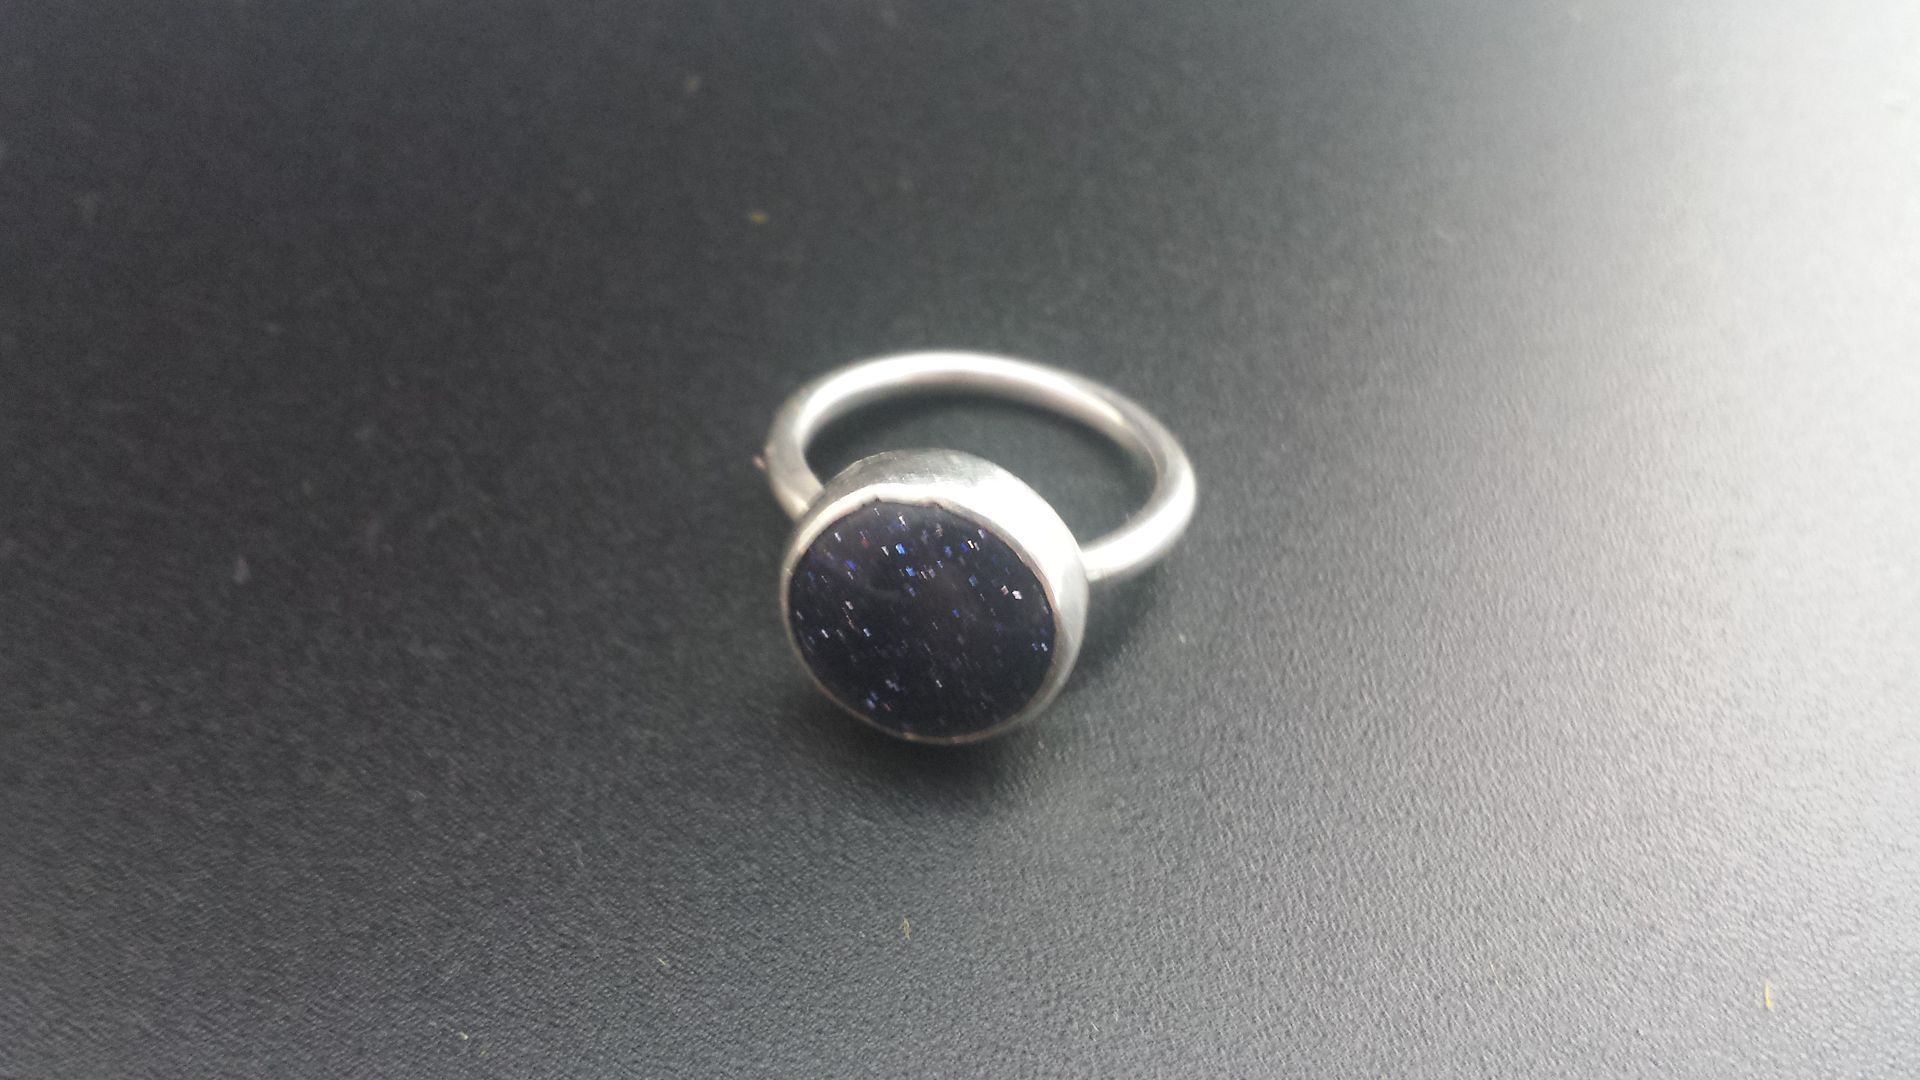
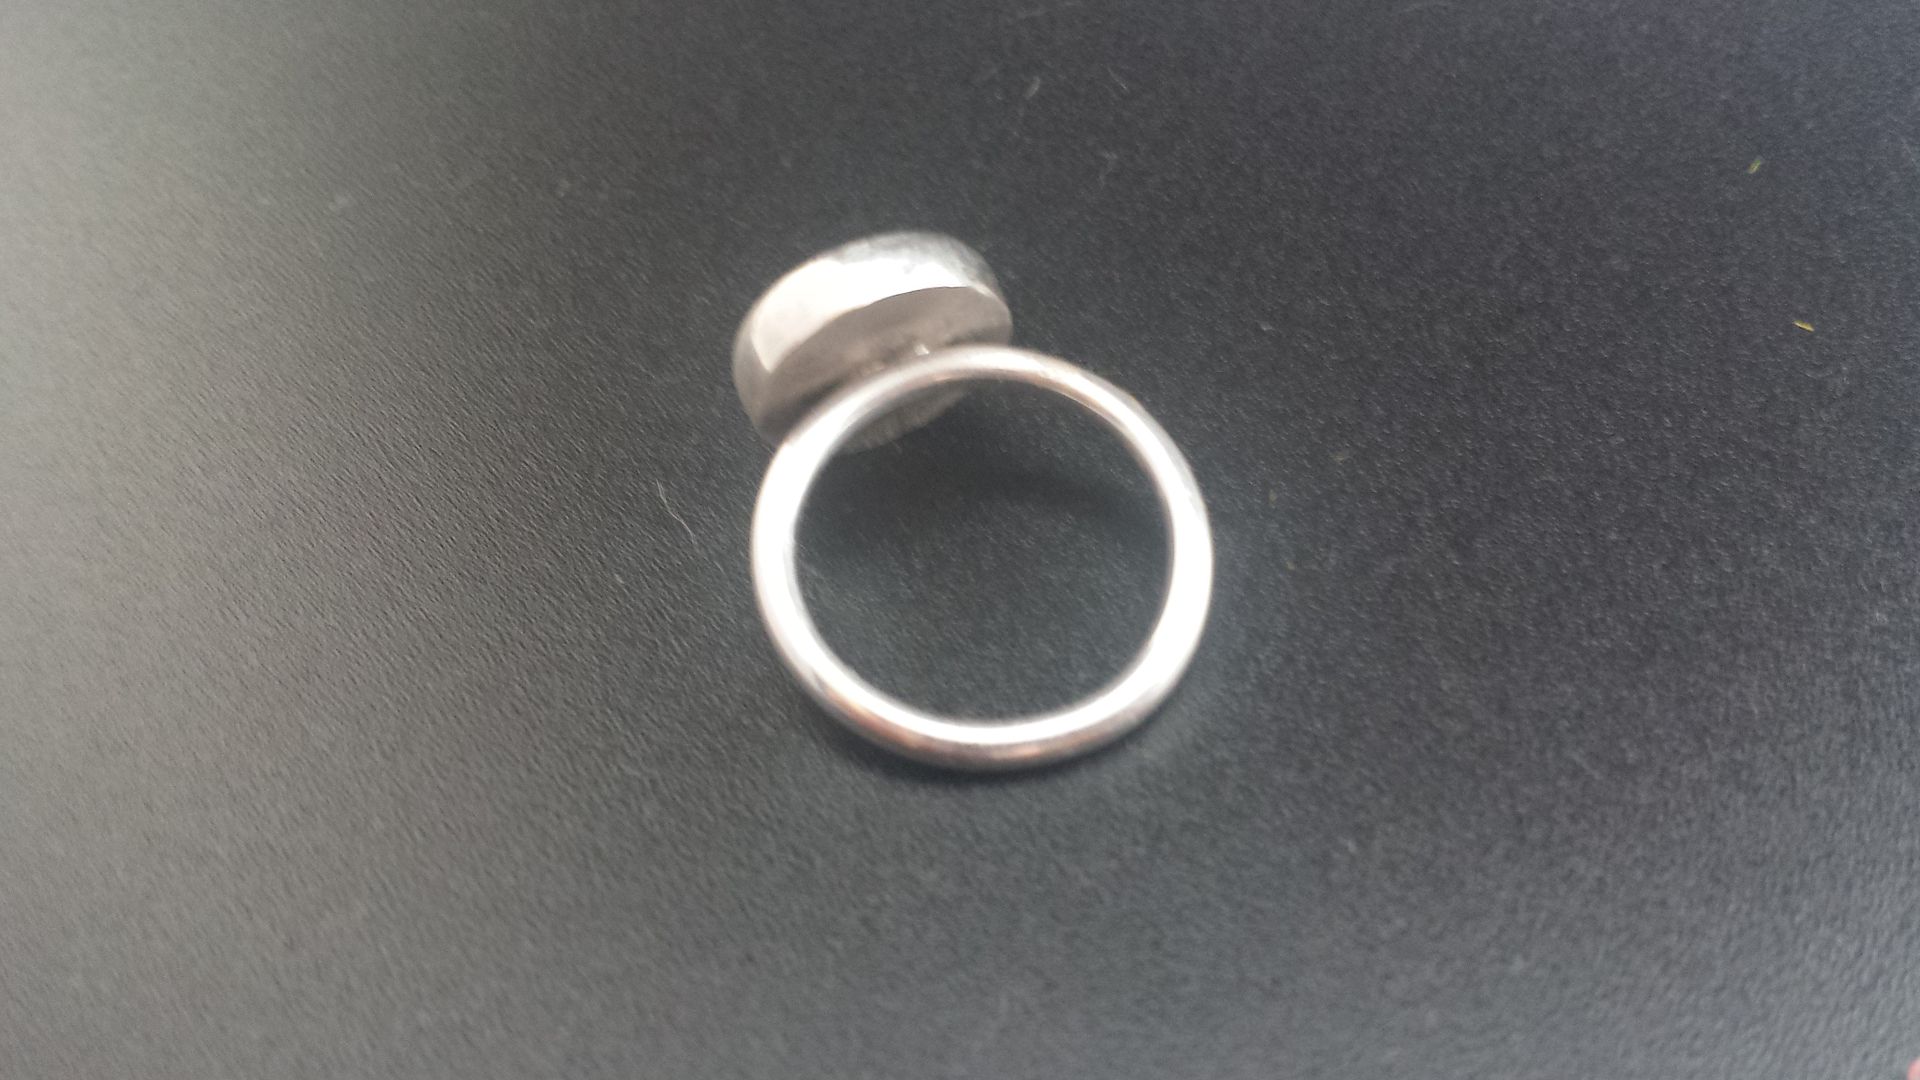
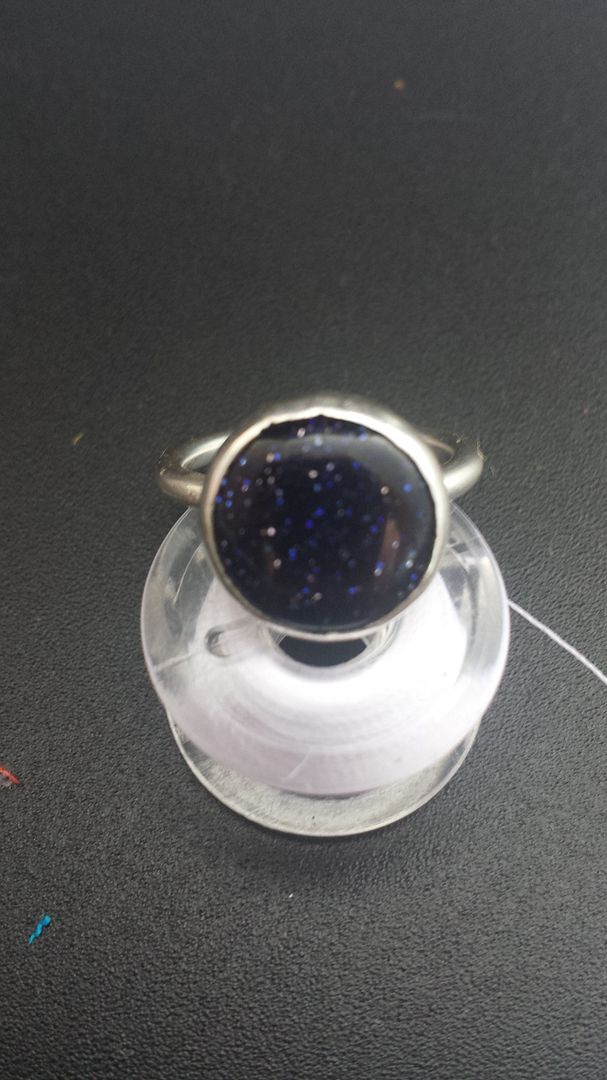
It is finished with a hand made and hammered toggle clasp. I love it. I love mixed metal jewellery and I love rings like this. I'm not sure I'd embark on making another chain from scratch though!

I finished this necklace before Christmas. I've shown you peeks of me making it. In this post from March last year, I showed you a bit of the technique! Making soldered chain IS a time-consuming process, but I'm also quite slow and made various other things at the same time!

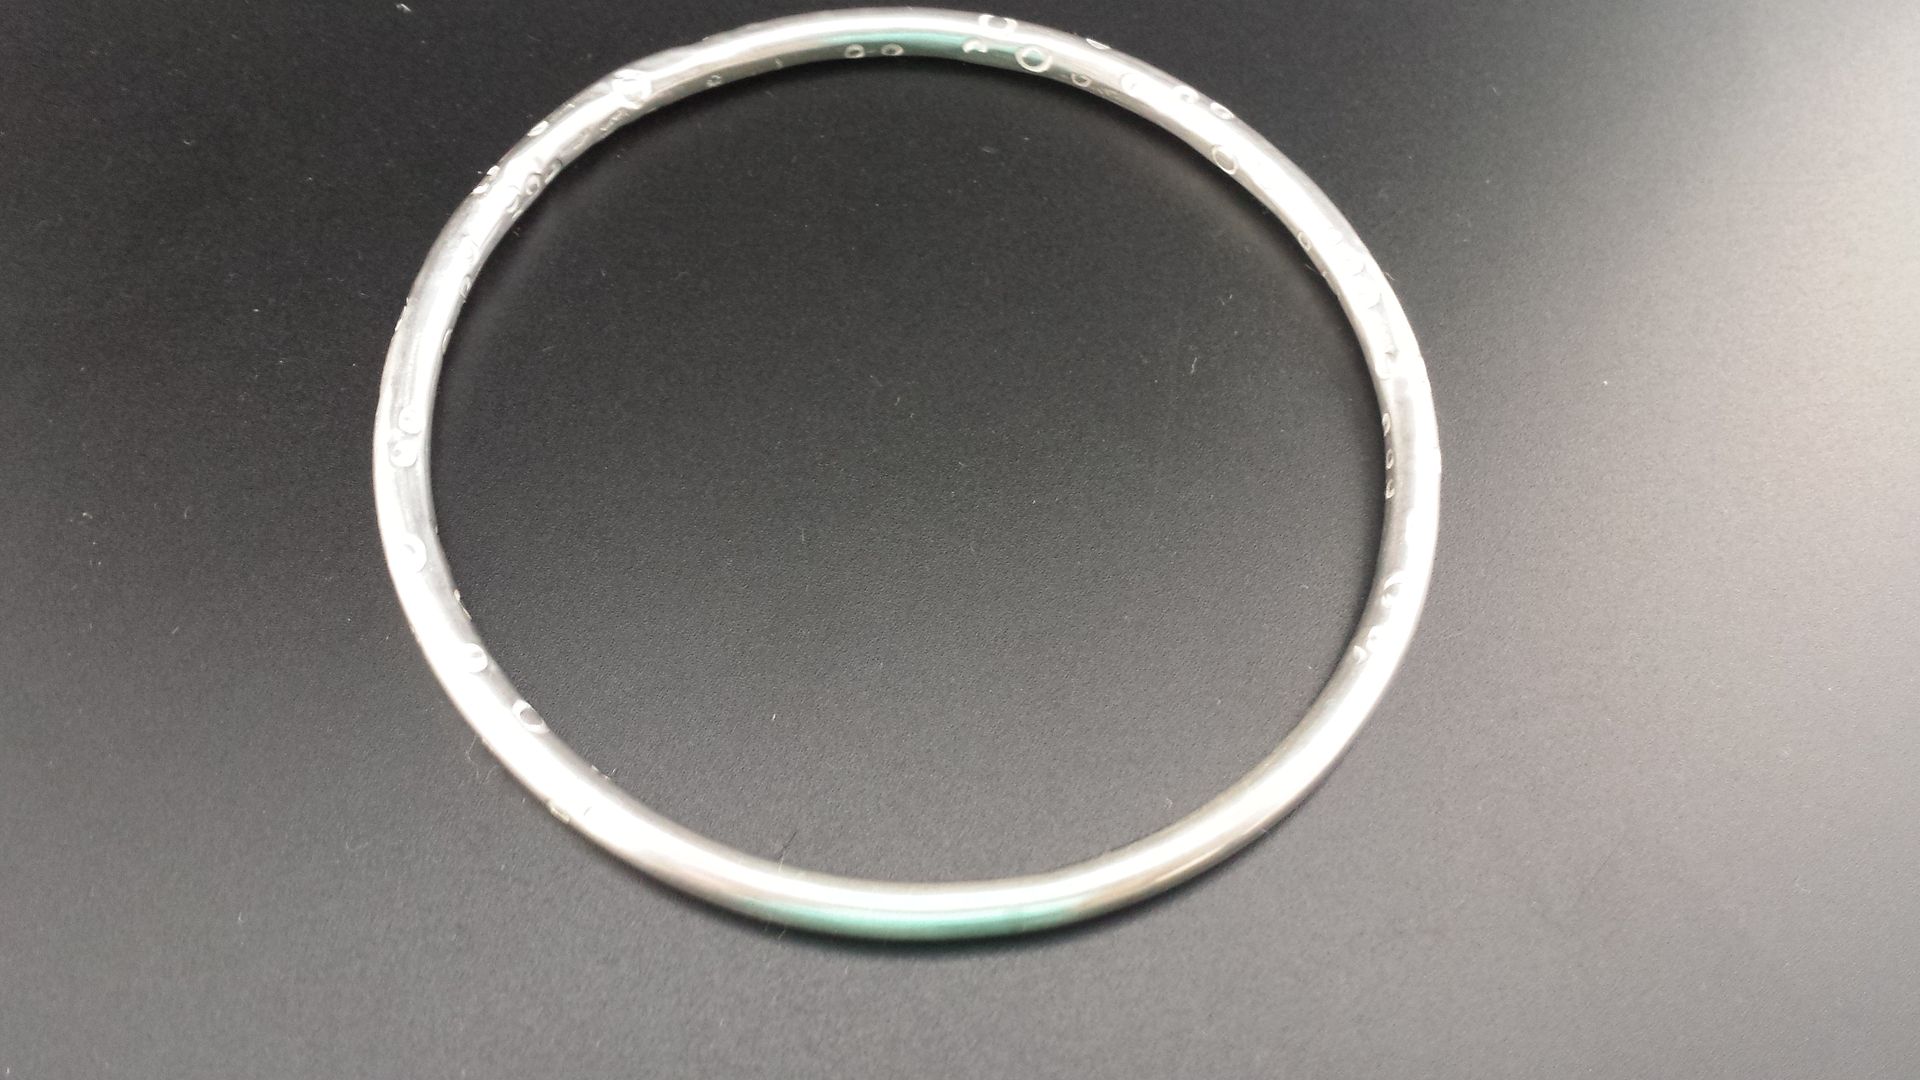
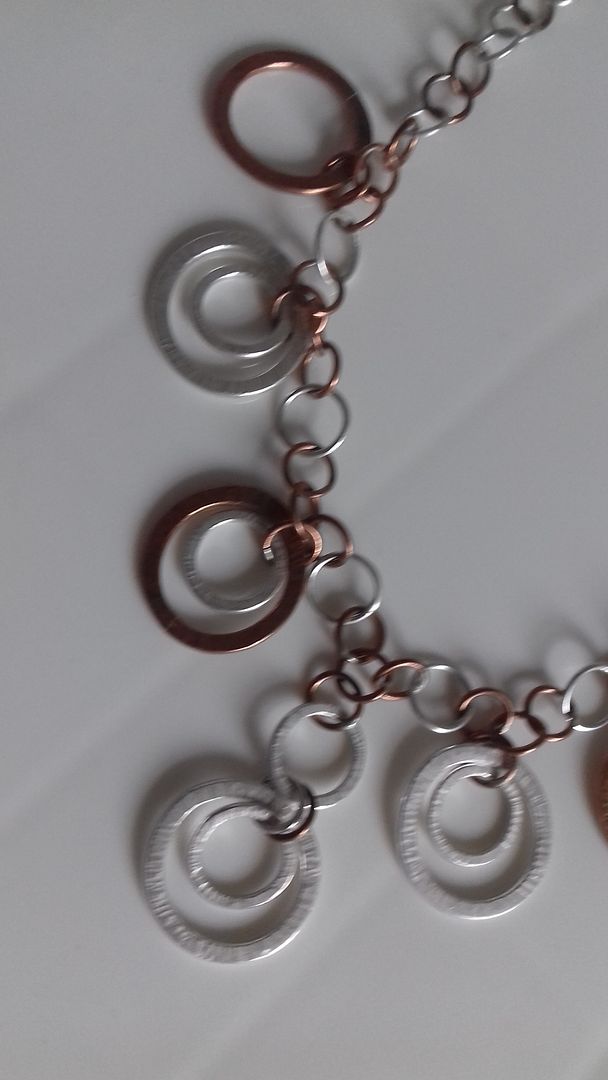
It's made from copper and sterling silver. I made large jump rings, soldered them and cleaned them up, then rolled them through the rolling mill to flatten them. They were then hammered to add texture. I then made what felt like about a gazillion small jump rings and soldered it all together. I then spent a LONG time filing and sanding each and every link!

It is finished with a hand made and hammered toggle clasp. I love it. I love mixed metal jewellery and I love rings like this. I'm not sure I'd embark on making another chain from scratch though!