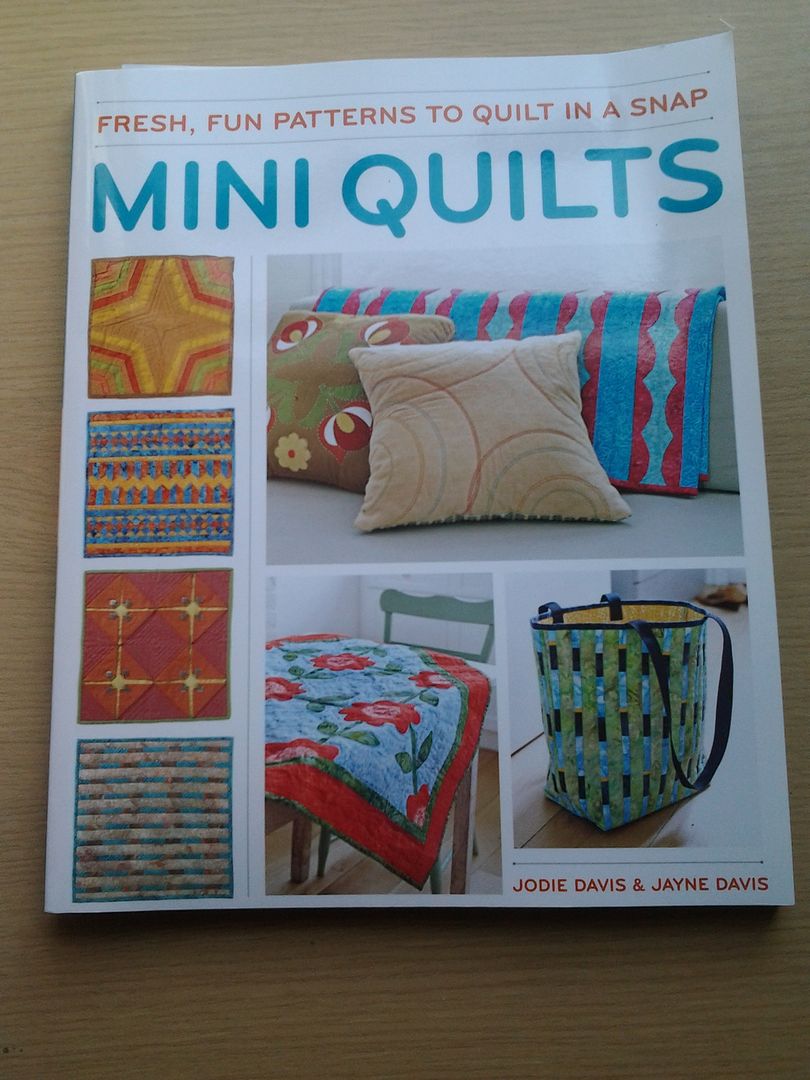
Before we go any further, the disclaimers. I was sent the book for free to review but I was not told what to say and all opinions are 100% my own. I didn't receive any monetary compensation. Links in this post, as with all my book posts, are affiliated. If you click over and buy something, I get a few pence towards an Amazon voucher.
I was quite excited to get this book as I love mini quilts. I've never made one, though I had started one before receiving this book. I also knew that my project would be my entry into Le Challenge as this month's theme is "small".
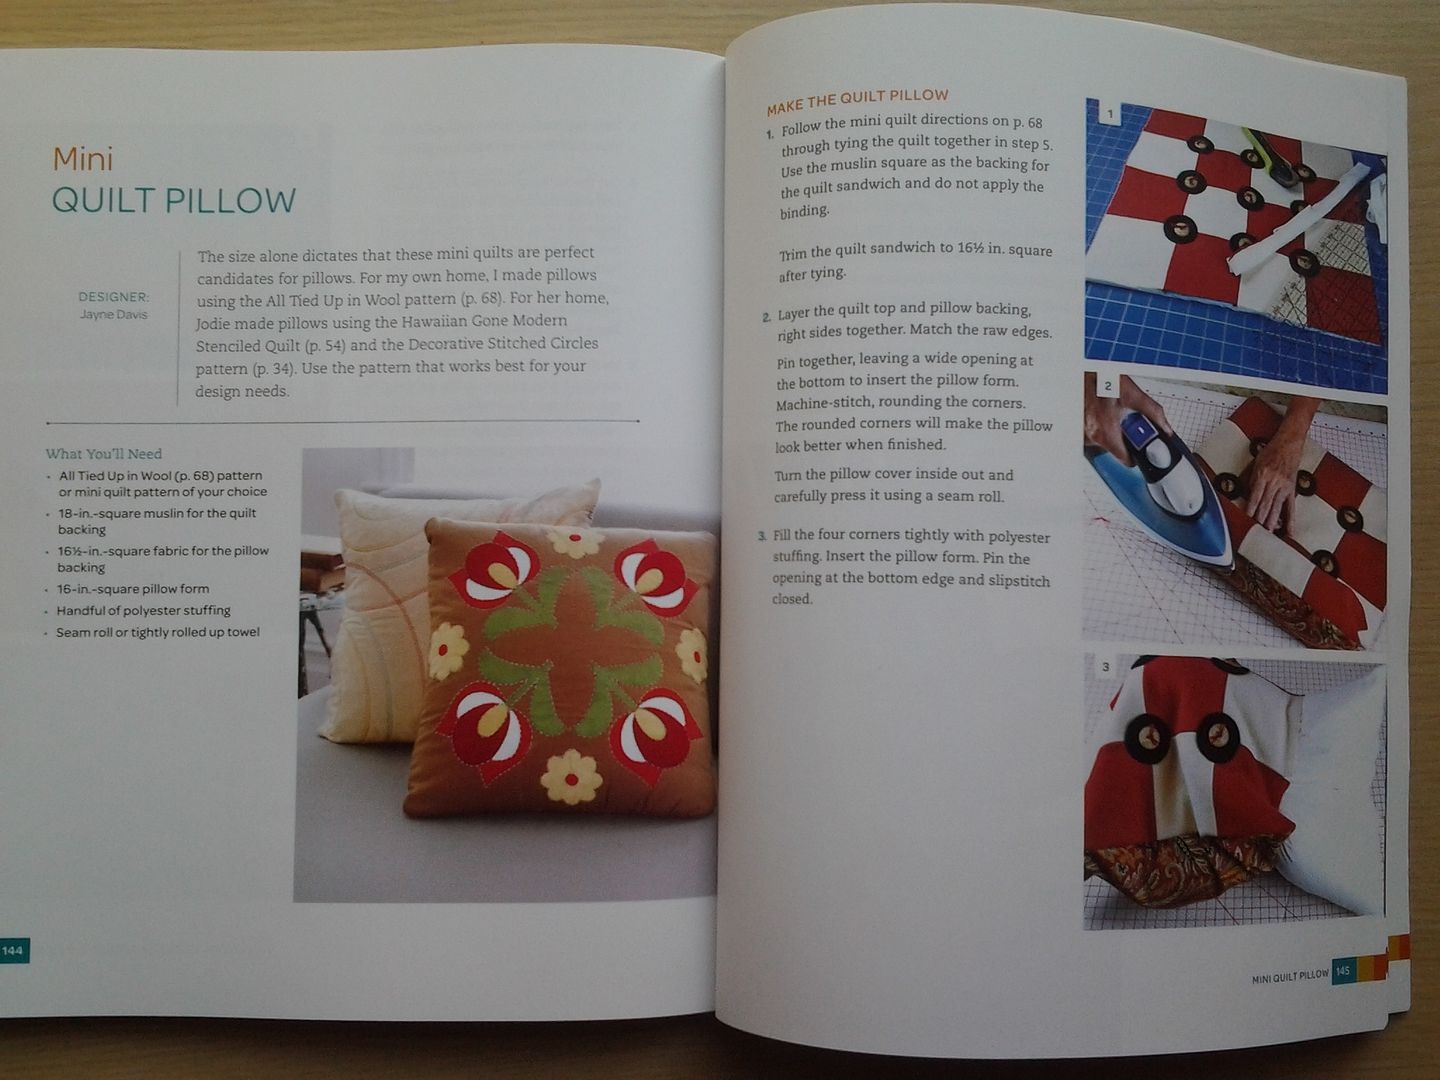
The book opens with the basics - materials and tools required, how to sew the perfect 1/4" seam, basting, quilting and binding. You then move on to the projects, 19 of them each one teaching different skills.
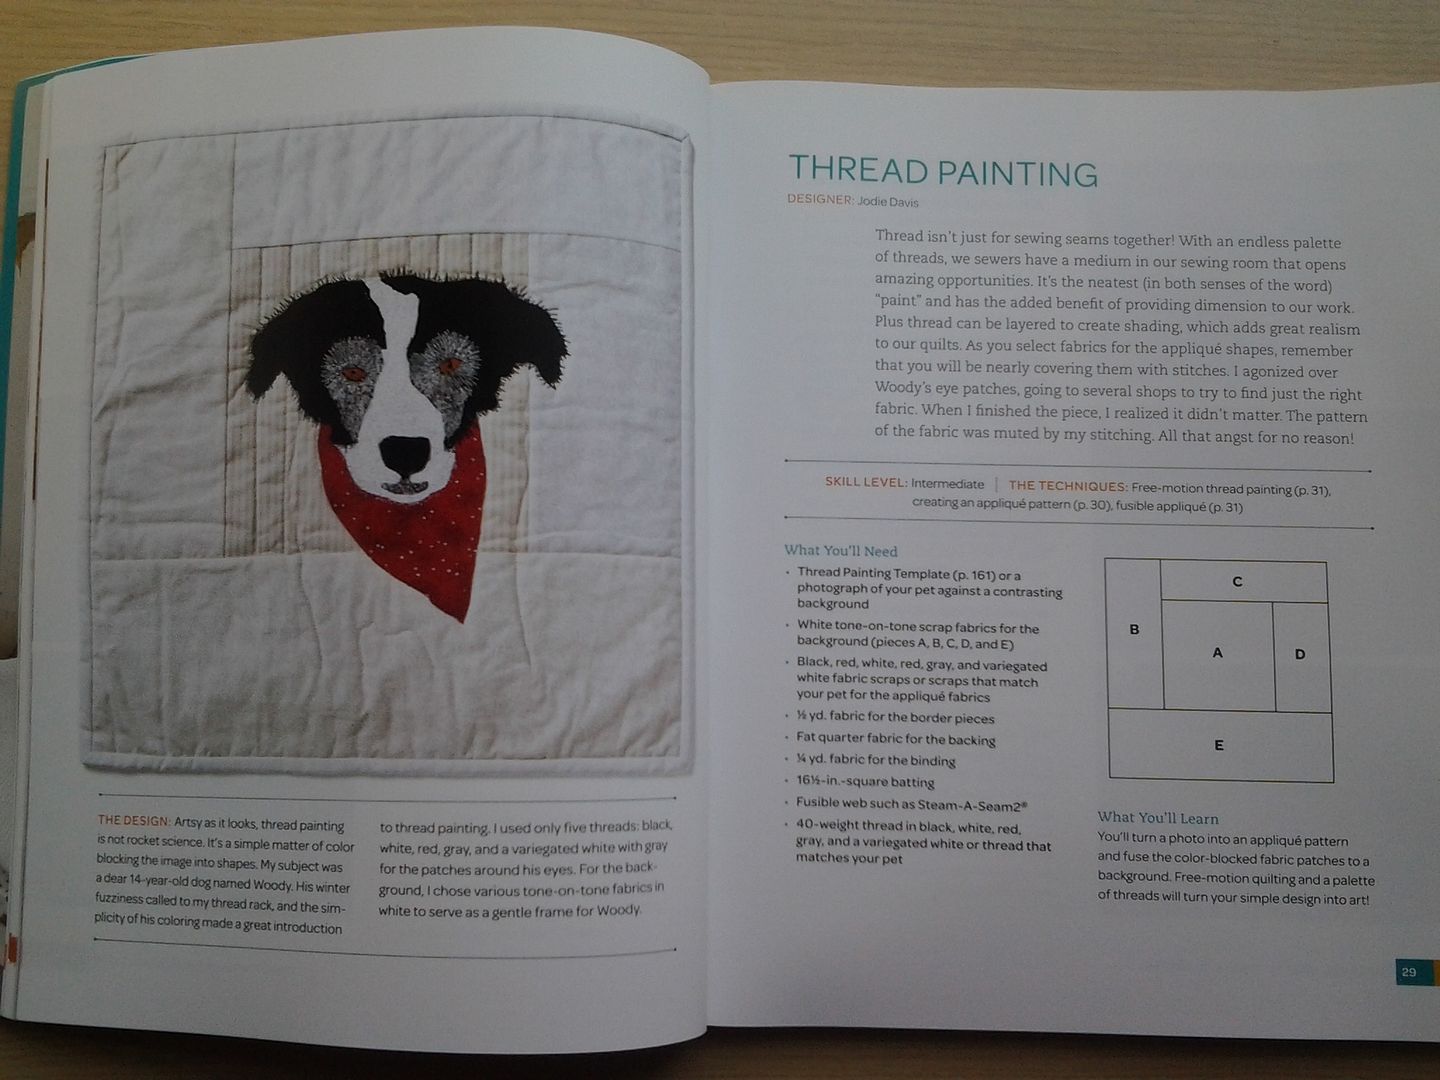
This project focuses on thread painting, but also teaches the additional skills of creating an applique pattern and fusible applique. Each project has a large photo, step-by-step instructions and photos.
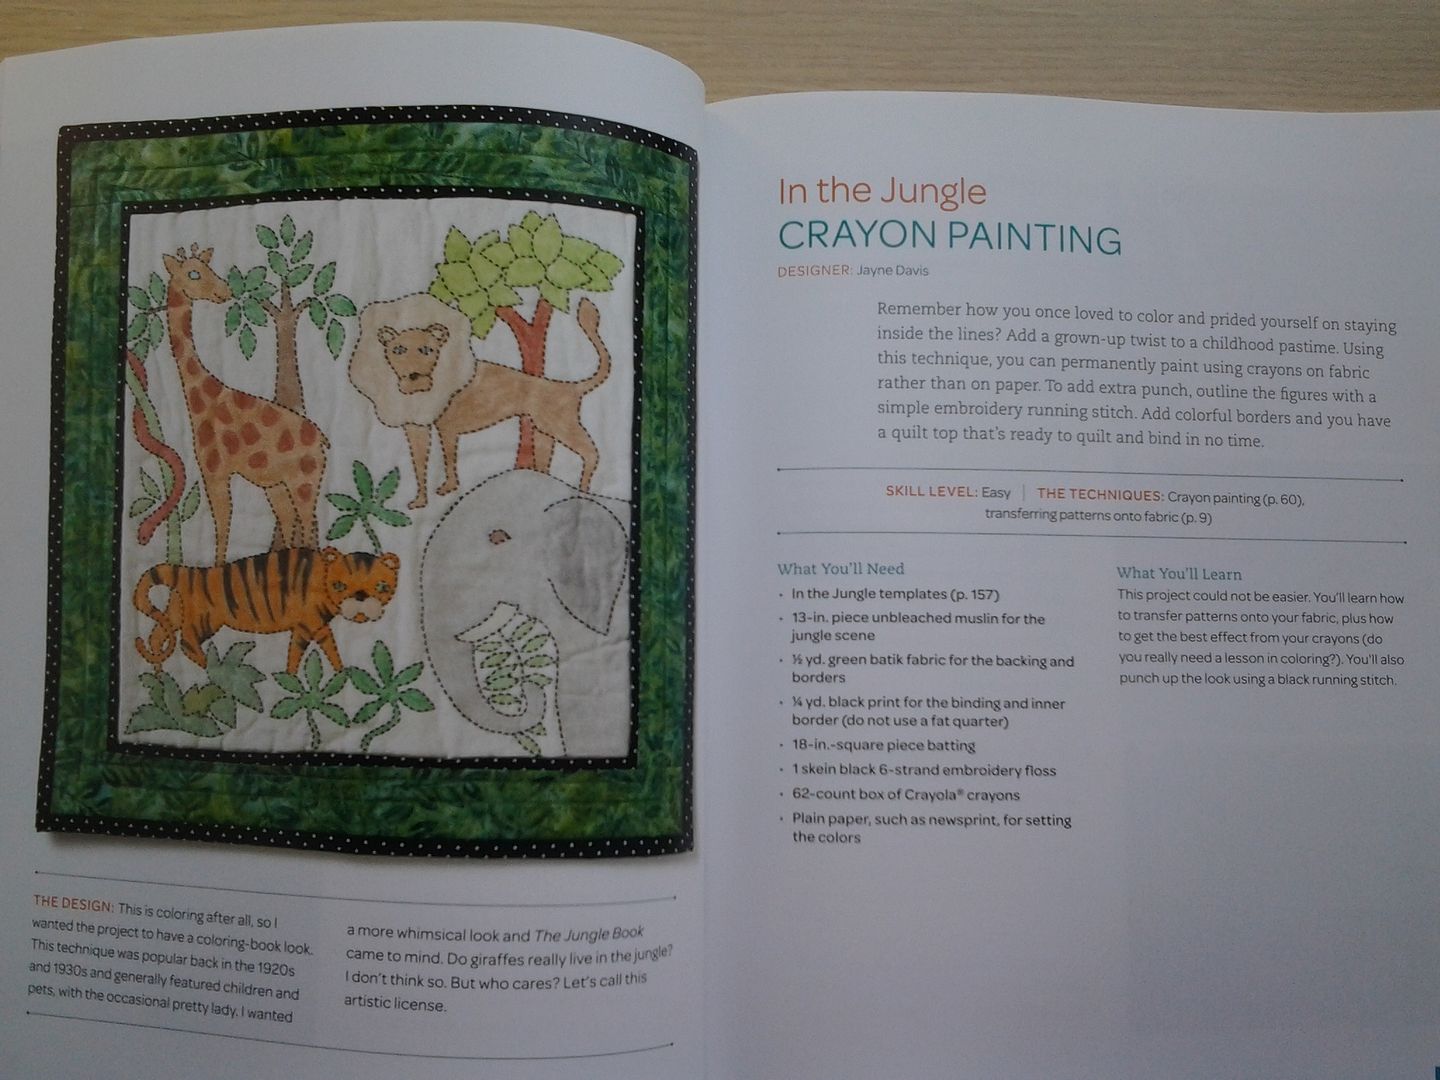
The above crayon-painted quilt is one which I'm itching to try. Other skills taught include precision piecing, stencilling, foundation paper piecing, trapunto, tying a quilt, applique and much more.
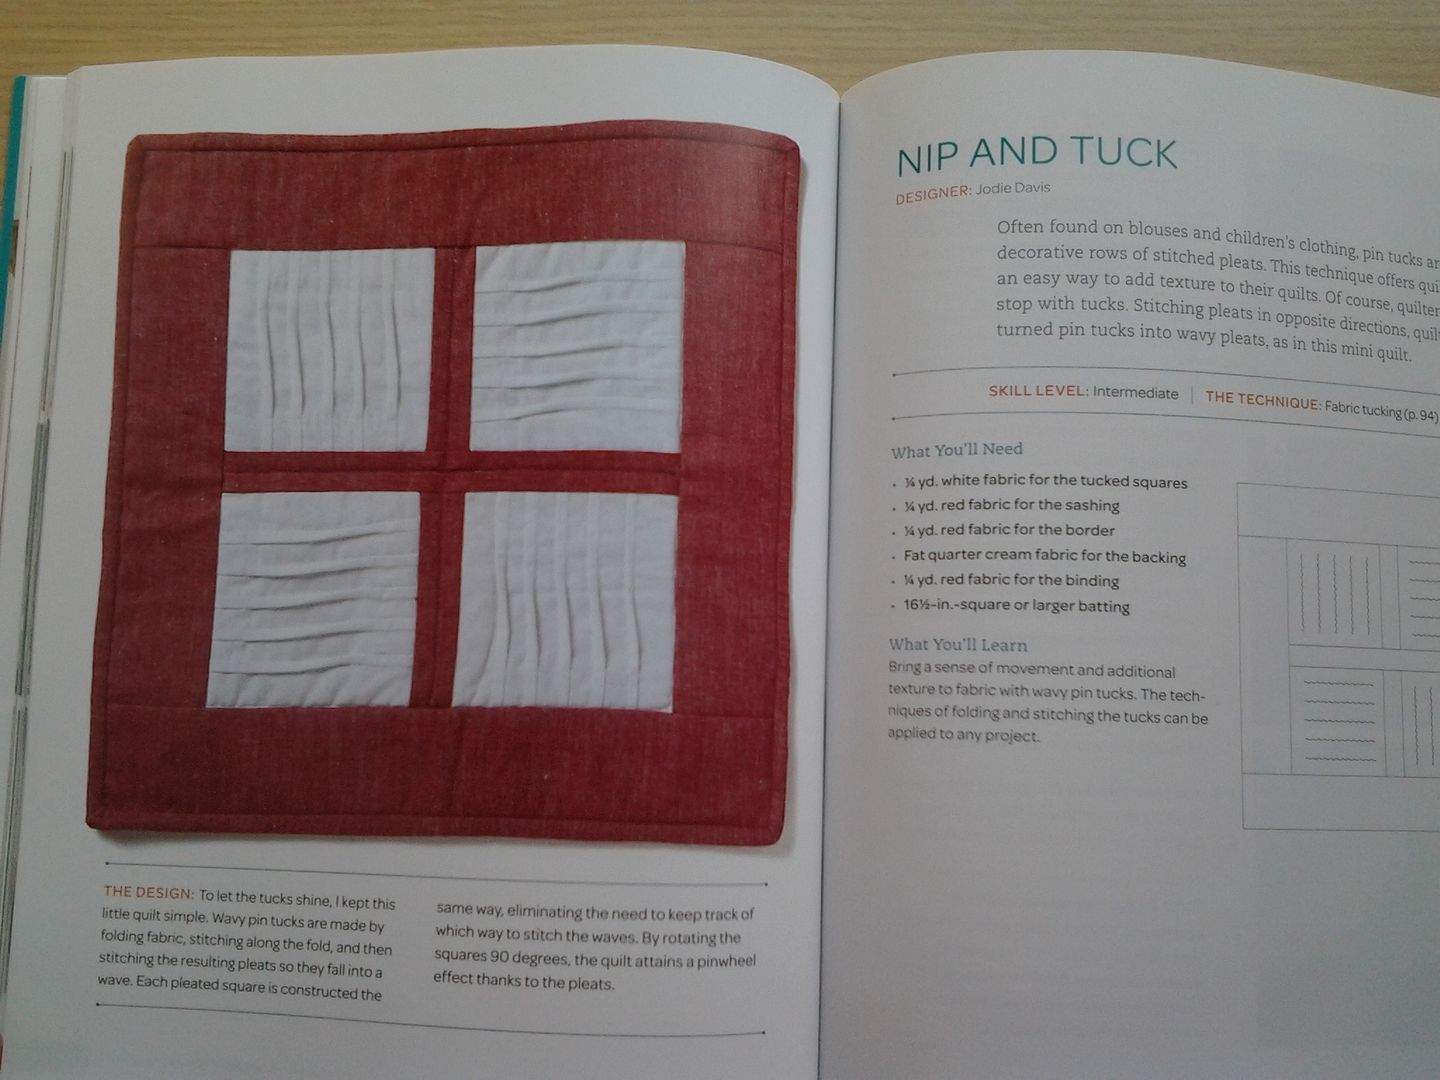
This project uses tucks to create a really textural piece.
Traditional techniques such as needle turn applique are also included. I think you need to be able to look beyond the fabric choices in this book, the projects tend to be made from more traditional materials, but if you can envision them in modern fabrics, there is so much to gain from this book. Looking through the projects, I could see a way in which you could update each one, still benefiting from the lessons in the project, but to make a less old-fashioned mini.
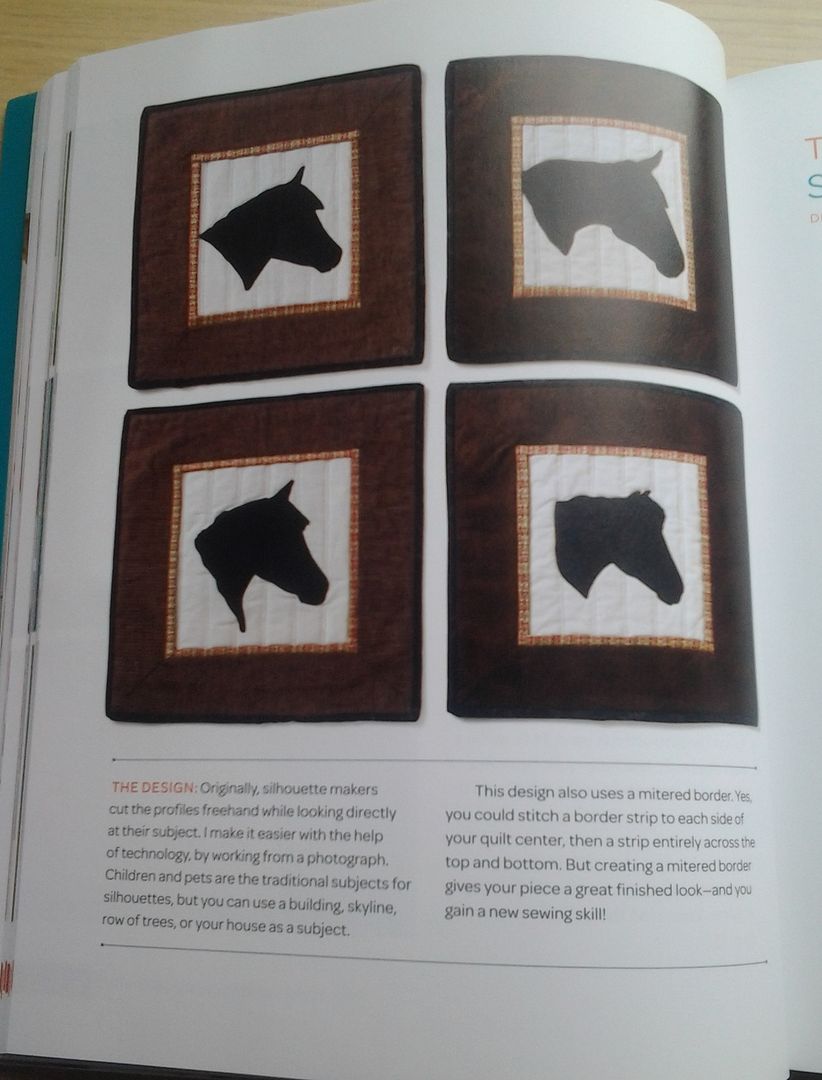
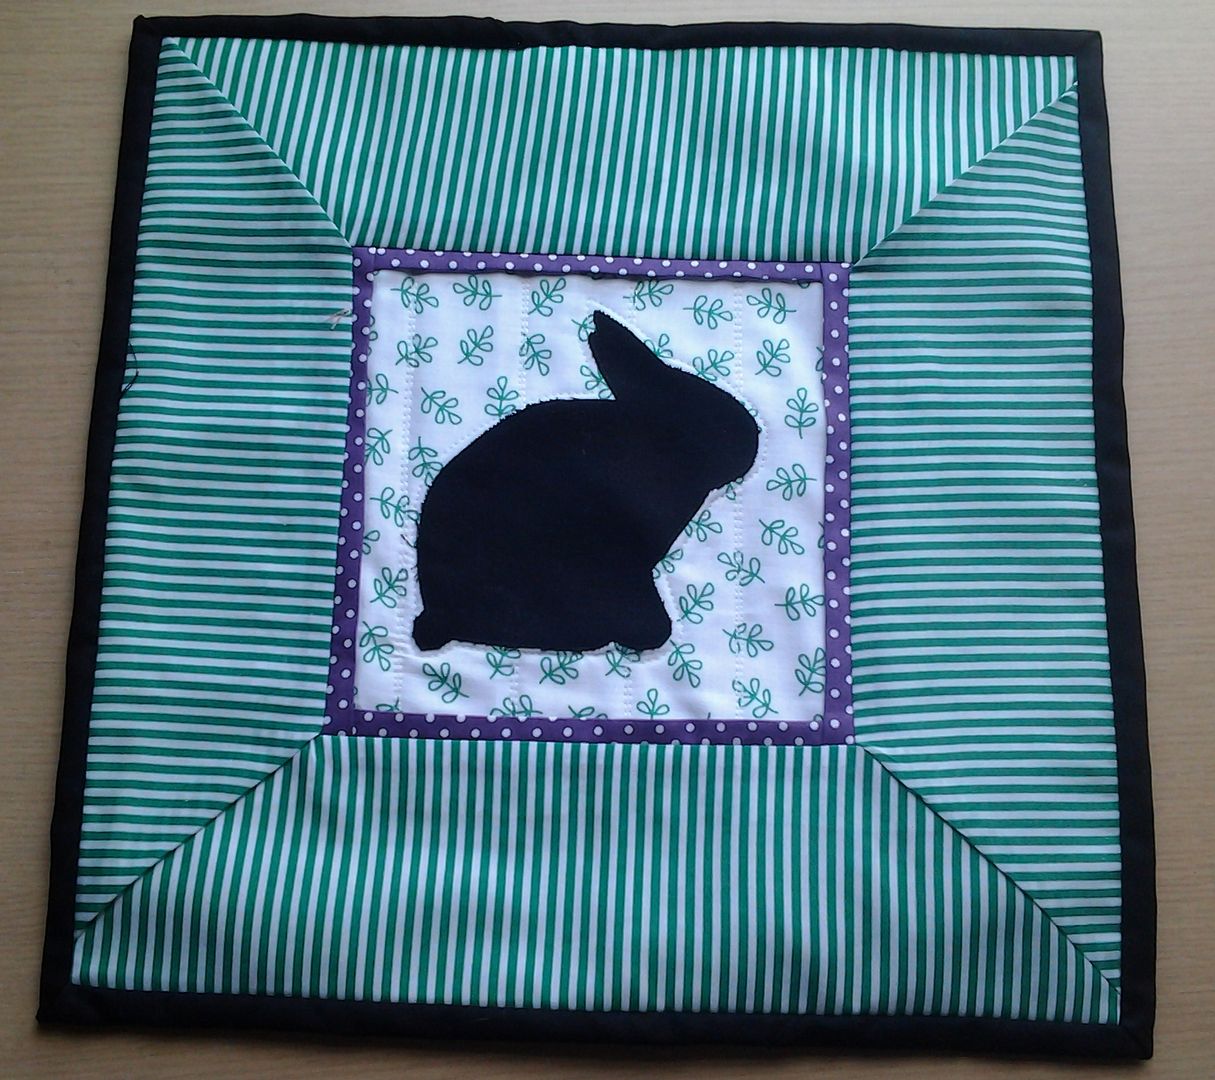
This raw-edge applique silhouette mini caught my eye. Of course, I was seeing rabbits!
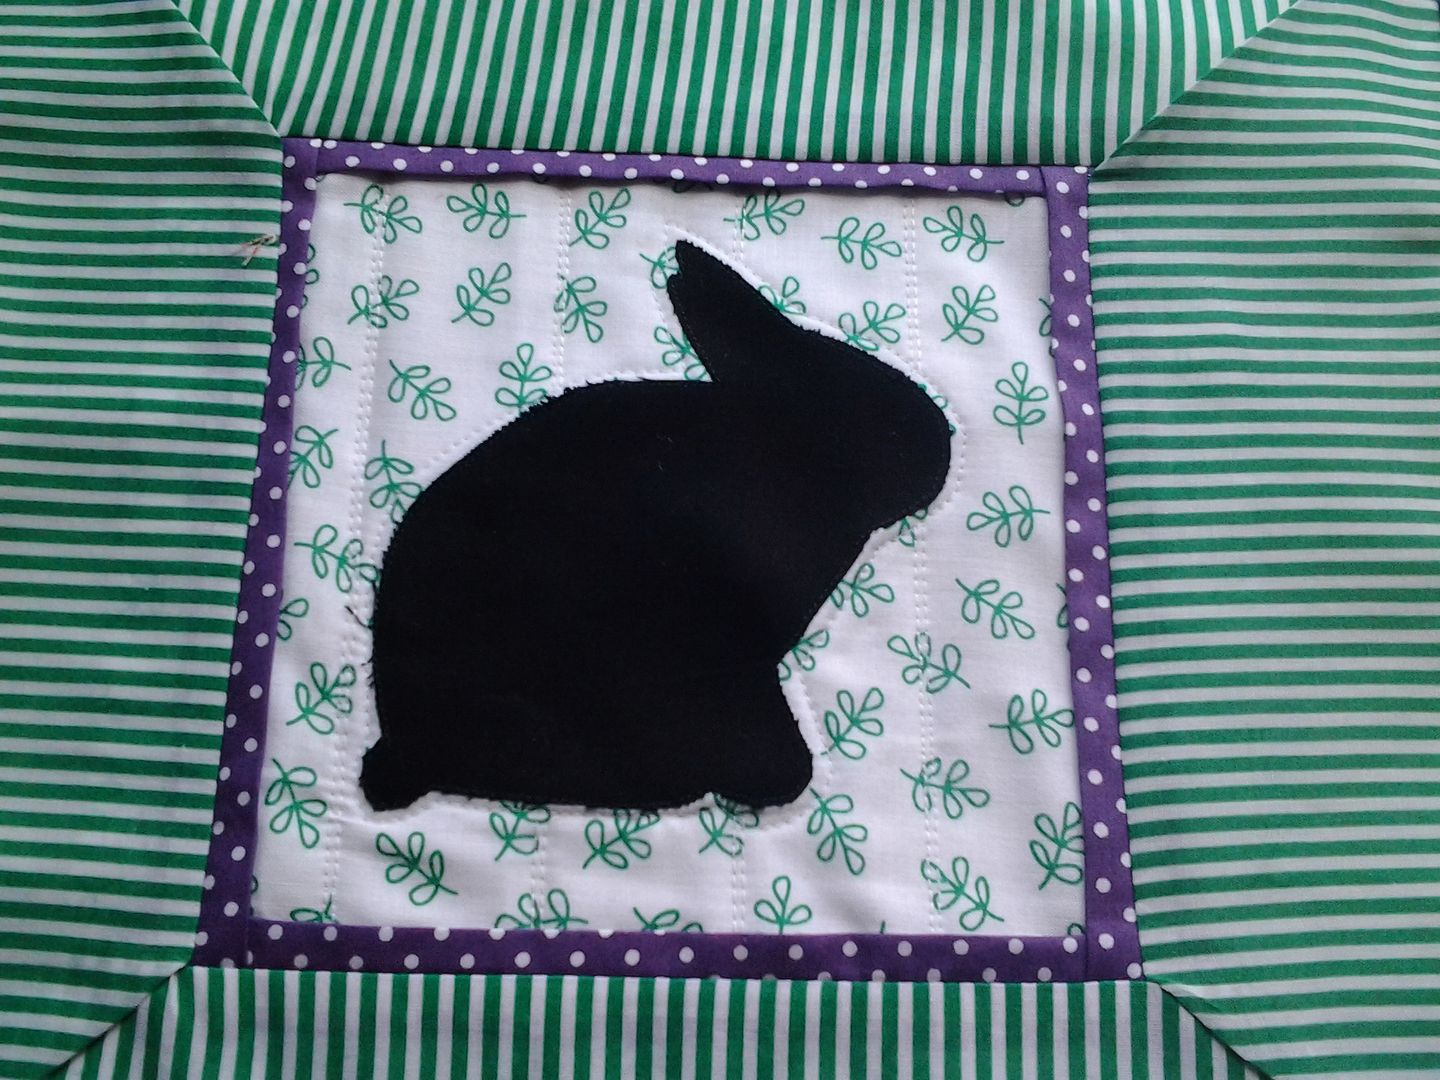
The project uses a photo of your pet or child to create a silhouette, though of course, you could use any picture you like. I chose Harry. He's a black bunny and he's little so I thought he'd work well, also the best photo for this technique that I had was of Harry. Sometimes my buns are in positions that would look odd in silhouette.
The project teaches raw edge applique (which of course I have done before), but also inset borders, mitred borders and twin needle quilting. I wanted to follow the project instructions exactly to really get a feel for the book. I printed Harry out smaller than required though (by accident!) so my Mini does end up smaller at 13.5" square rather than 17" square.
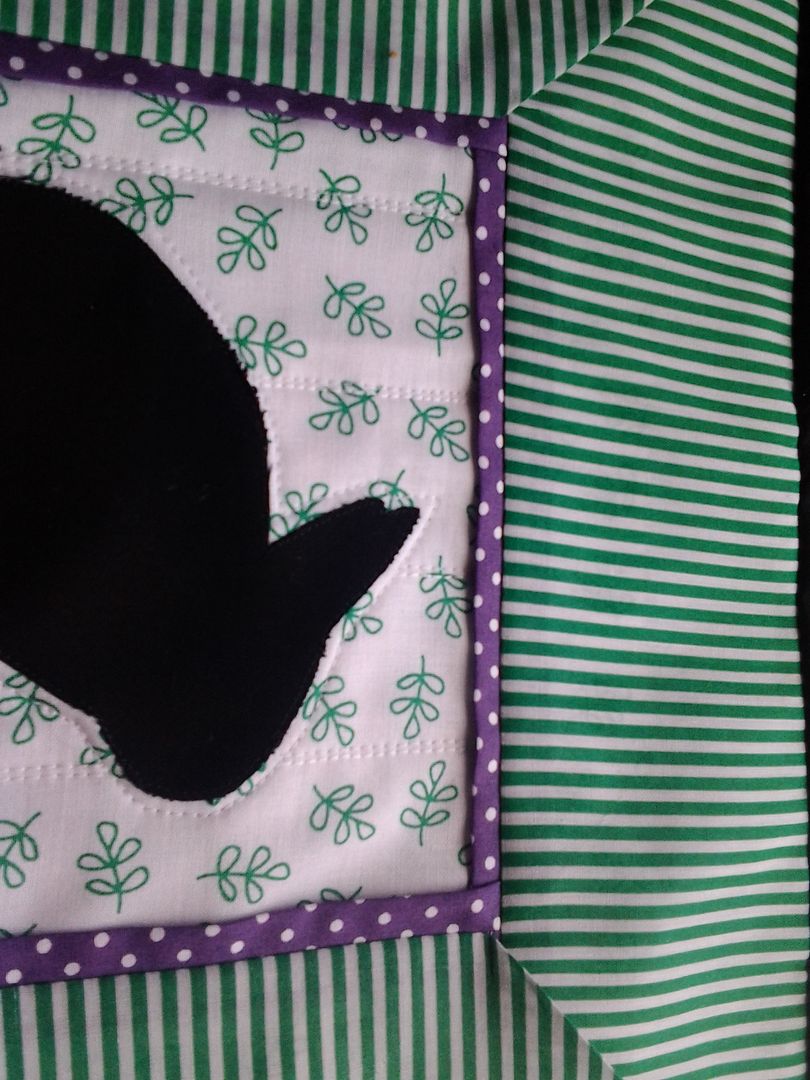
Overall, the instructions were pretty good. I found following them easy, though i struggled with the inset border as I found the instructions for this particular part too vague - "baste your inset border" - huh? Where? Pointing which way? Where do I stitch? I wung it and hope that I've got it right. I like the effect anyway. Oh, for those of you who don't know what an inset border is (I didn't), it's the purple dotty border. It's only attached to the green stripe, it's floating above the background.
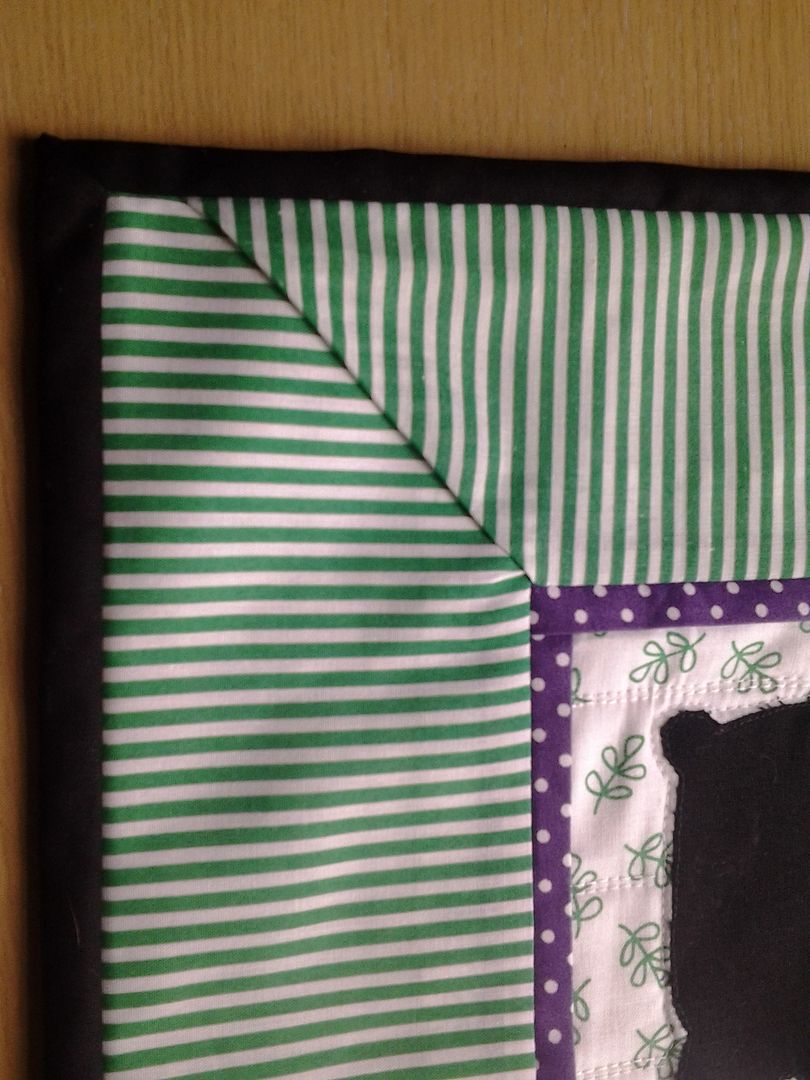
Despite the evidence above, the instructions for the mitred corners were better. The biggest issue I had was that it told you to stop stitching 1/4" from the edge of the background fabric. I couldn't get that. I'm sure it's quite simple, but I resewed some of these corners 3 times. And they're still crap. That's my fault though, I got impatient and just thought "sod it"!
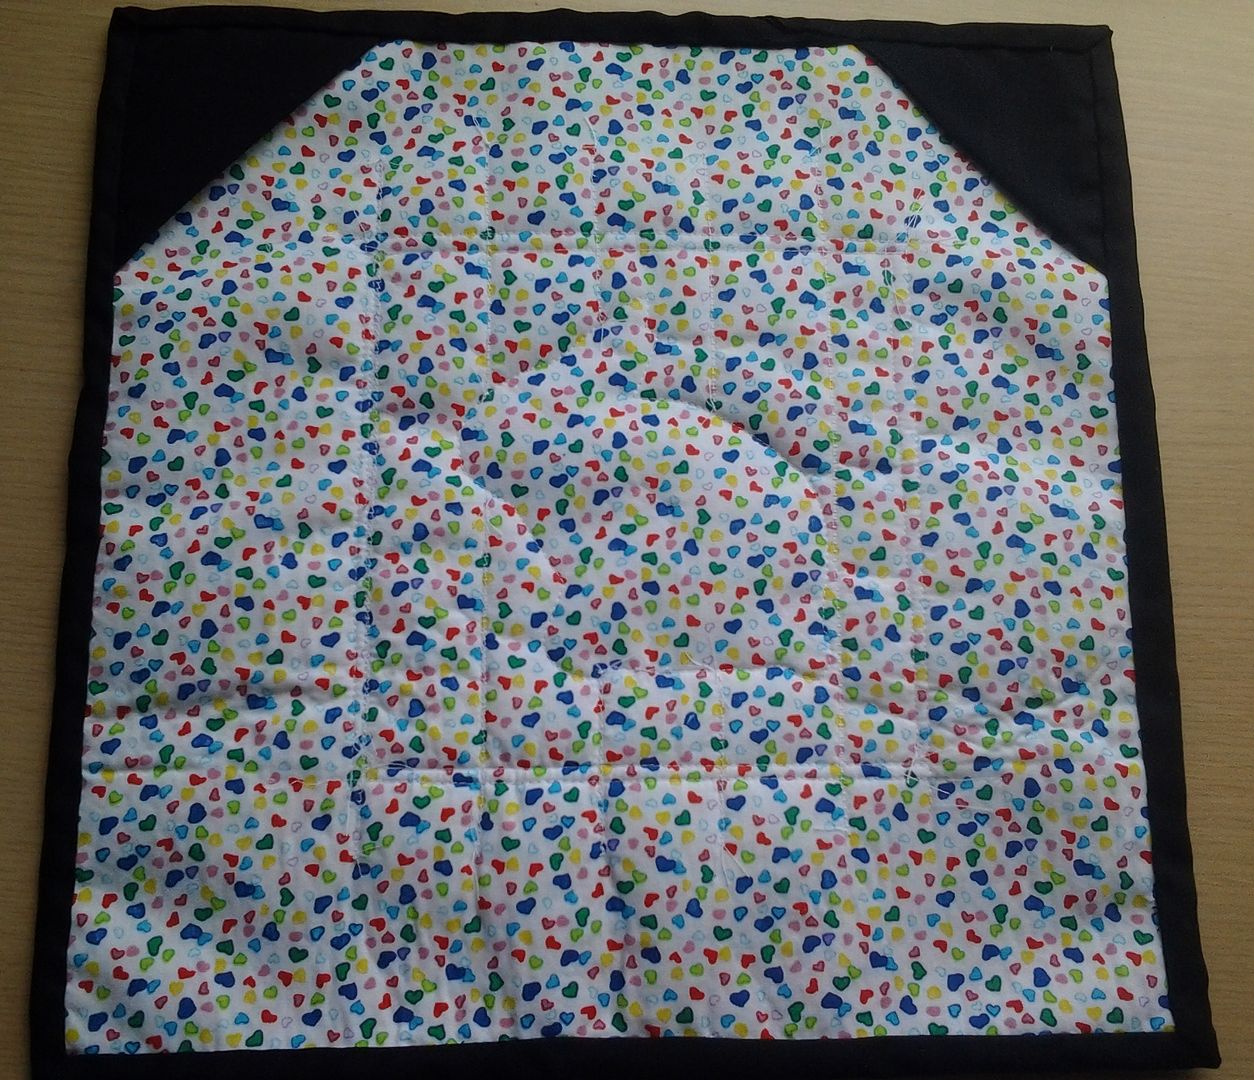
The book has instructions for putting a false back on the quilt as the twin-needle quilting isn't very attractive from behind. I wasn't worried about that as I plan to hang this mini, so just used some fugly fabric from my stash and left the quilting. I added corners so I can hang it, I've seen this done on other quilts, but now it's finished, I still don't know how to hang it using the corners!
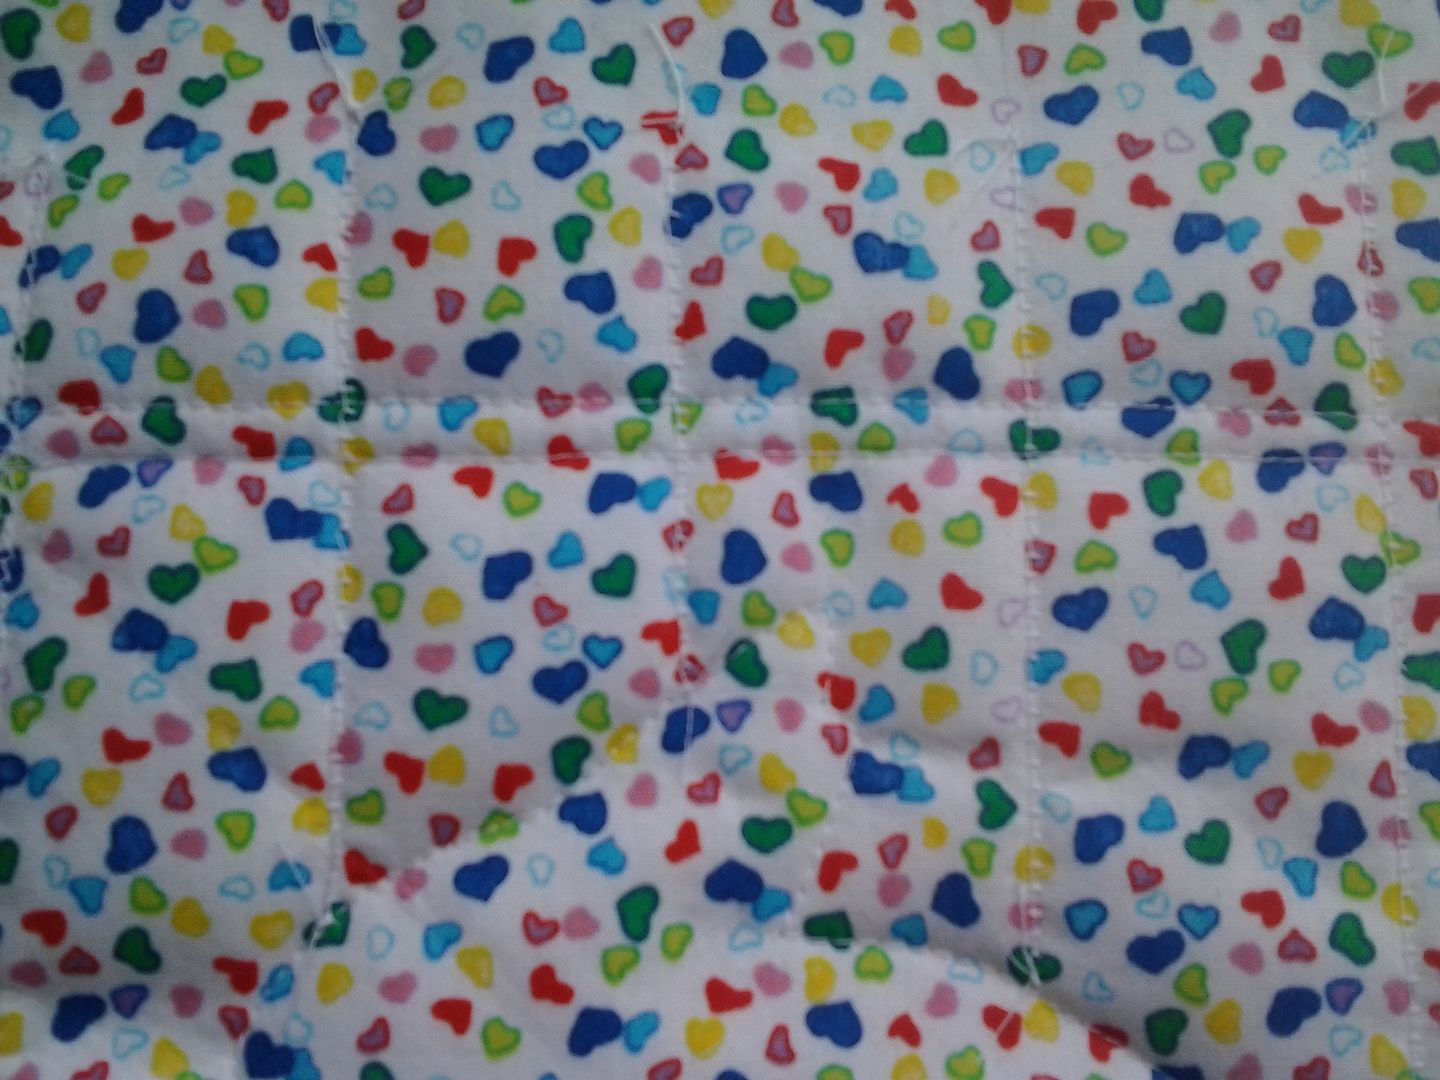
You can see the reverse of the twin needle quilting above. You can also see that I tied off all my quilting threads rather than back stitching as I usually do!
Overall, I like this book. I can see beyond the fabrics used and think that all the different techniques and skilled taught means this is a great book for an advanced beginner or intermediate quilter, though even advanced quilters would find something they hadn't tried. The instructions are a little lacking in places, but there are several pages dedicated to each project so mostly the projects are easy to follow. It's a book that I want to use again to try a few more techniques.
If you fancy having this book for your own library, keep an eye out as I'll be giving a copy away soon! (not my copy, I'm keeping that!)
The details:
- Paperback: 160 pages
- Publisher: Taunton (7 May 2014)
- Language: English
- ISBN-10: 1621137961
- ISBN-13: 978-1621137962
- Product Dimensions: 20.3 x 1 x 25.4 cm
Linking up to:
This month's theme is "small" - small for a mini and small for little Harry
Seriously, come and join in, there are prizes!

New for me - my first Mini quilt, inset borders, twin needle quilting
Disclaimer:
I was given a review copy of the book by GMC however this review and all opinions are 100% my own, I was not told what to say. Amazon links are affiliate links.

17 comments:
Nice stripe matching!! I'm terrified of trying my double needle, what a nit I am.
Practice makes perfect, they say... The more corners you do, the better you will get!
You've done a good review on this book Wendy, and really raised my interest, so I'll be looking for it.
I like your little quilted piece with bunny - and being black he really stands out from that lovely background fabric, doesn't he. Mitred corners can be a bit of a pain but once you've done one to your satisfaction you'll never look back! Well done! xoJoy
thanks for this review, was thinking amybe I should buy this and yes now I will, off to the FOQ in Birmingham next month so will look out for it there.
I've only done mitred corners like that once, I'll have to look it up again if I wanted to do them again. For the back, the dowel fits under the triangles and sits on the hook. I think I have one here, if you need to see a photo
I think you did a beautiful job! I love the fabrics you chose, they compliment each other so well :D
A very informative review of the Mini Quilt book and your quilt of your bunny turned out very nicely. I've done a couple of corners on the back like that on something and used a thin rod between them to hang.
The bunny is really sweet. The book looks fun too, but perhaps for another year when I've got a bit more time on my hands. Somehow there aren't enough hours in the day to do the projects I've already got on.
That book looks be quite ranging with lots of tips and inspiration. I like your rabbit mini quilt and I think the inset border creates a very nice effect :)
VERY nicely done Wendy, I love the silhouette of your Harry. I use the triangles on the back all the time - you put a small piece of dowel rod [cut to fit] or even a chopstick, and hang it from one nail. GREAT technique for hanging mini's. You also did a great job matching up the stripes - they terrify me, lol!!!!
That little bunny is so so cute! thanks for sharing on le challenge!
The silhouette of your bunny is lovely. The book looks really interesting - will look out for it in my local library.
LOVE the bunny!! Very cute finish, thanks for linking to le challenge!
very cute, I love the bunny!!!
That was a great review....thanks! I'm sure Harry would be quite proud of being the inspiration for a mini quilt.
I see someone told you about the dowel or rod for the back, but my question is what is twin needle quilting, do you have 2 needles inside your machine? Now I see why you like bunny fabric.
Wendy you always give such a comprehensive review. I love the mini bunny you made,it is so cute ! This just makes your point about updating the projects in the book.
Post a Comment