
Good morning ladies. You may have noticed I haven't been commenting on your blogs or replying to your emails and that's because I've been on holiday, to a destination without Wifi! Yes, such a place does exist and no, it wasn't Mongolia (where they do have the internet as I've emailed from Ulan Bataar). Me and the lovely mum went for a week of craft at The Manor House Hotel.
It's a hotel near Okehampton in Devon which caters for lovers of golf, tennis, other sports and craft. I guess it's a great family destination, but is also good for people who want to spend their holidays doing activities. As it was term time, there were only 2 children there, a lot of older people and us. The place was rammed. You get three meals a day as I think most people stay within the grounds, most unusual for me and mum who are used to going to places where we stay self catering or B&B and spend our days exploring.
I'm going to do a series of posts this week, each one showcasing one of the activities we did, and some were a little unusual so I hope you enjoy!
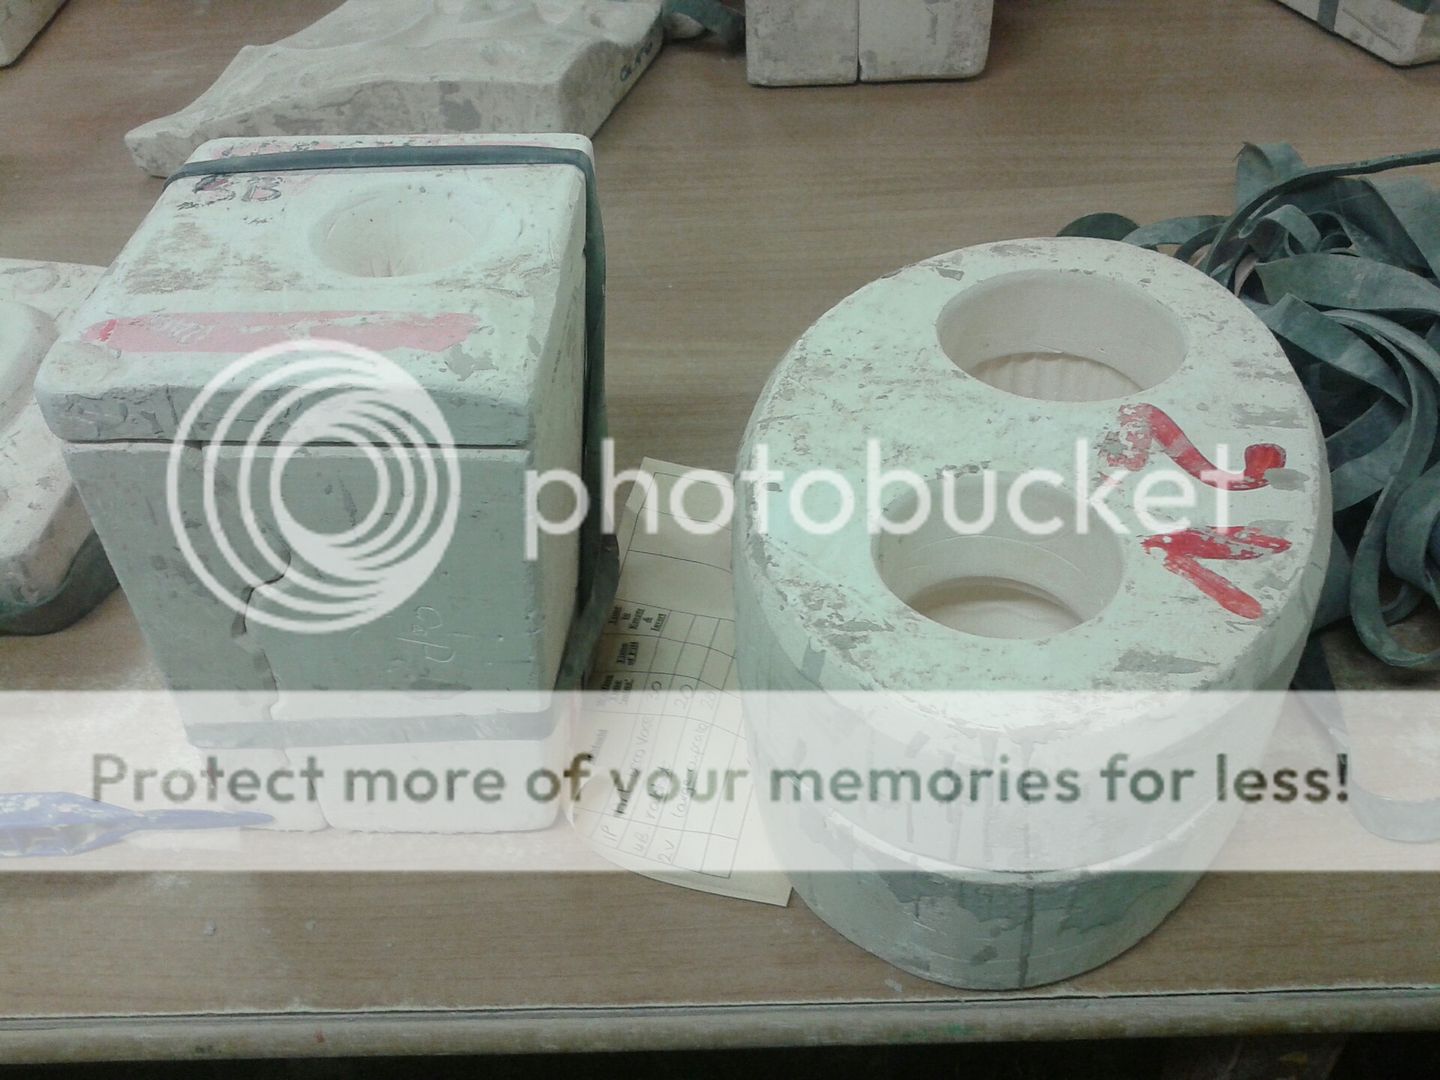
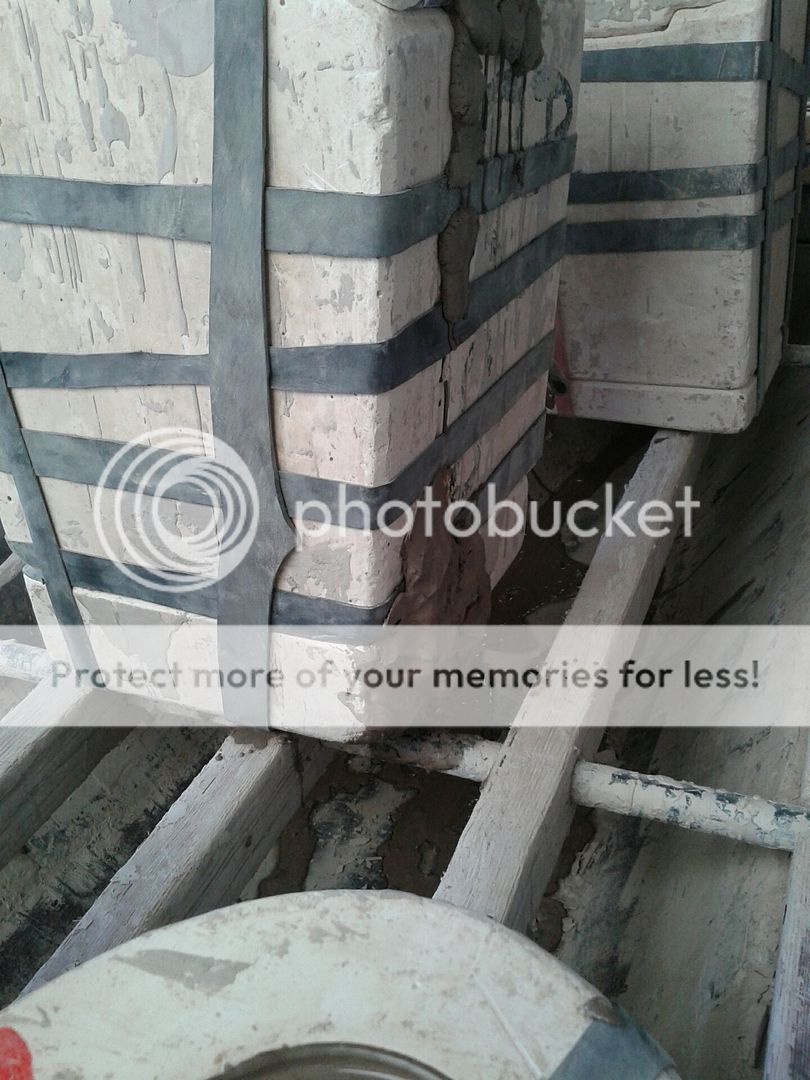
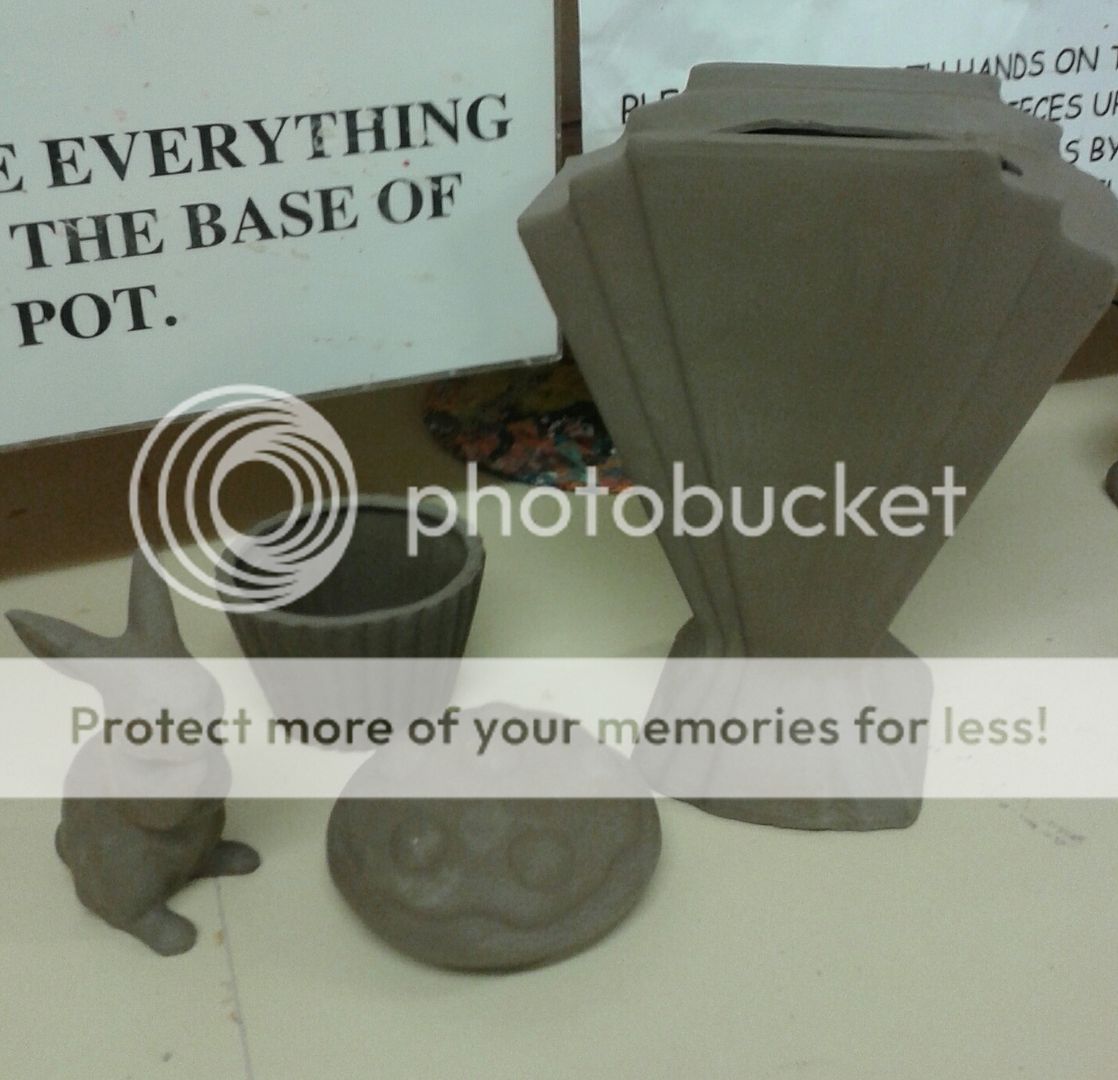
We started with pottery. This was two sessions, but I've put them into the same post. We started with slip casting. This involved choosing 3 moulds that we wanted to cast. My choices were a cupcake trinket box (below right), and Art Deco vase (not pictured here) and a rabbit (below left). As you can see, the moulds were massive.
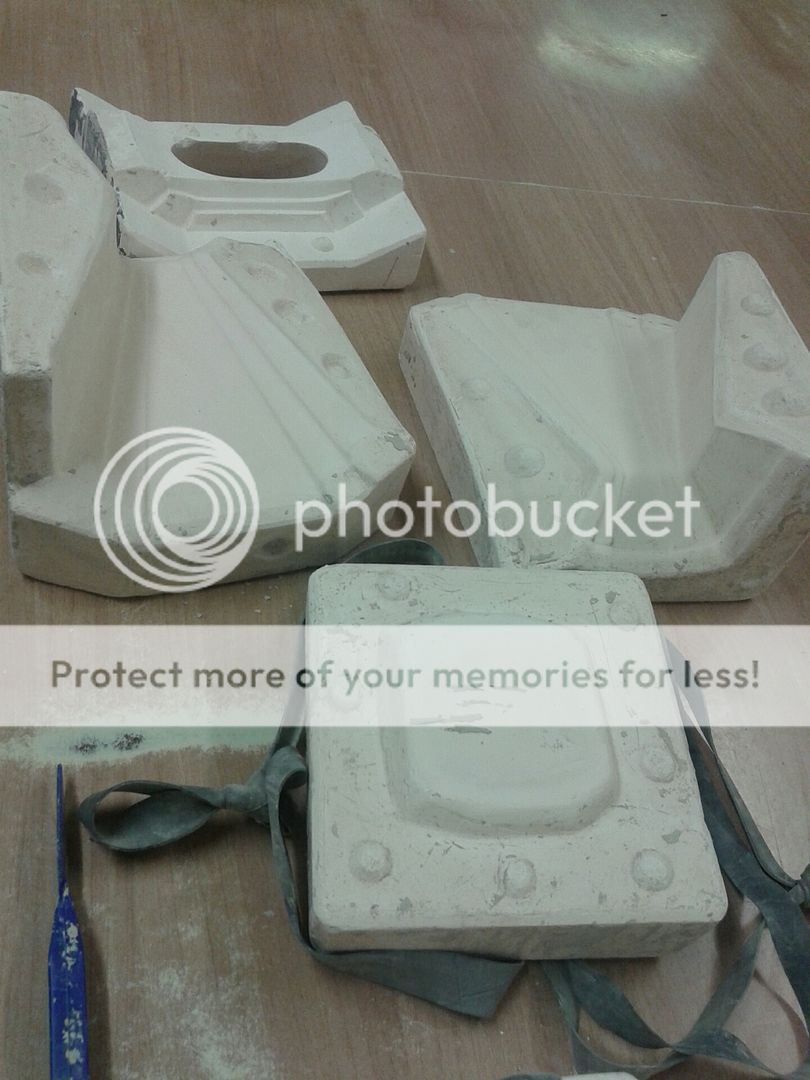
We started by taking them apart and cleaning out dried on clay using a little plastic tool. This is the Art Deco mould taken to pieces - 4 pieces in this case.
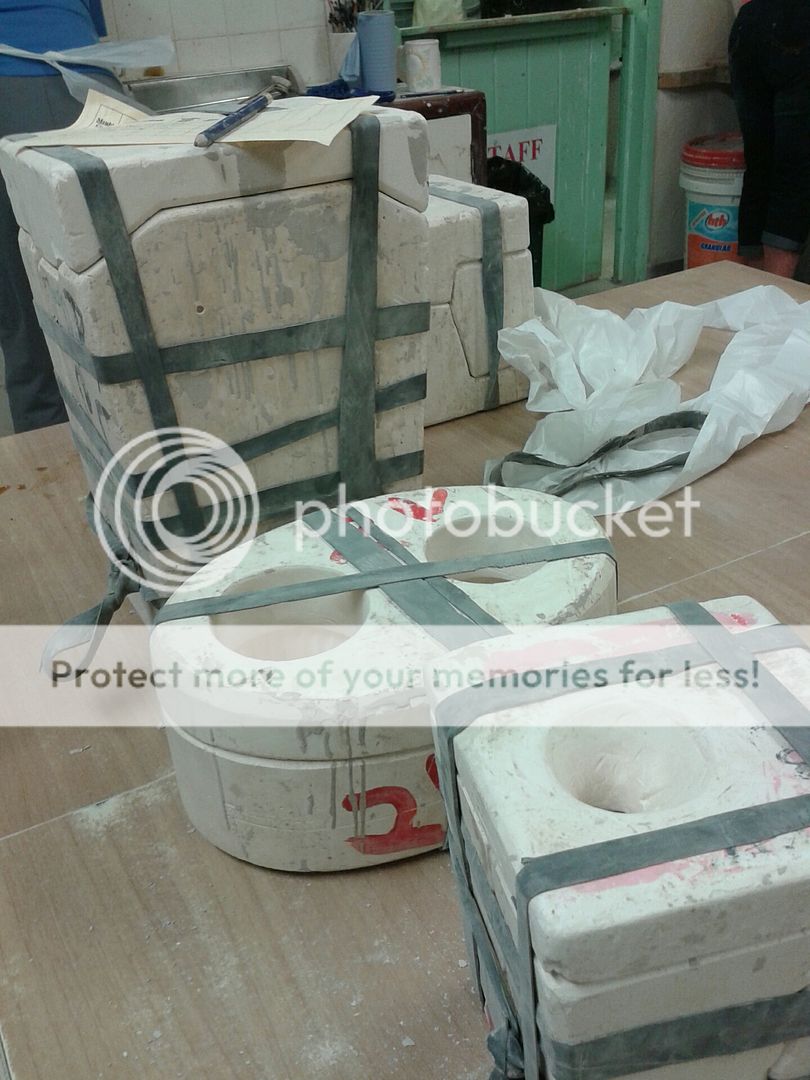
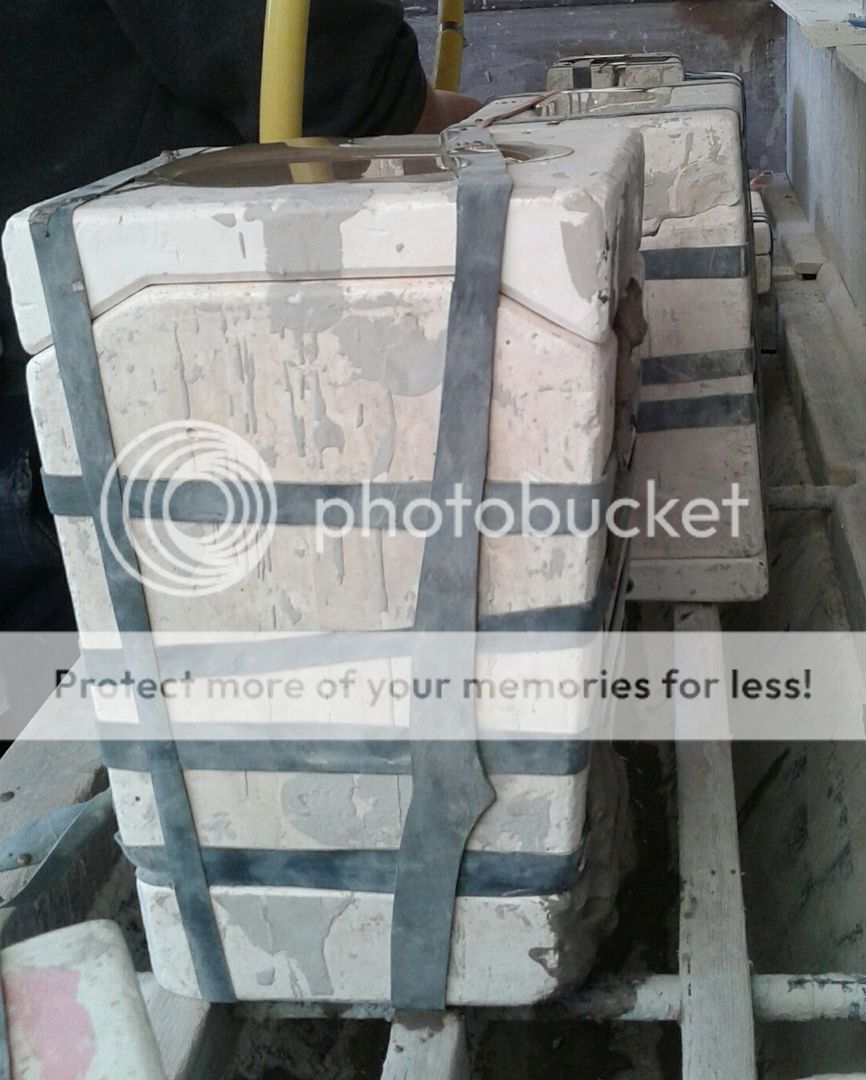
Once clean, we put the moulds back together and secured them with big elastic bands, making sure they were nice and tight.
Then we moved over to the slip casting area. I couldn't get photos whilst I was doing this as it was rather messy. The moulds sit above a trench for the waste slip and the slip comes out of a trigger gun to fill the moulds. Slip is a mixture of clay and water (I think!), so it's sloppy, heavy and grey. We filled the moulds to the top and left them for 20-35 minutes depending on the size of the mould.
My Art Deco vase was leaking as I was filling it so required shoring up with lots of clay, it took me ages to plug the gaps!
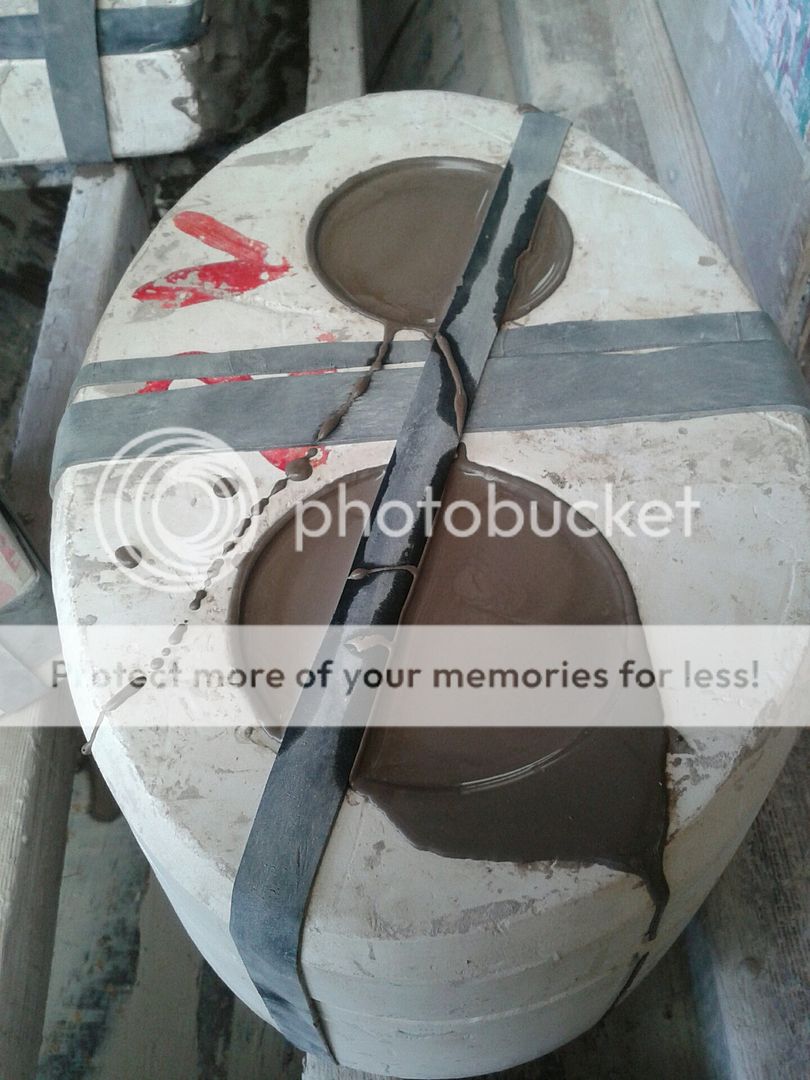
Here's my cupcake mould filled up and drying, the slip is turning a brown colour. After the prescribed time, I had to empty it out and leave it to drain. As the slip had started to dry, this leaves a cast round the edge of the mould.
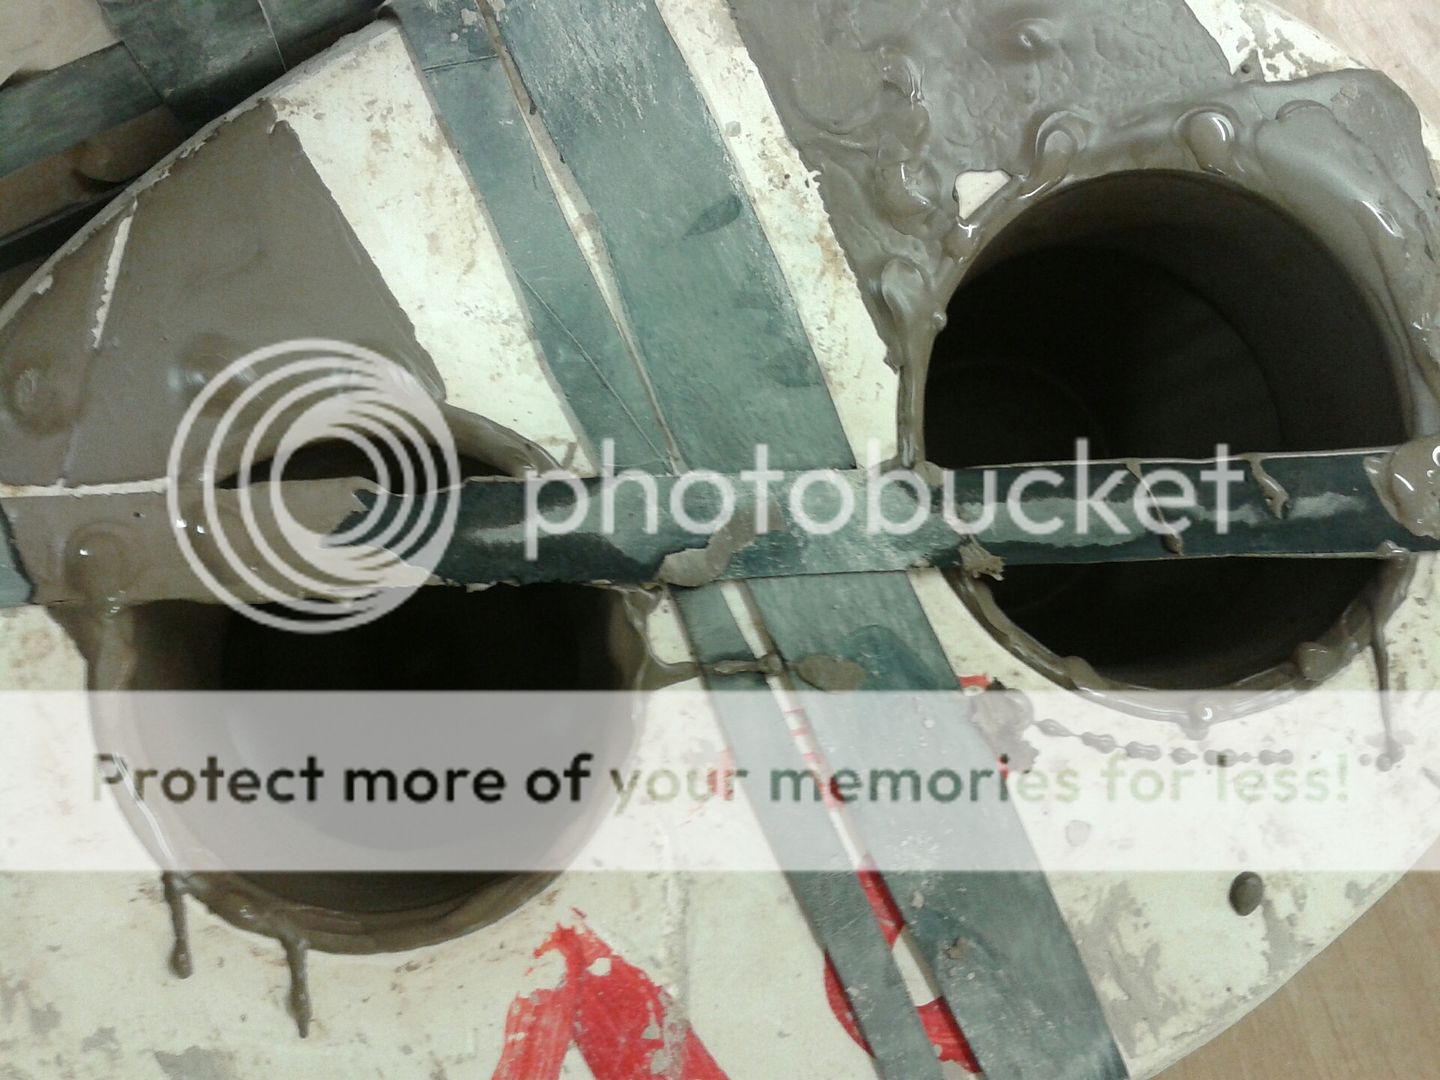
Emptying the moulds was very messy!
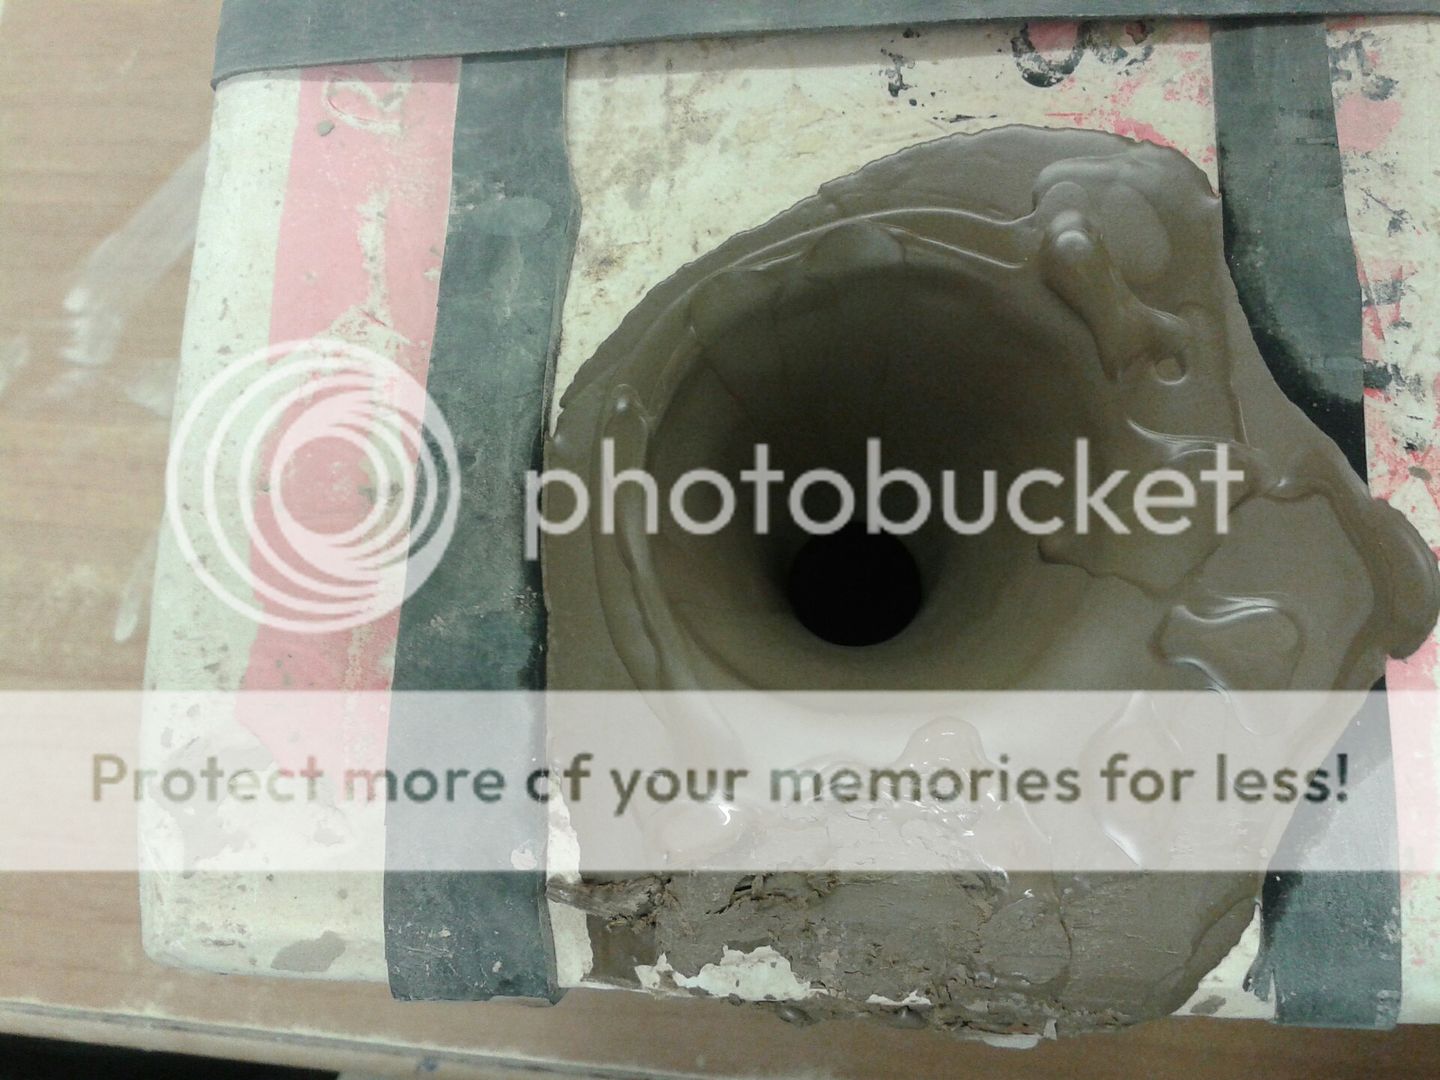
And here it is all emptied. At this point we had to leave them to dry a bit more, so we had a demonstration of using a potter's wheel. I didn't get any photos of this I'm afraid. We had a go on the wheels, but me and mum were on different wheels at the same time so neither of us have any shots of us trying it out. I actually managed to make a pot, but didn't heed the tutor's advice to stop when you're happy and carried on a bit too long - the pot collapsed. I really enjoyed working on the wheel and we're going to take some classes at a local potter's studio where they offer wheel work.
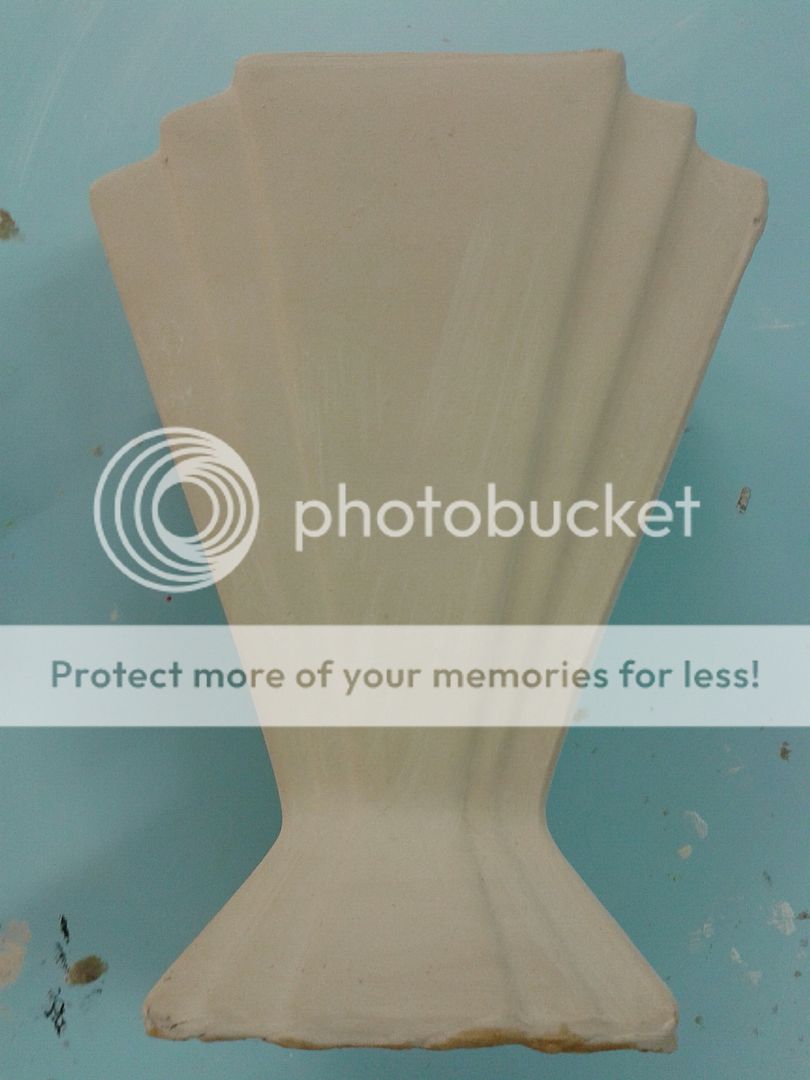
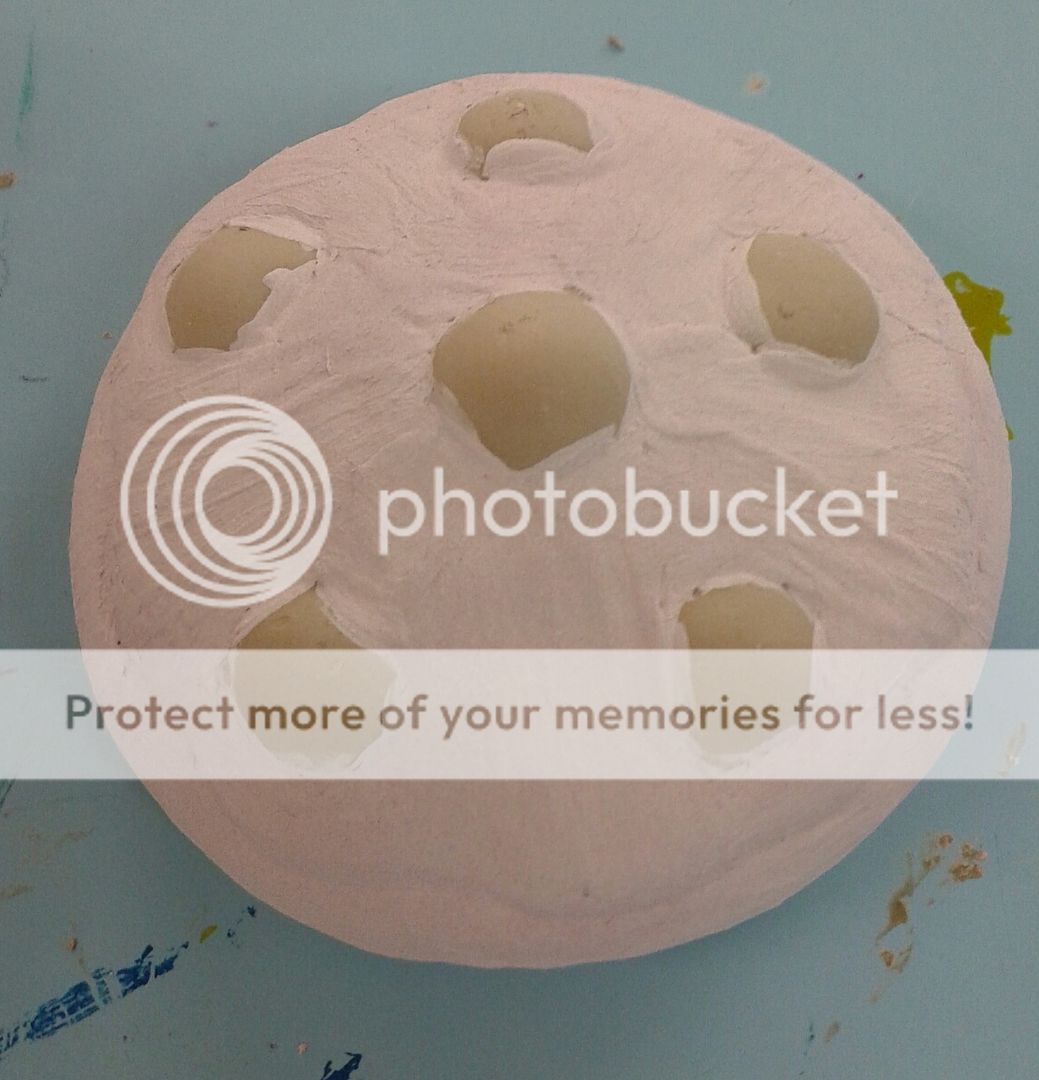
When the moulds are dry it's time to carefully take them apart and fish out the cast object. They are very fragile and soft at this point. The lines you see are the mould lines.
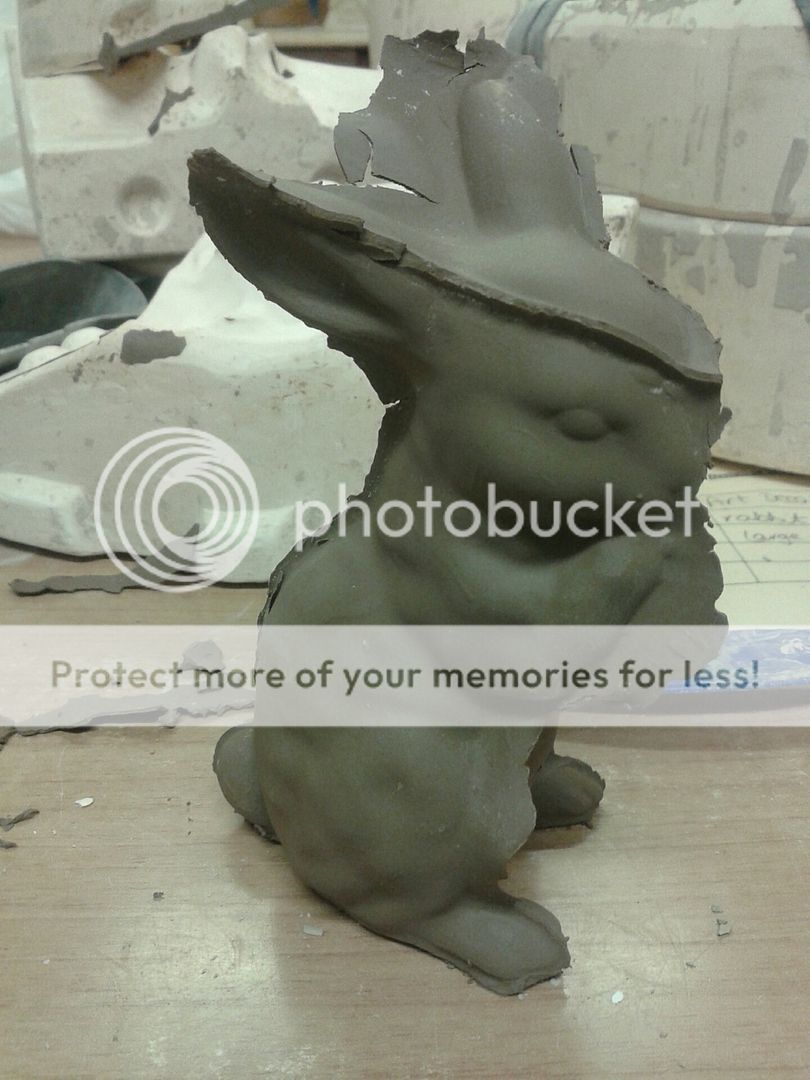
These excess bits of clay and lines had to be removed with a sharp knife, this is called fettling and is not easy on the soft clay! All seam lines are then rubbed over gently with a damp sponge to blend the lines into the piece. The cast objects were then left to dry on top of a kiln overnight.
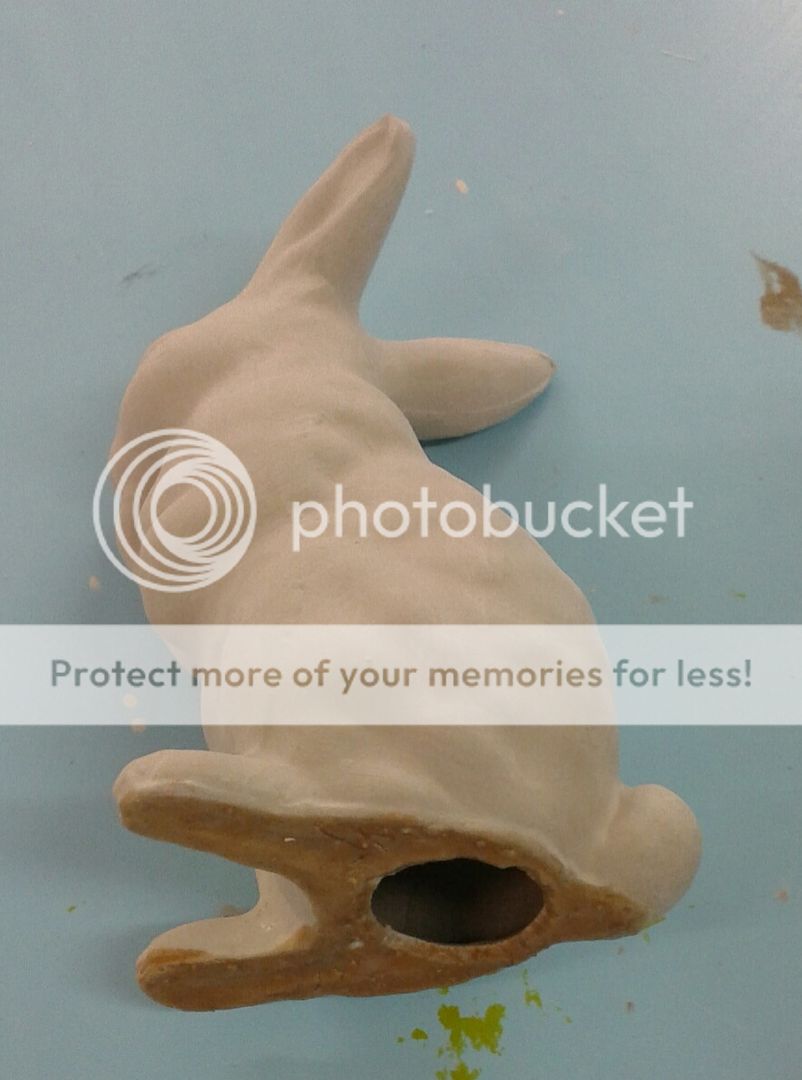
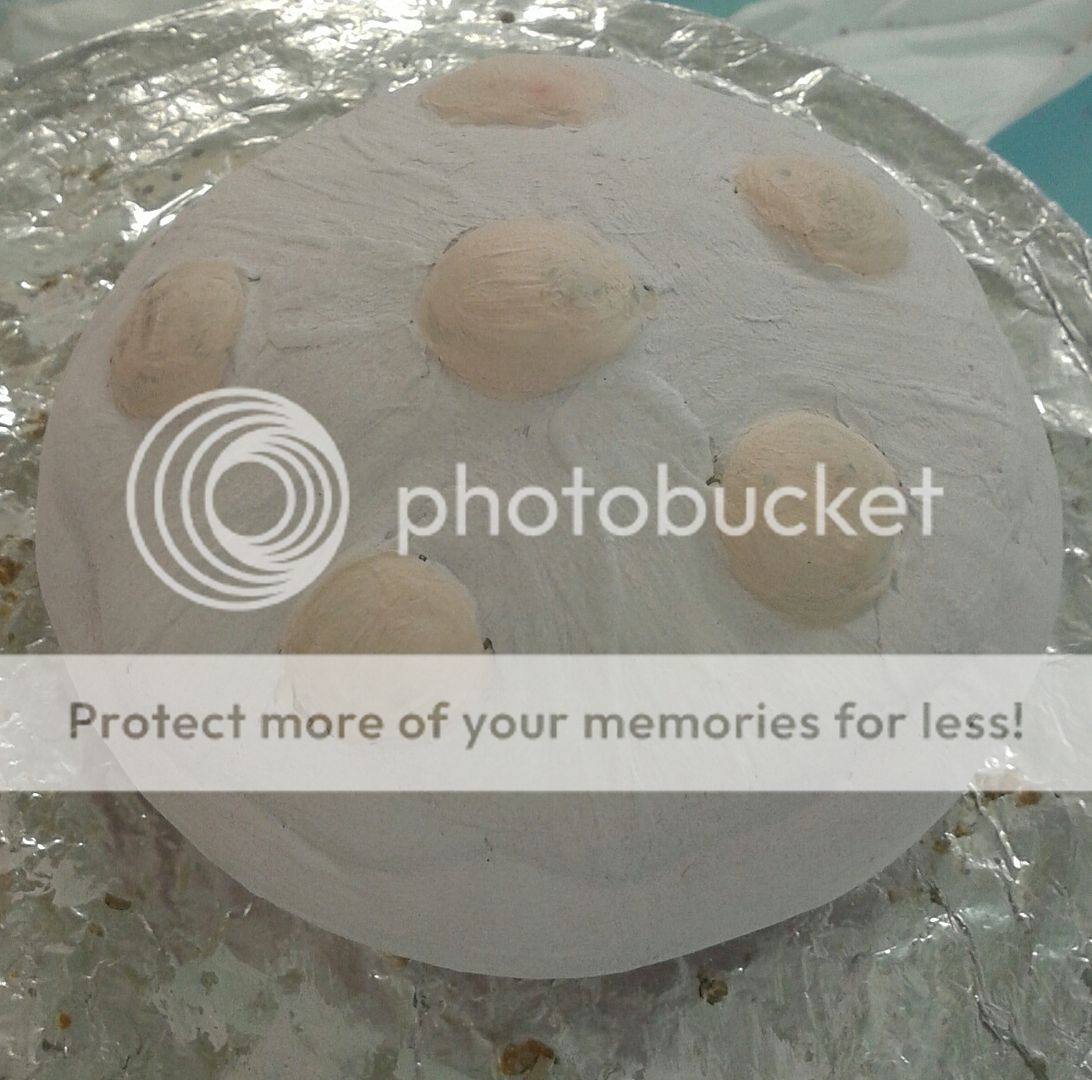
The next day we went to the next session. Our pieces were dry but very, very fragile. We were to under glaze them, but I decided to leave the bunny un-coloured which meant that after dipping in glaze by the staff, he would be fired and turn out white. I painted on a layer of wax to the bottom to stop the glaze from taking so he wouldn't get stuck to the kiln shelf.
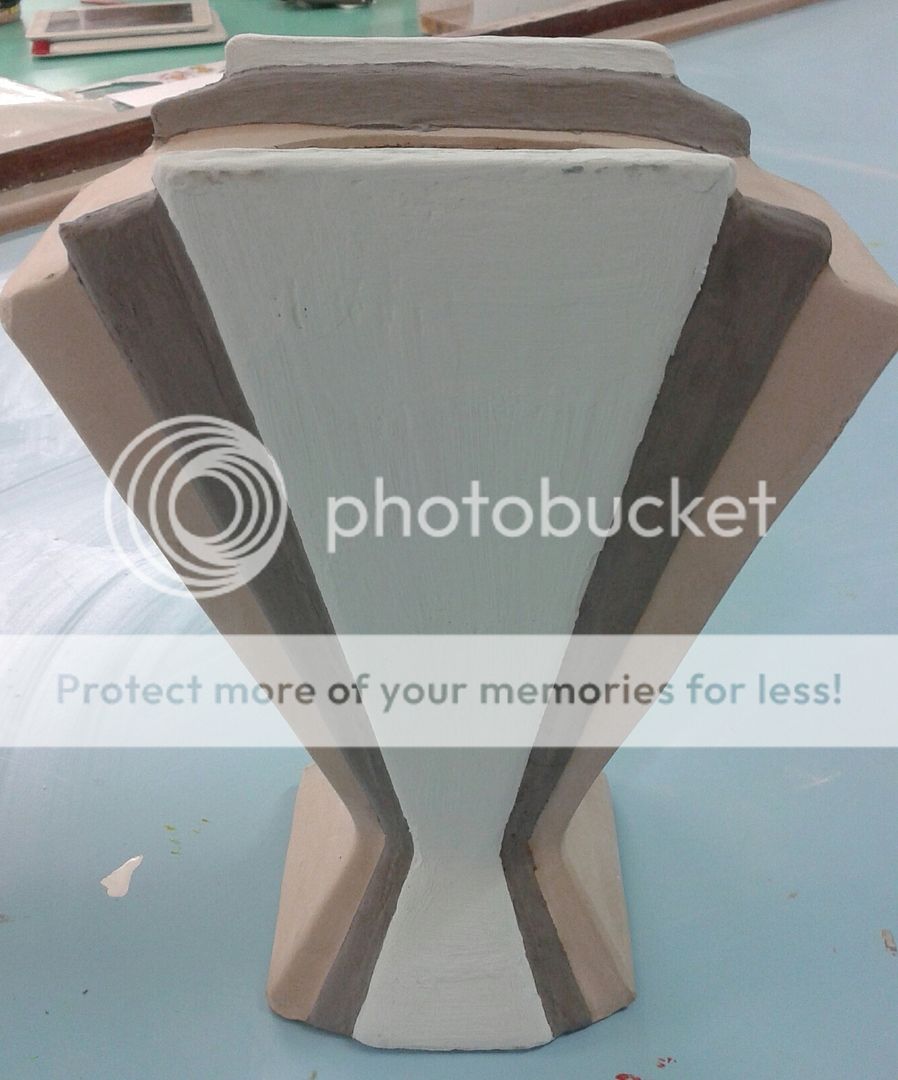
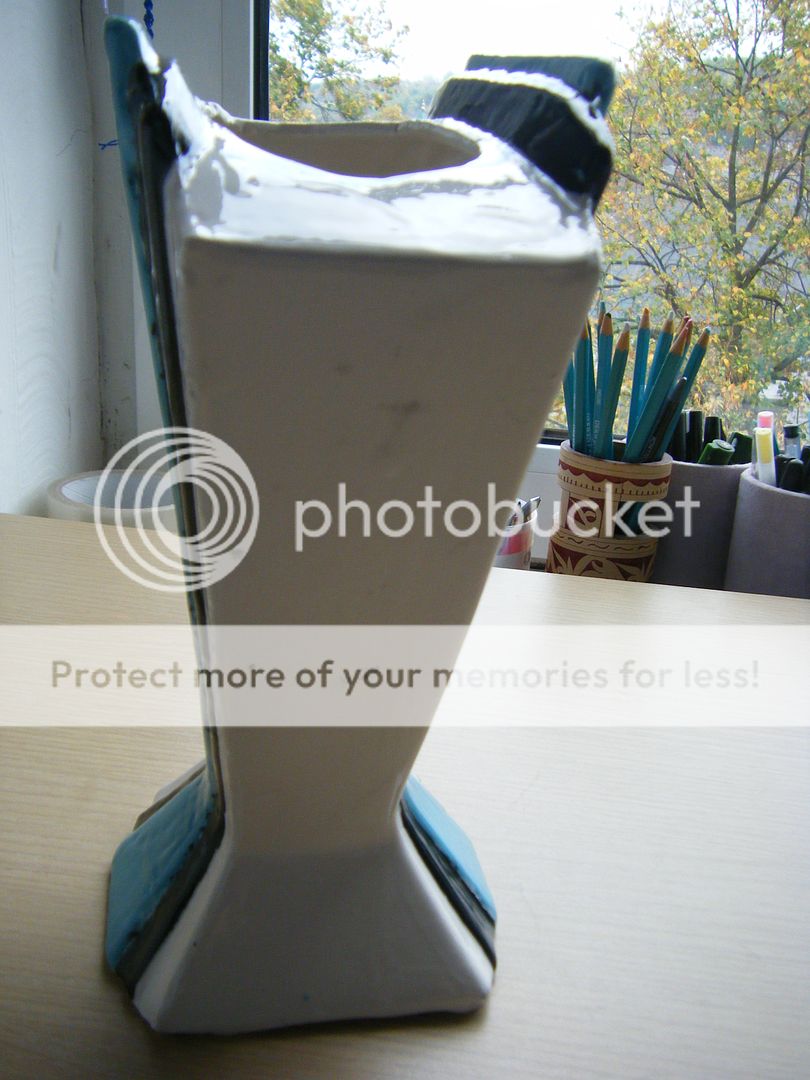
I wanted to glaze the Art Deco vase in an Art Decoey way.
I used masking tape and carefully painted the middle section turquoise. The colours of the glaze were not the same as the finished colours would be so this took some imagination. You had to do three layers, as even as possible or streaks would show. It was really hard as the glaze was all powdery and unpleasant to paint with.
Then I added the cherries in a mix of red and white and make pink. They were so hard to paint evenly.
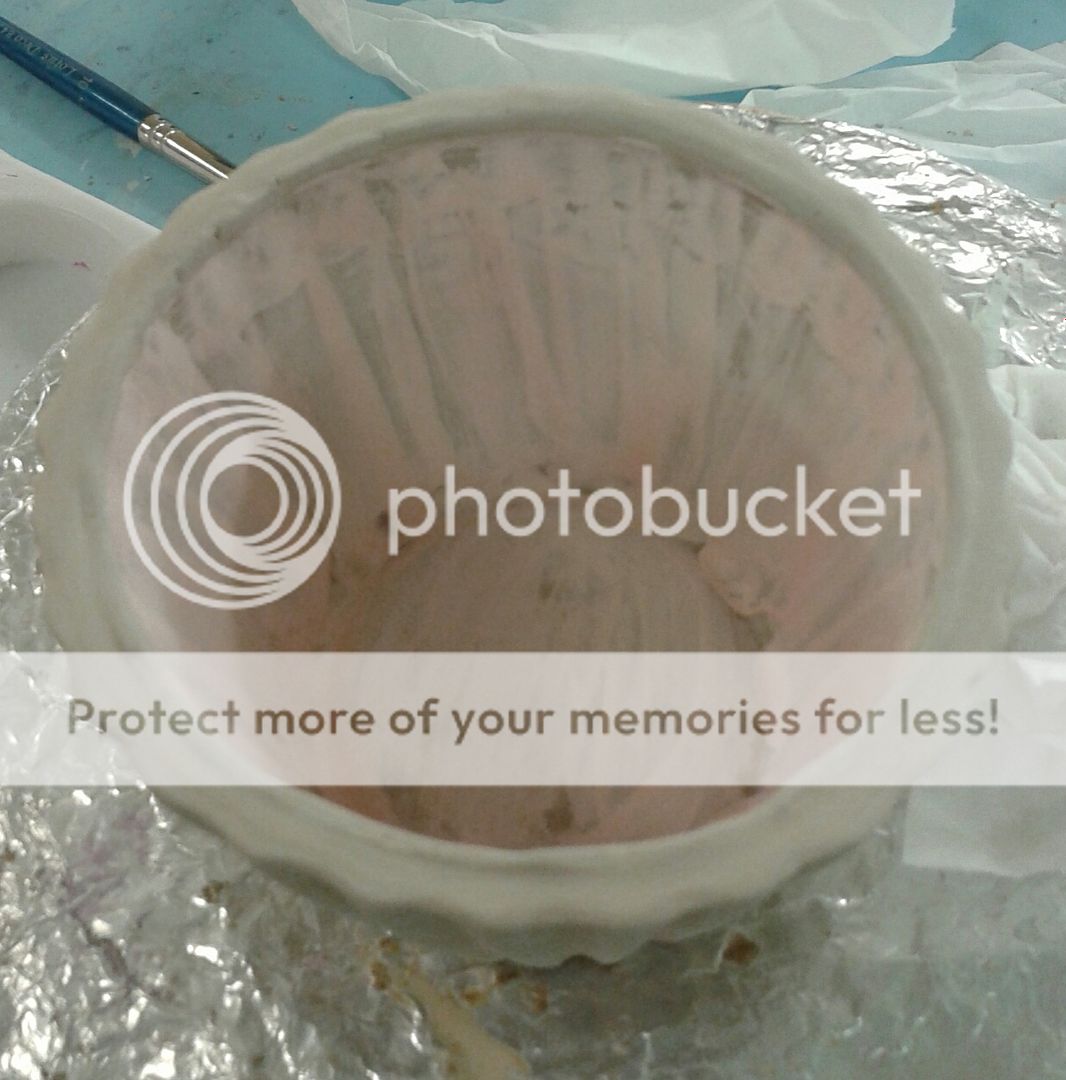
I had a go at the sponging technique on the inside using the purple and pink. It looked so effective on the example pieces we were shown. The brown rim is the wax that we used to stop the pieces sticking to the kiln shelves.

As you can see, the underglaze looks dreadful, this picture below was after three coats. It really was unpleasant to paint with. The whole thing (I painted the two items, mum also painted another vase) took us 4 hours!
The glaze chipped off one of the edges and there is a crack down one side - this can happen if you put more than four layers of glaze on, which I suspect I did by accident. As you can see, the sponging technique did not work well!
Despite the dubious success of my pieces, I had a great time and loved pottery (with the exception of underglazes!!), I do intend to do some more pottery.
Wow, that was a long post! I'll be back tomorrow with talk of enamelling (and a shorter post!).
Slip casting, painting with underglazes and wheel work are all new to me, so I'll be linking up with Something New for 2014

It's a hotel near Okehampton in Devon which caters for lovers of golf, tennis, other sports and craft. I guess it's a great family destination, but is also good for people who want to spend their holidays doing activities. As it was term time, there were only 2 children there, a lot of older people and us. The place was rammed. You get three meals a day as I think most people stay within the grounds, most unusual for me and mum who are used to going to places where we stay self catering or B&B and spend our days exploring.
I'm going to do a series of posts this week, each one showcasing one of the activities we did, and some were a little unusual so I hope you enjoy!
We started with pottery. This was two sessions, but I've put them into the same post. We started with slip casting. This involved choosing 3 moulds that we wanted to cast. My choices were a cupcake trinket box (below right), and Art Deco vase (not pictured here) and a rabbit (below left). As you can see, the moulds were massive.

We started by taking them apart and cleaning out dried on clay using a little plastic tool. This is the Art Deco mould taken to pieces - 4 pieces in this case.

Once clean, we put the moulds back together and secured them with big elastic bands, making sure they were nice and tight.

Then we moved over to the slip casting area. I couldn't get photos whilst I was doing this as it was rather messy. The moulds sit above a trench for the waste slip and the slip comes out of a trigger gun to fill the moulds. Slip is a mixture of clay and water (I think!), so it's sloppy, heavy and grey. We filled the moulds to the top and left them for 20-35 minutes depending on the size of the mould.

My Art Deco vase was leaking as I was filling it so required shoring up with lots of clay, it took me ages to plug the gaps!

Here's my cupcake mould filled up and drying, the slip is turning a brown colour. After the prescribed time, I had to empty it out and leave it to drain. As the slip had started to dry, this leaves a cast round the edge of the mould.

Emptying the moulds was very messy!

And here it is all emptied. At this point we had to leave them to dry a bit more, so we had a demonstration of using a potter's wheel. I didn't get any photos of this I'm afraid. We had a go on the wheels, but me and mum were on different wheels at the same time so neither of us have any shots of us trying it out. I actually managed to make a pot, but didn't heed the tutor's advice to stop when you're happy and carried on a bit too long - the pot collapsed. I really enjoyed working on the wheel and we're going to take some classes at a local potter's studio where they offer wheel work.

When the moulds are dry it's time to carefully take them apart and fish out the cast object. They are very fragile and soft at this point. The lines you see are the mould lines.

These excess bits of clay and lines had to be removed with a sharp knife, this is called fettling and is not easy on the soft clay! All seam lines are then rubbed over gently with a damp sponge to blend the lines into the piece. The cast objects were then left to dry on top of a kiln overnight.

The next day we went to the next session. Our pieces were dry but very, very fragile. We were to under glaze them, but I decided to leave the bunny un-coloured which meant that after dipping in glaze by the staff, he would be fired and turn out white. I painted on a layer of wax to the bottom to stop the glaze from taking so he wouldn't get stuck to the kiln shelf.

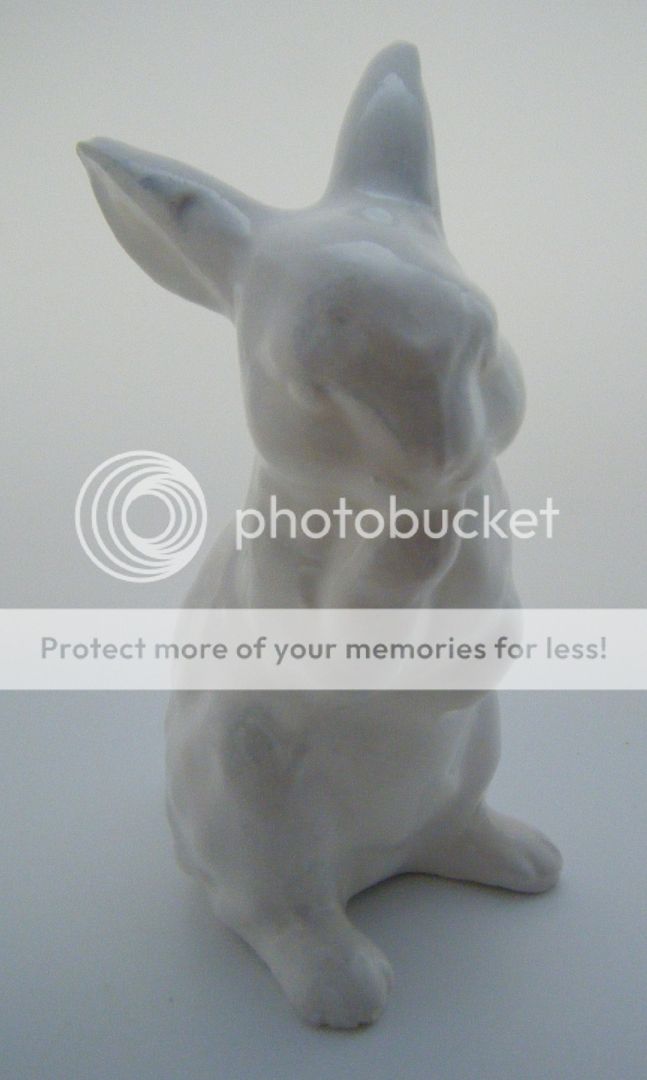
When we collected them on the Wednesday, I discovered my pure white bunny had blobs of blue on him! No idea where they came from. I also hadn't done as great a job of blending the seam lines as I thought, but never mind, he's my first piece of slip casted pottery and I like him!


I used masking tape and carefully painted the middle section turquoise. The colours of the glaze were not the same as the finished colours would be so this took some imagination. You had to do three layers, as even as possible or streaks would show. It was really hard as the glaze was all powdery and unpleasant to paint with.

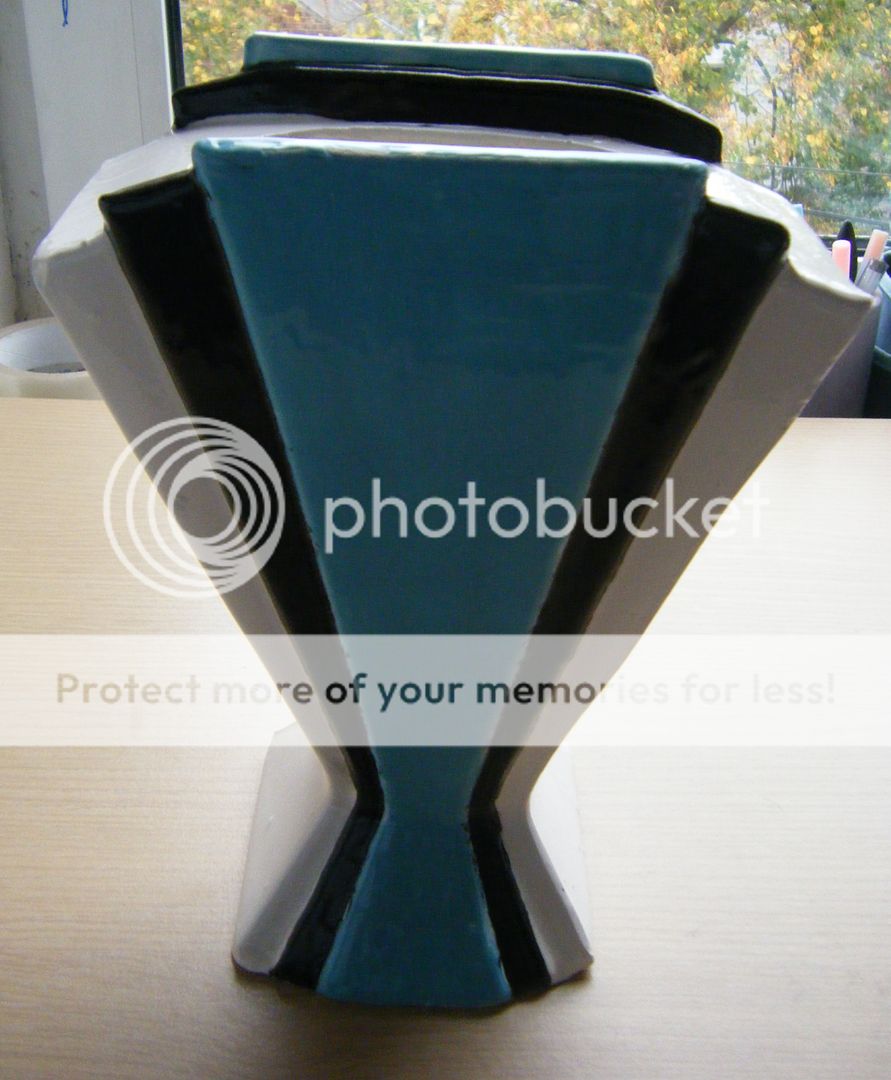
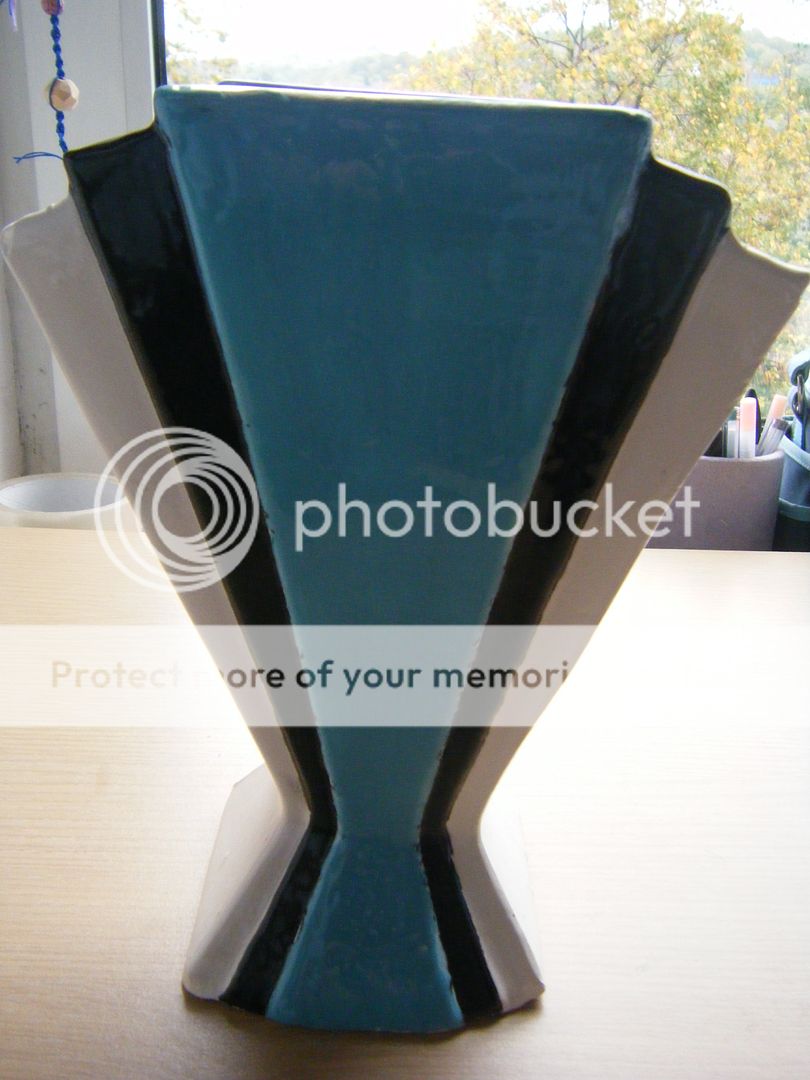
I did the middle fans with black and left the rest white. As you can see below, it didn't turn out great. There were random black splodges on the sides and the turquoise bits and the paint was uneven.

If we'd realised how horrible the underglazes would be to work with, we'd have had them fired and then painted them with porcelain paints, but we didn't know how it would turn out. I'm glad we tried it though.

I've bought a couple of pots of porcelain paint and I'm going to attempt to paint over the black and turquoise parts to touch it up. I may then paint the white bits white, but I want to see how the paints feel first! It is a fully-functioning, waterproof vase so it's not the end of the world, but I am a little disappointed.

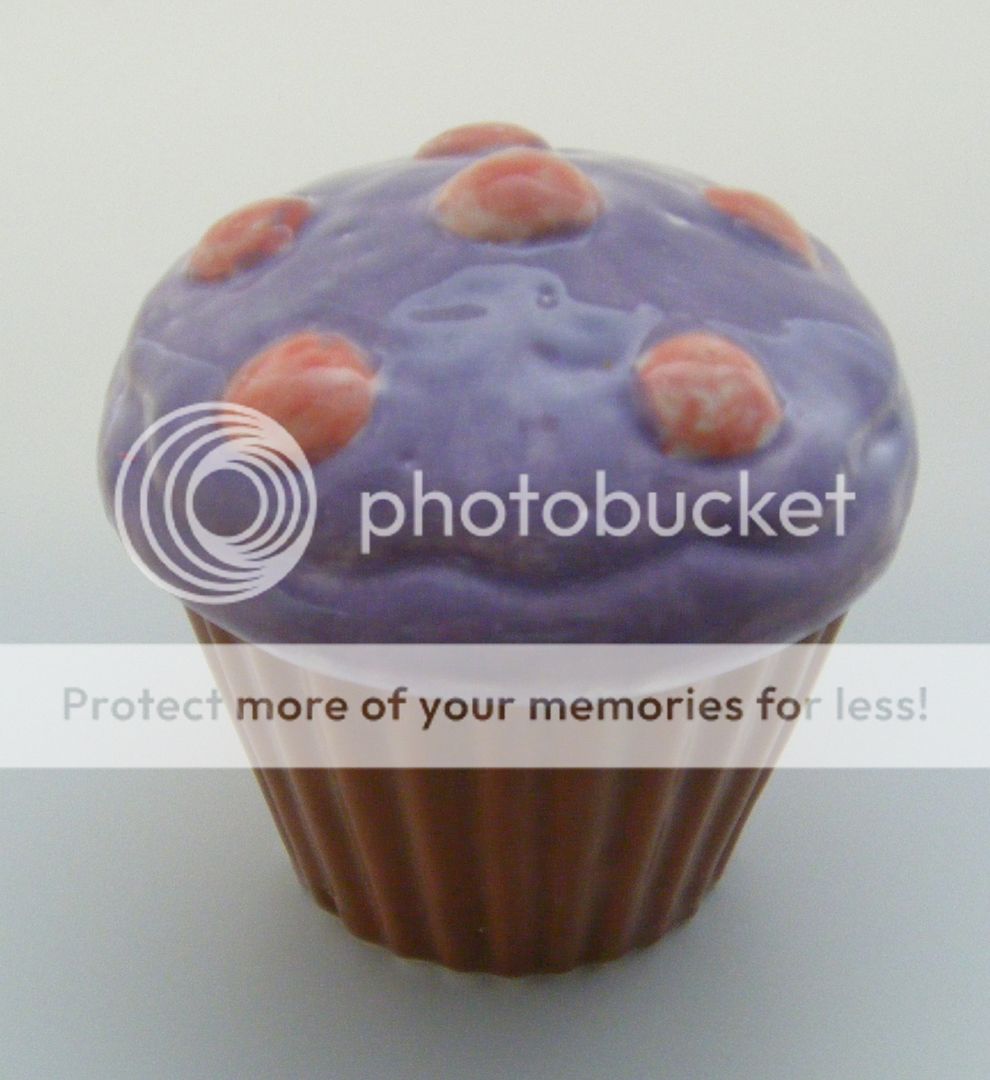
My final piece was the cupcake trinket box. I painted the top with the underglazes, this is actually purple!

Then I added the cherries in a mix of red and white and make pink. They were so hard to paint evenly.

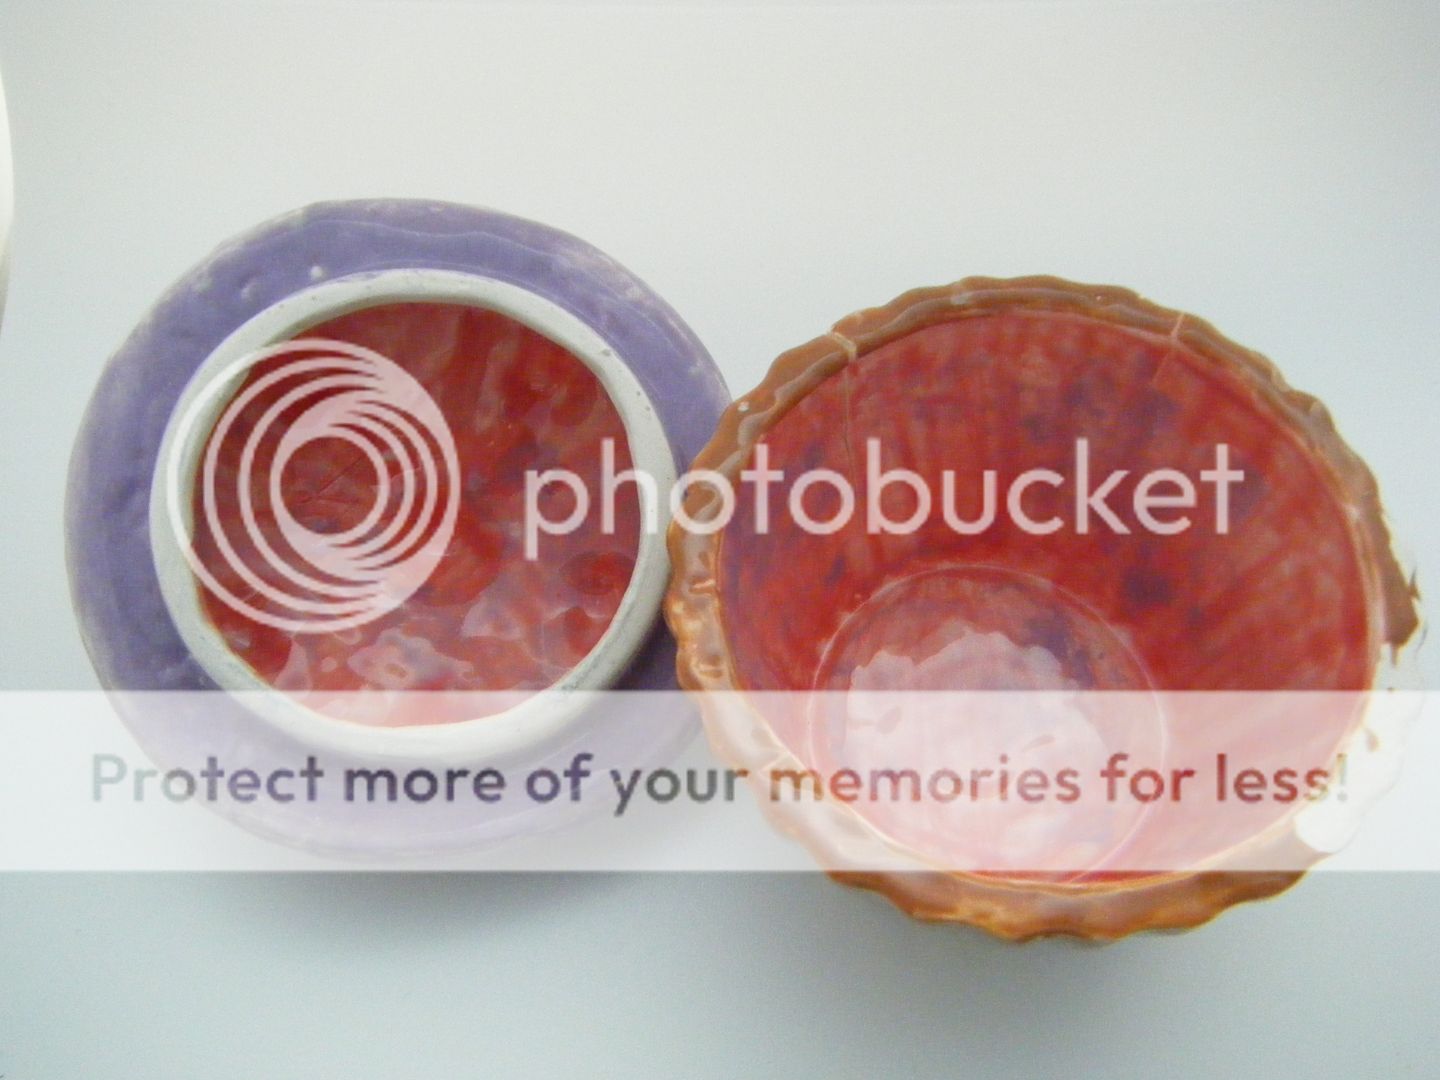
I had a go at the sponging technique on the inside using the purple and pink. It looked so effective on the example pieces we were shown. The brown rim is the wax that we used to stop the pieces sticking to the kiln shelves.

As you can see, the underglaze looks dreadful, this picture below was after three coats. It really was unpleasant to paint with. The whole thing (I painted the two items, mum also painted another vase) took us 4 hours!

And here's the finished piece. Again, not brilliant, but it's for me to keep my bracelets in so it doesn't really matter.

The glaze chipped off one of the edges and there is a crack down one side - this can happen if you put more than four layers of glaze on, which I suspect I did by accident. As you can see, the sponging technique did not work well!

Despite the dubious success of my pieces, I had a great time and loved pottery (with the exception of underglazes!!), I do intend to do some more pottery.
Wow, that was a long post! I'll be back tomorrow with talk of enamelling (and a shorter post!).
Slip casting, painting with underglazes and wheel work are all new to me, so I'll be linking up with Something New for 2014
17 comments:
Ooh you weren't too far from me. It's a lovely part of the country. That bunny is adorable and well done on the other pottery pieces- they look lovely!
Oh yeah! Messy = fun :) Hope your vase looks better with a bit more paint.
I think the word "tricky" was invented for underglazes...!
You did really well for a first attempt. I hate underglazing, it always comes out so blotchy and it's impossible to tell how it's going to turn out, unless you are the one who painted the samples and know how much you applied to get that effect. If you carry on with pottery, you will either get better and the use of underglazing or you will abandon them totally the way I did and just go purely with glazing after the first firing. But I think you did really well considering this was your first go. Throwing took me days to get something usable the first time too!
Wow! I had no idea the work involved in this type of pottery! What a nice way to spend time with your mom though.
Sounds like it is a great place to visit. Your pottery is fantastic! I particularly like the bunny. So cute.
It sounds like you and your mum had fun! I took pottery classes (pouring slip, etc) years and years ago when we were posted to Germany. I even bought all the tools etc. I loved it and had poured several different pieces, unfortunately... when I got to the part where I had to sand the pieces after they dried but before glazing, it turned out I was allergic to the dust. I ended up giving away my tools and all the pieces I'd poured.
what a fun place to go and great to see the process of making something like that...
Hugz
Every little "design decision" helps you learn :) You had a good time, spent time with your mom, played with some new crafts and learned some new techniques - that's win/win :) I can't wait to see what else the two of you got up to, lol!
What fun! Sounds like a great vacation.
What a great place to have a holiday. These are great for first attempts, makes you realise how skilled the people are that do it for a living
That looks like lots of fun!
Very cool! I've always wanted to learn pottery and never realized there was more than one technique and more than one way to paint. Thanks for sharing! :D
Wow, that sounds like my kind of holiday! Your creations look great, your cute bunny is lovely and the blue marks just make him unique, love that cupcake container.
Very interesting post, thank you for sharing, especially the parts that did not work out. Reading was just like experiencing myself.
Greetings,
Sylvia
I have seen adverts for the hotel and wondered what it was like so I am delighted to have lots of posts to read about it!
I have seen adverts for the hotel and wondered what it was like so I am delighted to have lots of posts to read about it!
Post a Comment