In my last post I talked about the first day of the Bentwood chair making class I attended at Rural Antics. Today I'll talk about the second day and finishing the chair.
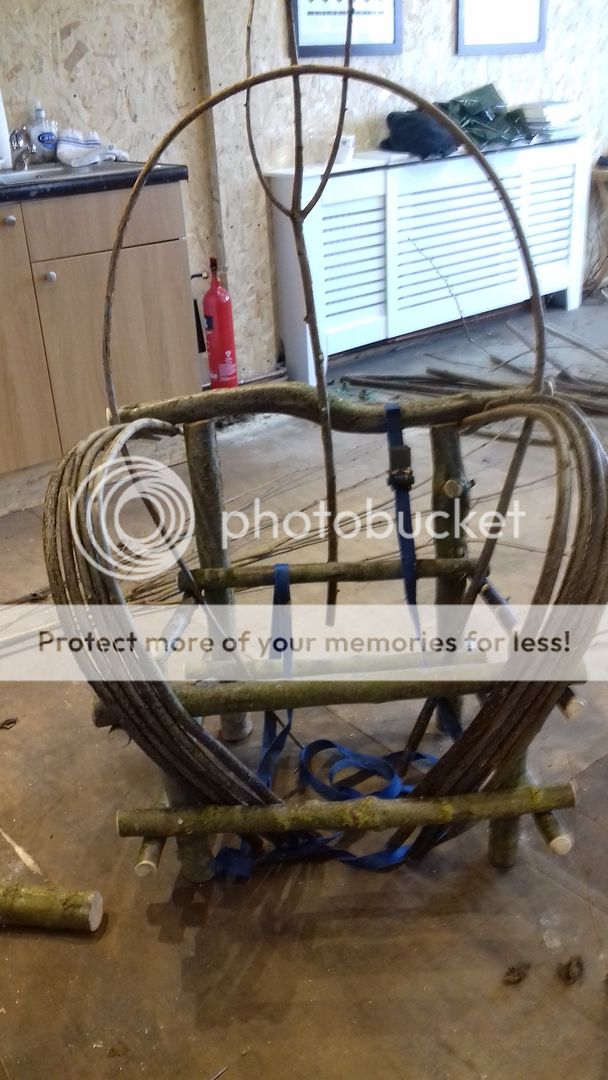
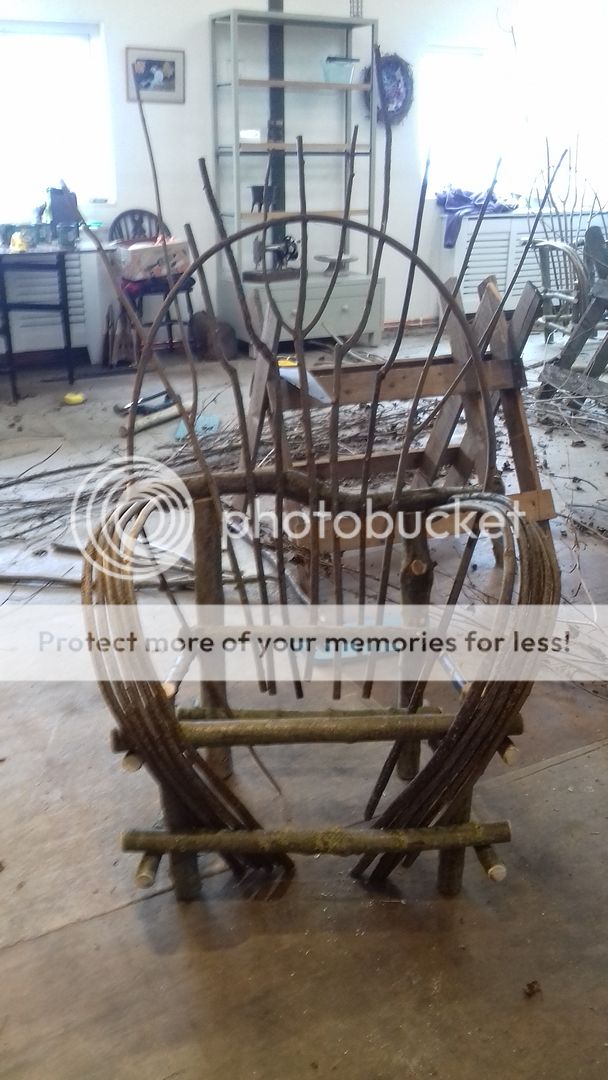
Having finished the arms, it was time to start the back! We had several very long hazel sticks that we were using for the curved part of the back. To start we only put one of these in place and fixed it. Then was time to add the cross struts of the back, and time to get creative. I really wanted forked and bent pieces so I had a good old search through the pile of hazel the tutor had brought with him.
The sticks were nailed into place at the curved piece and the base, but left long to add in additional curved pieces afterwards.
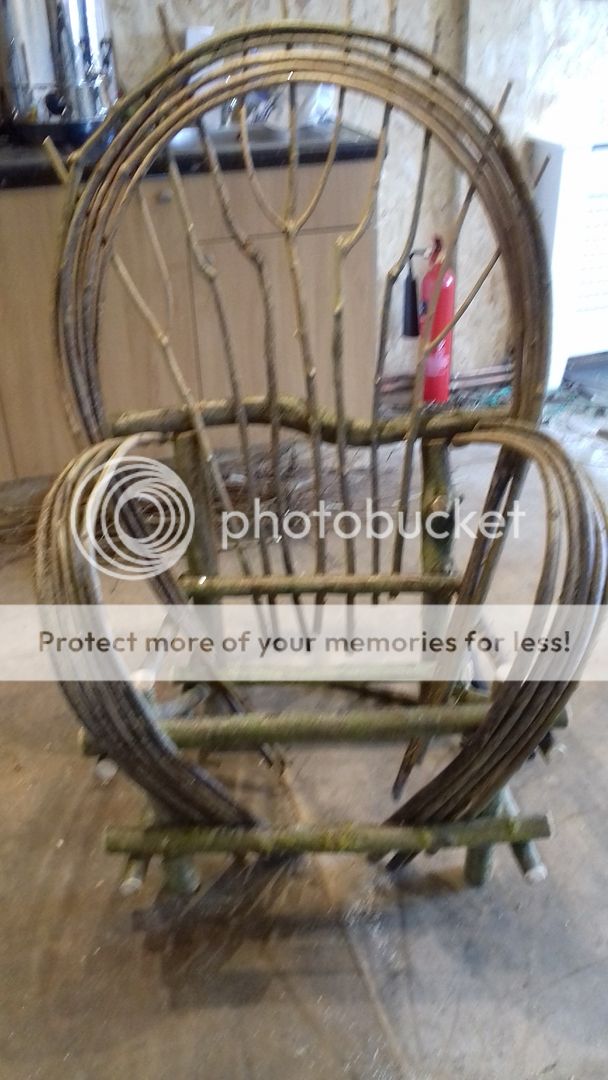
Sorry, blurry photo! But I think you can see what I'm showing. This was adding in the other curved pieces. Each one had to be nailed at each and every joint so this took a while! Several times I used a nail that was too long. Because they were threaded nails, they were nigh-on impossible to remove, so instead they were riveted by placing a steel hammer on the pointed end that was sticking through and hammering the back to make a flat "plate" at the front.
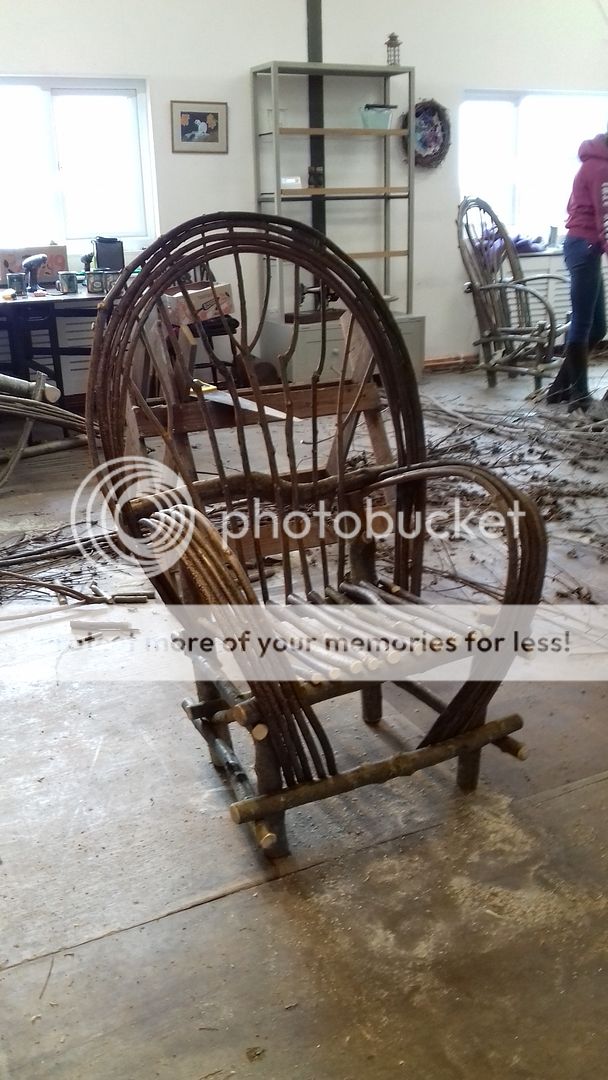
Finally the seat was added - lengths of thickish wood all cut to the same length and nailed in place. Then everything was rasped to neaten the edges.
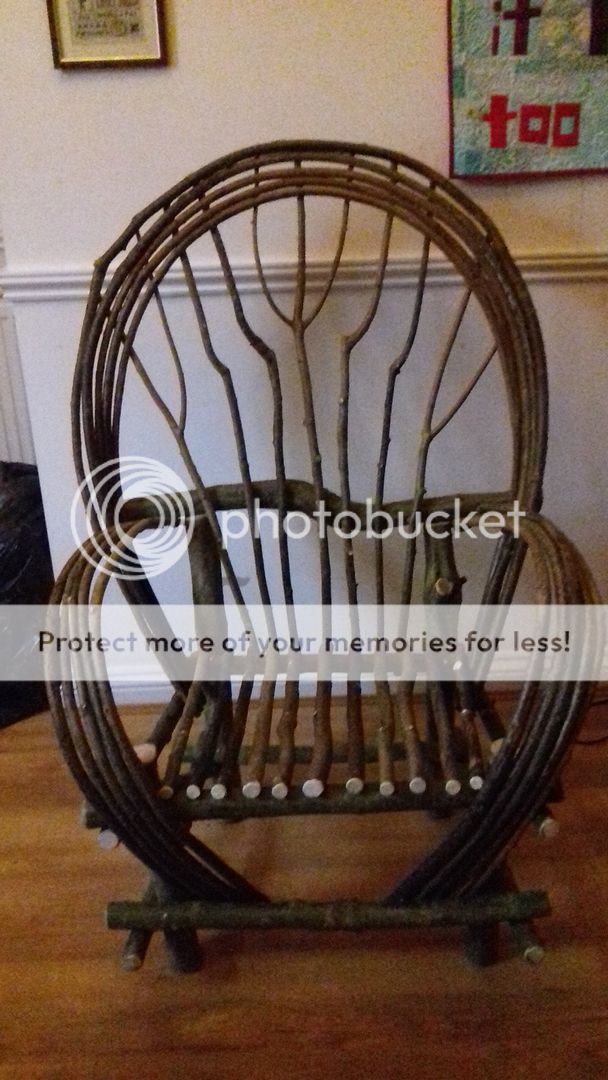
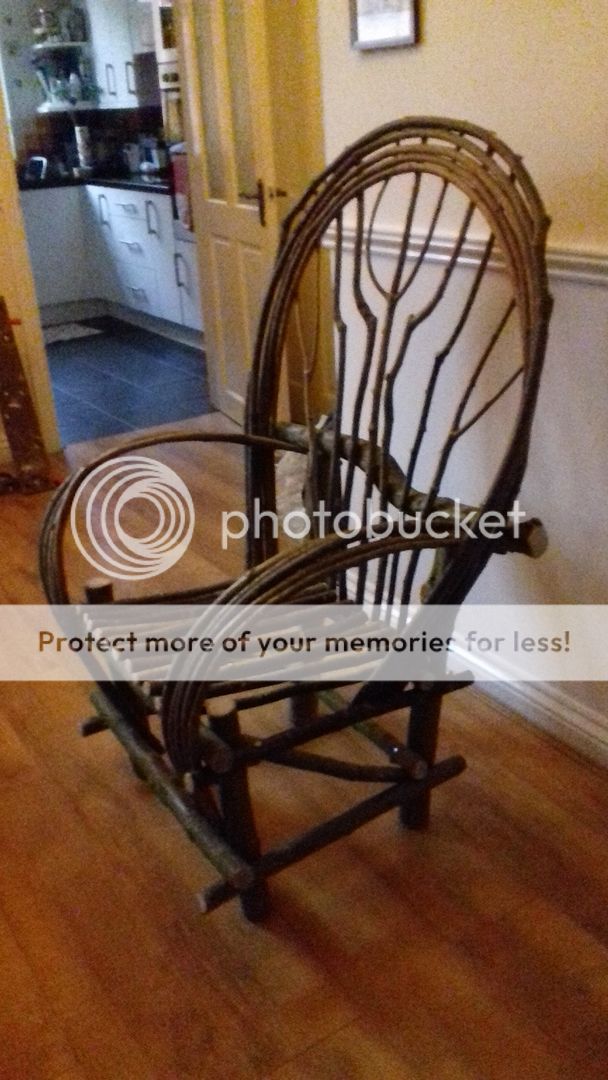
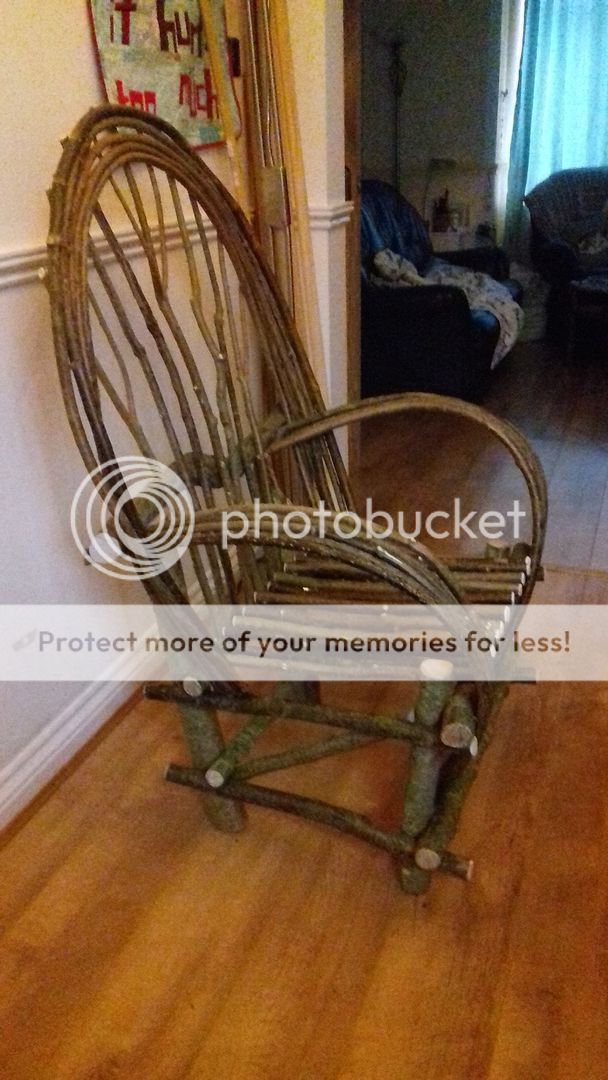
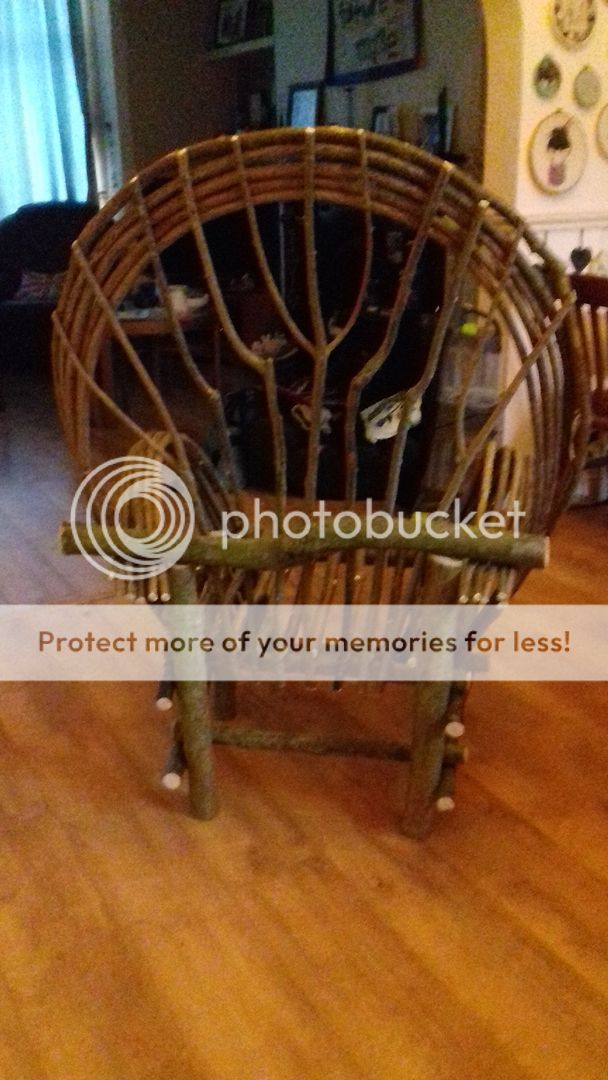
I was worried about getting it home and thought I might have to send my dad with his big car, but this fit in the boot of a Ford Focus, I only had to remove the parcel shelf! I never measured it, but I do know that the back legs are 24", the front legs 17" and the long piece at the back going from side to side is 24" so that should give you an idea of the size.
It is an outdoor chair but it's currently sitting in my dining room. I will put it outside, but thought I'd wait until all these blizzards we keep having finish to give it a chance of surviving! The tutor said the life-span will be about 5 years if we look after them. I'm not sure if I'll be able to bring it in in winters, but I do intend to coat it in Danish oil to help it last longer.
Just thought I'd show you from all angles!
I thoroughly enjoyed this class and intend to sign up for the make a stool workshop at some point. I couldn't believe how much I enjoyed sawing, drilling and nailing and the satisfaction of building a chair was immense!

18 comments:
Wow, that's amazing!
Dear Wendy
Oh my goodness! What an amazing piece of art and something useful too! Huge congratulations for a beautiful project.
Best wishes
Ellie
Well done you! Making a lovely big plump squishy cushion for the chair should be next on your crafts agenda.
Wow I am impresses! It came out great.
What an amazing process and the end result looks great. Well done!
The result is lovely and serviceable. I hope the weather improves soon and you can spend many hours sitting outside with your embroidery (or any other portable craft!).
What a great job! It looks very grand and comfortable, as well!
I just love love love your chair and well done on a great job. I can imagine how much fun you had making it... is it comfortable to sit on or just for show?
Hugz
This is amazing, I love it! Enjoy using it
Wouah!! What a masterpiece! I love the heart shape when we look at it from the front! I sincerely hope you can keep it for many years, it would be so heart-breaking to see it disappear too soon! Congratulations! have a nice creative week, Sandrine.
Beautiful! Well done.
brilliant!!! You must be so proud of yourself!
Absolutely delightful! What an amazing thing to create!
What a fantastic finish!! Love the end result. Looks like you will be furnishing the whole house soon.
Well done! What a great achievement to be able to say you have made your own chair! Once you’ve coated it it will look fabulous outside. I’m so enjoyed this - perhaps you have found your new calling!
This is fantastic! It seems a shame to put it outside. Perhaps you can make a rain cover for it to help preserve it. It really is a wonderful make :)
Wow! I enjoyed reading how you made your seat. Well done!
I hope you can sit on it, with a couple of cushions it will look great, and hopefully be comfortable too!
Hugs,
Barbara xx
Goodness Wendy what a wonderful chair, you must feel very proud of yourself. Clever girl.
Post a Comment