

But, before we get to that, I have to arouse some jealousy in you. I've been winning giveaways! I won a total of 3 in the past couple of weeks. First up, I won a bundle of Vintage Summer by Blend Fabrics on a giveaway at Sugar Bee Crafts, the fabric was very generously donated by Skye Reve Fabrics.
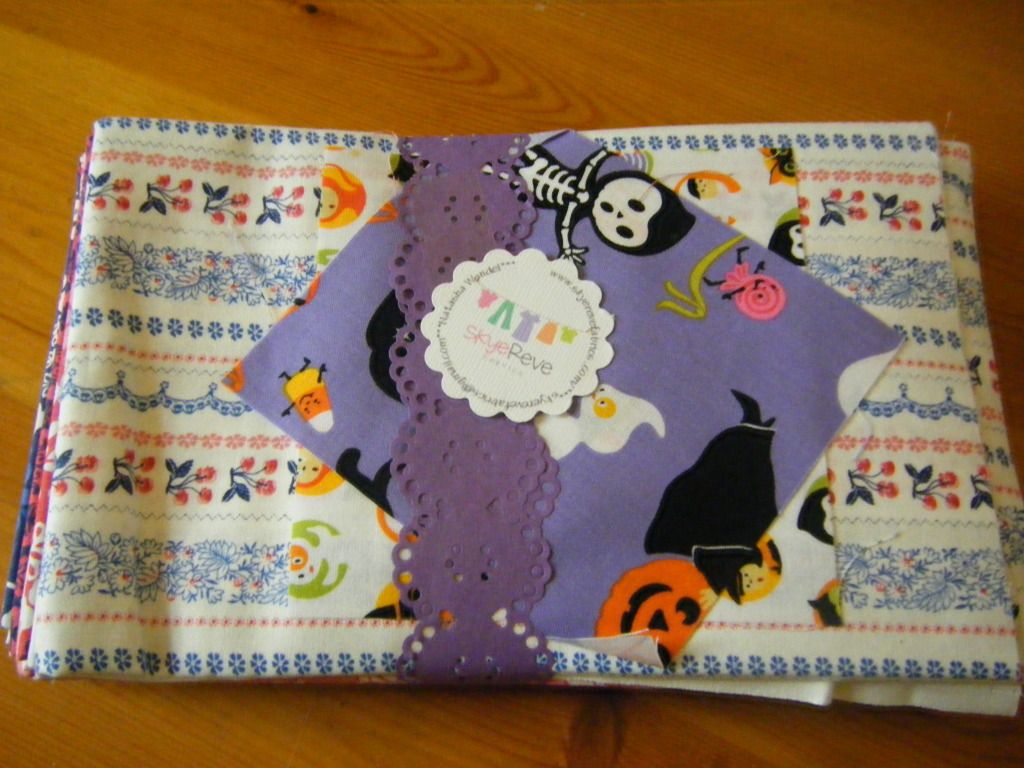
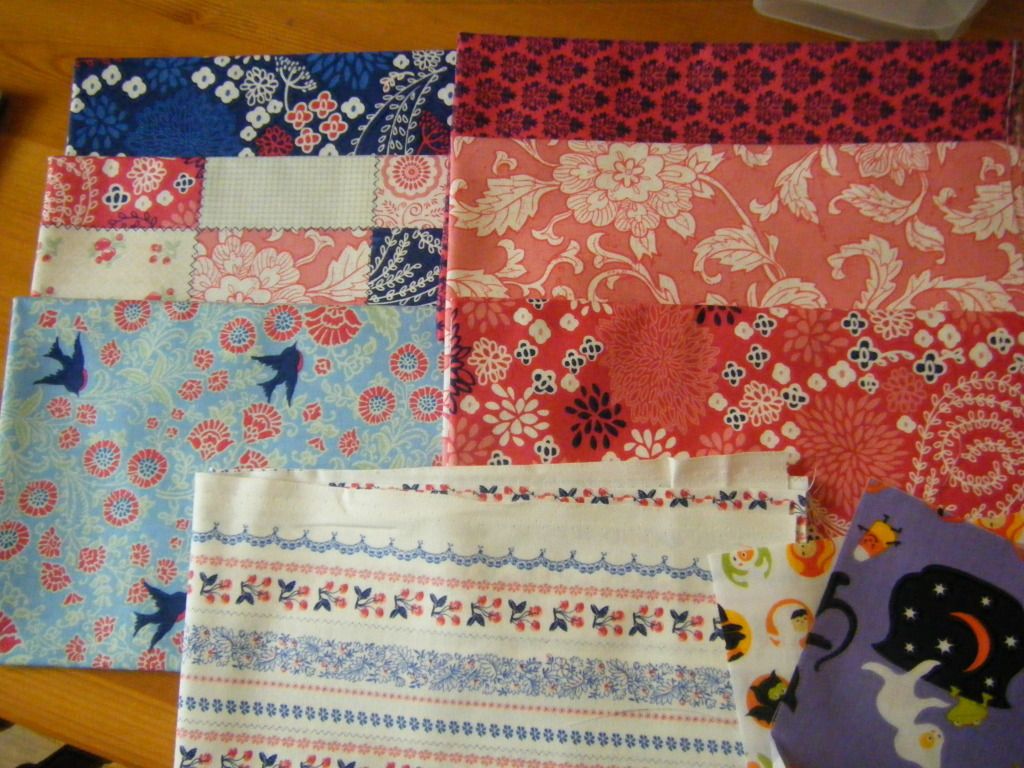
I didn't know this range before I won it, but it's gorgeous! Look! If you want to see the full range, go here.
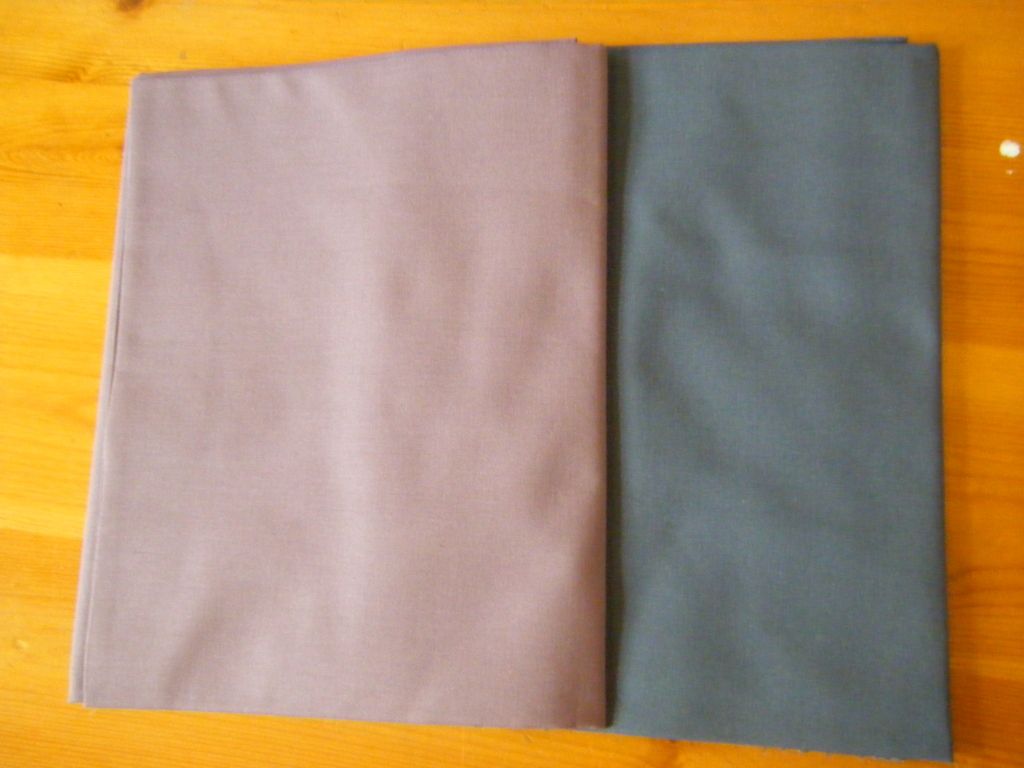
I also took part in the Bella Solids parade, hosted by Mommy's Nap Time and 13 Woodhouse Road and sponsered by Fat Quarter Shop. I was lucky enough to win 2 yards, in my favourite colours! These are mauve and indigo, the photo is really crap, I'm sorry!
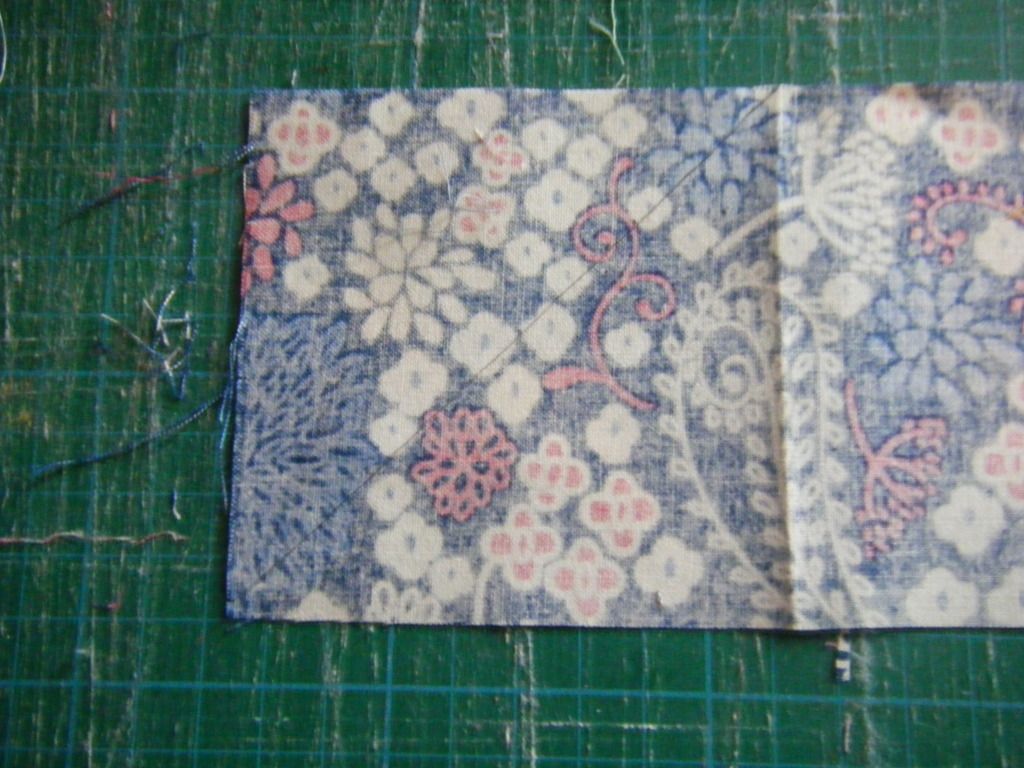
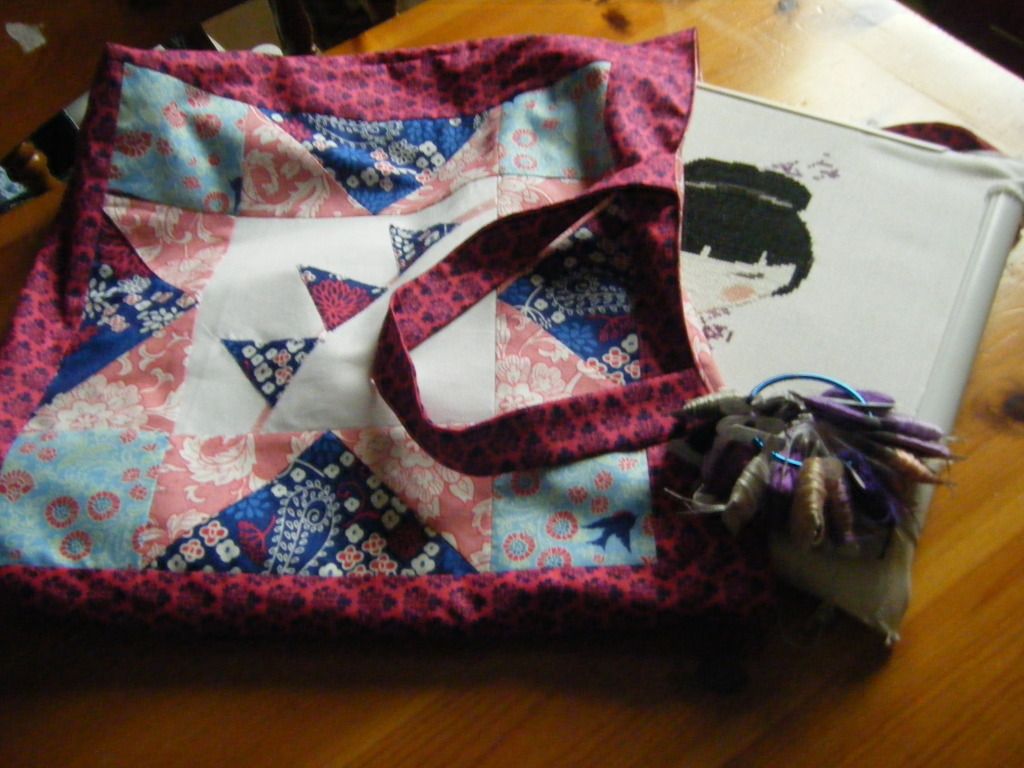
I am so in love with the Vintage Summer fabric, that I had to make something right away. And something for ME. I did toy with the idea of making a quilt, but I don't really have time, even for a lap quilt. What I do need is project bags to keep my ever-growing pile of WIPs organised and clean. Another bonus would be that I could enter it into the Purse Palooza.
First up was a bag for my cross stitching and embroidery projects. I have a few that fit in my 11" Q-snap frames. Yes, frames. My mum bought one but doesn't get on with it so she gave it to me! I knew a tote bag would be the best choice, but I didnt want it to be a boring old tote. I had a flick through 200 Quilt Blocks to Mix and Match by Davina Thomas and chose the "Three Patch Quilt Block". But I had a problem. Or rather two.
Firstly, it didn't tell me the finished size of the block, but I guessed it'd be around 6" from the measurements given. I wanted mine to be 12".
Secondly, it didn't tell you how to construct it! So I wung it. I took some photographs of the process, not as a tutorial but rather as a "how would you have done it oh experienced patchworker??"

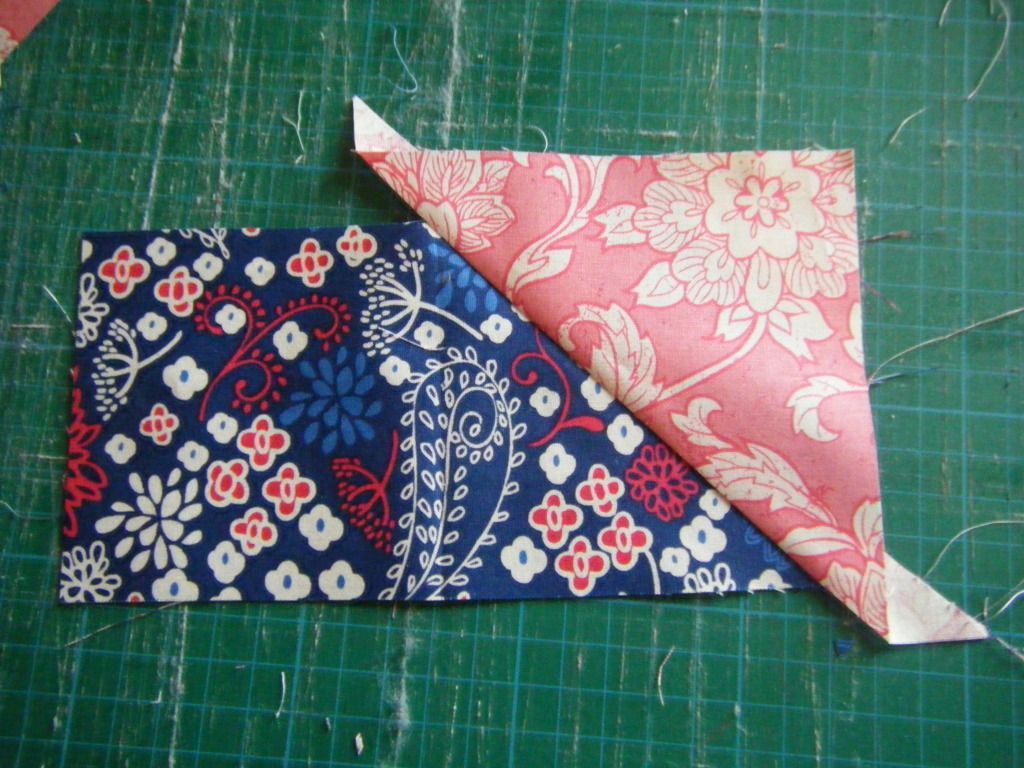
I guessed I needed a rectangle about 7 x 3.5" for the base. I knew I needed to add a HST to each end, but wasn't sure what size or even how, so I cut a 5.5 inch square and cut it in half.
I folded the rectangle to find the centre and drew a diagonal line. I held the triange RST with the rectangle and sewed along that line.
I pressed, then drew another line on the back and sewed on the other HST in the same way. I realised that I'd end up without a point to the blue triangle, so then sewed it again 1/4" to the side. Open and press and this is what I had.
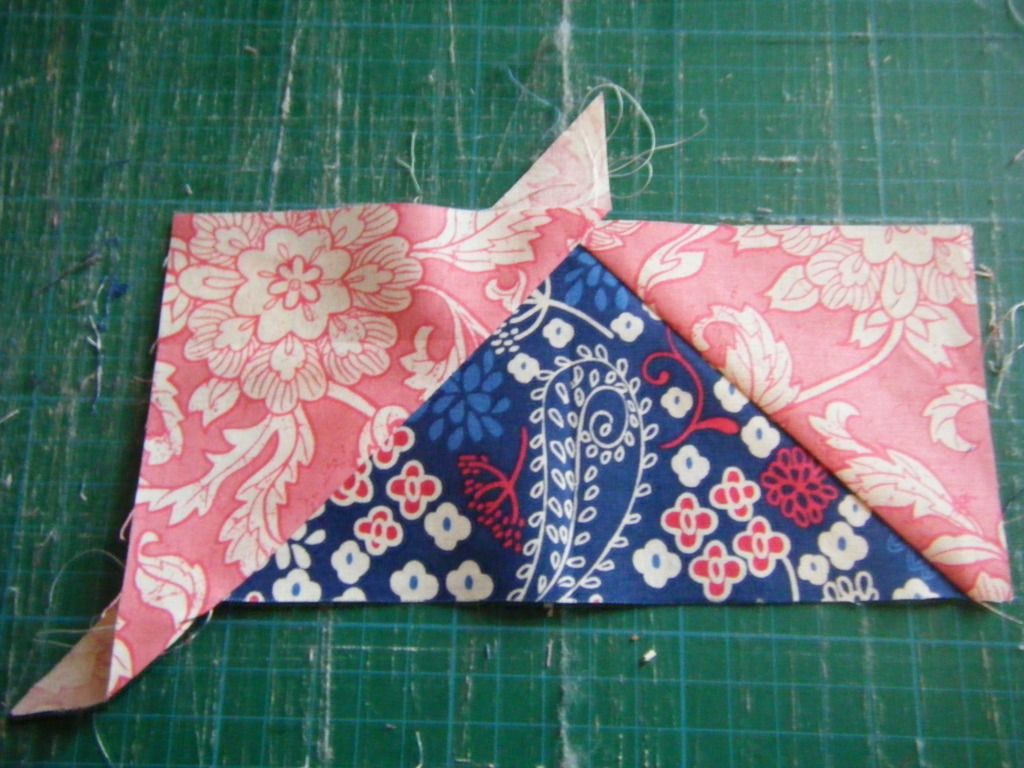
I trimmed a seam allowance, then trimmed the block.
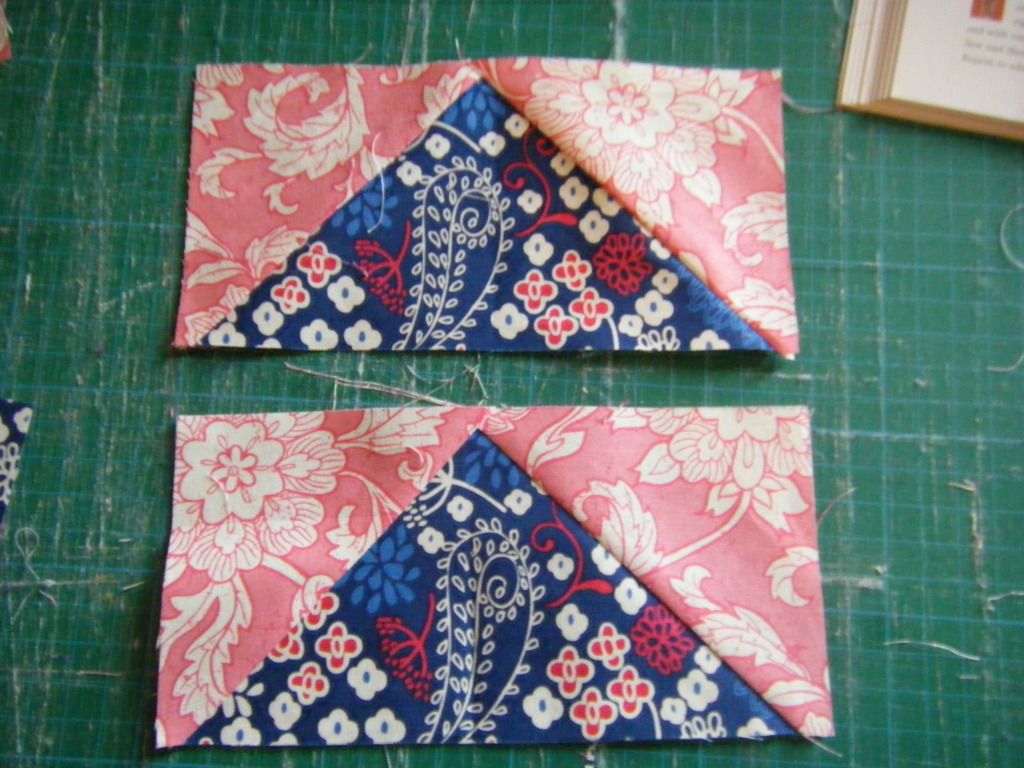
Rather a lot of waste! I sewed the other squares either end of the horizontal blocks, then added the white centre. I was rather chuffed with it at this point. I'd read a tip which said to match points you should pin the seams. It works!!
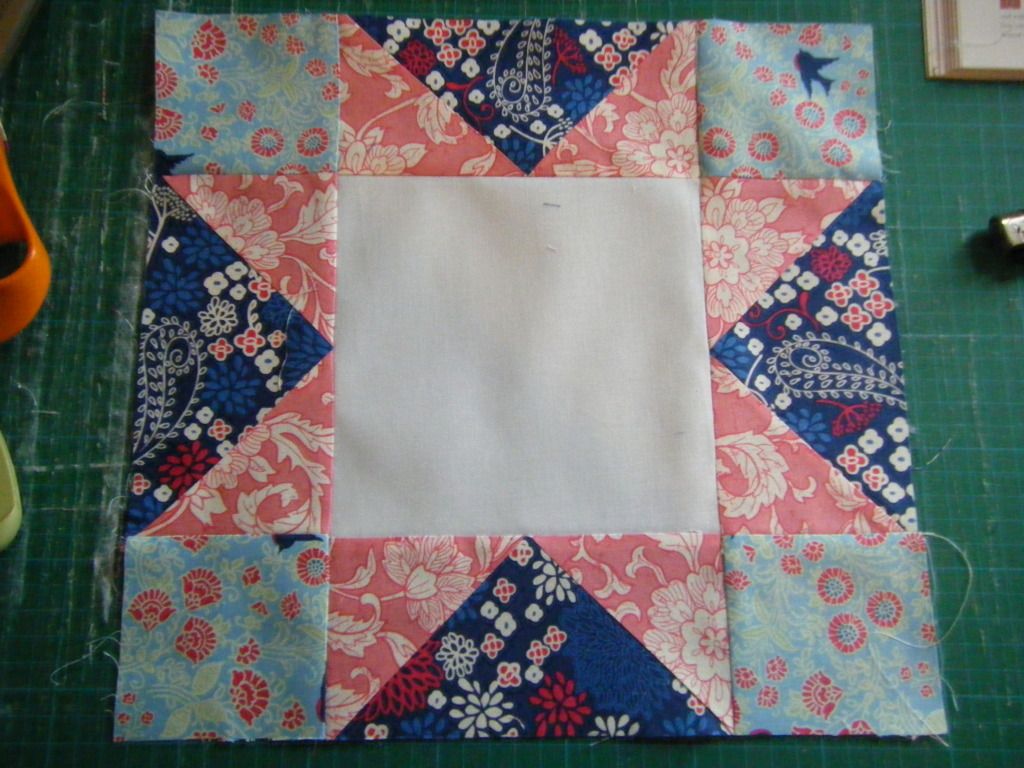
There is a slight problem with this block though. See the top and bottom triangle blocks? Yep, I think I trimmed too much, or sewed too wonkily. Never mind!

I've wanted to make something with appliqué bunting for ages. I cut some ribbon, unsewed my seam allowances a little to thread the ribbon through, then appliquéd the bunting triangles on top. Very festive, if slightly puckered...

A bit more maths... I sashed the block, then sewed up the shell and boxed the corners, without loosing the sashing! Yay for me! A couple of simple handles and I was away.

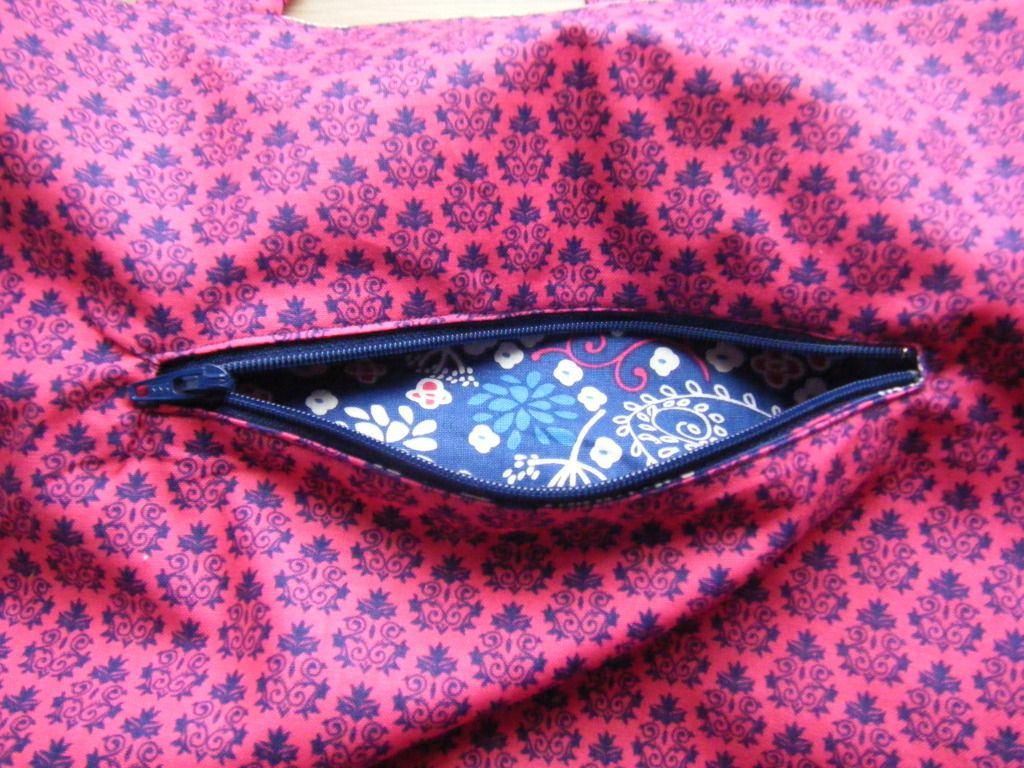
I added a flush zip to the back so I can put scissors or a pack of needles or something in there if I want to take my project out.

I lined it with another of the Vintage Summer fabrics. I love red and pink together.

Here you can see a bit of my favourite of the fabrics poking out as the pocket lining. I am regretting using that up now, but hey, fabric is to be used, not to be stared at!
And here it is in action with my half-done cross stitch hanging out. It was when I took this photo that I realised I'd forgotten to add a hanging tag to clip my book-ring of threads onto... damn, I wish I had a memory!
I have plans for more project bags, drawstring ones for my crochet projects (I desperately need one for my giant doily rug as I spilt coffee on it yesterday!) and a couple of zippy bags for smaller projects, sets of thread etc. I'll make them all in the same fabrics so they look lovely in my living room.
Now I just need to get them done by the 11th to enter them in the Purse Palooza, when's the 11th? Next Wednesday? Oh, maybe not then. I've got a class on Saturday, something jewellery making but I can't remember what! If anyone knows of a memory for sale, please let me know!
Don't forget to enter my Something Old, Something New competition. The deadline is 31st July and there is a prize!

4 comments:
I haven't come across that Vintage summer line either but it looks lovely, I could really do with someone sending me 2 yds of solids though!
There is a way to make your flying geese units without wasting so much fabric, have a look at this tutorial
http://www.connectingthreads.com/tutorials/Flying_Geese-Make_em_fast-two_methods__D15.html
I like your bunting, very summery :)
Lovely bag - I love those fabrics! Celtic Thistle has a good idea with that tutorial. That sawtooth star block will be easier for you next time:).
I've ordered from Sky Reeve Fabrics before - I love how they package their goodies!
Great project bag - very Purse Palooza-y :D
this turned out so cute! I am definitely pinning this.
thanks for sharing and have a fun weekend!
Hugs,
Lelanie
www.to-sew-with-love.com
www.tocookwithlove.com
villaportillo.blogspot.com
Post a Comment