
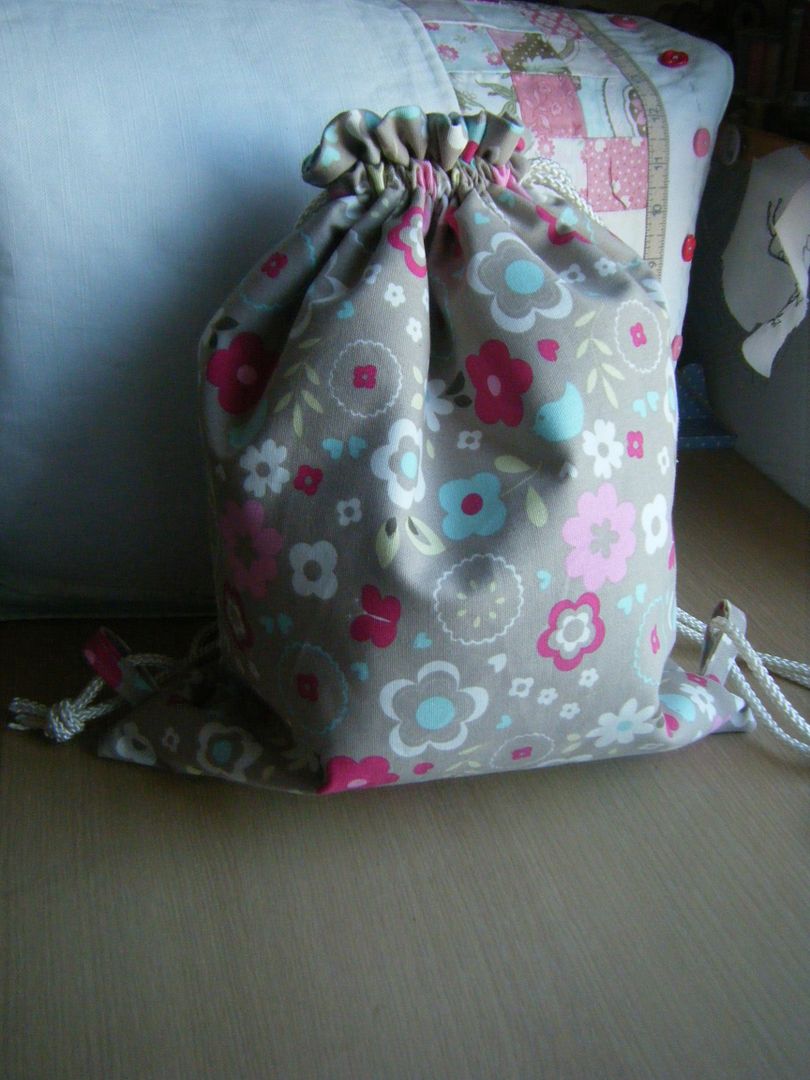
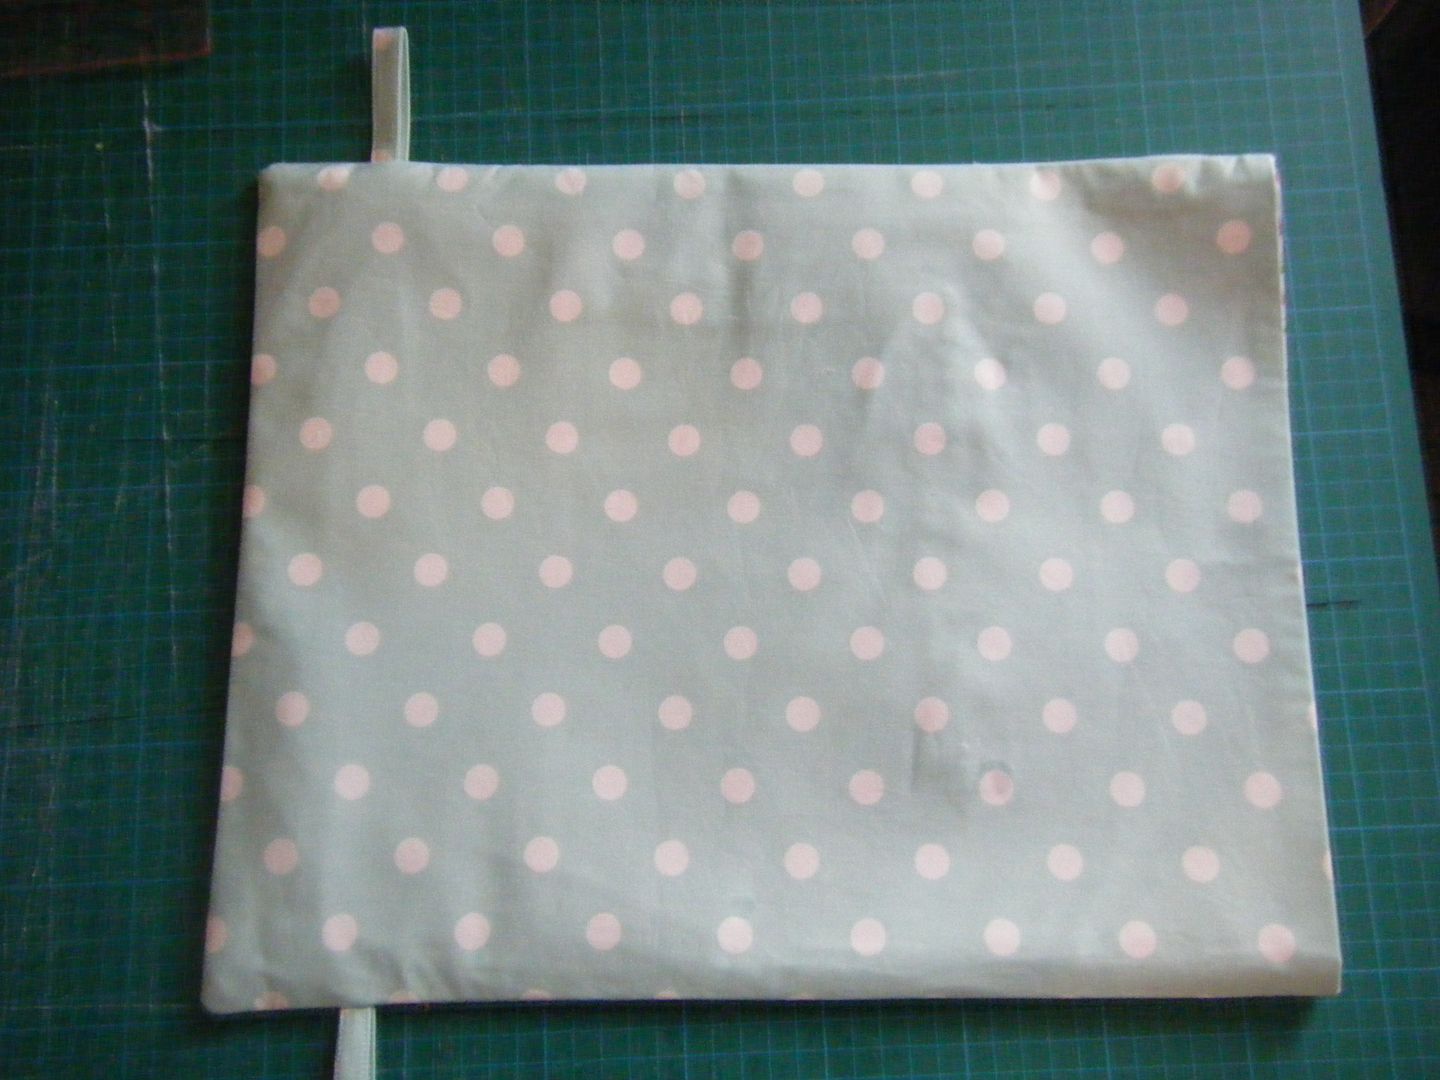
That bag was made using home dec. weight fabric, left-overs from my Weekender in a Day bag. My mum had asked me to make her one, but not having any other fabrics of this weight in her chosen colours (green and pink), I used quilting weight cottons. Another difference is that I used fusible fleece for my bag. When I came to make mum's, I didn't have any fusible fleece left, so I used two layers of interfacing. My bag is soft, mum's is more sturdy. It's up to you what fabrics you use and whether you use fleece or interfacing, or both. Of course, your outer fabric could be a piece of patchwork and you could quilt it, or you could make an applique design. The sky is the limit with this one.
This is a bag for an adult, it measures 13" wide, 16" tall when finished. You could make it bigger or smaller, it's up to you. Me and my mum are both short-arses, so if you're a 6-footer, you might want to make it longer, or the rope straps longer to stop it looking like you're wearing a strange bolero.
You will need:
Outer fabric - 2 panels 14" x 17"
Lining fabric - 2 panels 14" x 17"
2 rectangles of fabric for the tabs 1.5" x 5.5"
approx 4m of nylon rope - 6mm or 8mm (sorry, no idea what that is in inches - 6mm is 1/4" but don't know about 8mm. Mr Google says 4m is 13 feet, do you do feet in America or just inches? I think there are 12 feet in an inch. I'm afraid my knowledge is patchy as I was born in 1977 so am a bit decimal. And quite old.)
Your choice of fusible fleece or interfacing, cut slightly smaller than the fabric panels (no more than 1/2" smaller) to prevent nasty fused-to-the-ironing-board accidents.
2 rectangles of heavy weight or 2 x medium weight interfacing 1.25 x 5.25" for the tabs
For the fabric tabs you could use the outer fabric as I did, or the lining, or even twill tape or that webby strapping stuff. Rope comes in a lot of varieties, pick whatever you like the look of, if it's 6-8mm it will be strong enough, unless you're carrying bricks round with you.
The seam allowance is 1/2". For the tabs it is 1/4".
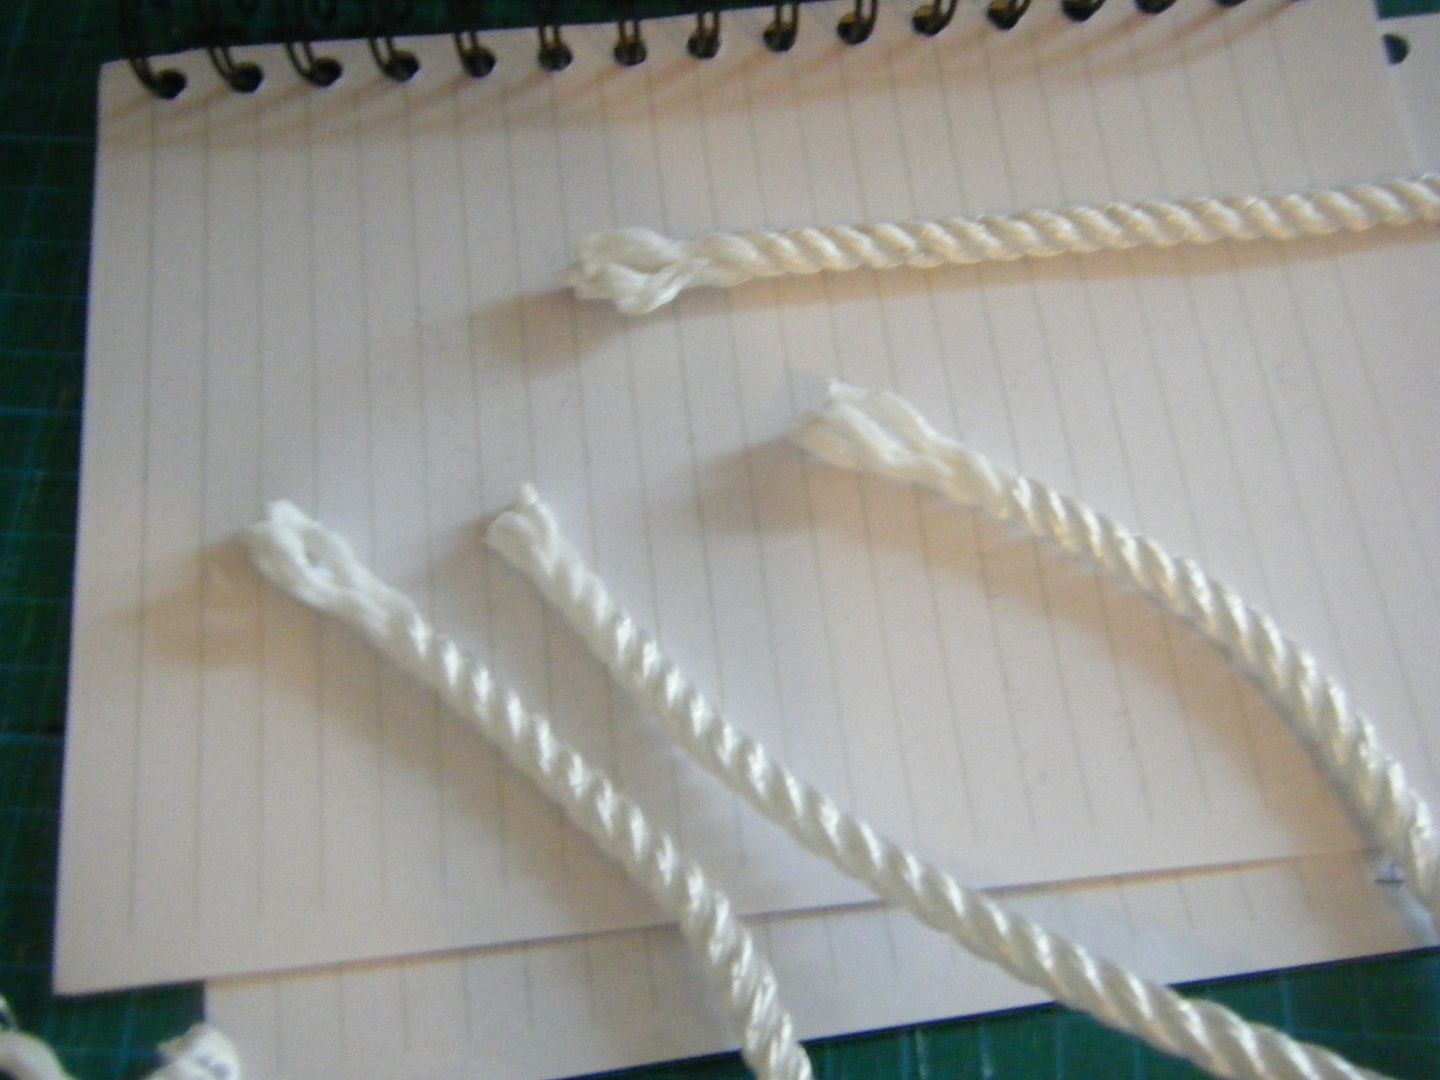
1. Gluing the rope. We start with the rope. Cut your rope in half. Glue the ends. You could dip it in PVA glue, or in Mod Podge. I'm pretty sure you could sew the ends closed or bind them with thread too. This is just to stop the rope unravelling. The reason we do this first is to give the glue time to dry whilst we do the sewing.

2. Preparing the pieces. Cut out your fabric and fleece/interfacing. Iron the interfacing to the back of the outer fabric. Iron the interfacing to the tabs. If you're using medium-weight interfacing, iron on two layers. These tabs need to be quite hardwearing, so if you're using webbing or twill tape, they may be strong enough without interfacing.
If you wish to add inner pockets, now is the time to do it. I know some of you expressed interest in the inset zip pockets I used, but the instructions for that pocket are from Lisa Lam's Bag Making Bible and I can't reproduce them here. I'm sure if you google it, you can find many tutorials to make whatever kind of pockets you like - slip pockets, zip pockets, elasticated pockets. When adding your pockets, remember that the top 2" of the bag will be for the rope casing and there is also a 1/2" seam allowance all the way round.
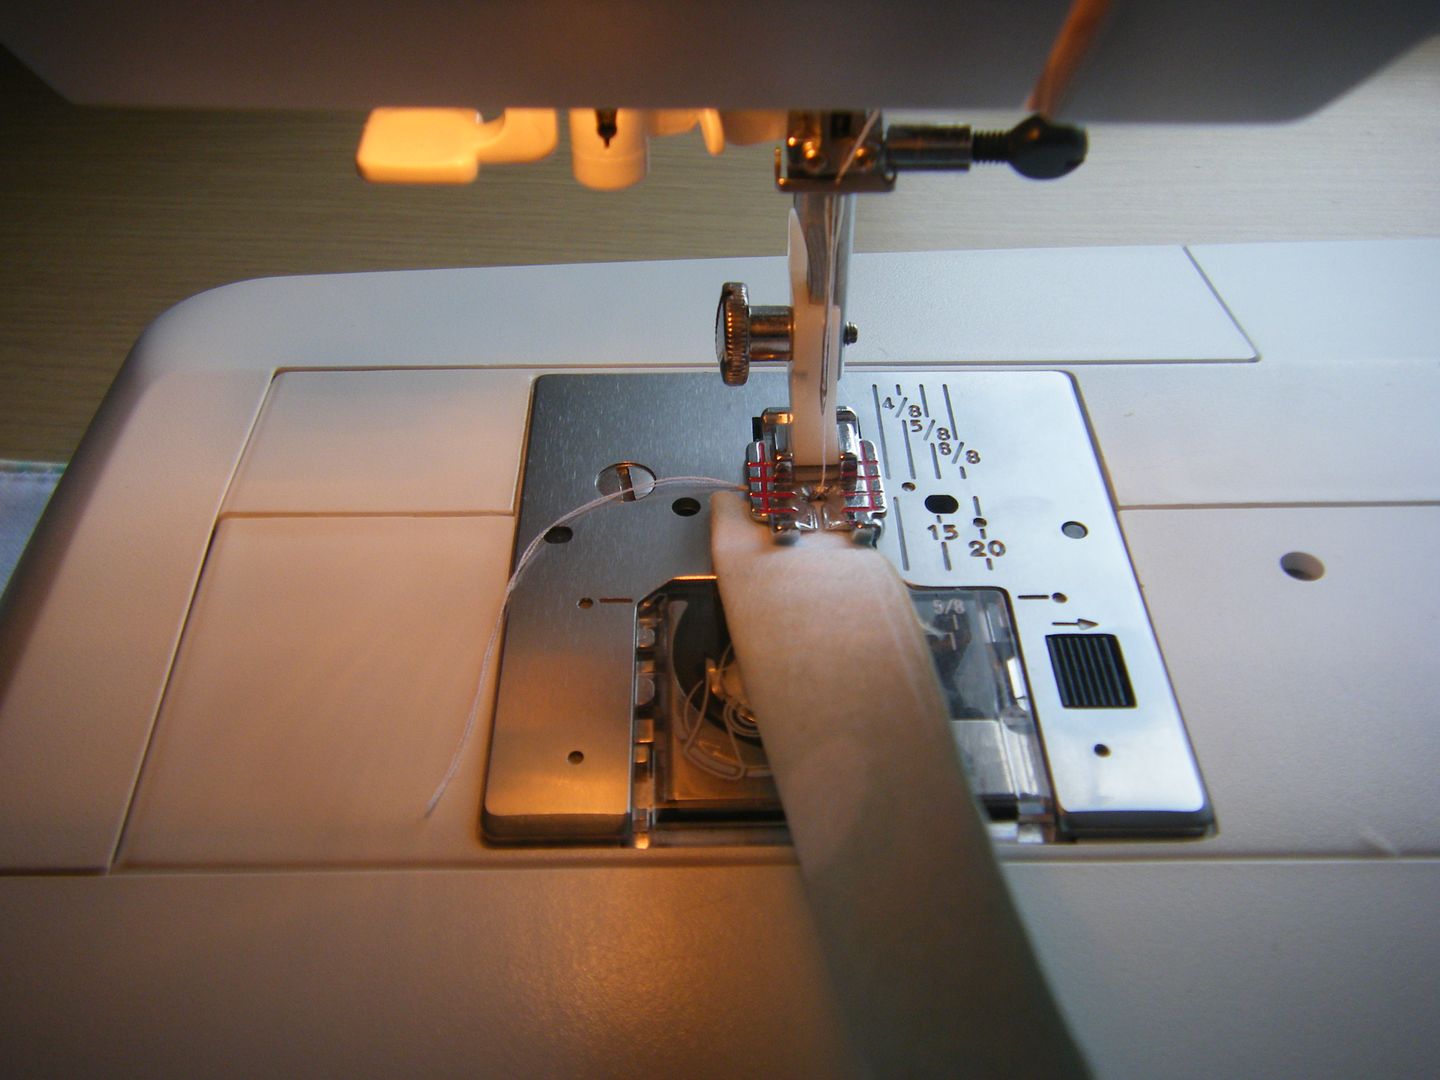
3. Sewing the tabs. Fold the tabs longways right-sides together and sew down the long edge.
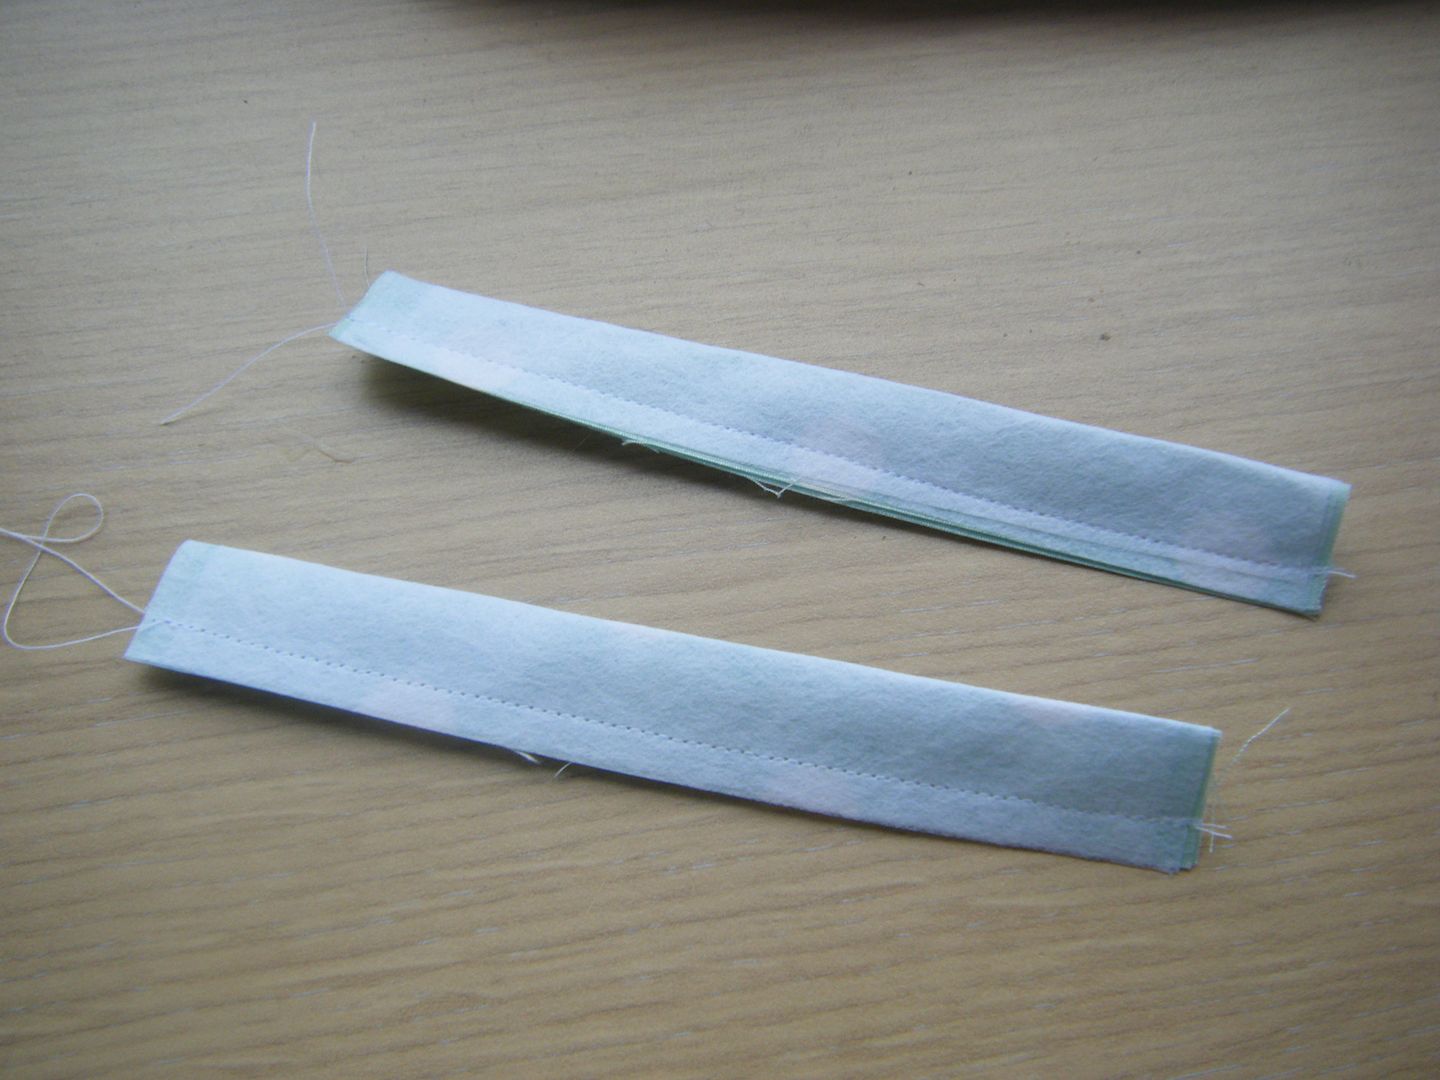
Like this (above)
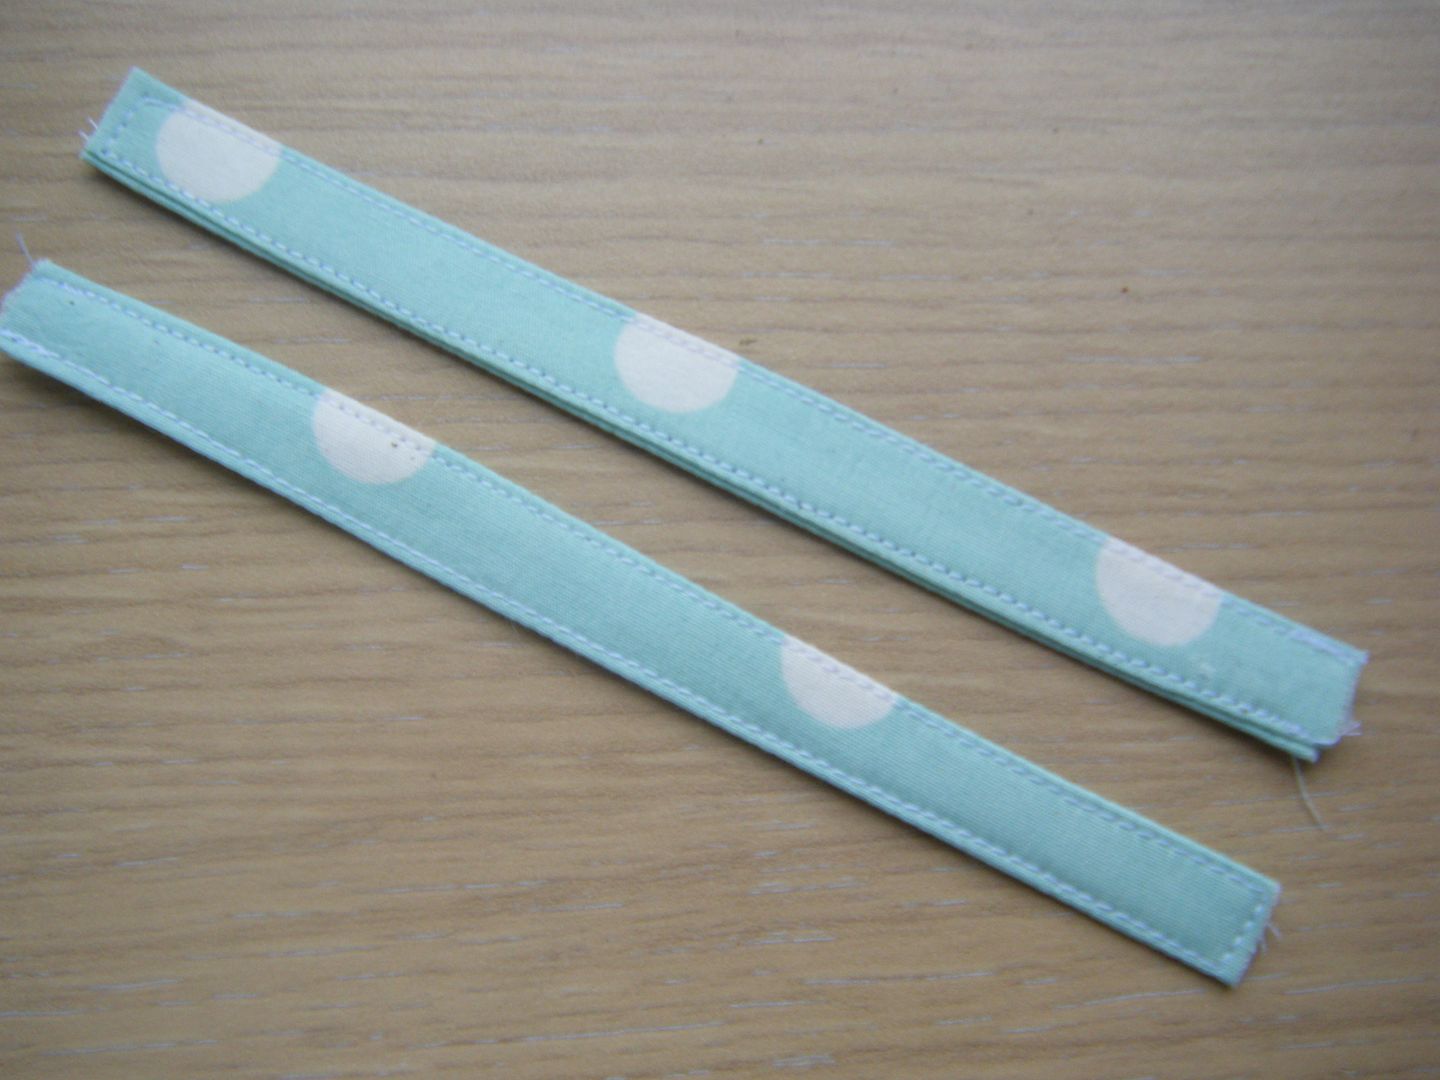
Turn the tabs right-side out, press and top stitch down each edge. The ends will not be seen. If you prefer, you can iron the tabs in half wrong-sides together, open them out and fold the edges to the centre, then fold them in half again. I don't use this method as I can never get it to look nice.
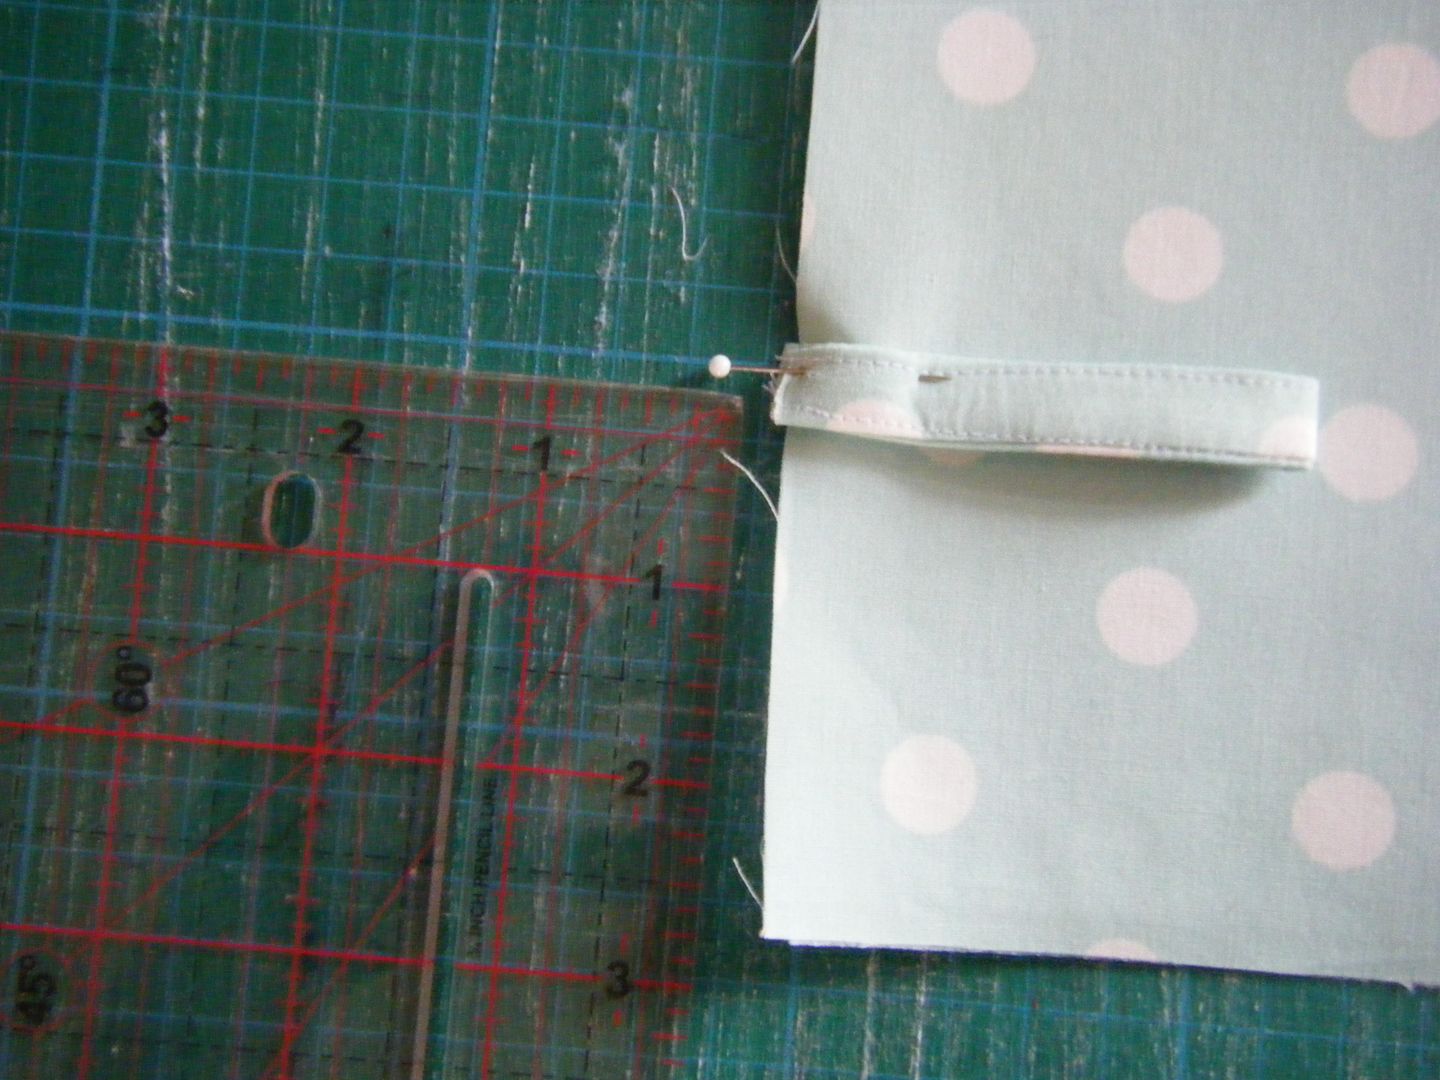
4. Attaching the tabs to the bag. Take one of your outer pieces. Measure 2.5" up from the bottom (the short edges are the top and bottom) and pin your tab, folded in half, to the panel. Repeat for the other side.
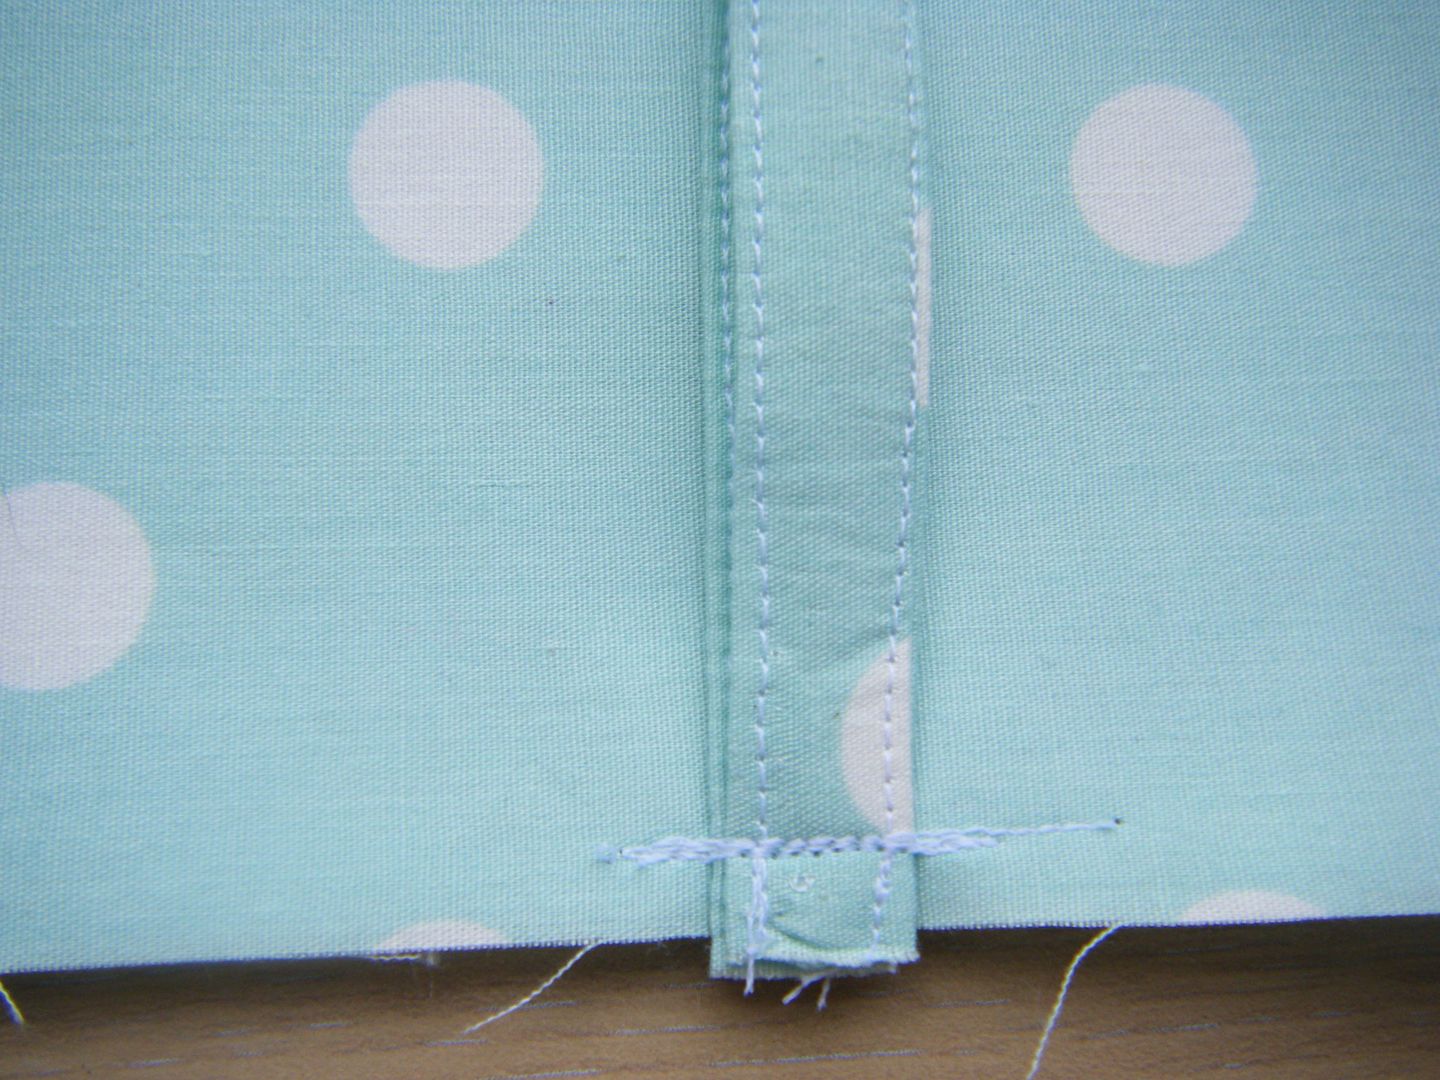
Stitch over the tab 1/4" away from the edge of the fabric. Go back and forth over it several times.
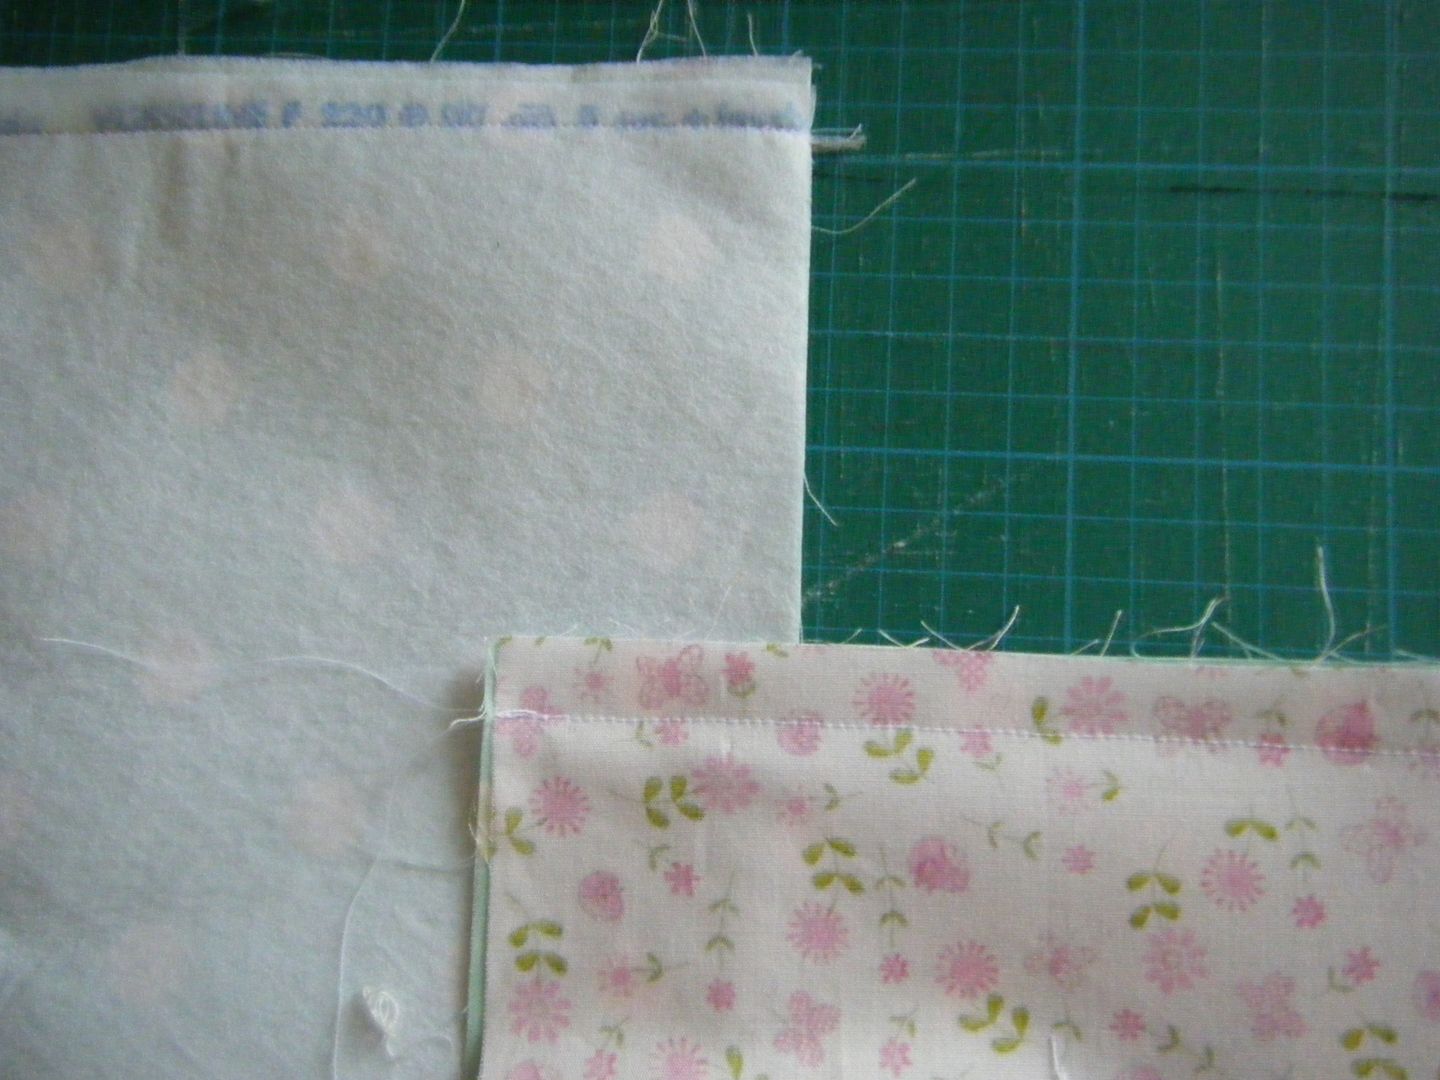
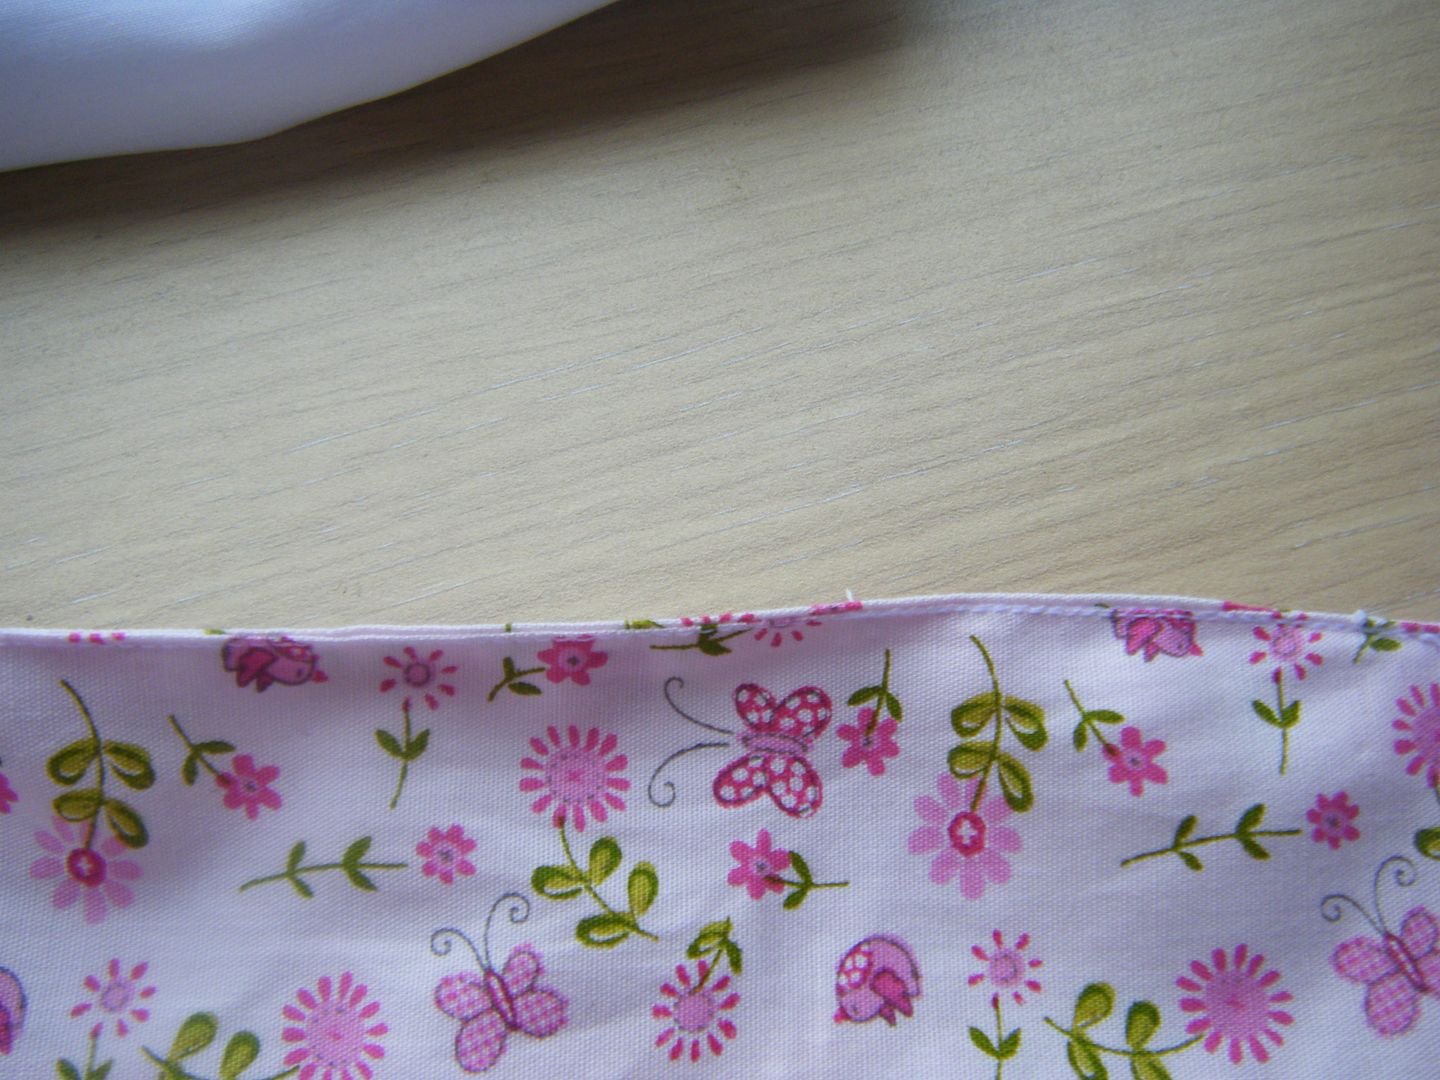
5. Stitching the outer and inner panels together. Place one outer panel and one inner panel right-sides together. Pin along the top edge (one of the shorter ones, the opposite end to the tabs). Stitch using a 1/2" seam allowance, back tacking at each end.
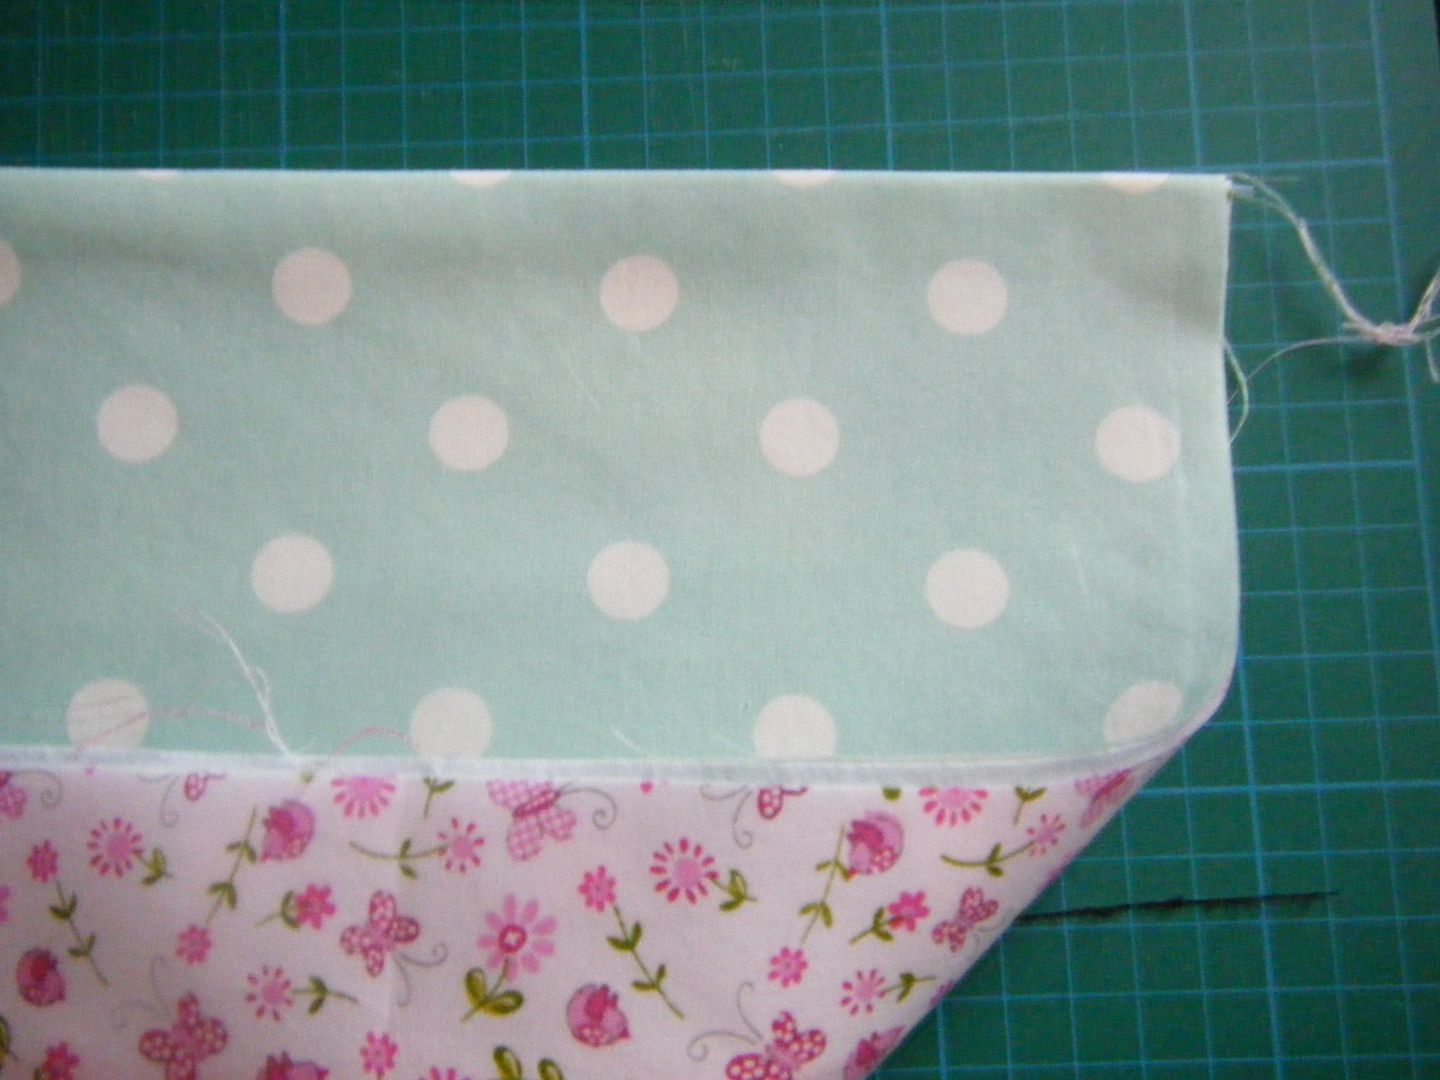
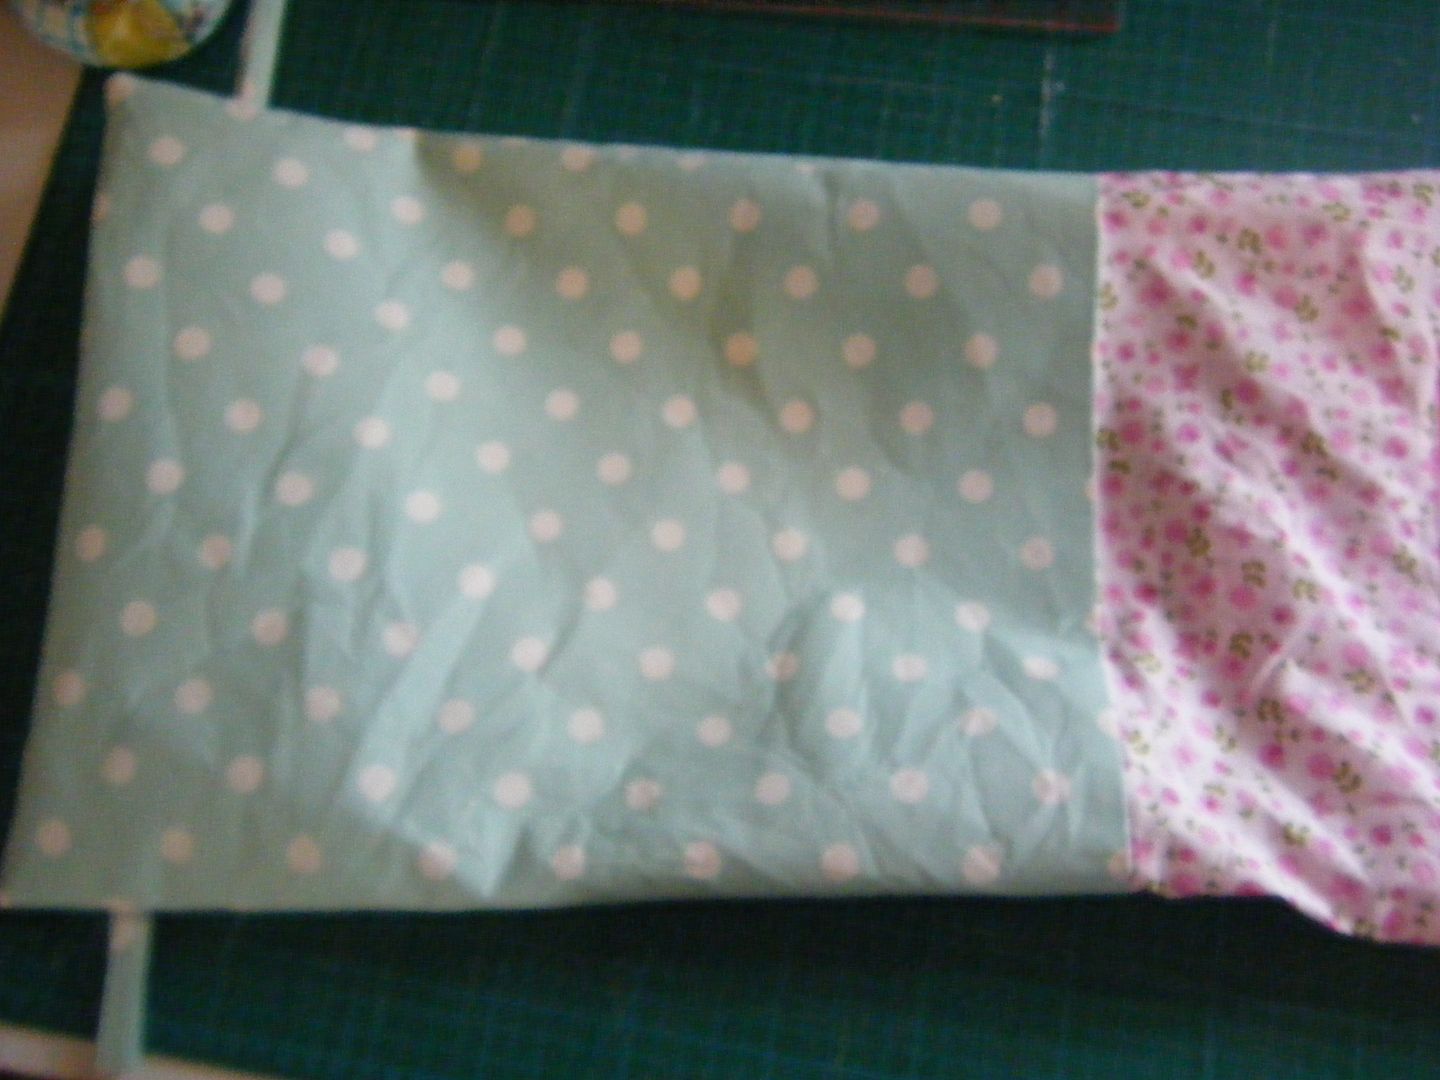
6. Open the panels out and fold them wrong-sides together. Press your top seam. It's a good idea to take your time at this point and make sure the seam is neat and not twisting over to one side. This will be the top edge of your bag and if the lining is encroaching on the outer, it will be obvious.
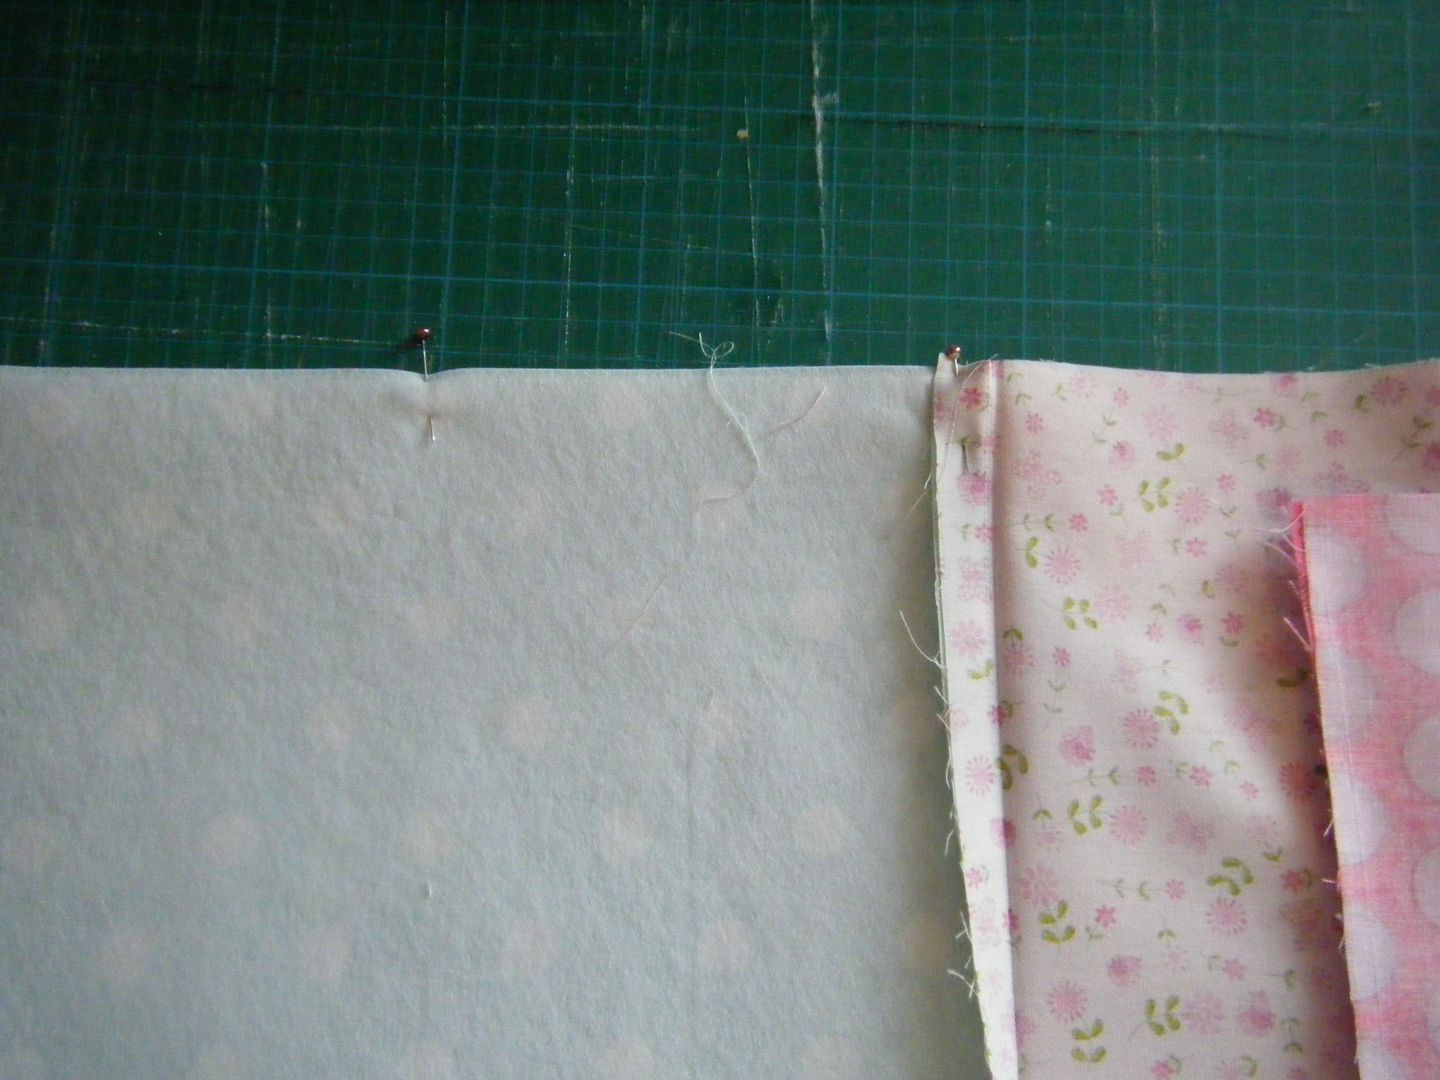
7. Sewing up the bag. Open out one of your panels, right-side up. Carefully lay the other panel on top, right-side down. The outer needs to be on the outer, and the lining on the lining. Make sure the top seam is carefully lined up and pin all the way round.

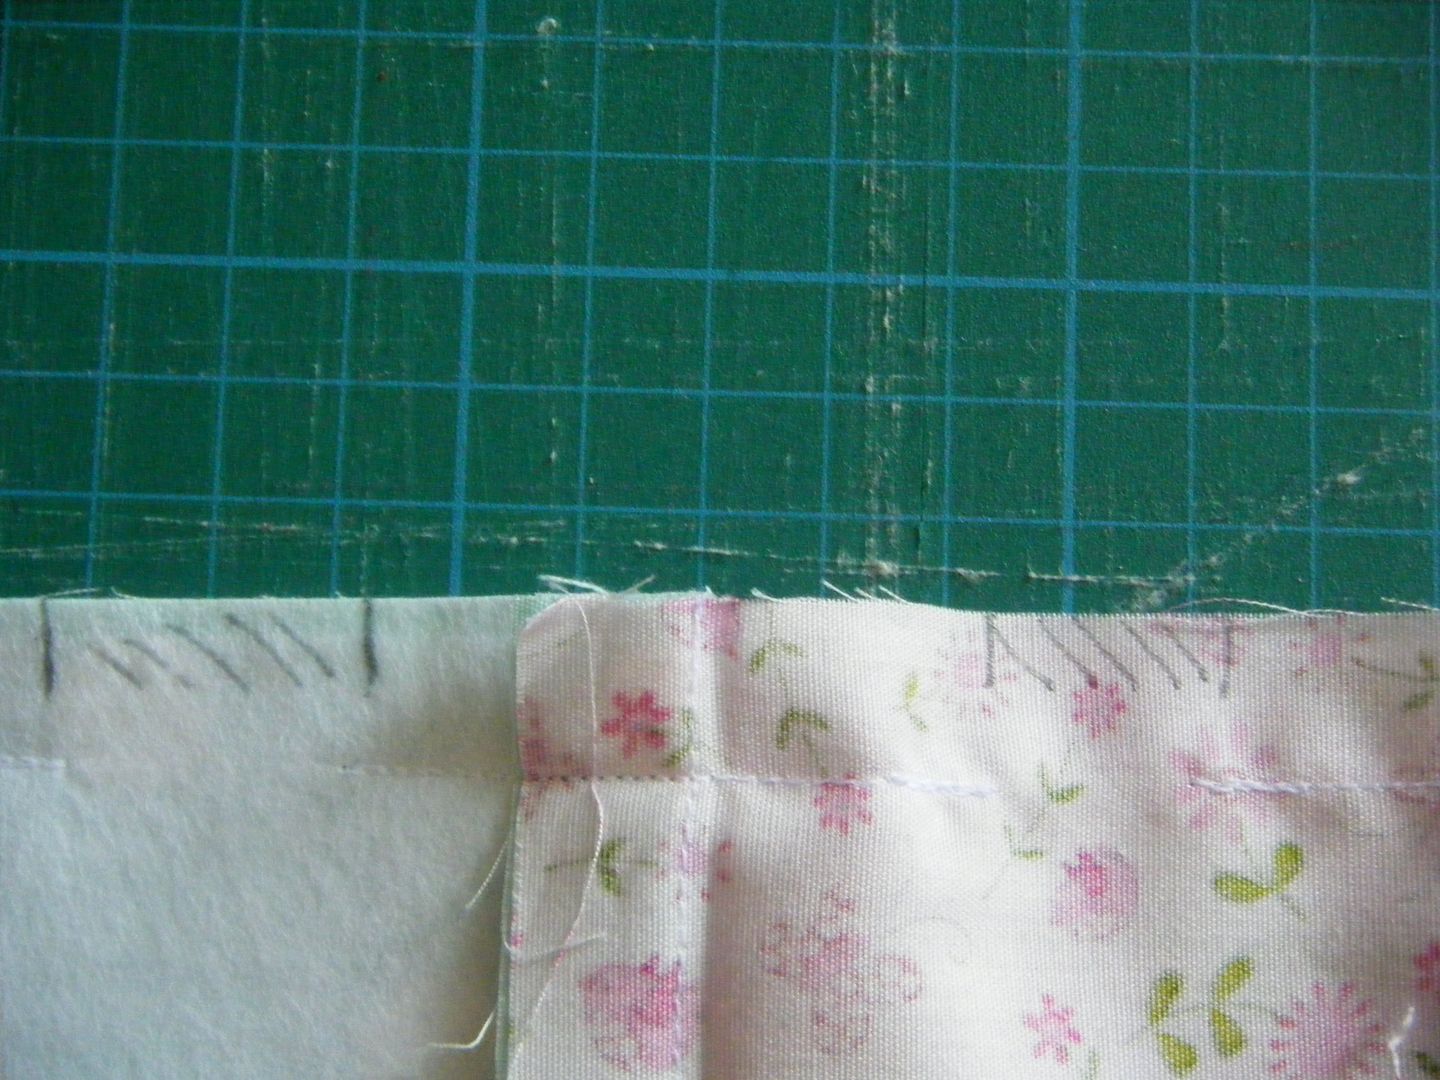
8. Marking the gaps for the rope channel. Measuring from the seam, mark 1" and 2" down from the seam, on both the outer and lining. I've used a Frixxon pen, but use whatever you like. These 1" areas will not be sewn, they will form the holes to feed the rope through. Repeat on the other side of the seam.
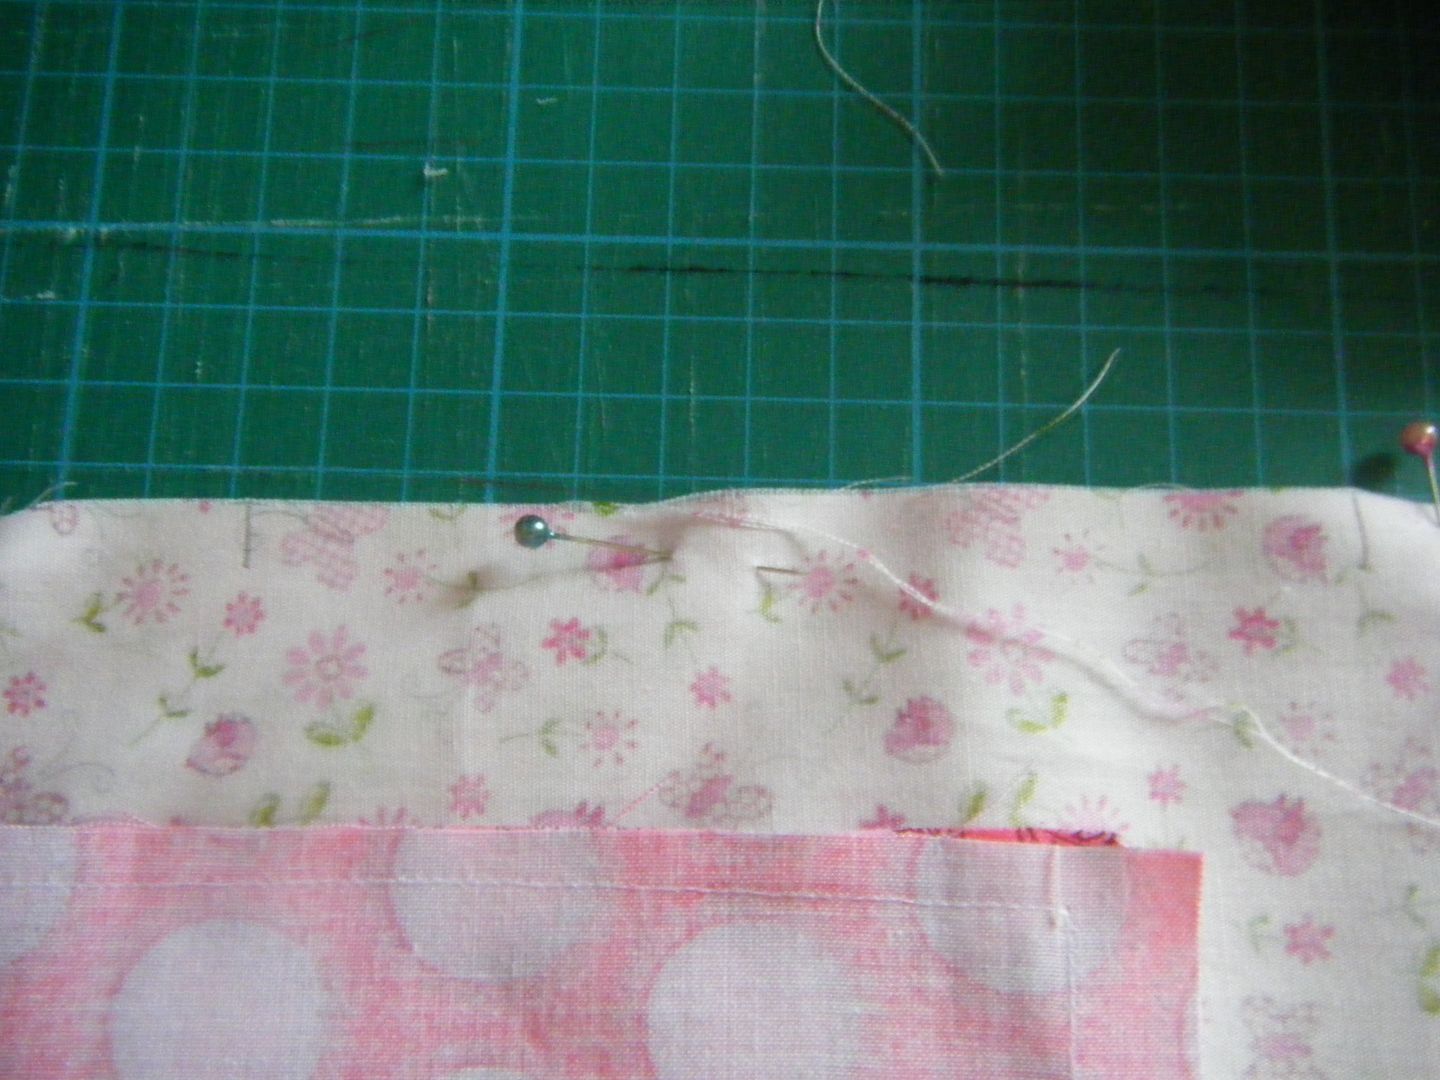
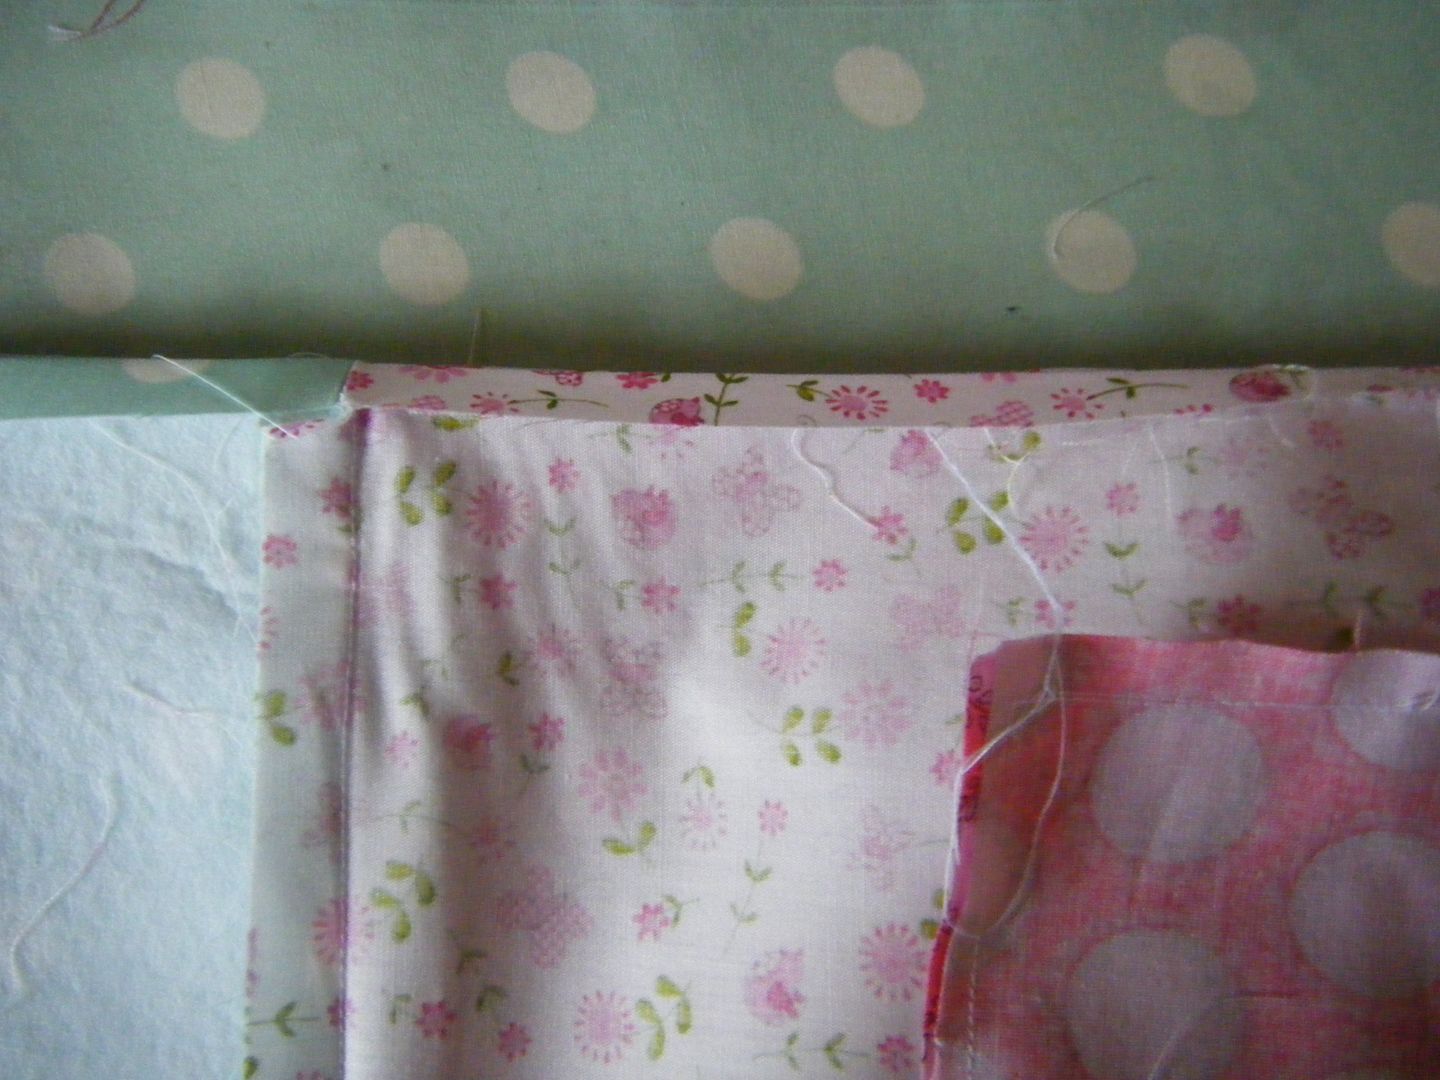
9. Marking the turning gap. Mark a gap approx 5" in the lining, down one of the sides. This is your turning gap. Incidentally, the dark pink fabric you see there is one of my pockets.
10. Sewing it up. Sew all around the rectangle, leaving your 4 x 1" gaps and your turning gap unsewn. Make sure to back tack at each gap. I also reversed over my tabs again, to make them extra-secure.
11. Pressing the seams. Press your seams open in the area where the 1" gaps are and the turning gap. This will make life a lot easier when you come to feed the rope through and sew up your turning gap.
12. Birthing the bag. Turn the bag right-side out through the turning gap. Push the corners out using something like the end of a paintbrush - whatever pointy tool you have to hand. I also run my paint brush handle round the seams to make sure they're pushed out too. You don't need to do this for the lining, only the outer.
13. Sewing the turning gap. Sew your turning gap shut. Using whipstitch or ladder stitch do this by hand, or, if you're lazy like me, do it on the machine!
14. Push the lining inside the outer, use that paintbrush on the corners again, make sure the top seam is nice and neat and press it to within an inch of its life.
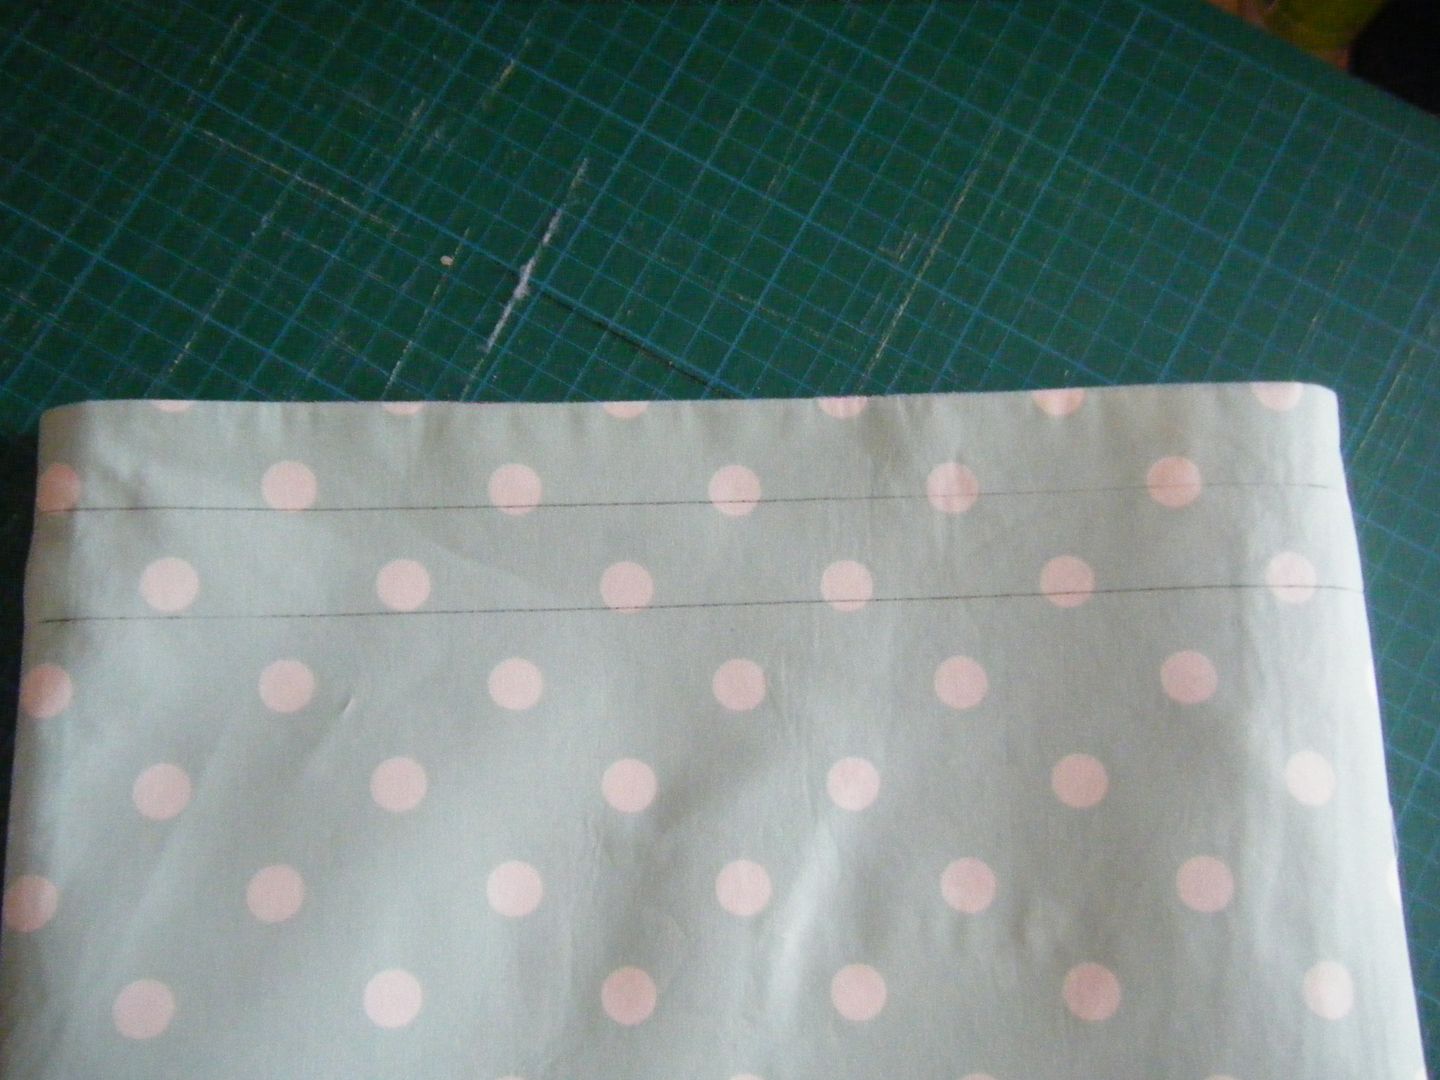
15. Marking the sewing lines for the channel. You will now need to use a Frixxon pen or some other form of non-permanent marker (such as chalk). Draw a line 1" down from the top, and another 2" down from the top. Do this on both sides of the bag.
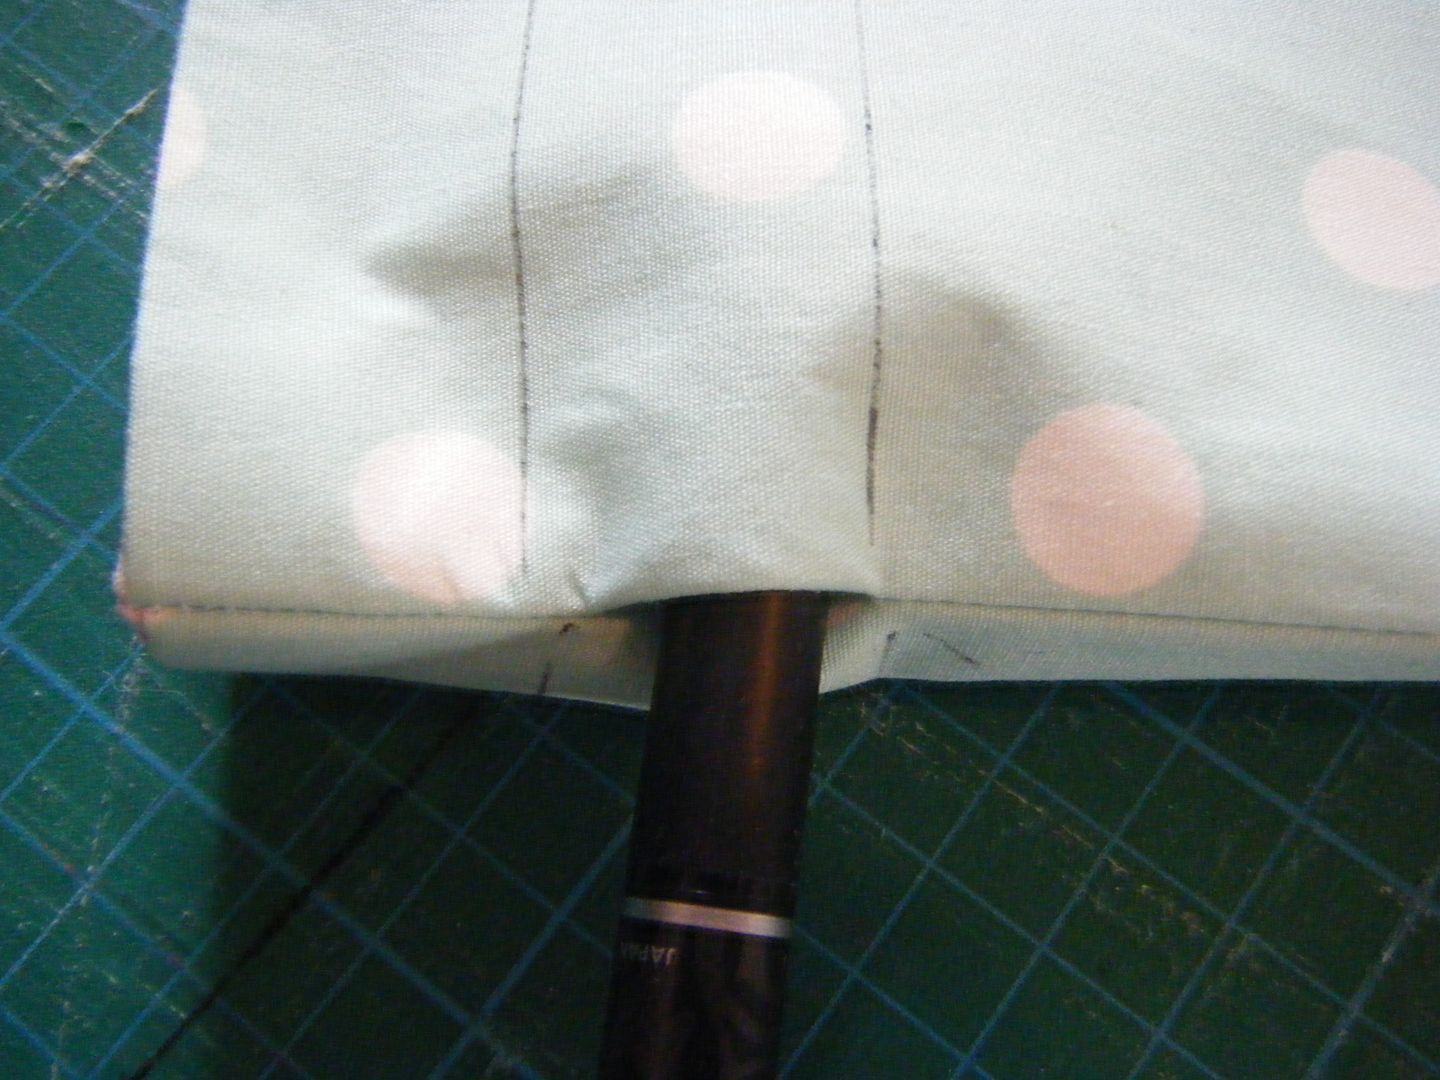
It's a good idea to make sure you've lined these drawn lines with the actual gap. I stuck my pen in the gap to make sure.
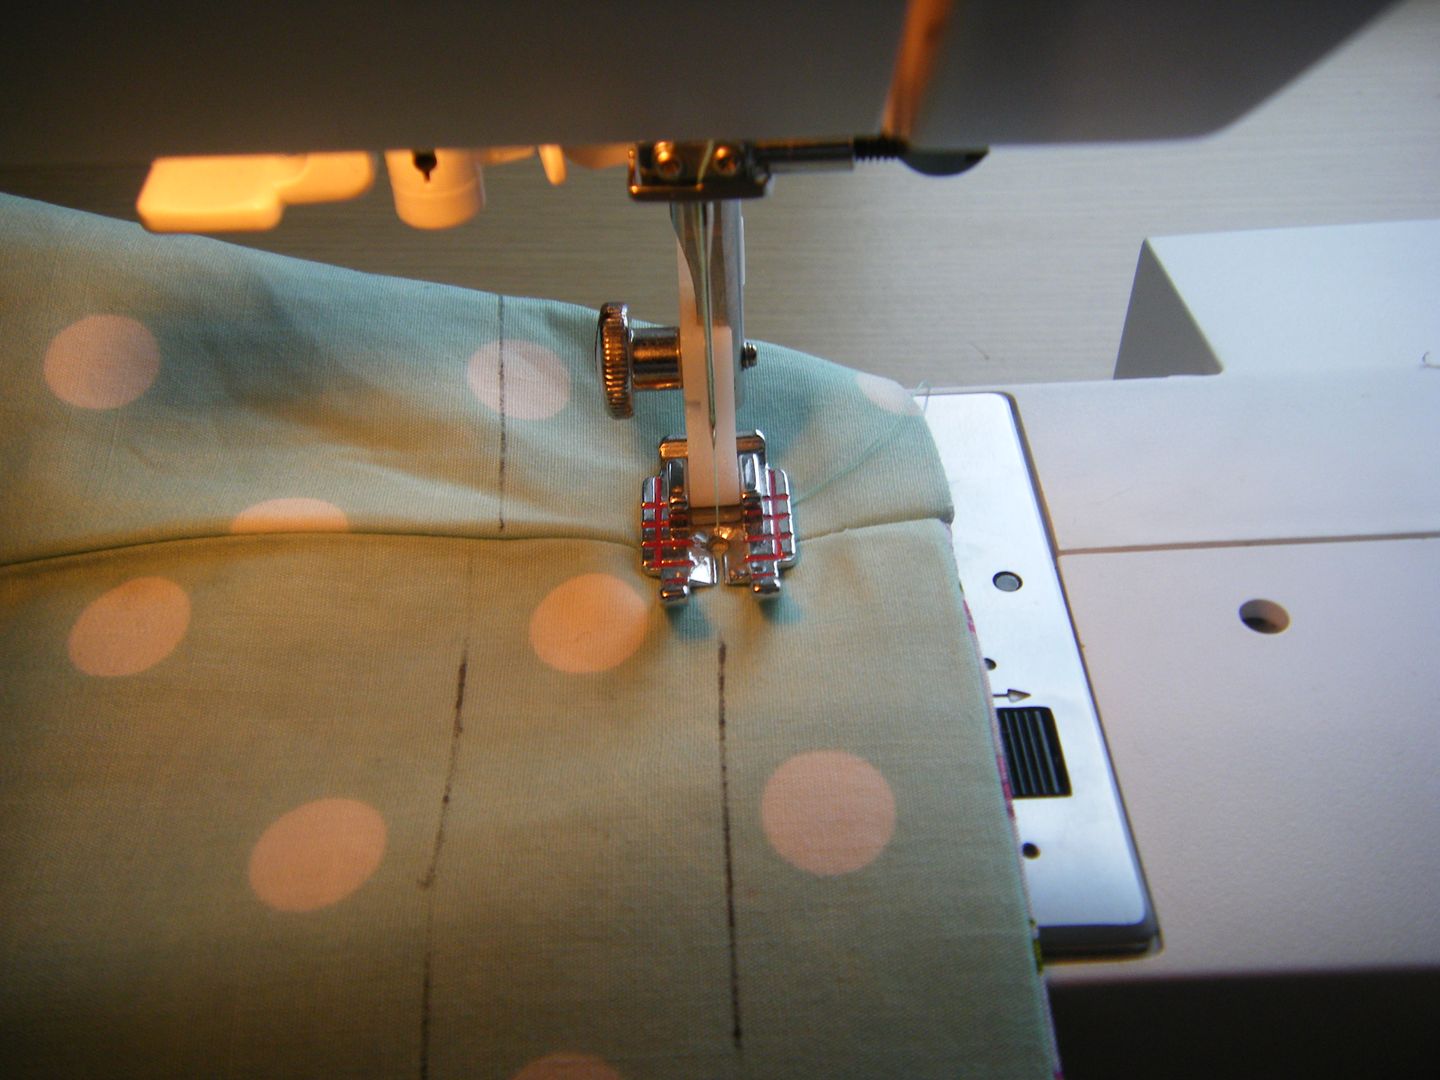
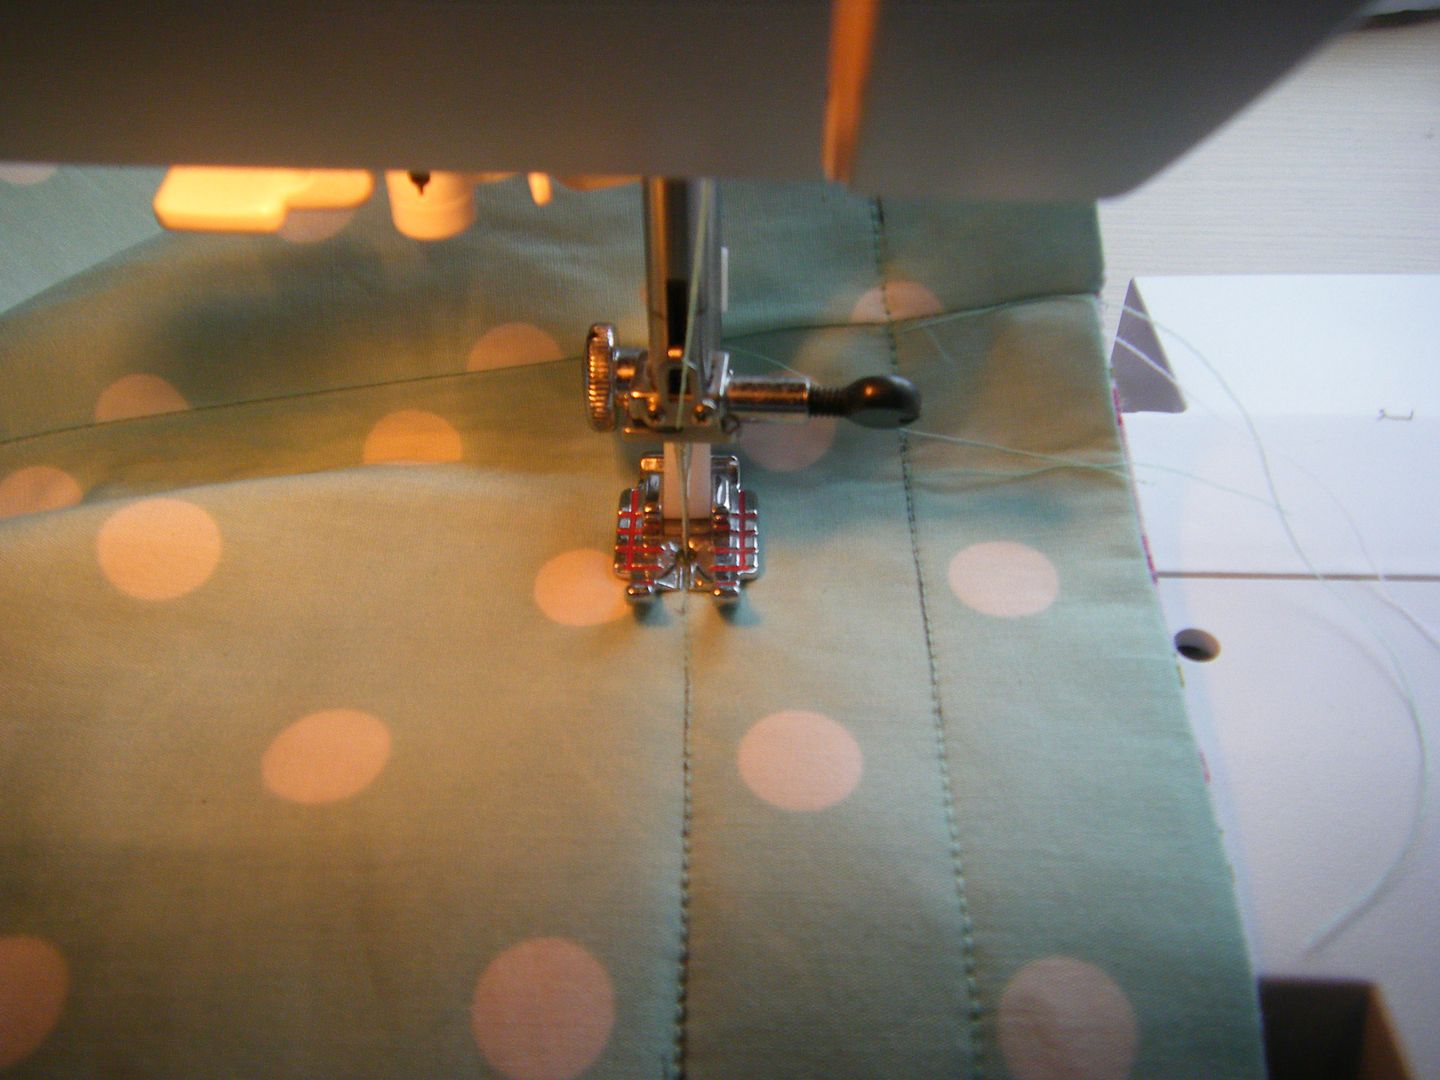
16. Sewing the lines for the channel. Choosing a top thread that will co-ordinate with your outer fabric, or contrast if you prefer, put the bag on the free-arm of the sewing machine and sew all the way round along those lines.
17. Putting in the rope. Now it's time to add the rope handles. Make sure your glue is dry or you could be in for disaster. Pin a safety pin to one end of one of the ropes. This is to help you draw the rope through the channel.
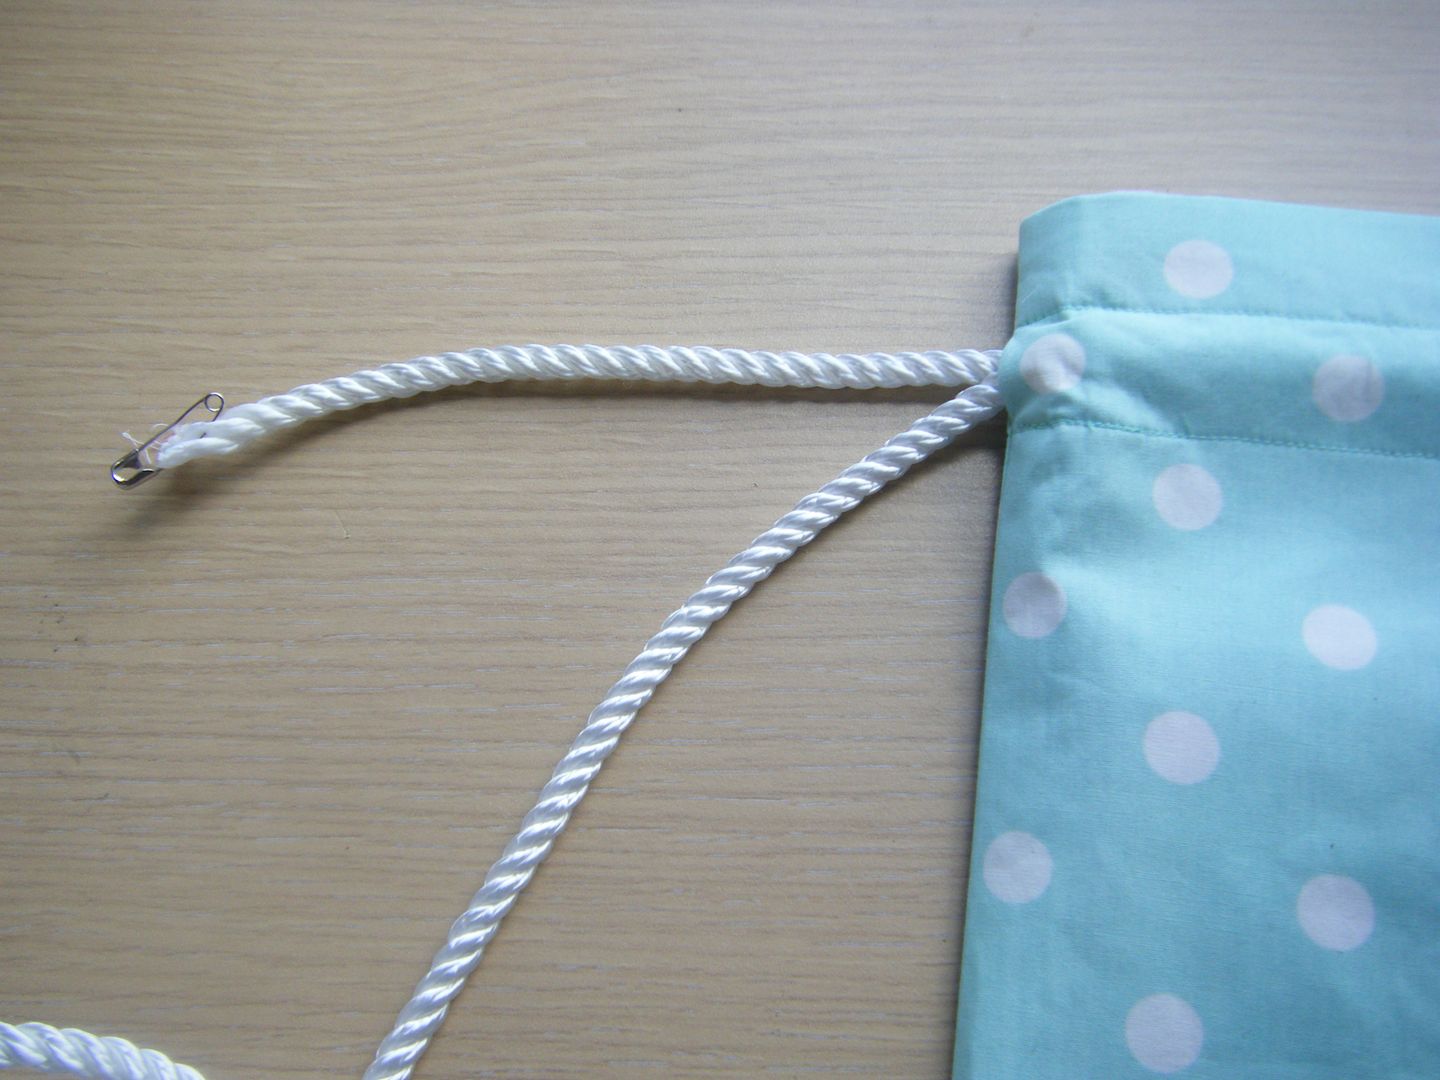
Start on the left and thread the rope all the way round, back to the same side. Pull the rope so both ends are the same length.
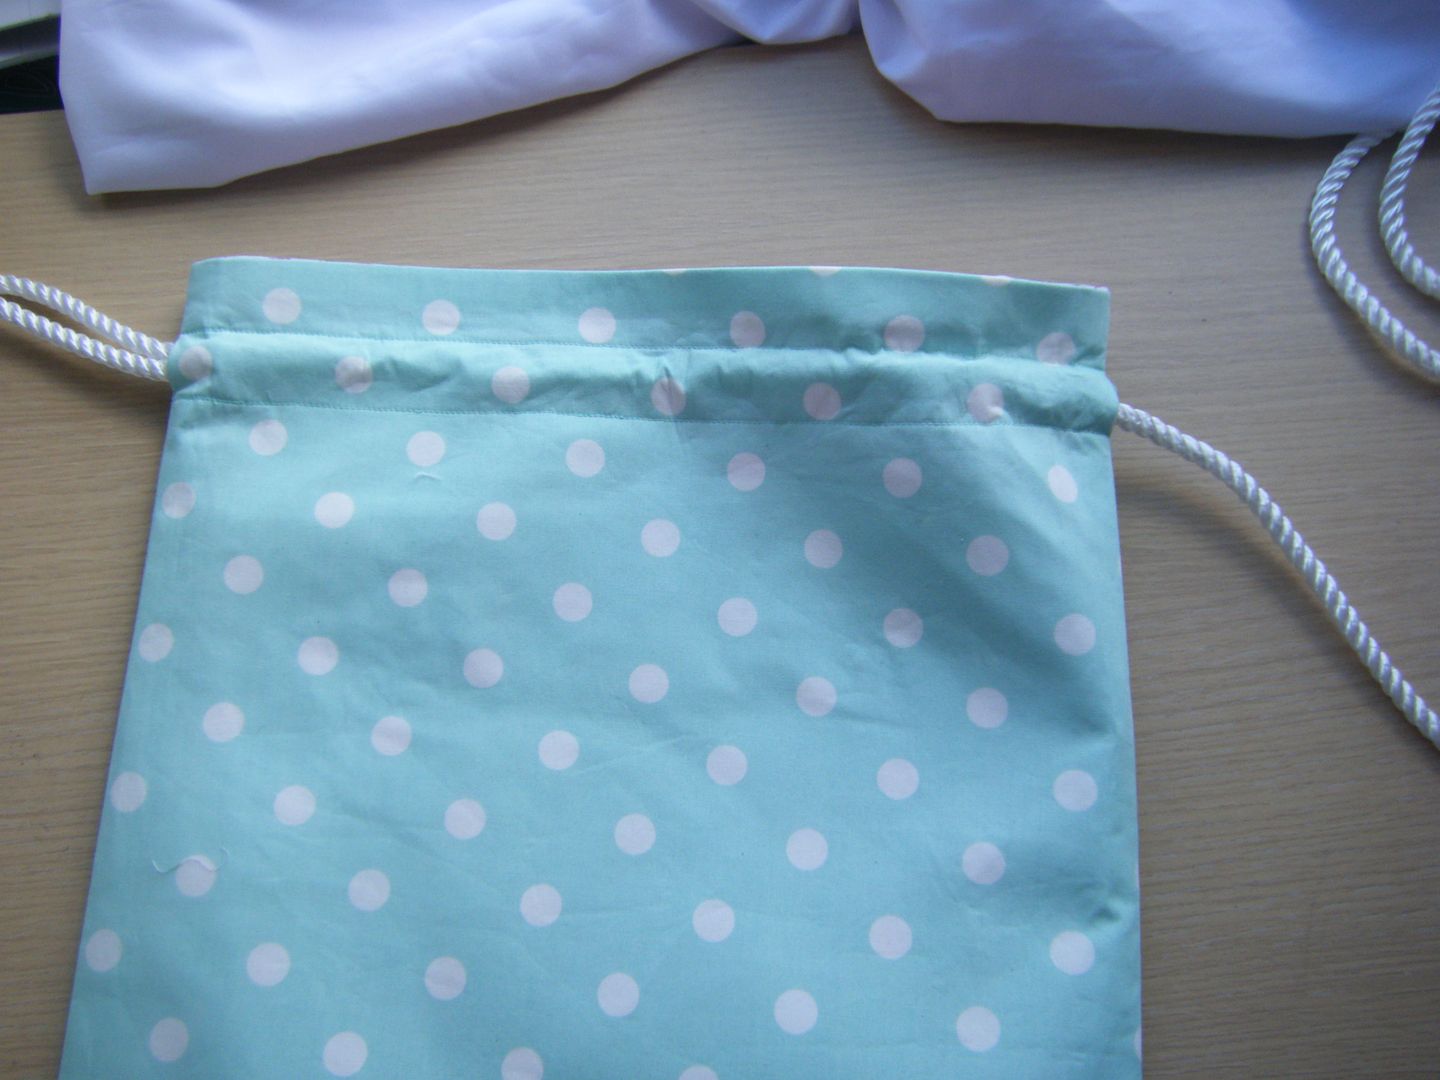
Put the safety pin on one end of the other piece of rope. Start threading through from the right hand side and thread all the way round. This is tricky! The other rope makes it quite tight, especially where the two left hand ends emerge. You will have to persevere, but use whatever you find helpful to get you through - wine, chocolate, bursts of violence... Alternatively, con someone else into doing this step for you.
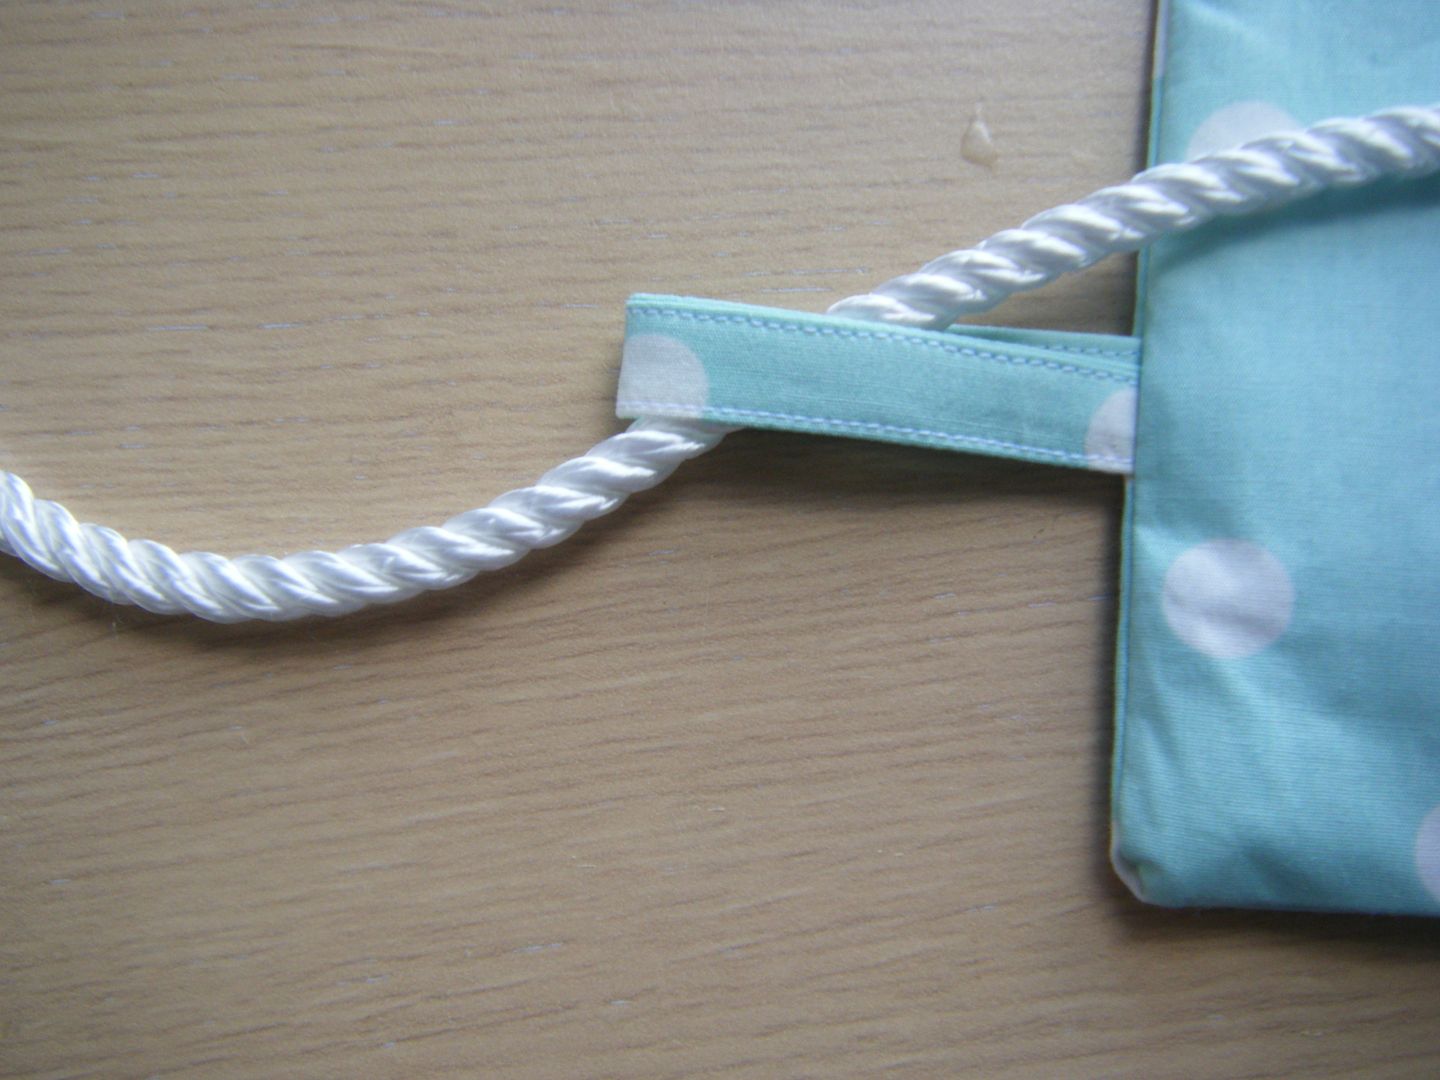
18. Back to the left hand rope. Thread one end through your tab.

19. Tying the knot. Tie in a knot. Repeat for the other end. You will need to try the back pack on at this point to make sure the ropes are the right length for you. When you have them correctly adjusted, cut off the excess and again glue the ends to stop them fraying. Some glue on the knot would be a good idea too.
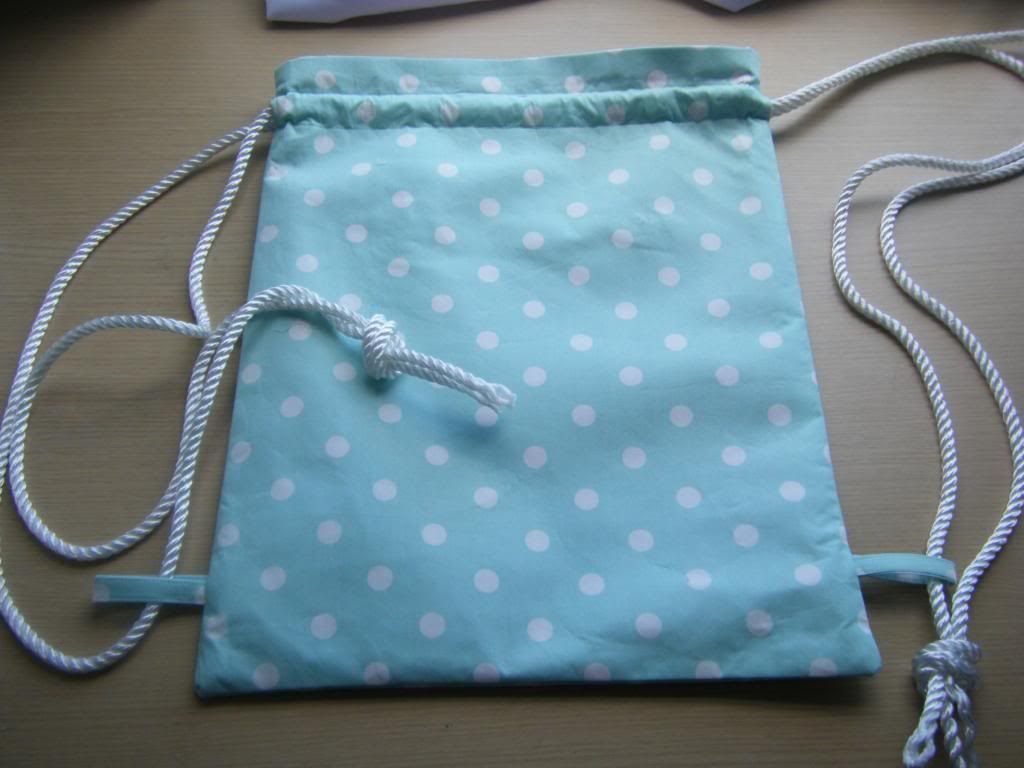
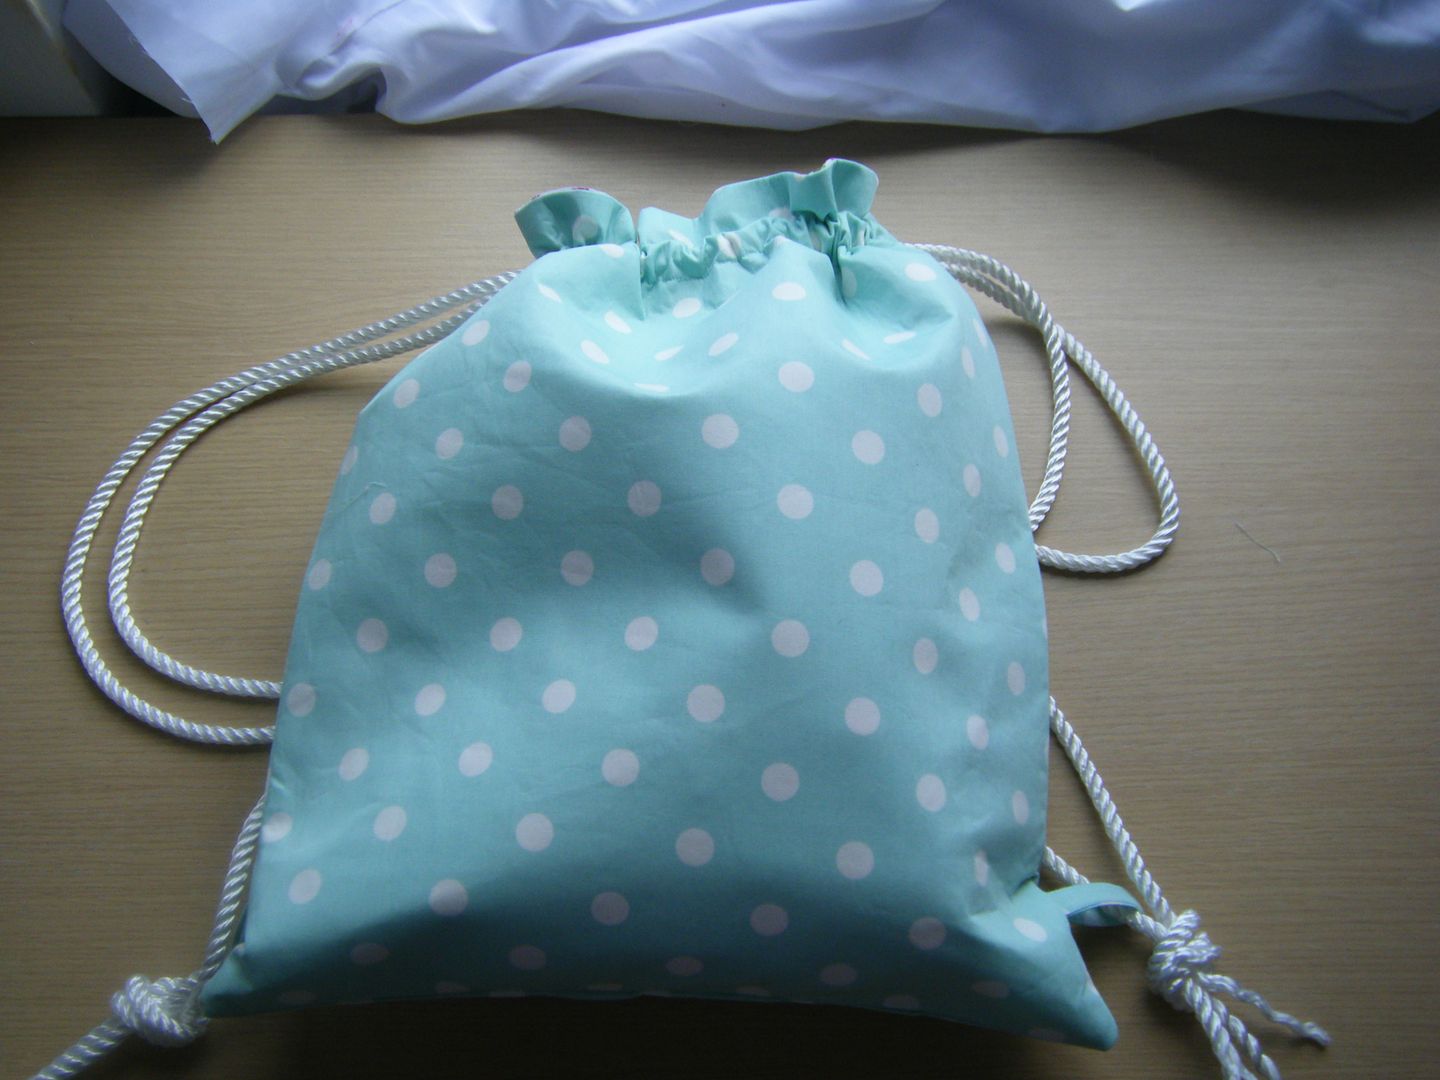
As you can see, the ropes on this bag are very long. I started with 5m of rope for my mum. She has a problem with her shoulder and so can't reach her hand back very far so I knew the handles needed to be long. They are much shorter on my bag.
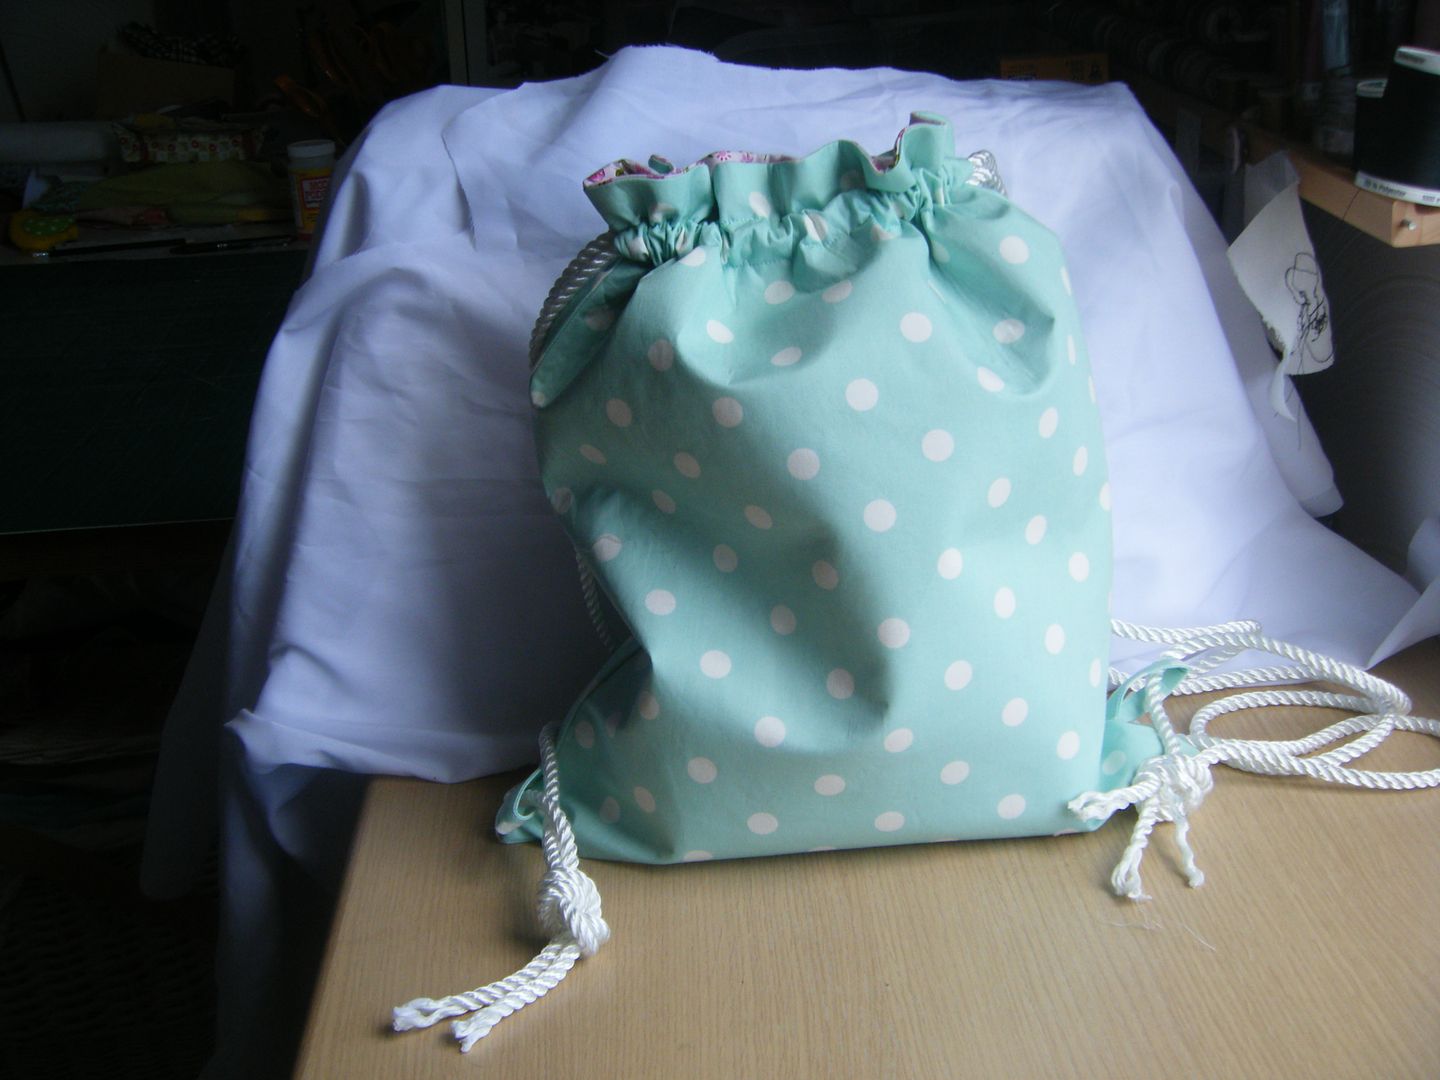
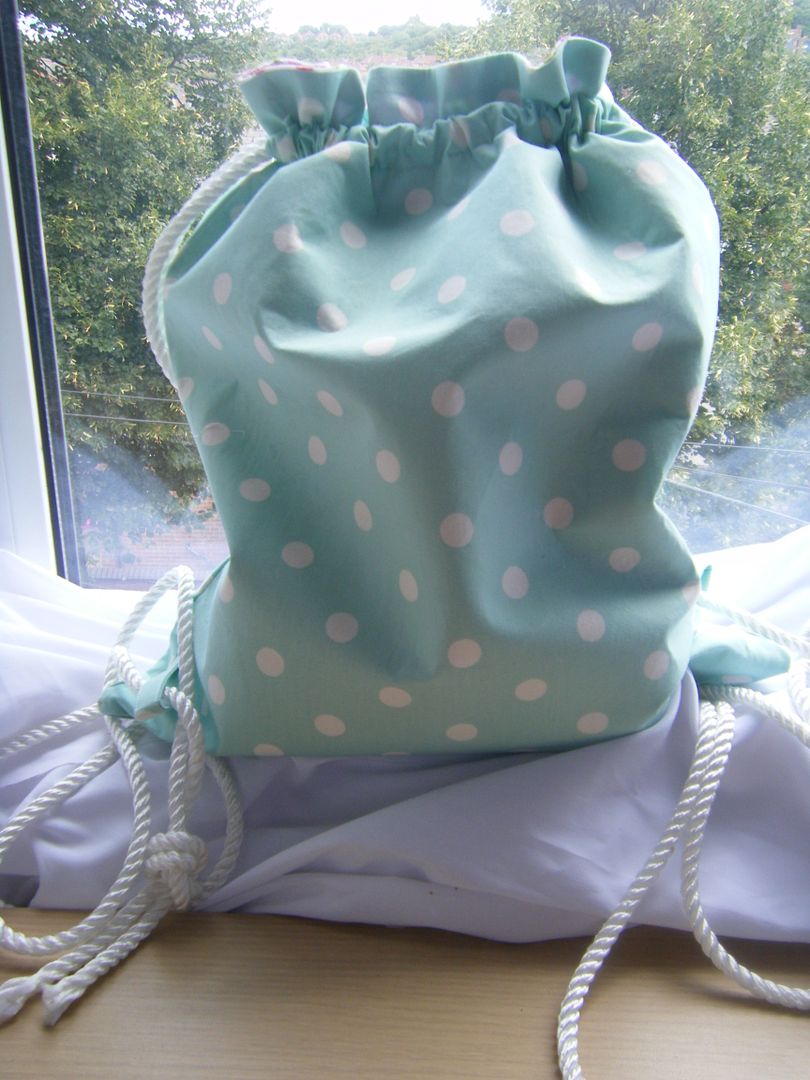
20. Taking crap photos. Stuff the bag with a towel, throw a white cloth over your sewing machine and take some really bad photos!
I hope you enjoy making this back pack. If you do, I'd love to see so send me a photo or leave me a comment with a link to your post. Oh right, the usual legal stuff:
You are free to use this tutorial to make bags for yourself, family or friends.
You are also free to use it to make bags to sell. I mean, let's face it, how does it hurt me if you do? And how the hell would I even know, let alone stop you if I didn't like it?
BUT, please don't redistribute the tutorial itself. Feel free to link to it and you can use my photos for that too (if you're desperate!!)
Thank you and good night.
16 comments:
Thanks for the tutorial Wendy. I like both of them but my favourite is the first one.
This is so much better than the crappy method I used for making my kids gym bags! Might have to make one for myself just to use your fab tutorial :)
Alison
x
Thank you for sharing, Niccolò is at the first year of Primary School, he needs two of this: time to sew!
Hugs,
ClaraBelle
cute bag Wendy... I love the little tags to hold the rope...
Hugz
WOW I know how much work this post took and can I just say, well done! Yet I still get a panic attack thinking about using my sewing machine!
That's a great tutorial, Wendy - very well written and lots of photographs! Most of us love it when there are lots of photos to guide us :D
BTW - it's 12 inches in a foot ;) I grew up with Imperial but learned metric as a teenager - I still mainly think in Imperial, although I'm quite adept at metric for fabric measuring, LOL!
A great tutorial, Wendy!!! I had to laugh at Step 20. Taking photos is the hardest part of the process.
Oh, thank you for this. I was given the perfect fabric to make one of these yesterday. Now, I need some time!
tis is simply amazing !!
im so gonna try it out... :)
u are simply amazing...
i dint knew making tis was so very easy...
thanks for this beautiful post..
Keep up the good work gal !
u are simply amazing...
i dint knew making tis was so very easy...
thanks for this beautiful post..
Keep up the good work gal !
birthing the bag....oh you do make me laugh! :D
Yay, thank you! I will have to try one of these soon! xxx
Thank you for this brilliant tute. It's a long time I've been wanting to make one of these. Now I have no excuses!
Your bag looks so beautifully well made and it looks like it would be fun to try. I might be inspired to actually get my sewing machine out! Pinning it now!
Thanks so much for the tutorial! I made one!!
http://pacountrycrafts.com/field-trip-bag
Post a Comment