
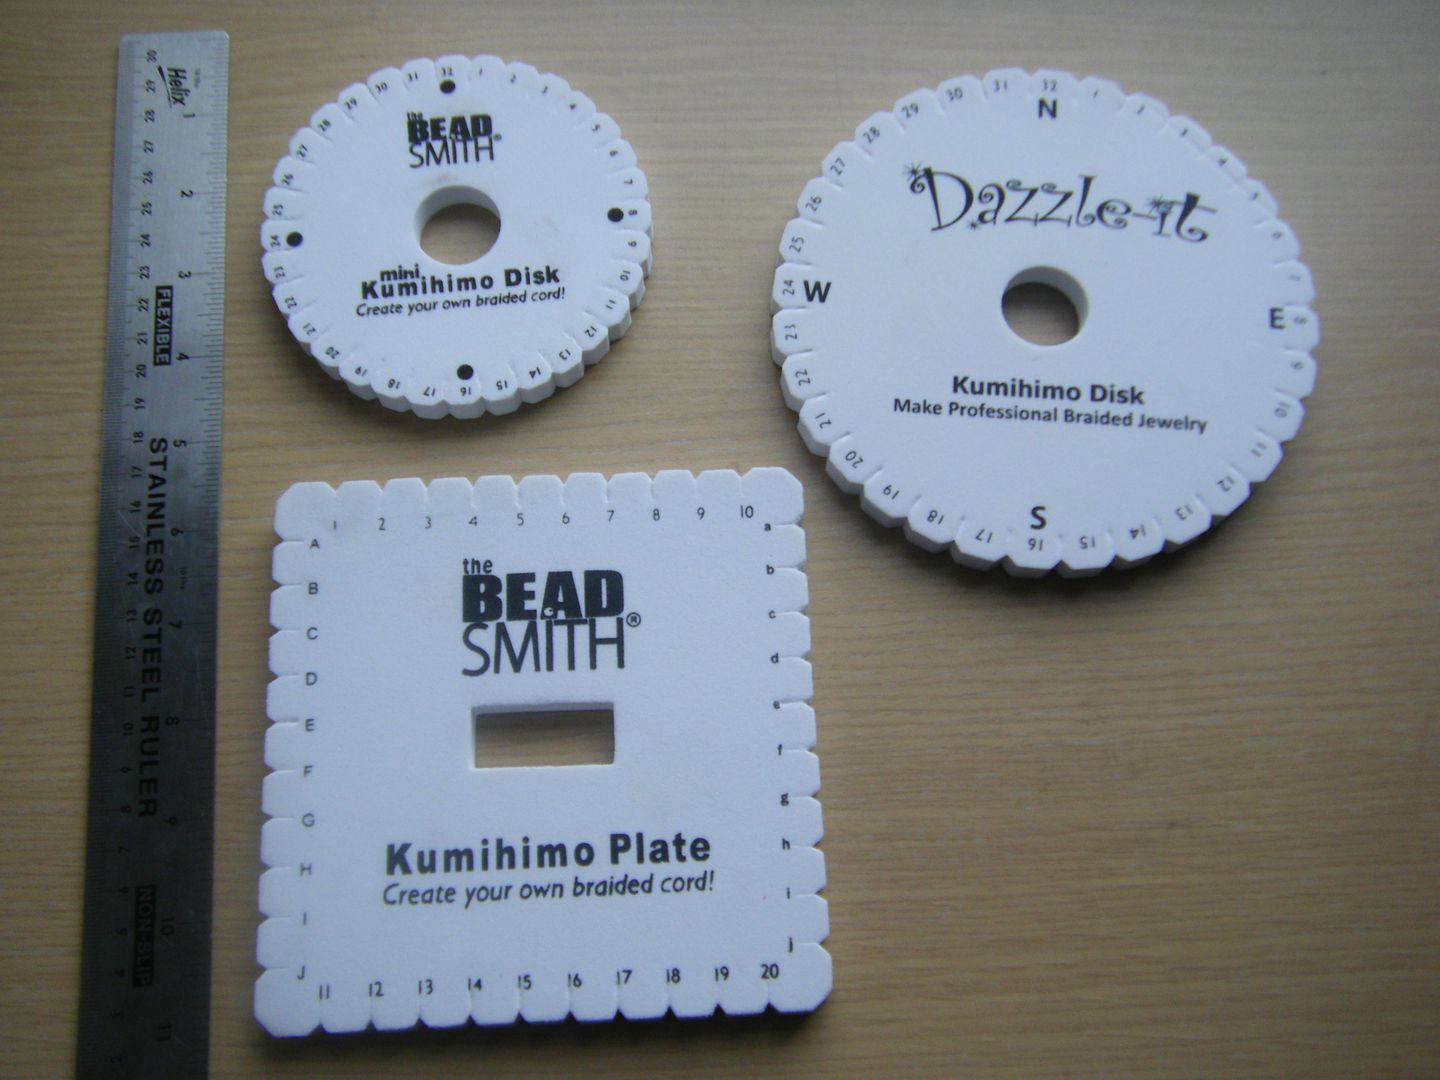
These are Kumihimo disks. They cost £2 - £5 each and are readily available in bead shops, craft shops and online. There is no difference between the small and large circles, they create the exact same braids. The square one creates flat braids. I put the ruler in the photo to give you an idea of their size. They're made of foam with slots between each number to thread the cord through.

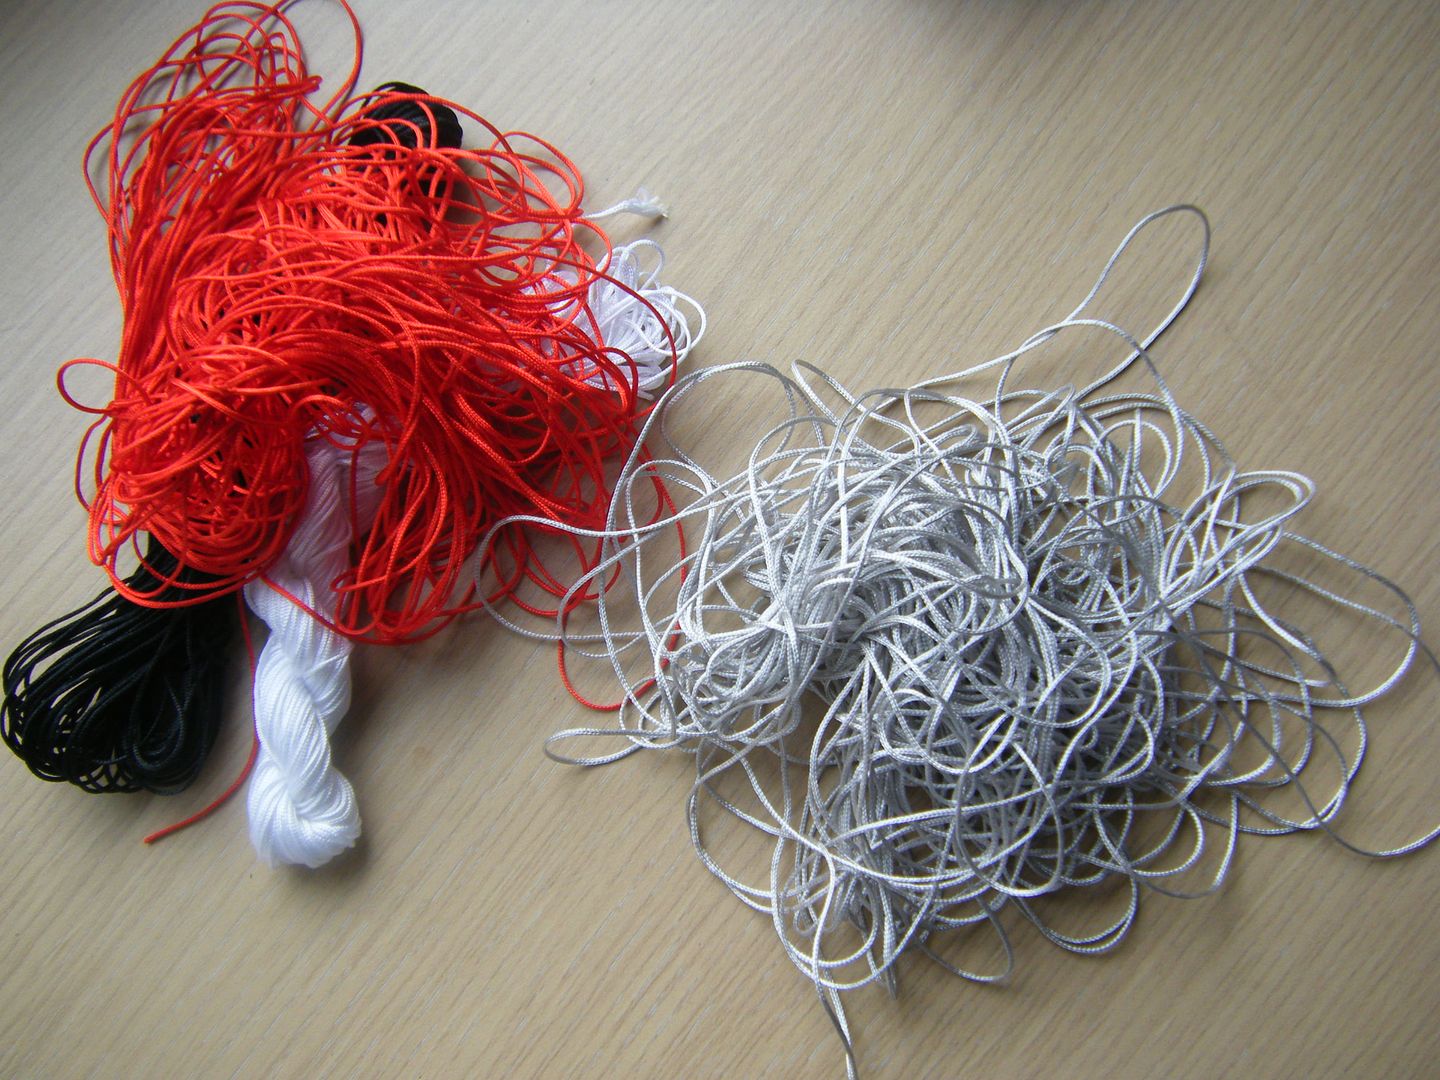
My first braids used cord, but I then used rattail and much preferred it. I bought some more rattail - this is 1mm but you can also use 2mm. To be honest, you can use anything you like from embroidery floss to yarn and, I suspect, wire - I must try that out. I bought my rattail from a supplier in ebay based in China. 27m of a colour for just over a pound. Buying it from the UK was a LOT more expensive than that.
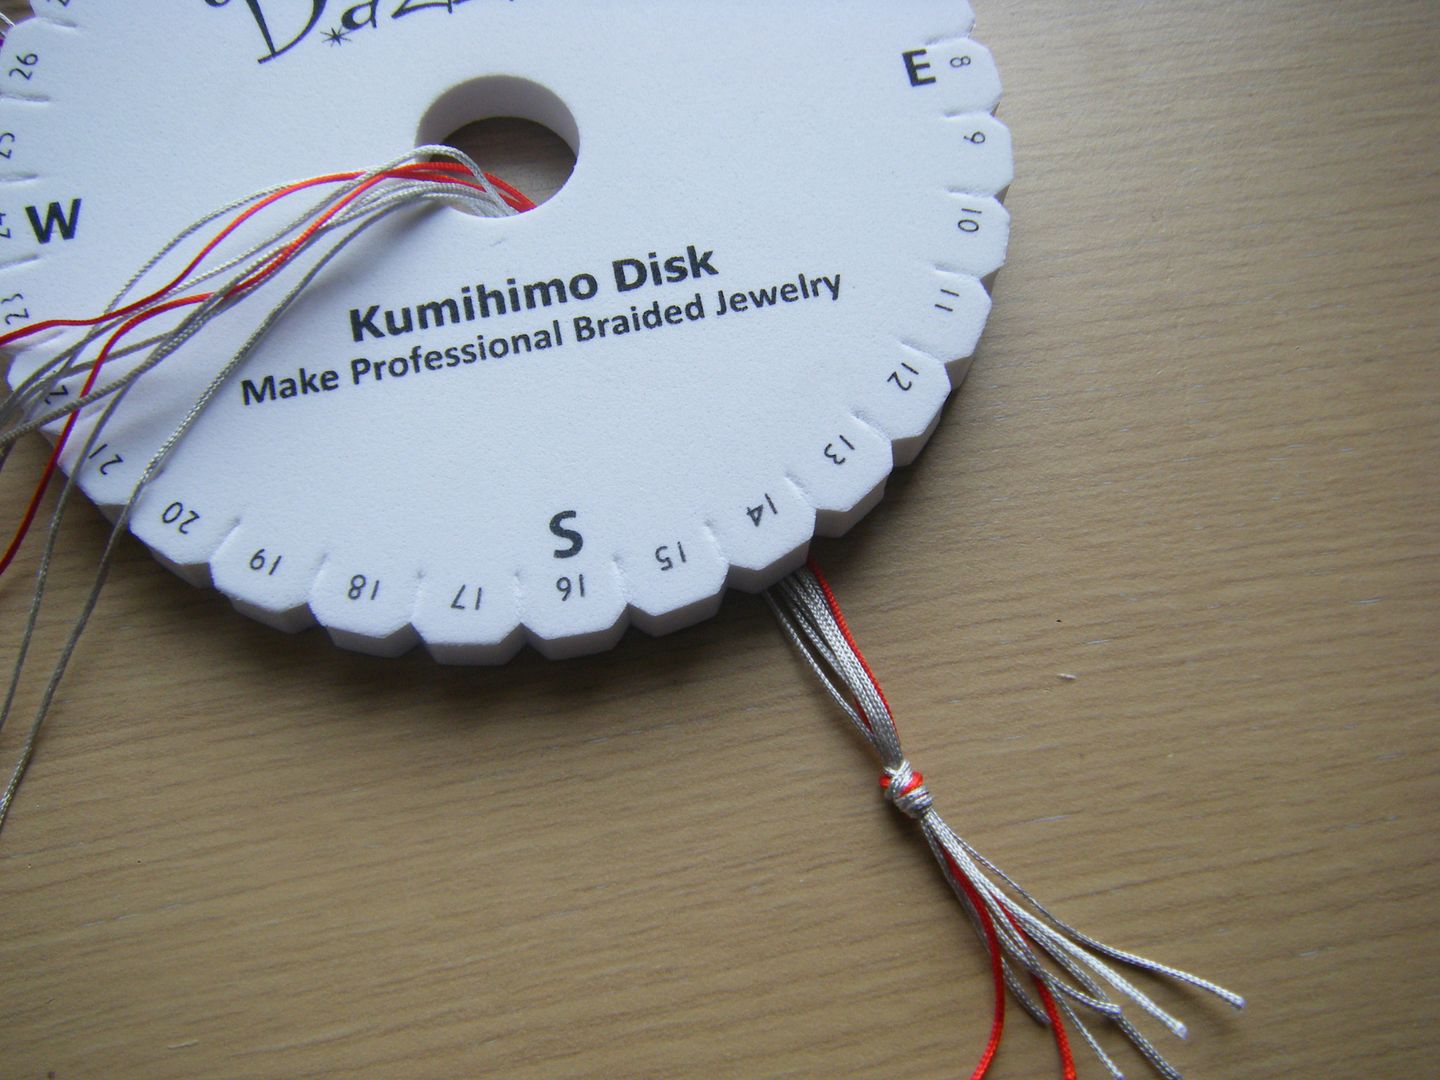
I'm not going to give a full tutorial here, just an overview. There are a lot of good free tutorials already out there and the discs also come with instructions. You take 8 lengths of rattail for an 8-strand braid (you can also do 16 strand braids, but they're very chunky), the rule of thumb is 3" of rattail for every 1" finished braid you want. Tie a knot in the bottom. The instructions and some tutorials say to use a weight and to wind the rattail onto tangle-free bobbins. It's not really necessary, I just give the end a little tug with each round.
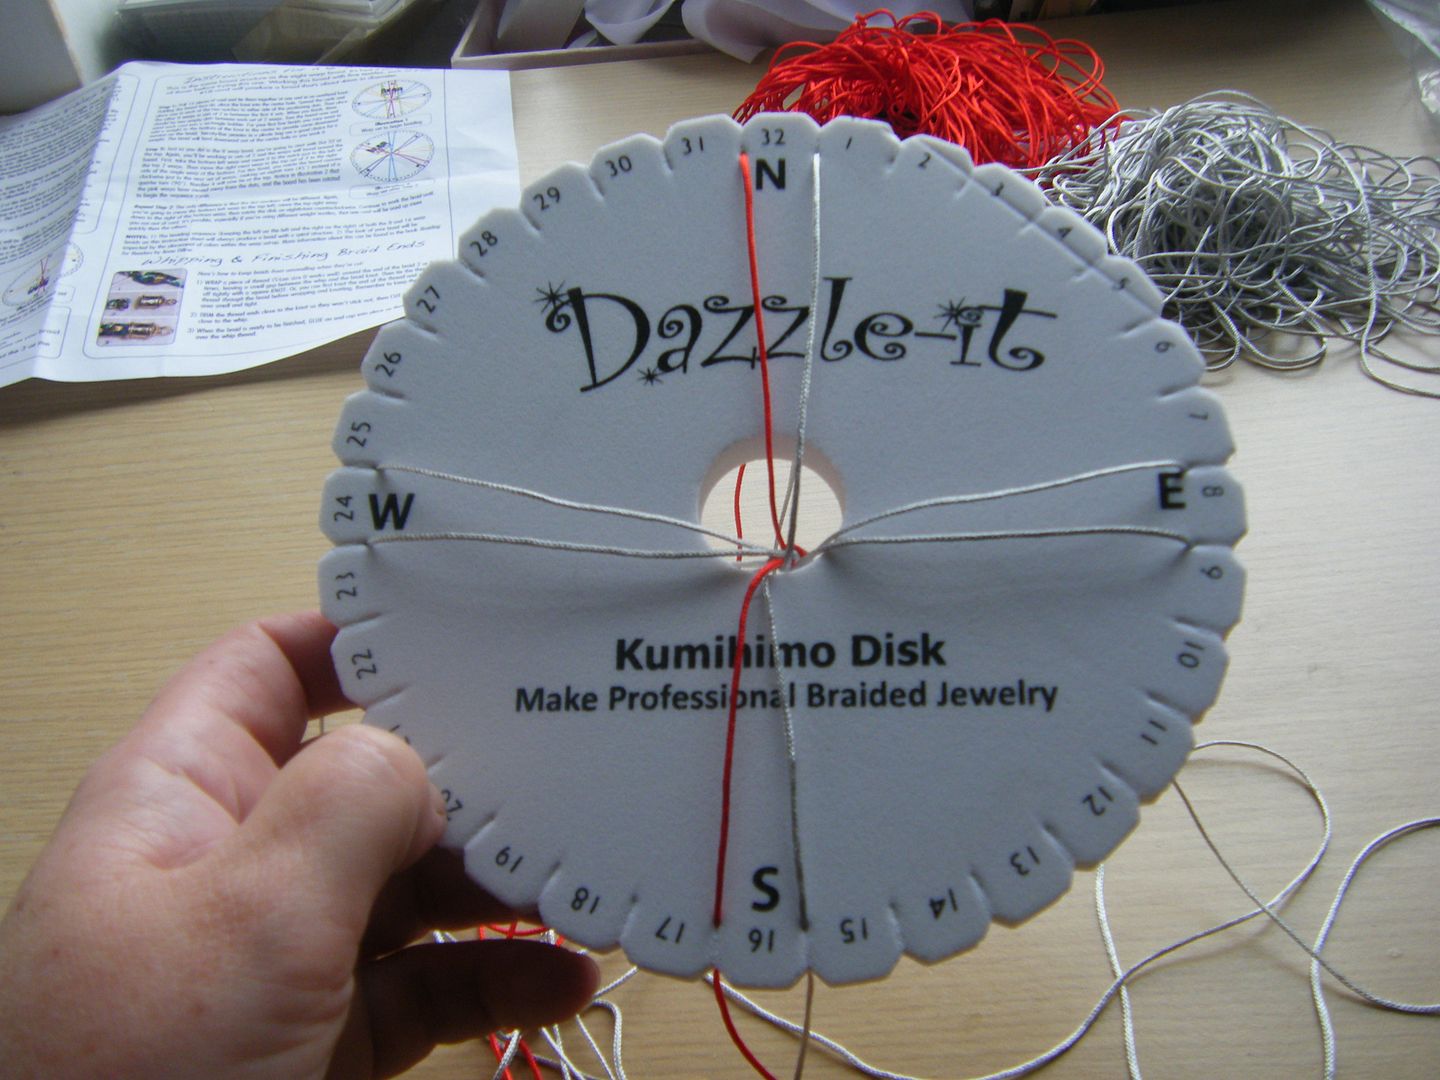
You put the knot through the middle of the disc and put the strands into the correct position to start. This is the positioning for the basic 8-strand braid. Colour placement makes a difference. You could make a single coloured braid or use anything up to 8 different colours/shades. In this example I'm using a colour placement designed by Dream a Little Bigger - I did the 5th one. Dream a Little Bigger has a lot of kumihimo tutorials so I'd recommend a browse if you fancy trying this.
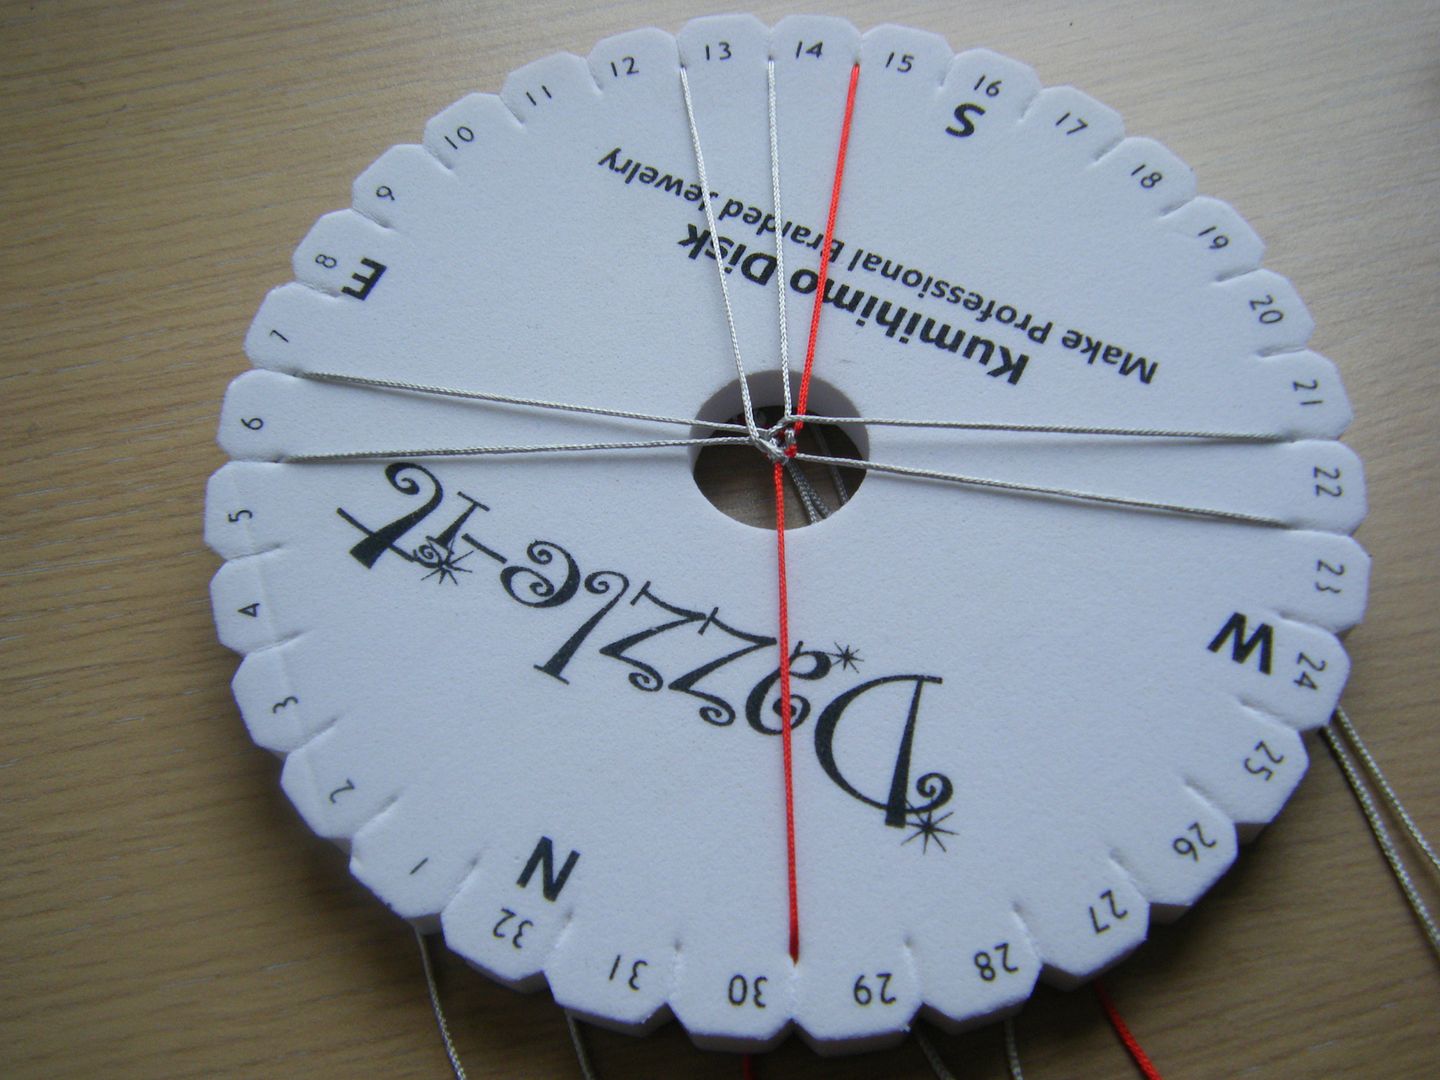
The basic premise is that you take one of the strands from the bottom and move it to the top. You then move a top strand to the bottom. Turn the disc 90degrees anti-clockwise and repeat. That's it, it really is that simple and that quick.

Here you can see the braid starting to appear. It takes about 15 minutes to make a braid long enough for a bracelet and can be done whilst watching TV as it's quite mindless once you get into a rhythm.
I turned back to Dream a Little Bigger to see how to put on end caps for the braids I'd made. You should use 6mm end caps for 1mm rattail in an 8 strand braid, the endcaps I'd bought are 4mm but it worked fine.
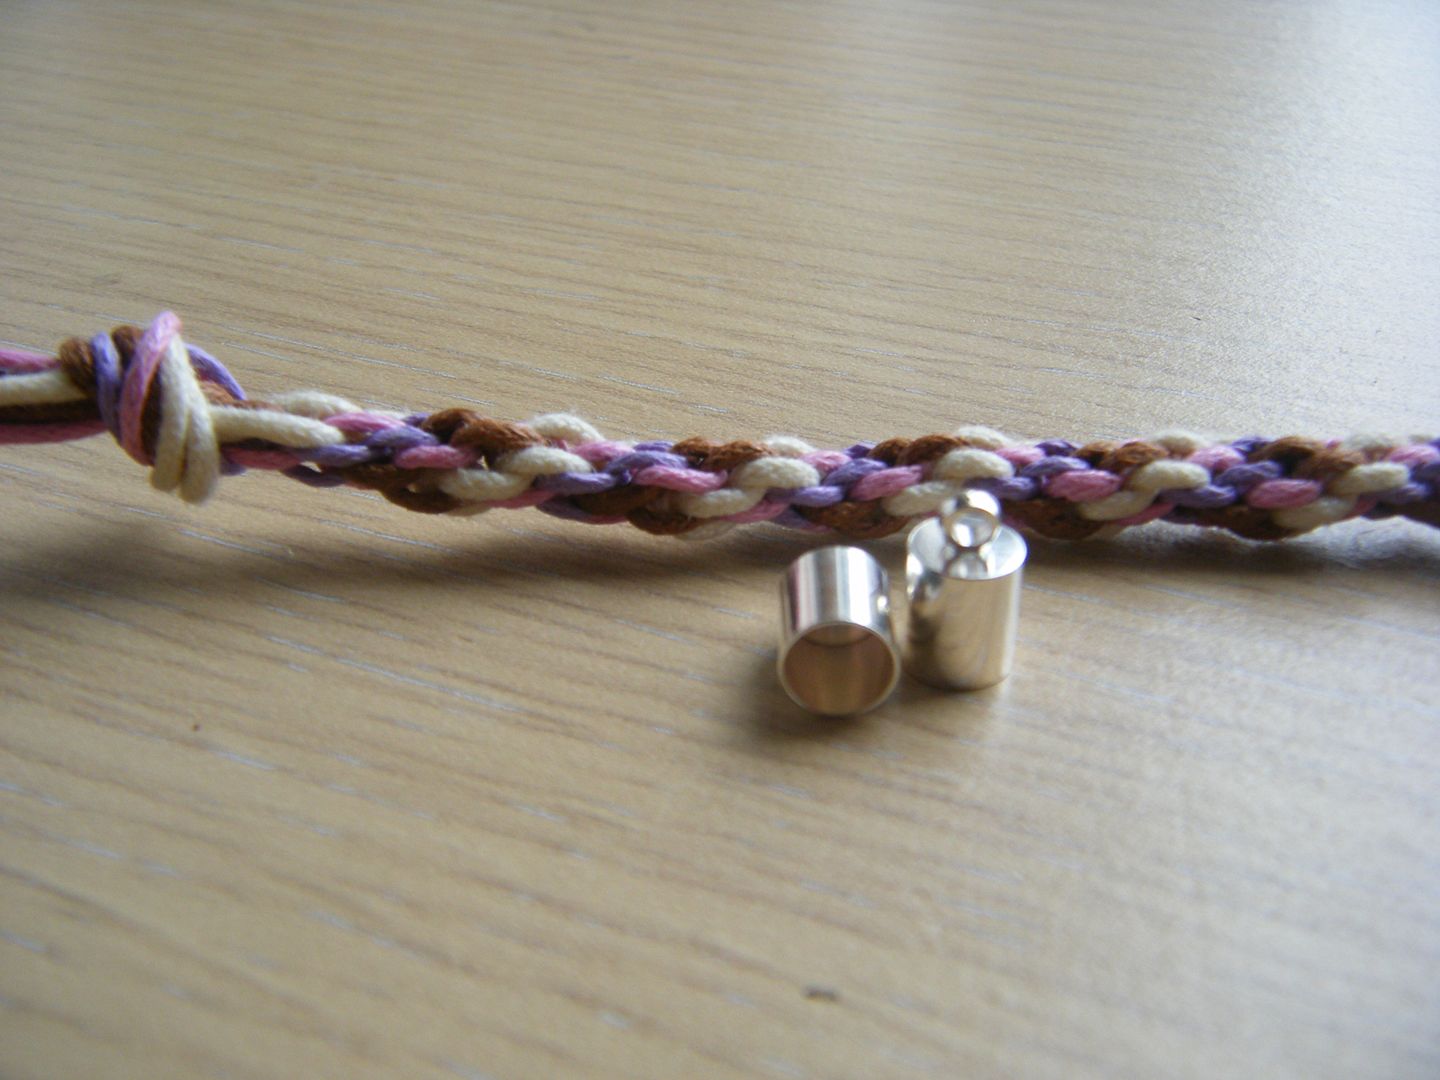
These are the end caps.
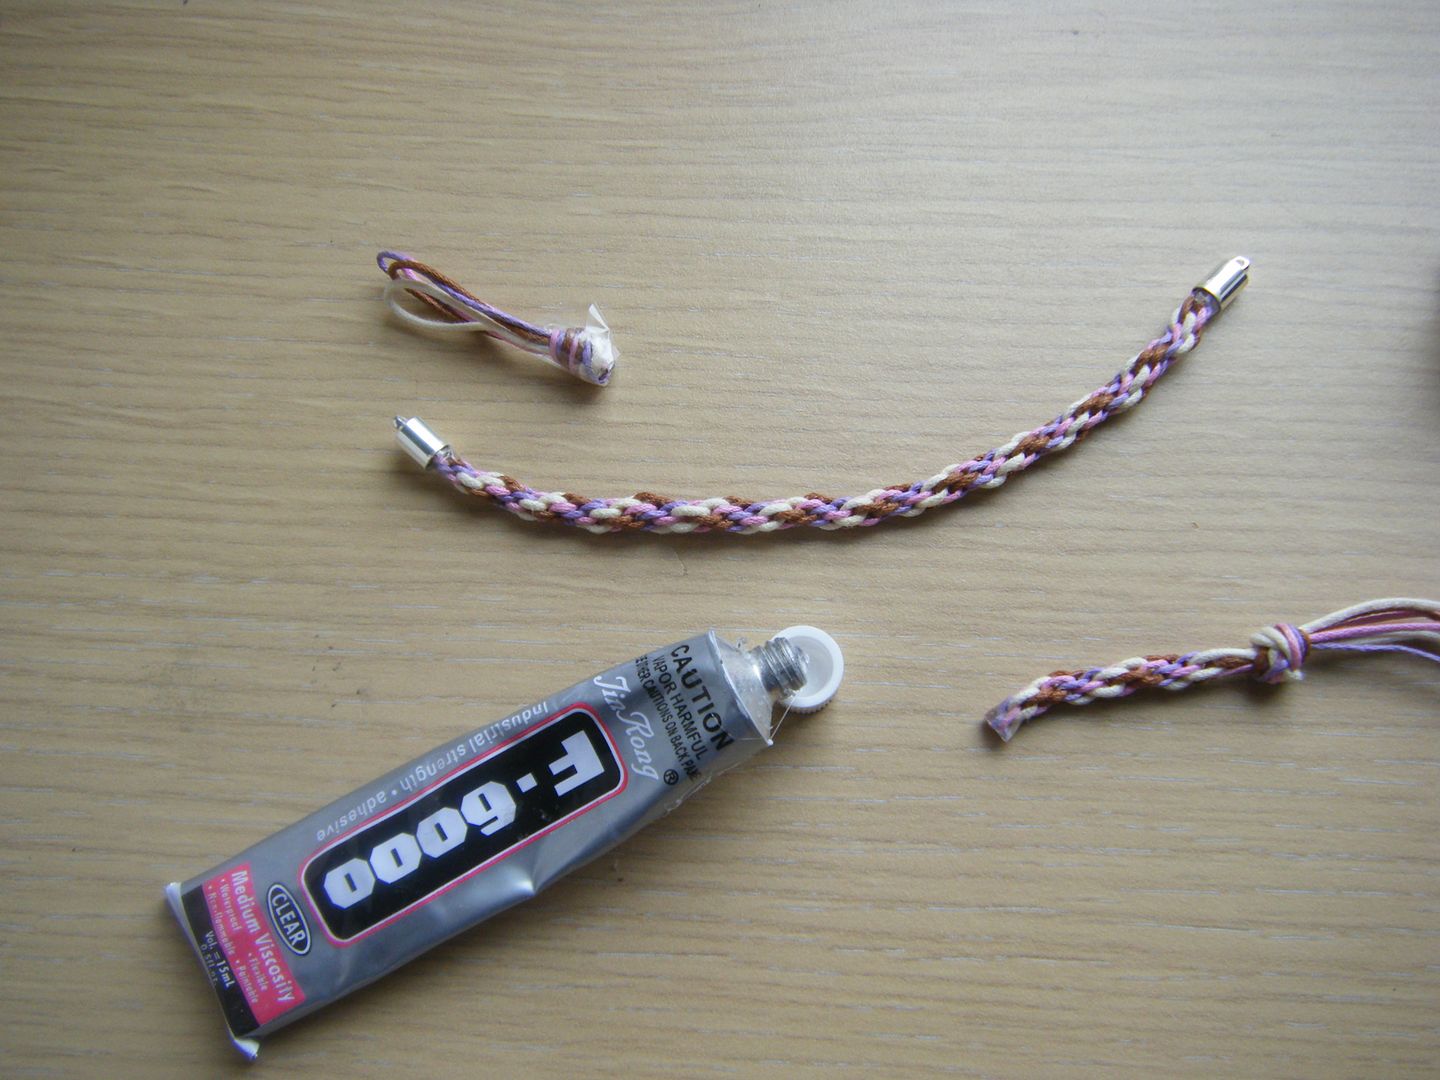
All you need is some glue, some tape and the end caps. I've now glued all the braids I made and just need to add the findings. Unfortunately they're in a box in the dining room along with the cupboards etc for our new kitchen so that won't be happening any time soon!
If you're looking for Kumihimo tutorials or patterns, check out my Kumihimo Pinterest board.
Is it all a little clearer now? Next up, I'm going to try braiding with beads, I also want to try wire now I've thought of that!
8 comments:
Dear Wendy
Kumihimo is something I am going to try - I have all the equipment I need but haven't yet had a go...Next on the list, I think, especially after seeing this post. Thanks for sharing this.
Best wishes
Ellie
Thanks for explaining Wendy. It looks really easy with these disks and so much fun.
The results come out really cool...but it still seems like it would be hard at least for me. I have always had trouble with anything that involves knotting, macrame, knitting & crochet. I seem to do things backwards.
That looks fun, I had no idea of how it worked when you said about it before. Can't wait to see the results with wire
I've recently bought my kumihimo disc so this post comes in the right time. I've used 1mm cotton cord but wasn't thrilled with the results. After your post, I think I'd better change to rattail.
Much better than the cardboard disc I've used. I've never seen these in the shops, but then again, I've never looked. I'm sure they have them over here.
Great blog post! I have just discovered you blog for the first time, looking forward to reading more of your posts in the future. I have been making lots of different types of bracelets myself using this kumihimo technique, I love it when you add different beads on to the threads, you never know how it will turn out. you should take a look at our blog over a The Bead Shop Manchester, there are some great articles for you to read :) be careful though it does get addictive!
Great blog post! I have just discovered your blog and im looking forward to reading more of your jewellery making posts. Iv also been making lots of kumihimo bracelets, its so addictive! My favourite thing about this technique is when you add different types of beads to you thread, because you never know what's going to happen! lots of fun. if you want to you can read my posts on The Bead Shop Manchester blog.
Post a Comment