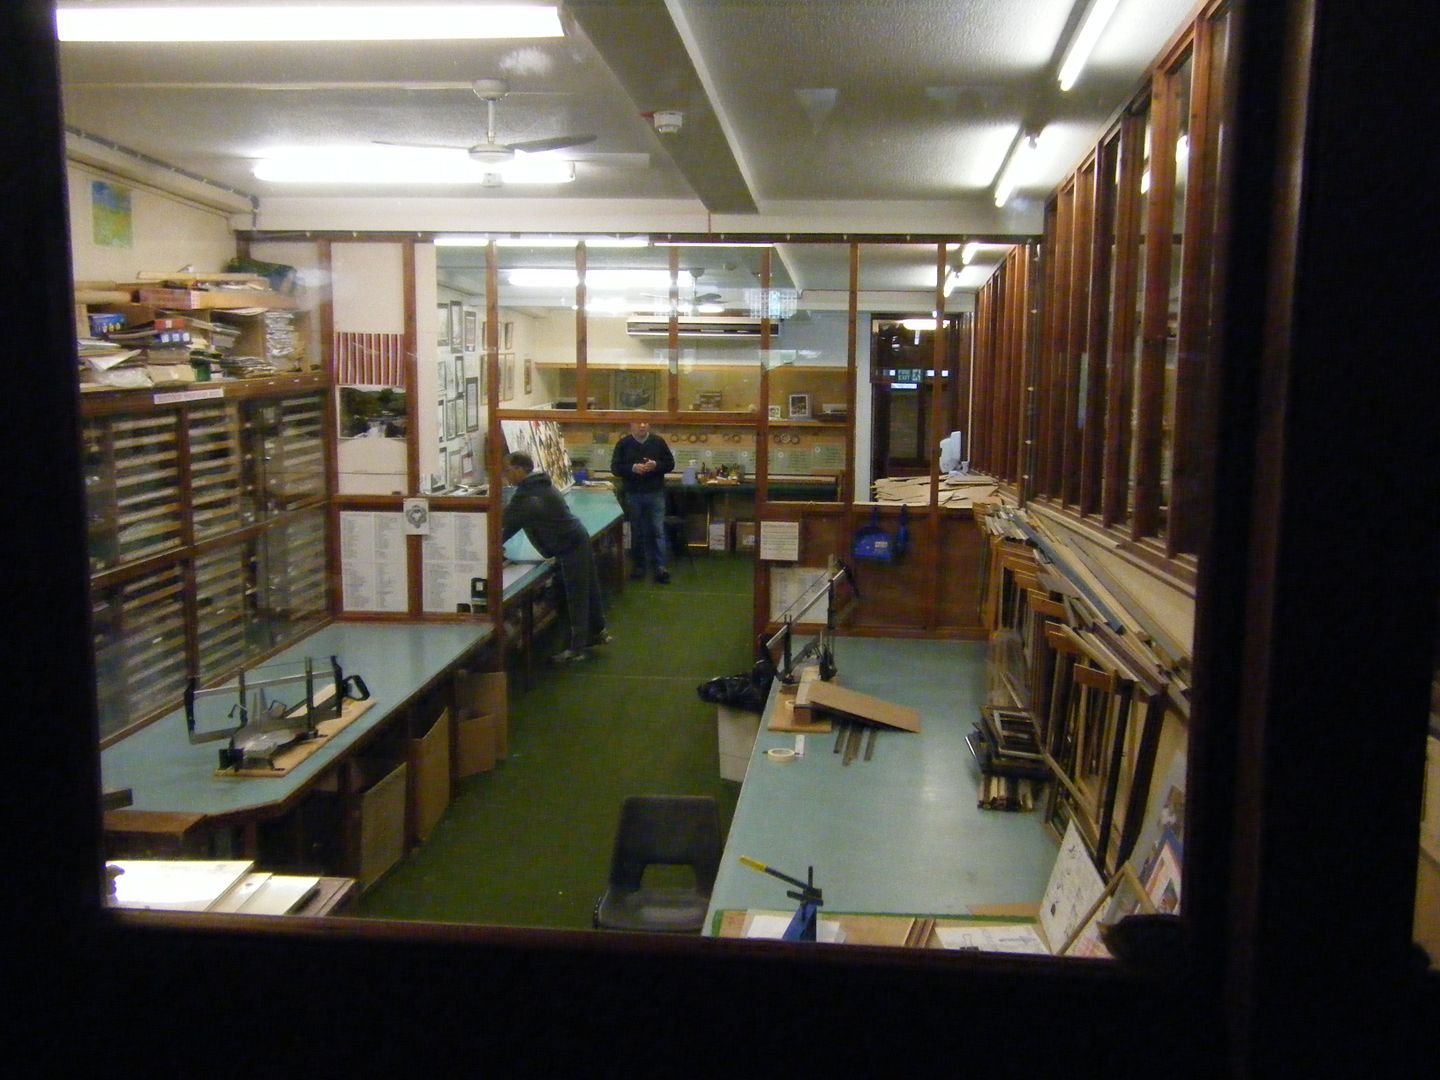
Wednesday at The Manor House Hotel was busy, a full morning of pottery and a full afternoon of picture framing. When I saw this advertised in the brochure, I knew I wanted to make a frame for my crewel piece. It's not an unusual size, so I'm sure I could have found a pre-made frame to fit, but I like the idea of making my own for it. After stuffing ourselves with a buffet lunch, we toddled off to the picture framing room.
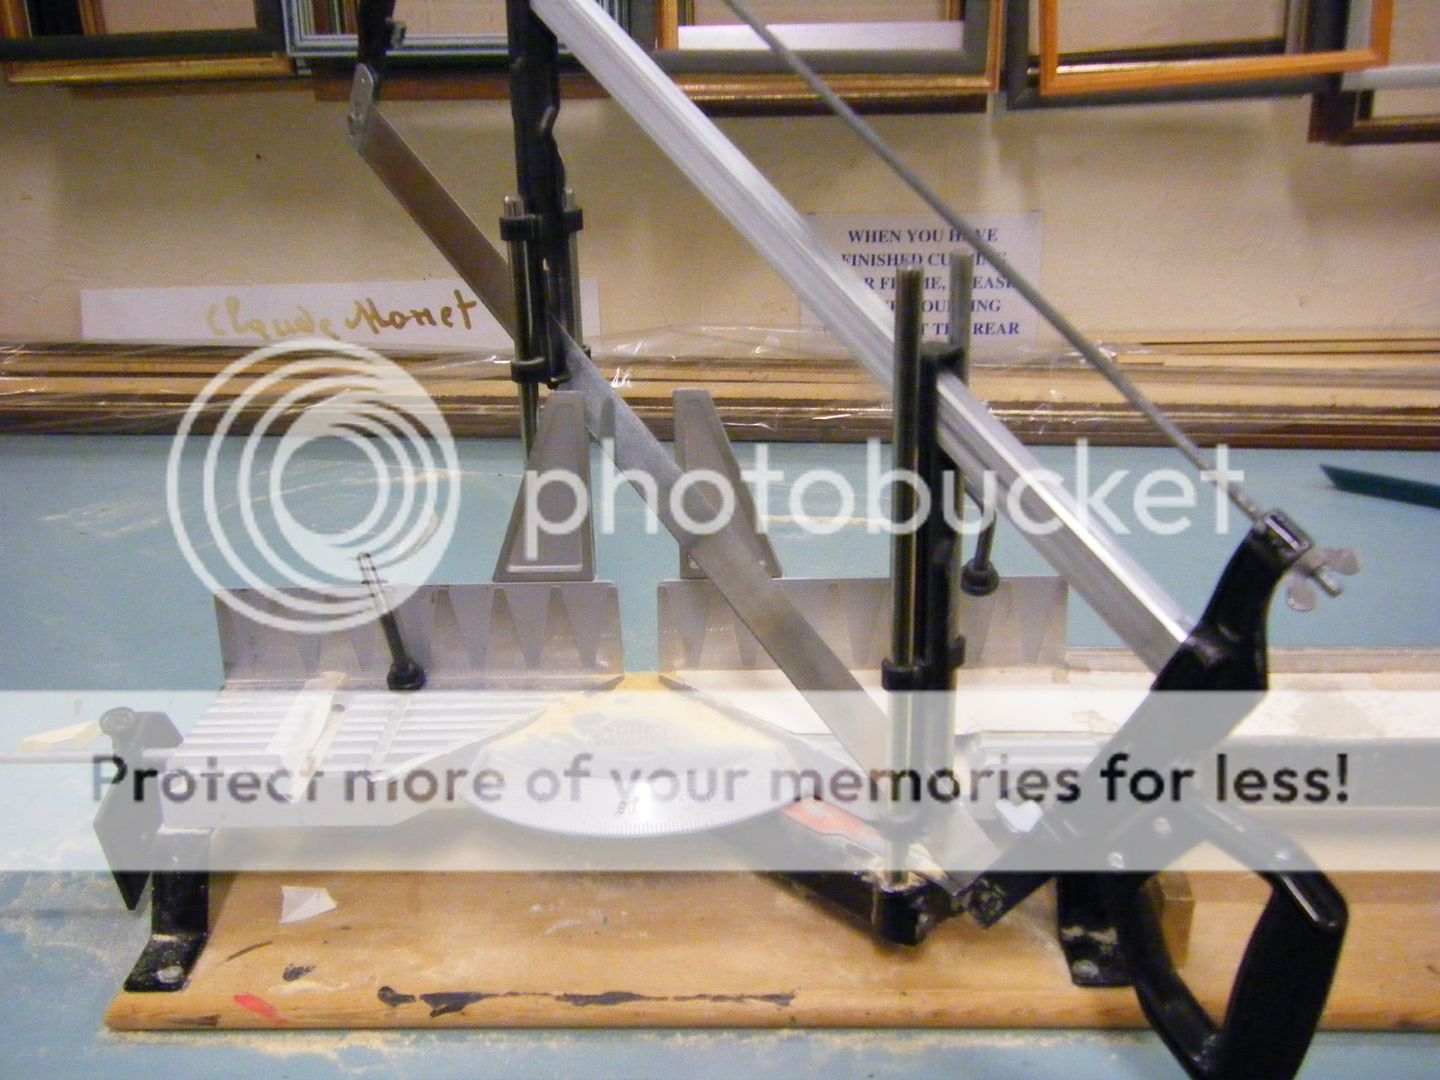
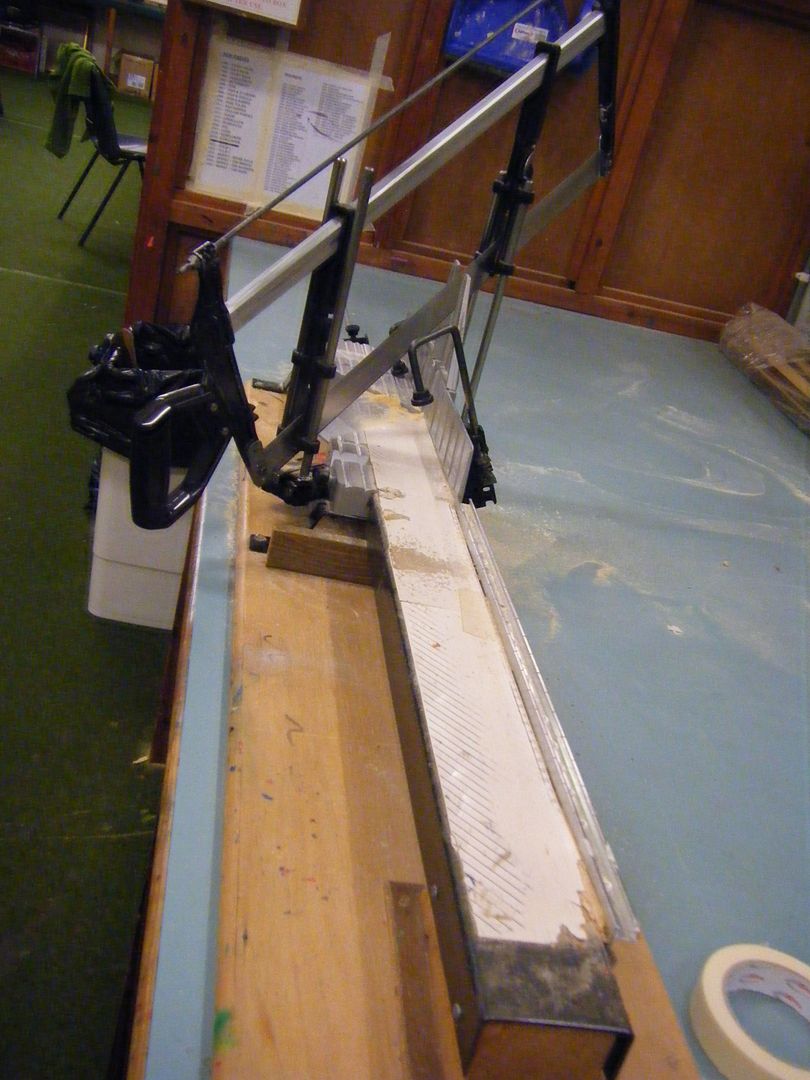
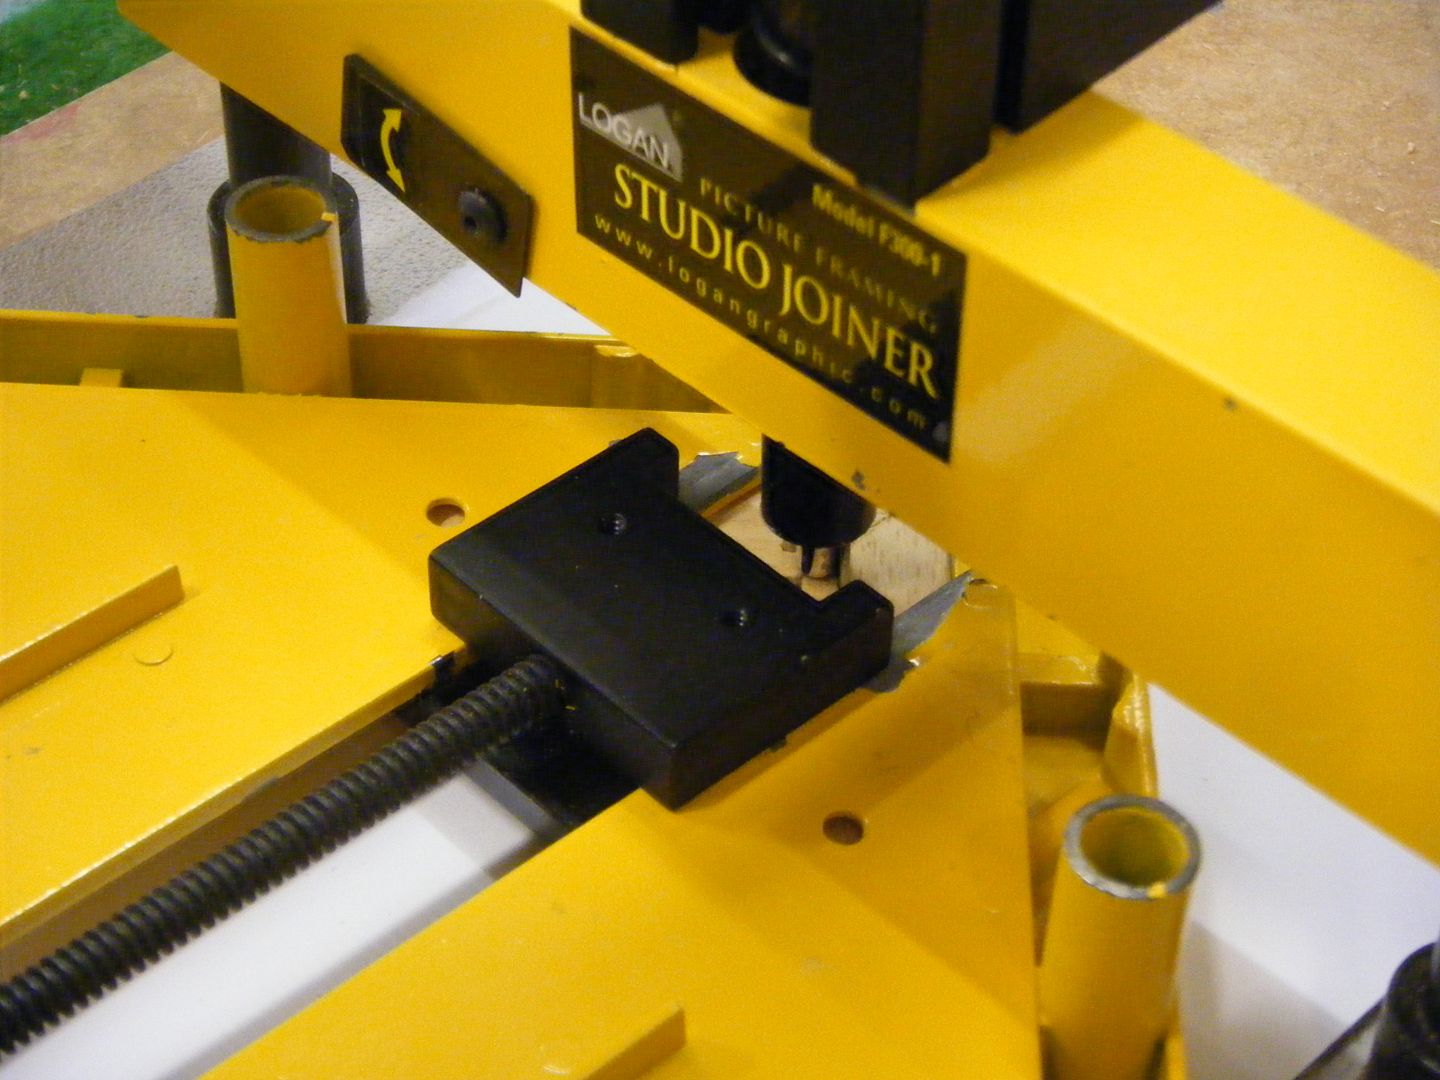
We started by chosing which wood we wanted for the frame, and which mount board for the mount. Then we worked in pairs to cut the wood to size and mitre the edges. We used this piece of kit.
It's a great big saw set up on a mitring-template-type-thing. I should have asked Mr CA what it's called but that might have ended in a 3-hour lecture on types of saws...
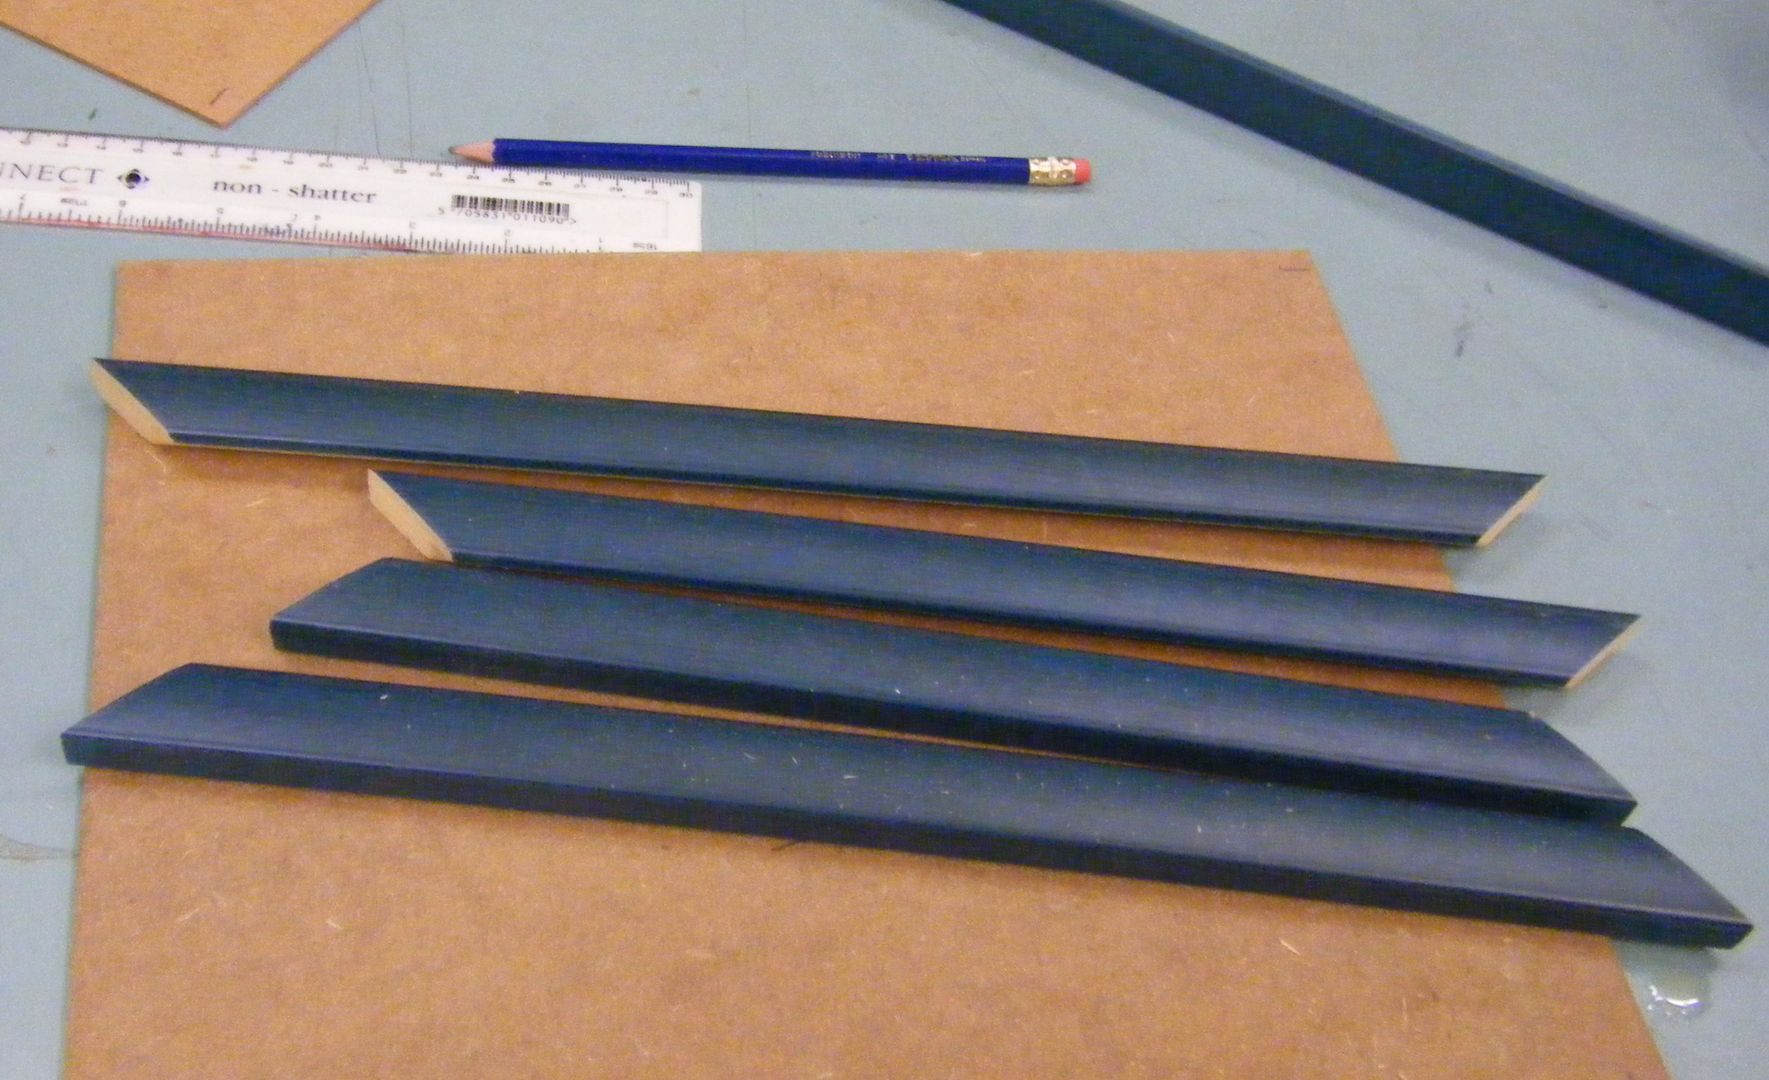
It was manual and it was HARD work. My arm went dead towards the end and I could hardly get any power from it. Or I'm just a wimp. You decide. Here are my pieces mitred.
When the pieces are cut, you use a jig, a tiny spot of wood glue and some special V-shaped staples to hold the corners together. I enjoyed this bit.
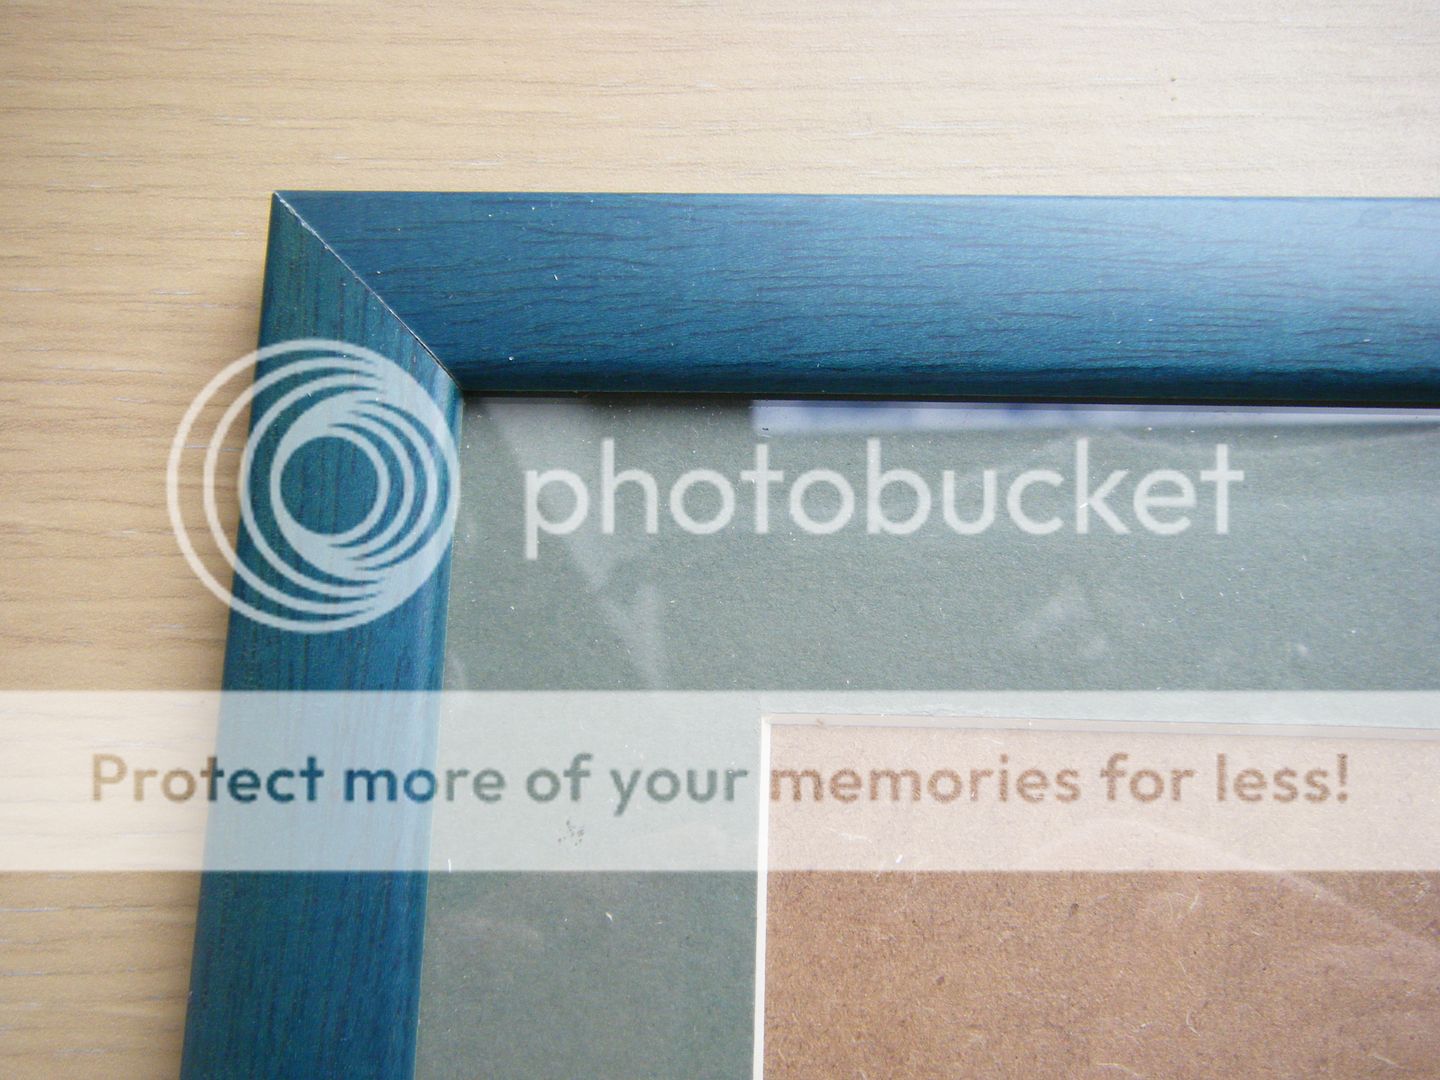
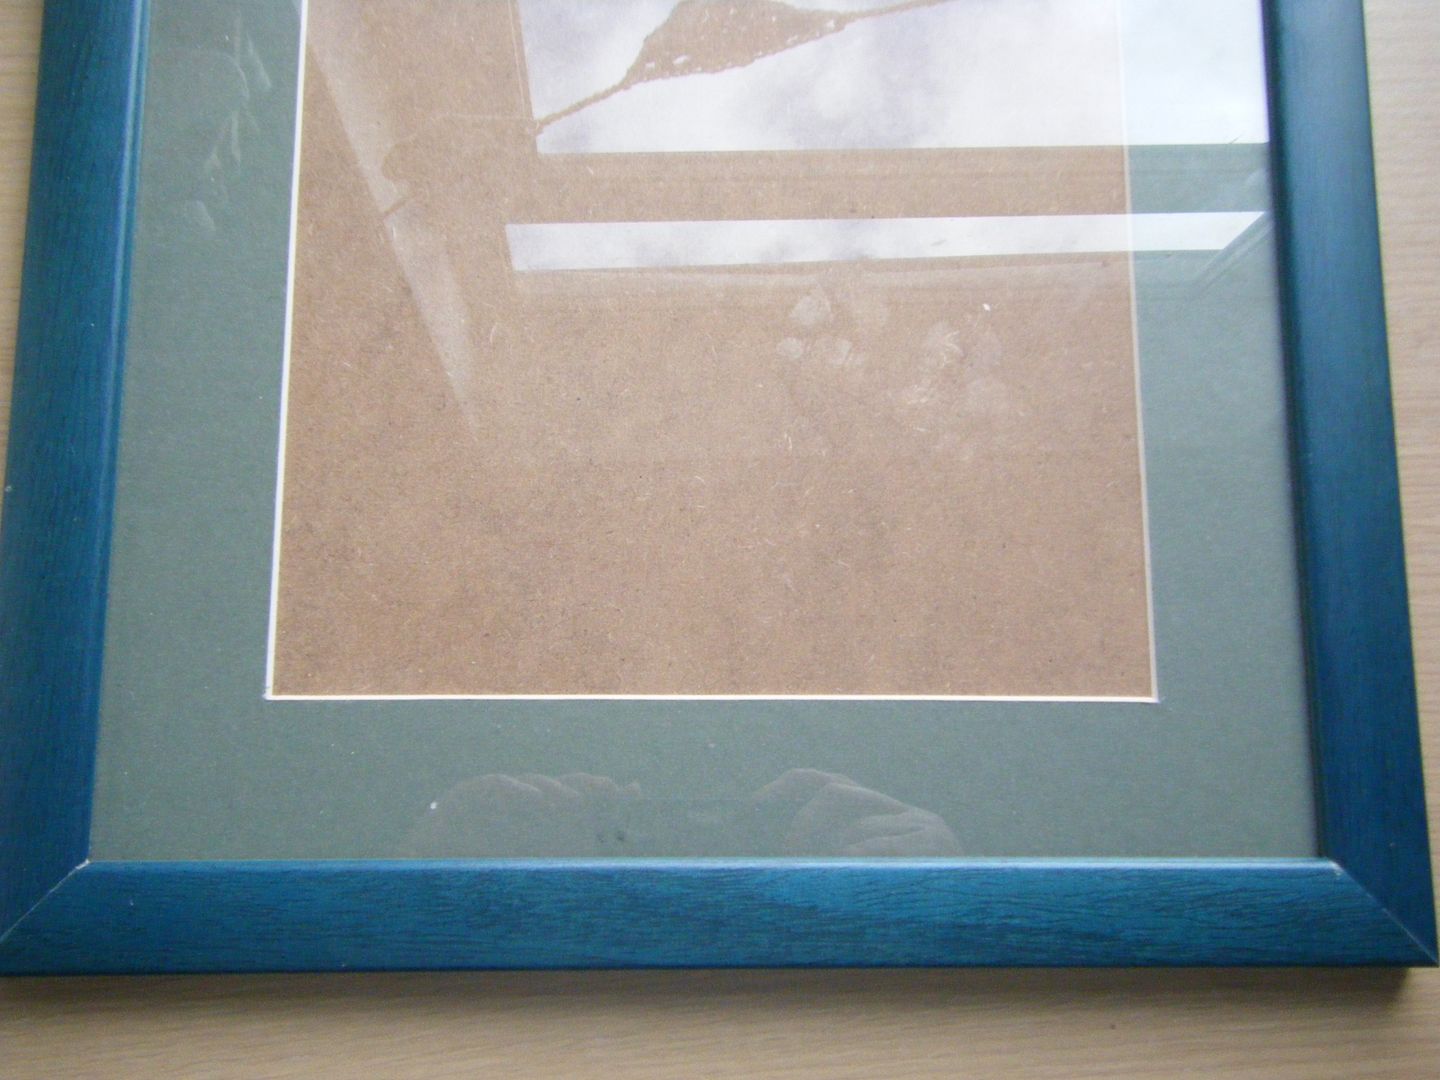
And ta-dah - sounds quick but actually took hours! - a finished frame.
I forgot to take photos of the mount cutting. It is done with a cutting mat and fixed ruler and a special 45-degree knife. I did nick the corners a little, but I'm pleased with it anyway.
Mr CA said my mitres were "very good". High praise indeed from the wood-worker extraordinaire.
I wanted to show you a picture of the embroidery in the frame, but alas, I haven't got round to lacing it into the mount board yet. I'll try to remember to show you when it's done.
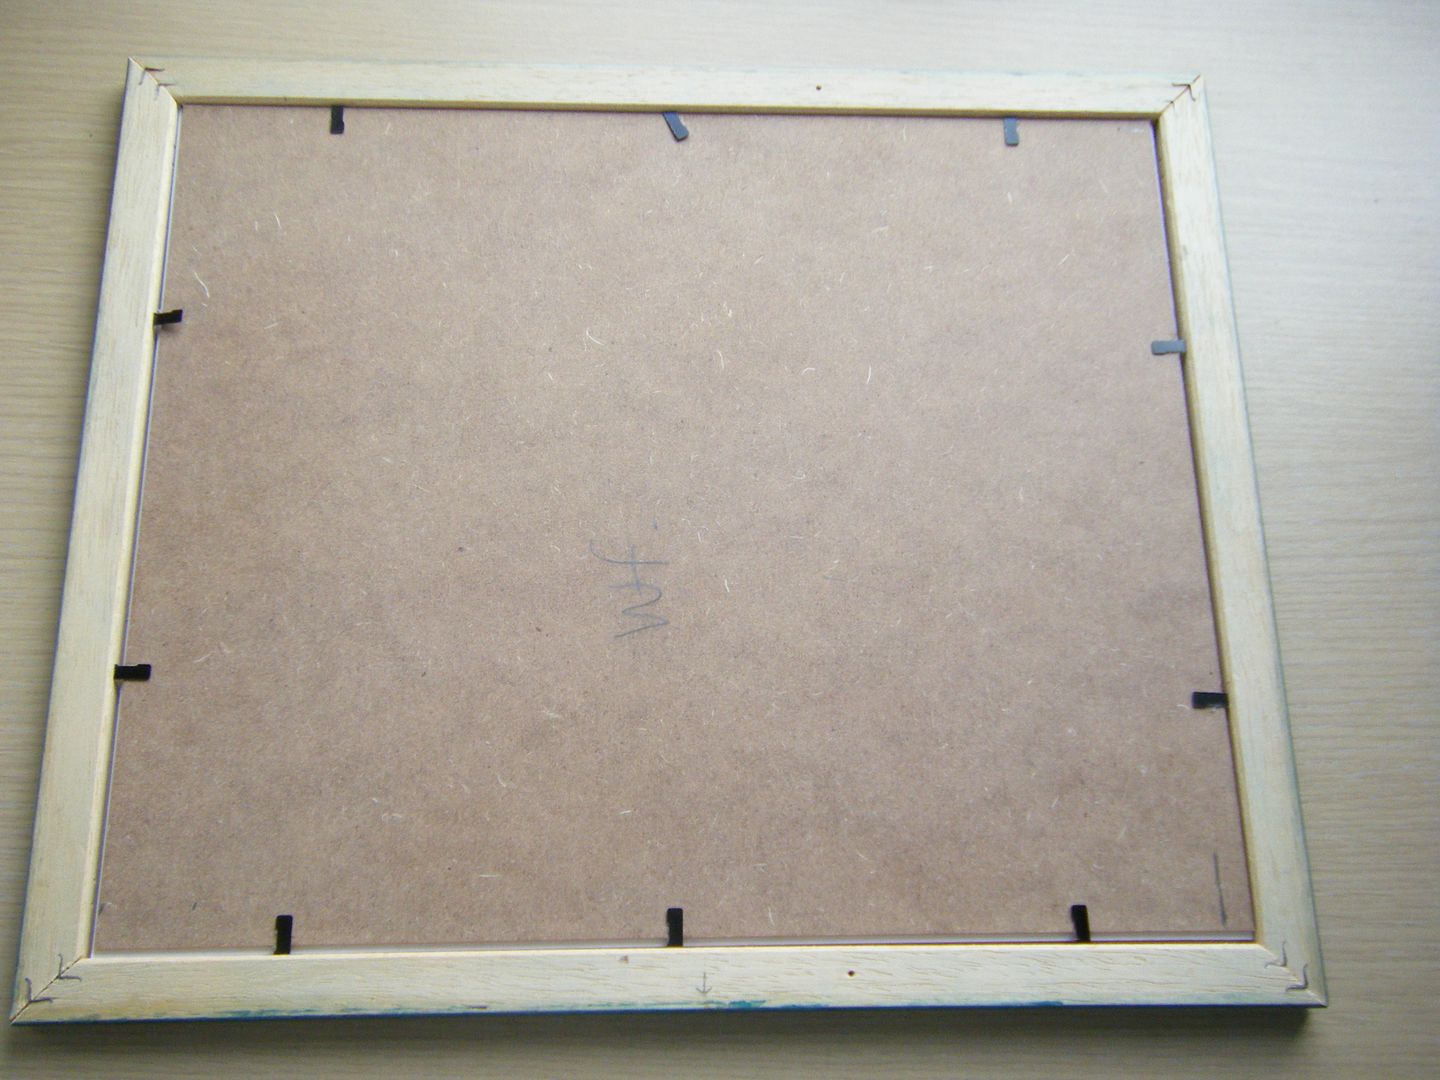
There's a special stapler-type machine to put those lift-up thingies in with. See how I've got all the technical terms down?
Next up: candle making.
As before, I'm linking up to Something New for 2014 and taking over the whole linky party!



10 comments:
MOUNT CUTTING. I did that as part of my photography HNC (I think, or was it my A level?) and was hopeless at it, so I traded that skill with others (I'd develop their photos or something in exchange) or bought custom made mounts on eBay when I could to get round it! Lovely frame though.
this looks very professional! great work!
Great job! It looks lovely. Can't wait to see your crewel piece in it :D
Impressive! Sounds like you need to build up your arm muscles though :) Looks like you are going to be very busy linking on the 25th too.
I suspect it's just called a mitre saw. Your frame came out really well
What a success - well done!
I've always wanted to give picture framing a go....one day.
It was my stitching that got me into framing, I could never get them the right size off the shelf. You've reminded me, I have two photos to frame for someone, better make some space! You did a brilliant job for your first frame, look forward to seeing your needlepoint in it
That looks scary! And very impressive well done! I have vague memories of those machines from GCSE technology days.
Lovely frame! I have done "U Frame It" but they didn't allow us to do the cutting - too bad.
As for the three hour saw talk - my son is a Journeyman Carpenter and gets completely annoyed with me for calling any saw with a round blade a circular saw!
Post a Comment