
Earlier in the month I went to a workshop at Needle and Thread in the deepest, darkest countryside of Lincolnshire. It wasn't dark at all actually, it was a beautiful sunny day. This was a new workshop destination for me, I'd seen they were doing a class on felted pods and fancied having a go. I'll definitely be going back, lovely workshop, very friendly staff and amazing food!
The tutor was Robyn Smith, a lovely lady who was very knowledgeable and had devised a great class. There were only 2 of us students, so we got a lot of attention. The idea was to make a 3d wet felted vessel, using techniques to add 3d elements. We started with the vessel. A layer of merino was placed over a resist (a piece of plastic table cloth), then felted. Wet felting involves soap, water and lots of rubbing and rolling.
We folded the wet edges over the resist, then added another layer of merino on this side and felted it. I didn't take a photo of that. We then put it to one side to work on the embellishments.
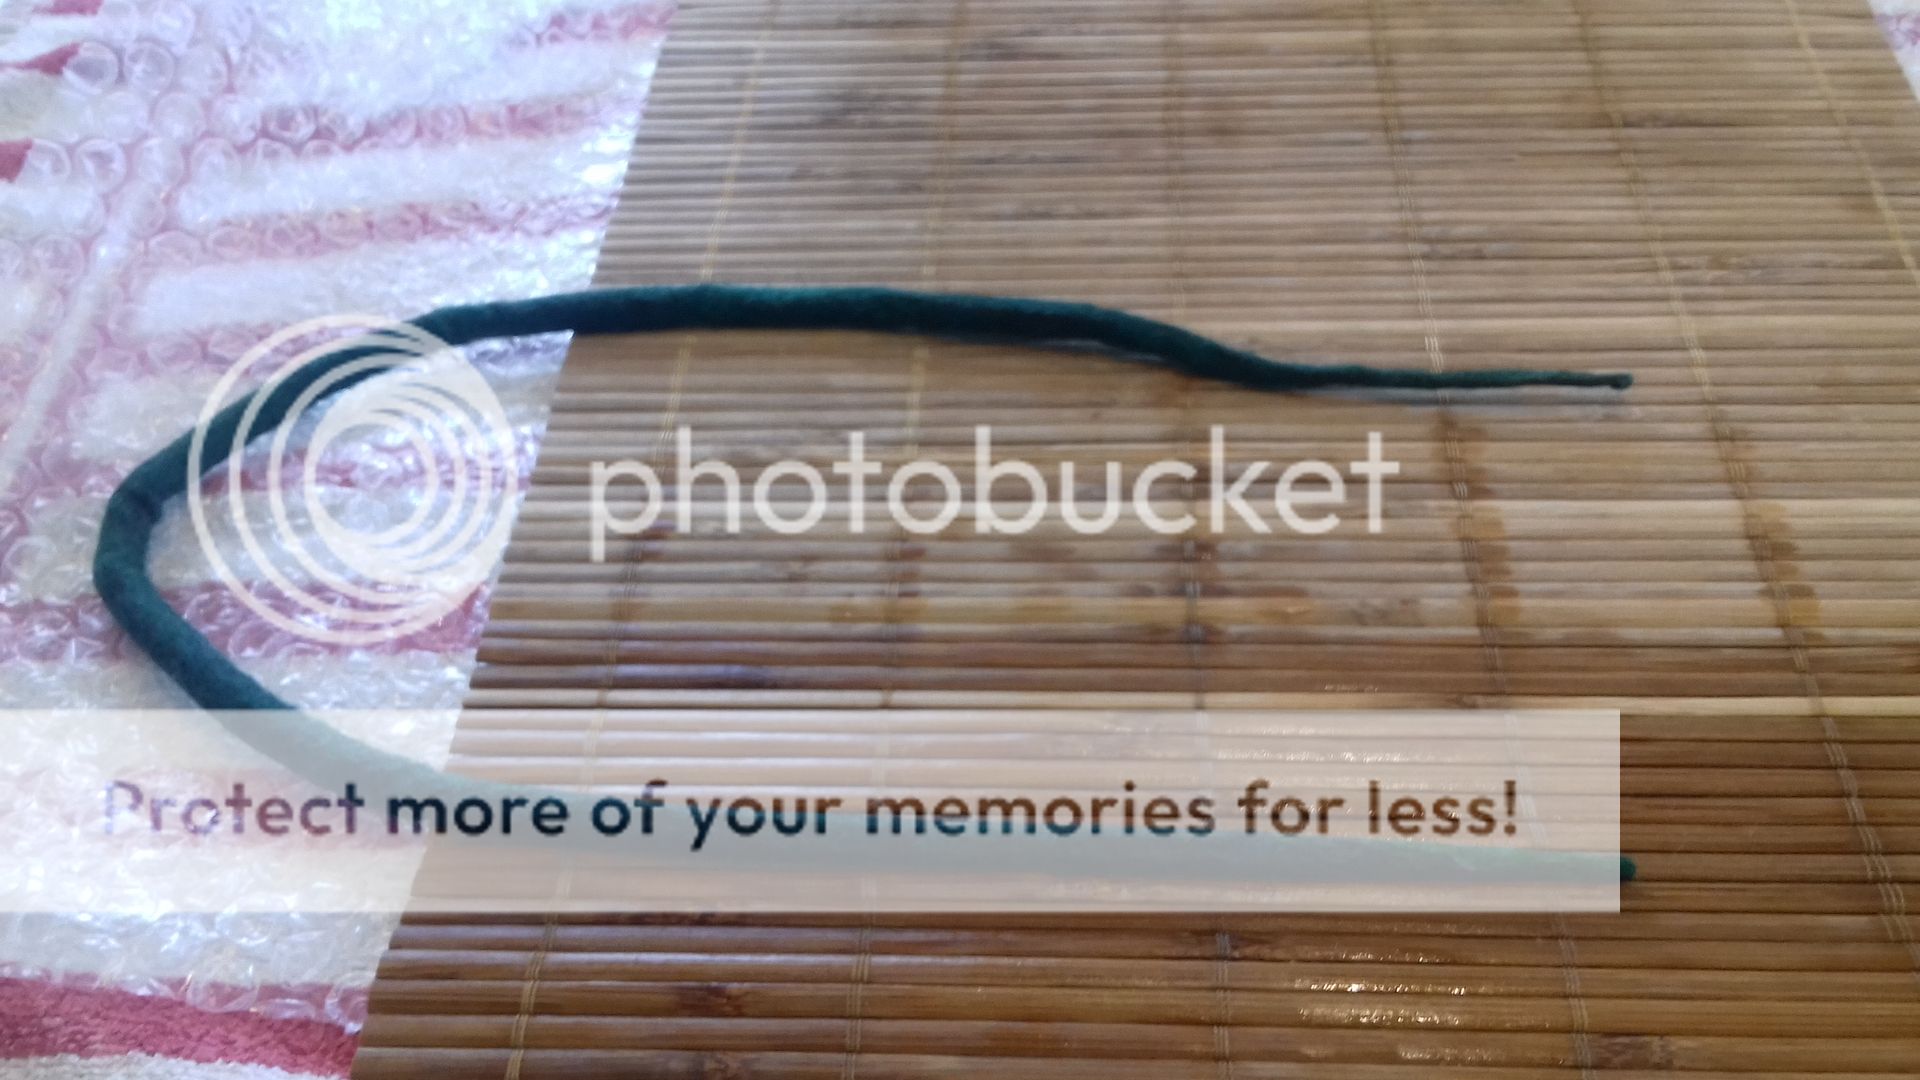
Above is a rope, this will be added to the vessel to give some texture and dimension. It was made by laying out small pieces of merino, then rolling them up, adding water and soap and rolling more.

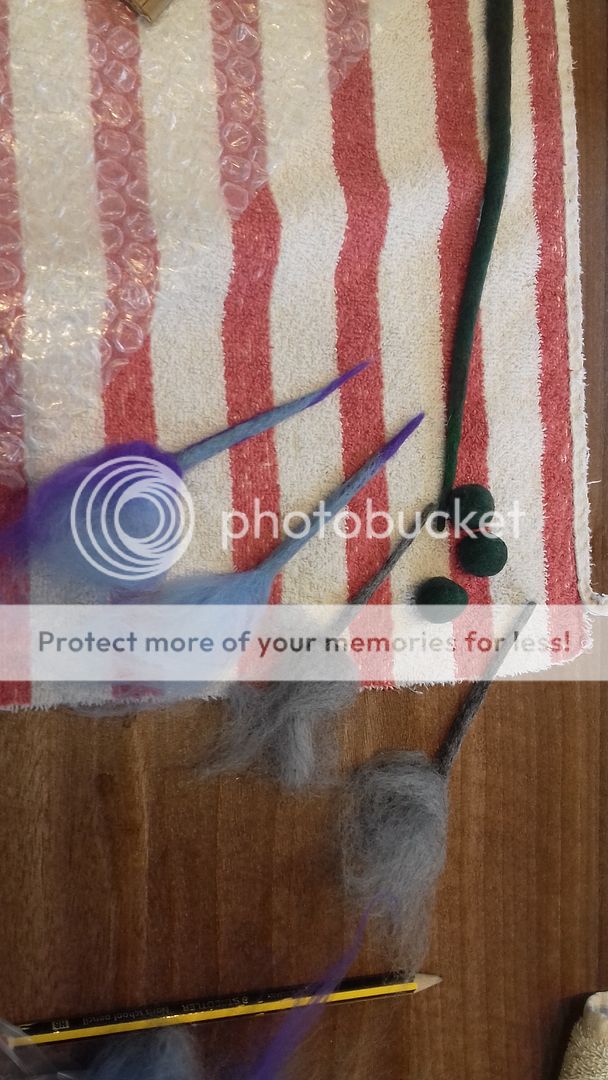
This is a spike, to go on the base of the vessel. I wanted a few, so I tried a few different things, here I twisted two colours of merino roving together before felting. The outcome of these two-coloured spikes was very hard to predict, well for me anyway! The base of the spike is left unfelted so it can be attached to the vessel later.
Here you can see the rope, three spikes, and three balls. The balls were not fully felted so that they will attached to the vessel. I made another 6 spikes after this.
We also had a go at making pre-felt to add cut out shapes to our vessels. I made a thick piece of felt by piling up lots of layers of roving.
A bit of wet felting later and I was left with this which I could then cut into.
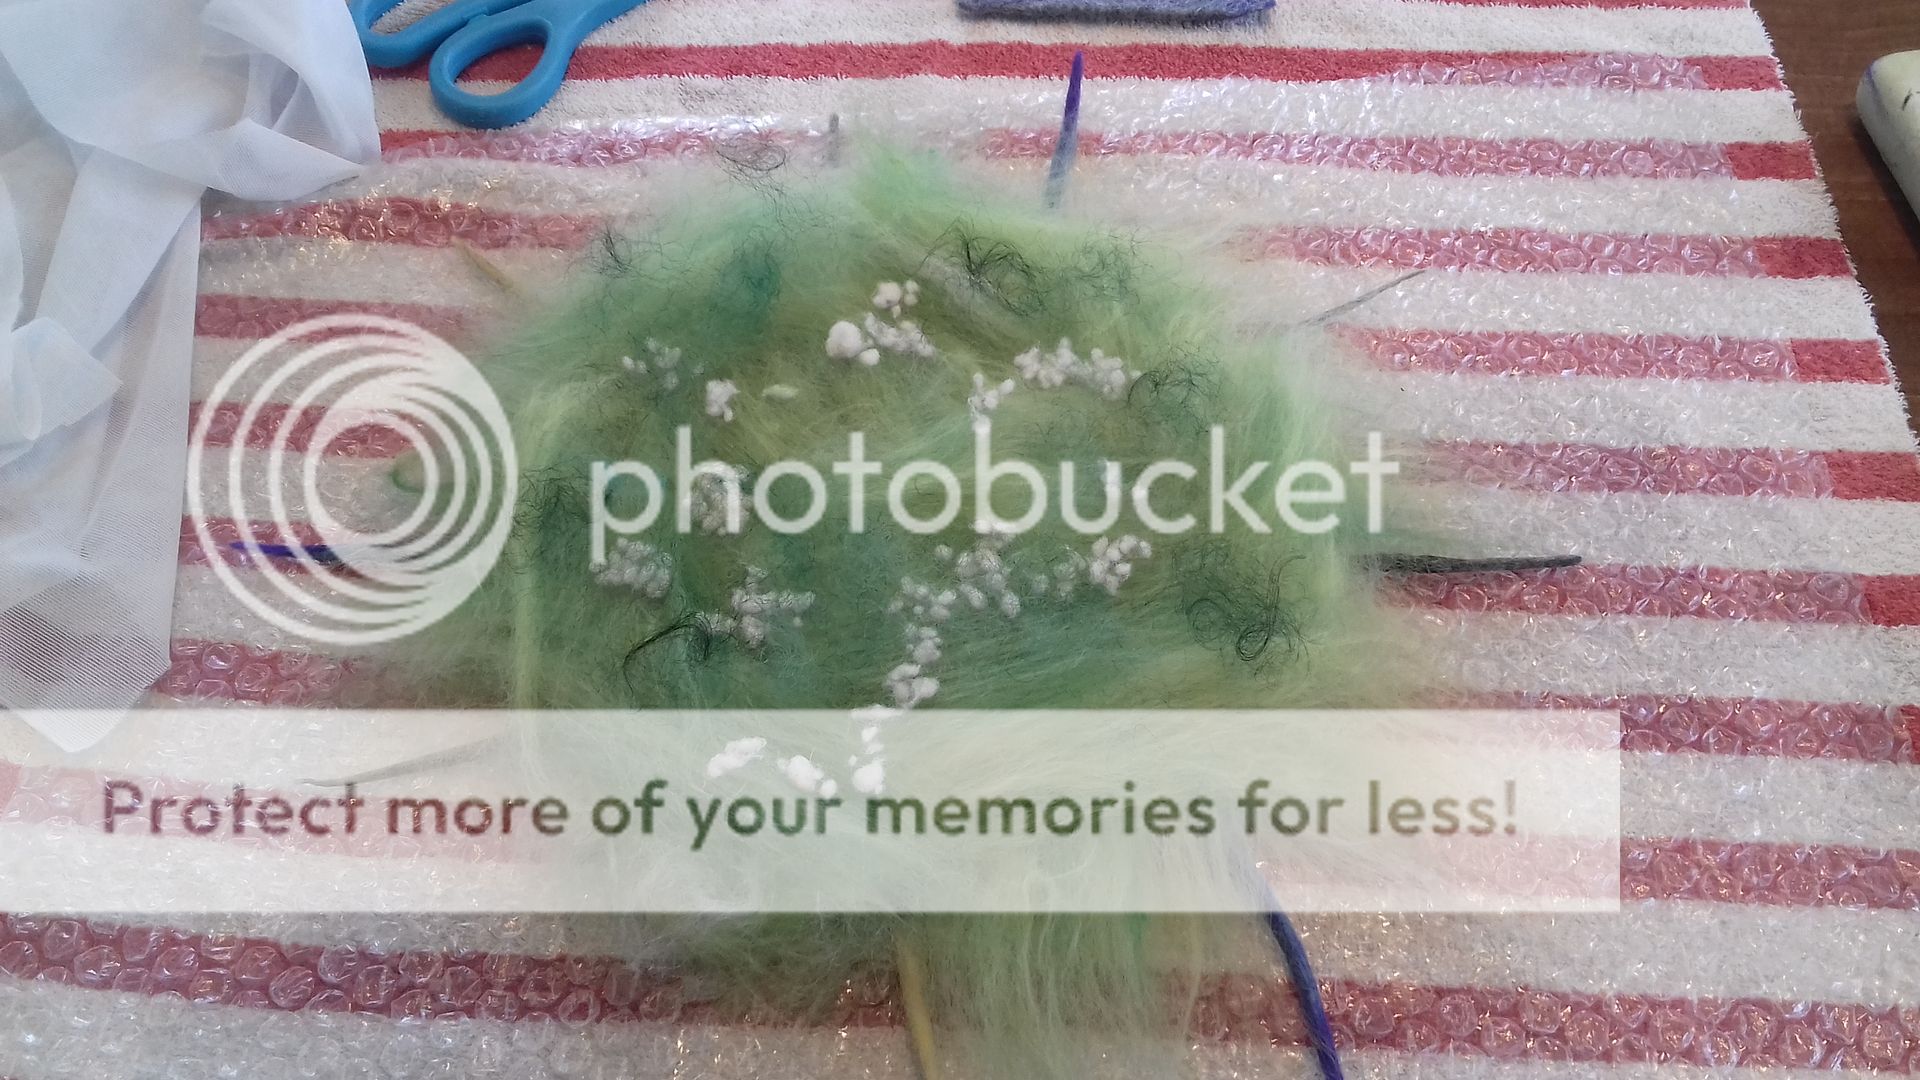
Then came the fun bit - layering and arranging the embellishments. I started with my spiral - the centre of the spiral will be where I cut the hole later. I put the spikes around the edge as equidistant as I could and put the other embellishments in between.
On the left is one of the balls I made, then a little stack of the pre-felt, finally a few tufts of merino, then a piece of packing tape cut into a circle. This will be removed later and is to form a crater. I didn't add a fin which was another embellishment we could have made.
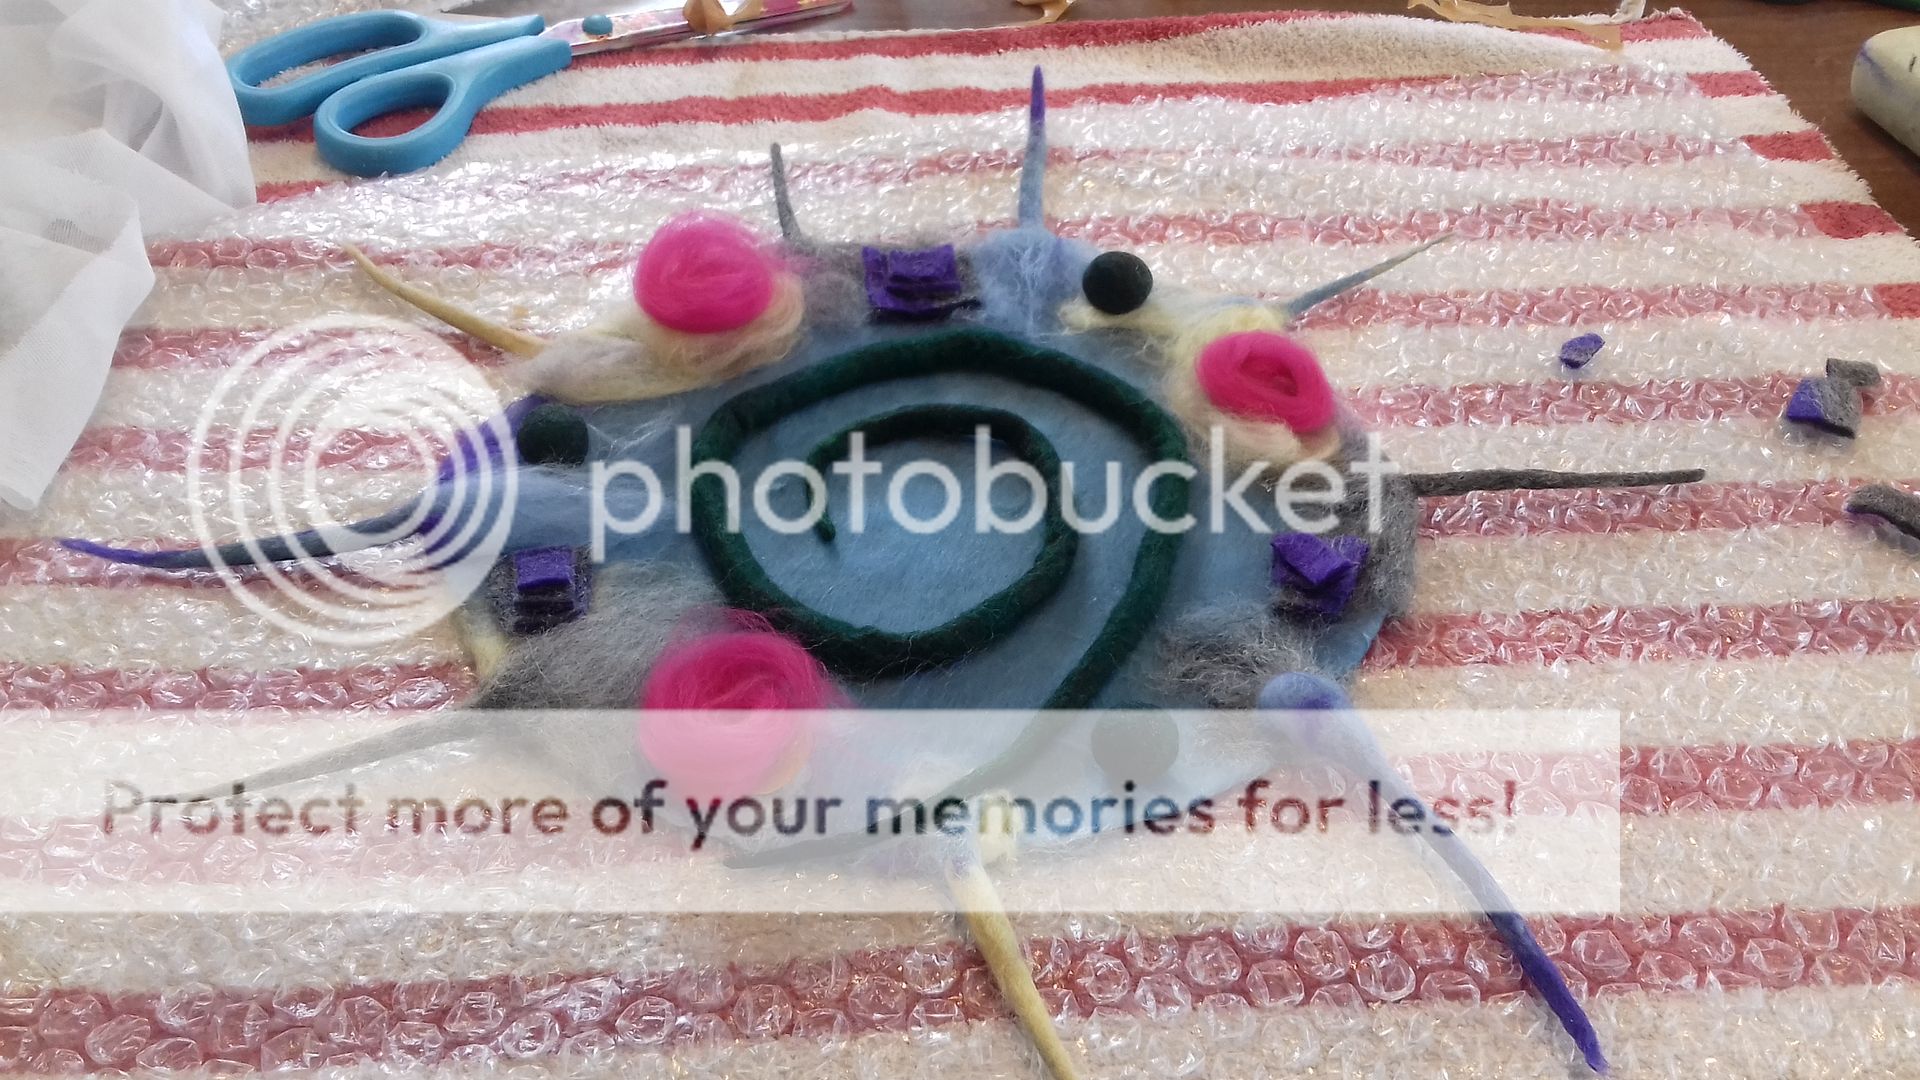
I put some bright pink merino over the packing tape circles to provide a coloured lip to the crater.
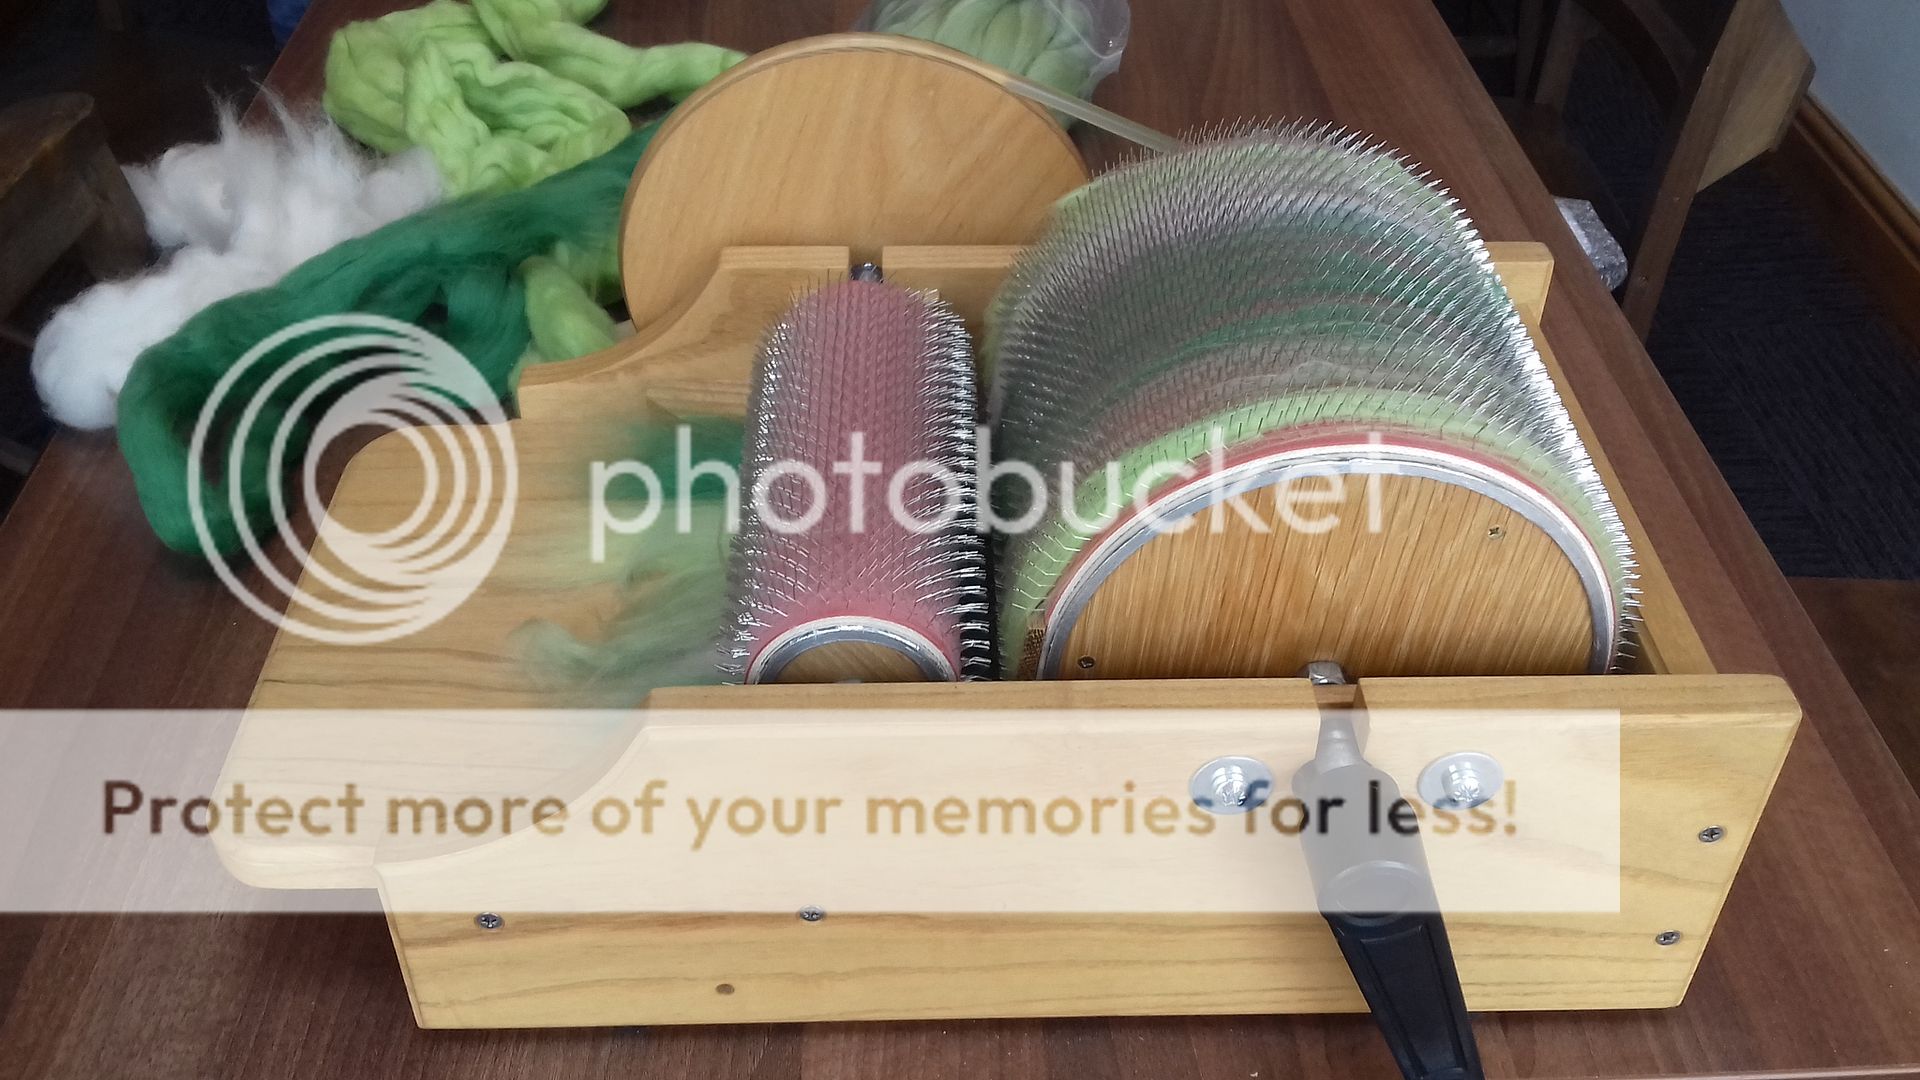
Then it was time to make the batt for the top of the vessel. Of course, we could have used one colour of merino, or stripes, but we were offered a go on the carder, so of course, I had to have a go! I have used one before, many years ago when I learnt to spin, and I have to say it's still as much fun! You push bits of merino in a variety of colours in at the front, it is grabbed on the spikes as you turn the handle.
This is what it creates - a batt of a mixture of colours. You can then tear it up and put it through again for more of a blend.
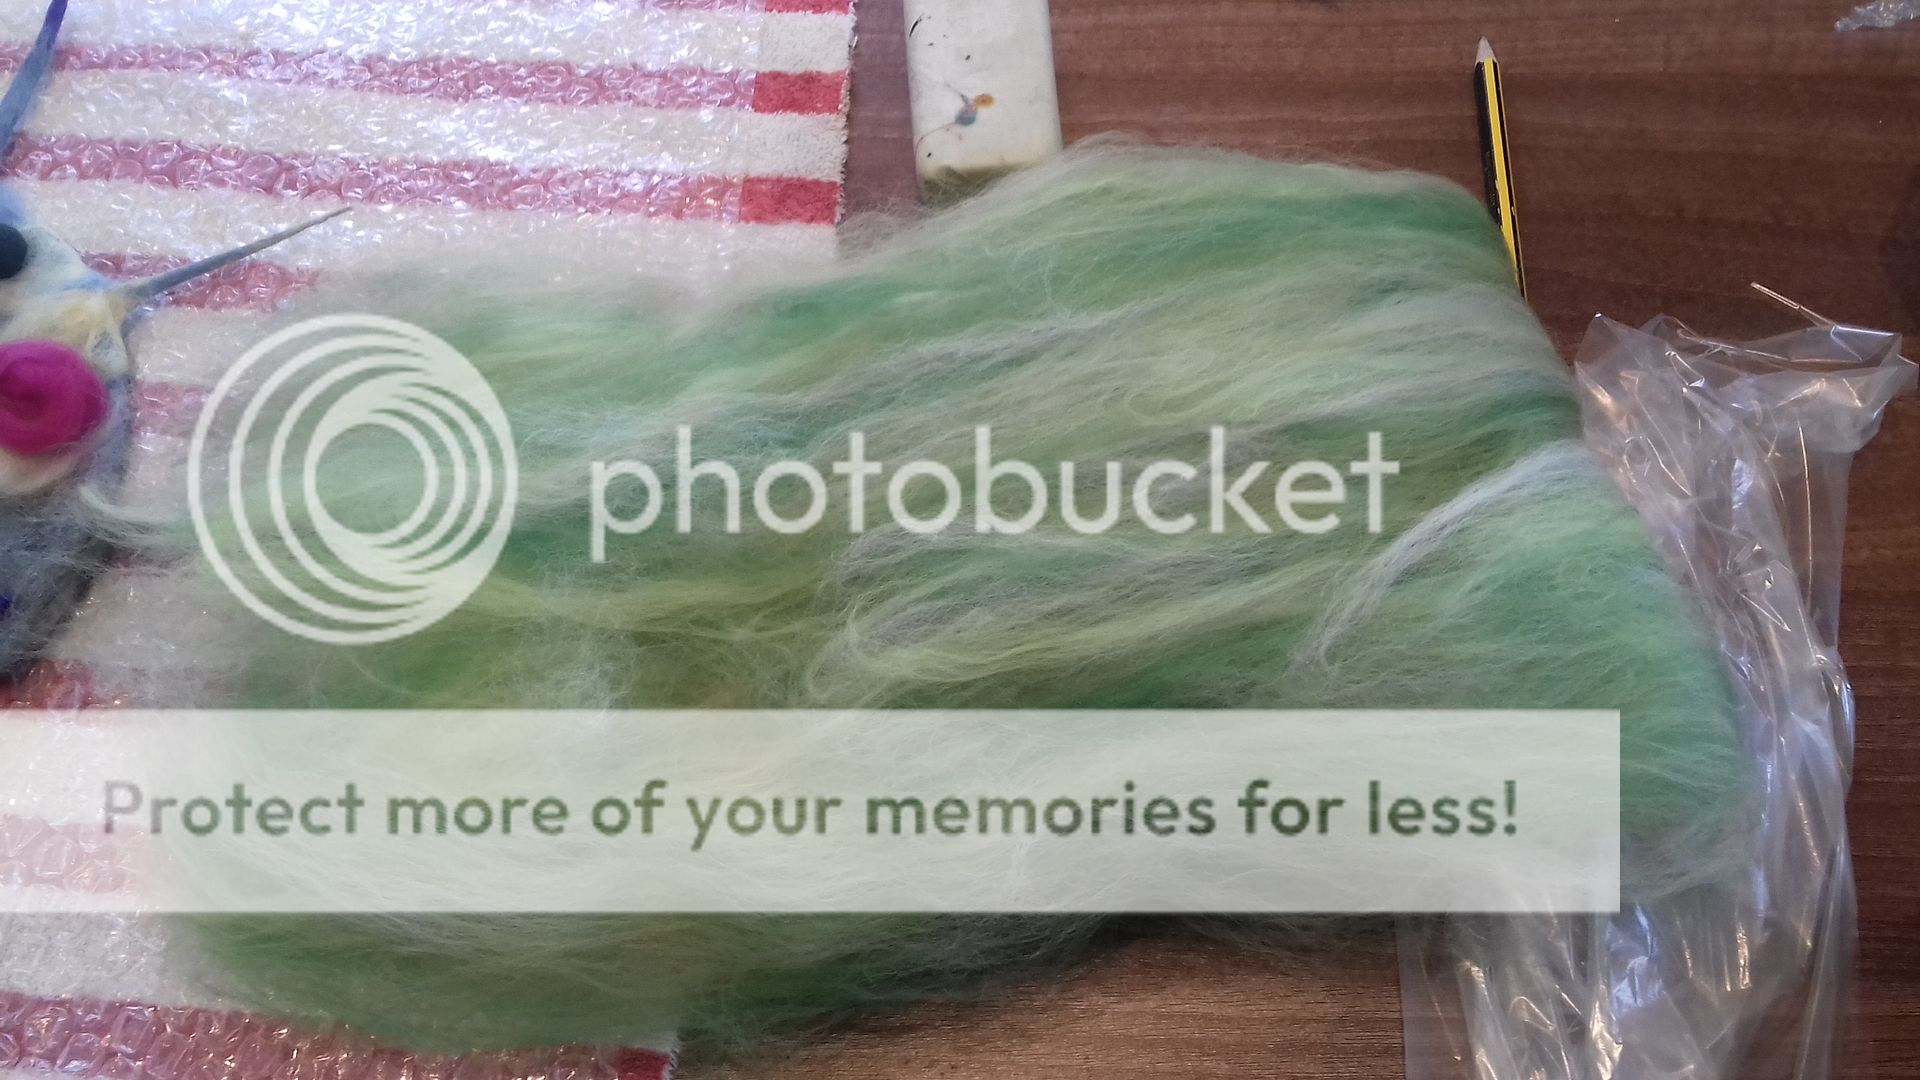
Two layers of the batt were put on top of the design
I also added some of this curly fleece and a few strands of silk - the fleece is the white, the silk is the dark green.
and rubbed and rolled some more!
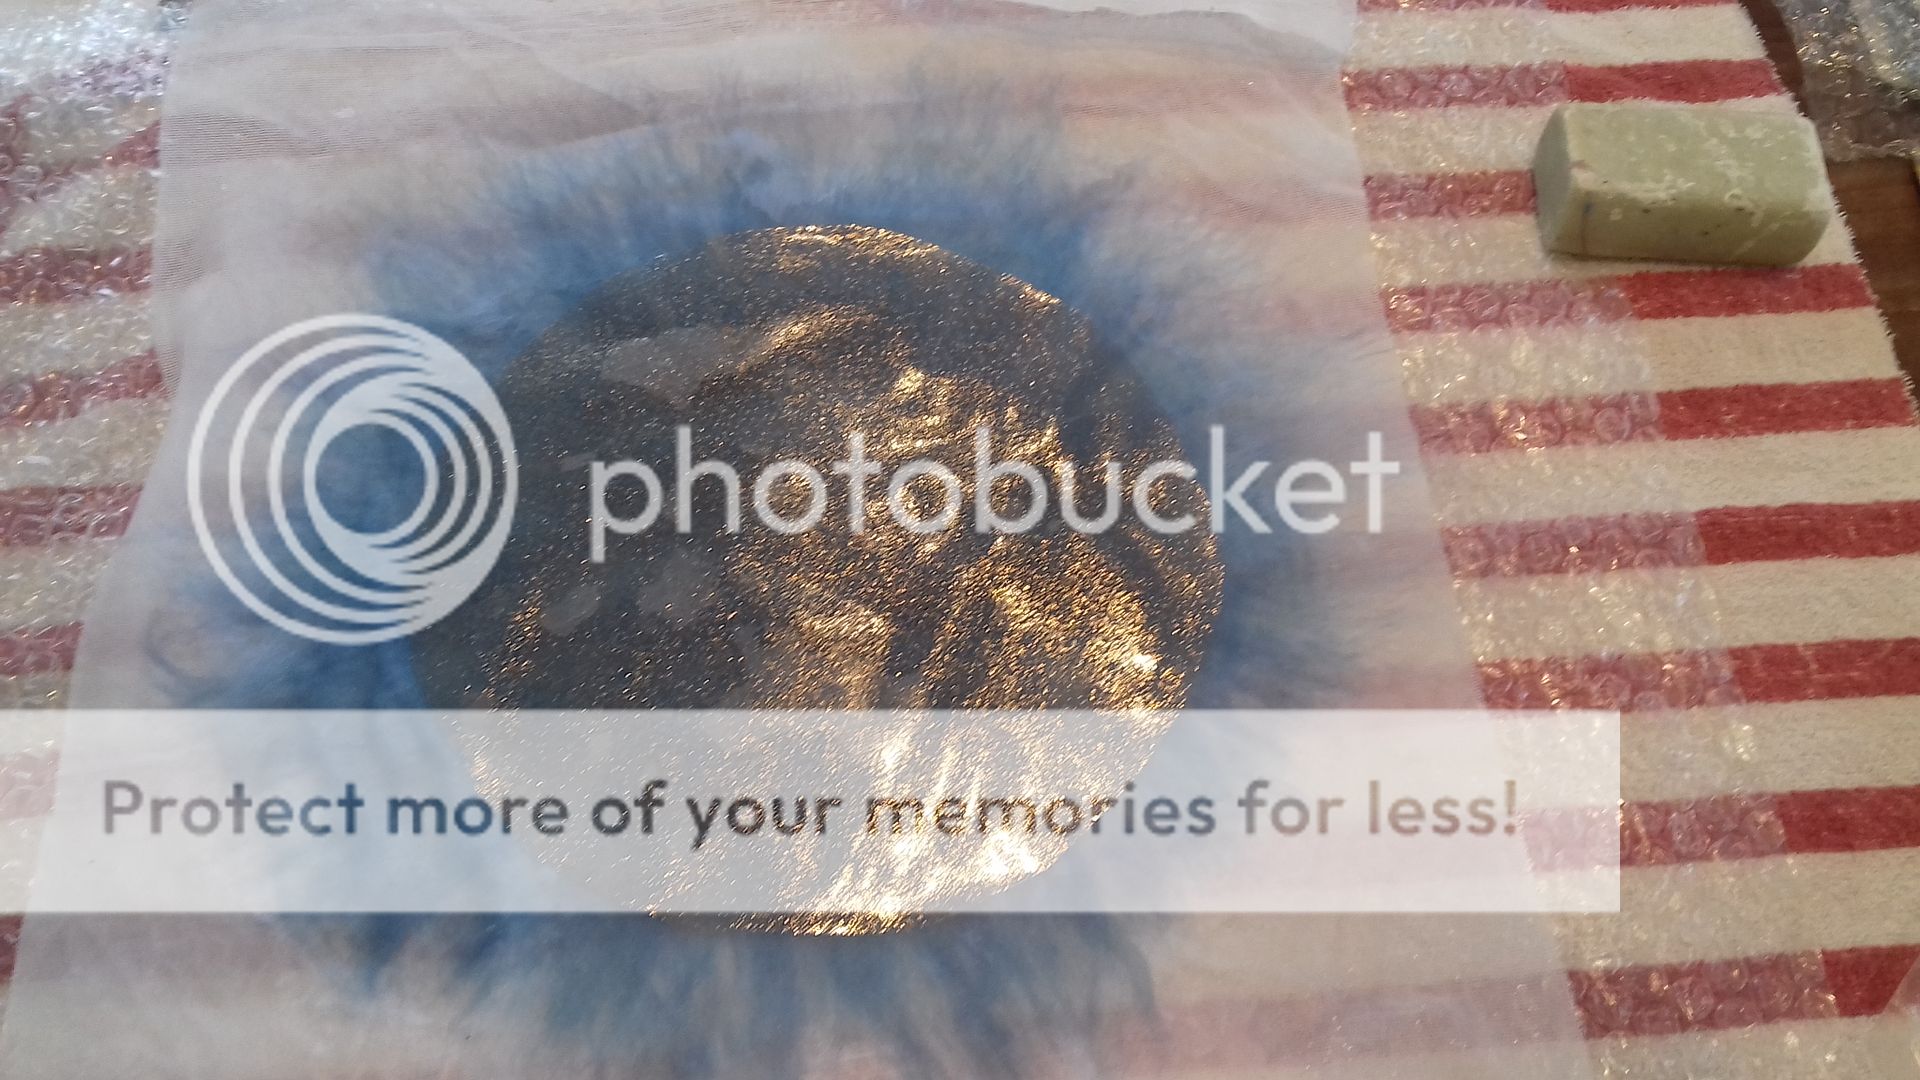
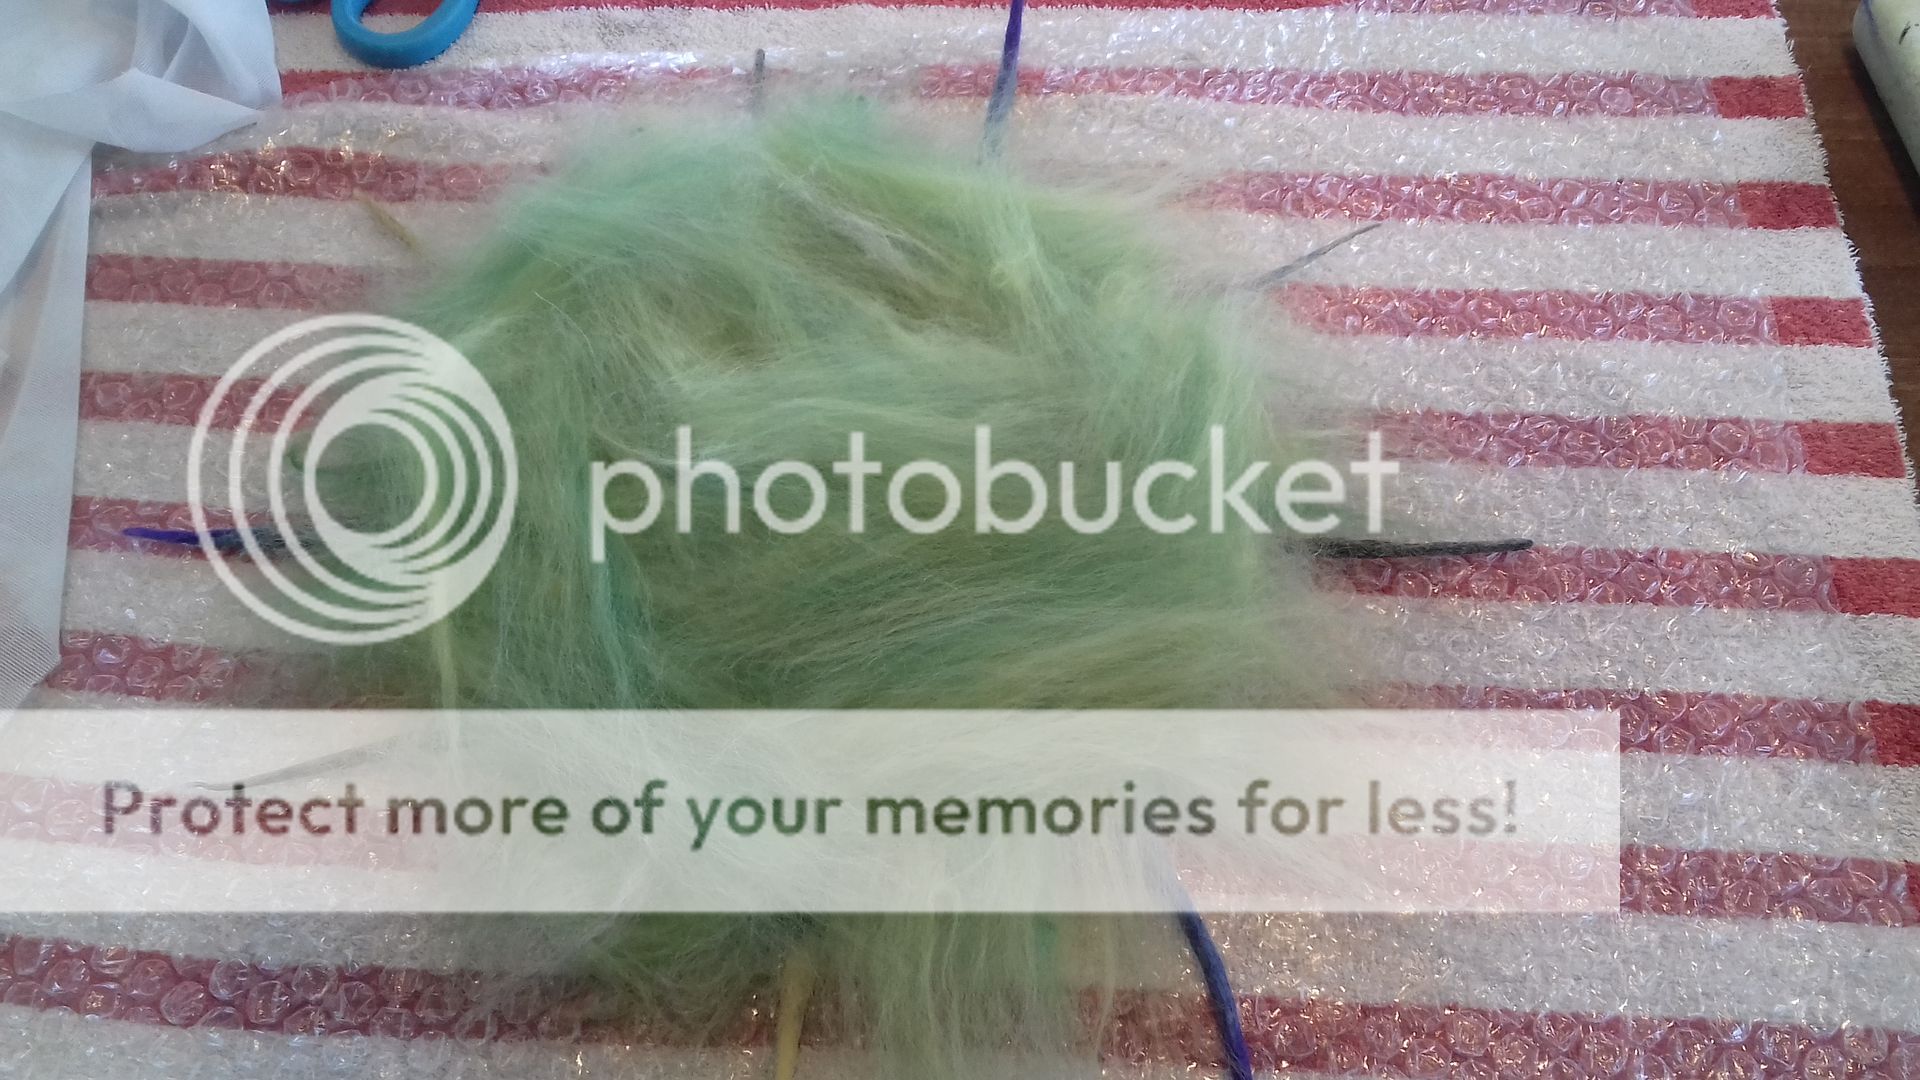
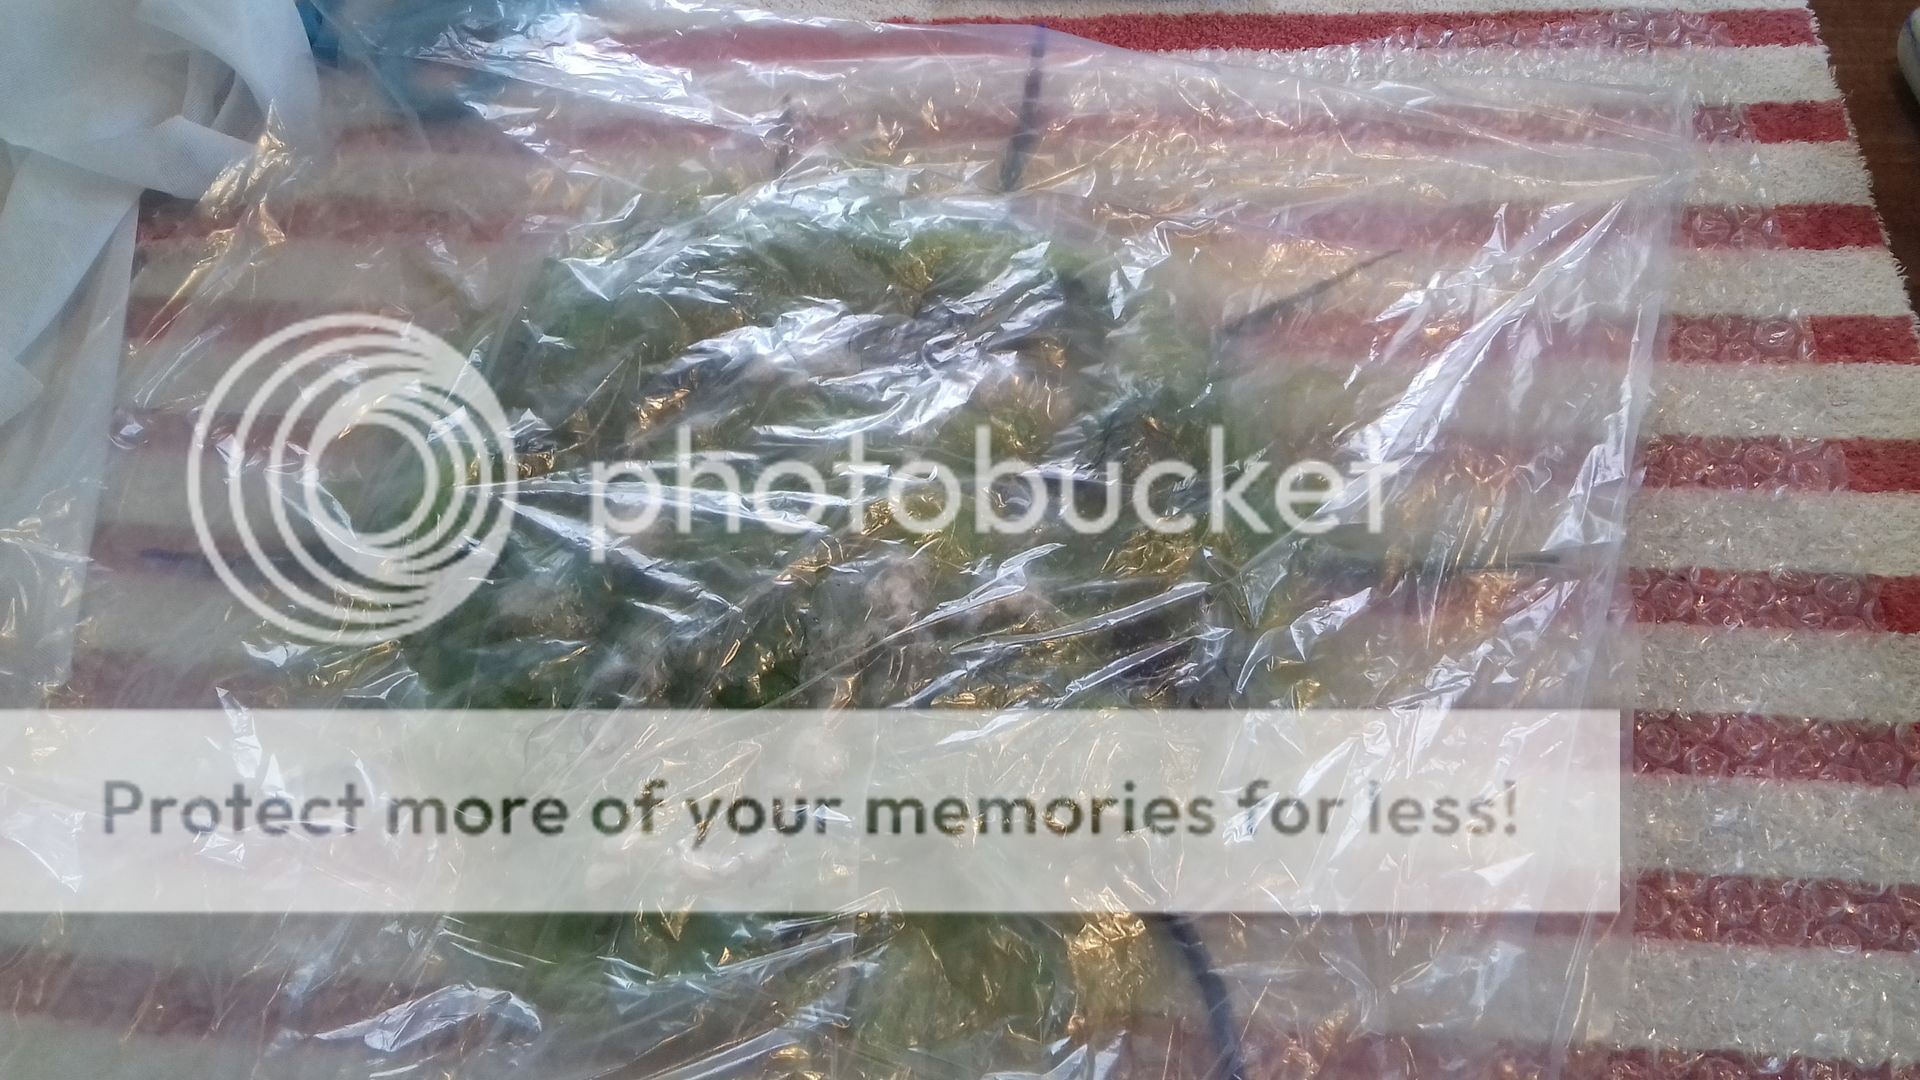
We cut our holes, mine was centrally in the spiral. Out came the resist (with surprisingly little effort), then we had to do some pulling and pushing and rubbing inside to get the shape we wanted and make sure the inside and edges were well felted. I stuffed it full of plastic carrier bags to keep its shape whilst it dried. You can also see in the picture above that I'd cut the holes for the craters and removed the resists.
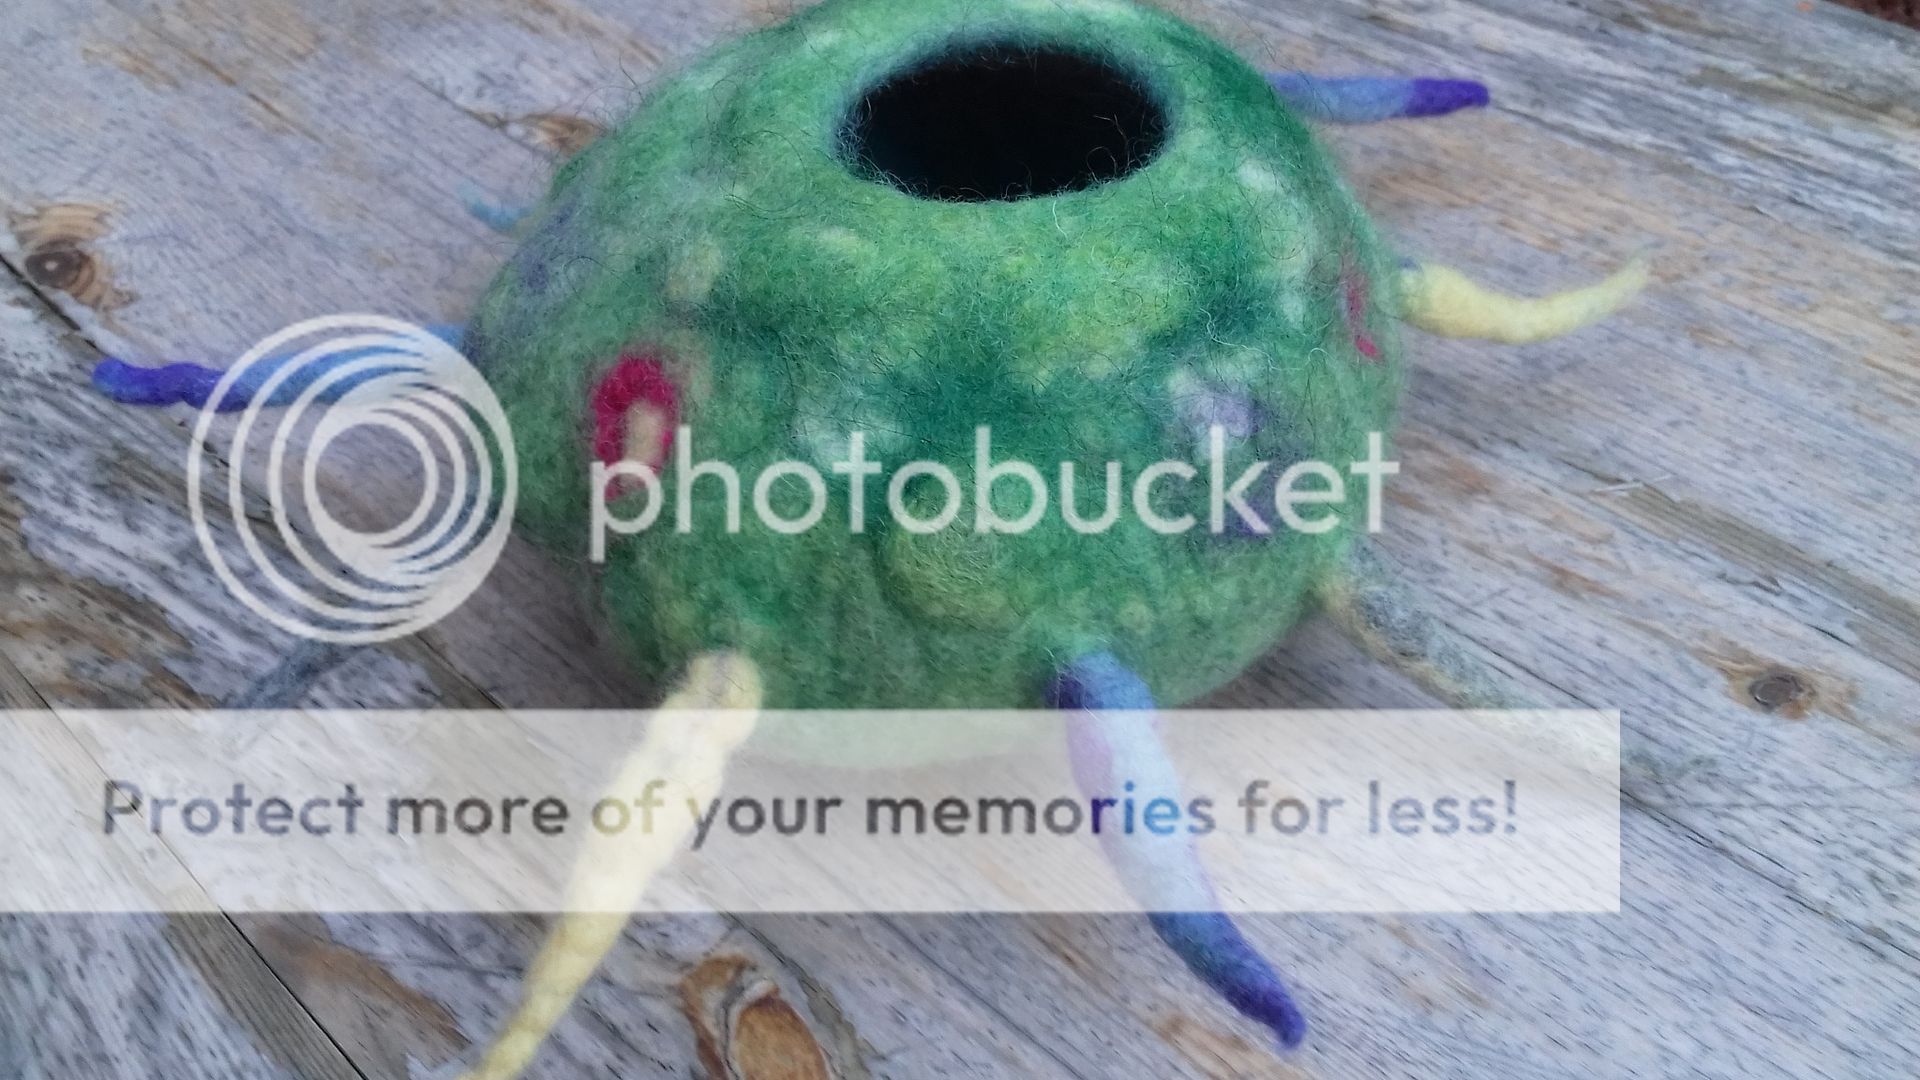
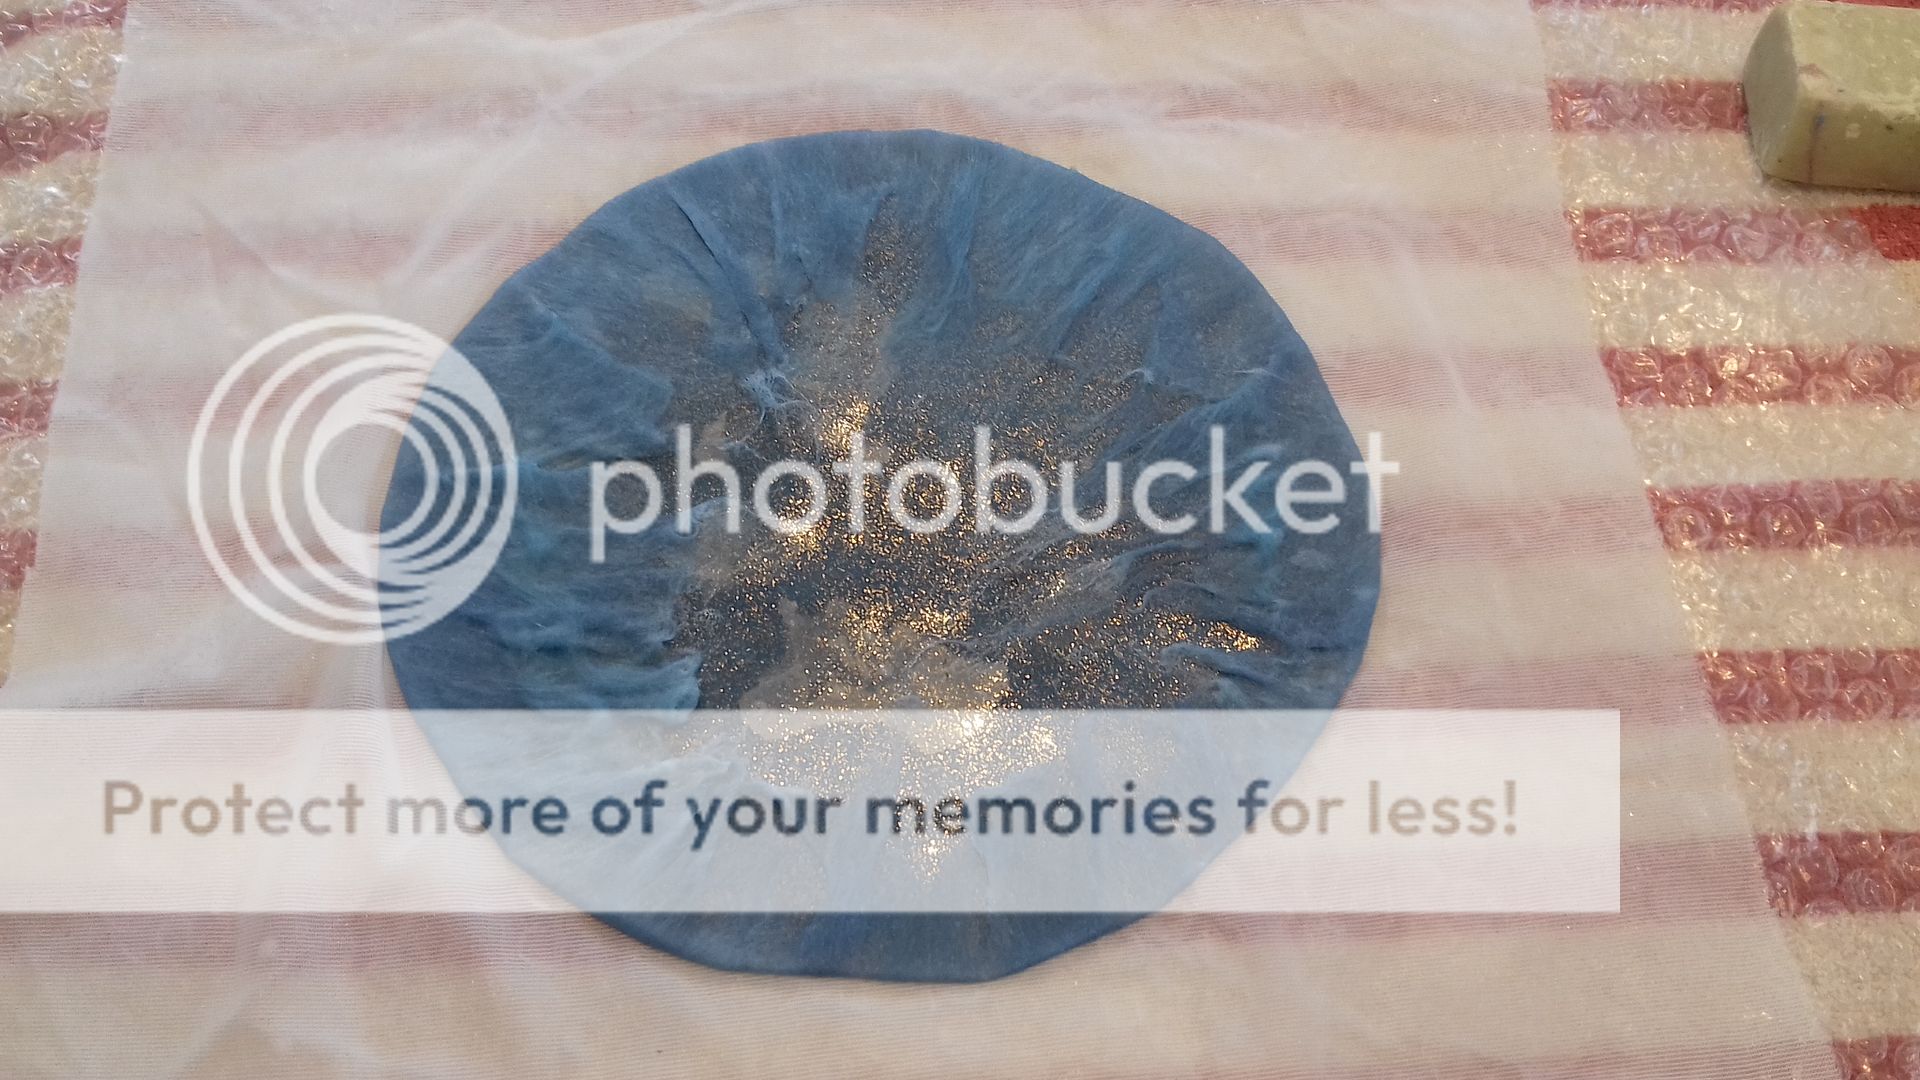
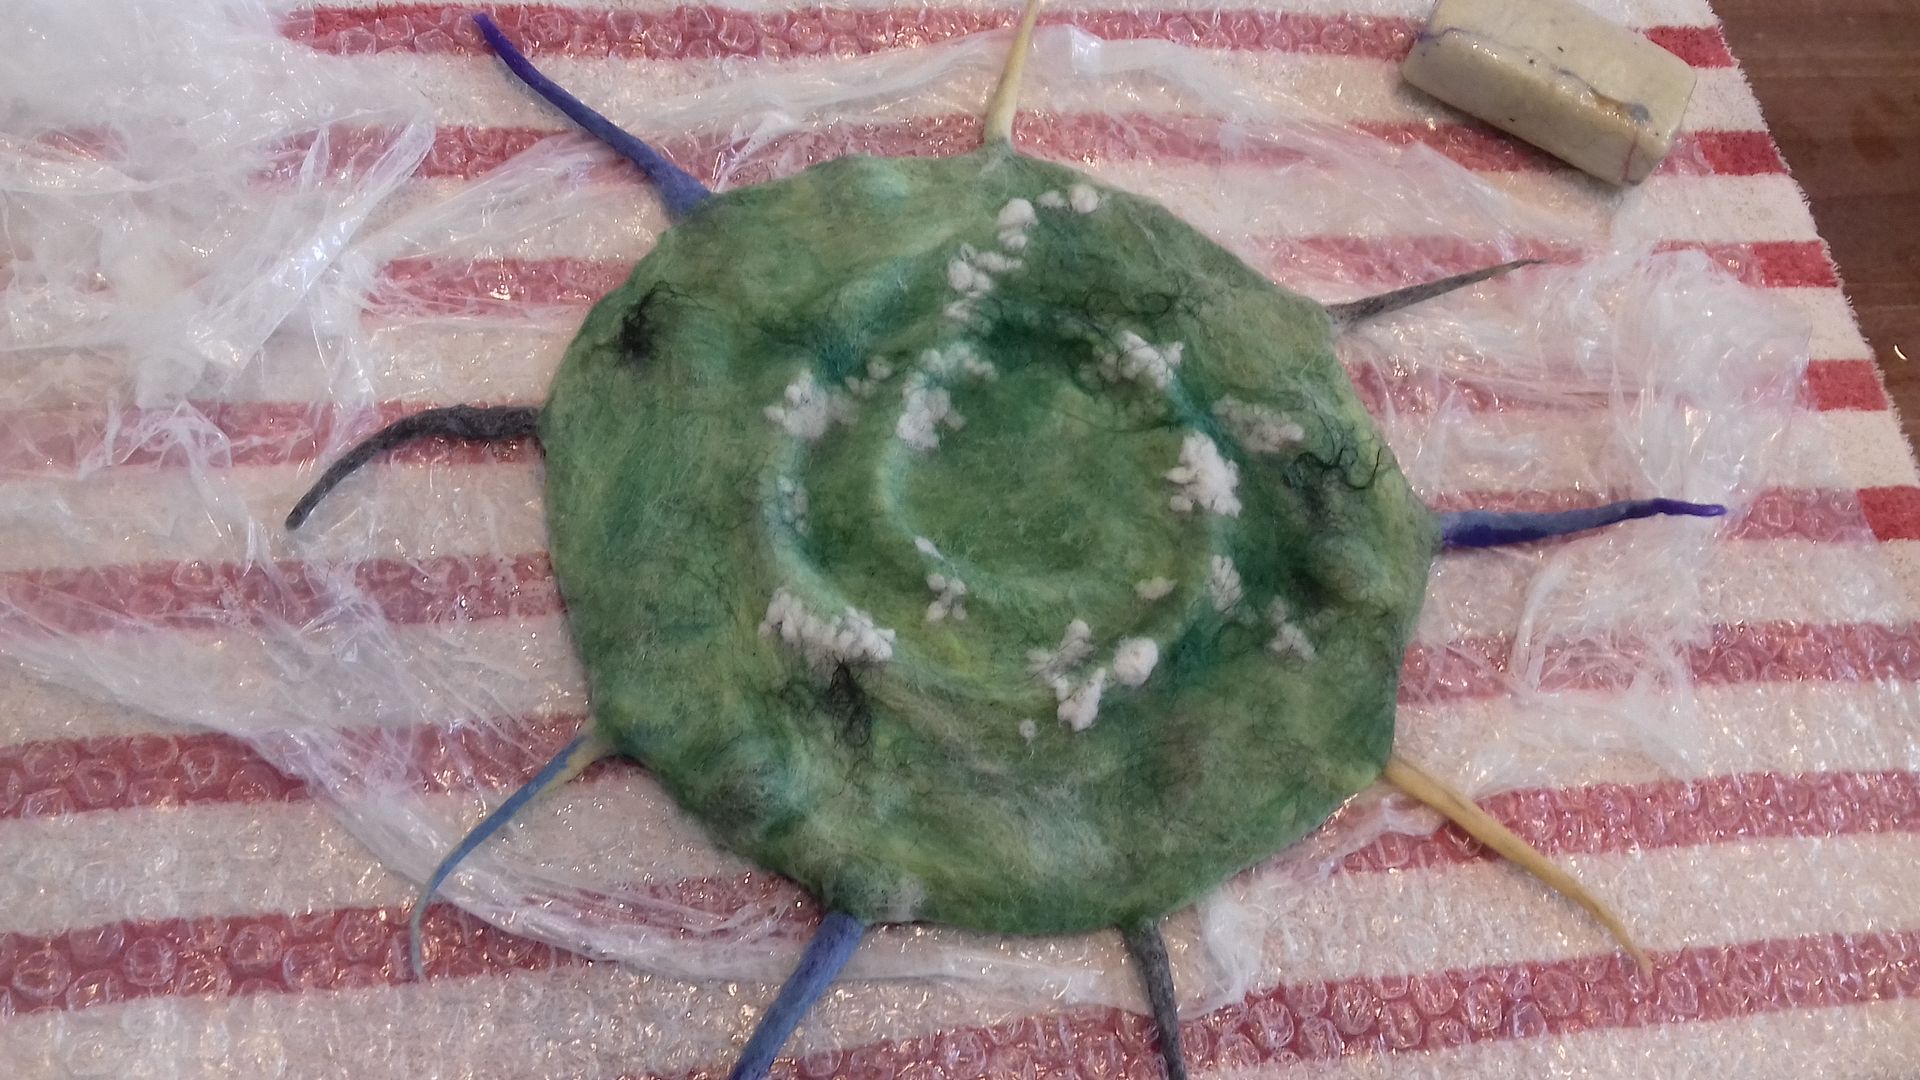
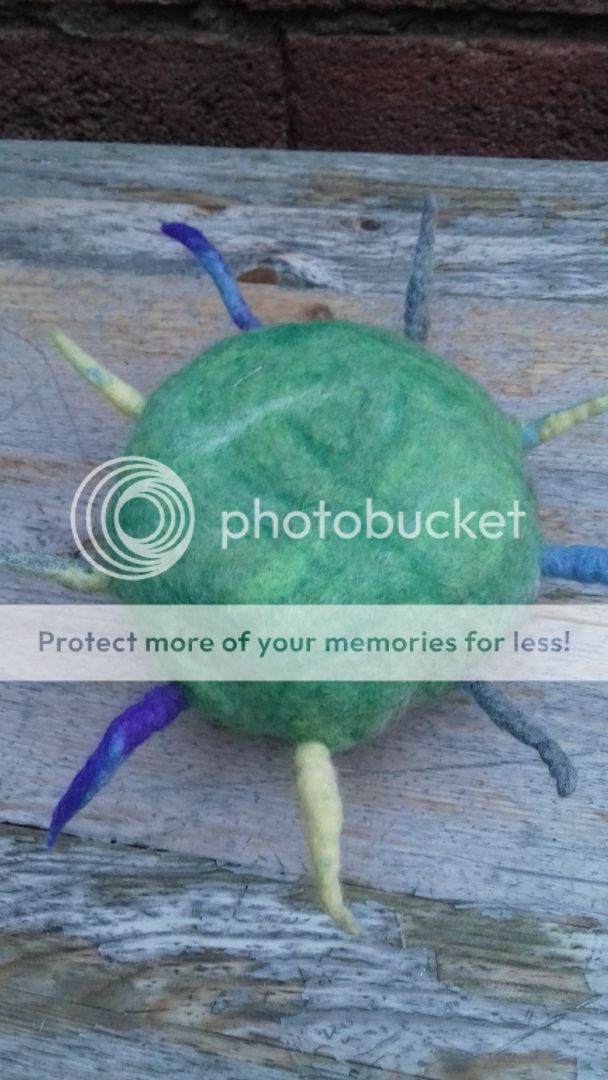
It took several days to dry, and this is what I'm left with! You can just make out the rope spiral towards the top. It was not as pronounced as I'd imagined. I perhaps should have started with a thicker rope.
The small purple patch is the stack of pre-felt with the colour coming through. To its right, you can see a pink circle - that's the crater. They worked pretty well.
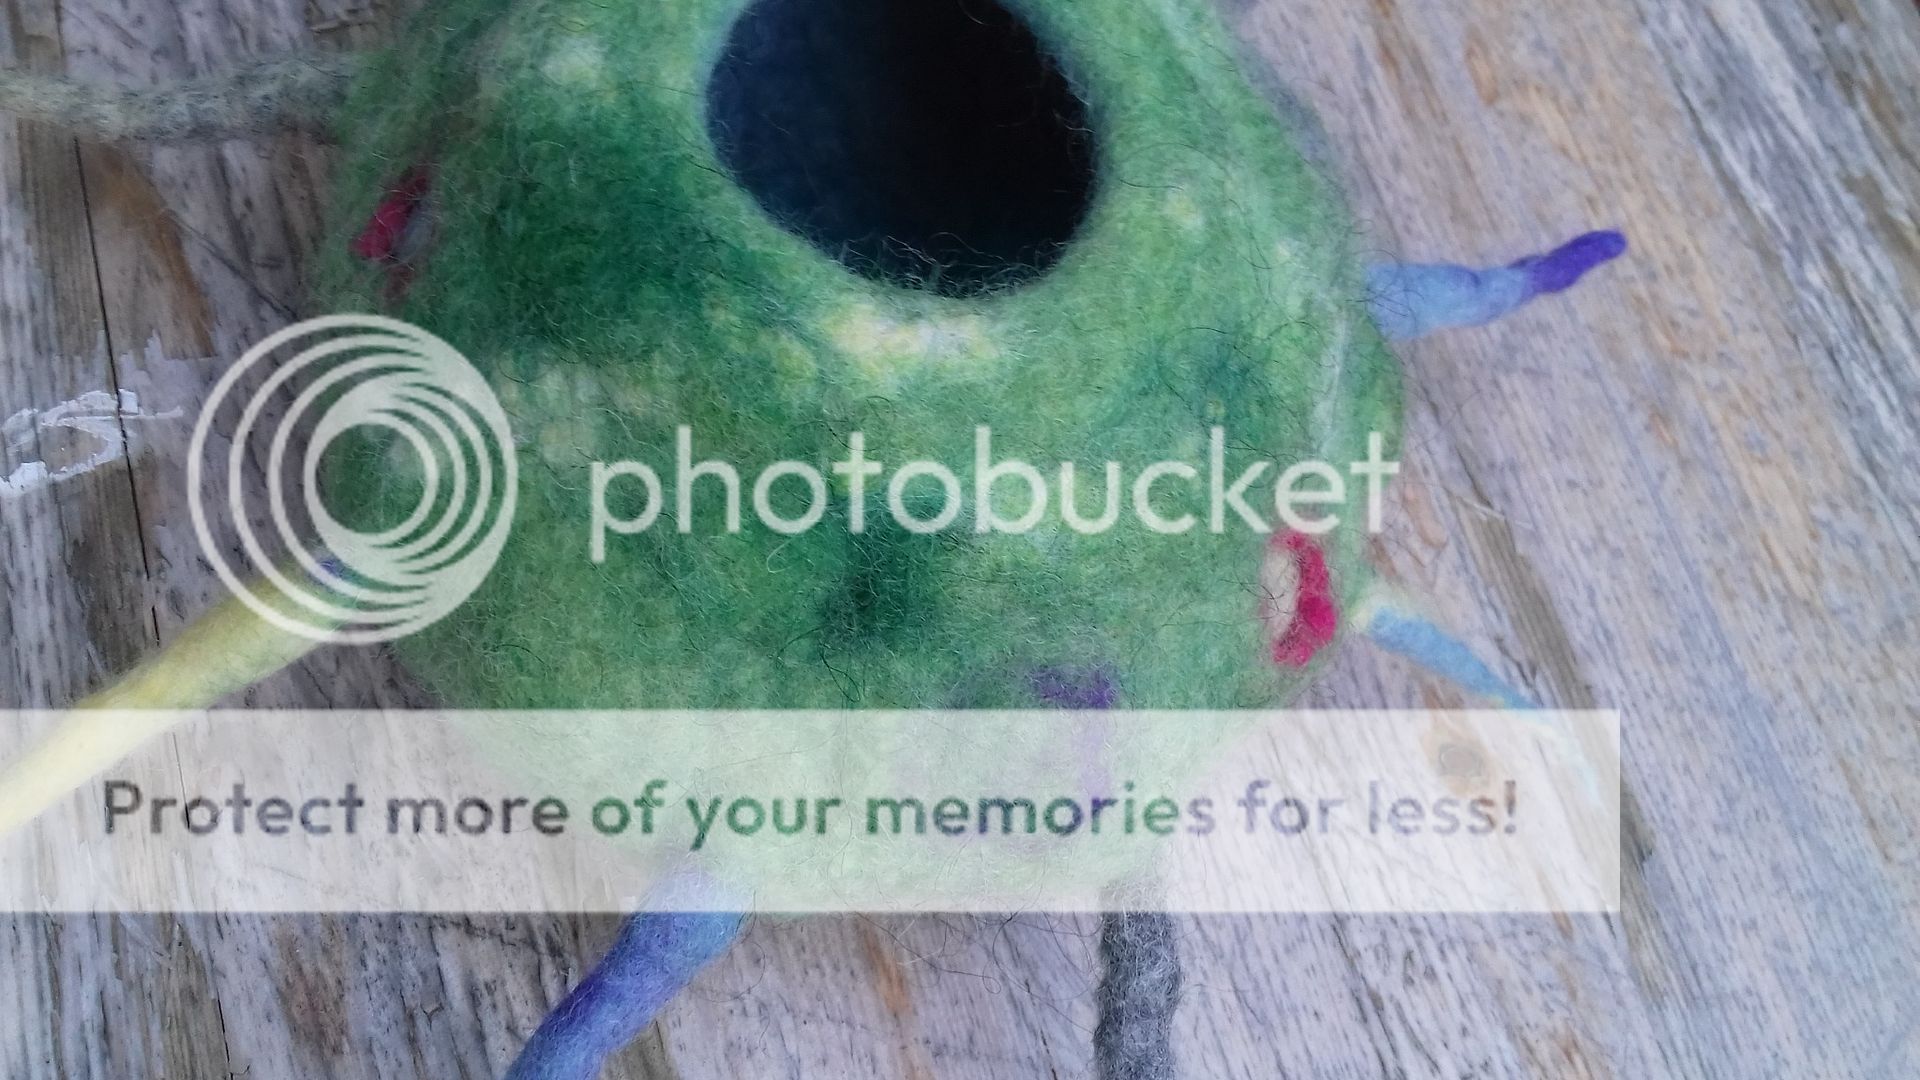
Unfortunately, the balls all but disappeared. I perhaps didn't work the final layer of felt over them well enough, or maybe they also weren't big enough.
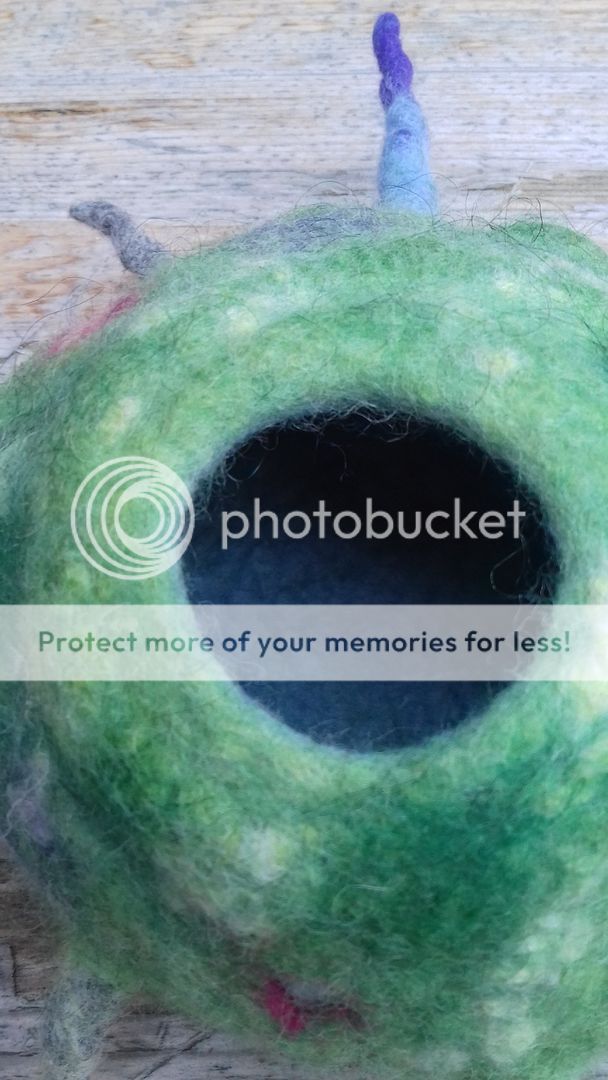
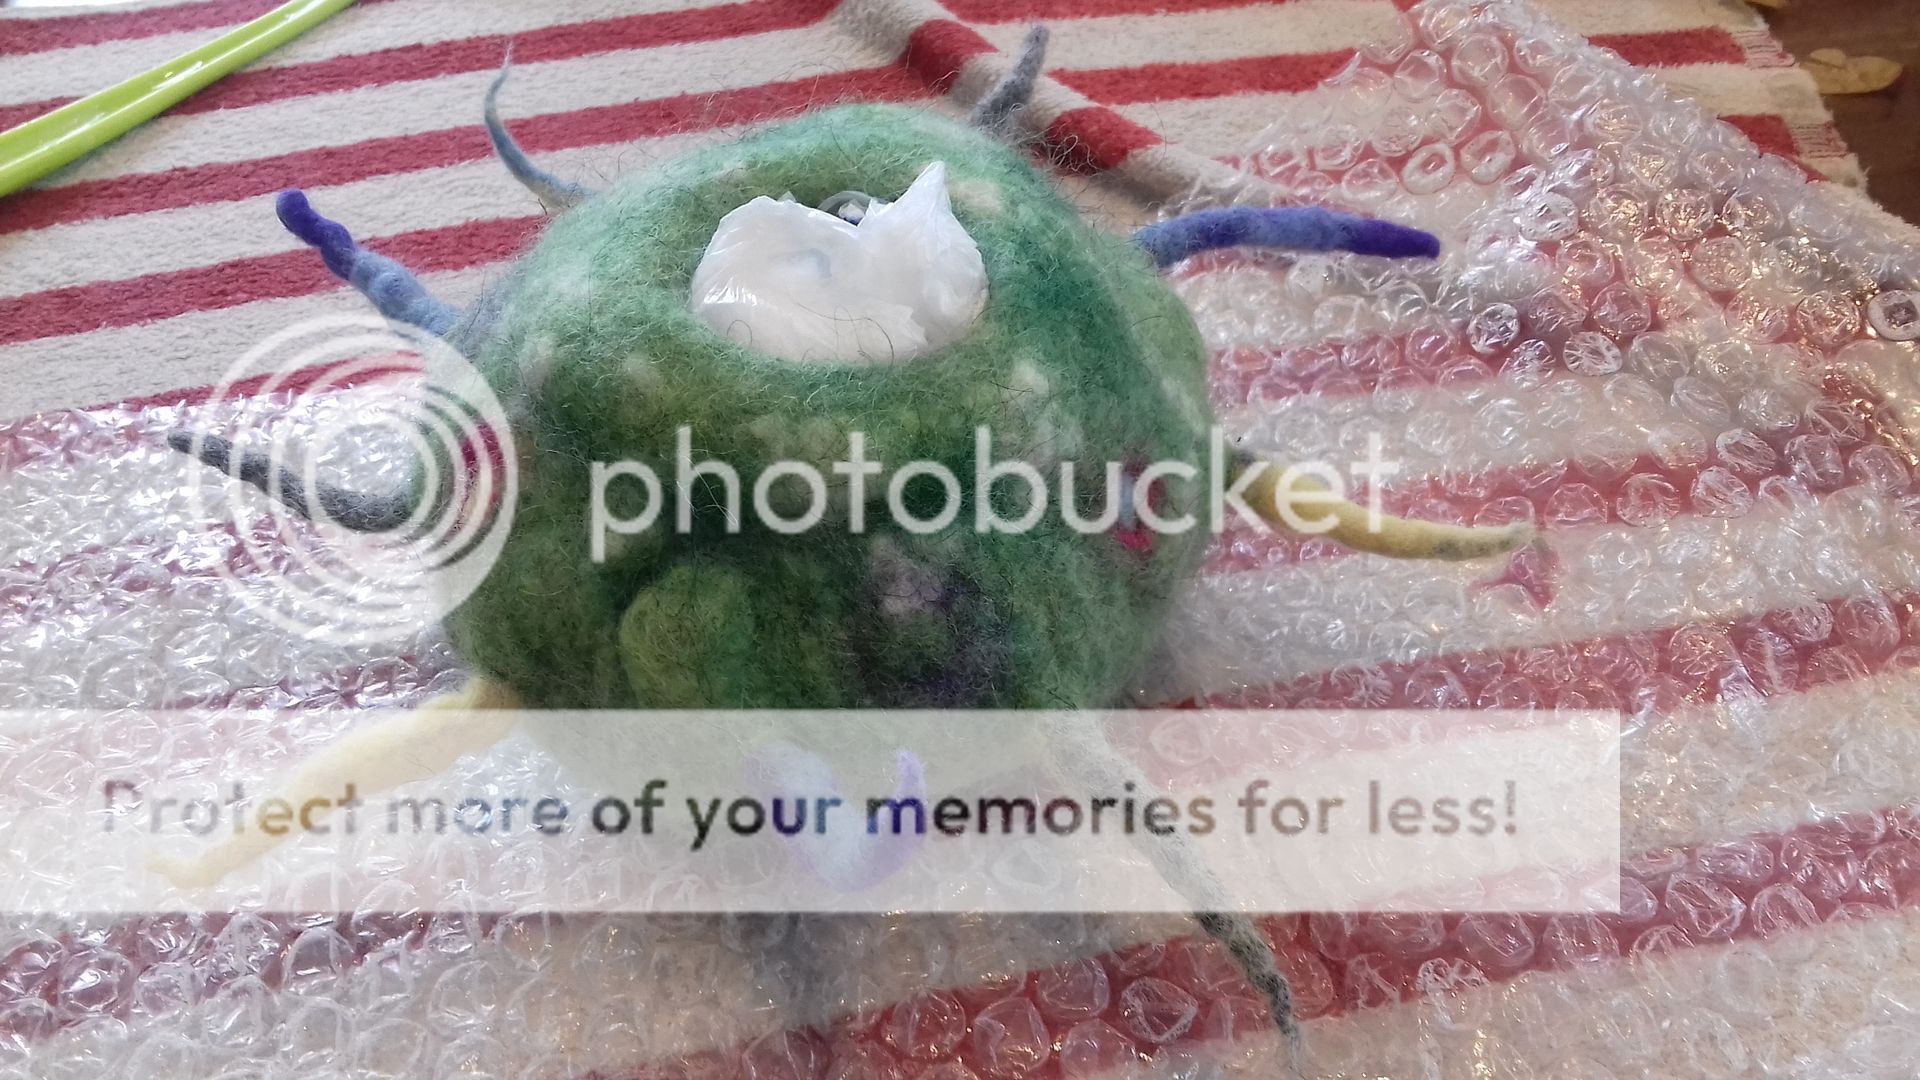
Here's a view of the inside. It's blue as that's what I started with, the base layer underneath my resist.
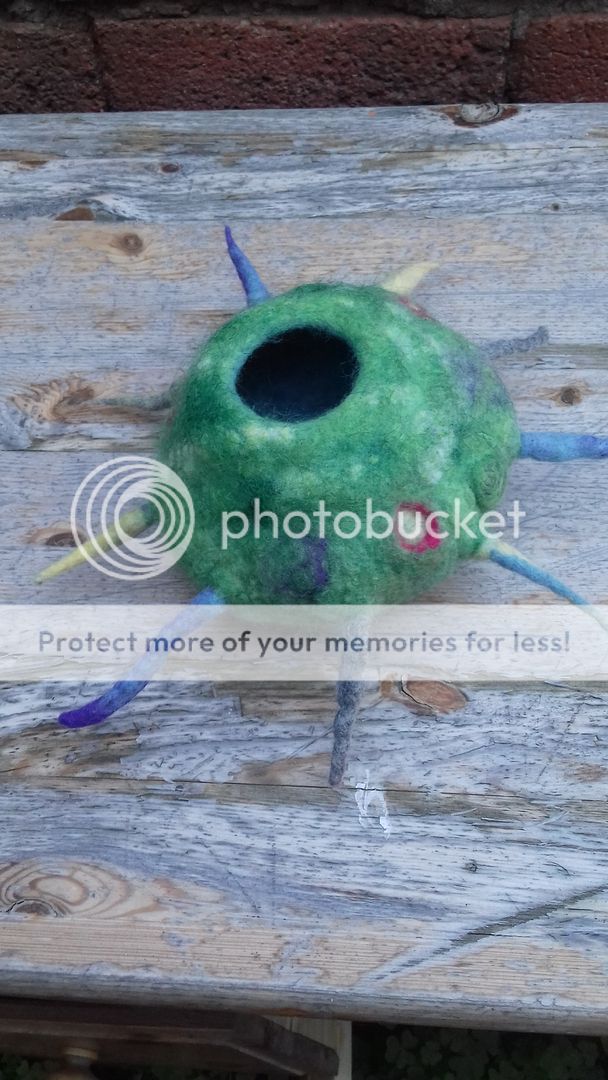
And for some reason I took a picture of the bottom! I thoroughly enjoyed this class and was chuffed to bits with my "alien" at the end of the class. I'd definitely take a class at Needle and Thread again, and a class with Robyn. I also want to try out some other ideas I have for wet felting... just got to get that damn studio finished!!

The tutor was Robyn Smith, a lovely lady who was very knowledgeable and had devised a great class. There were only 2 of us students, so we got a lot of attention. The idea was to make a 3d wet felted vessel, using techniques to add 3d elements. We started with the vessel. A layer of merino was placed over a resist (a piece of plastic table cloth), then felted. Wet felting involves soap, water and lots of rubbing and rolling.

We folded the wet edges over the resist, then added another layer of merino on this side and felted it. I didn't take a photo of that. We then put it to one side to work on the embellishments.

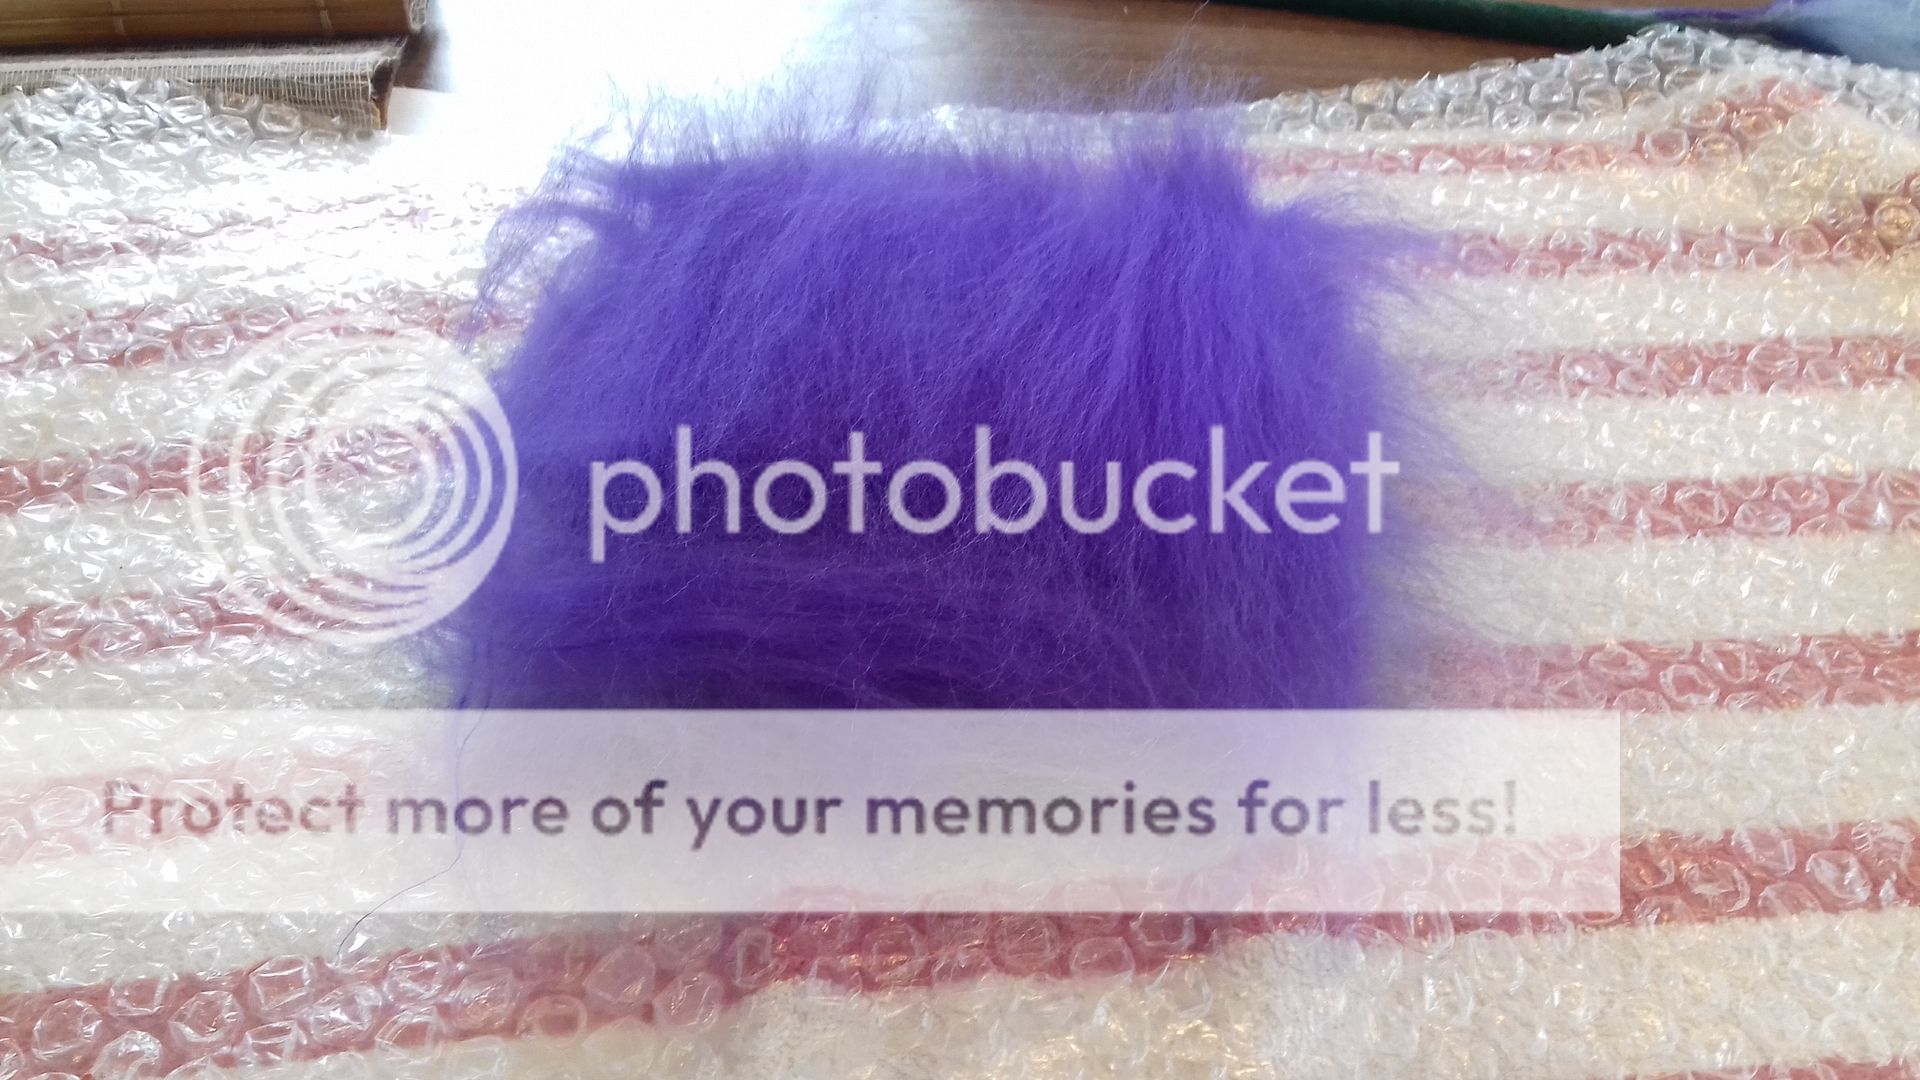
Above is a rope, this will be added to the vessel to give some texture and dimension. It was made by laying out small pieces of merino, then rolling them up, adding water and soap and rolling more.

This is a spike, to go on the base of the vessel. I wanted a few, so I tried a few different things, here I twisted two colours of merino roving together before felting. The outcome of these two-coloured spikes was very hard to predict, well for me anyway! The base of the spike is left unfelted so it can be attached to the vessel later.

Here you can see the rope, three spikes, and three balls. The balls were not fully felted so that they will attached to the vessel. I made another 6 spikes after this.

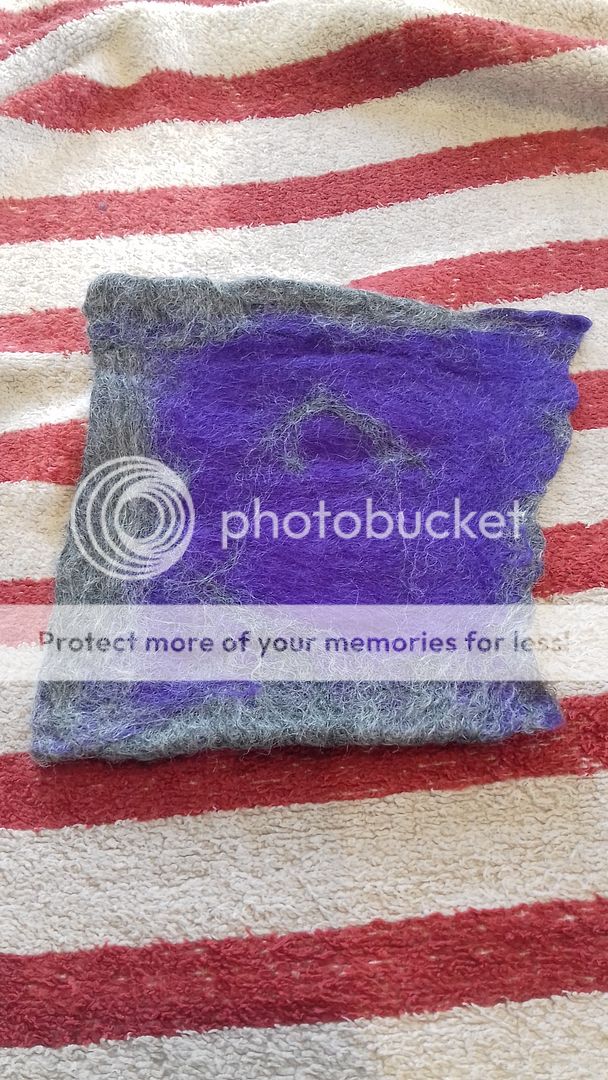
We also had a go at making pre-felt to add cut out shapes to our vessels. I made a thick piece of felt by piling up lots of layers of roving.

A bit of wet felting later and I was left with this which I could then cut into.

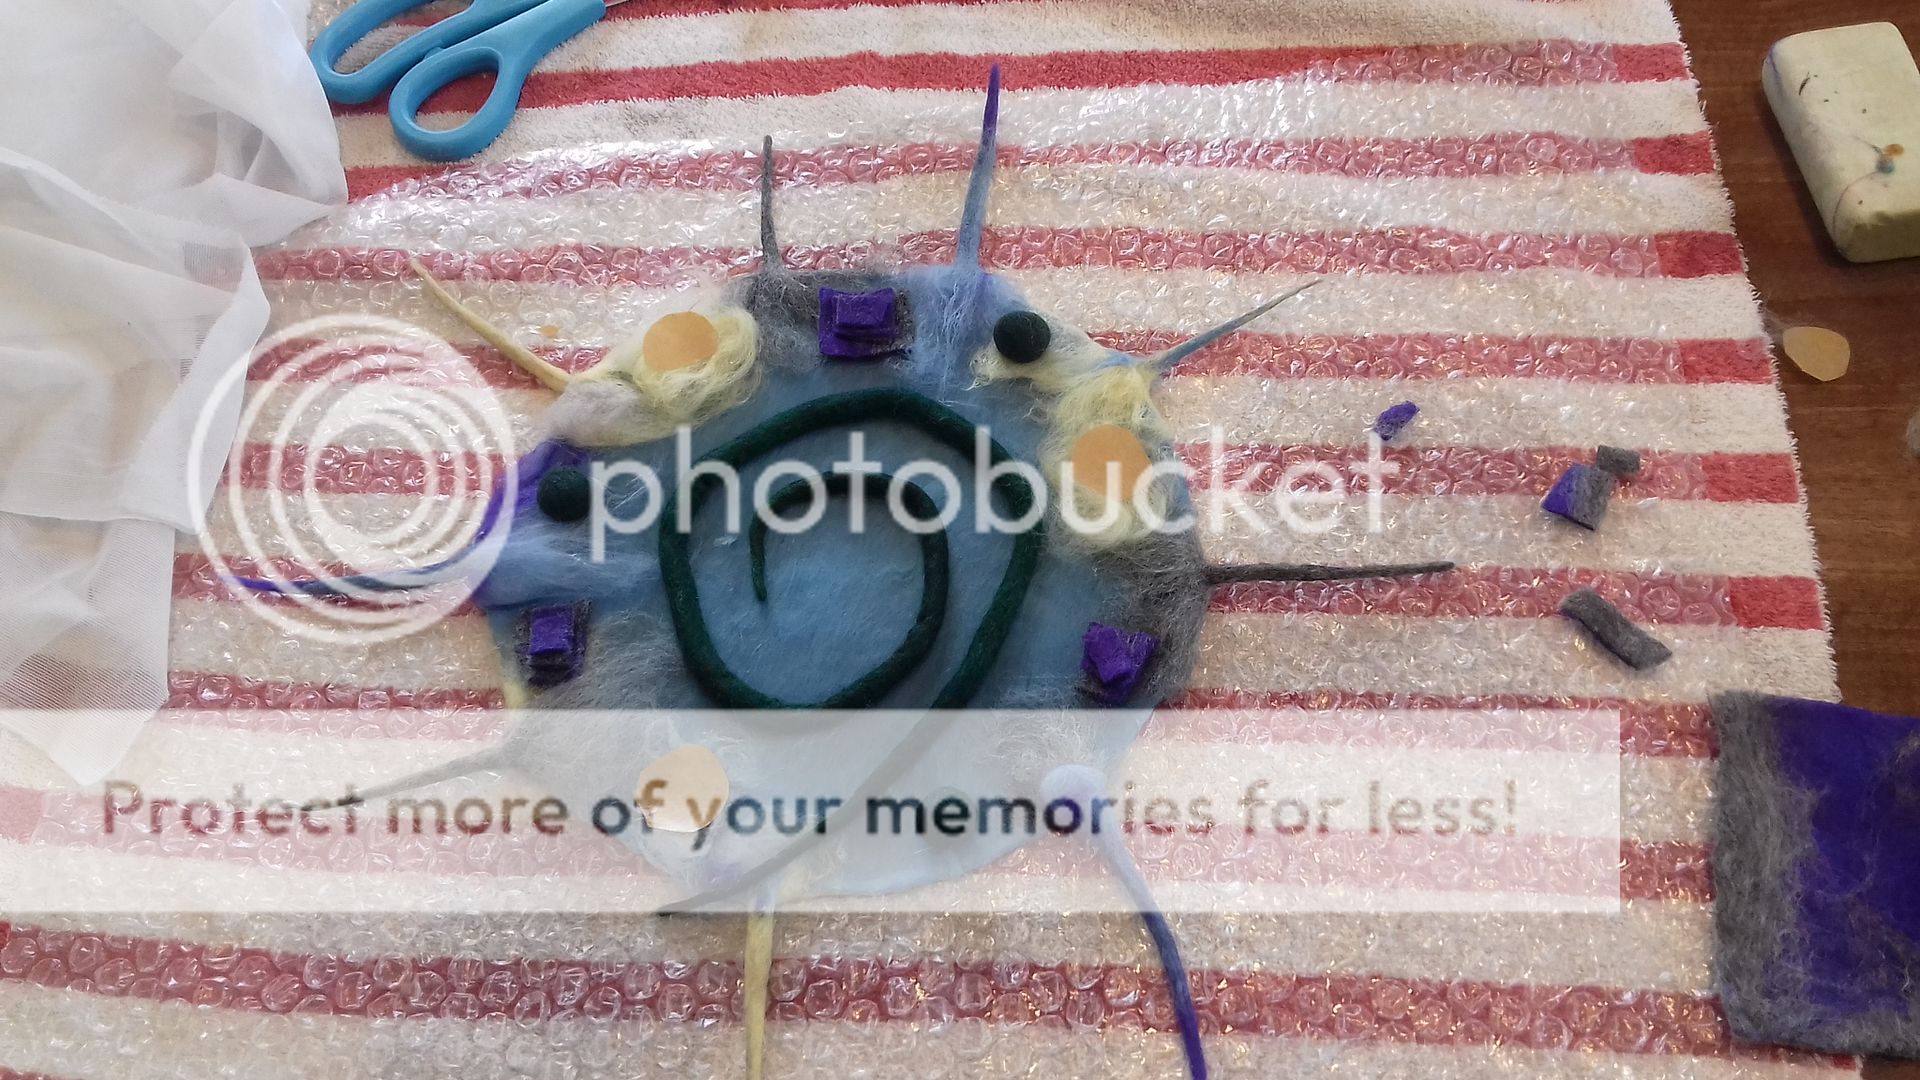
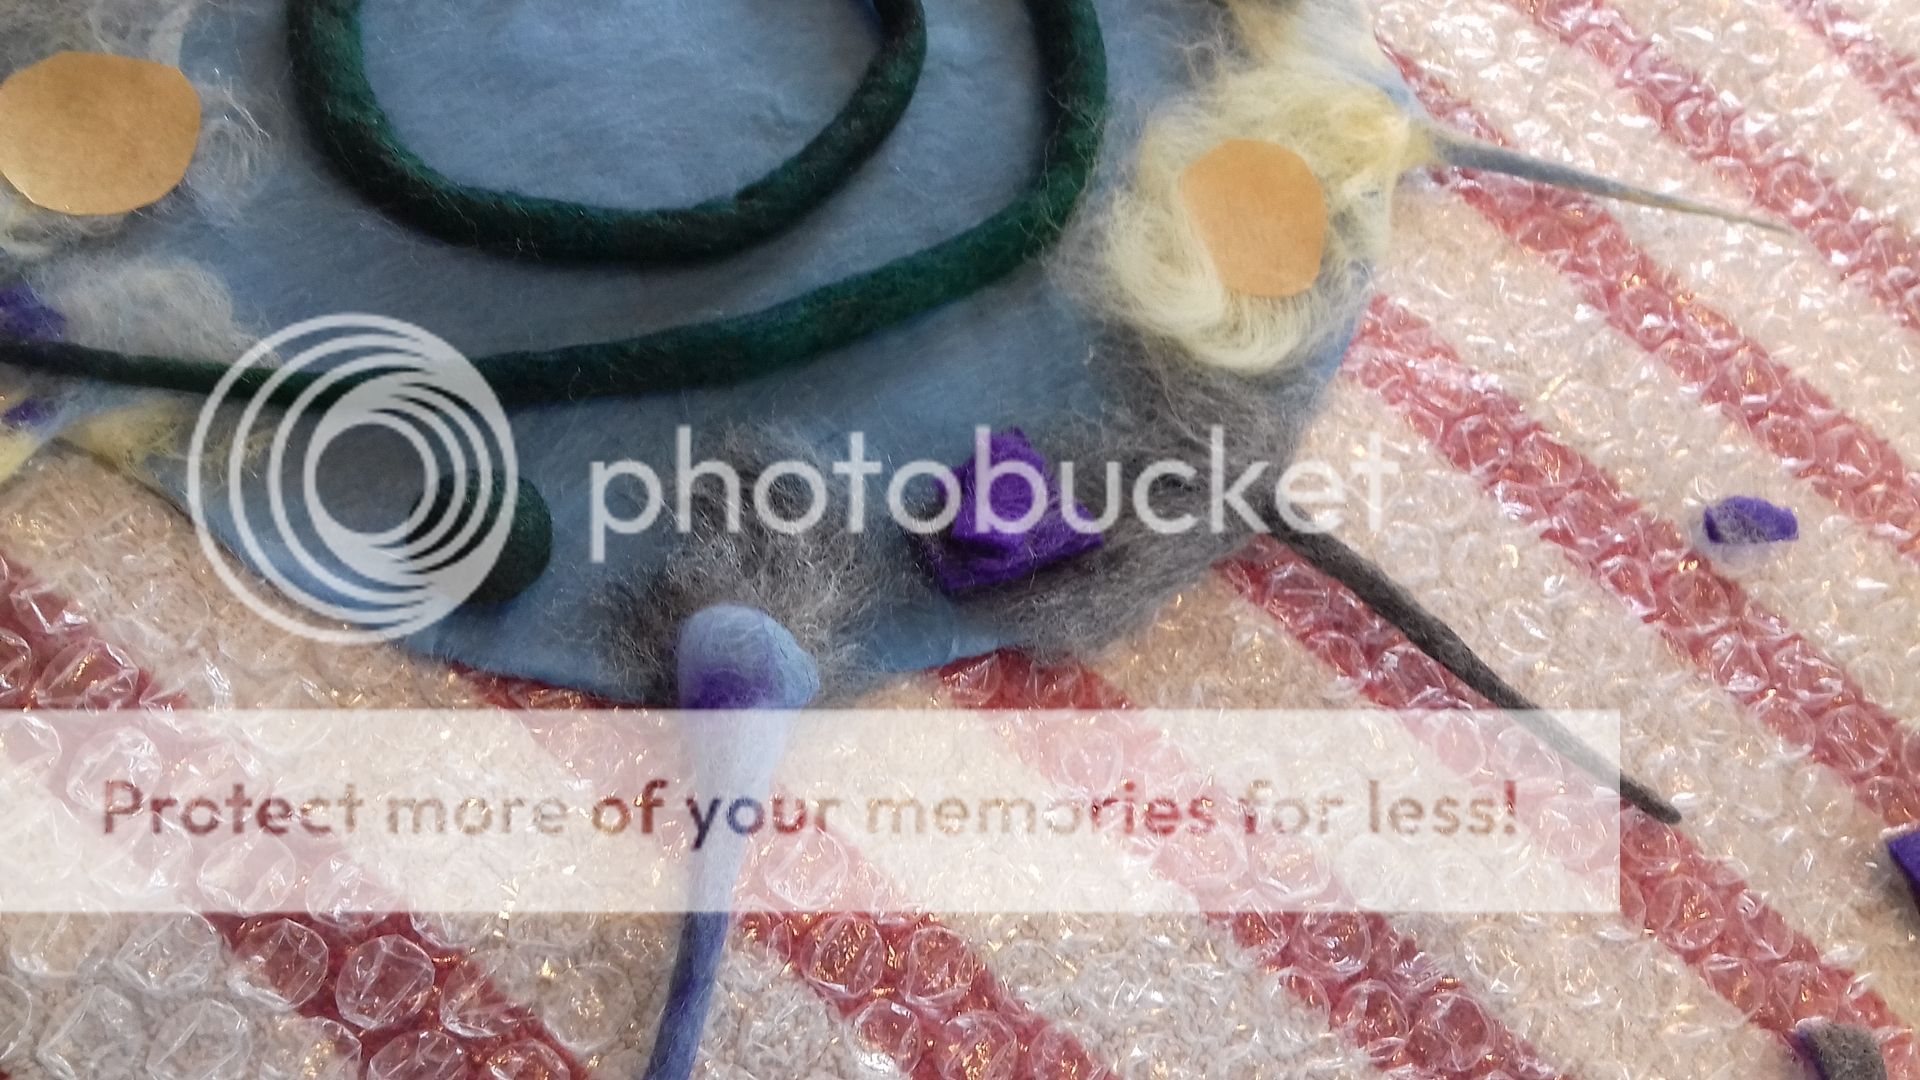
Then came the fun bit - layering and arranging the embellishments. I started with my spiral - the centre of the spiral will be where I cut the hole later. I put the spikes around the edge as equidistant as I could and put the other embellishments in between.

On the left is one of the balls I made, then a little stack of the pre-felt, finally a few tufts of merino, then a piece of packing tape cut into a circle. This will be removed later and is to form a crater. I didn't add a fin which was another embellishment we could have made.

I put some bright pink merino over the packing tape circles to provide a coloured lip to the crater.

Then it was time to make the batt for the top of the vessel. Of course, we could have used one colour of merino, or stripes, but we were offered a go on the carder, so of course, I had to have a go! I have used one before, many years ago when I learnt to spin, and I have to say it's still as much fun! You push bits of merino in a variety of colours in at the front, it is grabbed on the spikes as you turn the handle.

This is what it creates - a batt of a mixture of colours. You can then tear it up and put it through again for more of a blend.

Two layers of the batt were put on top of the design

I also added some of this curly fleece and a few strands of silk - the fleece is the white, the silk is the dark green.

It was all gently covered with plastic, then we rubbed and rolled and rubbed and rolled and rubbed and rolled...

and rubbed and rolled some more!

We cut our holes, mine was centrally in the spiral. Out came the resist (with surprisingly little effort), then we had to do some pulling and pushing and rubbing inside to get the shape we wanted and make sure the inside and edges were well felted. I stuffed it full of plastic carrier bags to keep its shape whilst it dried. You can also see in the picture above that I'd cut the holes for the craters and removed the resists.

It took several days to dry, and this is what I'm left with! You can just make out the rope spiral towards the top. It was not as pronounced as I'd imagined. I perhaps should have started with a thicker rope.

The small purple patch is the stack of pre-felt with the colour coming through. To its right, you can see a pink circle - that's the crater. They worked pretty well.

Unfortunately, the balls all but disappeared. I perhaps didn't work the final layer of felt over them well enough, or maybe they also weren't big enough.

Here's a view of the inside. It's blue as that's what I started with, the base layer underneath my resist.

And for some reason I took a picture of the bottom! I thoroughly enjoyed this class and was chuffed to bits with my "alien" at the end of the class. I'd definitely take a class at Needle and Thread again, and a class with Robyn. I also want to try out some other ideas I have for wet felting... just got to get that damn studio finished!!
11 comments:
I was wondering where this was going. That's kind of neat--I love learning new techniques!
I suspect felting is always unpredictable, because there are so many variables involved, but it does look like a lot of fun!
This sounds like a lot of fun! And how great that it was just the two of you in the class so you could gets lots of help. I love your alien. He will be a good addition to your new studio!
that looks great, I love the fact you're never quite sure how it'll turn out
Dear Wendy
I love wet felting as it is just so versatile. Your 'alien' looks really intriguing and fun! I haven't yet made it to a Needle and Thread workshop as the one I booked for was cancelled, but I have another one booked for October.
I look forward to seeing what else you create.
Best wishes
Ellie
Wow! This looks like a very interesting workshop Wendy! Love your felted pod! Christine x
That is such a fun and funky outcome! I love the spikes and was really interested to see how well they stuck out even after you'd put the batt on top.
I love your alien, it looks so cool! I have never tried felting, one day maybe, it looks like so much fun!
Stay inspired!
Laura xo
You've just convinced me to sign up for a similar course if one ever becomes available in my area. Love that little alien!
You've convinced me to sign up for a similar course if one ever becomes available in this area. Love that little alien!
Wow Wendy this is amazing love your pod its so colourful and unique,well done my friend xx
Post a Comment