
Last week I seemed to be scrabbling around for something to blog about, this week I seem to have loads so I thought I'd better take a break from work and get this post written up.
On Saturday me and my lovely mum went to the first of 4 jewellery-making workshops we've booked on at the Bead Shop in Nottingham. We've attended 2 workshops previously and both were excellent. We did All Day Basic Jewellery Making and then Brick Stitch. Both were so good we didn't hesitate to book our next set of lessons.
Saturday was Polymer Clay techniques. I used to make a lot of models from Fimo when I was young. I once won a competition with my dragon and princess at a tea party. I think I still have them somewhere, if I ever dig them out, I'll show you. However, I haven't touched Fimo since. For those that may not know, polymer clay is a generic name. Polymer means plastic. Fimo is a brand name but is often used in place of polymer clay (in the UK at least), we were working with Sculpty in this class.
I've long admired the amazing millefiori techniques that other people can acheive with polymer clay, I did try it once but had no luck. Now I know why.
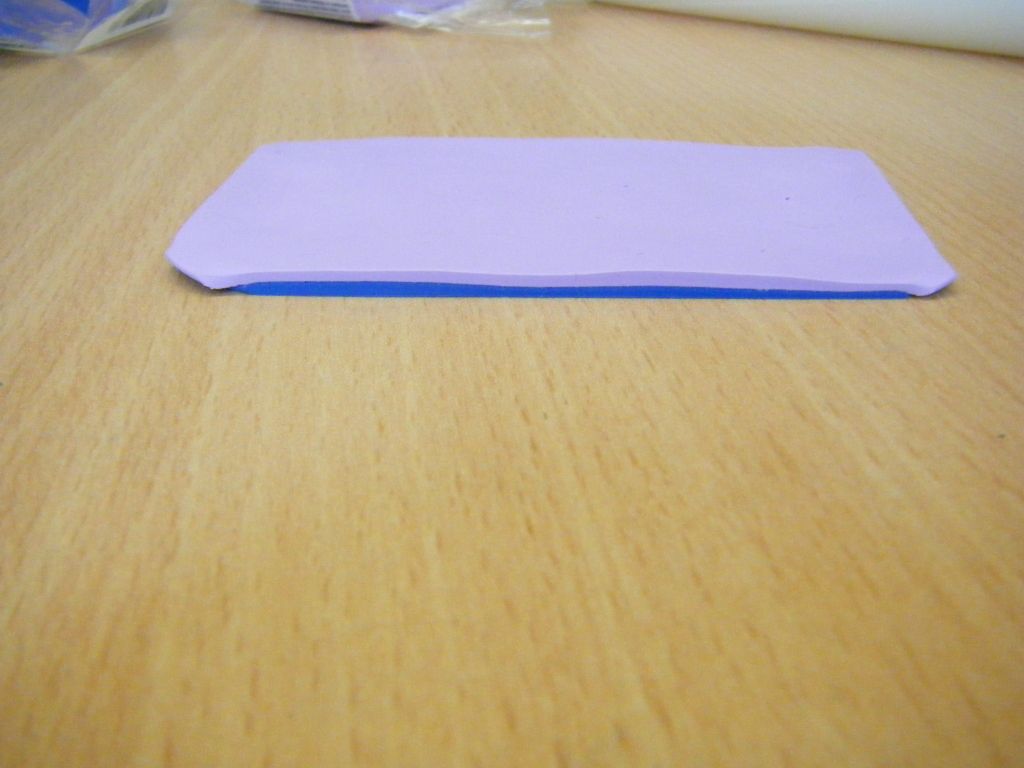
First up is lots of clay conditioning. Lots of rolling in your hands, folding over, rolling again, making it all soft. My hands were bruised the next day! I did use a pasta machine at one point, but it still requires manual softening as well. Roll out your colours, put one on top of the other...
And roll. doesn't look much, does it? But then you cut it in half!

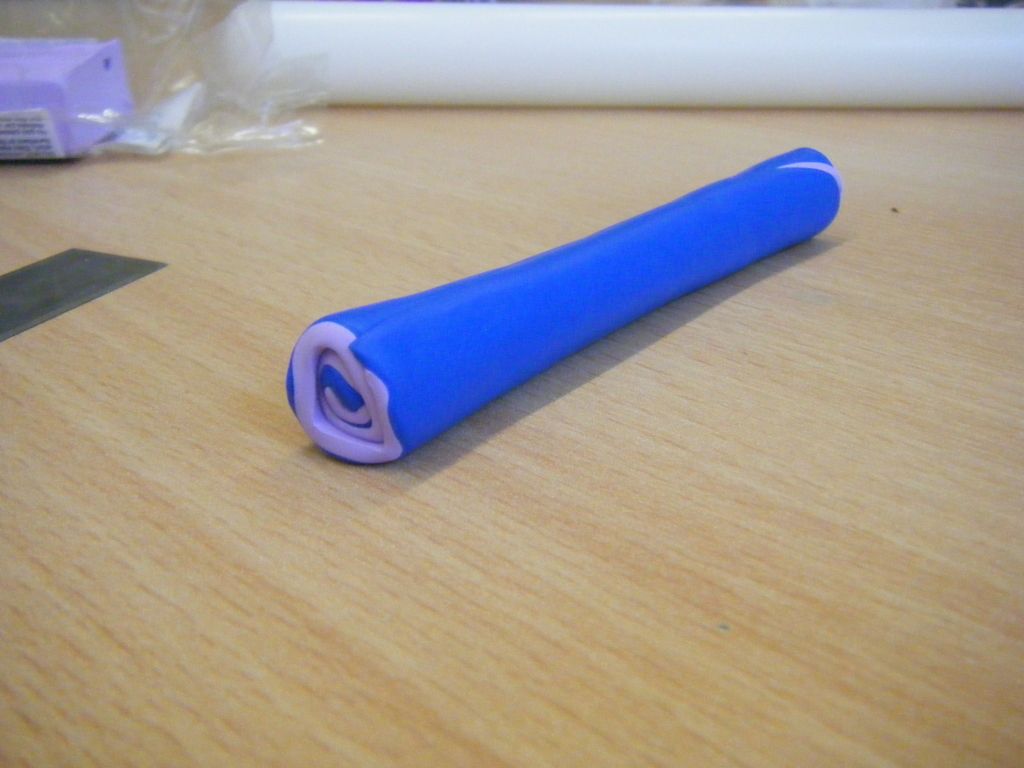
I was amazed at this point! This is the most basic of the canes we made, but I was flabbergasted when I cut into it and it actually worked. The secret to success is the blade. My previous attempt had been with a craft knife. No good. You have to have a tissue blade.
You can see my tissue blade in the photo above, along with the next cane I rolled. I started with the original spiral, then added a stripy layer.
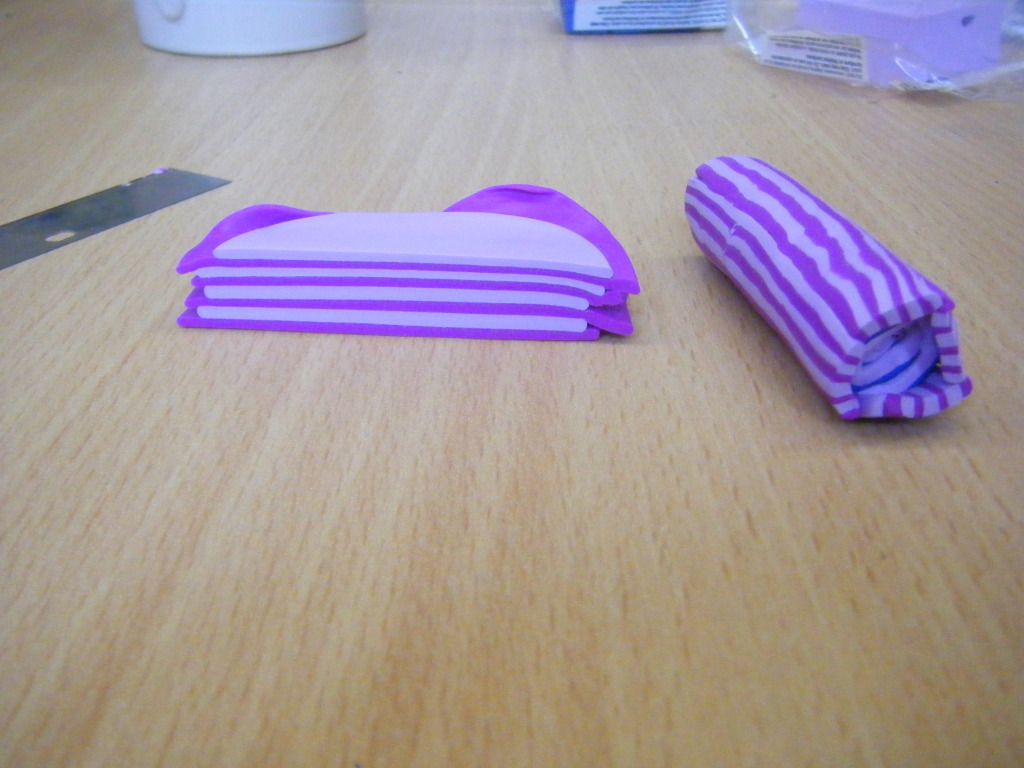
Ta dah! To get the different sizes, I rolled and pinched and pulled, then cut it in half. One half I set to one side whilst I continued stretching the rest of the cane and making it longer and thinner. Cut in half again, continue for ever.
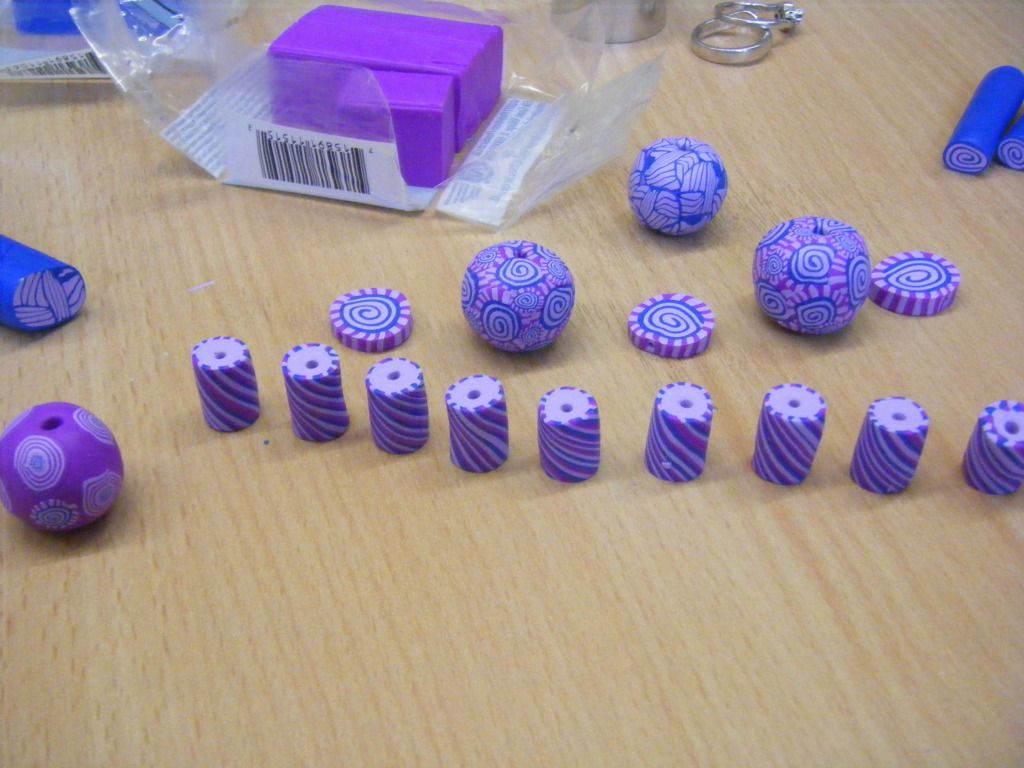
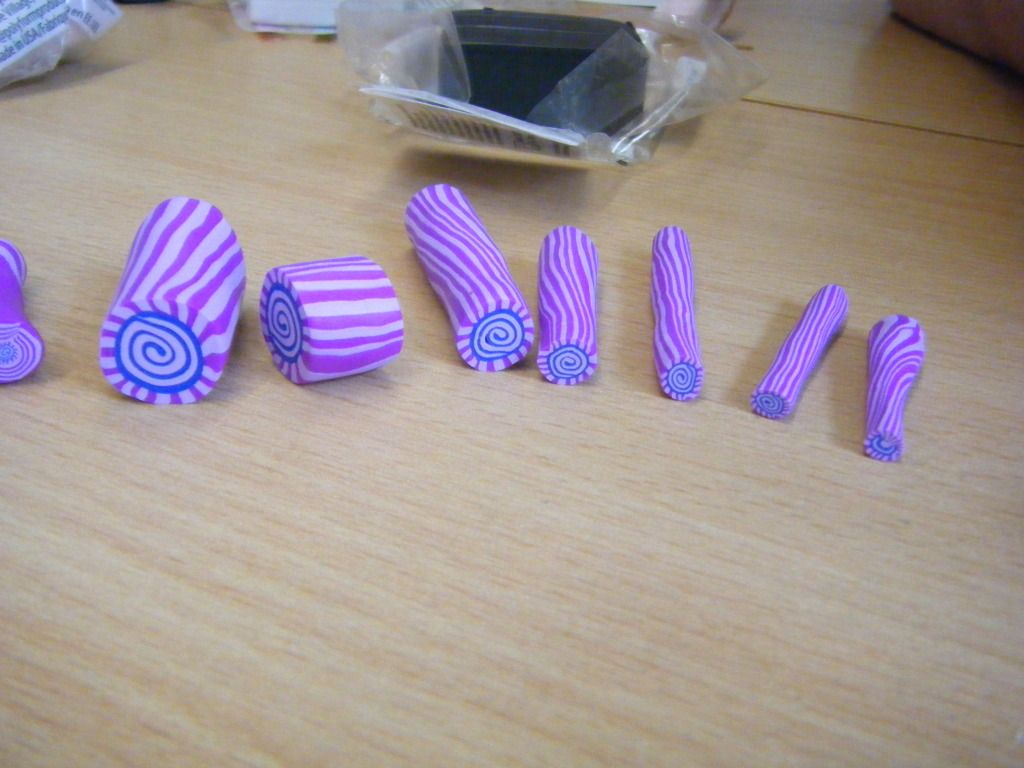
In the picture above you can see some of the beads I made. They each have a base of the waste clay (except the purple one just above on the left) and the thin slices of cane are applied to add the decoration. For some I just cut a chunky piece of cane and made a hole through it from side to side. The set of beads above are made from a twisted stripy rolling technique.
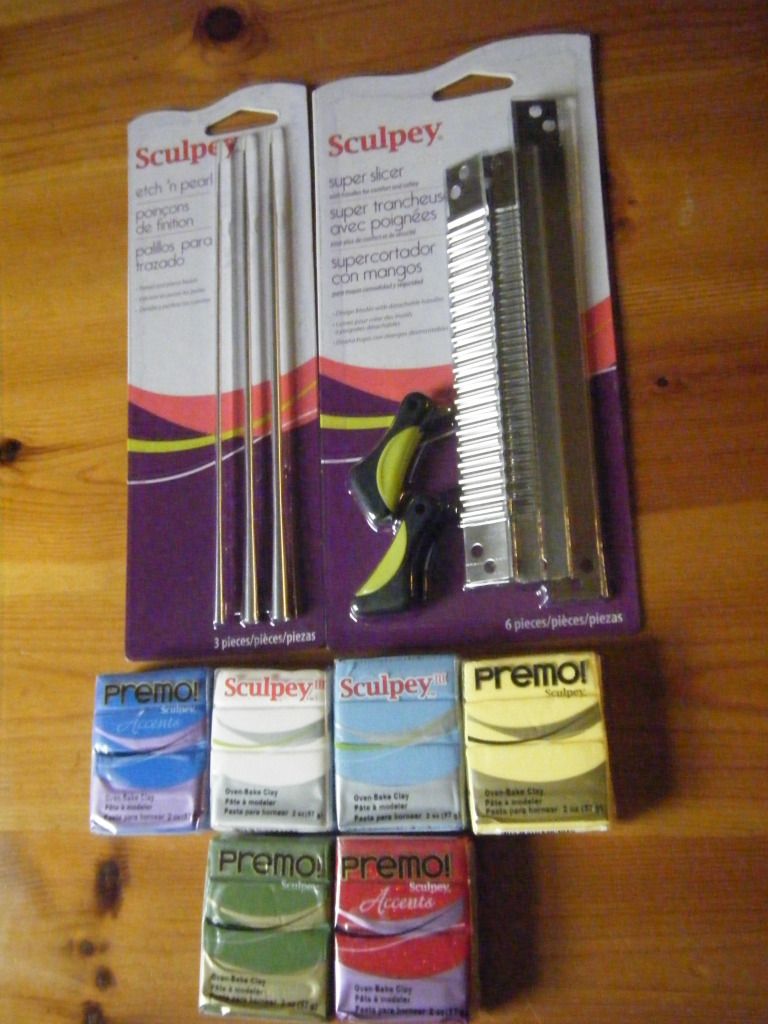
I spent some money, of course! I had to have a tissue blade, and the shaping tool, and of course some clay to work with!
In the picture above is the lace cane I made along with the spiral one from the top of the post.

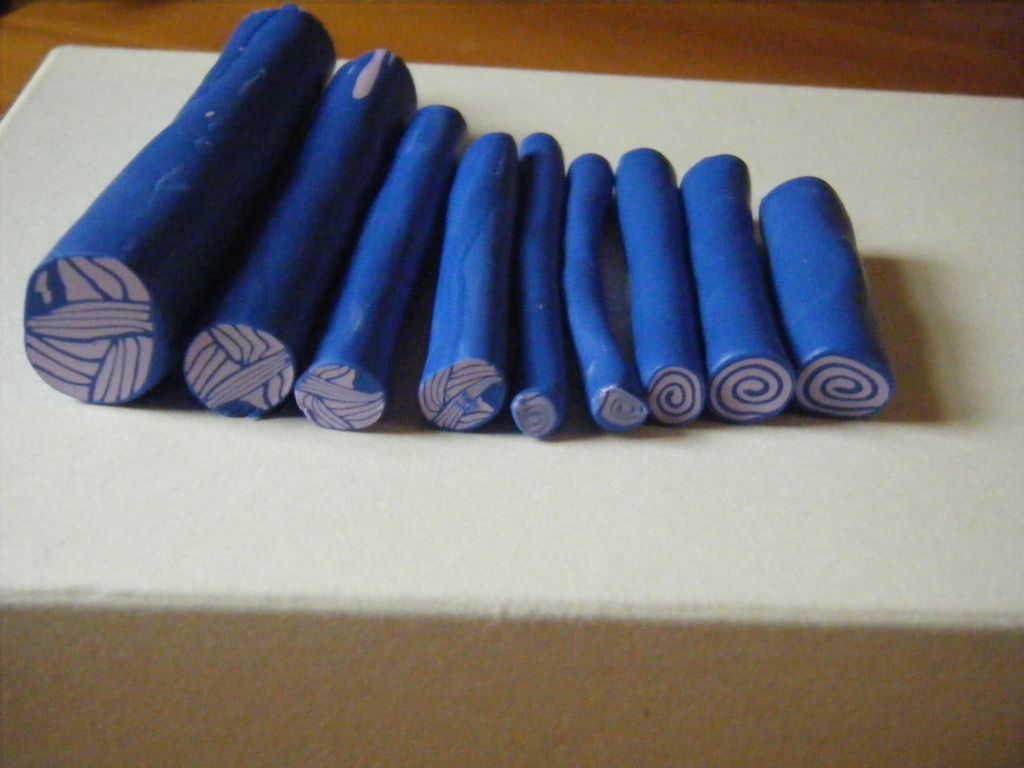
This one is my favourite. I made different sizes and cut off chunks of different thicknesses. Mainly because I'm rubbish at cutting thin slices!
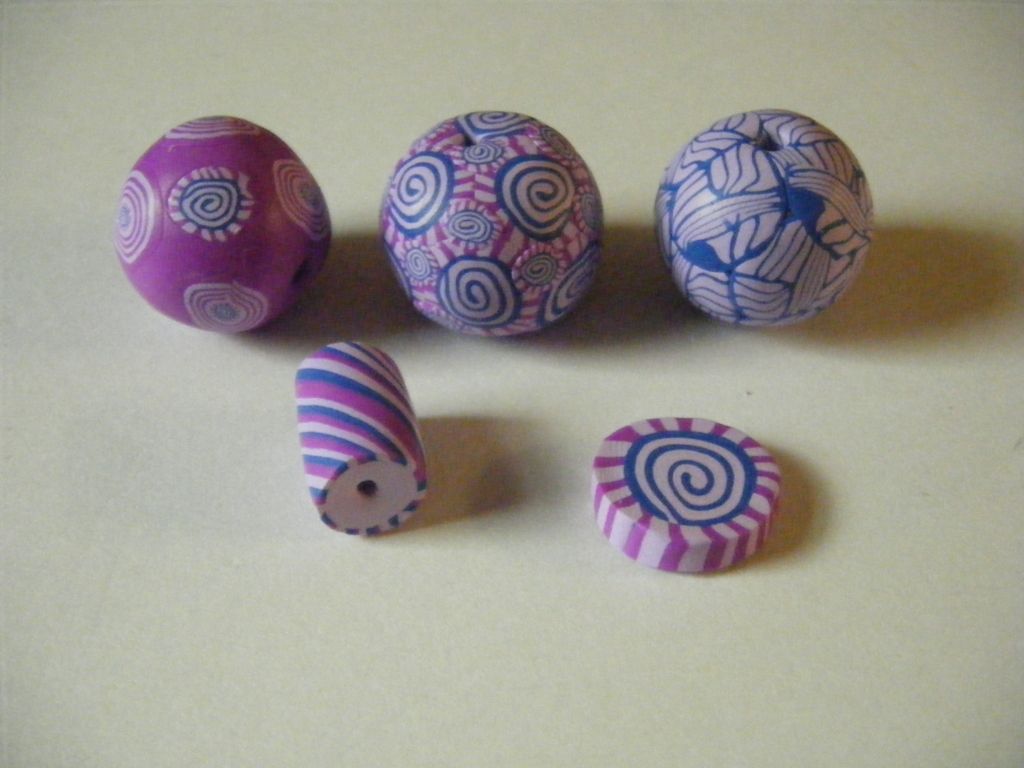
Here's a selection of the finished beads. Well they're not actually finished as I haven't baked them yet. I planned on making some more at the weekend but never got the chance. I will make some more this weekend though, then I can have a big baking session at the weekend! My mind is ticking over with ideas for other canes I can try and I'm sure I've seen some tutorials... not sure if I pinned them though. If anyone does know of anywhere I can find cane patterns, please let me know.
Right, better get back to work then. Boring! 13 minutes it took to write that post. I think you're meant to go back over it and check it for errors and if it sounds right, then sit on it for a while before re-reading and publishing? Isn't that standard blog wisdom? Does anyone do that? I just hit publish, 30 seconds after I've finished writing. It shows, doesn't it? See me procrastinating? Back to work Wendy!
I'll be back soon, loads to show you... Ooh, one more think, this counts as a LANT!
Don't forget to enter my Something Old, Something New competition. The deadline is 31st July and there is a prize!

15 comments:
Very nice beads ! I've never worked with fimo...but my girl has...
Thanks for the visit and comment.
We have a beautiful day today...I hope the Sun will stay for some days...
Hug
Anna
WOW you're very good at making those fancy rolls ... how did you hands stand up to all the work? I think mine would have been aching like crazy!
Just think of the beads you could make to match any project!
Wow, I just love your beads! So beautiful! I wish I can try it myself one of these days... although I doubt that I can be as good as you!
Your swiss roll slices would make great buttons! I have some polymer clay in my cupboard, all I need now is the tissue blade. I feel some retail therapy coming on :)
Sounds like a great day out!
Those are fantastic! I tried working w/ polymer clay but I didn't have the patience for all the kneeding and rolling. Also, no matter what I did, I ended up leaving my fingerprints all over the clay and I couldn't even roll a round bead.
Buttons are exactly what I was thinking, too. But the beads are phenomenal, too. Amazing that I never thought about how such beads are made until I read this post!
Like other commenters, I now can't wait to try this.
That is so effective.... will be a lot of fun...
Hugz
These are gorgeous! Truly! I so want to make some now :)
How wonderful do they look.
Gillx
Wow, that looks great! Liz
Lovely beads, Wendy! Will have to try and make some out of clay
Mecki :)
wow. This is so creative and fun.. Would be a great activity with kids also.. Thanks for linking up. Have a nice weekend!
I love these, they are so pretty! I am now following you on GFC. I would love for you to visit, follow back and maybe even link up on my Monday linky party.
Thanks
Marcie @ www.IGottaTryThat.com
They look terrific! :)
Thanks for the tip about the tissue blade - no wonder some of my stuff looked a bit average.
these definitely are pretty! we are featuring this today ^^) we hope to see this week at the party again! have a fun weekend!
Hugs,
Lelanie
to-sew-with-love.com
tocookwithlove.com
villaportillo.blogspot.com
Post a Comment