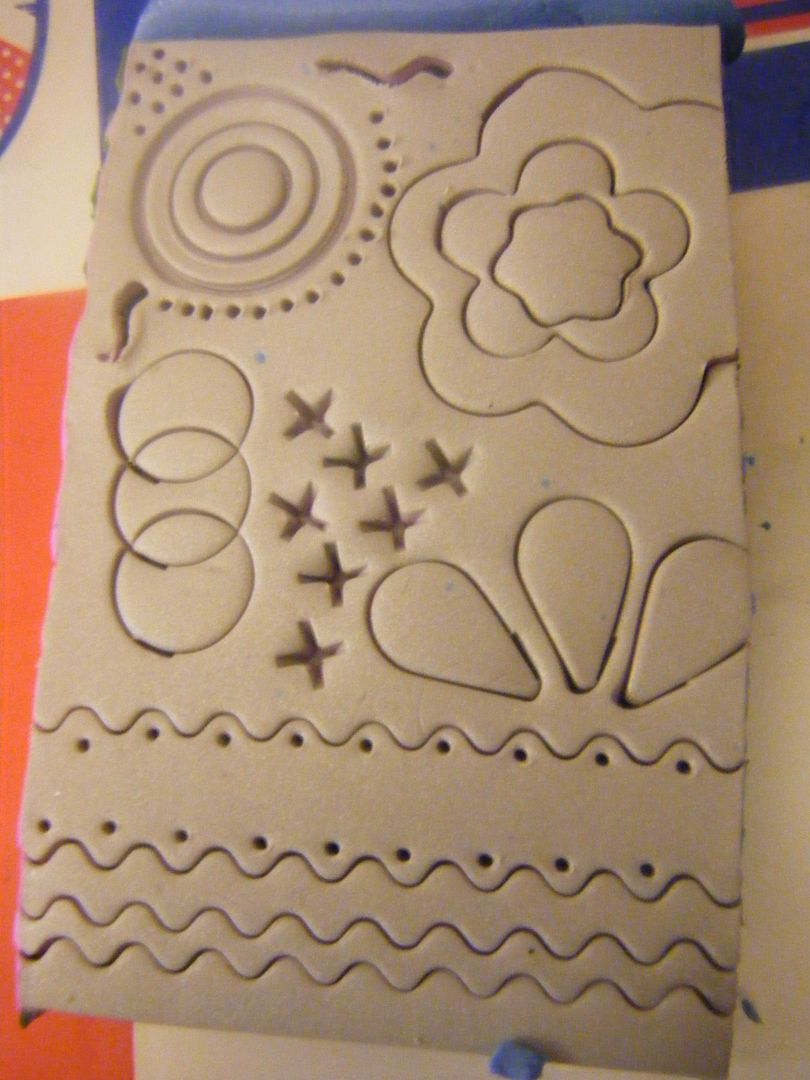
Following the craft class, I wanted to try some more polymer clay techniques I'd had my eye on. The first is an imprint technique from the book Patterns in Polymer by Julie Picarello
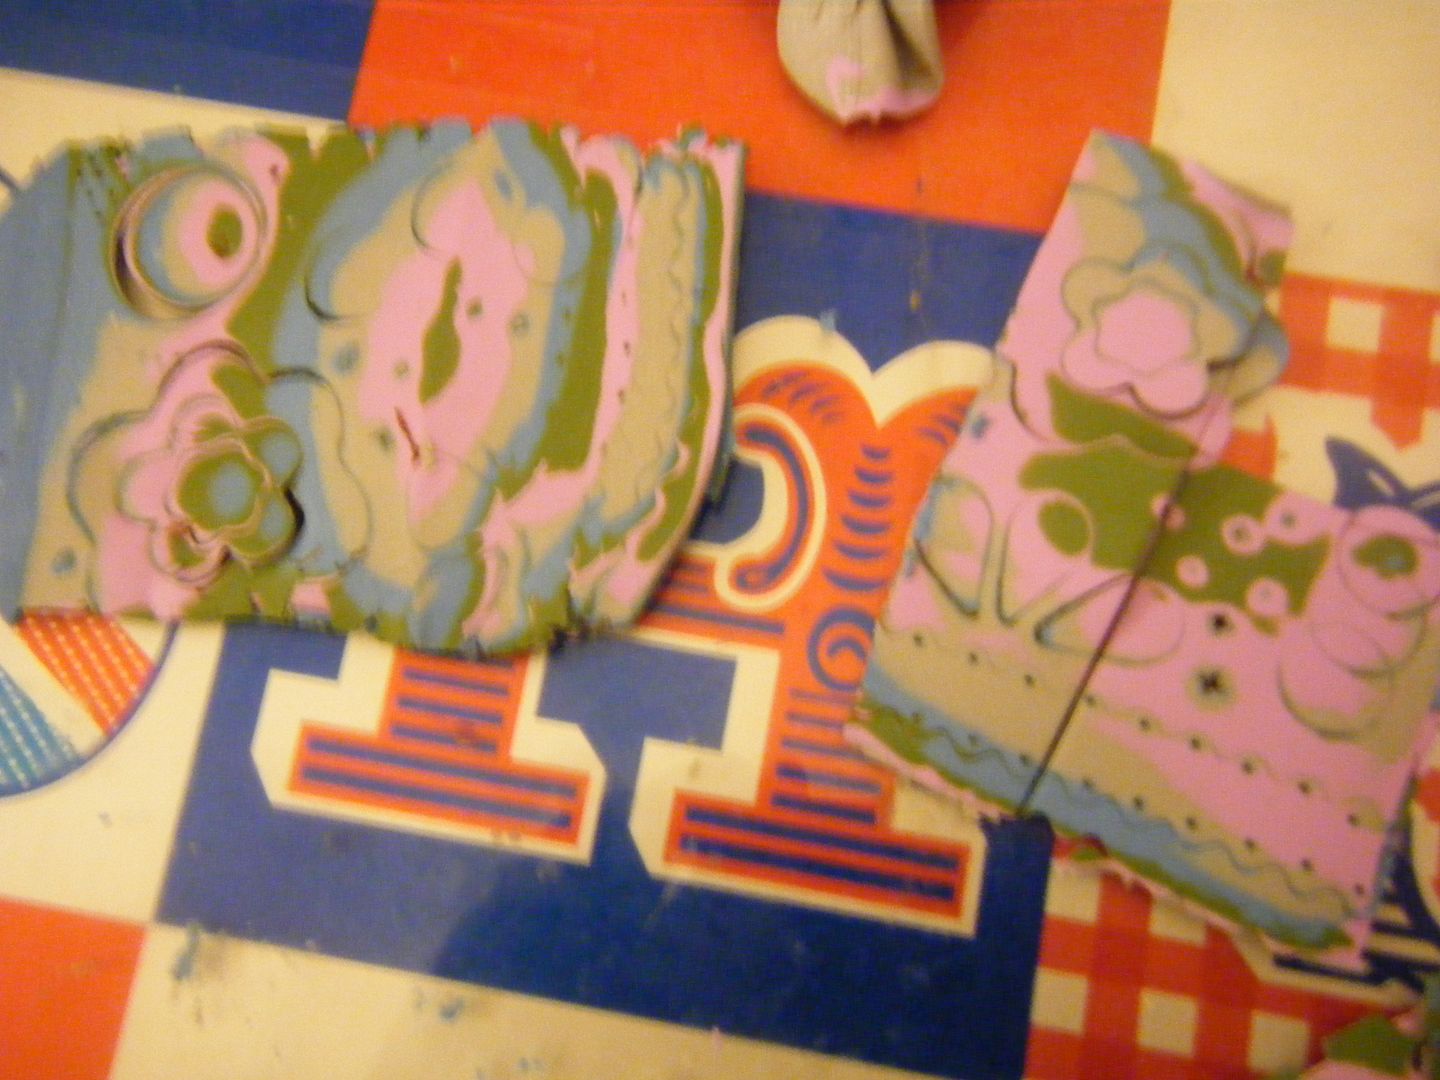
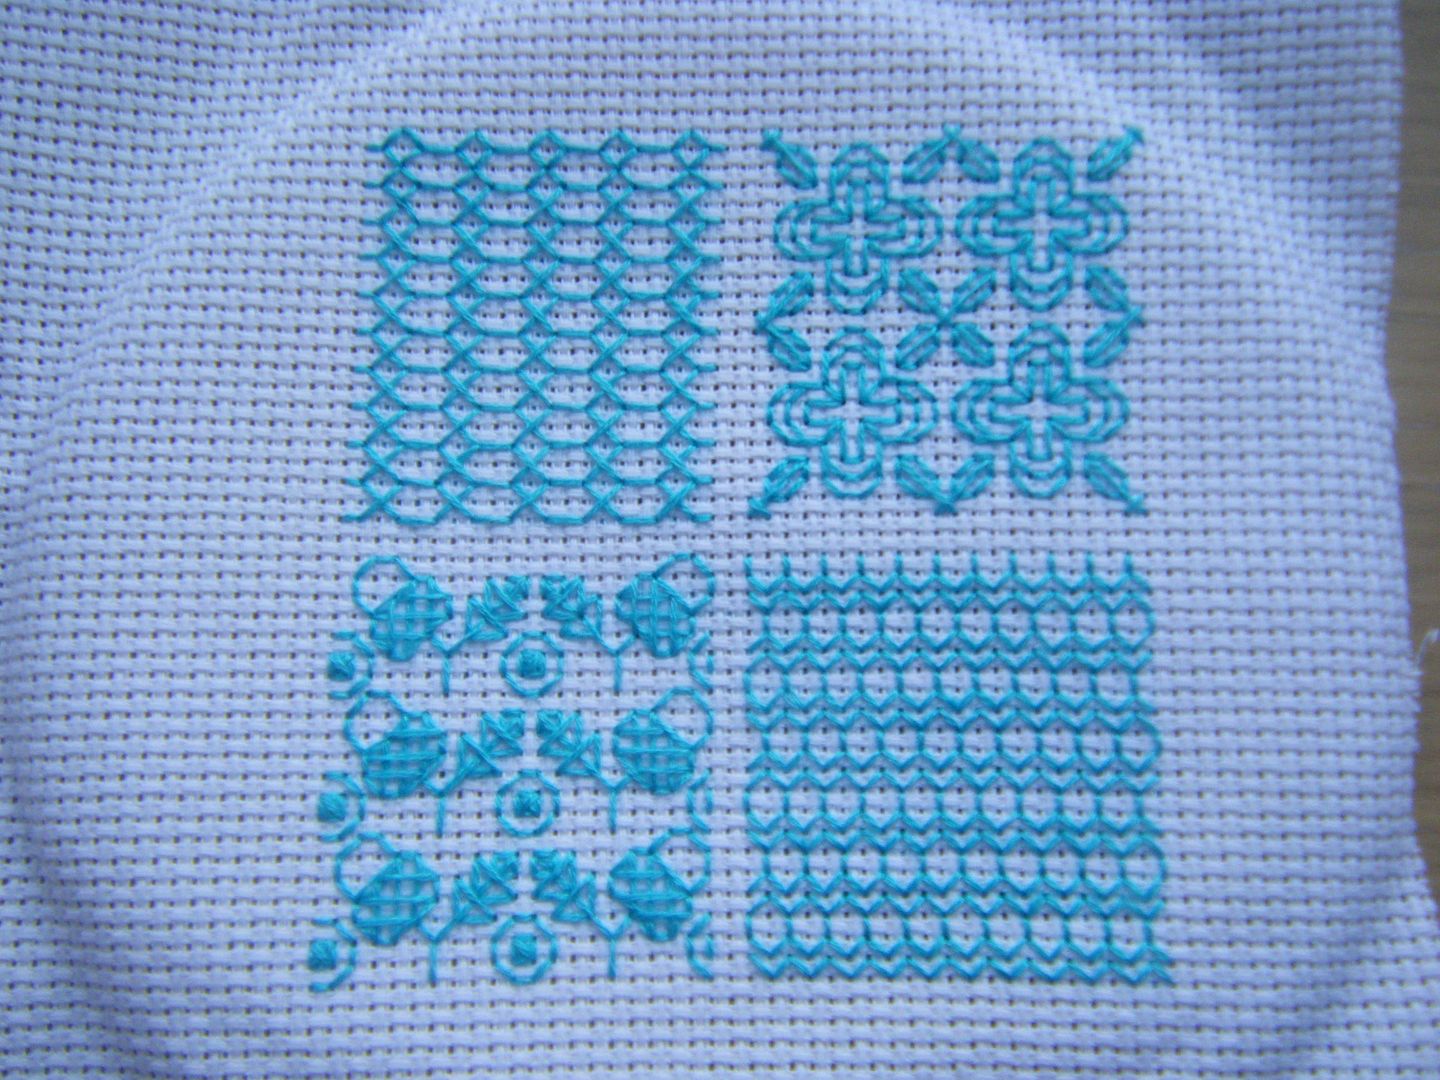
I created a layered stack and then used various items to imprint it. I didn't have many items I could use, I need to keep a good eye out and maybe visit B&Q. Above I mainly used cutters, but the crosses are a screwdriver, the circles at the top are from a spool and the wavy lines are a cutter.
This really terrible shot is of the layers. I can't get a decent in-progress shot of some crafts, like polymer clay, as I do them downstairs in the dining room which has a special film on the window so people can't see in. It means that the light is also blocked. Working on a garish cutting board doesn't help either!
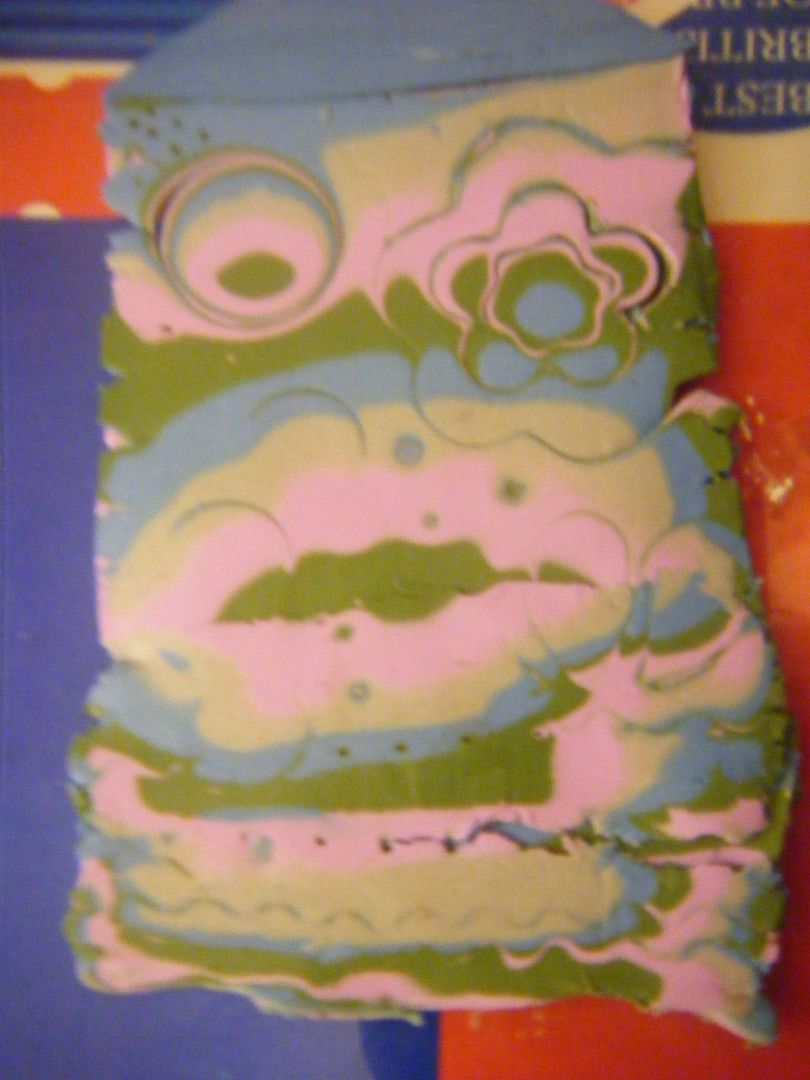
The idea is to cut thin slices. I didn't succeed with that! Most of mine were wedges or about 10mm thick! Here's a couple of the slices.
Don't you think this one looks like a frog!
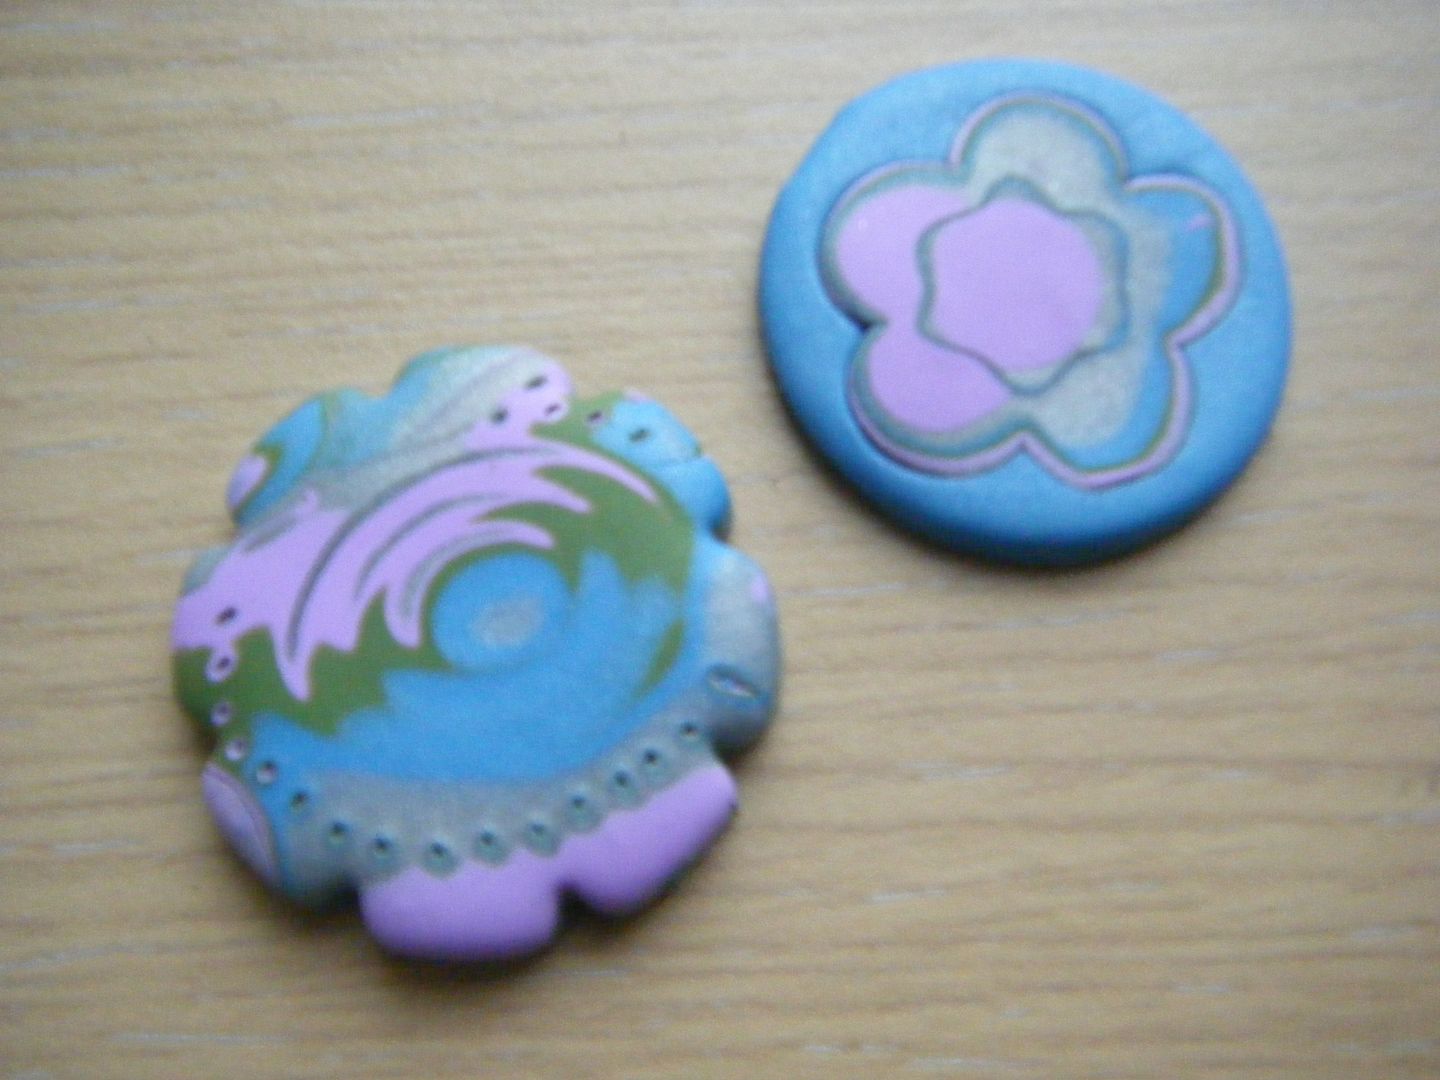
I cut a couple of decent areas out with cutters and I'll turn them into brooches. The failure of this made me want to try again, but this time I started at the beginning with something a bit more basic from the same book.
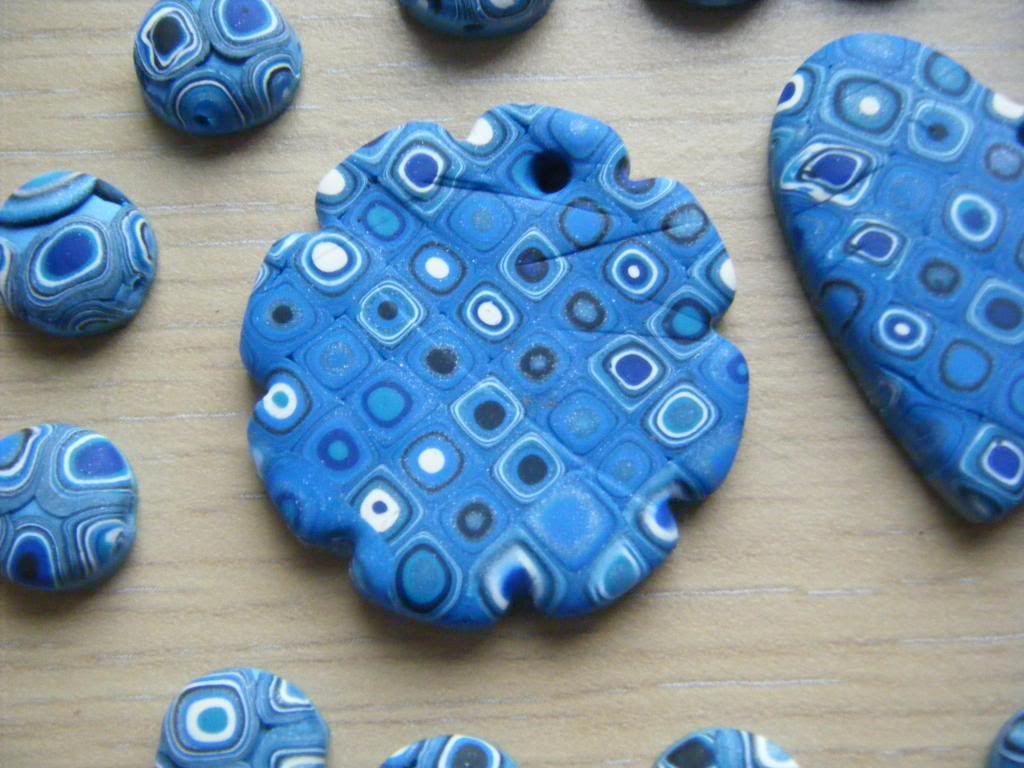
Not so bad! But they're also very thick. I wish I hadn't cut the large one out so asymmetrically.
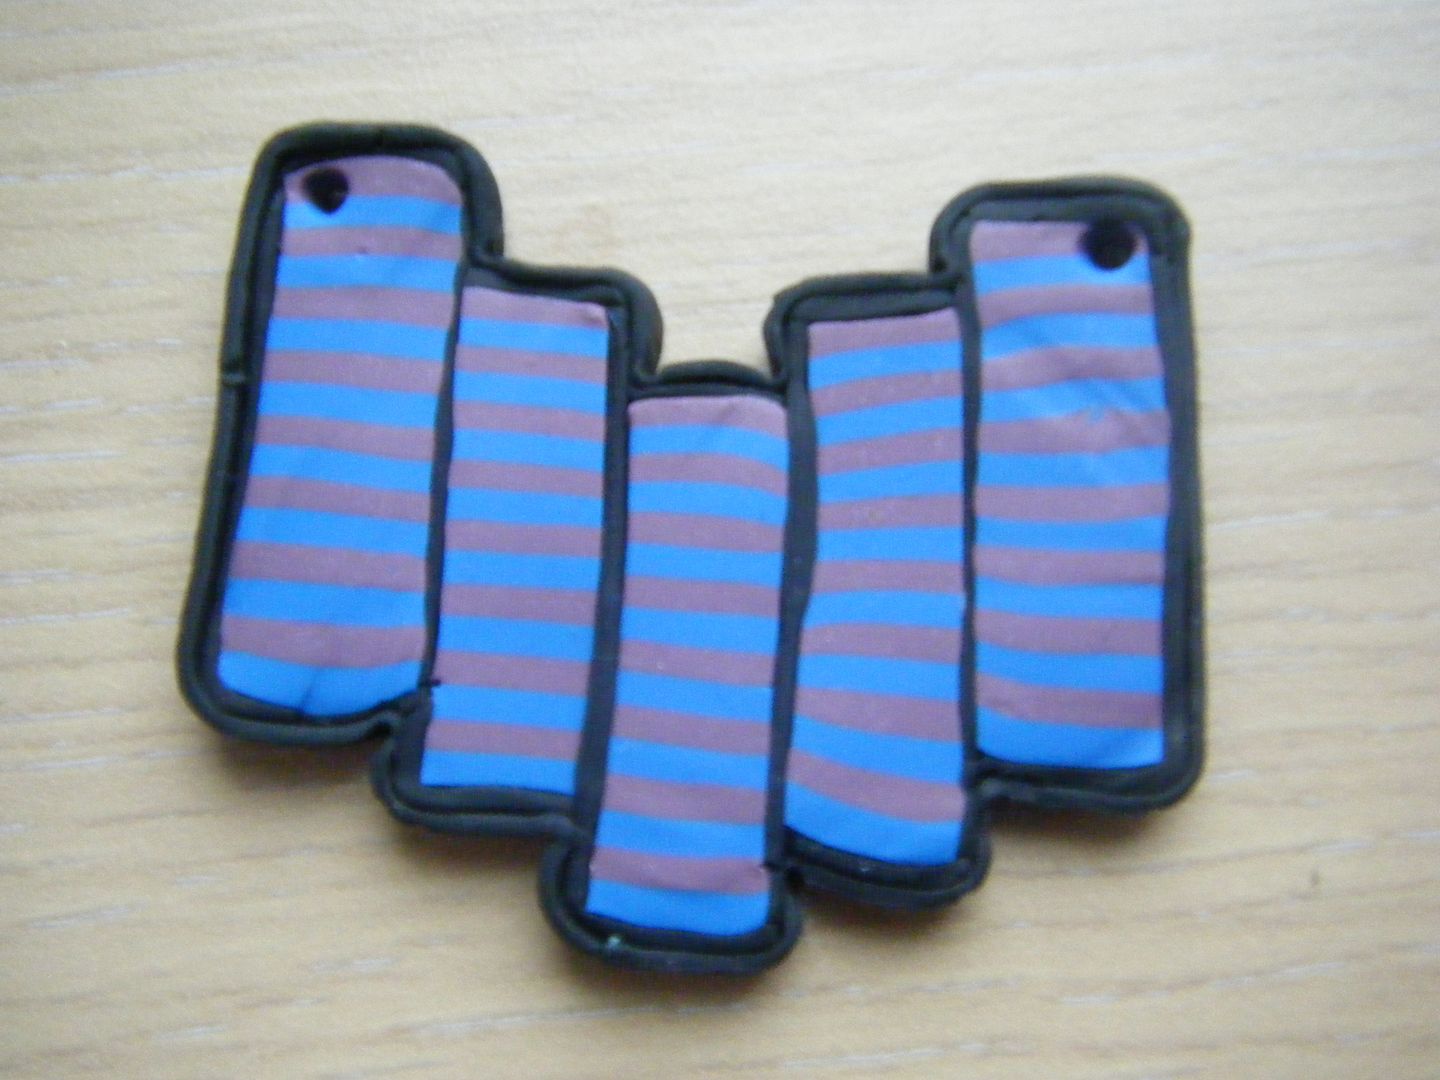
I then pulled out The Art of Polymer Clay Millefiori Techniques by Donna Kato. The striped cane was fine. What I did with it... not so much!
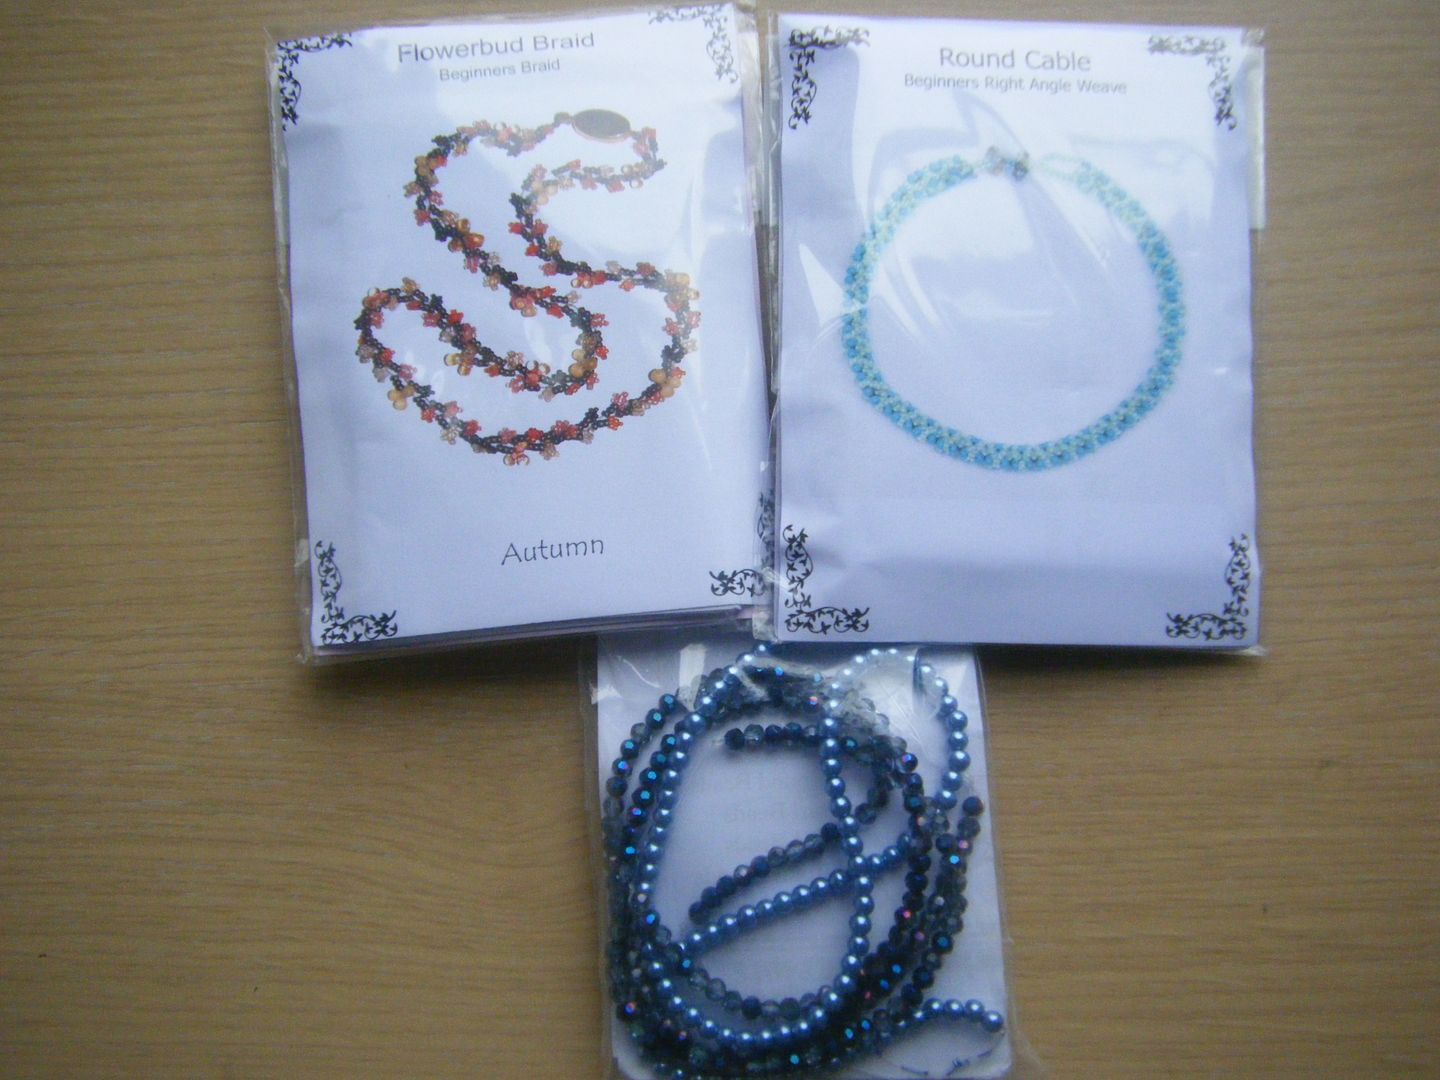
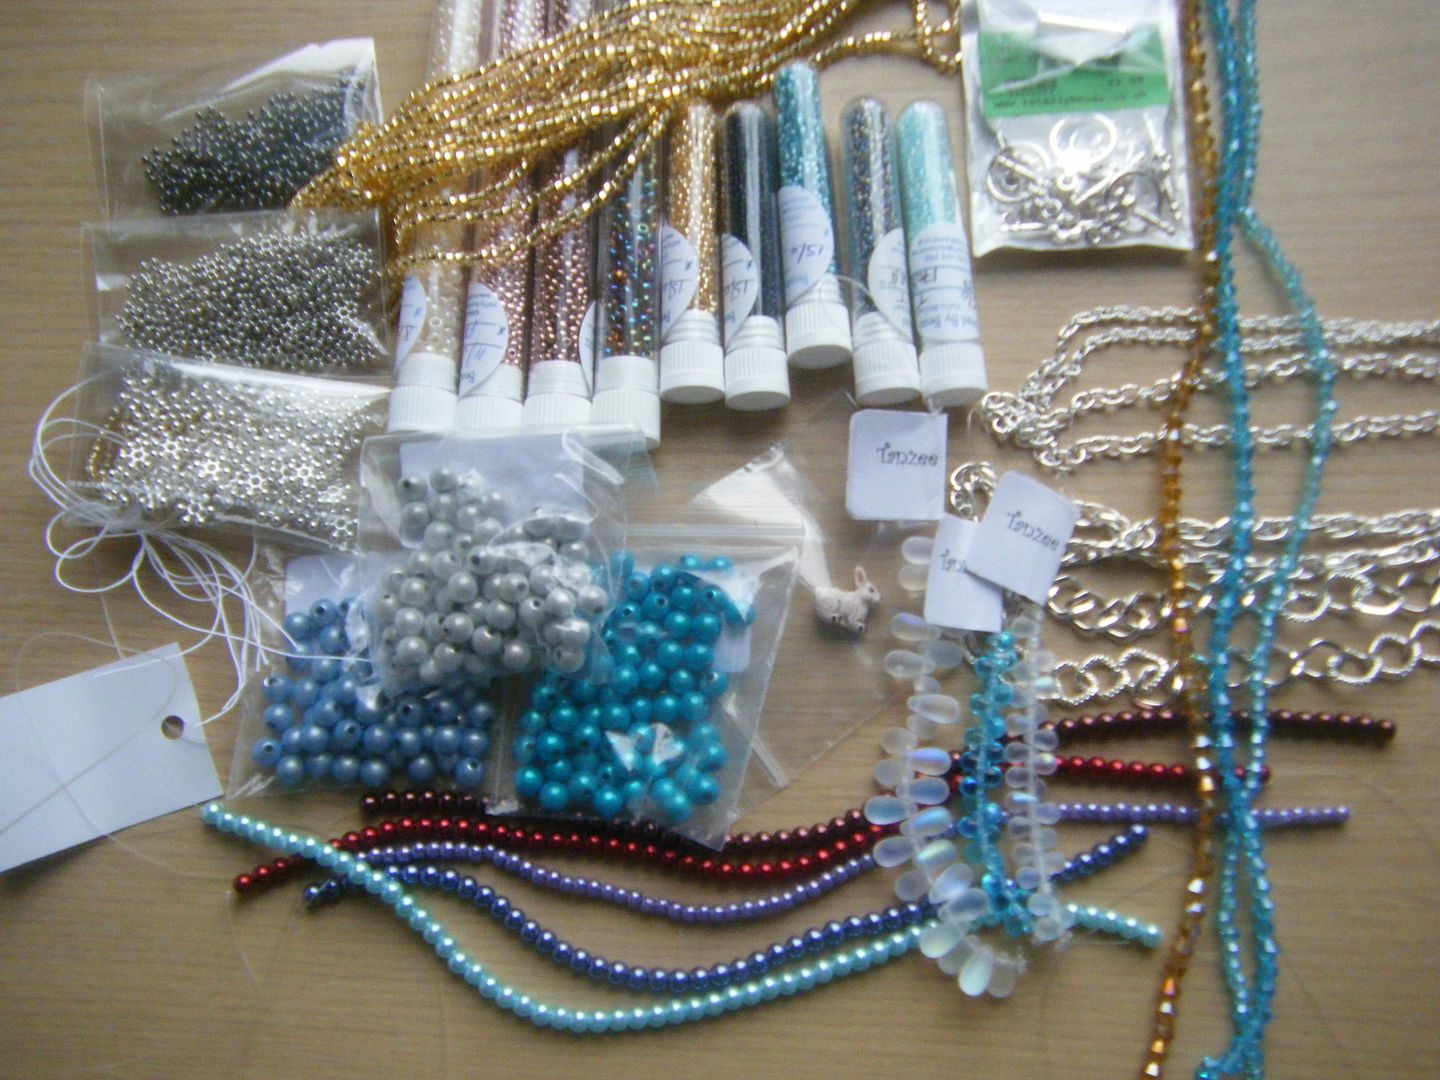
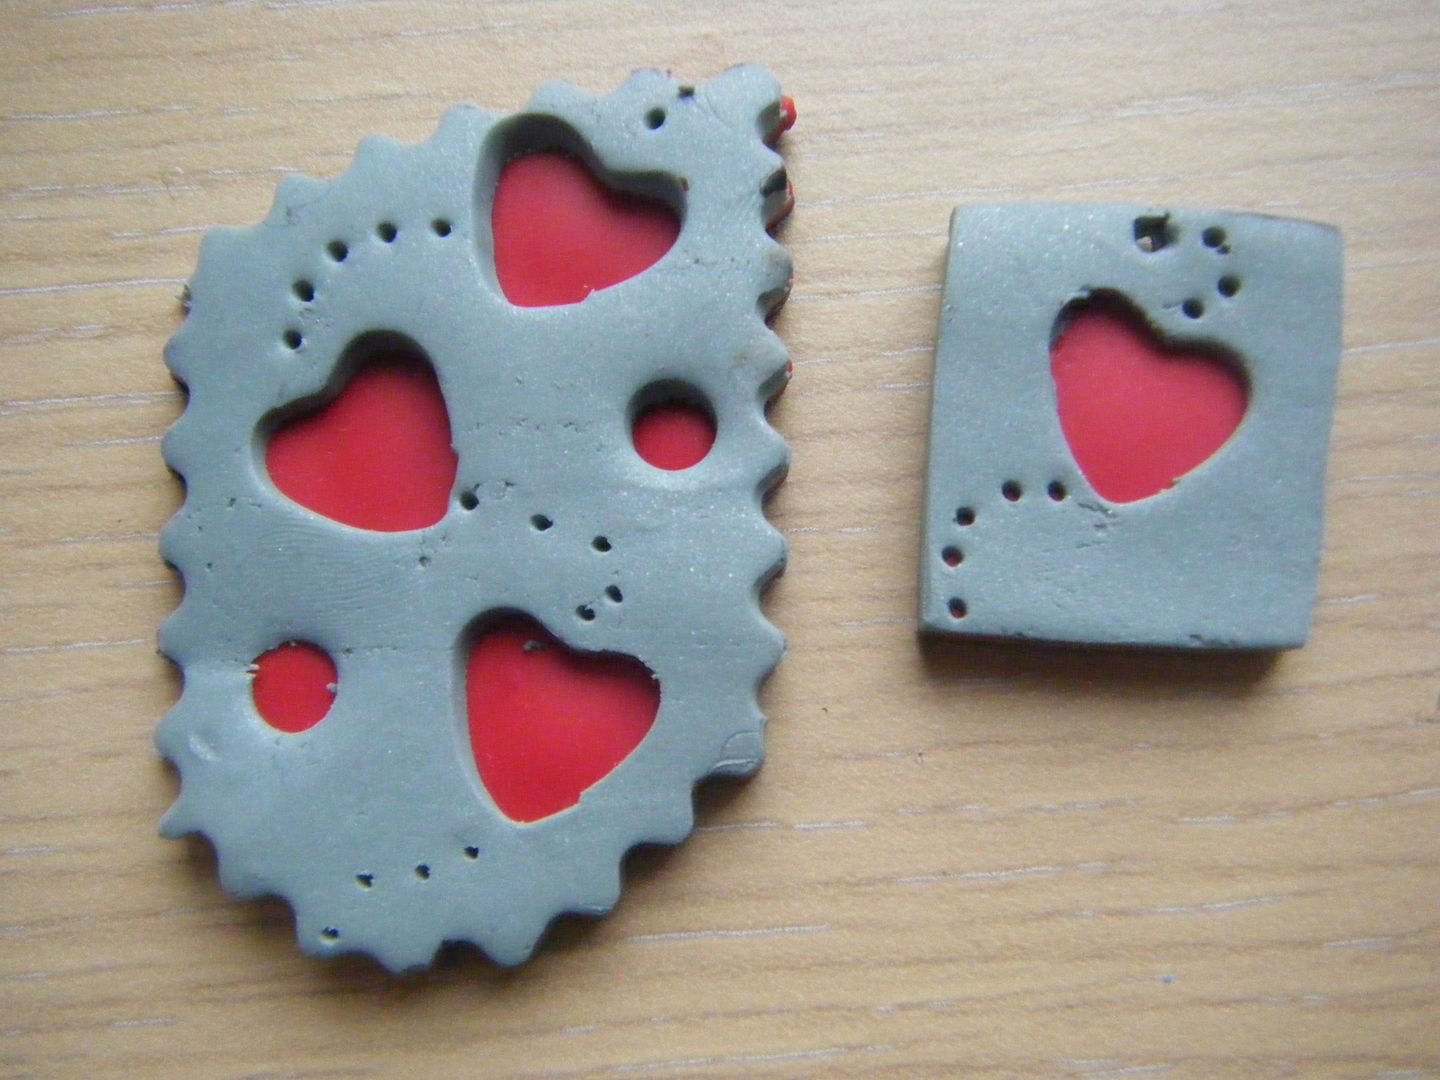
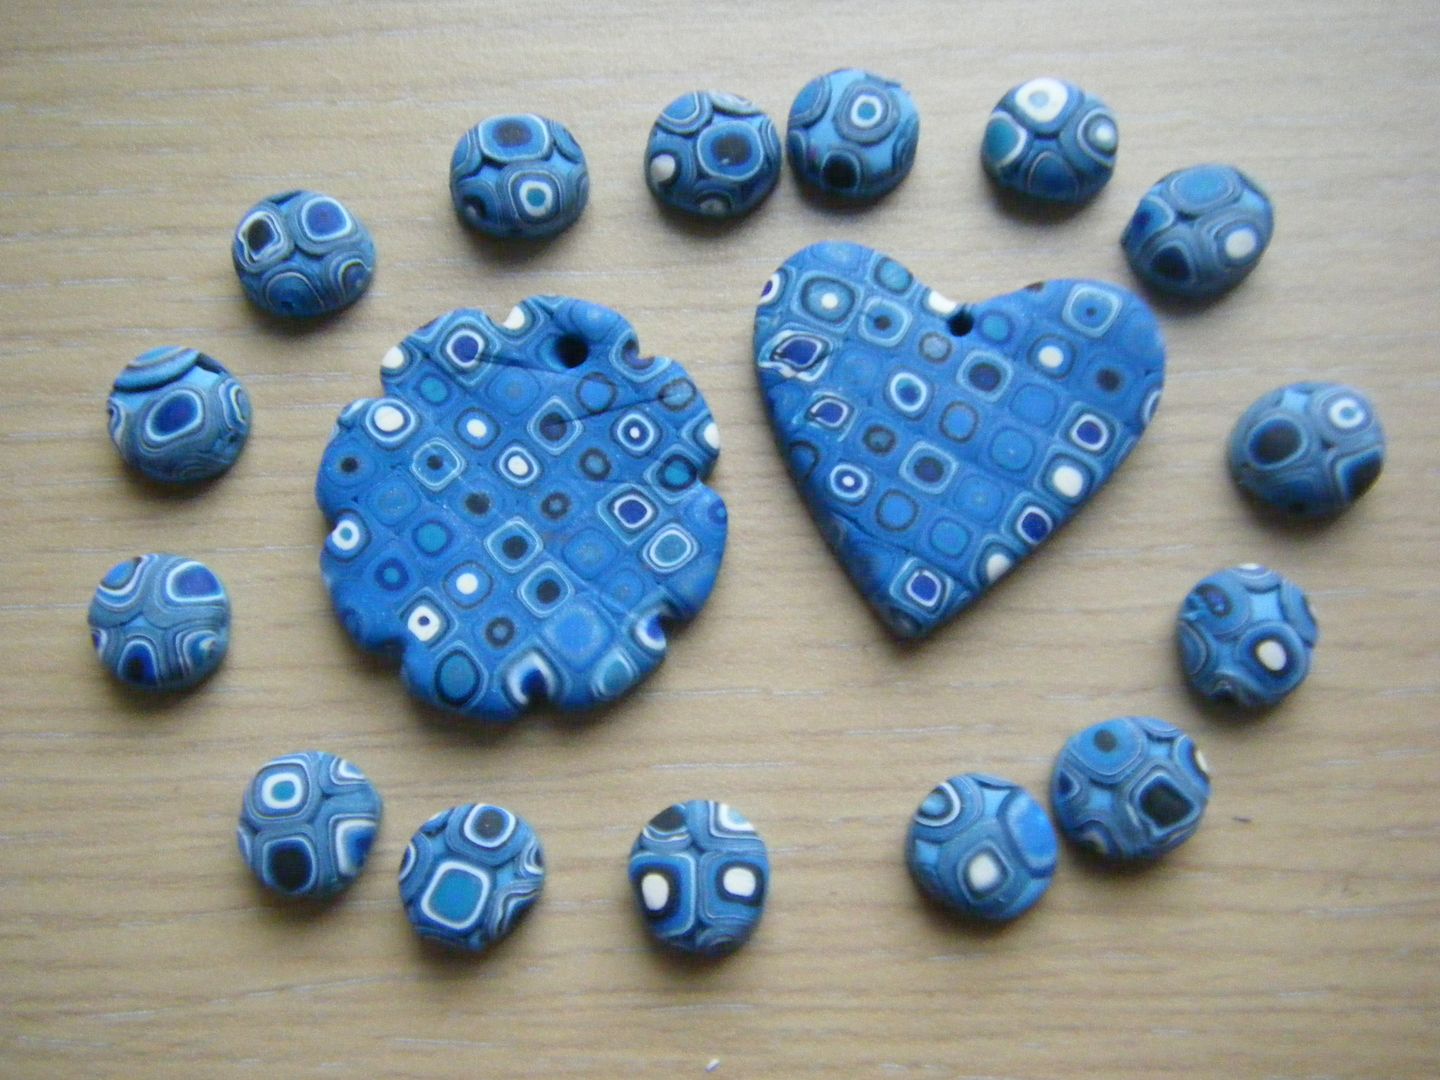
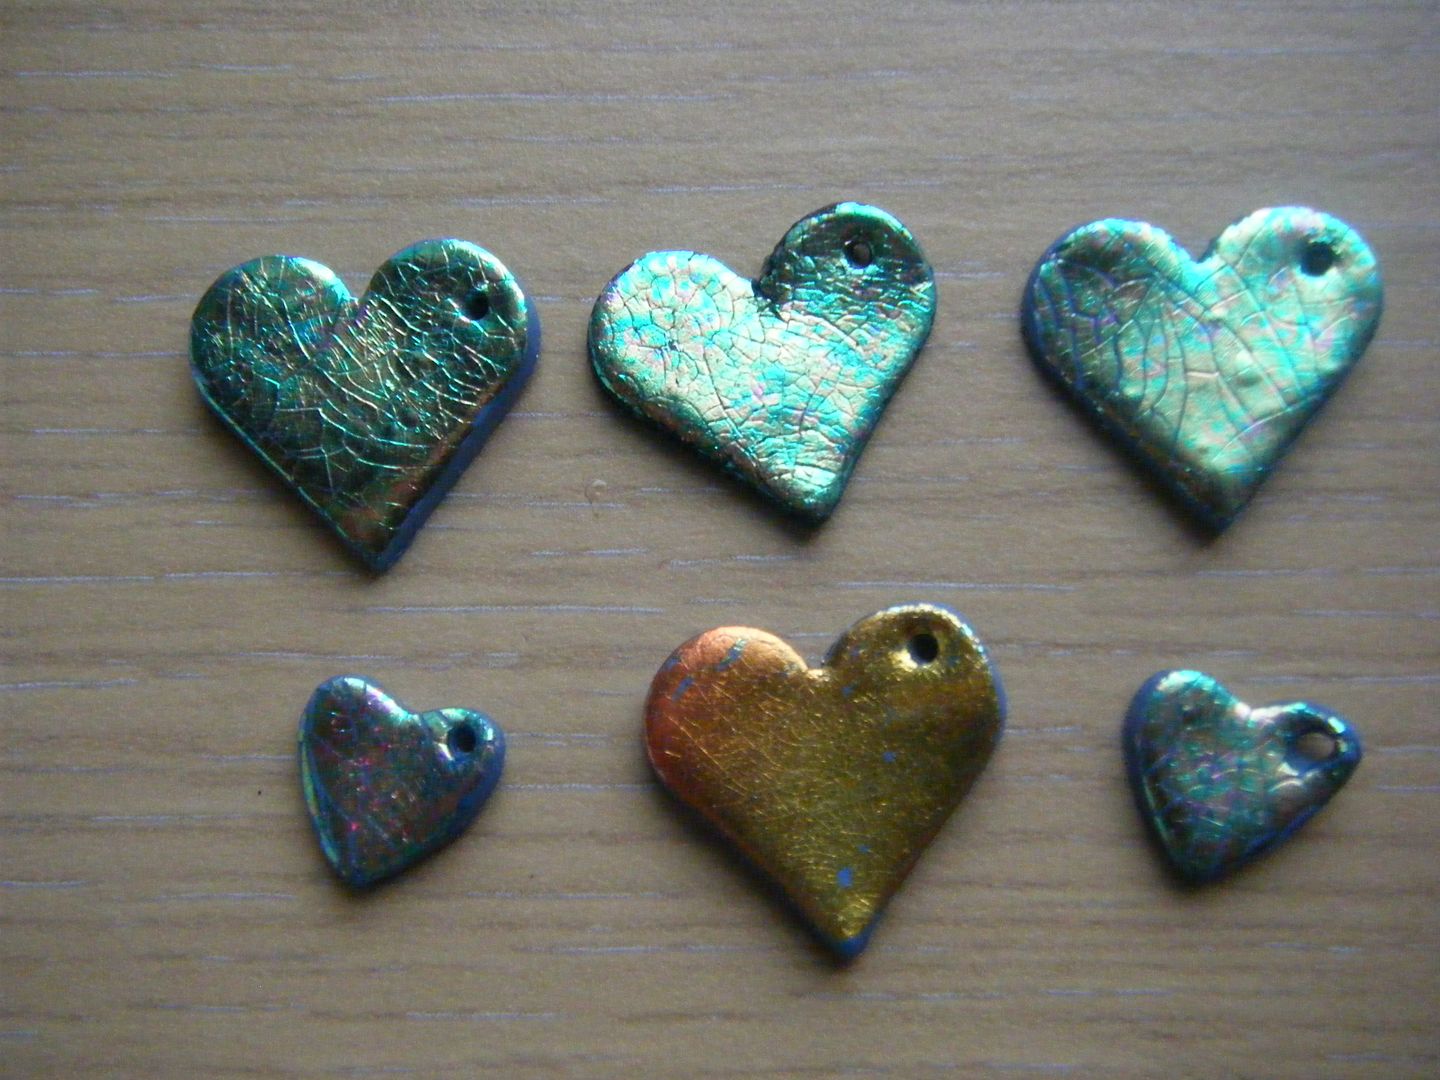
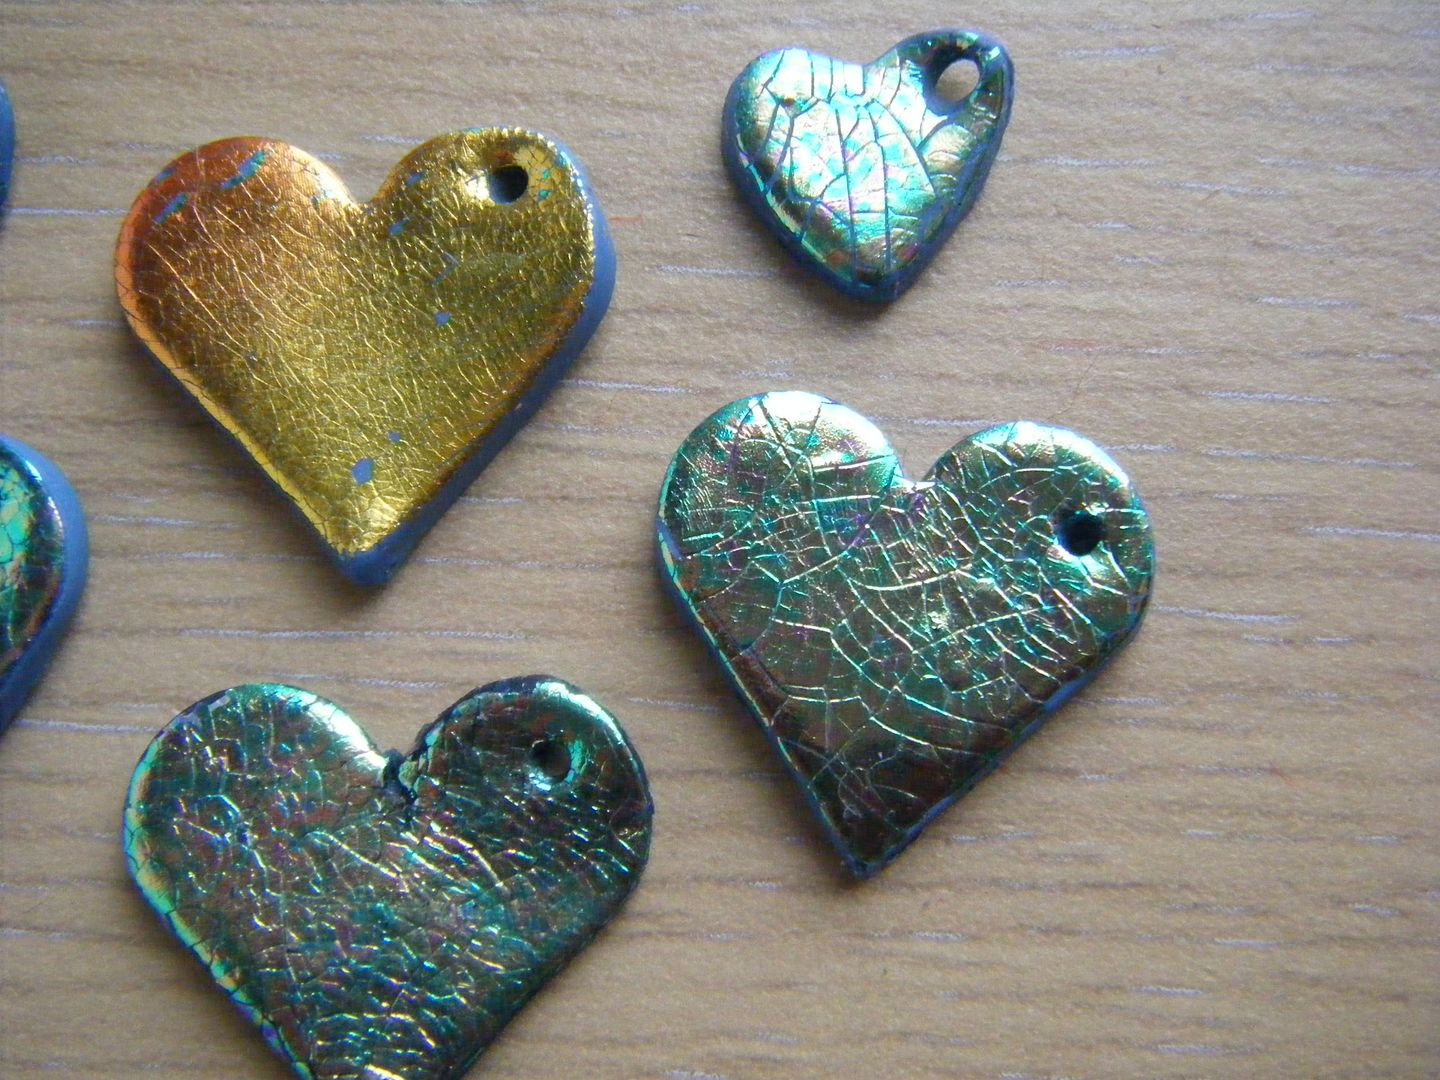
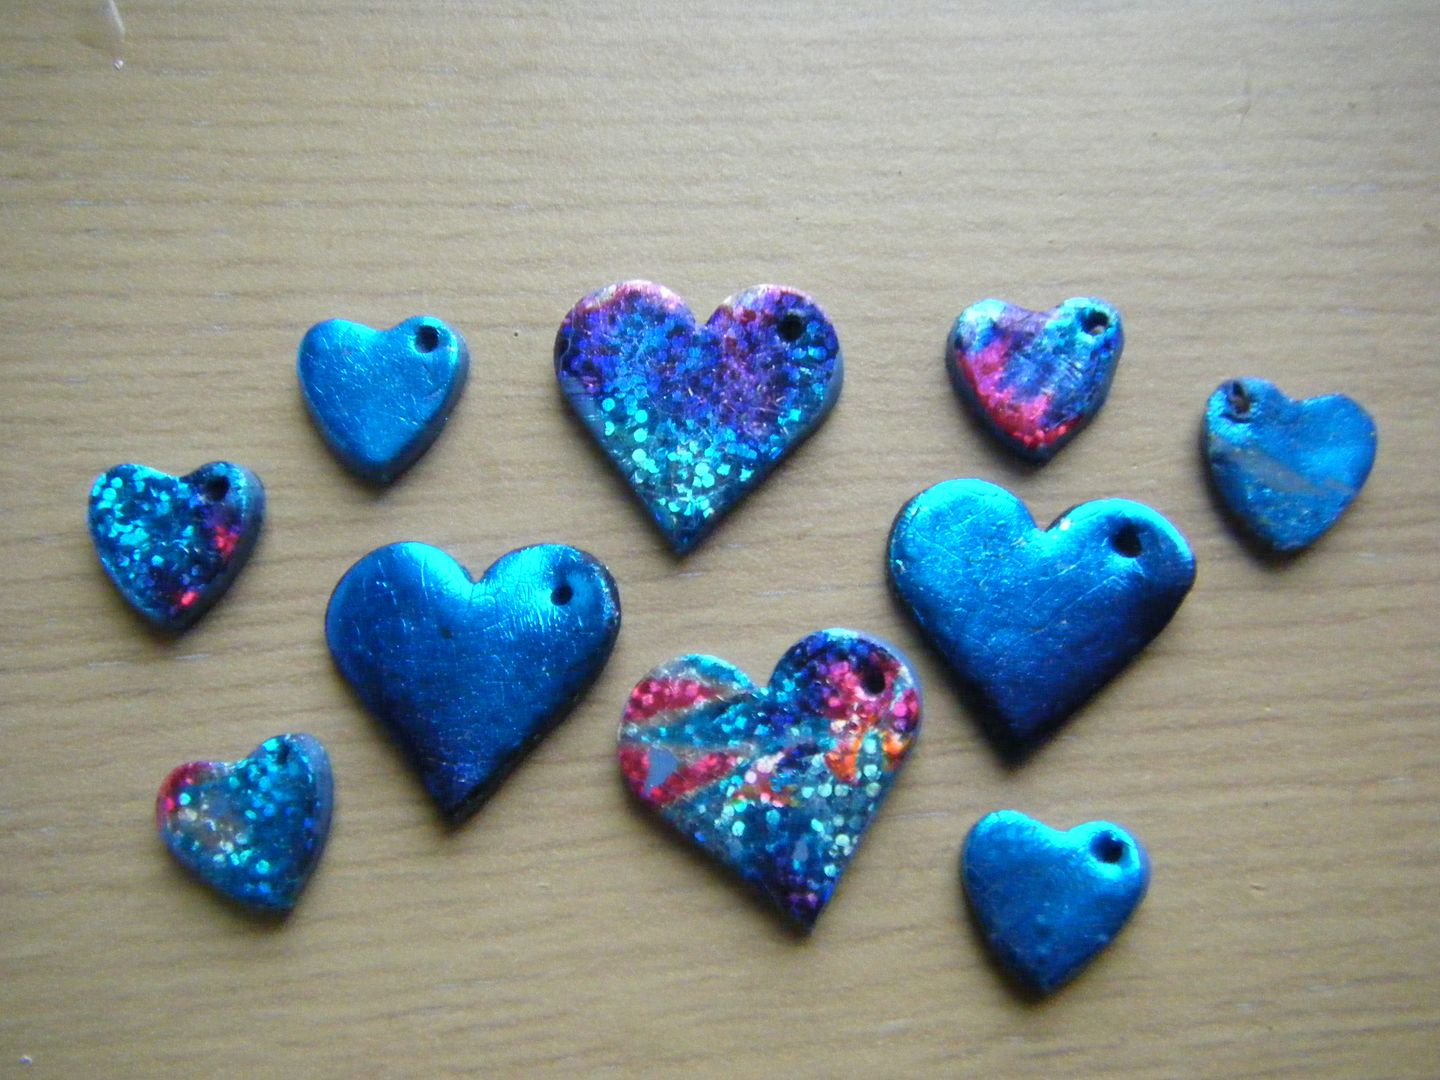
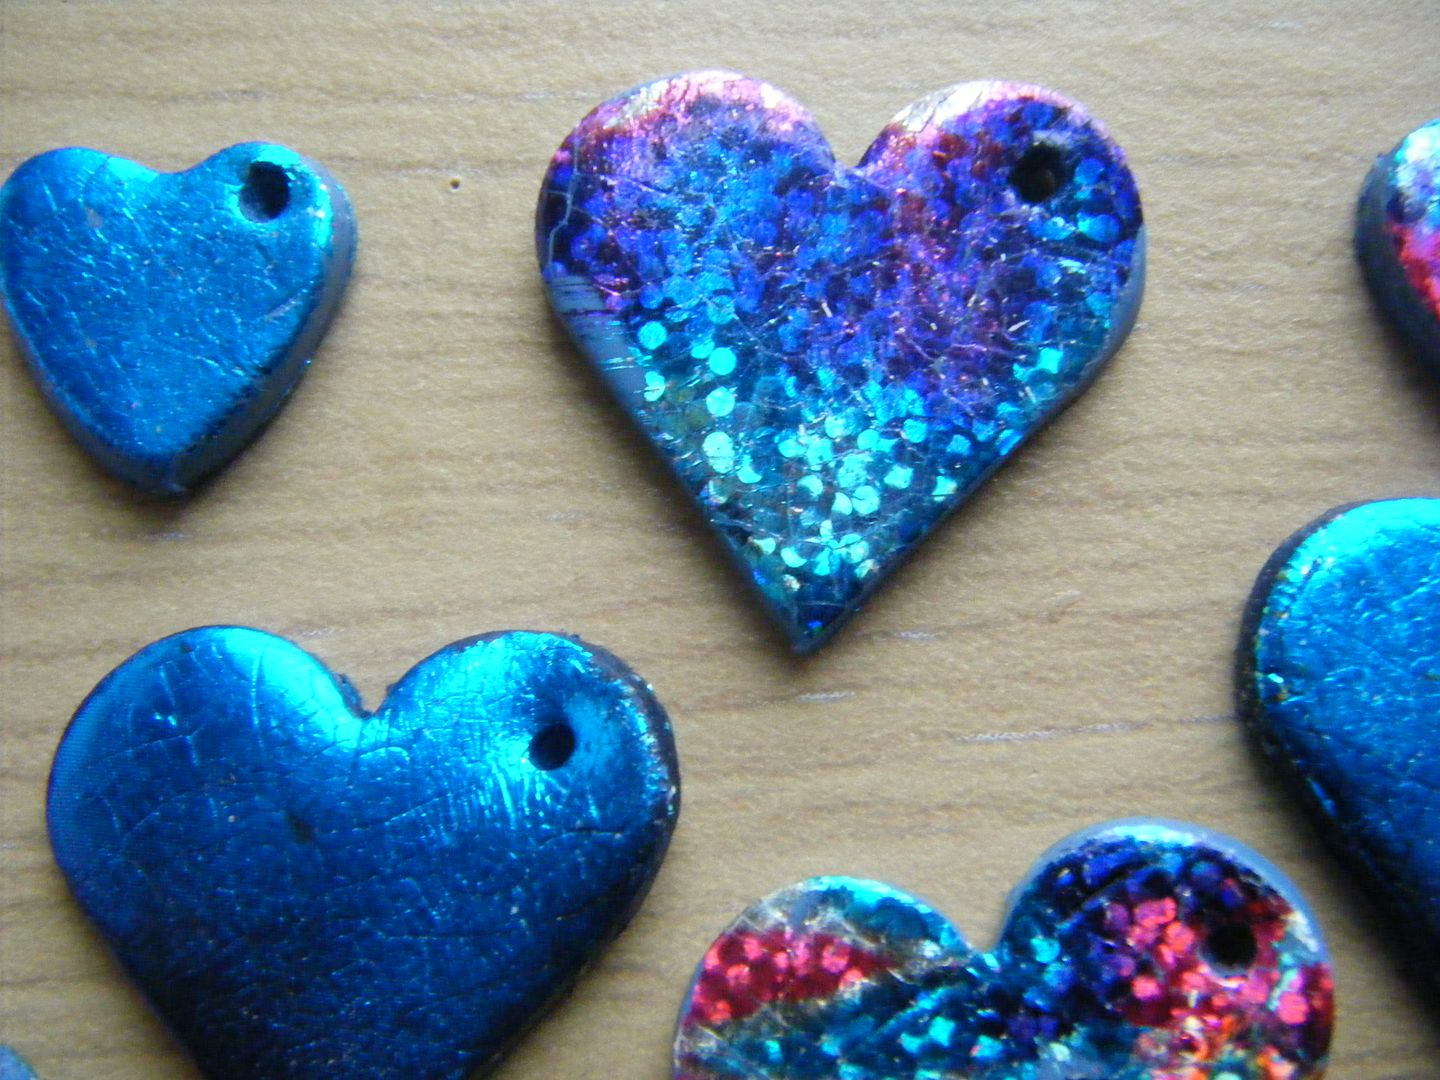
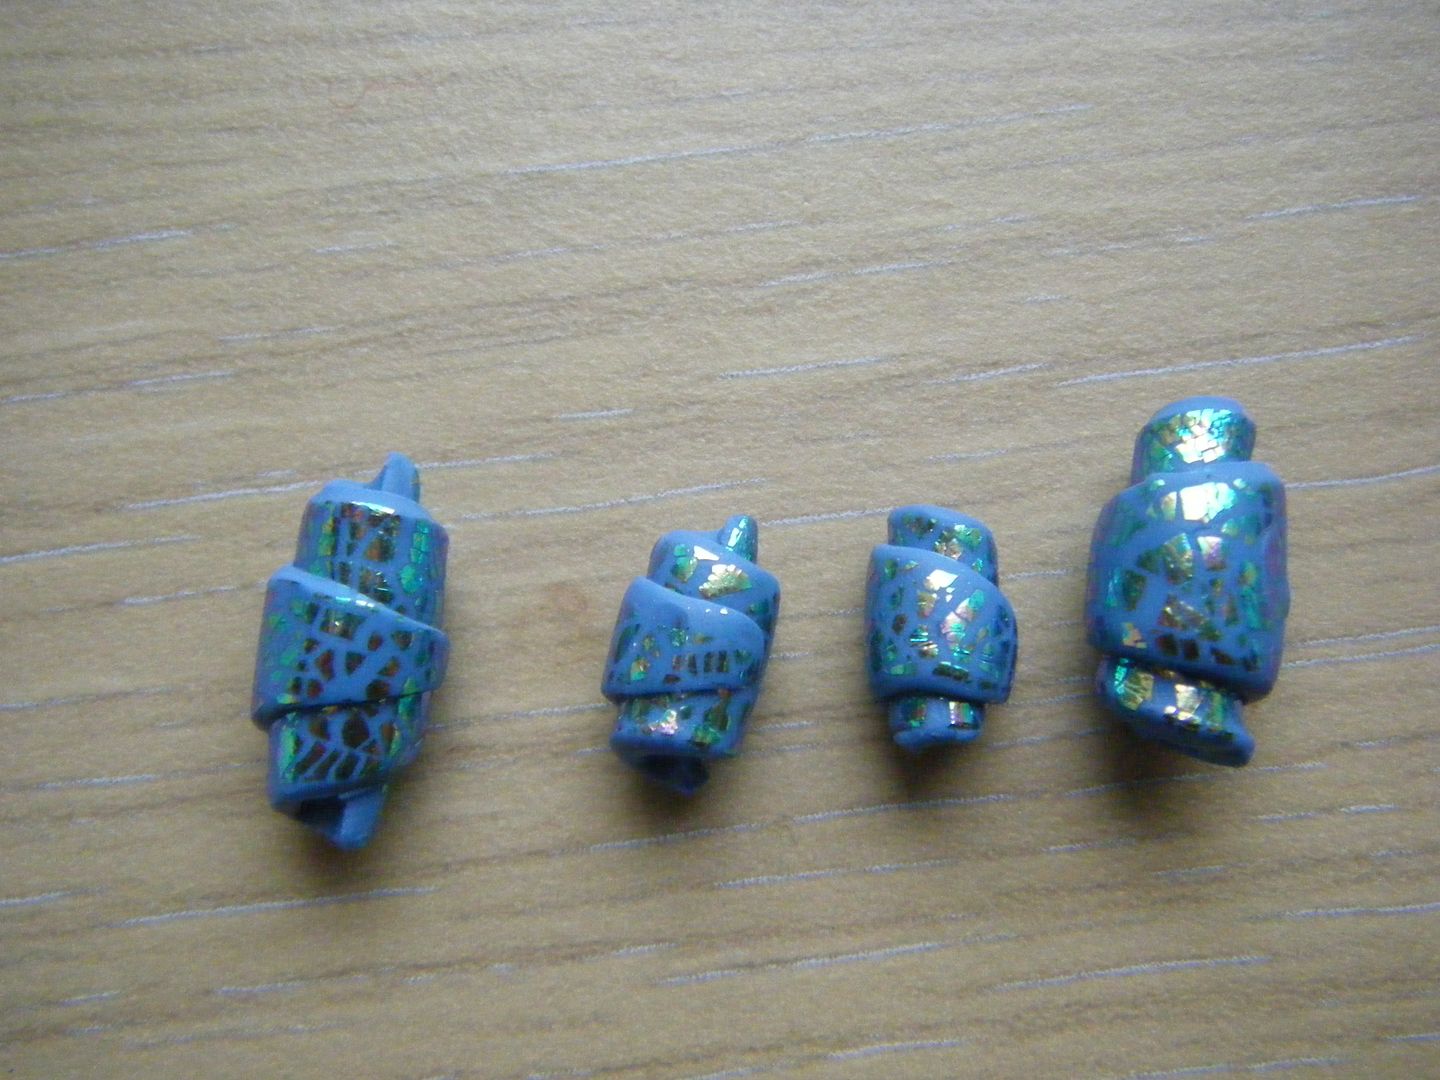
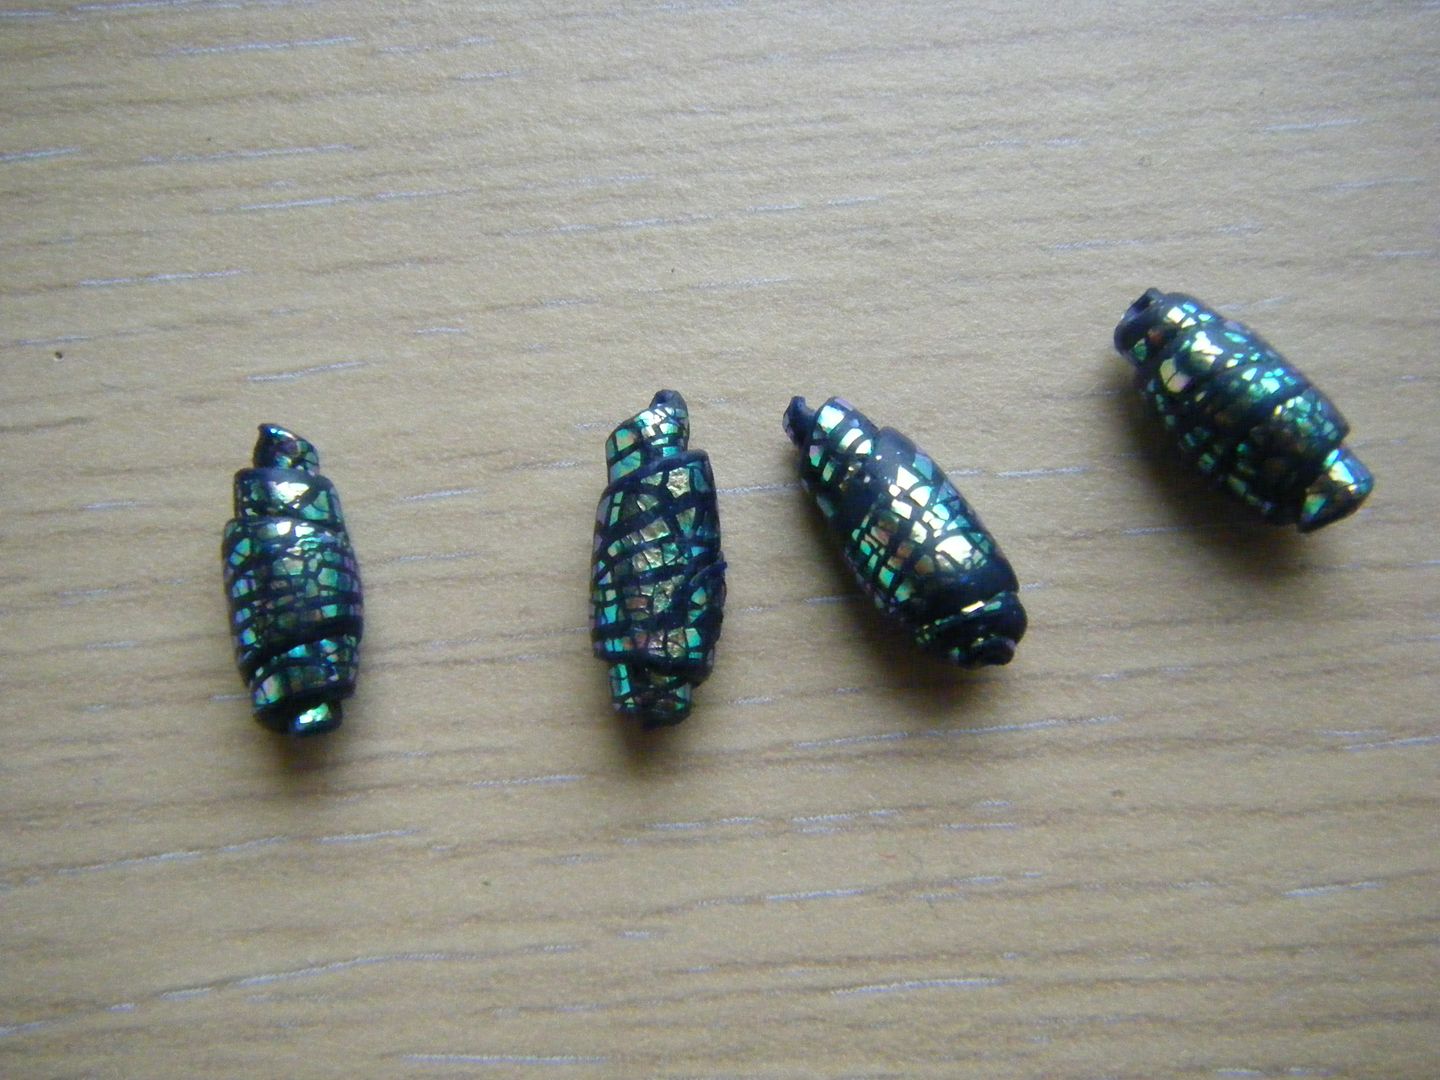
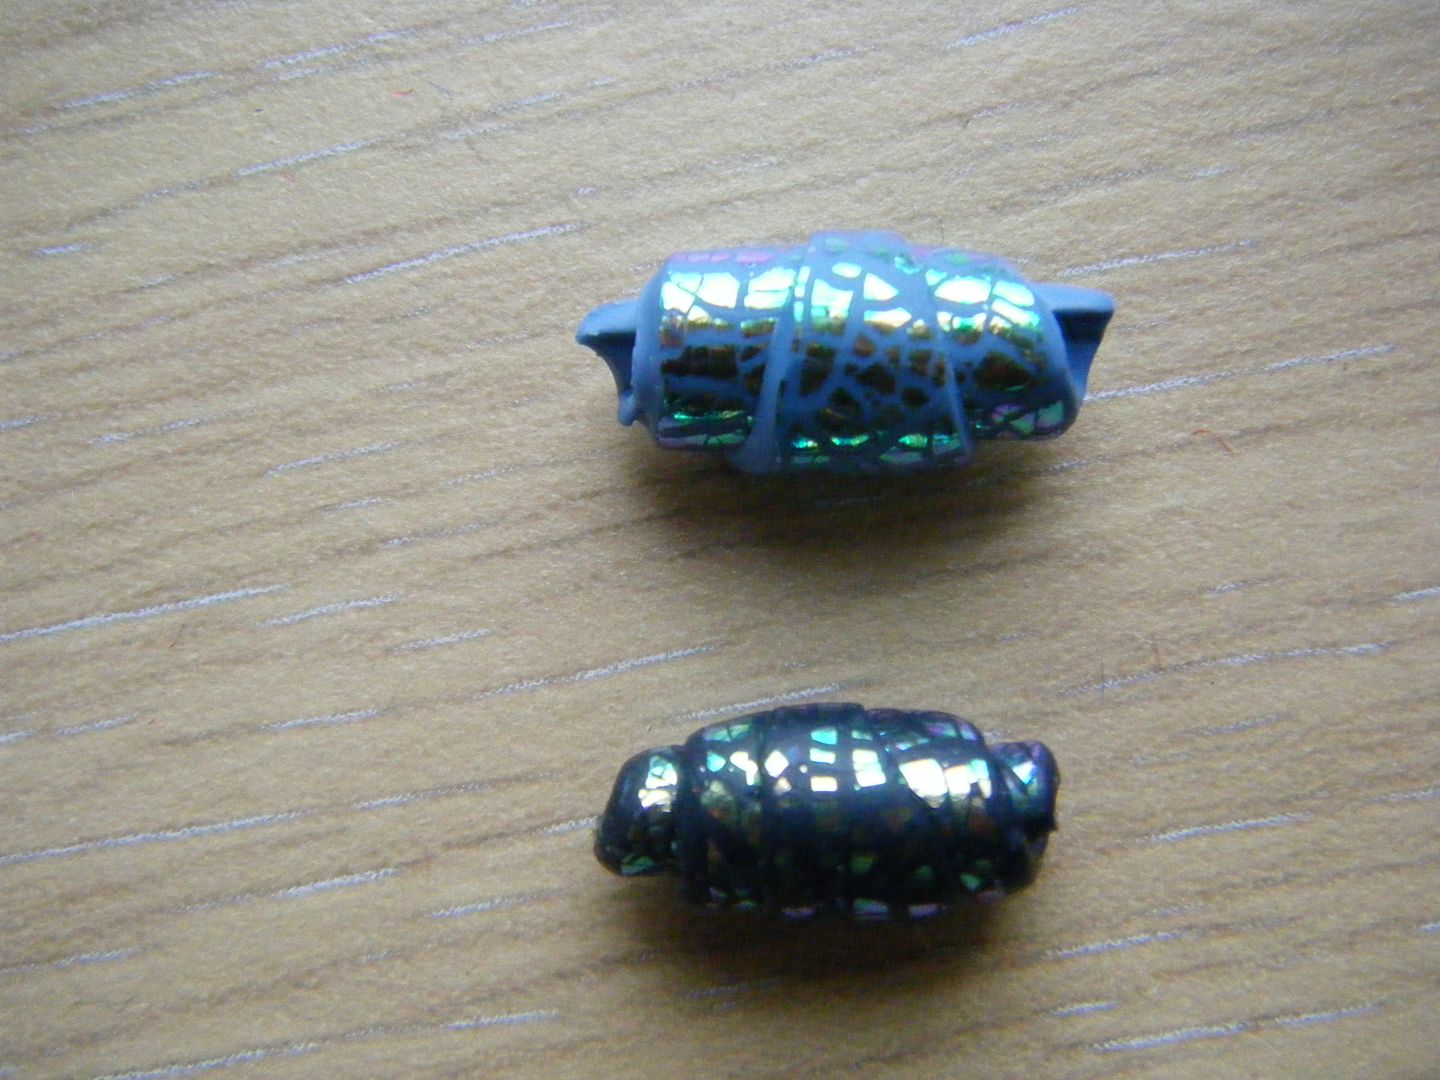
OK, so back to an old technique that I know is a success. I've made these before, but not in blue. I am going to make them into necklaces, the small round ones are beads which have been pieced through the sides.
Still managed to make a mess of this though! So the marks?