Needlequest
This month was a design topic - Line. I said I'd skip this month and just work on my blackwork, but the host, Elizabeth, pointed out that blackwork is a form of line! I haven't completed the piece - I've just finished block 2 out of about 3,654,891 (perhaps not quite that many), but it's a long-termer.
1/1
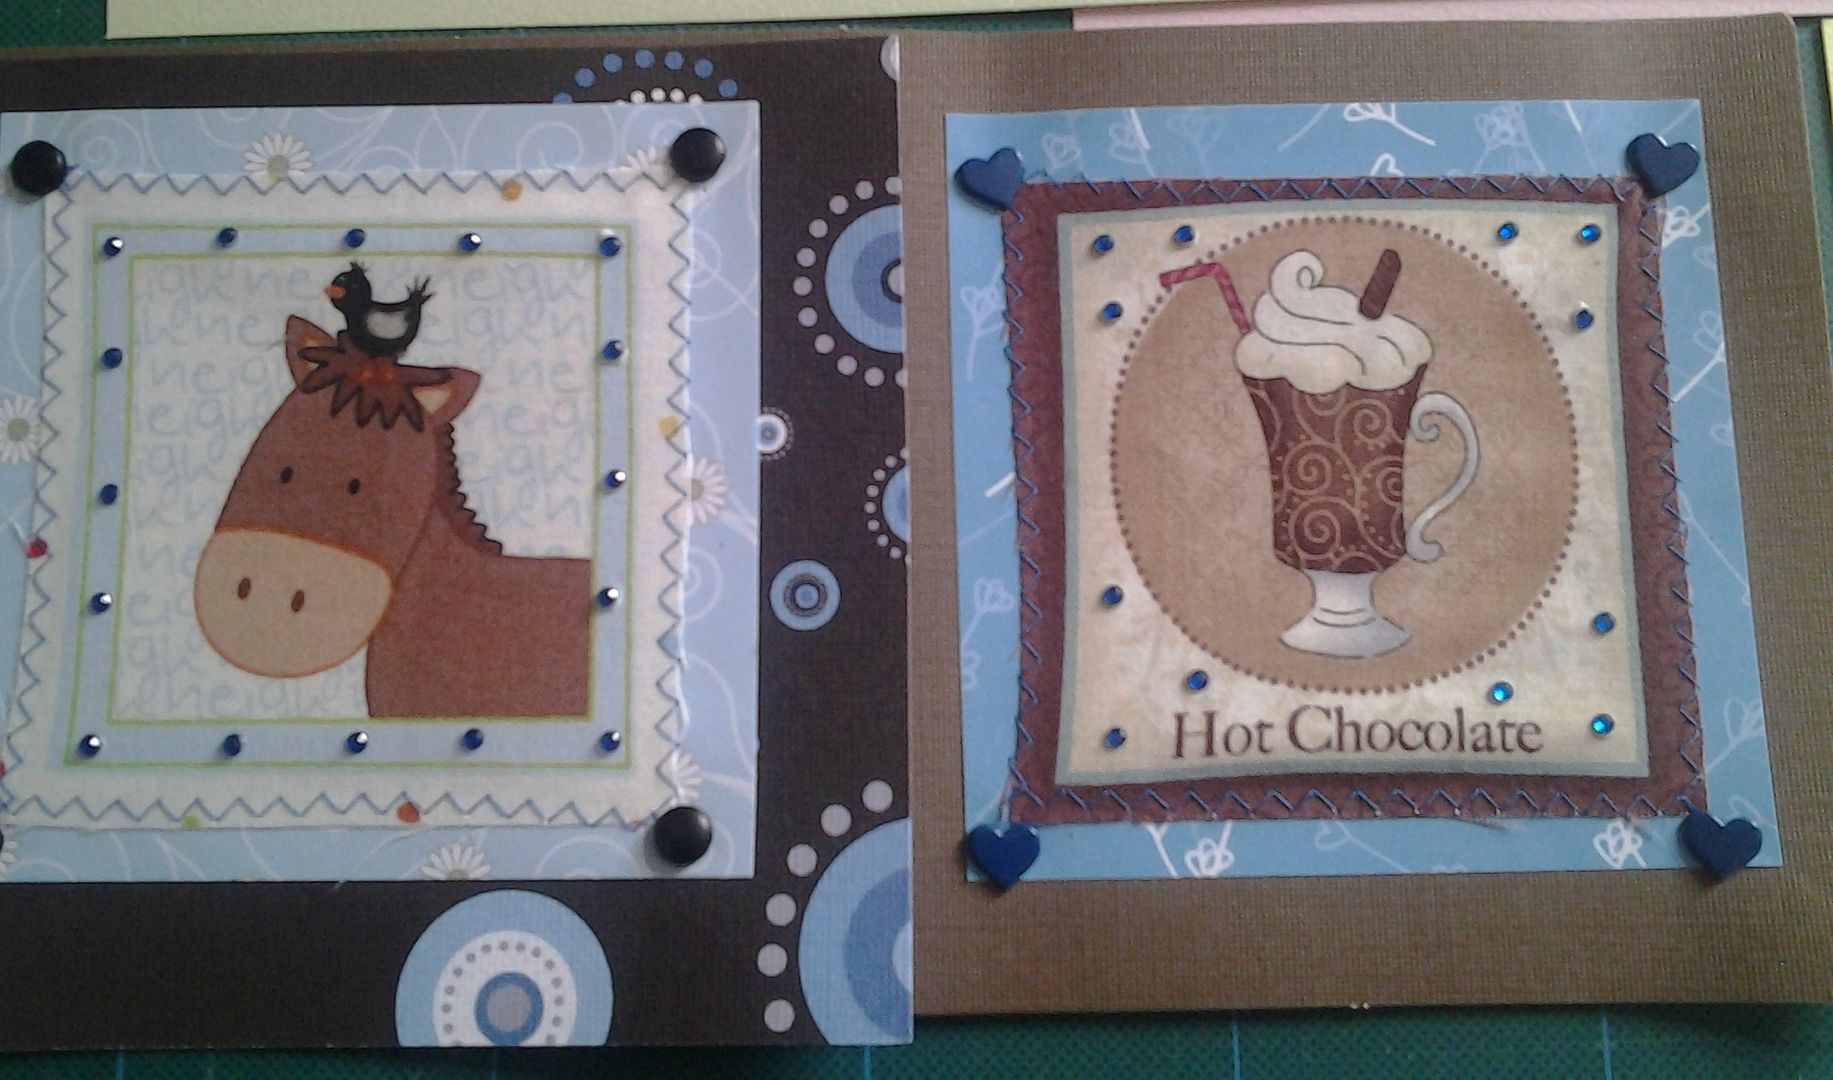
Sew Kitschy paper piecing bom
This month we had a jug and glasses. I can assure you that it's beautifully printed out and sitting on my cutting table... does that count?
0/1
2014 FAL
A quick reminder of what's on the Follow Along List:
1. Chair cushions for dining room - done in April
2. Finish the latch hook - so close! I ran out of red wool in June. I ordered some more and it does, sort of match. Unfortunately it was 6-ply, rather than the 3-ply I'd been using, and about an inch longer, so it got a haircut. It doesn't quite match, but it's not that noticeable!
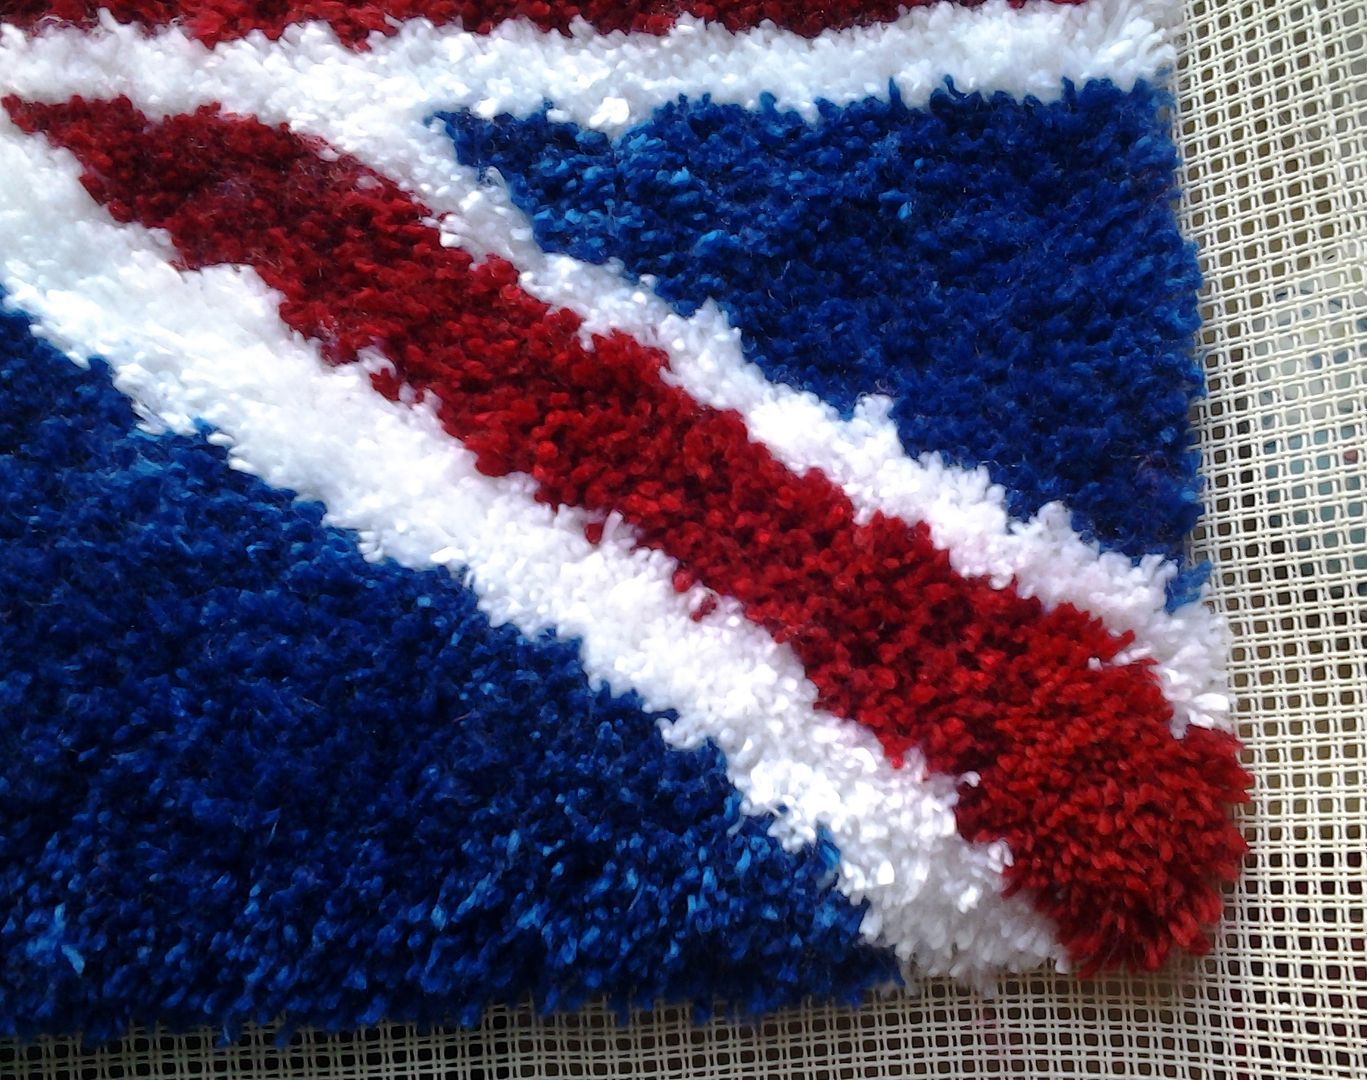
Sad to say, I didn't get round to binding it this month, I just couldn't face it. This is going on my Q3 list.
3. Silhouettes x stitch - done in May
4. Jacob's quilt - done in May
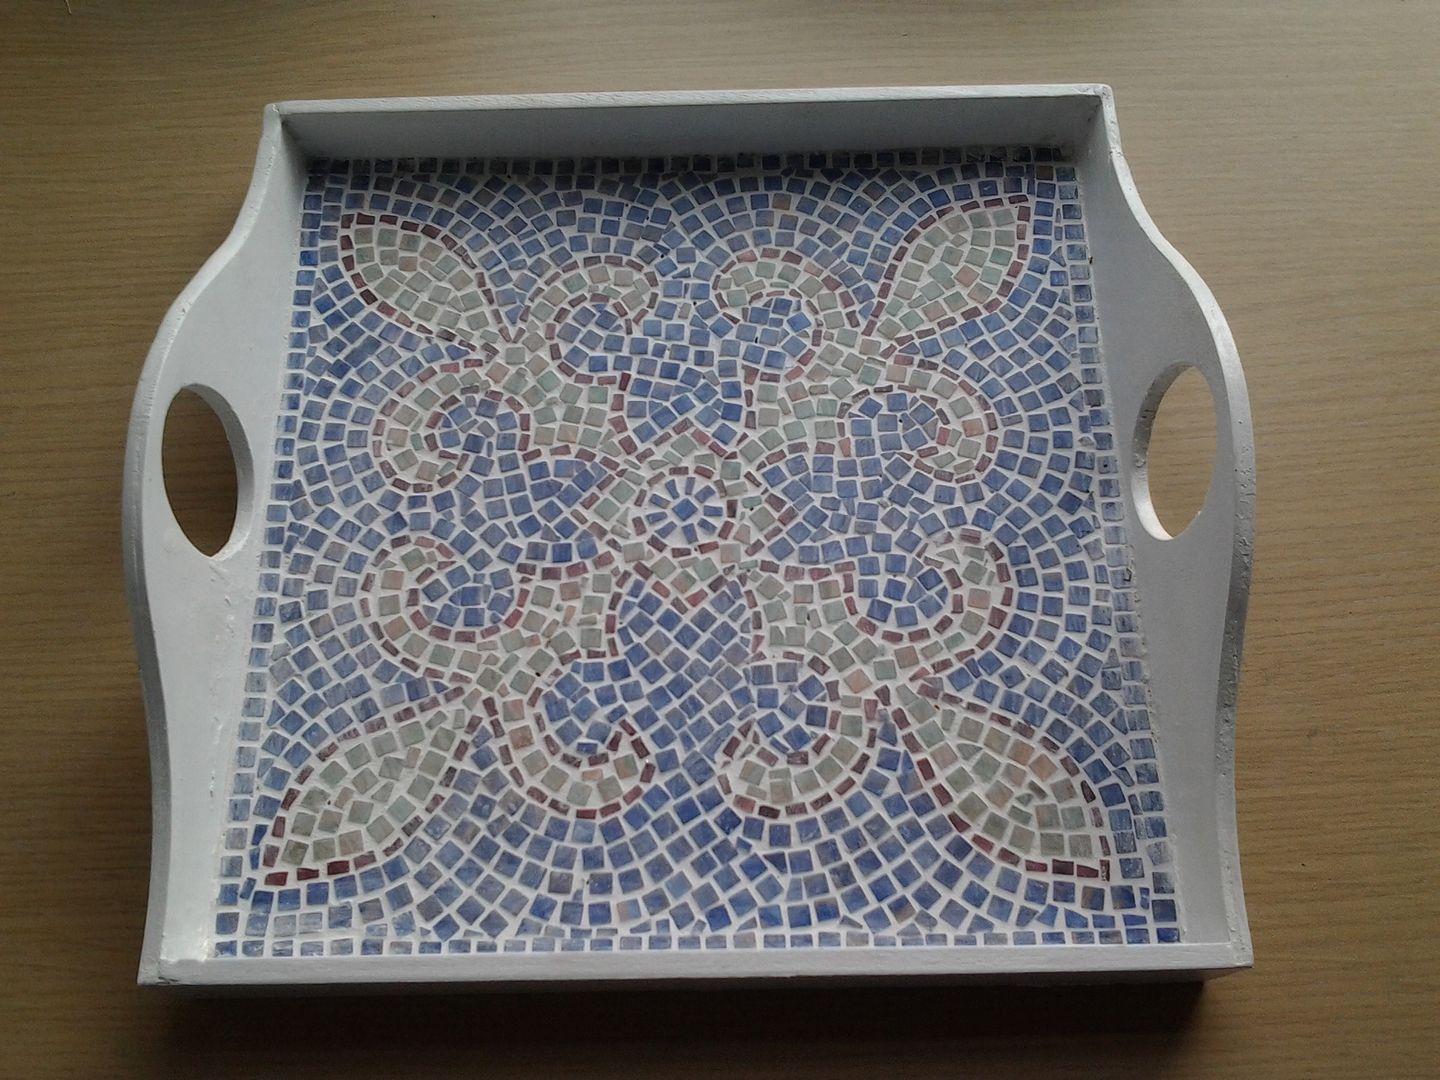
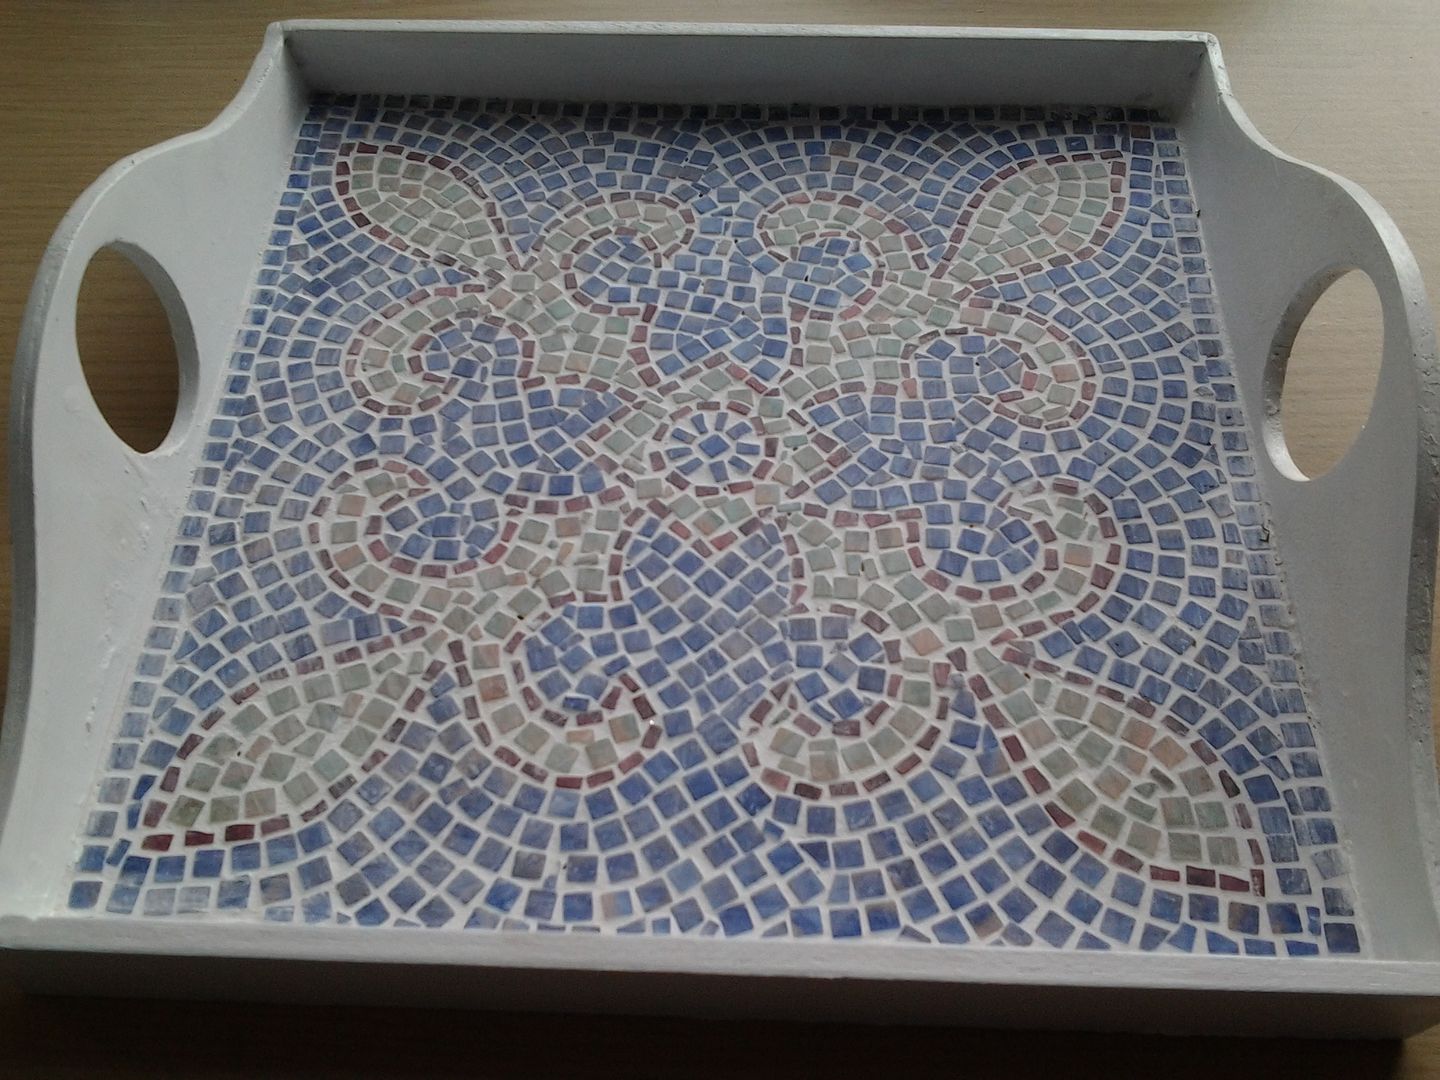
5. Mosaic tray - finito!

4/5, pretty good going!
It's around here that I come grinding to a halt...
Something Old, Something New
"Old" - the latch hook. So no, failed.
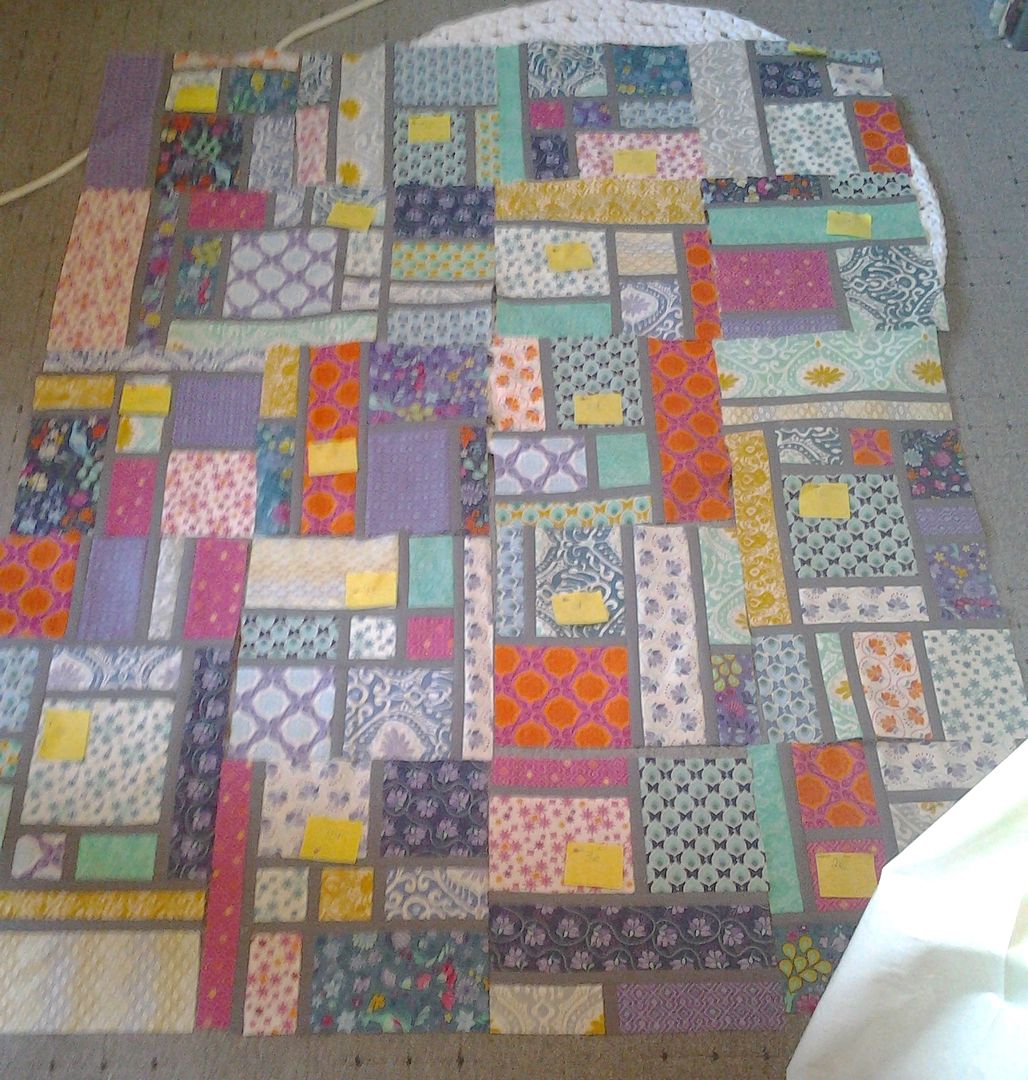
"New" - I said I'd make a start on my stained glass quilt, and I did! I got all the blocks done, and was about to sash it when I thought I might make it bigger and make some more blocks...

1/2
Something New for 2014
I failed to learn any new skills this month.
0/1
A Lovely Year of Finishes
I planned on making a bag from a kit. I failed. Didn't even get started.
0/1
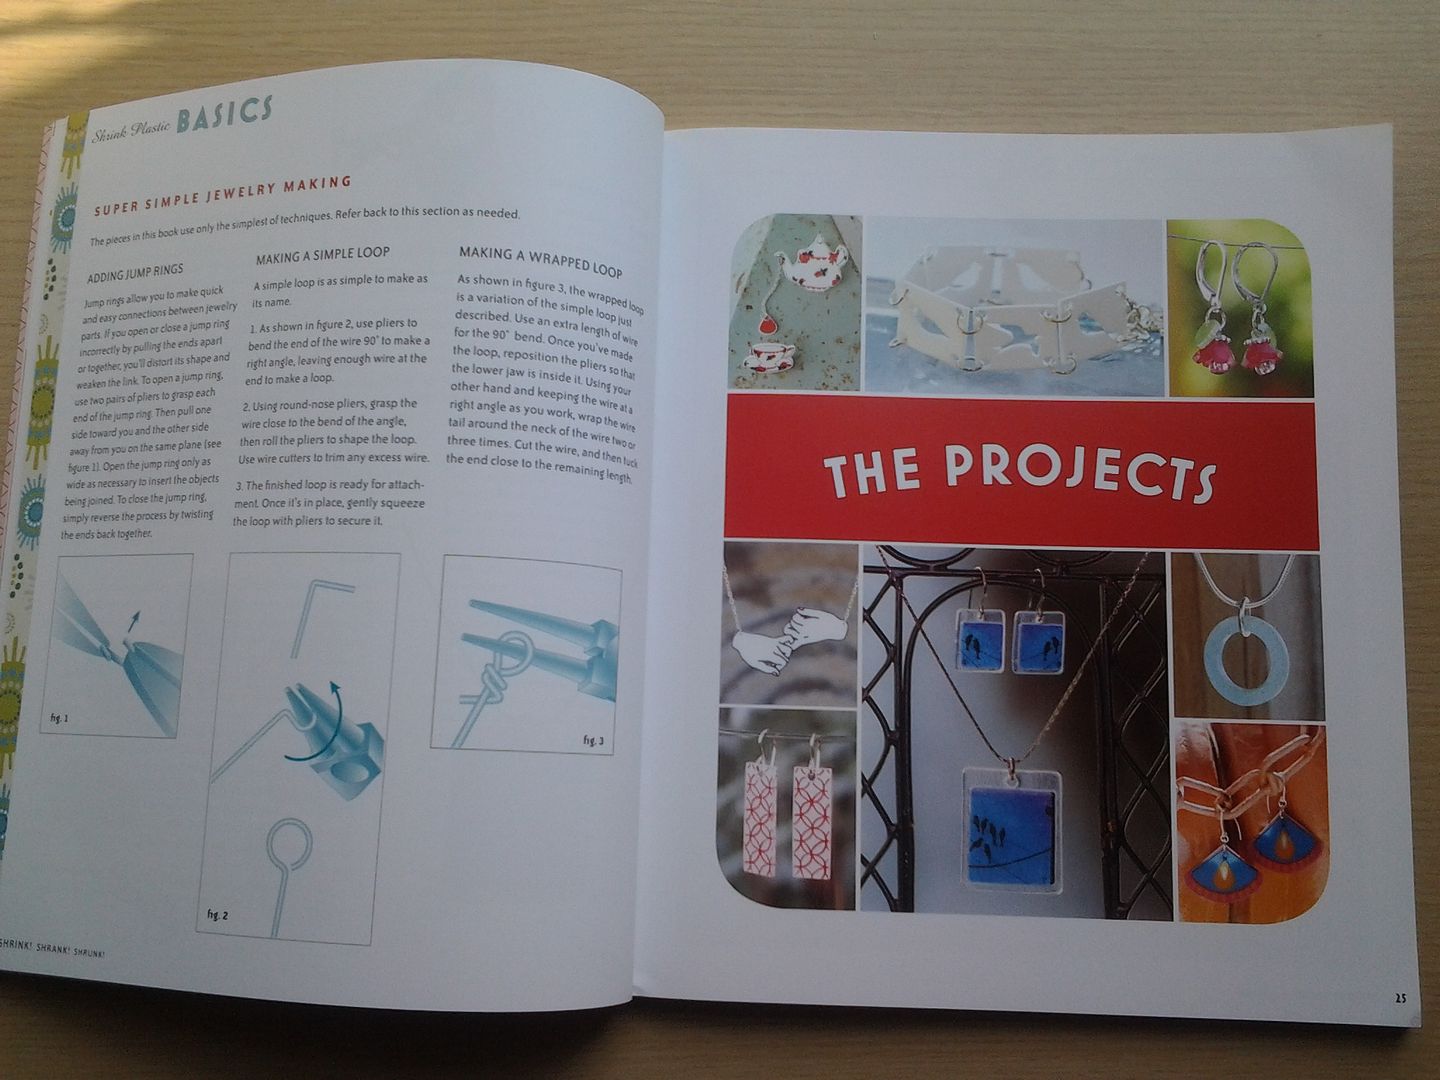
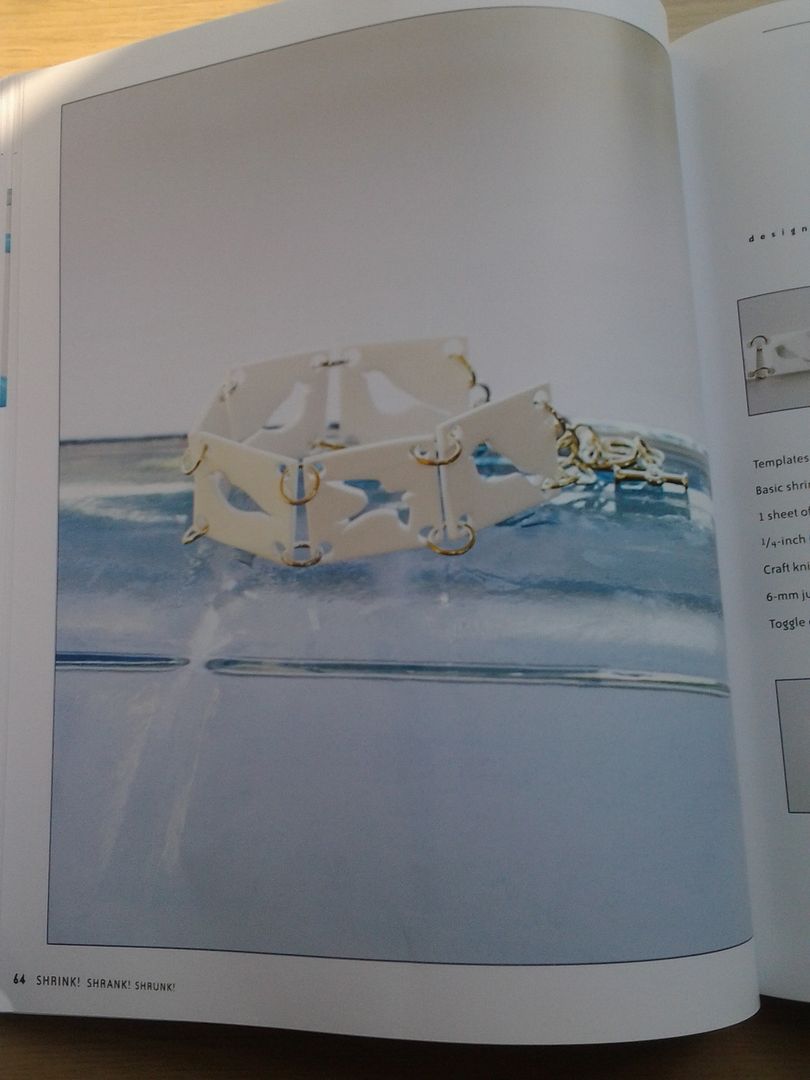
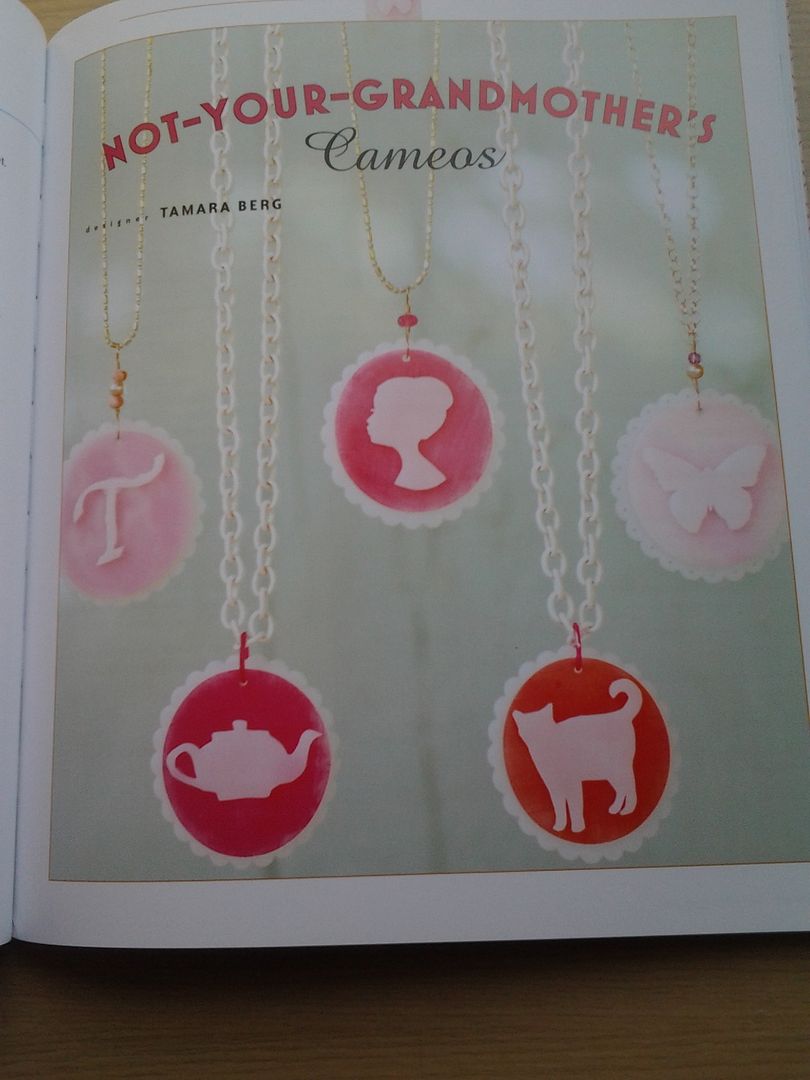
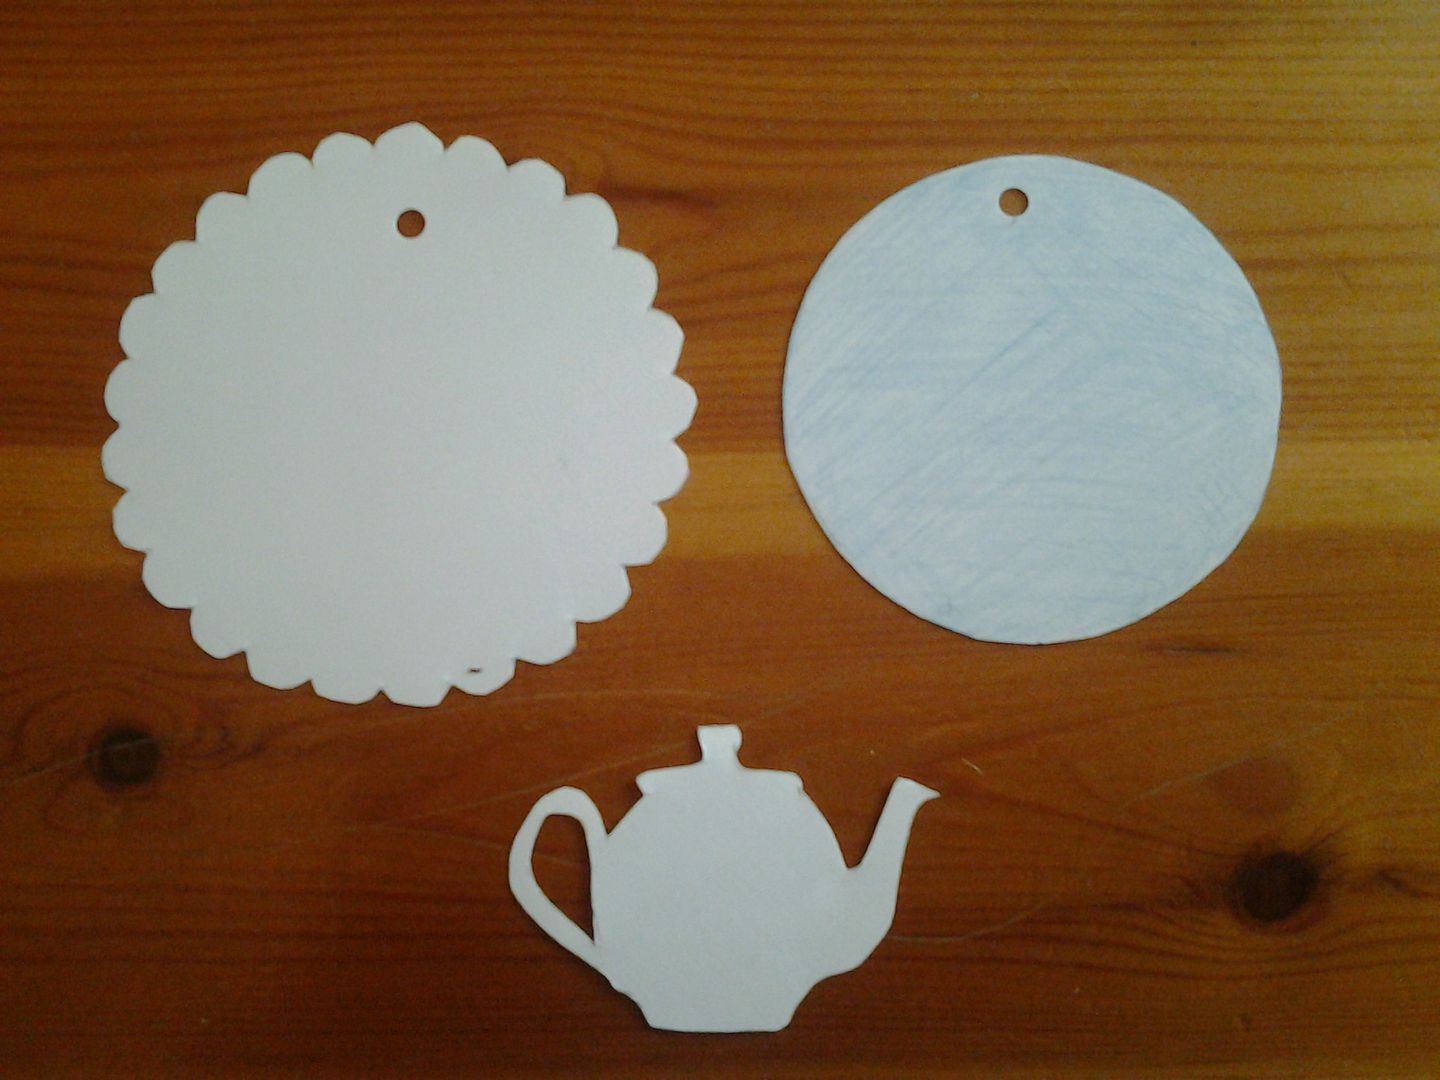
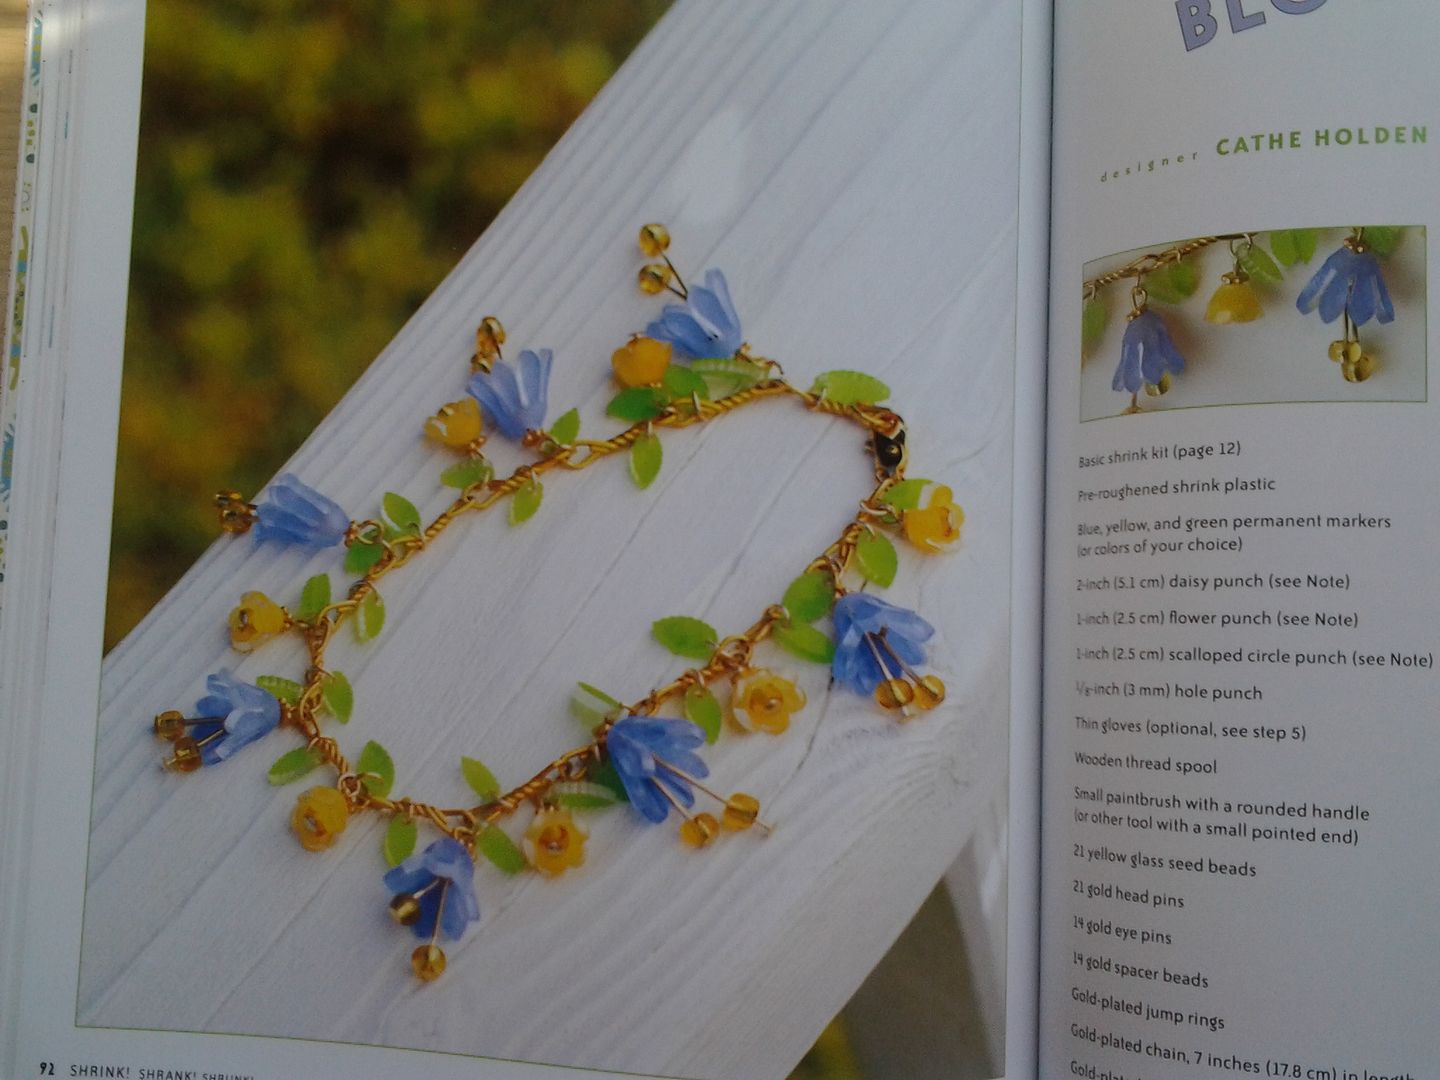
Craft Book Sew along
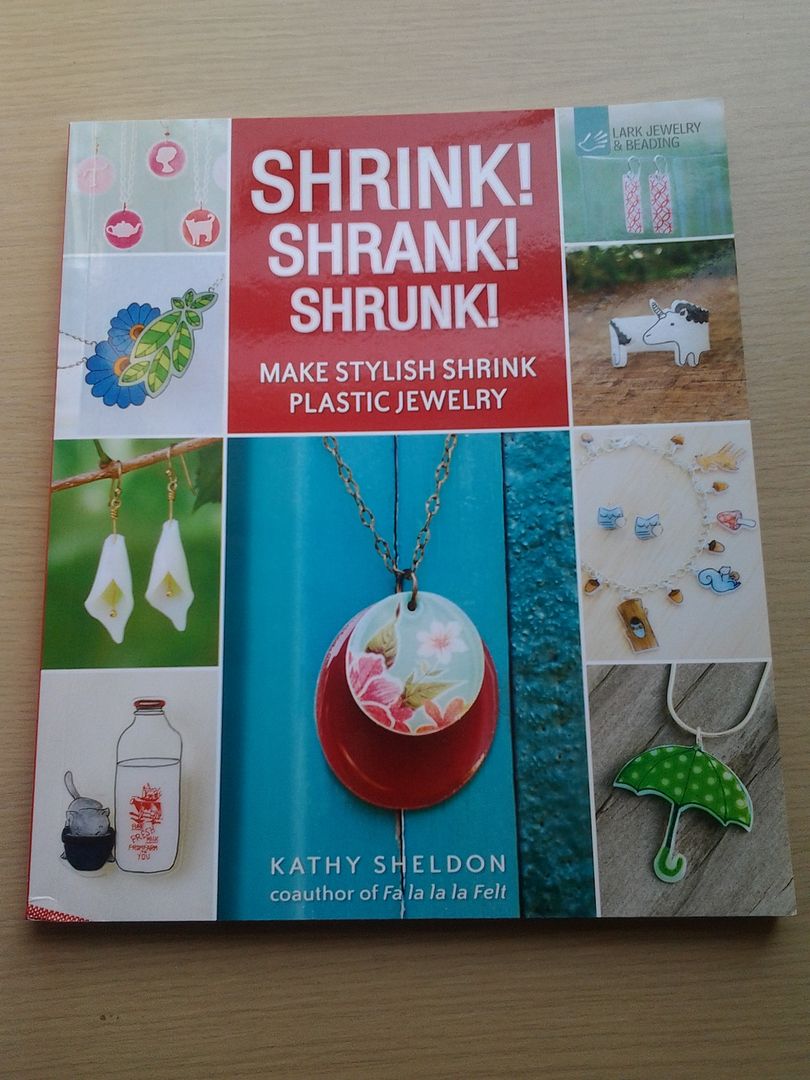
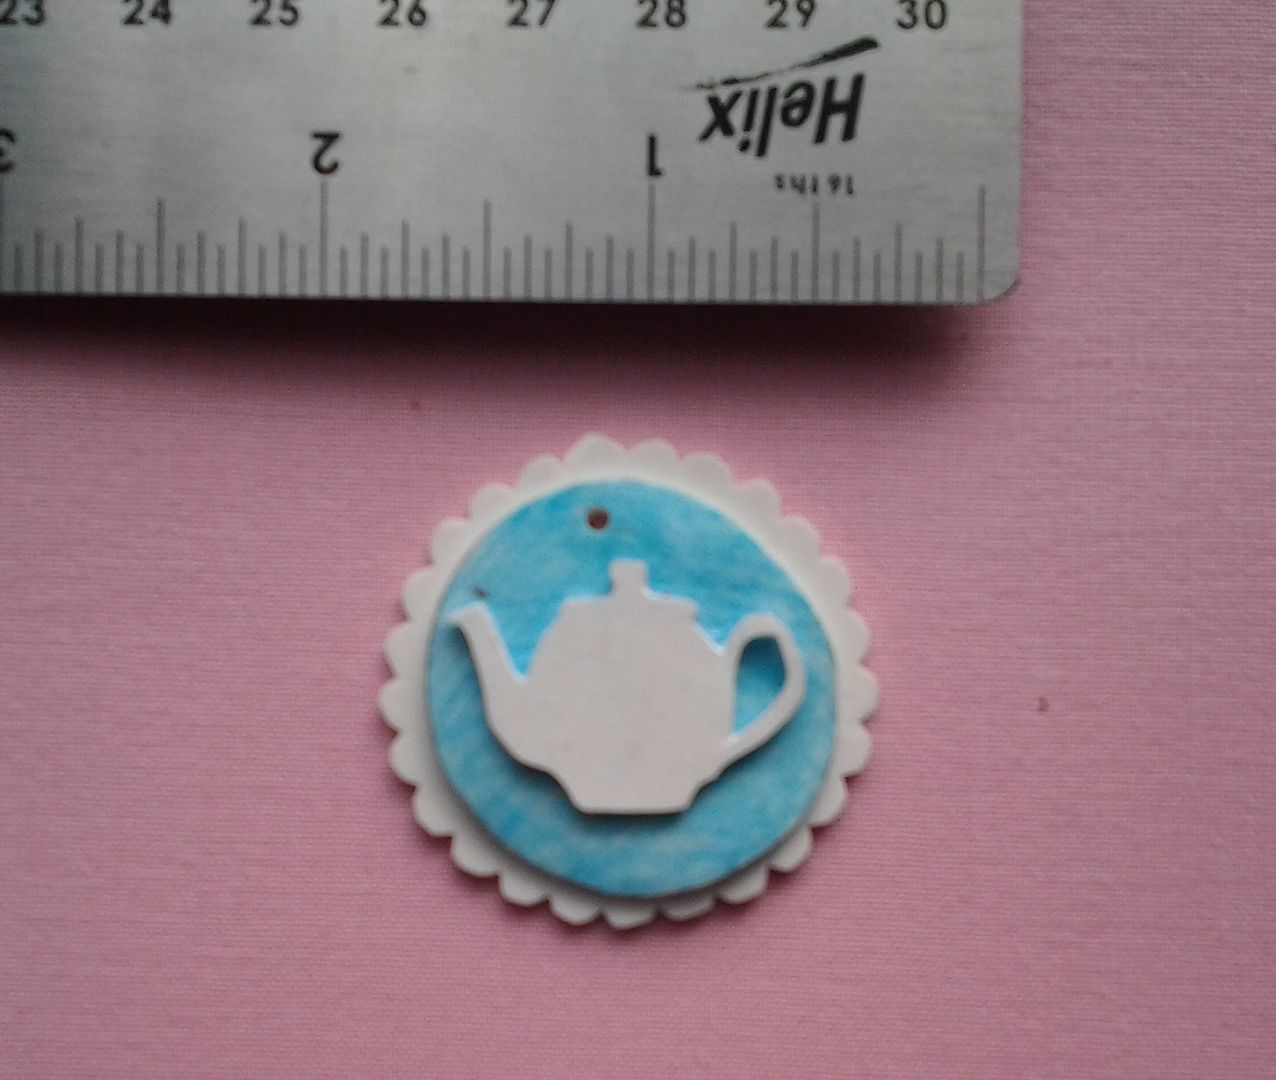
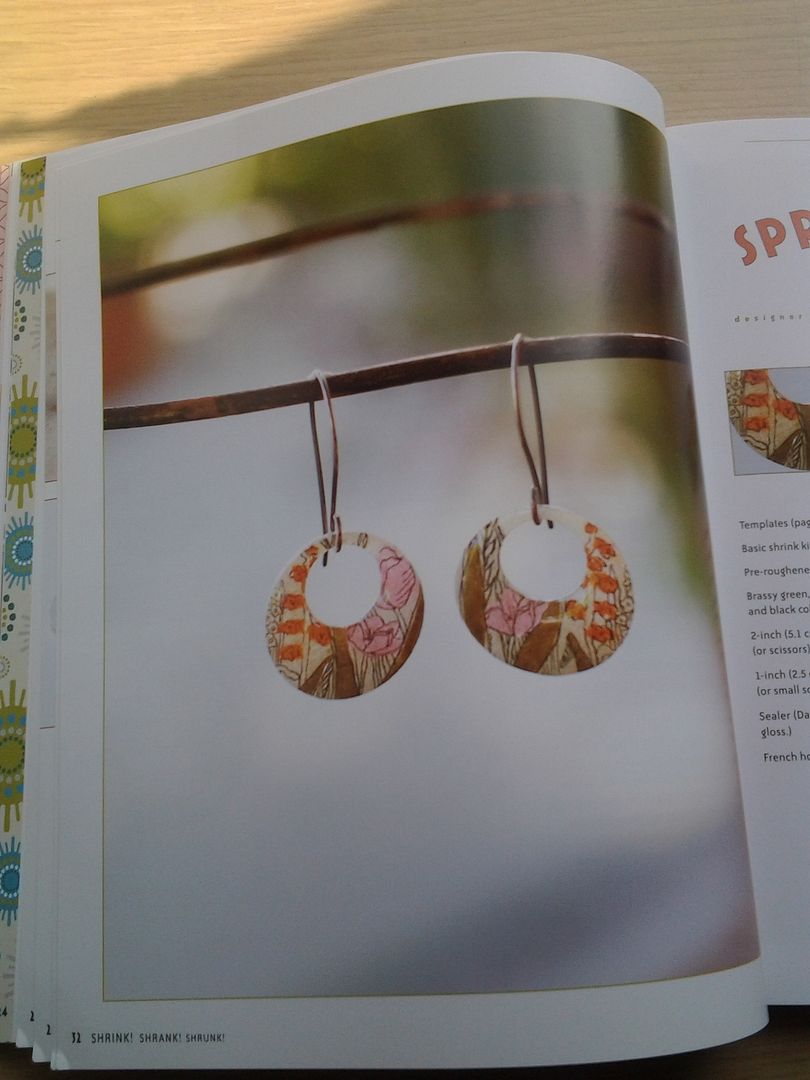
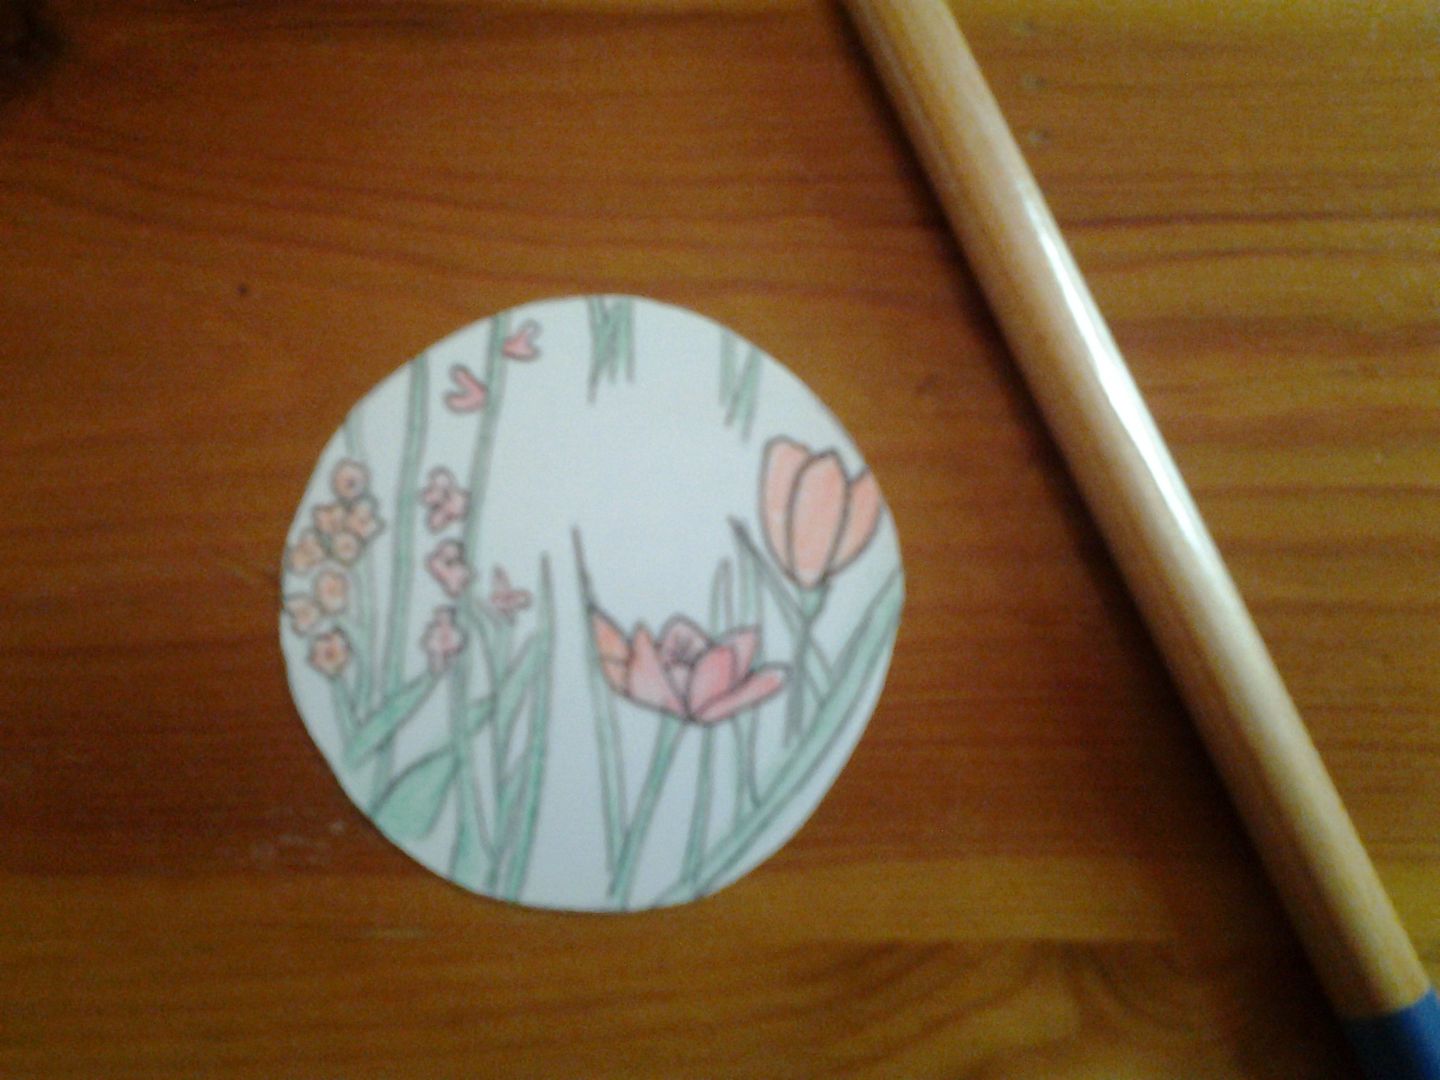
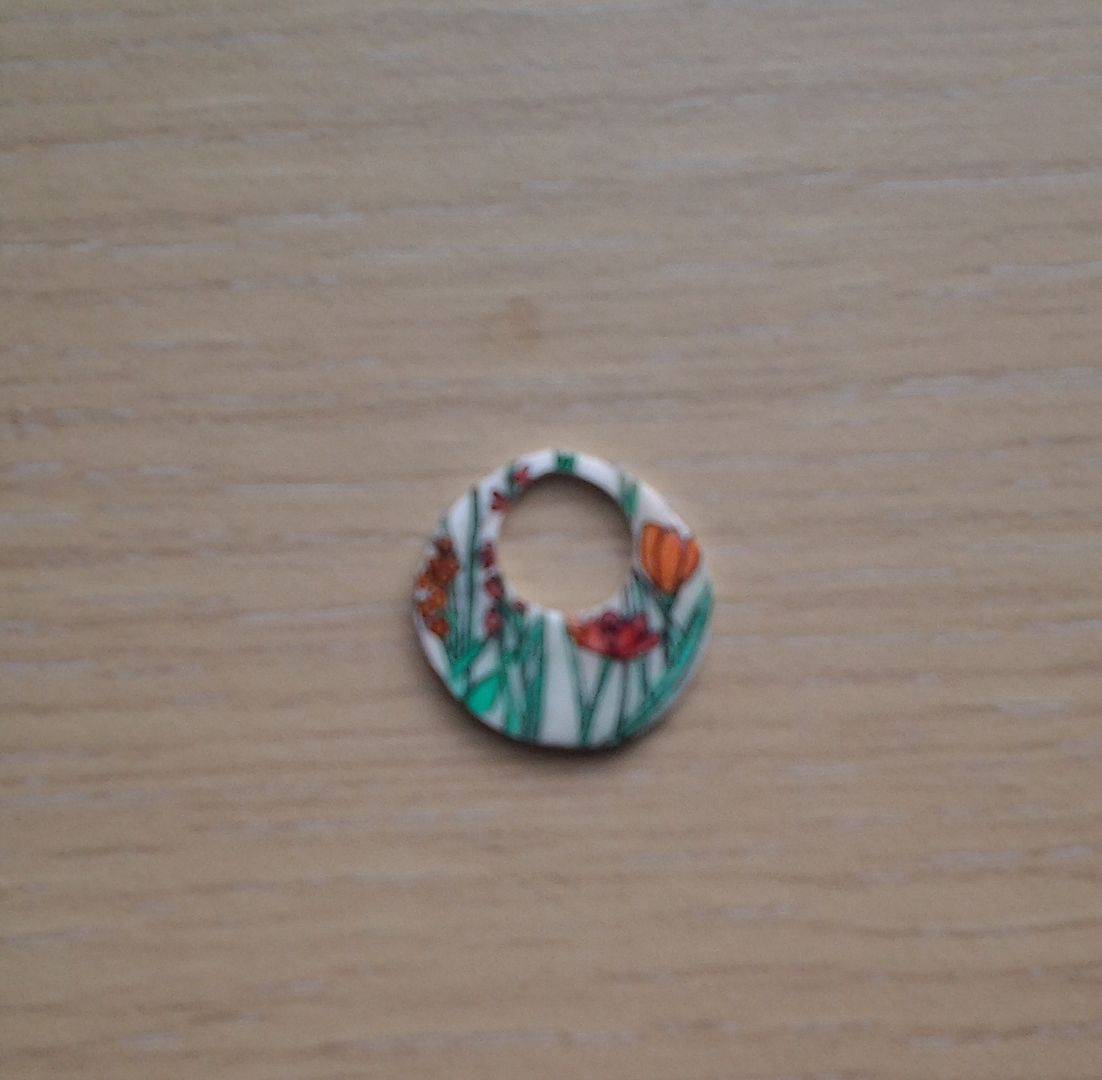
I did manage to make something from the book Shrink! Shrank! Shrunk! which I reviewed here.
1/1
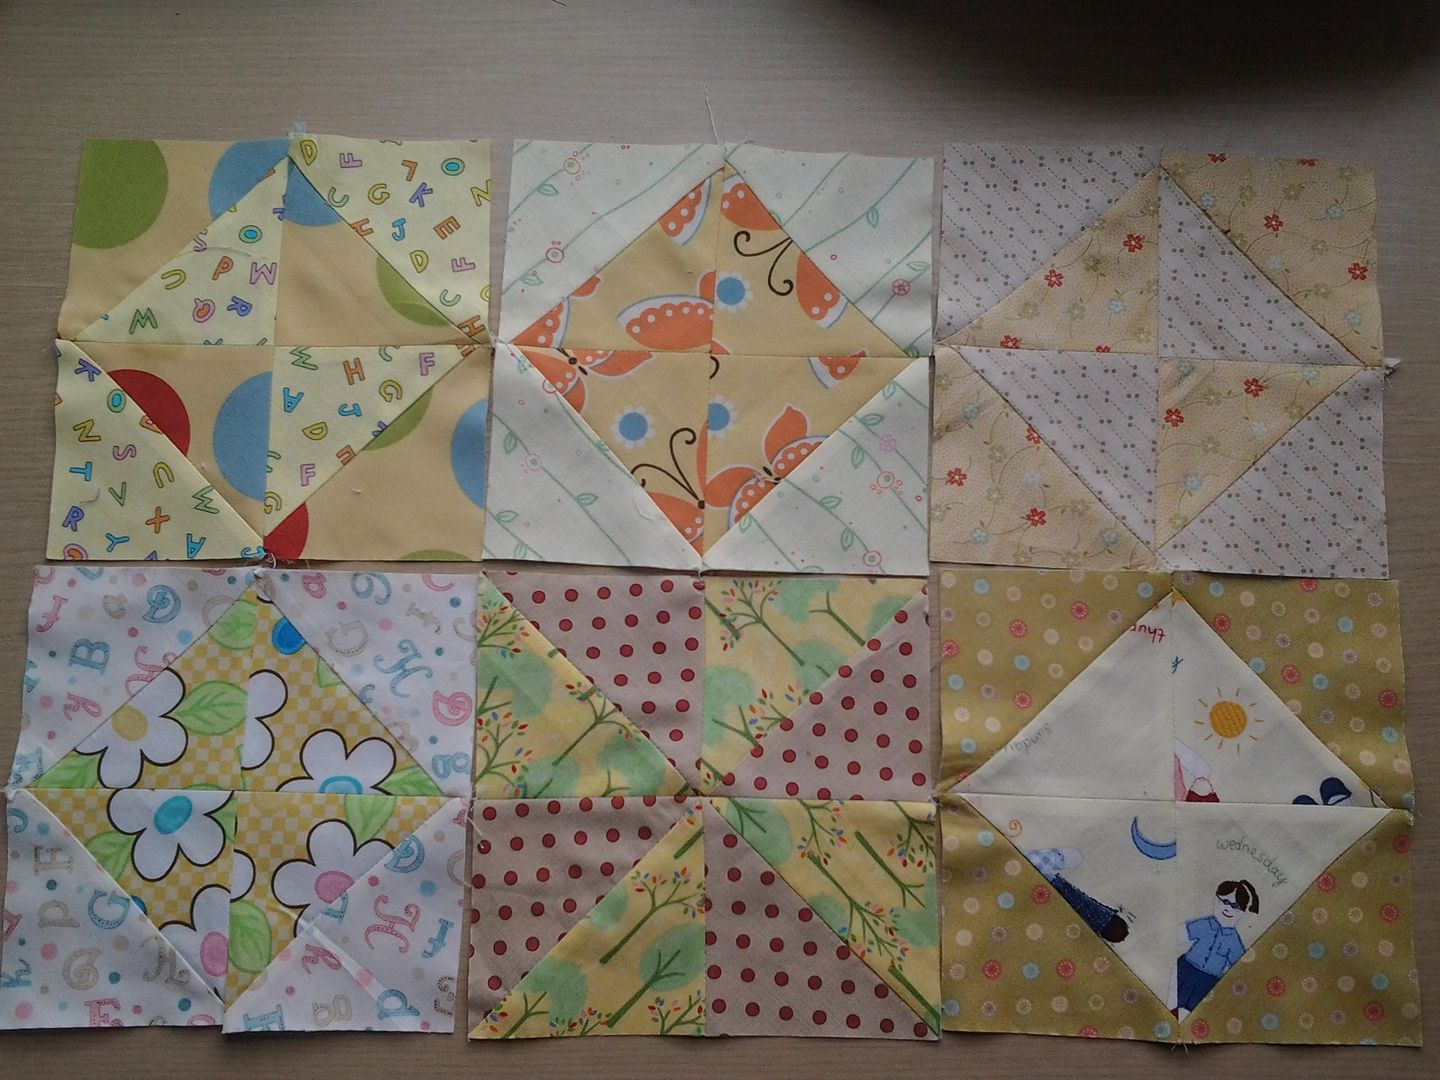
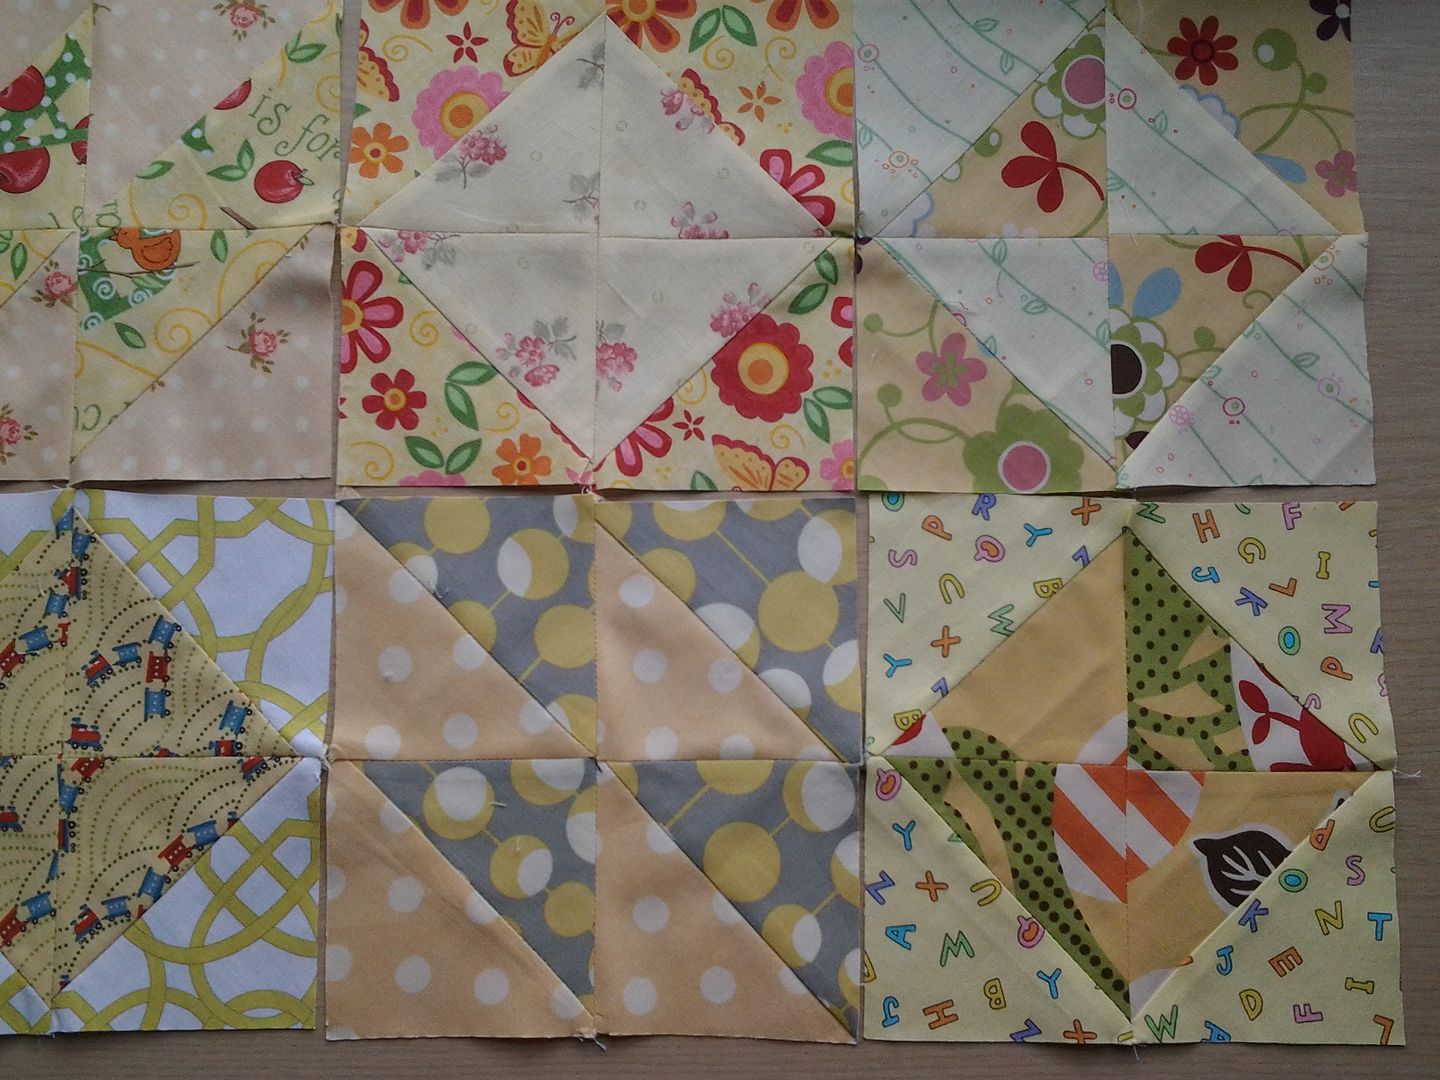
Rainbow Scrap Challenge
June was yellow, I made the blocks and put them together, but didn't get the scrap bucket made. Let's call that a half a point!
0.5/1
Smalls SAL
Nope.
0/1
Overall that gives me a success rate of 7.5/14.
Related Posts
June goals
May review
May goals
April review
April goals
March review
March goals
February review 1
February review 2
February review 3
February goals
January review


.jpg)