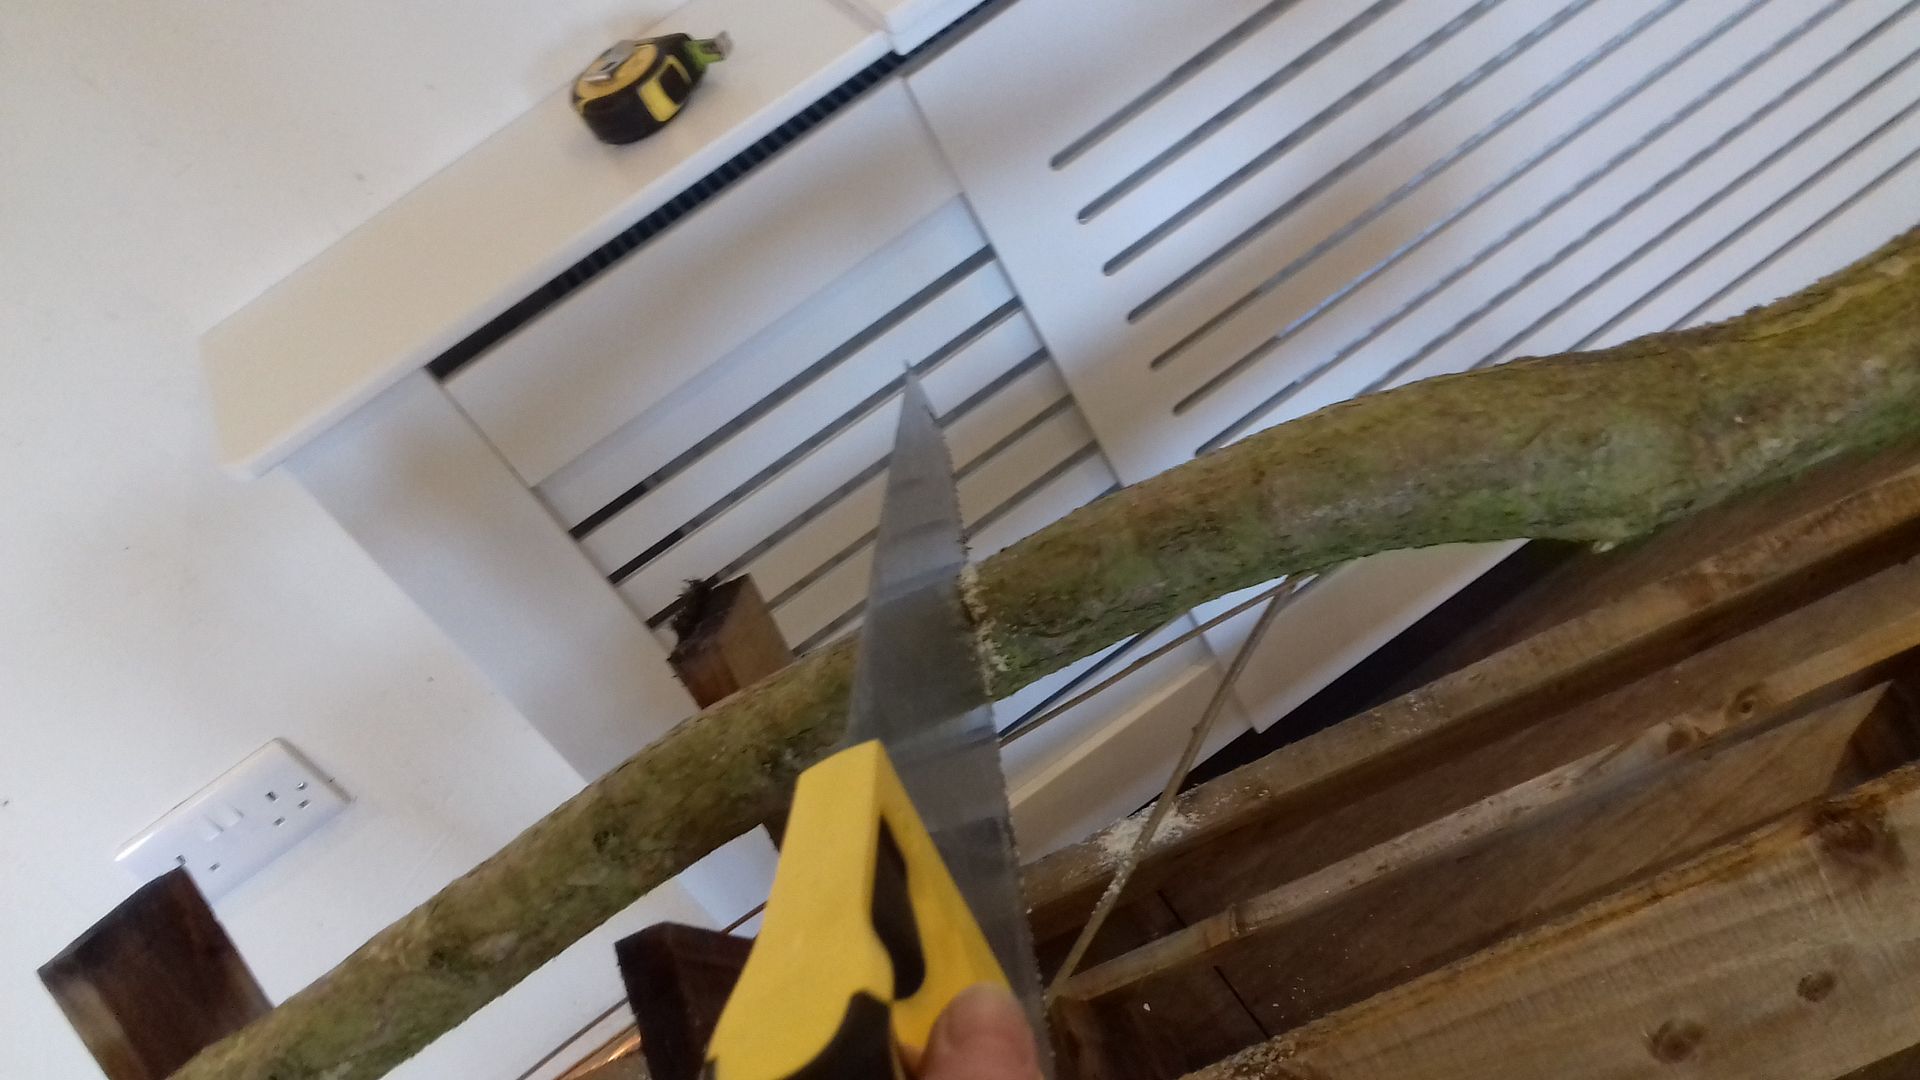
At the beginning of March, I attended a 2-day craft class at Rural Antics to make a Bentwood chair. After the stained glass window I made a few years ago, this is probably my biggest project to date! We started on a freezing-cold and snowy Saturday in the barn. We were provided with loads of hazel sticks and we had to cut them down. Above is my first cut with the saw!
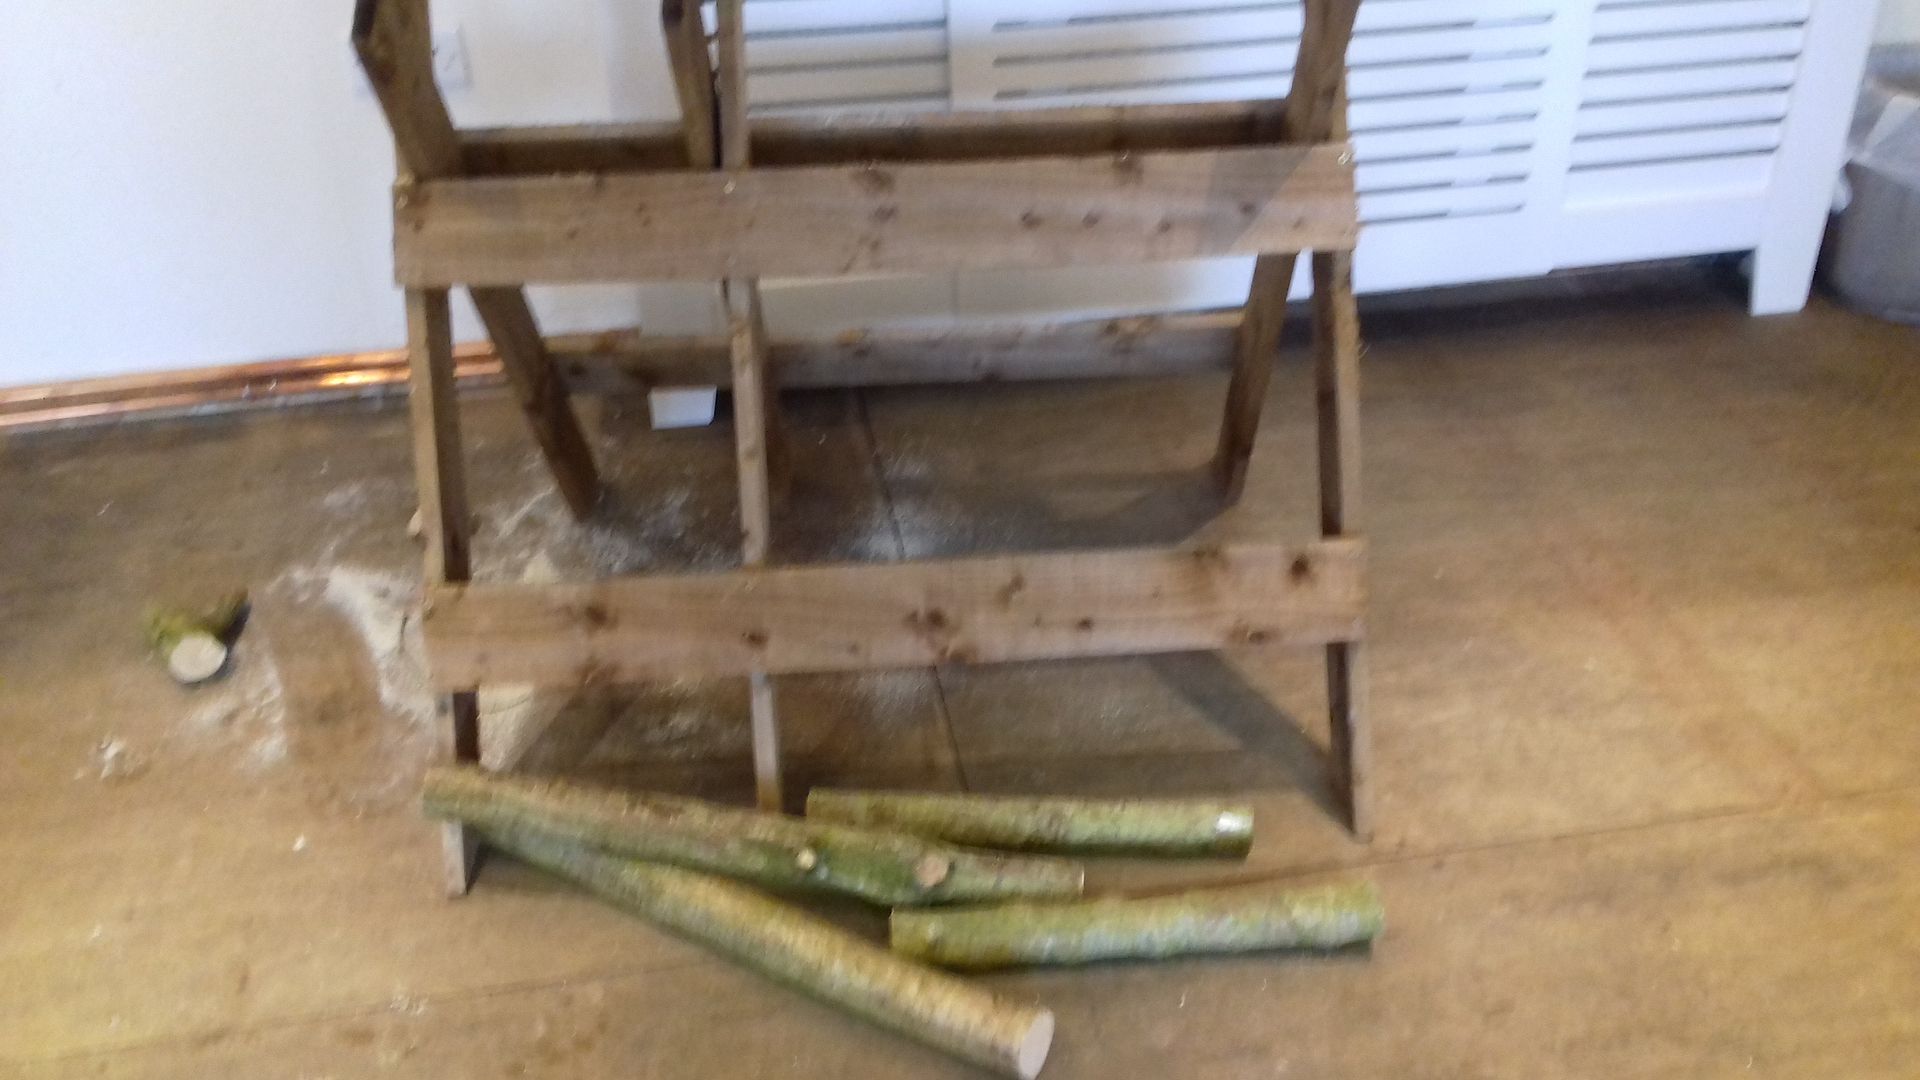
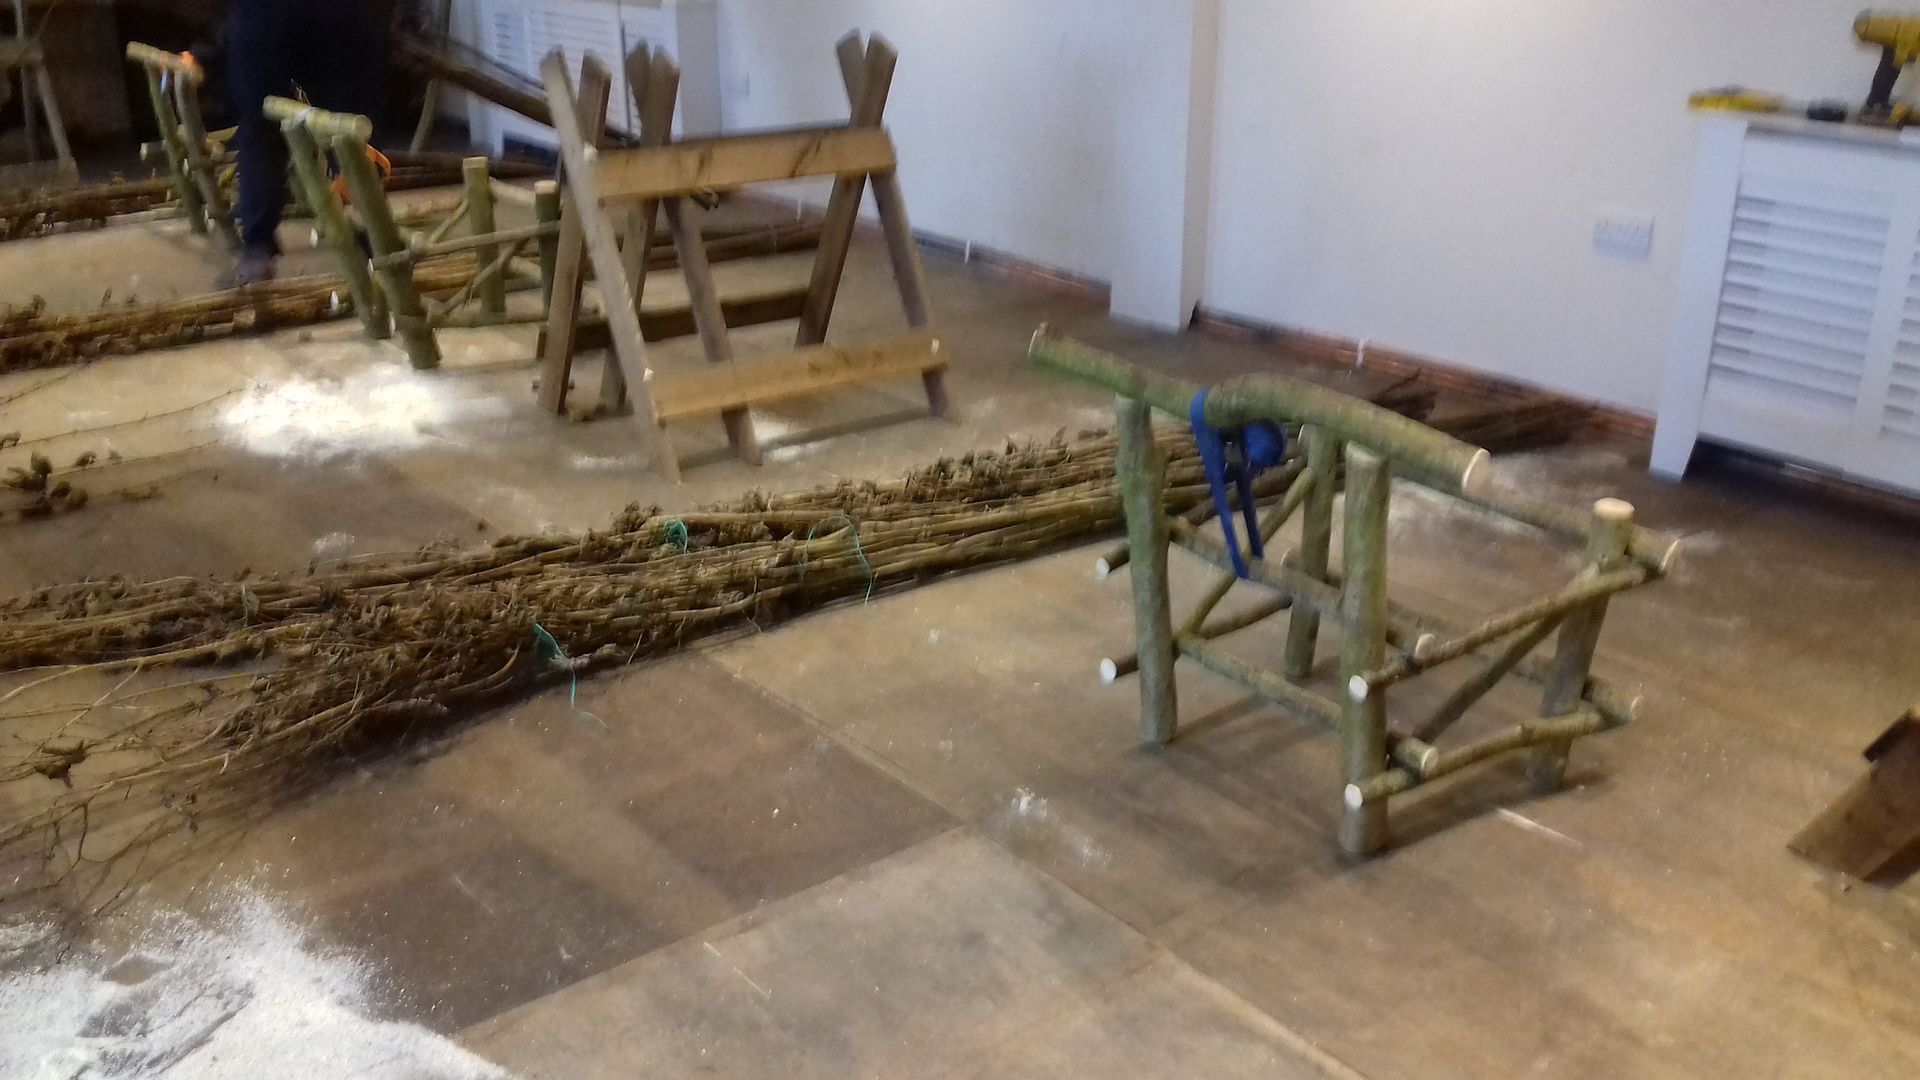
The wooden structure is the saw horse we used to cut our sticks. Here are the first four that I cut - the legs. The fronts are shorter than the backs.
After cutting, we rasped the ends using a small tool which looks a bit like a cheese grater. This smoothed off the ends and took the bark from round the sides of the end, giving a lovely finish and helping to prevent the wood from soaking up too much moisture.
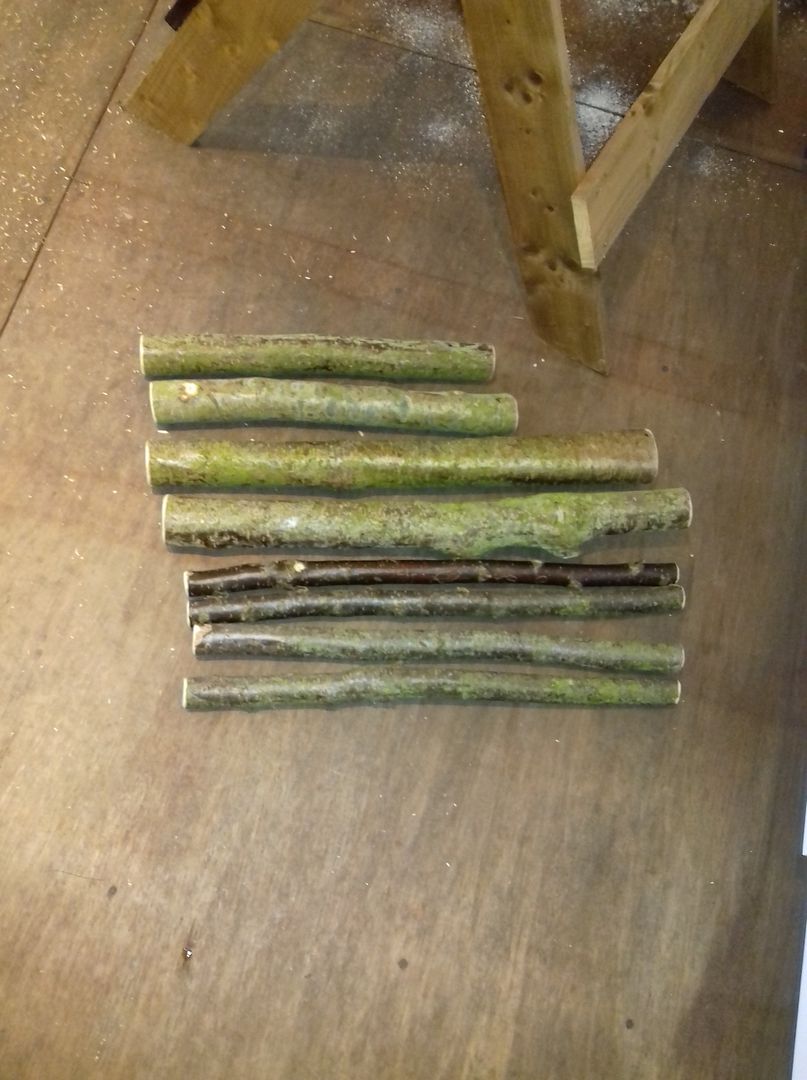
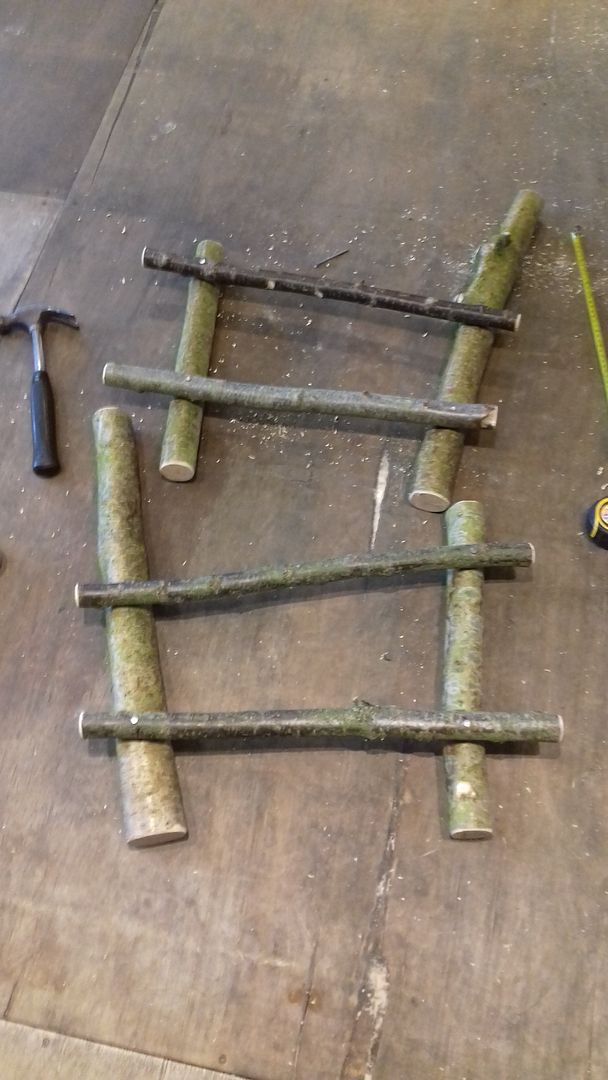
Next up were the cross struts for the sides of the chair. We were selecting thicknesses of stick as appropriate to the function of that piece, and also how we wanted the chair to look overall.
Then came the drilling and hammering! I LOVED this part. Actually, I loved the sawing and rasping too... The drill made a pilot hole, then long threaded nails were used to hold the chair securely.
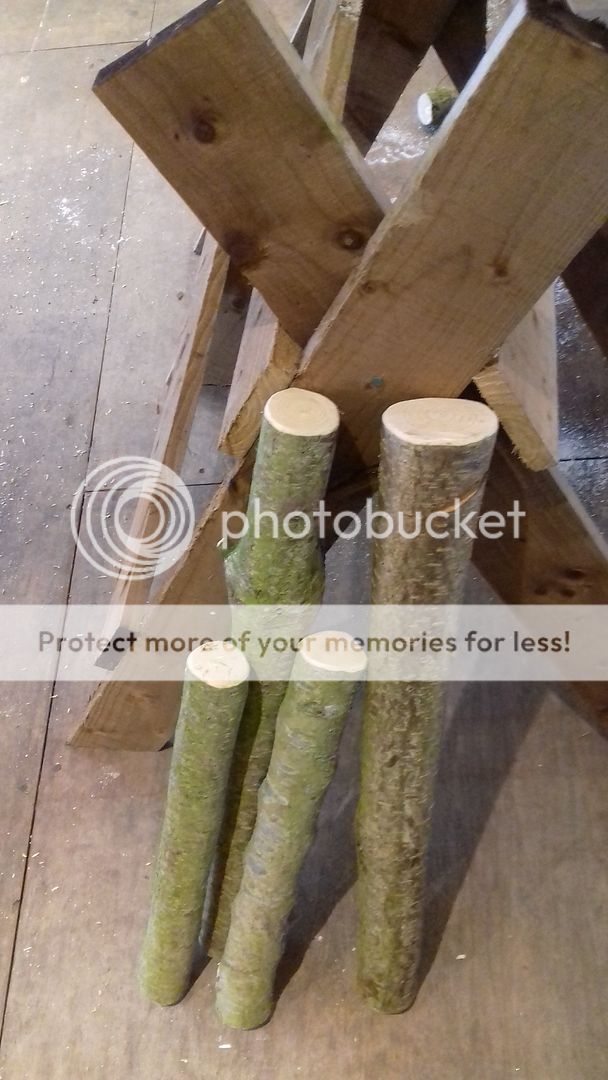
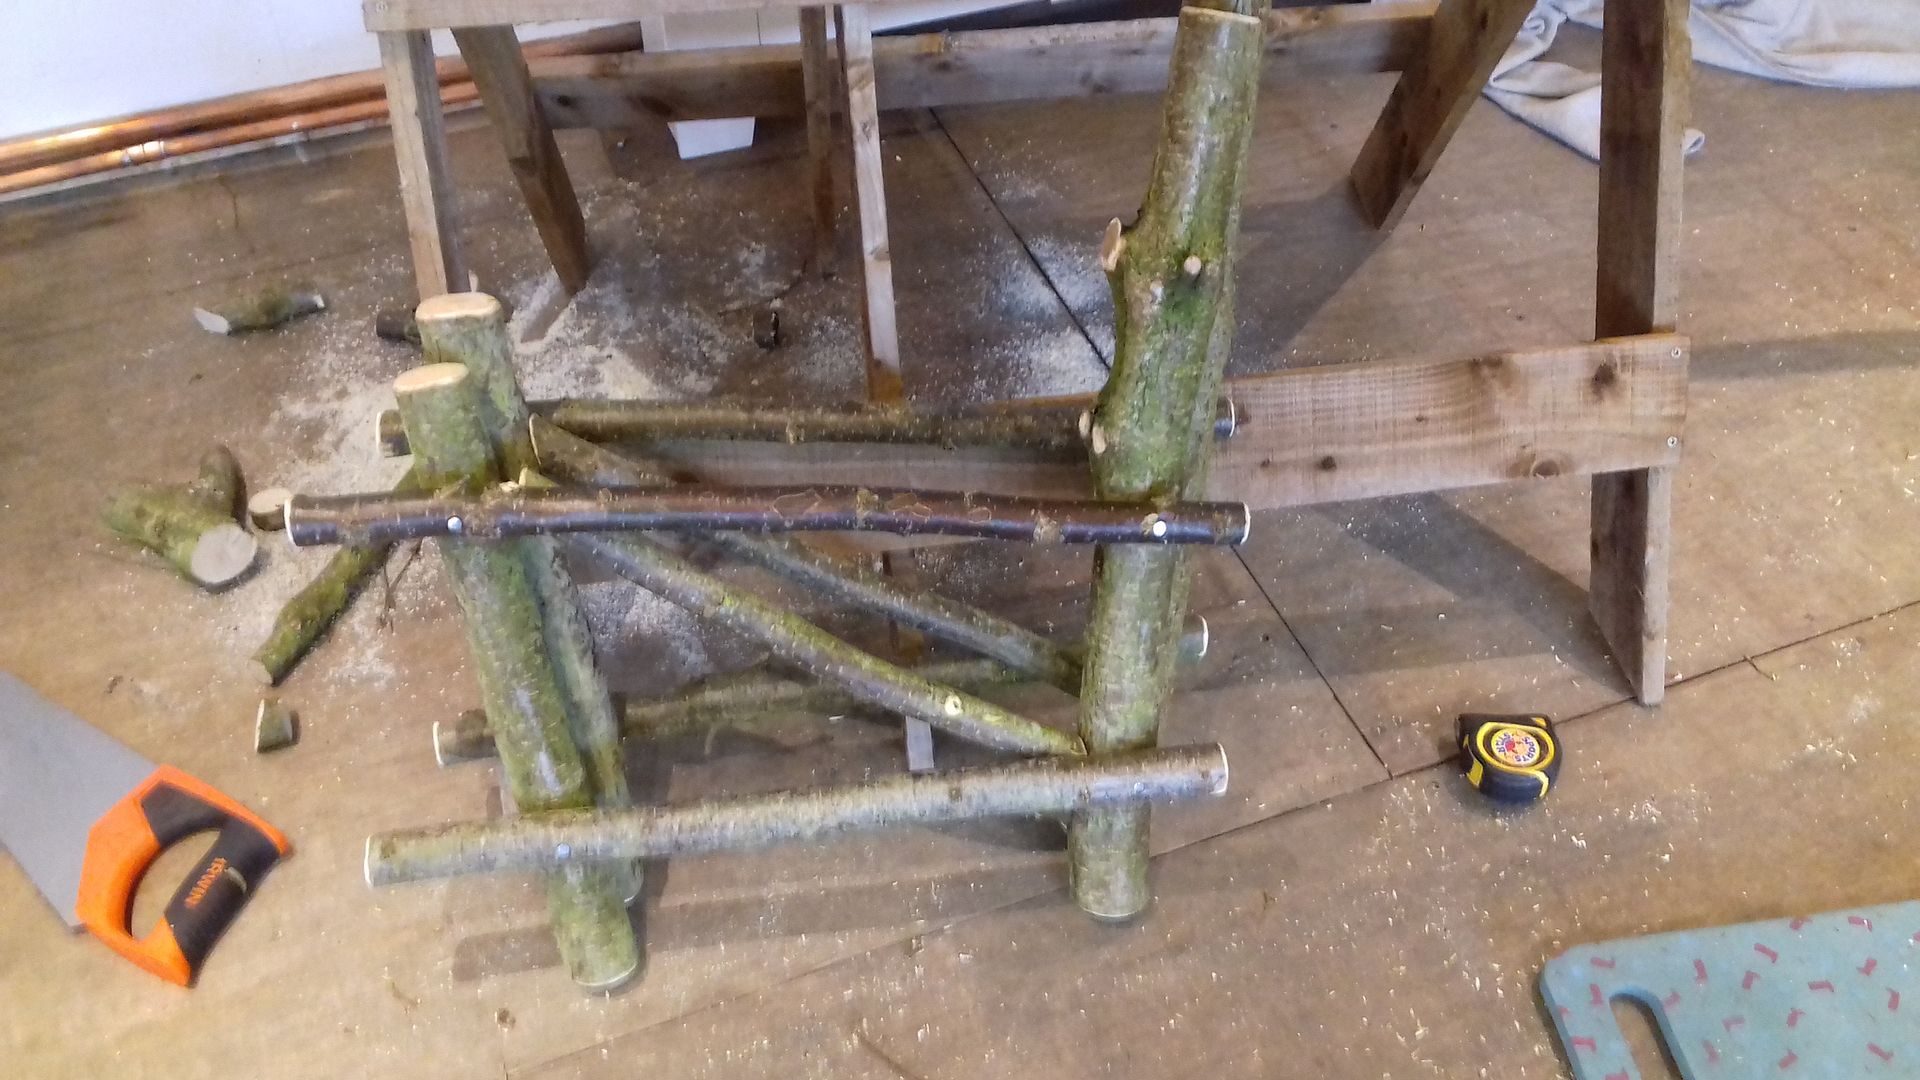
Here are my two side panels against the saw horse to give you an idea of scale. As I was making this, I was posting on Facebook and got a lot of comments as to whether I was making a child's chair or a chair for a gnome. It's actually a full-size chair and is pretty big!
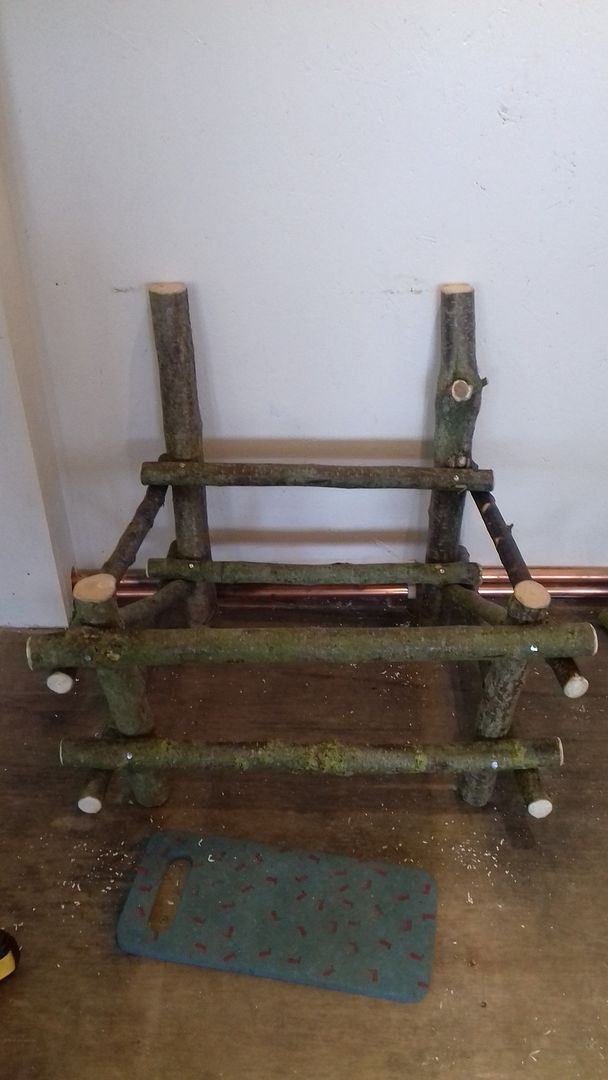
Balancing the sides to drill and hammer in the back and front struts was tricky to say the least! With it propped against the wall, I actually had to enlist the help of another course-goer to keep it steady while I worked.
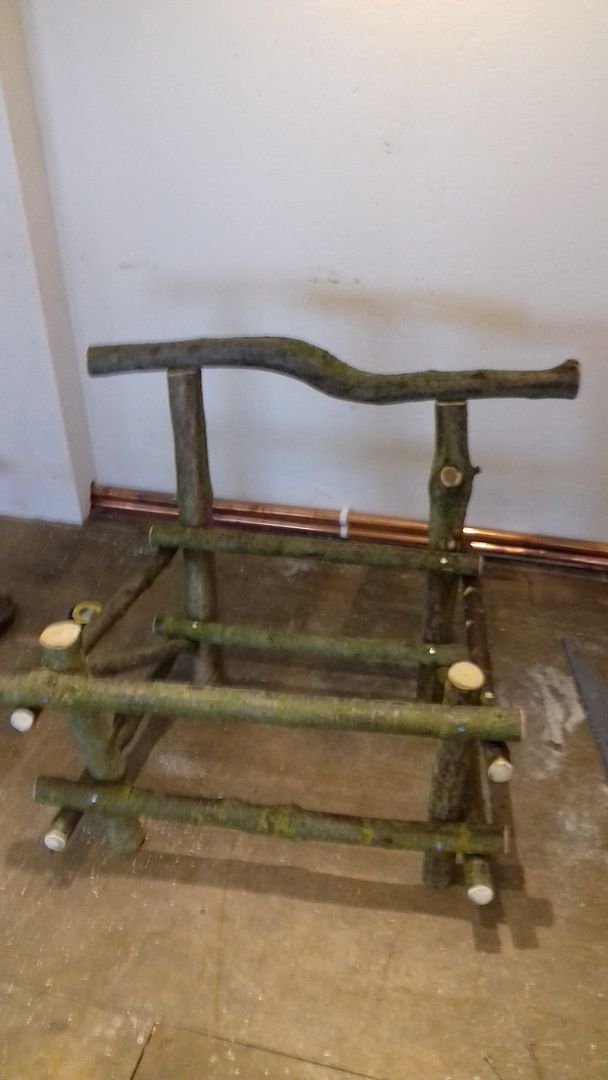
The back-bar is one of the focal points of the chair so that piece of stick was selected with great care. I wanted a piece that wasn't uniform and straight. I found the perfect stick and then had to do a bit of sawing, rasping and chiselling to make sure it sat firmly on the back legs.
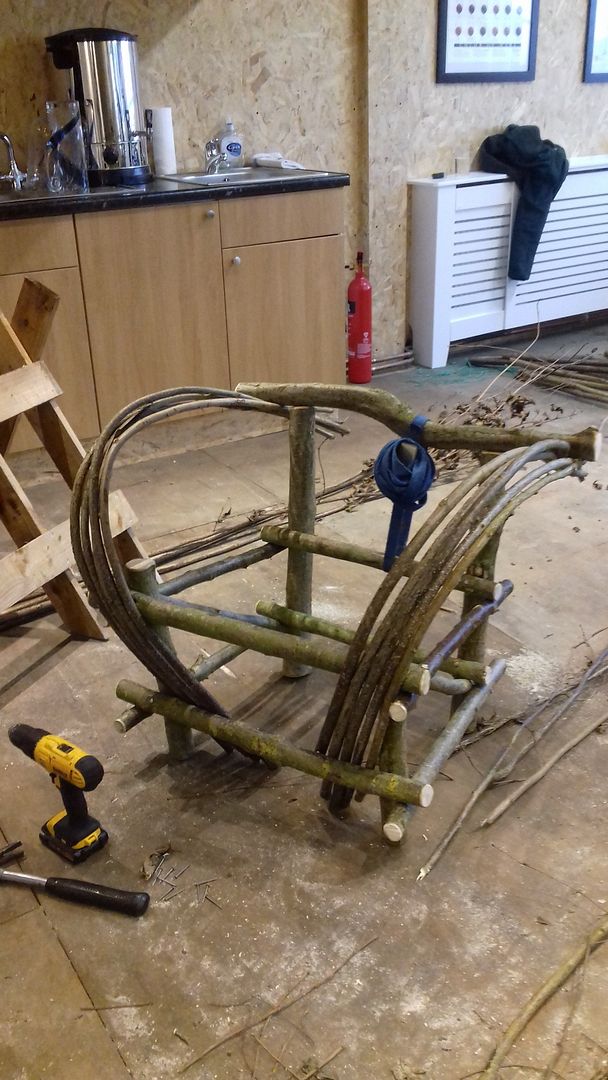
At this point the backs had to be strapped up to make sure they didn't ping off when we started adding the pieces of bent wood. As we were basically using bits of twig that were bent to shape, they would exert an upwards pressure on the chair back, so we strapped them up and then periodically checked to make sure the nails hadn't come loose.
Then came the arms. We chose long, straightish pieces of hazel that were relatively thin and bent and pushed them into place. At this point, they are just held in place by magic, but afterwards I did nail them all together.
At this point, it was after 4 on Saturday and time for us to go home. We were all exhausted! We went back the next day to finish the chair, so I will put that in a separate post (and try not to leave it so long before I publish it!)

12 comments:
How very enterprising of you! You're also lucky to have somewhere near offering workshops for just one project. All I've ever seen have been full woodworking classes lasting several months; I wouldn't want to tie myself down to something without knowing I would really like it. You seem to find a lot of trial crafting activities and I love how this one is developing.
I can't wait to see the finished chair--this looks like fun.
Stupendous work, Wendy! I love this chair. It reminds me of the fully grown furniture by Gavin Monro. Congratulations!
That looks fascinating! Very tiring, but probably fun!
What a great workshop, I can't wait to see your finished chair
That is fascinating! So interesting to see you leap into a completely different craft and what a fabulous outcome. Looking forward to seeing the finished article.
Amazing! I would never think of doing something like this, but it sounds like great fun. Can’t wait to see it finished!
It is really interesting to see how the chair is made. So far it is looking wonderful. And of course will get even better.
Wow, Wendy, you do a lot of fun things! Thanks for stopping by my blog!
Wow that looks like a lot of work and a lot of fun!
You may get my comment twice because the page just disappeared! I think this is brilliant! I'd love to be able to sit on a chair I made myself. I'm really looking forward to seeing what it looks likes finished in part 2 :)
You're certainly doing the rounds of all the different crafts aren't you?
This is something that would definitely appeal to my husband more than to me - in fact, he made a couple of green wood chairs for the garden when we were still in the U.K. but they eventually disintegrated as they weren't treated or anything.
I'm thinking of doing a leaded glass workshop locally - it's a three day thing over a weekend - but it's quite expensive and I'm not sure I would want to continue afterwards - yet more equipment to keep in the house :/ Did you keep up with the stained glass skills you learned?
Post a Comment