
A short walk from my house is an old wholesale market. It has been regenerated and boasts a pub, a brewery and tap room, cafe, Vietnamese cooking school, artisan chocolate maker, a shop full of hand-made goods (where I did the lampwork class) and a coffee roaster, among other things. It's a lovely area and a great destination as they've been hosting a lot of events. I've been to night markets and outdoor cinema there recently. Anyway, there is also a craft shop. It's called Curious? and although I've seen it, this was my first class there.
The tutor was Dawn Feeney who I have seen around at craft fairs and admired her work. We were doing copper embossing.

We were given a mouse mat, a selection of tools and a small piece of copper to practice on. Dawn did a demonstration and showed us what kind of textures can be created using the various tools. We got to work experimenting.
Then we had a go with the colours. These are faux enamel paints - Pebeo Fantasy Moon and Pebeo Prism. I have had a go with these before when I did a mixed media class at the Bead Shop, and I have some at home.
The paints sit nicely in the little wells made by embossing from the back using a metal stylus and then flattening down the front with a wooden tool. This was just a trial piece, so I tried a few colours out and experimented with running the colours together or layer blobs of one colour over the other.

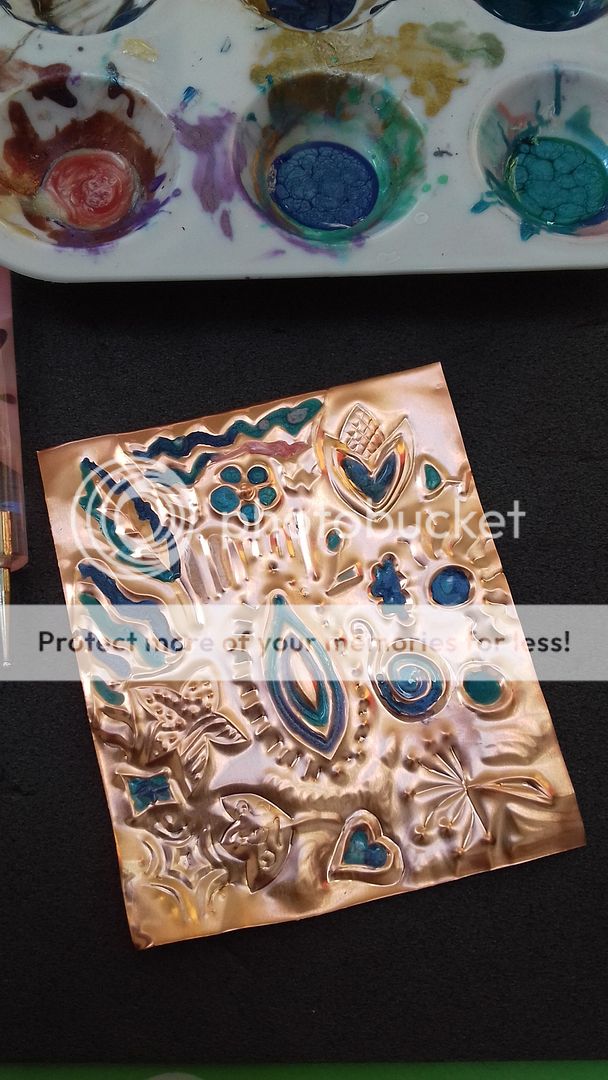
Then we got to work on our main piece, which was a copper blank about 20cm square. I'd sketched out an idea. Being crap at drawing, I had to stick to patterns! I started with a heart (I drew round a paper template for that) and filled it with boxes to put paint into.
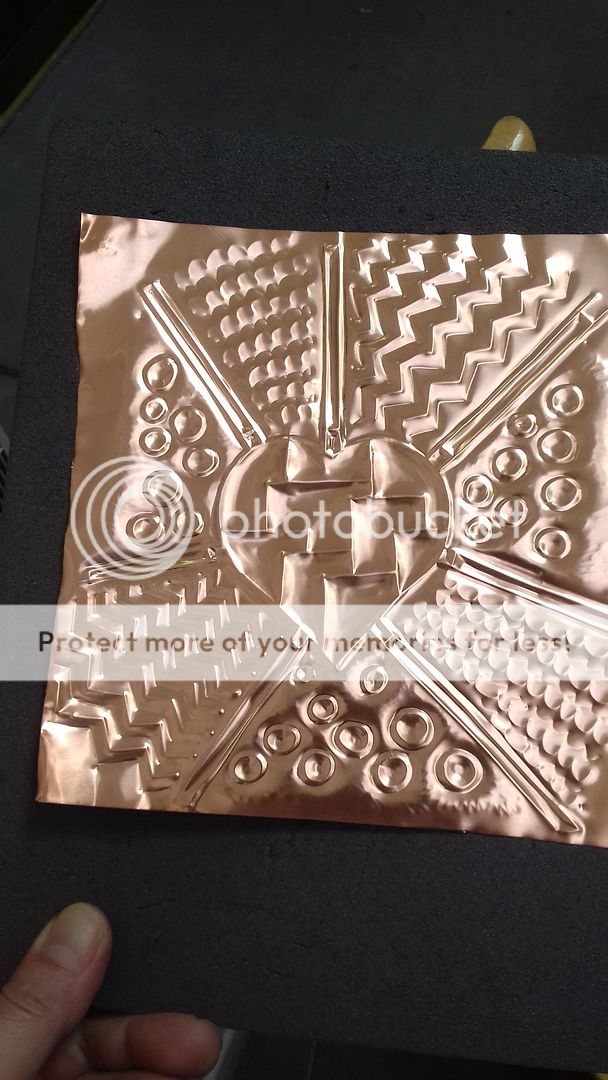
Some radiating lines to section off the background, and I experimented with different patterns. The line based patterns are embossed from the back and debossed, by embossing on the front. I love the texture this creates, with three different depths.
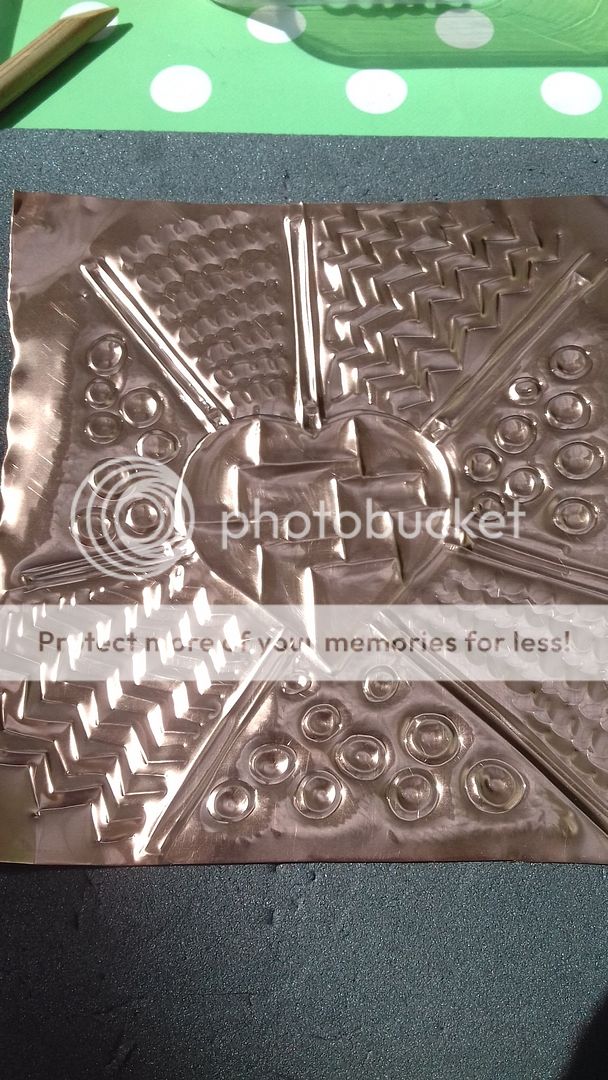
For the circles, I embossed from the back, and then went round them from the front to make the stand out more.
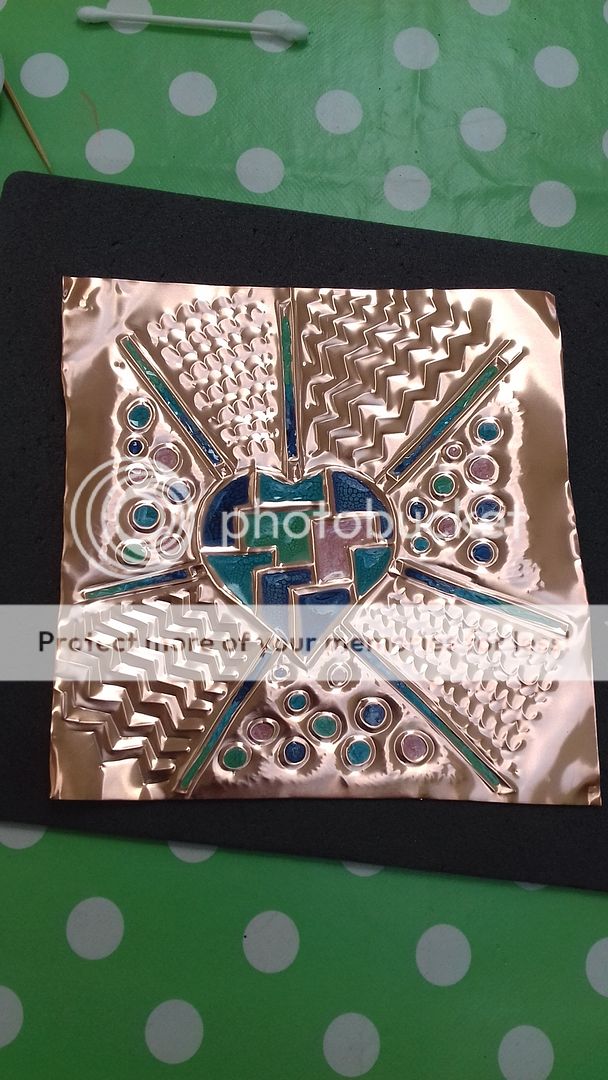
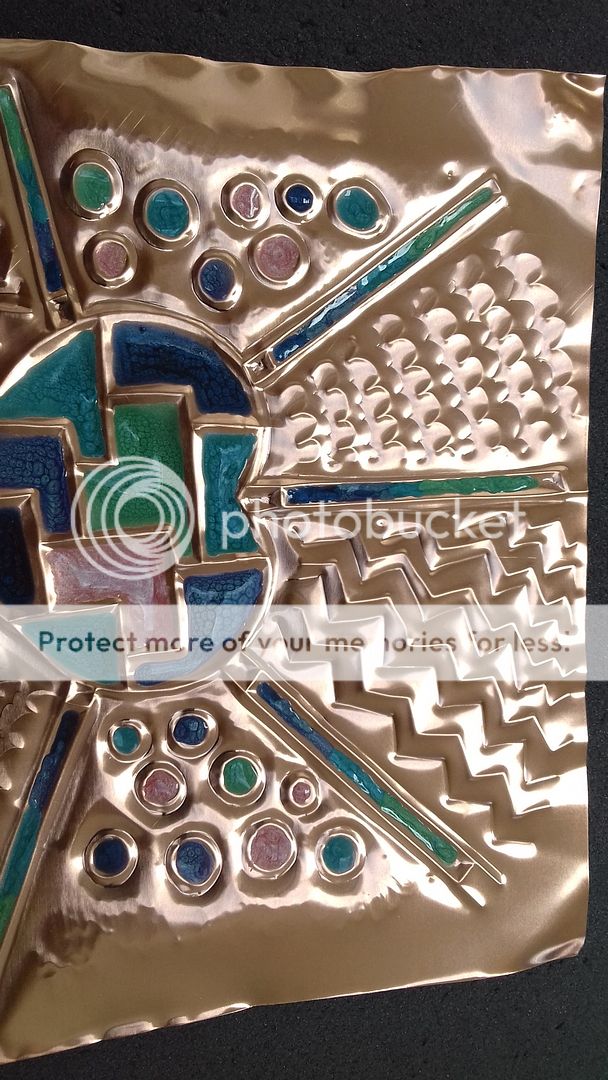
Time for the colour! I wanted to use teal/turquoise/blue/green as these are my favourite colours. I added in a bit of pink for contrast. Originally I only painted the one section in the heart pink, but then felt it was a bit unbalanced, so added pink in some of the circles too.
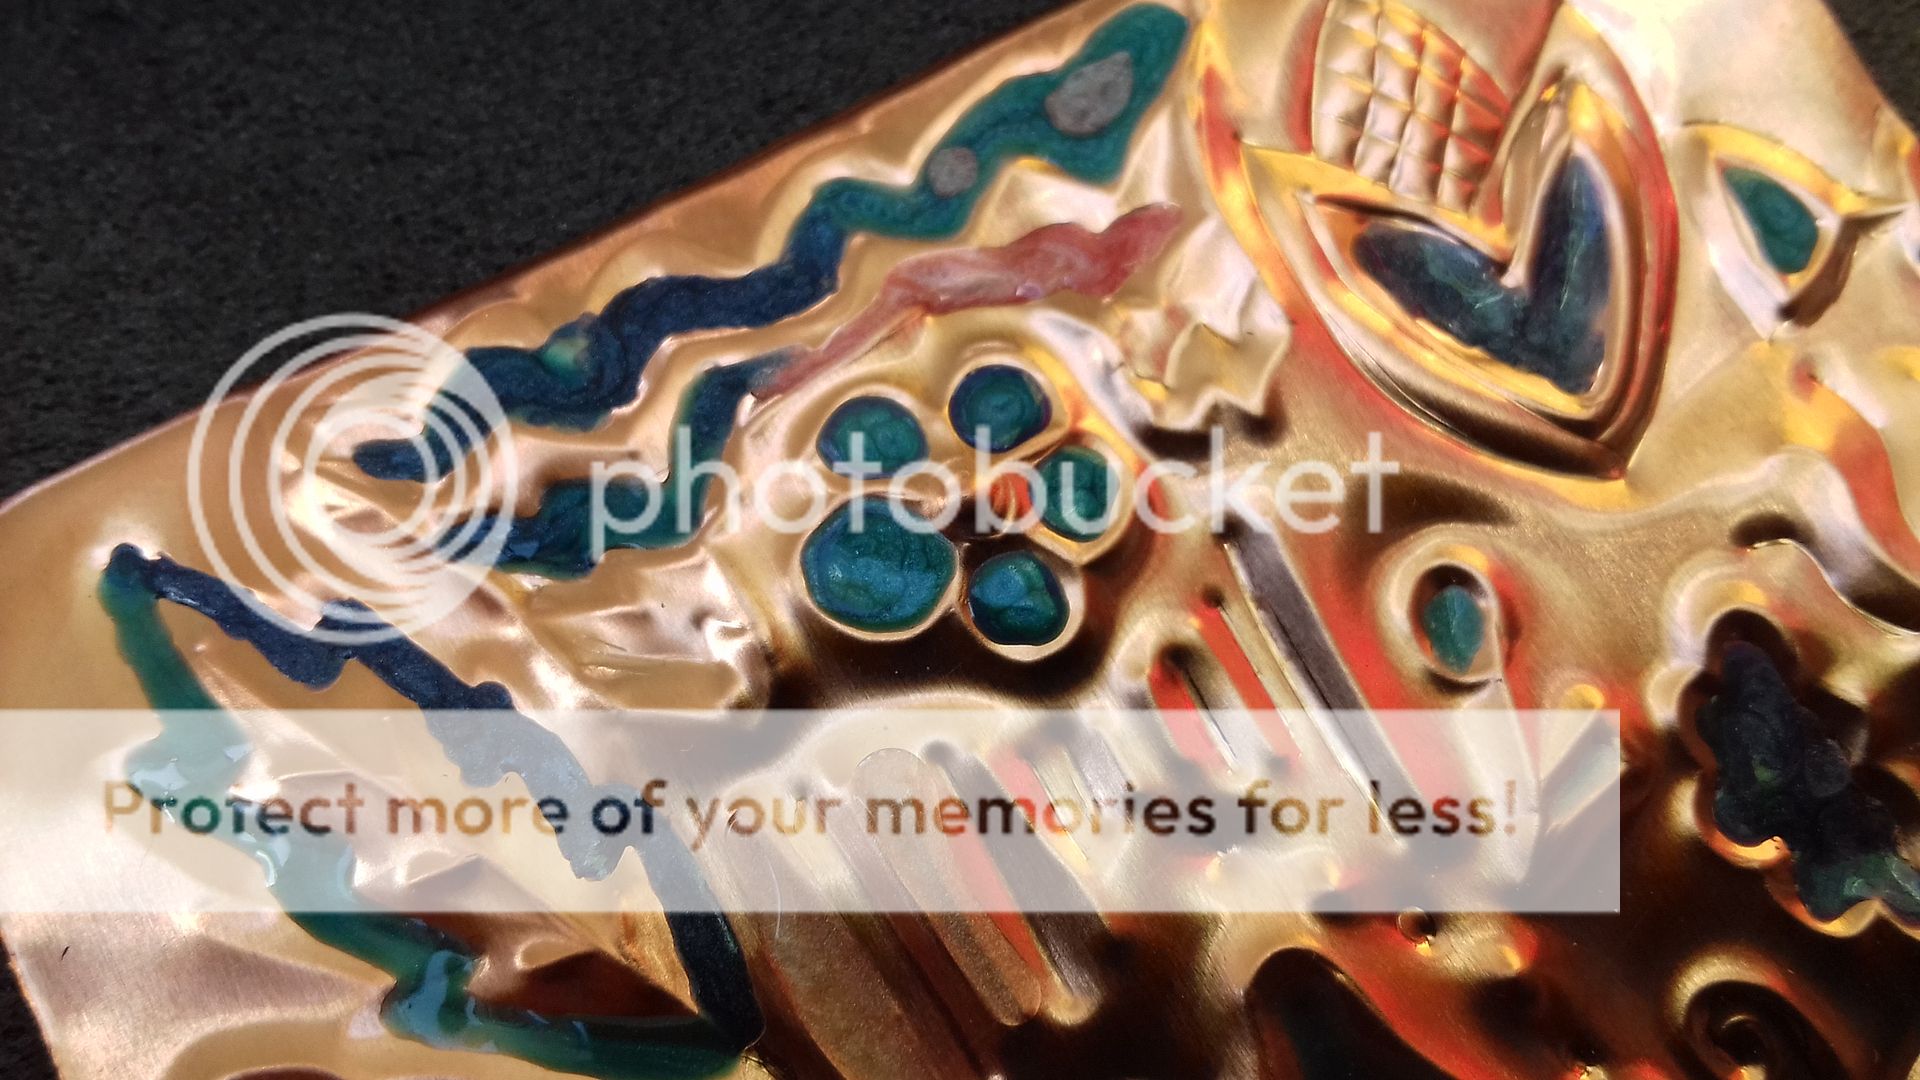
I took some close up shots, but I didn't think to take a picture of the finished object framed. In a lovely touch, we each got an IKEA box frame to take away! Dawn lightly mounted my picture with masking tape, but as the paint was still wet, I have to re-mount it more securely before I hang it.
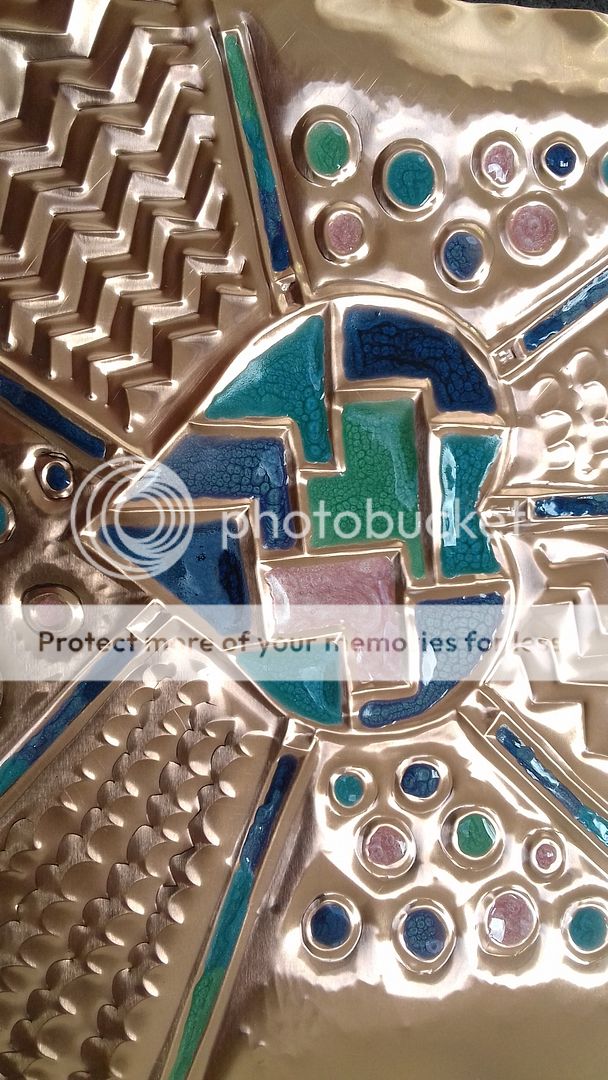
You can make out the different textures of the paint in some of these pictures. The Fantasy Moon looks like the surface of the moon with tiny craters, and the Prism is more abstract - the pink paint is Prism.

I thoroughly enjoyed this class. Great venue with coffee and cake provided, and Dawn was a good teacher (much better than my last craft class experience!). I'd love to take another class with her, but alas, there's not really much more to learn! It's more a case of practice and experimenting. You can also cut out the images and shape them, but that's something to try at home. She did say she could do a class at her home using heat to create colour effects (there's a great example here on her home page, scroll down). We weren't allowed to do that at the venue due to health and safety restrictions!
I can see me doing more of this, it was relaxing and enjoyable. I just need to get some more work done on the house (studio nearly done!) and finish off summer really. There are too many festivals/gigs/events to go to during the summer for me to get much craft done!
10 comments:
Dear Wendy
These are beautiful. The paint creates a wonderful effect too - it does look enamelled. Oh dear, another thing to add to the wish list!
Best wishes
Ellie
Oh, that does sound - and look! - like fun. I think my Grandmama did some with the WI in the 1960s or 1970s, but of courlse the paints weren't available. They add a fabulous new dimension, don't they!
Love it! Especially love how you've done the boxes in the heart.
The paint on the copper is really striking. Glad you got a class you enjoyed
Sounds like a really fun class and those paints look so beautiful against the copper.
That is lovely and looks like a lot of fun!
Oh that is super fun. I love the look of enameling but never tried anything like this.
This is a very interesting technique. It looks more manageable than I would have imagined and and I love the enamel effect. your finished piece looks great :)
This looks like a wonderful class. Sounds like a great teacher this time. Love the result with your piece. It looks so good.
This does look like fun, Wendy!
I like the all the designs you made on the copper, and those paints are lovely! I like the colours you chose and I’m amazed how much like enamel they are!
A few years ago we had someone showing us how to use copper pieces for decorating at my handicraft group, but I never would have thought to paint them!
Hugs,
Barbara xx
Post a Comment