Sunday, 31 March 2013

Skill Builder BOM - The Mood and Woven Star


Pile O' Fabric


I made another two blocks for the Skill builder BOM, hosted by Pile O Fabric.  It was not a complete success.


First up was the Mood block.  I'd already cut these pieces out, it was February's block after all!  I added in a bit of orange print for this, but I'm not sure it works.  I'm trying to do a predominantly blue, and predominantly solids quilt, with flashes of yellow and of print...  But, on the positive side, it worked well.  I was worried about this block, there was a lot of panic in the Flickr group as one of those triangles is made by putting your ruler at 60 degrees, then moving it 2 degrees. To be honest, I have no idea how far I moved it but fail to see how it can matter!


This is the Woven Star.  Except it's not a star, is it??


See it?  Damn you wayward orange triangle, I'm going to have to unpick you...  You have no-one to blame but yourself. 


Related posts

Soundwave and Magnum

Friday, 29 March 2013

Unstalling a stalled project

#11 on the Massive WIP list stalled last year.  I'd bought a necklace kit from Spellbound Beads (LOVE their stuff) at the NEC a year or so ago.  I got the bits out and started by making the elements using bead cones and headpins with seed beads.  I messed a couple of them up, cut them too short.  Not to worry, I've got loads of headpins.  Ah.  Seed beads don't fit on my headpins.  I did a bit of online shopping and ordered some more, they were also too thick.  Finally, I bought a pack of headpins from Spellbound Beads at the NEC last year, 2012, not the show I went to last week.  


The headpins were put with the kit and it all sat on a shelf until two weekends ago.  What is it that suddenly makes me want to work on a particular thing?  Why leave it all that time untouched, then really want to make it?  Who knows.  So, I got all the bits out again and laid them out on my bead mat.


I thought I'd begin with the headpins.  I have a clear memory of completing half the beading before undoing it.  Why I did that, I have no memory.  It certainly wasn't lack of headpins, all the cone elements were made and ready!  Now I'm really confused - if I didn't need the headpins, why did the project stall?  Did I misread the instructions and think I needed more?  Why did I do half the beading and then undo it?  I will never know.


I completed most of the necklace that weekend, all that needed doing was the stringing on of the final 10 silver beads, a calotte and the clasp attaching.  It sat on the table for a week, then moved to the sideboard.  Why?  No idea.  


And then, and then, I finished it!  Just picked it up and did it.  I closed that calotte (a kind of crimp that you use on the end of beading thread or wire to hold it tight) and snapped the thread.  Marvellous.  I had to strip it down 4 leaves from the end to tie on a new thread before re-stringing it and adding the calotte.  Phew.


I'm not sure if you can make it out, but the calotte is the round silver thing next to the clasp, on both ends.  The main part of this necklace was made up of basic seed bead stringing, then forming some loops for leaves, it wasn't difficult at all.  I really like the effect, it looks dainty and delicate, hopefully it's not too delicate as I am Mrs Clumsy.  

#11 completed!  

Thursday, 28 March 2013

Bag lovin' blog hop

I've made a few bags, I love bags with a passion so I thought I'd jump on in to the Bag Lovin Blog Hop. 

If you've found my blog through the linky, you probably want to see posts about bags?  Here are some of the bags I've made, links to the post about that bag are below the mosaic:


0 (centre). Buttercup bag 1. Buttercup bag 2  2. Hobo bag  3. Weekend bag  4. Pheobe bag  5Knot bags  6Massive bag  7. Zig Zag tote  8. Messenger bag  9. Pixie bag  10. Rosie Patchwork bag  11. Skull and Crossbones bag  12. Accordian bag

I hadn't realised I'd made so many bags!  Mind you, I've ended on 13 there, that could be unlucky, I think I need to go and make a bag... 


Want to join in?  First are the directions that you copy to get onto this linky,.. then you  can see the linky of the bag-lovin' blogs.

Note: This Blog Hop is ONGOING so you can add YOUR Bag Lovin Blog at any time! :)
What do you have to do? It's easy! (Please note links require approval so will be approved after all 3 steps have been carried out! Please make sure your blog has posts about BAGS otherwise your submission will be declined!)
Step 1) Just add your blog link below by clicking on the "Click here To Enter" link and follow the easy steps to add your blog!
*Step 2) IMPORTANT! Click on the "Get the code here" link shown to grab your copy of the code and create a new post on your blog! Please include these instructions so that new members will know what to do! :)
*Step 3) Grab this button: (Right Click and Save)
BLOG-HOP-1
and pop it in your sidebar linking to your Bag Lovin Blog Hop post so that we can leave this blog hop open and people can keep finding it and hopping on! :) 
After all 3 steps have been completed, please email ChrisW Designs and your link will be approved and added to the Blog Hop as soon as it is verified that you have completed the steps correctly! :)
That's it! :)
 Please note it may take me a little while to approve your link due to the time differences! If you have any technical difficulties or you can't see your link within 24 hours, please don't hesitate to email her so she can  help! :) 


Wednesday, 27 March 2013

wipocalypse march

It's time for another WIPocalypse check in .
Let's start with what I finished in January and February:

2. giant granny square blanket
10. Small vintage embroidery
15. Bathroom curtain
16. Picnic napkins
17. Wiggly bags 
24. punch needle
26. Mosaic house number kit
34. Scraperboard rabbit
48. Lavendar sachets from hankies
53. Red scarf with beaded fringe
59. Decopatch

So what have I finished this month?

My Wips
13. Tea wallets


12. Necklace kit mum bought me


crafts /projects I have supplies for
57. Mega chunky cowl


61. Crochet hat for me in Hug


63. Hat for Samantha


11. Necklace kit from Spellbound - not blogged yet... coming soon

So that's 6 WIPs from a total of 56 (projects left) done -  11%. And 6 out of the total of 67 is 9%.  Overall I've done 17 from a total of 67 - 25%.  A quarter and we're a quarter of the way through the year, got to get moving!

So which projects have I made progress on but not finished?

My Wips
1. The Mackintoshesque window 


crafts I have kits for

33. Silhouttes cross stitch


crafts /projects I have supplies for
50. Chair covers for mum


Which leaves me with:
My WIPs
3. Cotton granny squares - originally intended to be a blanket, now a footstool cover
4. crochet rug
5. crochet Yoda
6. crewel Jacobean pattern
7. Crewel fire guard
8. Beaded embroidery dress
9. Dancers cross stitch
14. Alphabet chart
18. Chair covers
19. Sewing machine mat with thread catcher
20. Ungar #2
21. Fleece baby hat
22. Applique tea cups

crafts I have kits for
23. Enamelling
25. Lace making
27. Mosaic tray kit
28. Beaded santa ornament
29. Silk painting
30. Origami

31. Hessian reindeer
32. Lynette Anderson needle case
35. Latch hook kit
36. Beaded lillies

crafts /projectsI have supplies for
37. Clay + Pebeo paint
38. Cathedral Windows
39. Tatting Course
40. Beaded Boxes
41. Sharp crochet hook
42. Extruding clay
43. Hammering wire
44. Bead loom
45. Lino cutting
46. Friendly plastic
47. French knitting
49. Lunch bag
51. Jacob's quilt
52. Beaded bird panel
54. Crochet cardi
55. Crochet bag
58. Crochet fat friends (the other 7)
60. Lucet
62. UTEE
64. Embroidered tablecloth
65. Kitchen curtains
66. Bunny jewellery - charm and ceramic beads
67. Paper beads

29th December 2012 = 67 projects.
26th January 2013 = 6 completed. 6 projects total. 61 to go
26th February 2013 = 5 completed, 11 completed total, 56 to go
27th March 2013 = 5 completed, 16 completed total, 51 to go

And the projects added since Christmas?

a1 - Skill Builder sampler BOM
a2 - And Sew On... BOM
a3 - Daisy crewel alphabet sampler
a4 - Kumihimo braiding
a5 - Soft book animals

a6 - Hardanger SAL
a7 - CK Button kit (Christmas present from Mr CA)
a8 - fabric medium


I told you it would grow!

Next update: 25th April.

Tuesday, 26 March 2013

A very boring post

That's not to say all my posts aren't boring, but even the subject of this one is dull...


Do you know what it is yet?  It's a very funny shape, though I blame the gingham for that.  


Are you all managing to contain your excitement at these thrilling photos of a chair cushion?  Come on, own up, who just peed themselves?  Mum asked me to make some covers for the new chairs she'd bought.  They came with a wipe clean cover in a dirty white colour.  This was ages ago and I finally got round to it.  Let me tell you, making these (I've made 2 seat cushions so far, I've still got another 2 to make, then 4 for the cushions that go at the back) was a bloody nightmare.


See that?  See how I've sewn both ends of those tabs?  They're supposed to look like this:


Those tabs will have velcro on and will wrap round the frame to hold the cushion on.  So why don't they have velcro on?  The kind I had was self-adhesive.  I stuck it in place and tried to sew it.  Two needles later I discovered you CAN'T sew self-adhesive velcro.  So I left it, I mean, it's self-adhesive.  That means it will not stick to the tabs, but will stick to the floor, my leg or anywhere else it might fall off... I now have 16 velcro tabs to hand sew in place, when I've peeled them off the coffee table...


See that zip?  That's the back of the cover and is to put the cushion (which is pretty rigid) in place.  Do you have any idea how many times I sewed that seam?  Firstly I made a long covered zipper panel - the zip is 20", the panel was 23".  I sewed it in place and added the top, I had a complete cover.  The pad is 20" x 23".  Yes, that's right, I'd put the zip on the wrong side and I couldn't get the cushion in.  Unpick, recut, resew, stuff cushion in, seam splits open.  Resew seam, sewing over it 3 times.  Stuff cushion, seam splits... expletives.  

You have no idea how glad I am this damn thing is done.  You also have no idea how much I'm dreading the other 6...


Monday, 25 March 2013

Skill Builder - block 3 Em-Dash

Pile O' Fabric


I finally got round to making another block for the Skill builder Bom, hosted by Pile O Fabric.  Blocks 3 and 4 were posted in February, so I'm really behind, I also haven't FMQ'd the first 2 blocks... need to get moving on this one!


Block 3 is the Em-Dash which starts by adding HSTs to the corners.  I took the photo above to illustrate how bad my accuracy is.  That sentence didn't make sense, did it?!  I very carefully cut and starched the blocks.  I very carefully lined the small blocks on top and they don't line up properly!


Even so, my points aren't that bad.  2 meet, 2 don't and of course the middle doesn't, that's obvious from about 3 miles away!  2 out of 5 is pretty good for me!


For some reason my block finished up at 12.25" rather than 12.5" so I decided to sash the 3 I'd made and cut them down to 15".  I couldn't find what size the finished blocks were supposed to be, but this is my quilt so I'm going to just make it up!  There's some pretty bad pressing on display above.


This appalling photo shows the first 3 blocks sashed.  Eagle-eyed readers may notice I changed my Magnum block.  I wasn't happy with the mistake I'd made, it took seconds to fix so I'm glad I did.

Now I just have to get block 4 sewn up, all 4 basted and quilted then I'll have to start on March's blocks, though I don't think they're out yet.  Does that mean I'm not behind?


Related posts

Soundwave and Magnum


Sunday, 24 March 2013

Craft show stash - or lack of

Friday was the craft show at the NEC.  It was actually 3 shows in one - Hobbycrafts, Sewing for Pleasure and Stitching, Fashion and Embroidery (or something like that!).  I've been going to these shows for a few years now with my wonderful mum, but we're not going next year, it has really gone downhill.  The Hobbycrafts was 80% rubber stamping and there were very few new products or techniques being demonstrated.  The fabric shops were at the Sewing for Pleasure but all selling at full price -come on, where's your discounts?  I'm sure they'd sell a lot more if they were to offer discounts.  The third show, well, it was neither here nor there, I don't recall seeing any embroidery other than 2 stalls selling cross stitch charts.  

I did come away with some stash, but nowhere near what I hoped to buy.  I had a list and they didn't have most of the things on my list.  I'll show you what I did get though.


A kit for a ribbon flower brooch, picked up on a whim, and a kit for a clock.  The ones they had on display were beautiful and so inspiring.


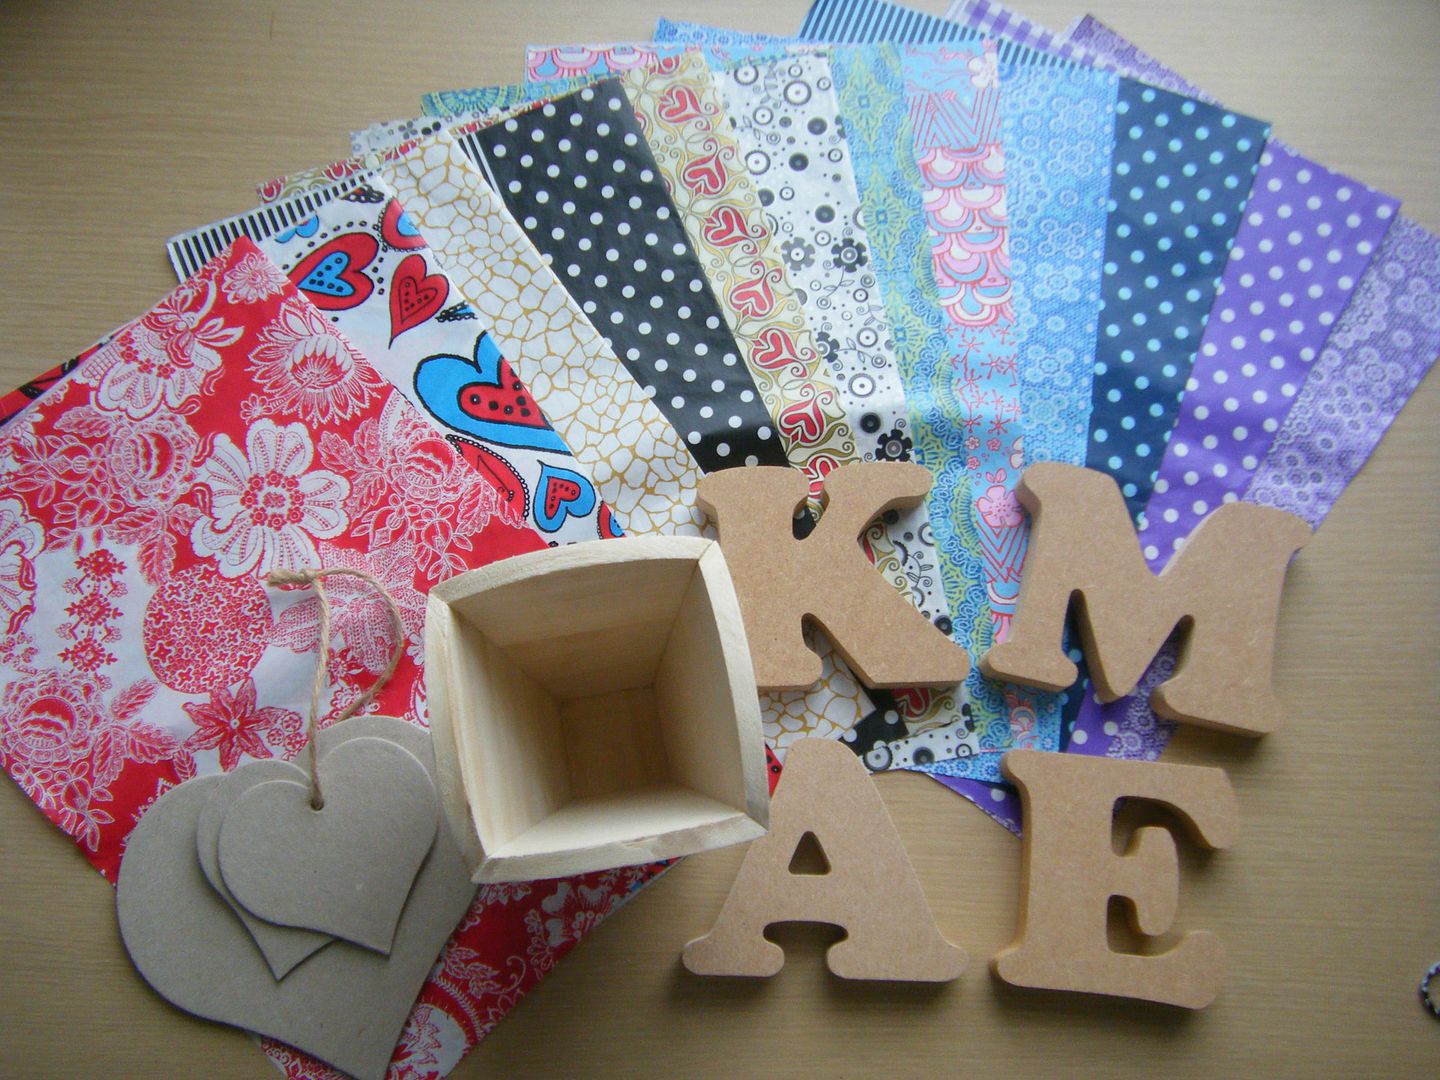
Decopatch papers. I knew I'd get these as they're so expensive in Hobbycraft.  I got a card too so can now buy them online.  I also picked up some MDF letters, a wooden vase and some cardboard hearts.


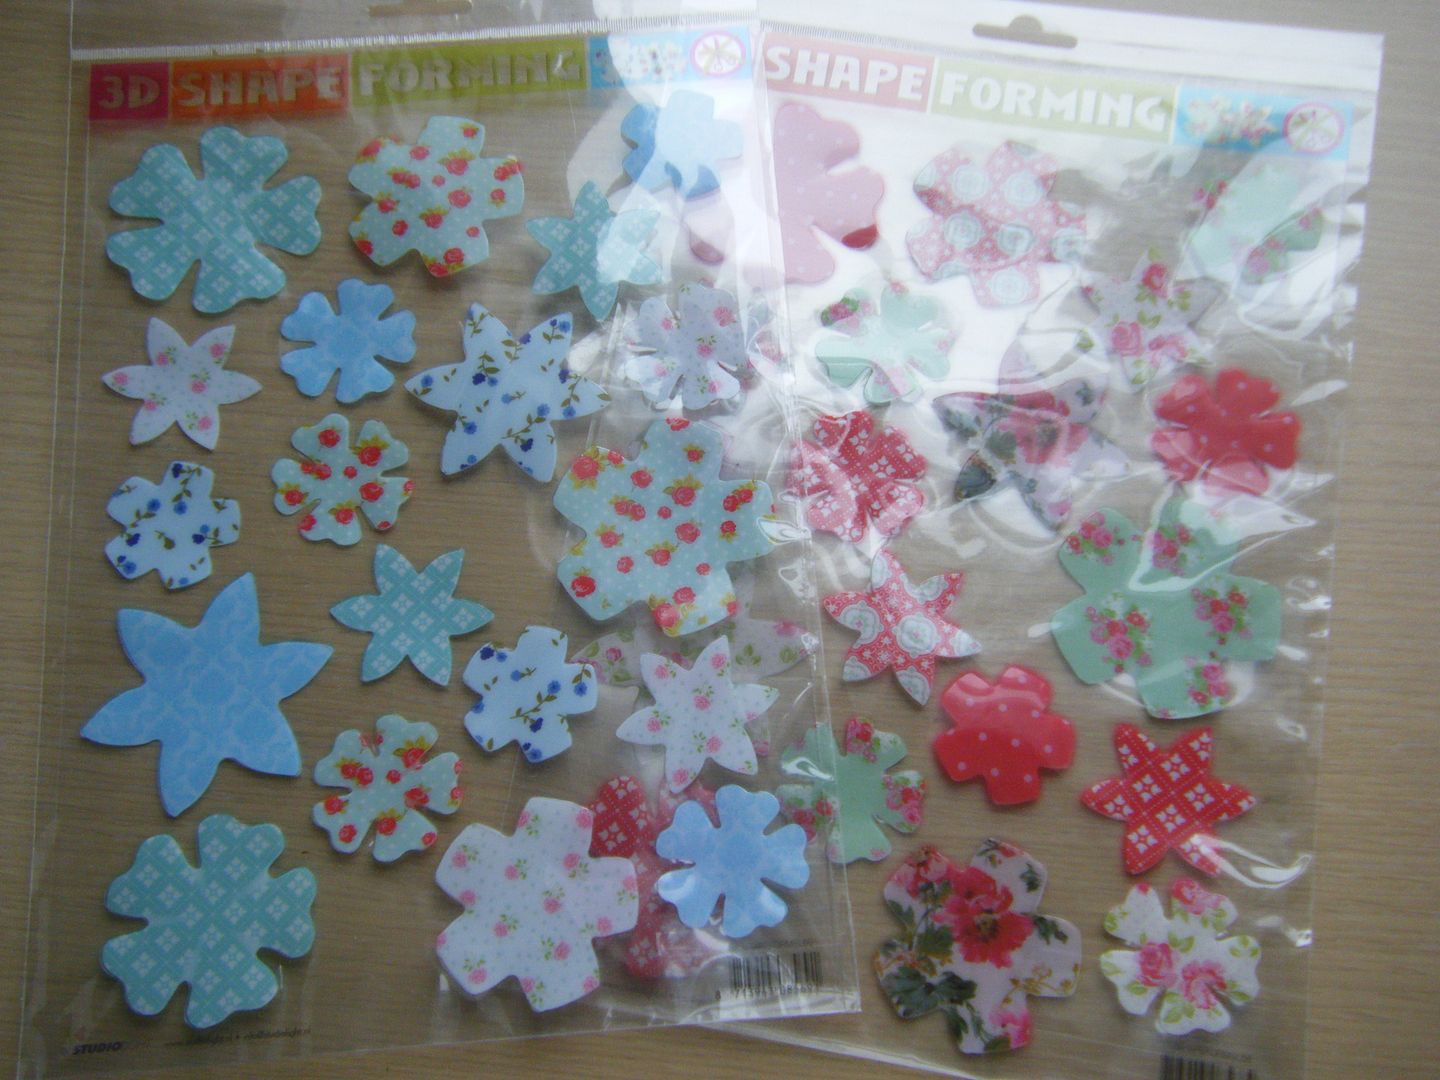
I think this was the only new product we encountered.  These little flowers are plastic, but with a little heat and a hammer, you can turn them 3d... I'll show you!


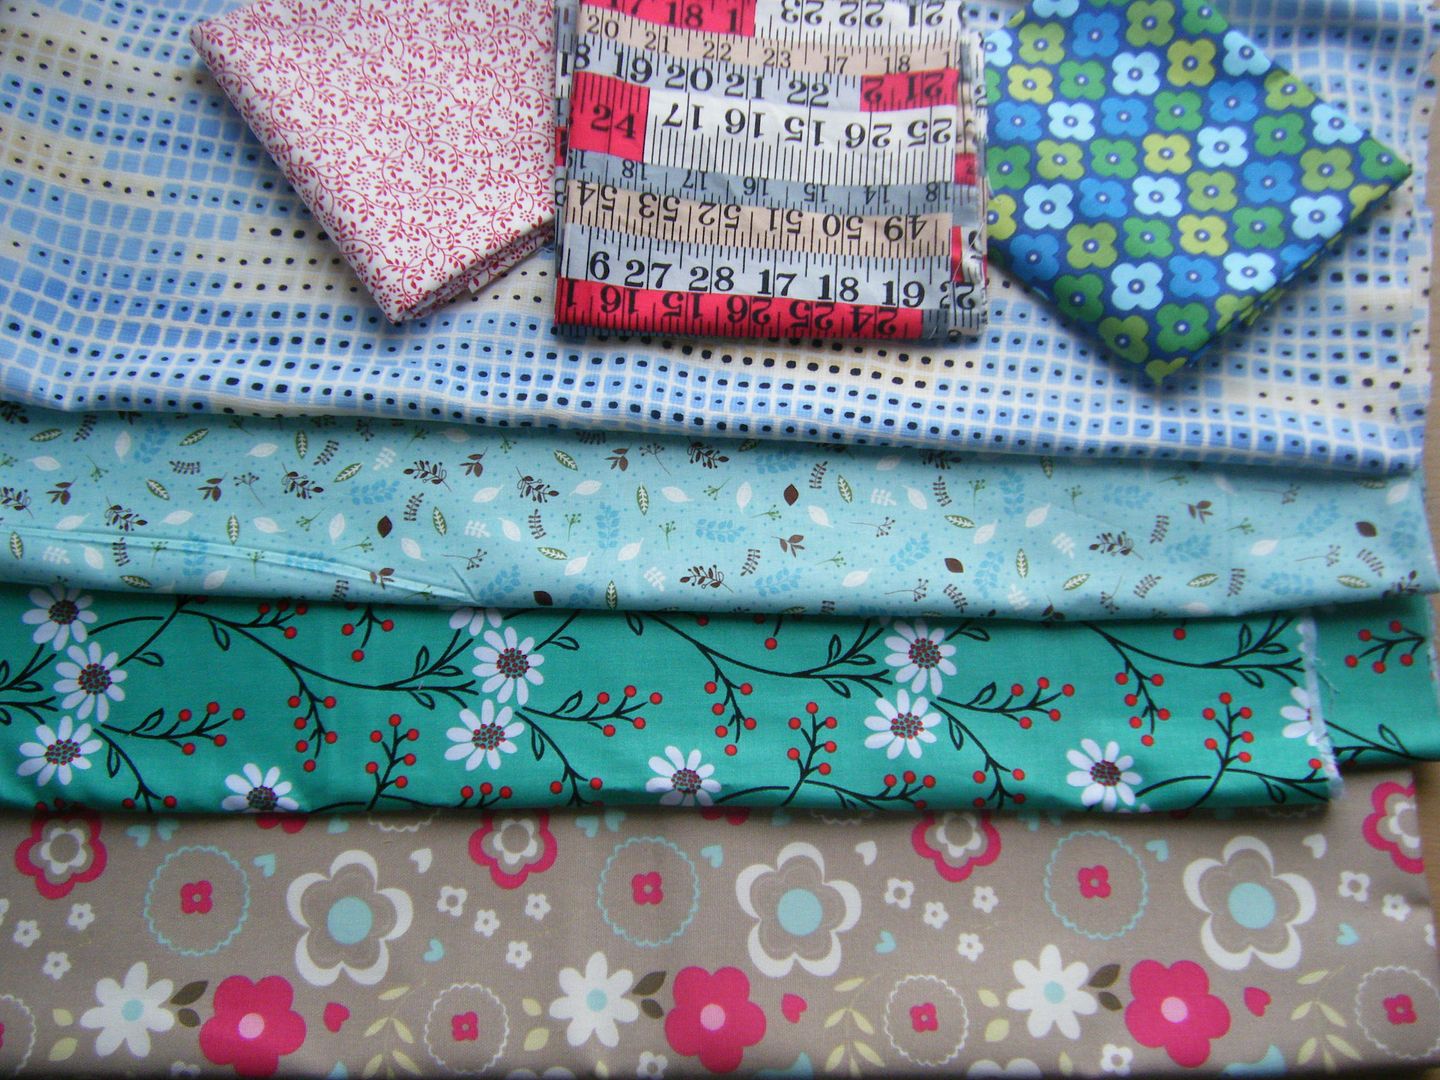
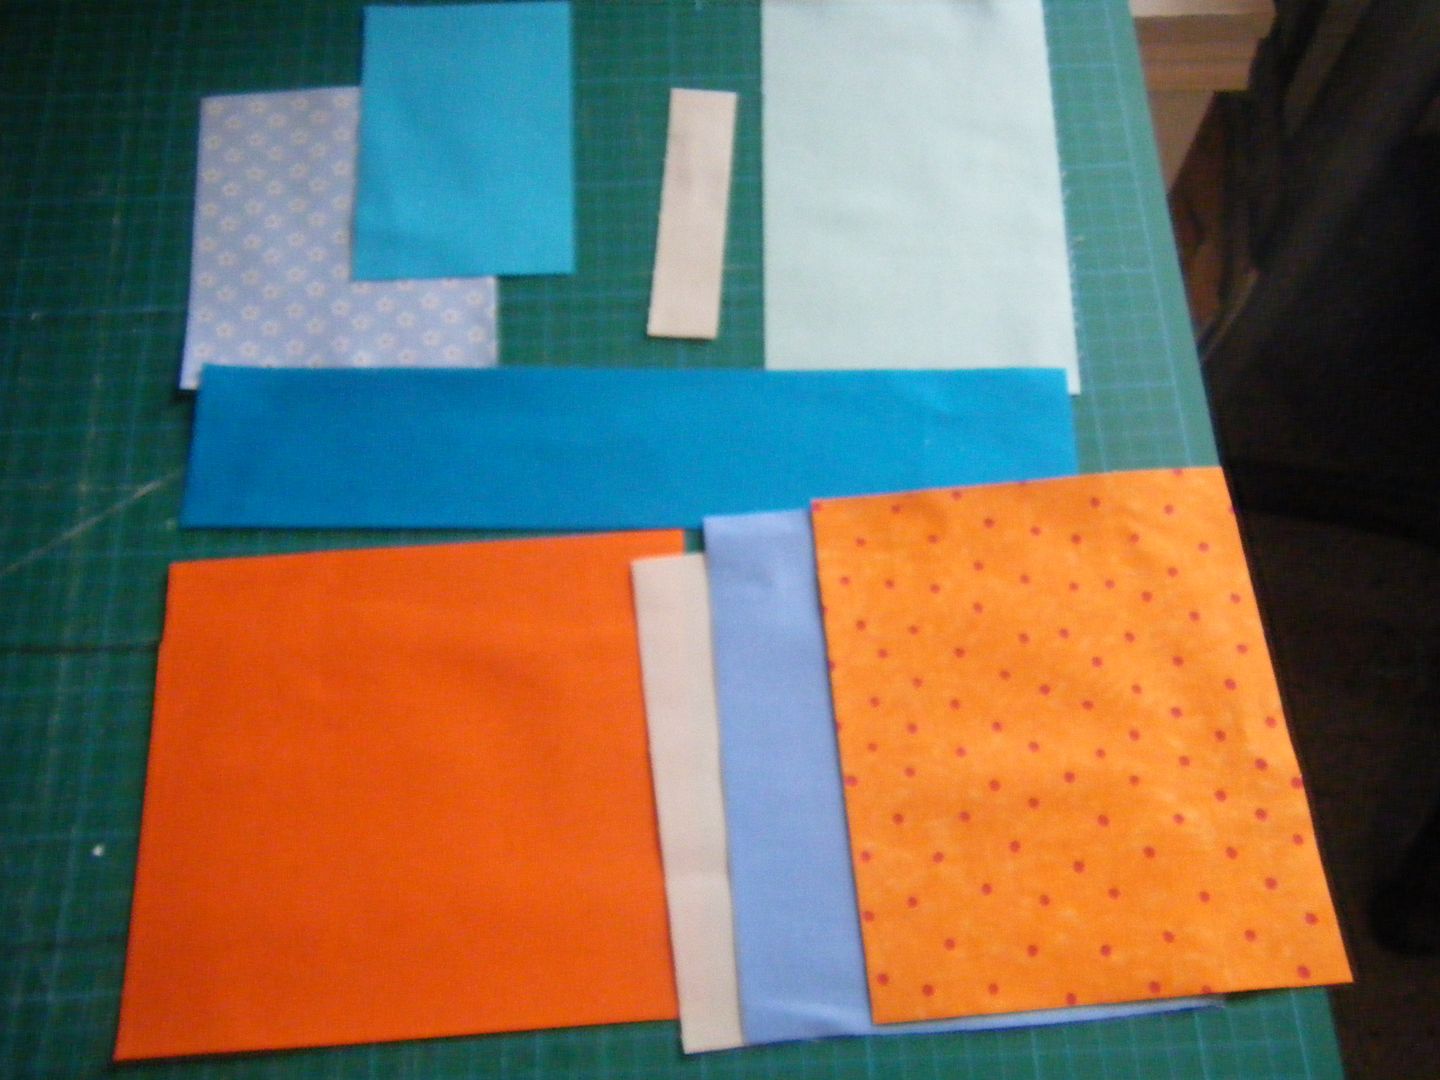
Some measuring tape fabric for when I get round to redoing my Measure Twice block, a couple of bargain fat quarters, the blue and yellow fabric is a chiffon to make a scarf, the next two are bargains from Abakhan - the only fabric shop to offer bargains at the show, and some Clarke and Clarke home dec fabric, probably for the Weekender Bag I'll be making along with the East Midlands Quilting Guild in a few weeks.


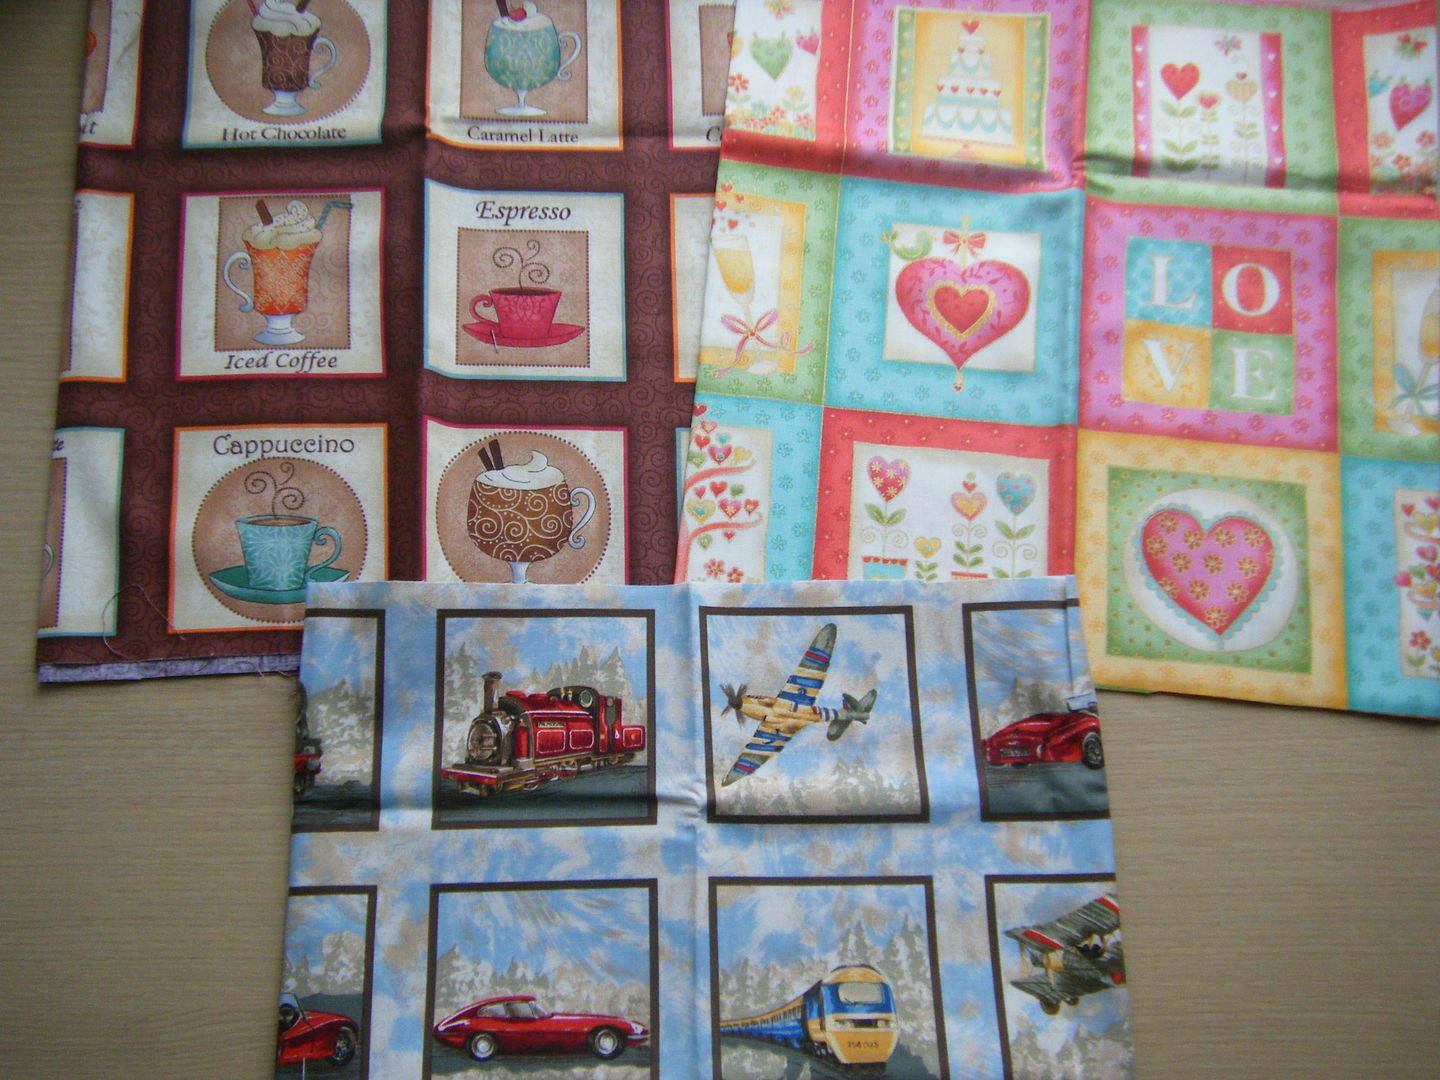
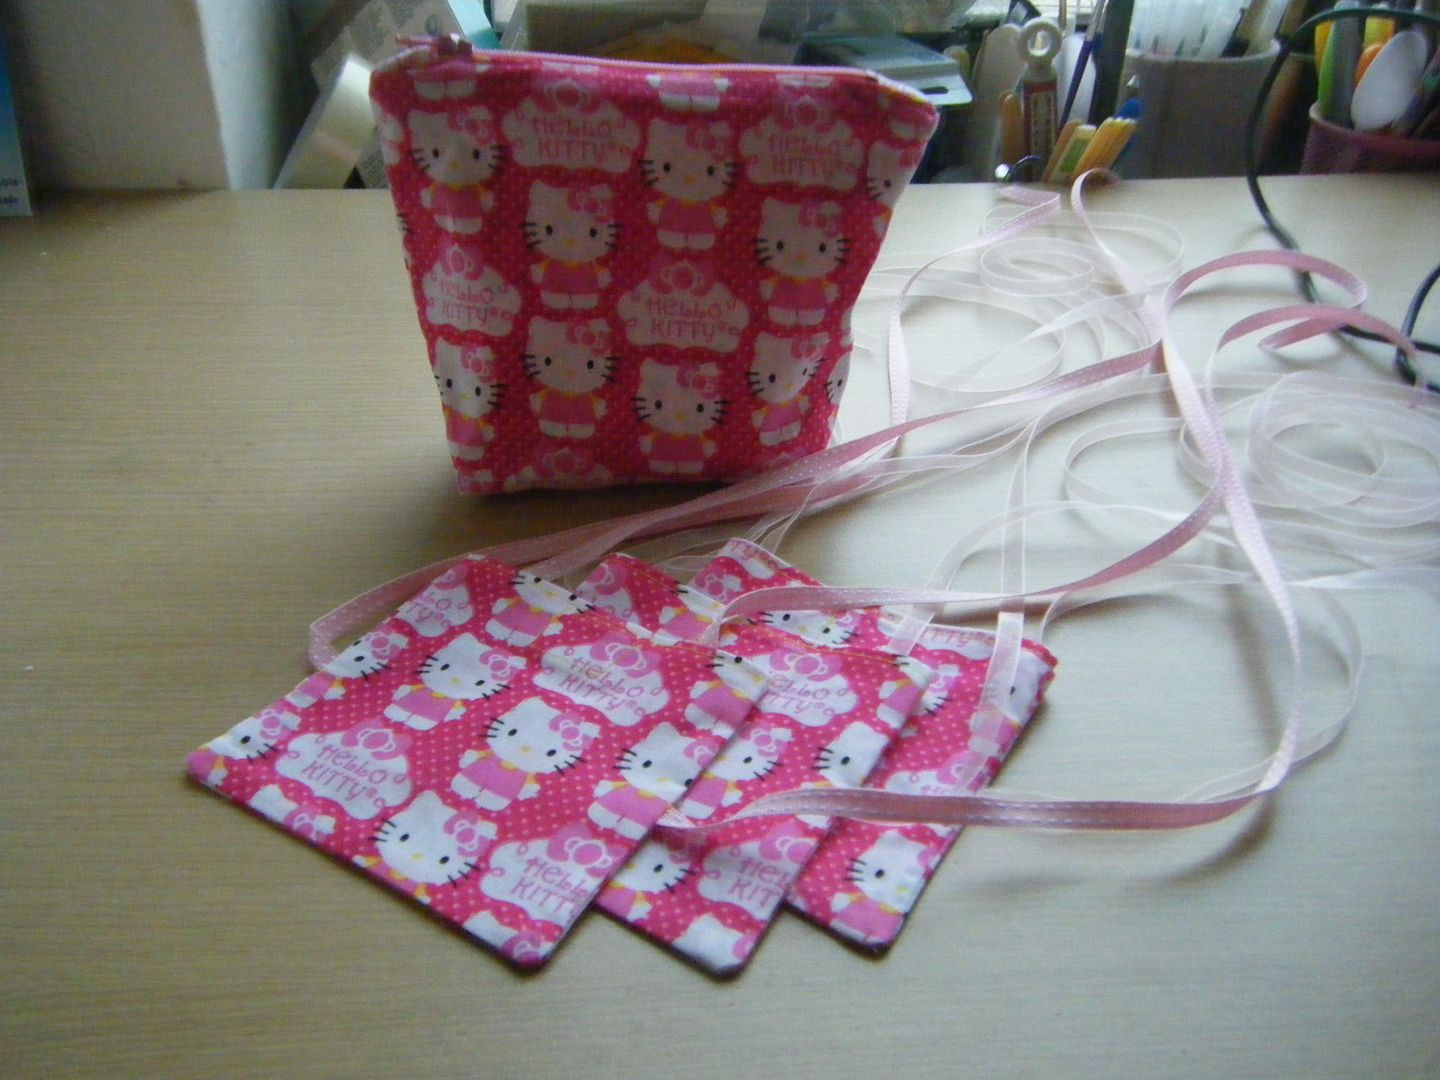
Fabric panels, probably for making cards, but maybe not.


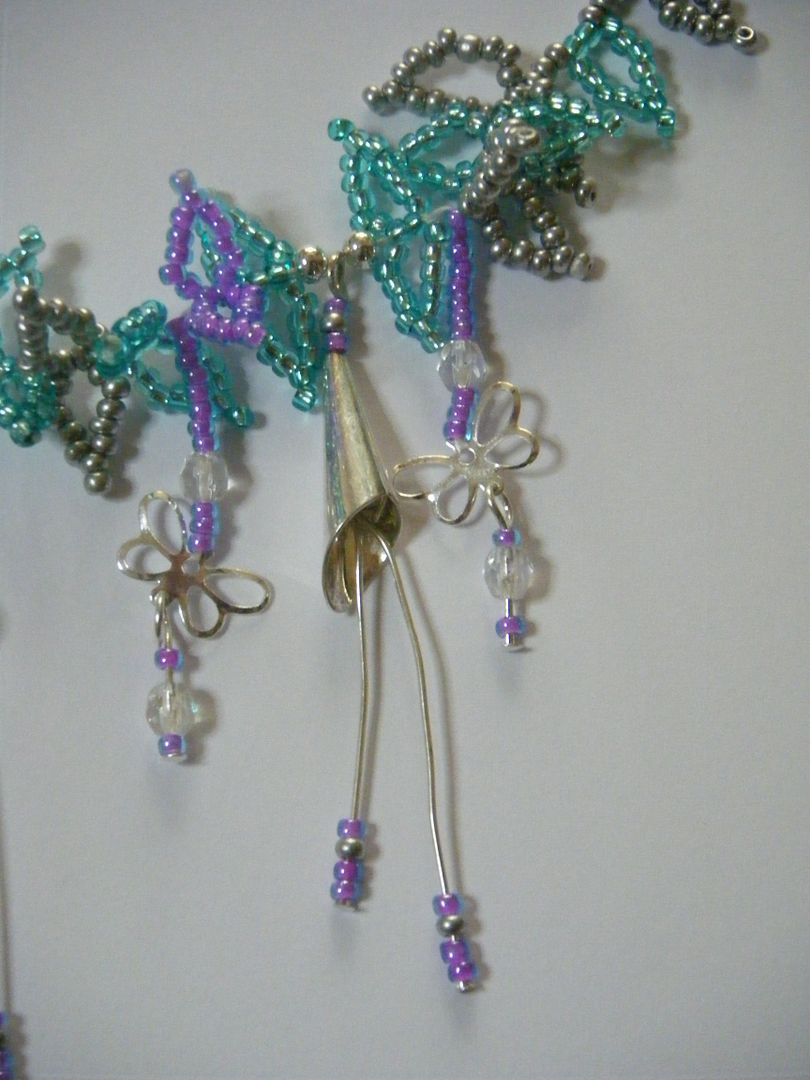
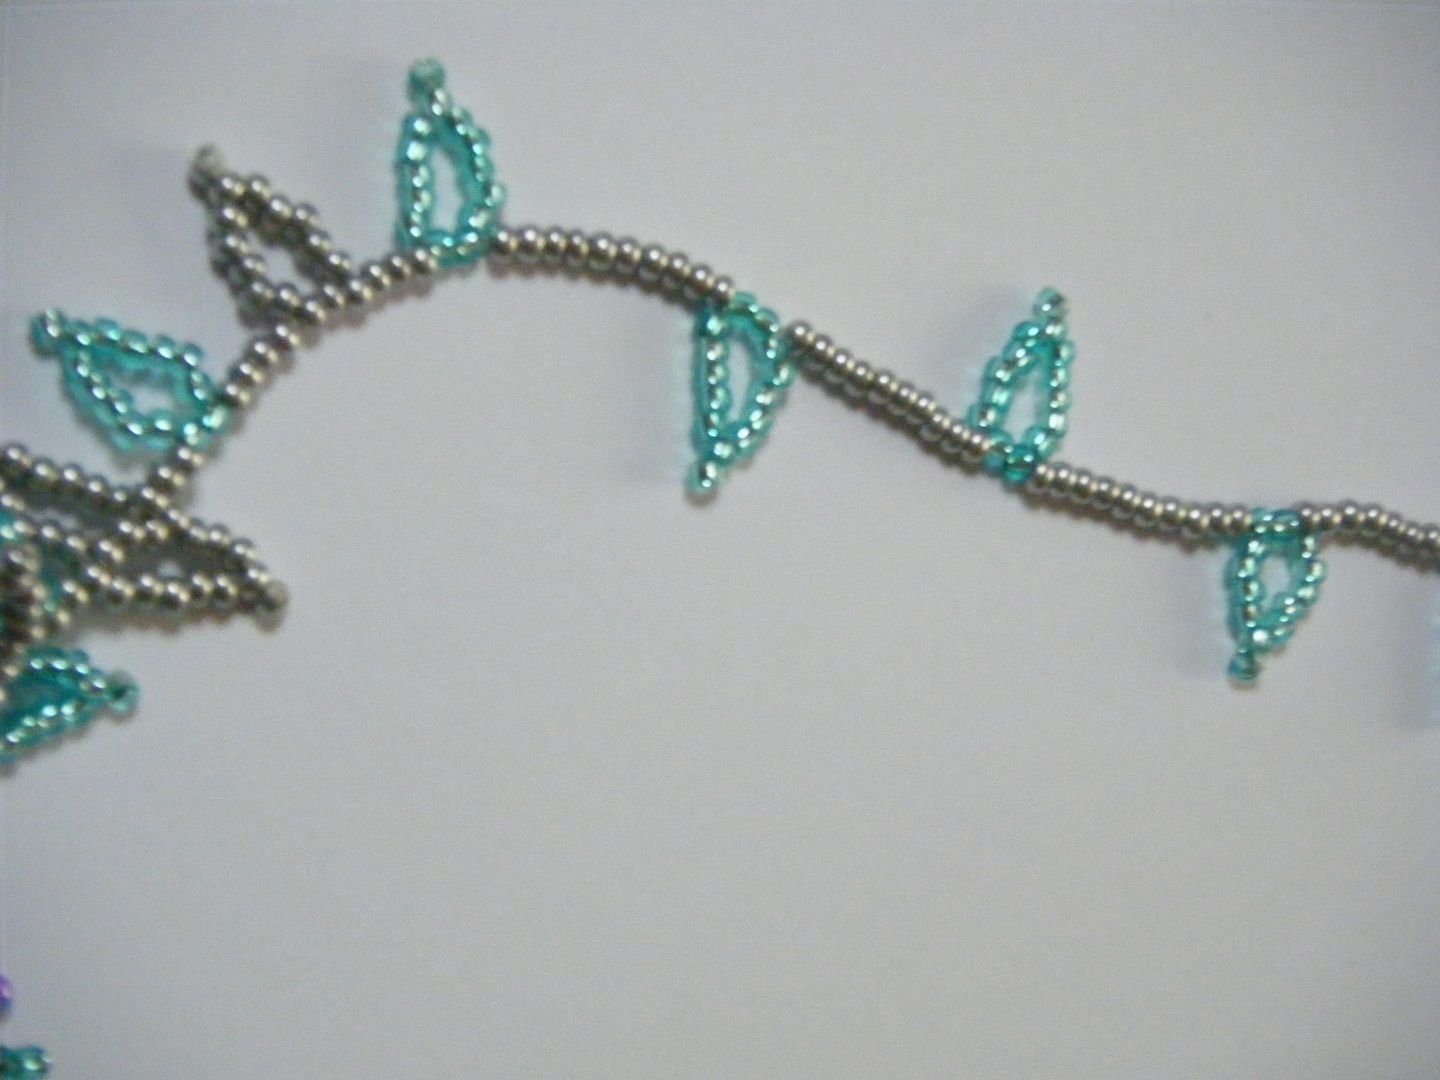
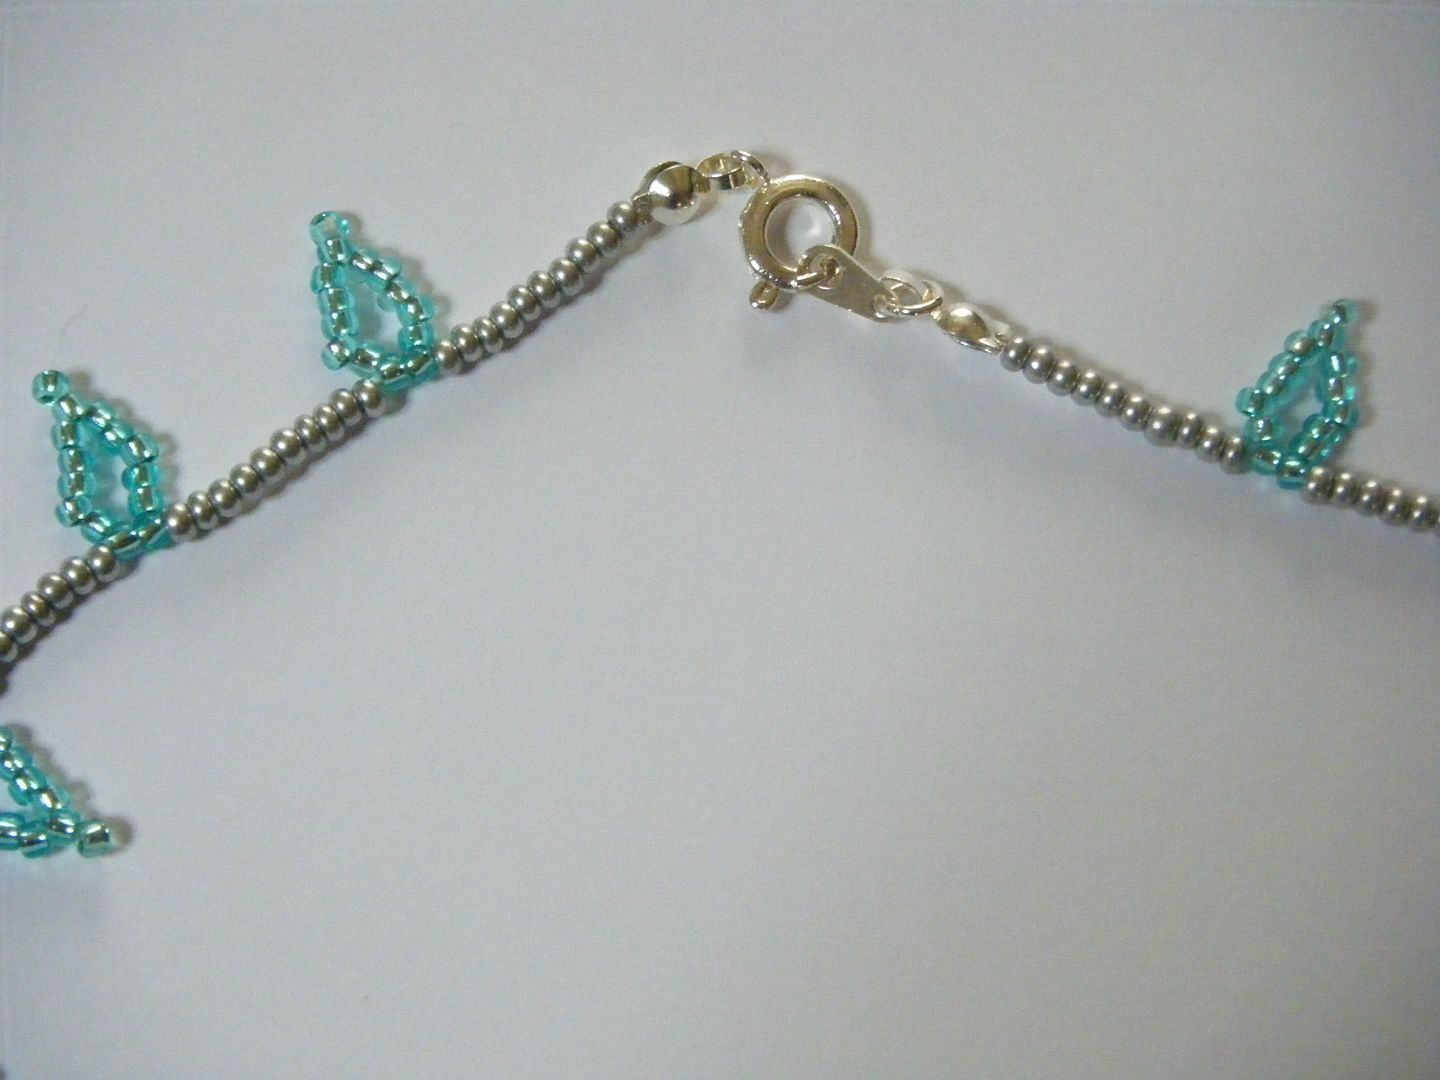
Size 11 red seed beads, connectors for jewellery making, pretty brads, gold-plated cross stitch needles, E6000 glue, hardanger scissors (well they weren't labelled as that but they are curved at the end so I think they'll be perfect - I haven't done any hardanger for ages but have a SAL I've joined, I tried to pick up the thread at the show but failed and so have ordered it), and...


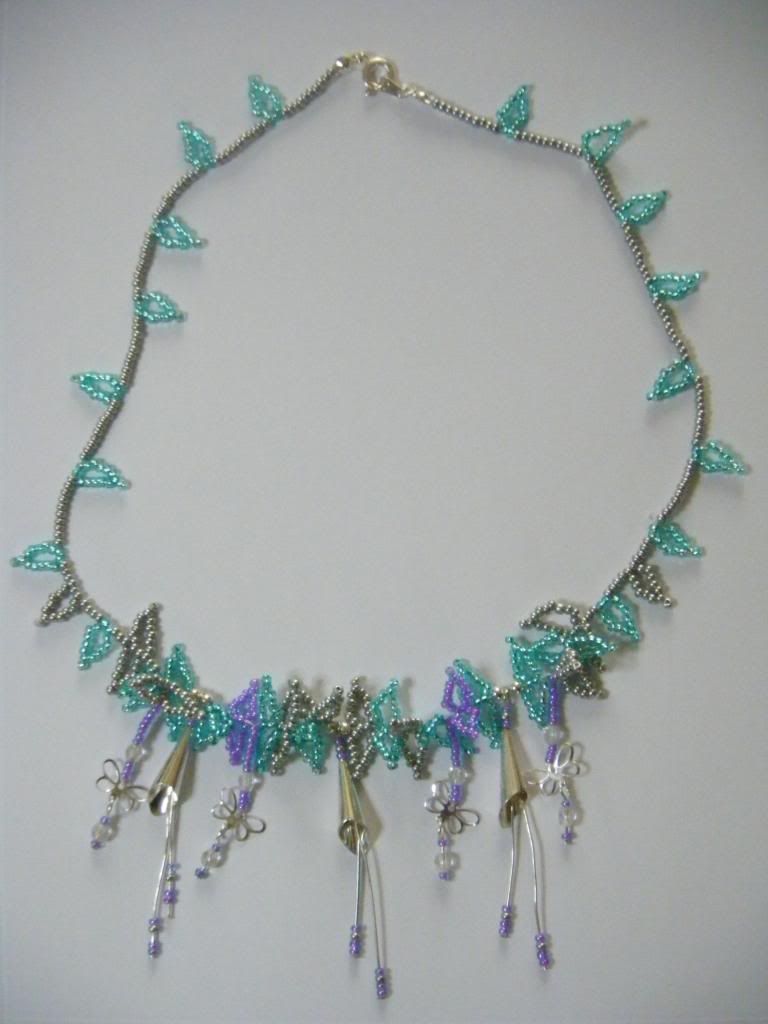
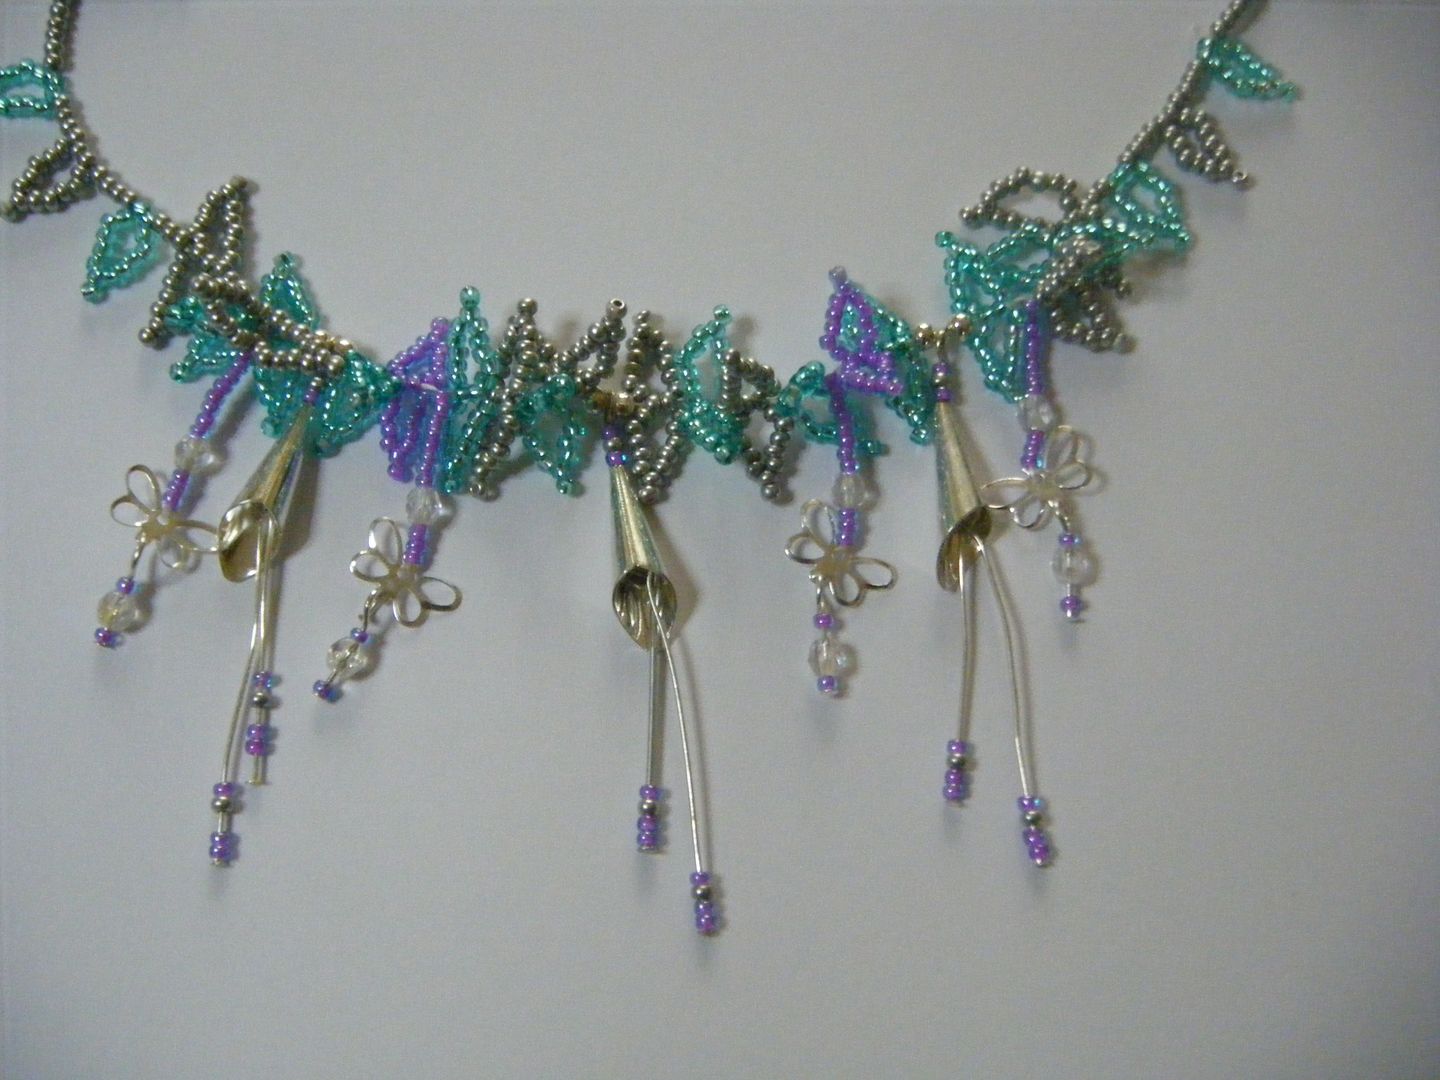
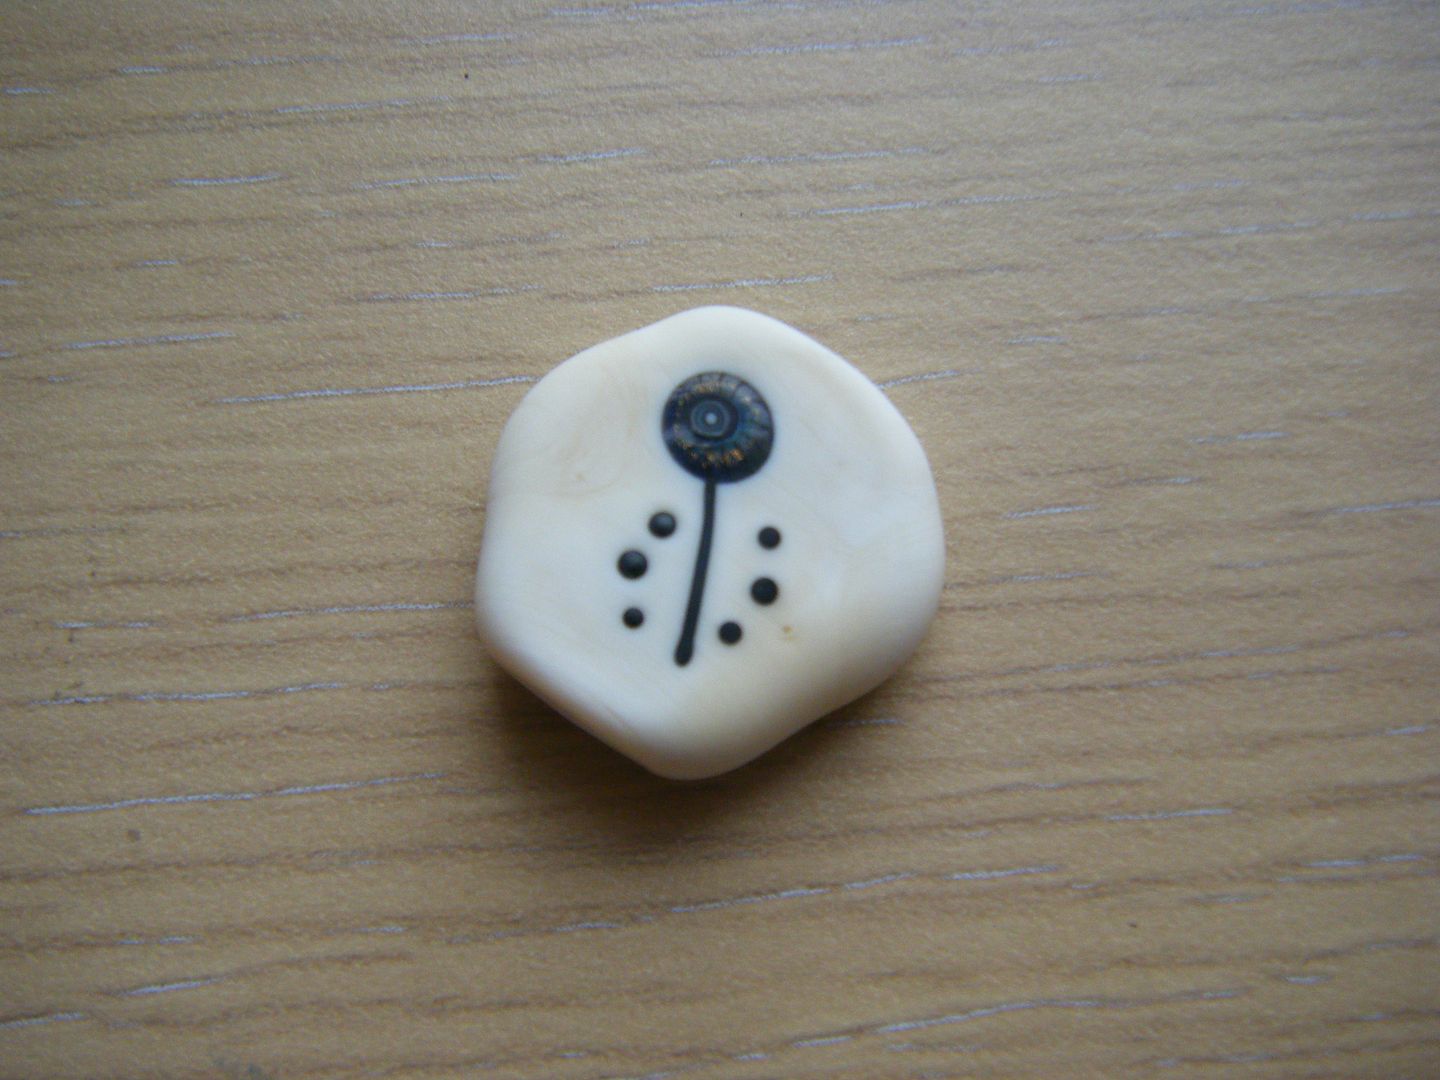
A hand-made lampwork bead.  How beautiful is that? I fell in love with a lot of her work, but couldn't afford much.  I'm not saying she was expensive - the prices were high but justifiably so - but I'm on a budget so just picked up this one piece.  She also told us where we could find lampwork lessons in the East Midlands, must get in touch with the lady she told me about...

Not my usual 250-photo long craft show haul post!

Friday, 22 March 2013

It's NOT finished...

I'd geared myself up for a ta-dah post on the window.

2 problems:

1.  I can't get a decent picture of it...

2. It's not finished.

Yes, you read that correctly.  I know, I know, I said it would be finished this week and it would have... except my teacher remembered that I need to blacken the lead!

Let's back up a bit.  Wednesday night the window came off its board and I took the opportunity of a photo.


It's on it's side, it'll be landscape above the door when it's fitted.  Quite a few people have asked me if I know where I'm going to put it.  When making something like this, you have to know where it's going before you start as it has to fit exactly, to the exact millimetre, so the location above the front door was chosen at the beginning.

Next I covered it in cement.  No photos of this as my hands were filthy, as you can imagine.  It was then sprinkled with white cement.


Of course, I had to do this process front and back. My teacher turned it over and I nearly had a heart attack.  I think it looks really pretty with the white in it!


Yesterday afternoon I left work at lunch time and came home to clean the cement off before it dried permanently.  I thought I'd hate it (I hated cementing it), but I really enjoyed it.  First I ran an upright knitting needle along each piece of lead to remove the cement, then brushed it over with a stiff brush.


Can you see the gray bits of cement?  I'd cleaned the straight rectangular pieces at this point, you can see above that all the cement still in place.  I struggled to get photos as it was on the dining room table which has an electric light directly above it. Clearly I can't go carting this about to get photos!


That's all the cement dust that came from one side!  I then had to turn it over.  My heart was in my mouth but it was much easier than my practise runs at class.  I think it's because our dining room table is lower and I had more control.


(photo with flash)

It took me three hours to clean it, front and back.


(photo without flash)

The teacher is putting on an extra session next week so I'll be going along to blacken the lead and make it look all luscious. 


I tried to get a photo of the cement between lead and glass.  Didn't really work out but I like this arty shot!

I think I'll do my final window post when it's installed, so that will be a few weeks away.  Nothing like keeping you in suspense!


Related posts

fused glass elements
glass cutting complete
beginning the leading
leading the nuggets
more leading
leading the rose and stem
main panel complete
right hand panel finished
leading finished
all soldered and an actual window

Thursday, 21 March 2013

Workin' on it

One of the things I love to see on other people's blogs is progress shots, pictures of a project coming together.  For large items I love watching this progress over the course of several months.  But I never do this on my own blog.  OK, so the window is a bit of an exception to that, and I do show you the progress on my dancers cross stitch, but that's not much.  It's time that changed.  I can't say I'll be very good at showing you my progress, but I'll try!


This is number #33 on my humongous list, it's by Heritage Crafts and is one of a series of sepia old-fashioned pictures.  I bought it with the intention of making it for my dad, and that's still it's purpose, though I'm considering ordering a couple more to go with it!  It's a pretty quick stitch, you're looking at about 6-hour's work so far I think.  It's mounted in a 6" Q-snap frame there, but I've since sewed scrap fabric round the edges and put it in a 10" frame.  I could do with an 8" really!


This is some pieces of fabric.  One day it will become block 4 on the Skill Builder BOM.  I cut the pieces but then had to go and clean out the rabbits (this was last Sunday), so they remain on my cutting table.


This is an example of why you don't often get progress shots.  Two years ago at the Hobbycrafts show (which I'm going to again tomorrow - look out for a stash post!), mum bought me this little necklace kit in a tin.  It's slices of some fruit or vegetable, or is it Brazil nut?  They're dyed and possibly have something else done to them (it was 2 years ago!) and then have holes drilled in them.


I started making this a long time ago and the cord they provided (1.5mm cord) snapped as it was too thick to go through the holes and the tugging weakened it.  I finally got round to buying a thinner cord - 1mm I think - and then finally got round to stringing it.  I think it took me 10 minutes, but that was only because the jump ring was playing me up!  I had to add extra knots as it was too long when finished.  I'm only little and I have giant boobs so long necklaces tend to sit on my bosom like they're on a shelf.  Not a good look.

I'll be back soon to show you the window, all done but not installed, and to show you what I bought at the NEC, I suspect that will be a long post!

Wednesday, 20 March 2013

a pink girly post

You may be rather surprised to see the pink Hello Kitty fabric in the pictures below.  Let me assure you that I had to buy it specially for a request I had!


I had an email from a teacher at a local school who'd found my blog post on Wiggly Bags.  She told me that one of her pupils, a 5-year old girl, was in need of a Wiggly Bag and loved pink and Hello Kitty, she asked if I could help.  Of course I would.


I made three of the wiggly bags as I assume they will need washing.  I used some satin ribbon and some grossgrain ribbon from my sash.


I then made a matching zipper pouch to put them in, of course she can use it for whatever she likes.


I even did a reasonable job on the ends of the zipper!  I lined it with a cute strawberry print I'd picked up at Harrogate.


It broke my heart making these.  I really wish there was no need for me to make them but as long as there is a need, I'll carry on.  That reminds me, I must get in touch with the local hospital to see if they have a need for them.