Saturday, 31 May 2014

May review

It's the end of the month (already?  Who has been stealing the days from my month?), so time to look back at what I got accomplished, or not.

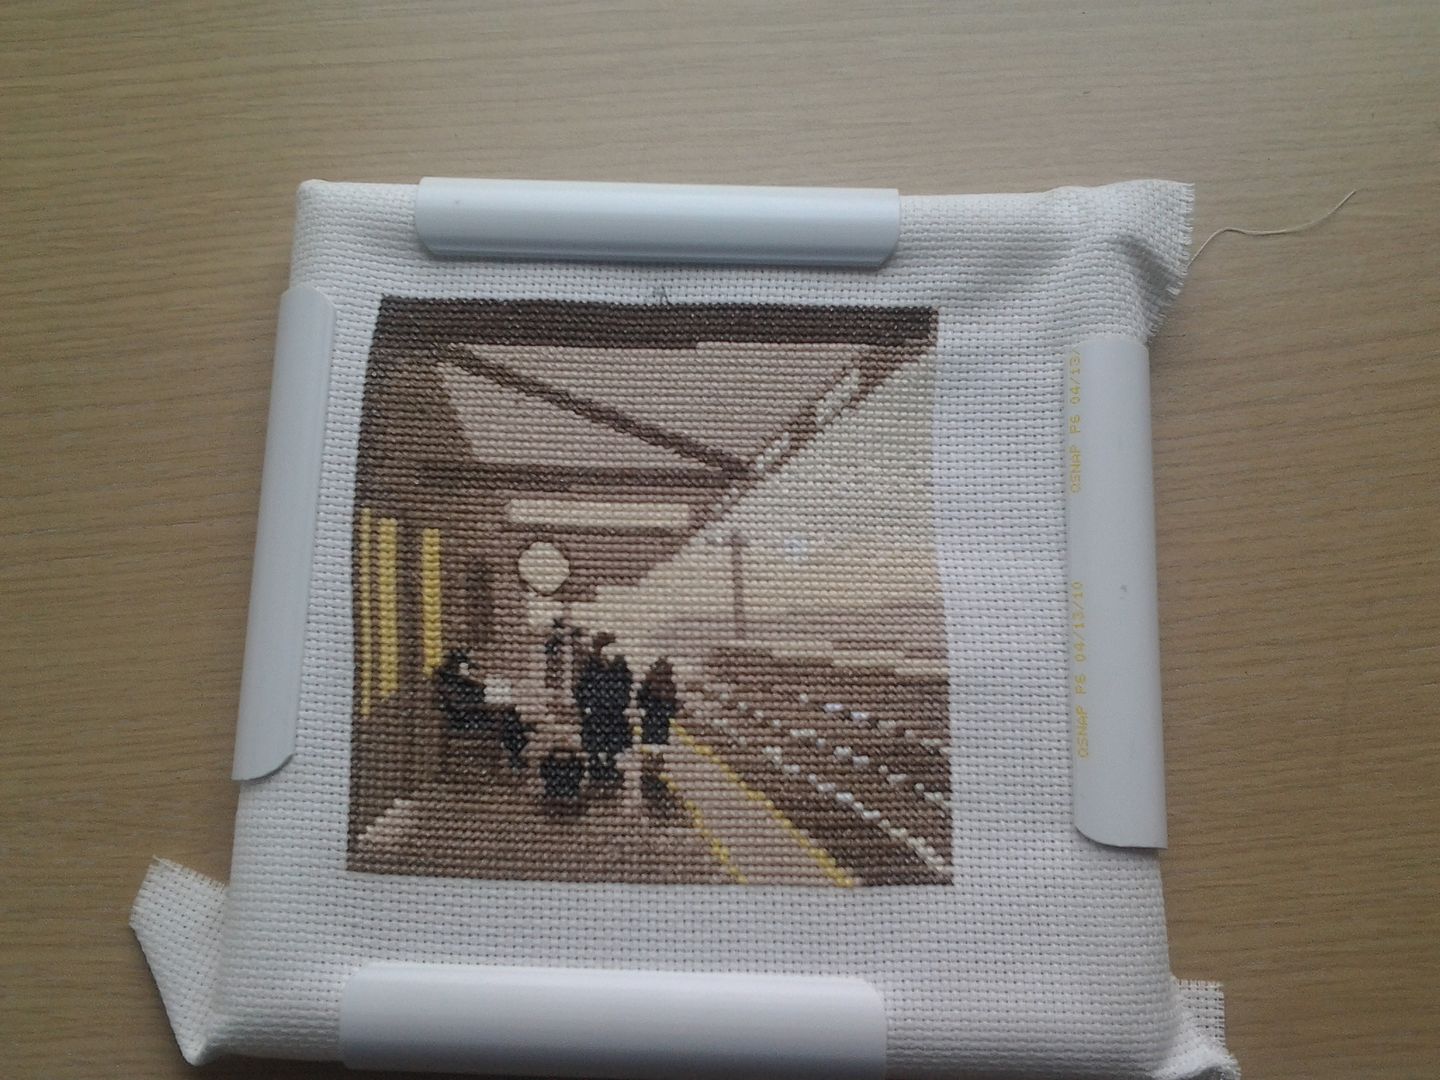
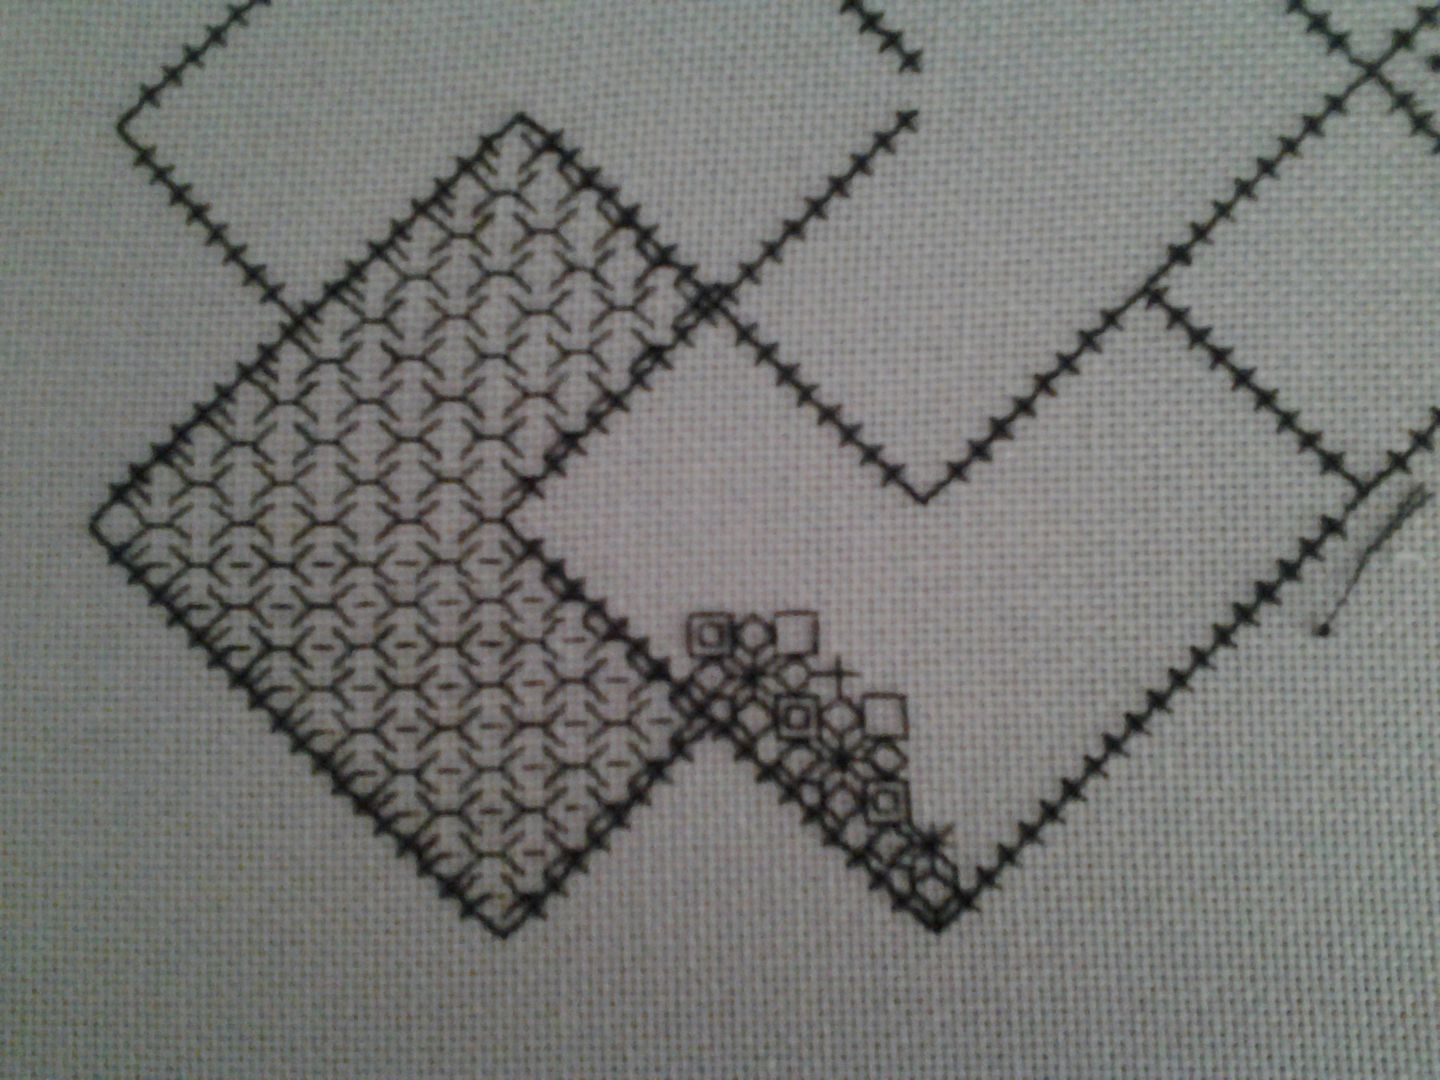
Needlequest - the challenge this month was blackwork.


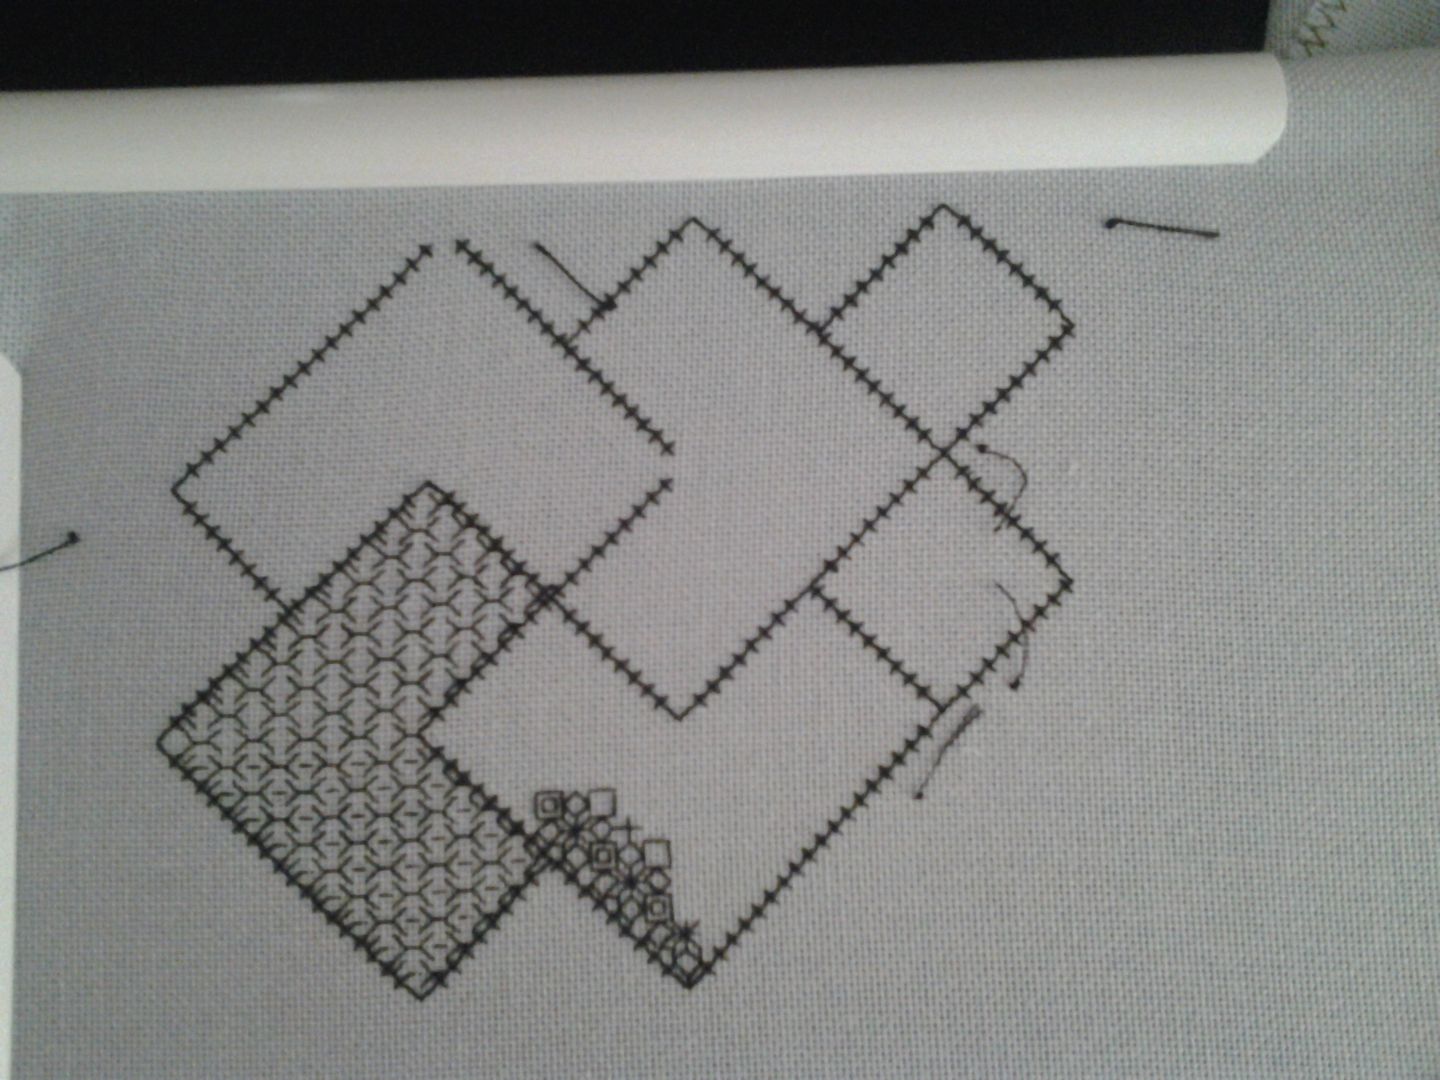
I started, or rather restarted my Save the Stitches sampler.  I have actually got quite a bit further than this photo (blog post coming up soon), so I'm declaring this a success.  


1/1

Sew Kitschy paper piecing bom 


Arghh!  What is wrong with me?  I love paper piecing and I love Kristy's designs, this  food mixer was destined to be a trivet - alas, it didn't happen.

0/1

2014 FAL 


A quick reminder of what's on the Follow Along List:


1. Chair cushions for dining room - finished in April, see my post here


2. Finish the latch hook - not a single piece of wool put in this month.. better getting moving


Edited to add: Please, please, please, please do NOT refer to this as a "Union Jack" in my earshot.  It is NOT a Union Jack.  I have NO plans to take this on a ship and hang it from the mast.  This is a major bugbear for me.  It's called the Union Flag.  It is only a Union Jack on a ship

3. Silhouettes x stitch - done!  See my blog post here

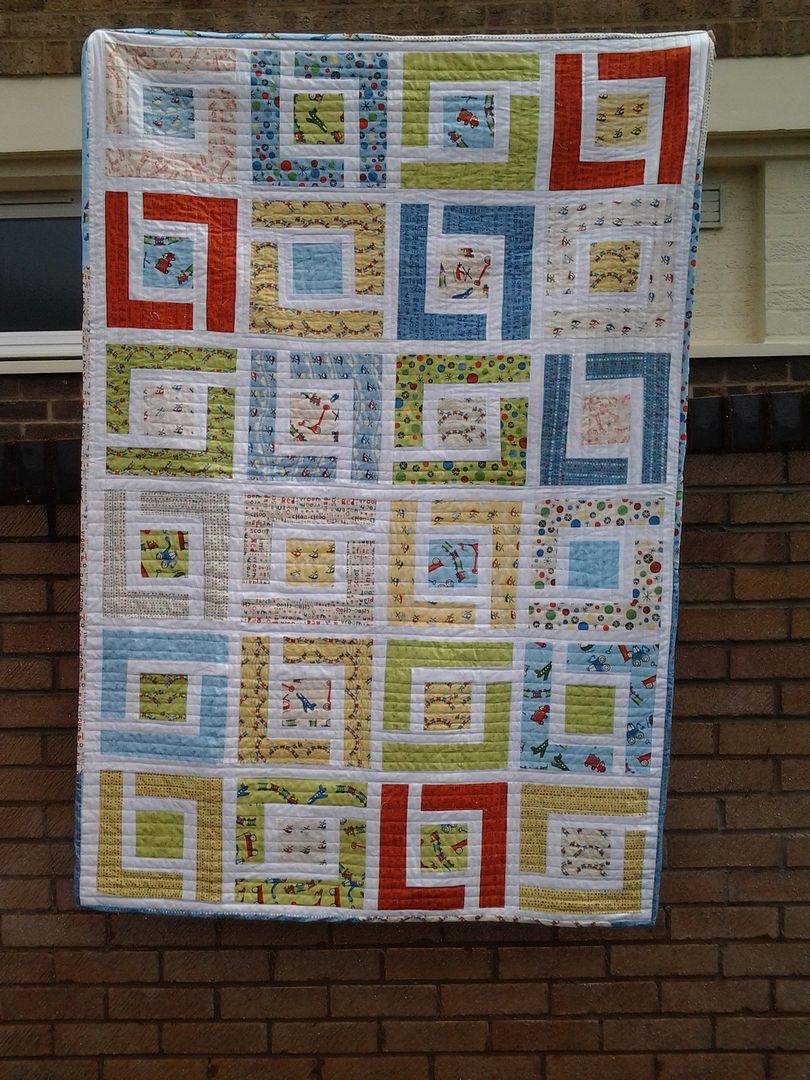
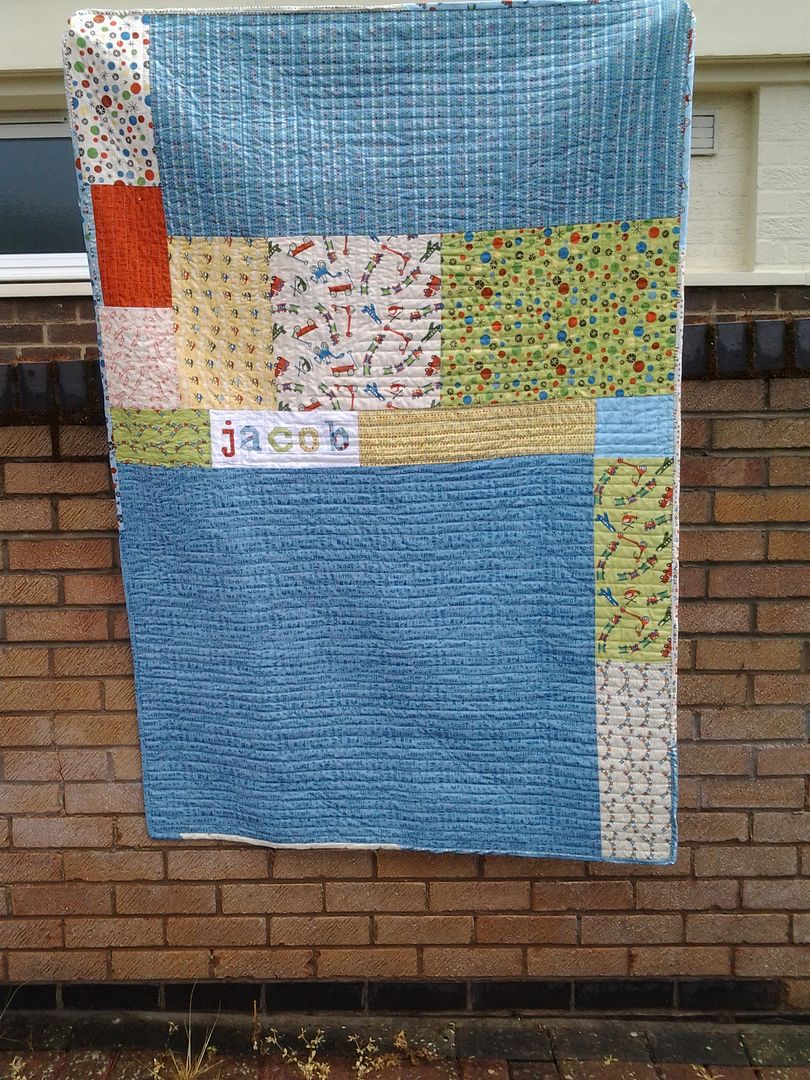
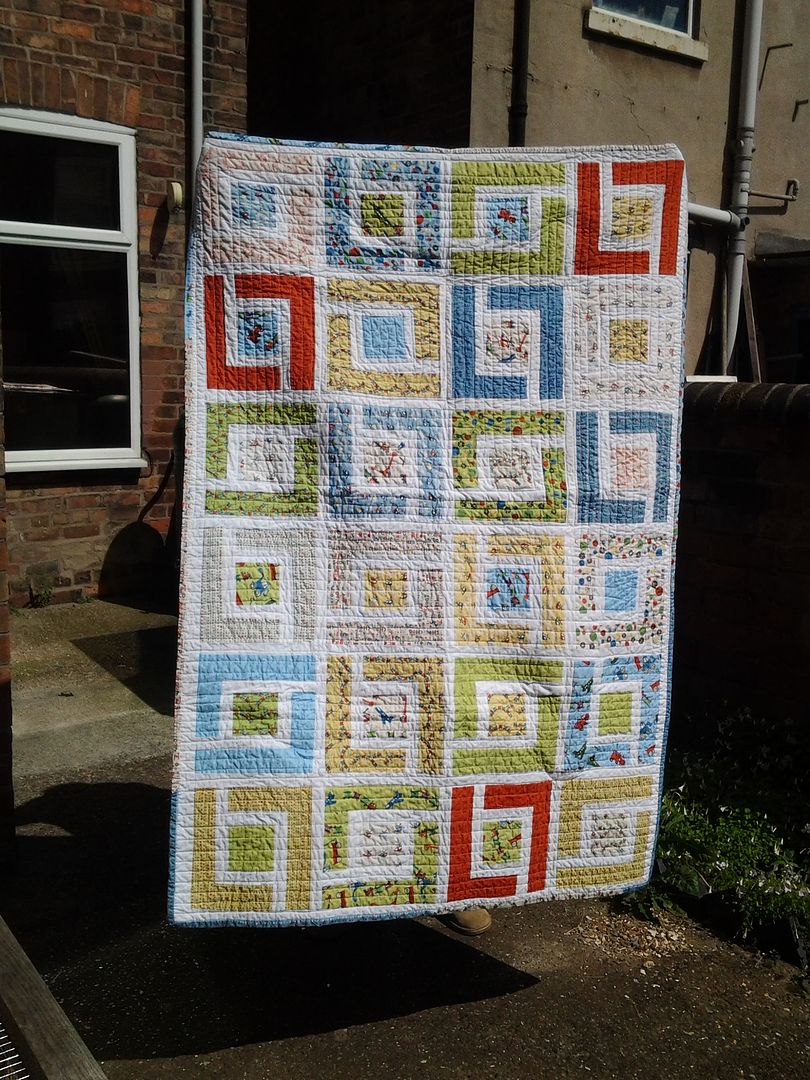
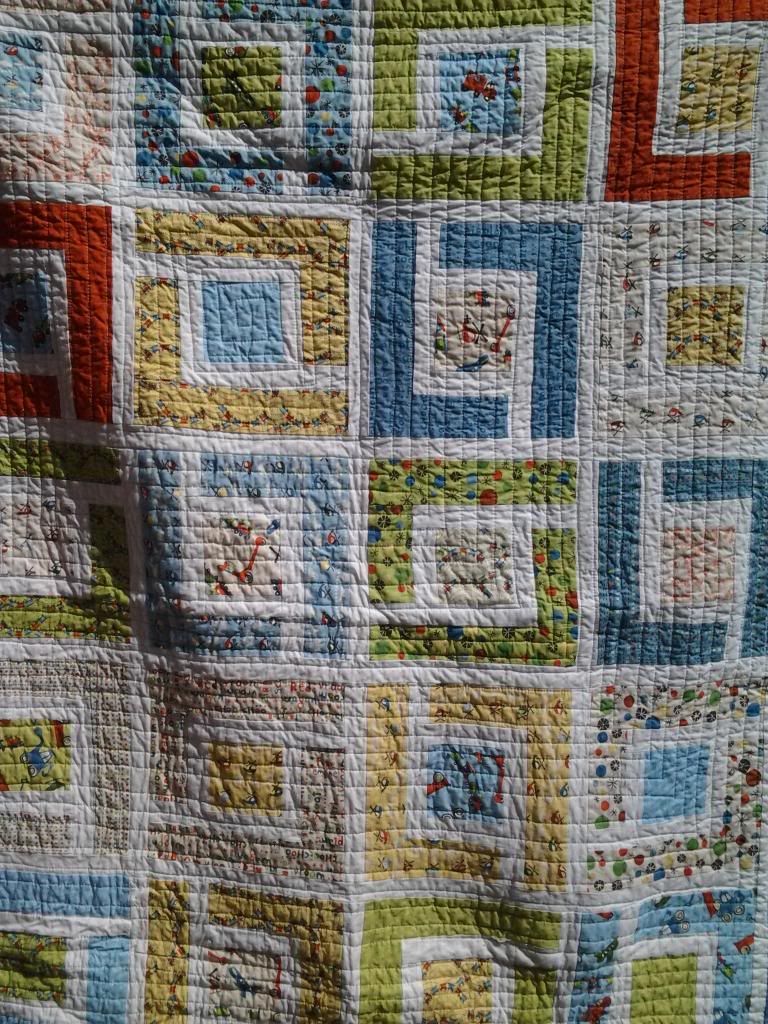
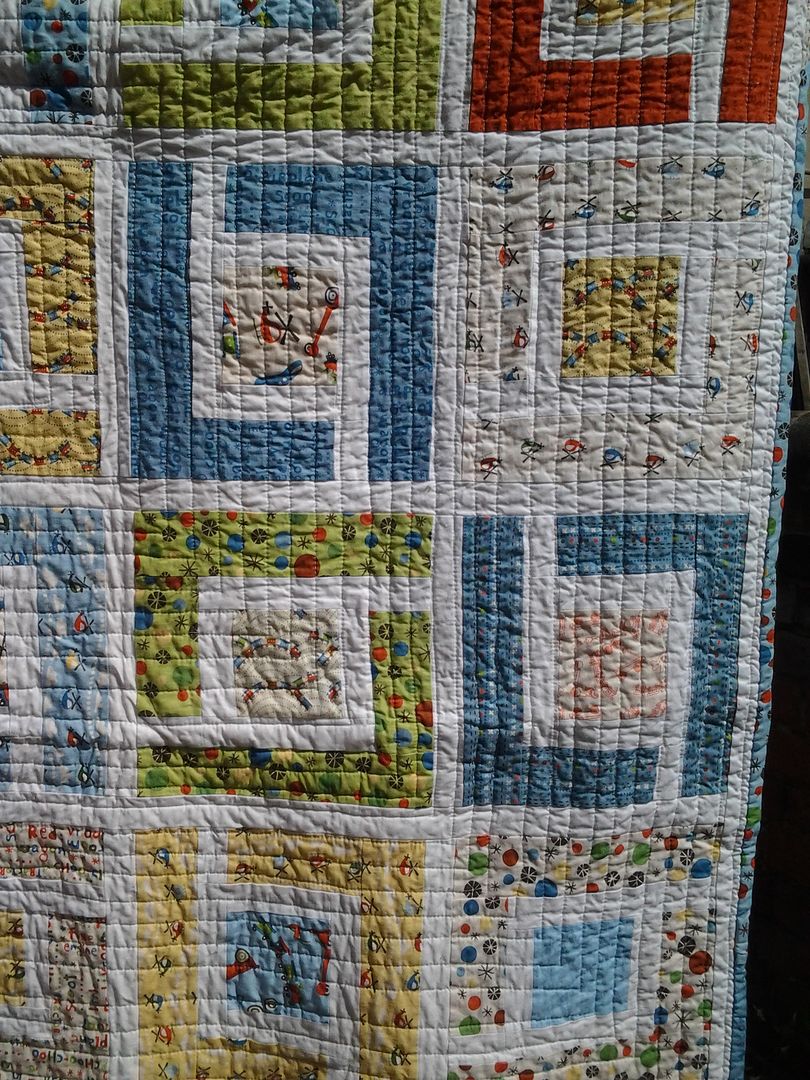
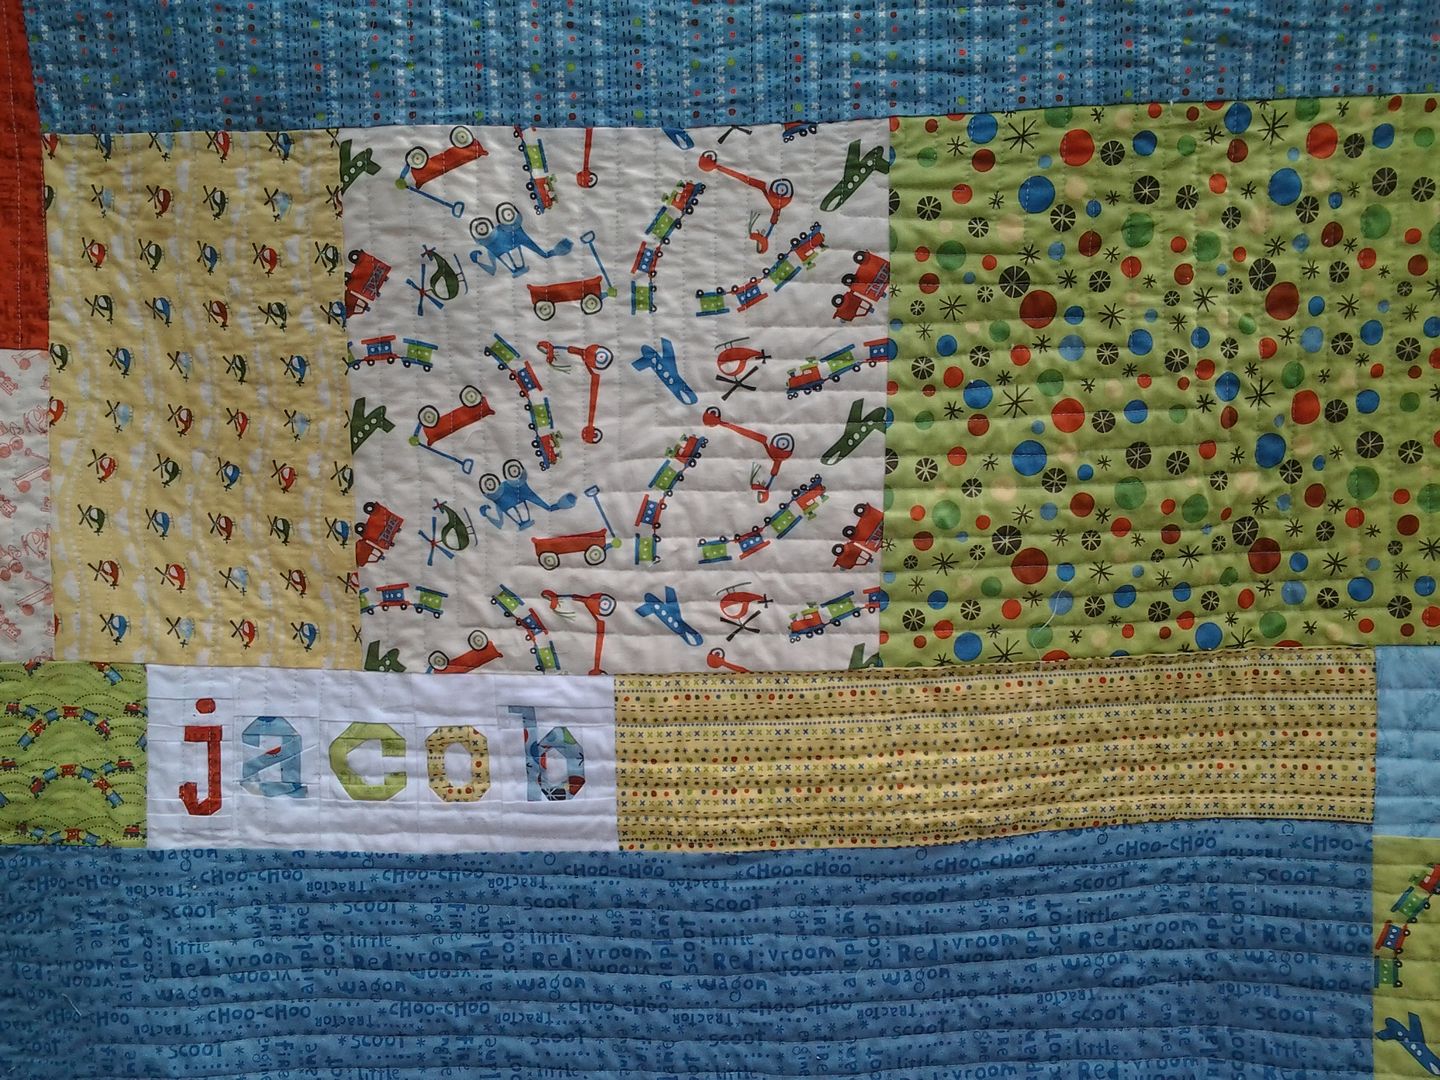
4. Jacob's quilt - done!!  yay!


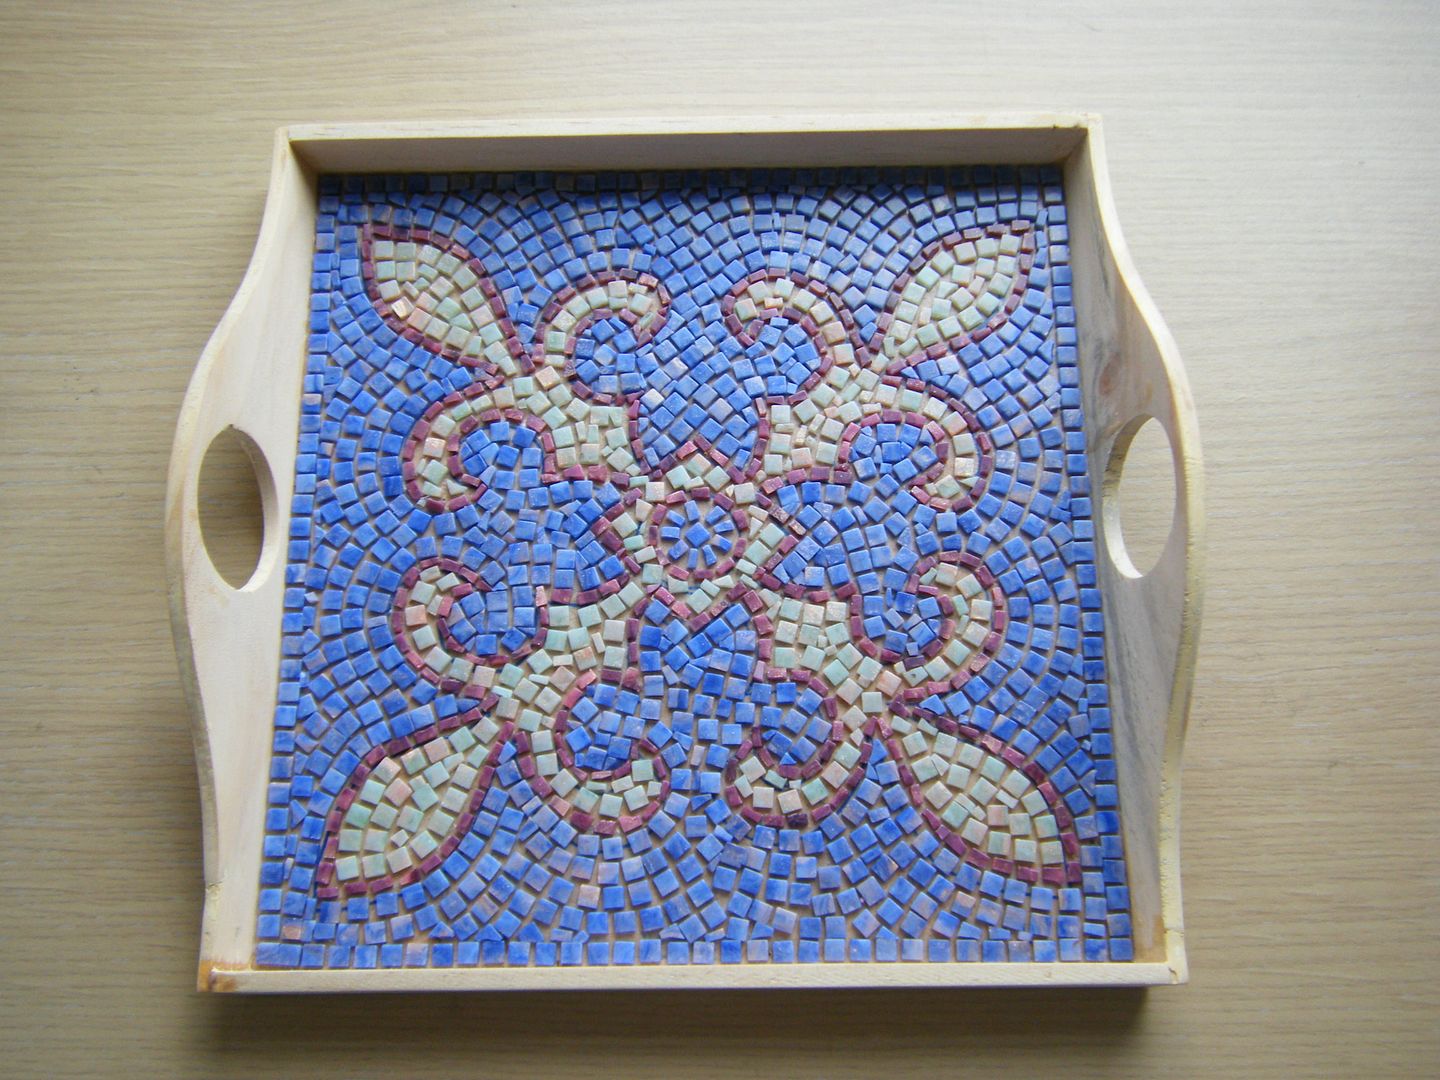
5. Mosaic tray.  Ermm... not yet... 


2/4

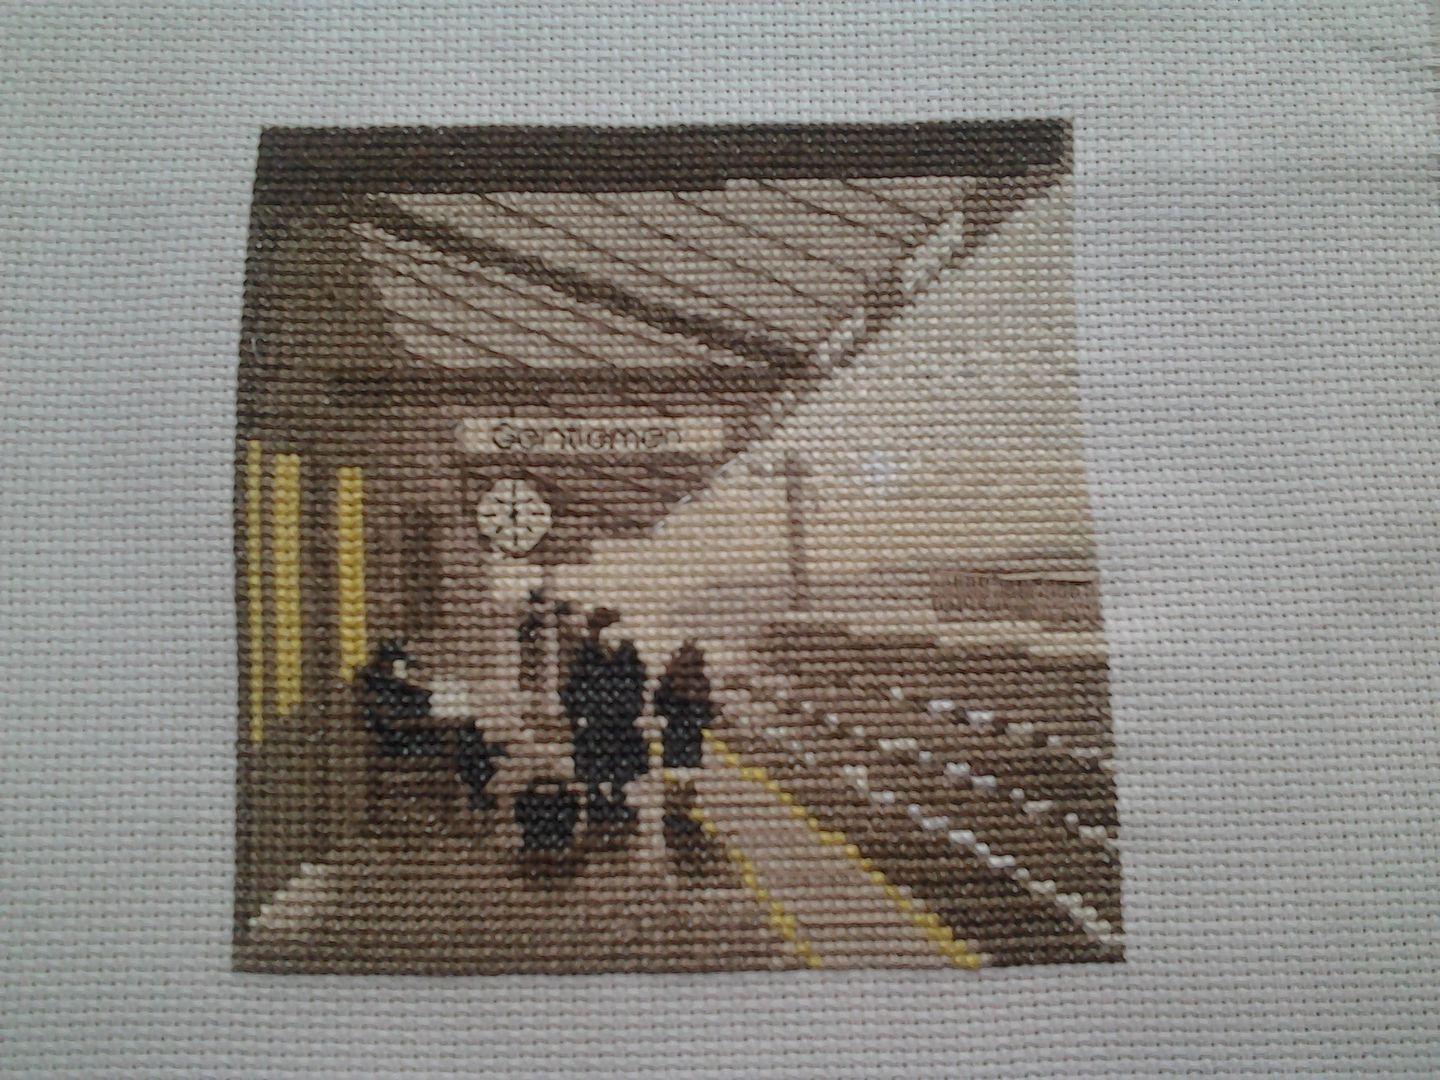
Something Old, Something New

"Old" - This was to finish the Silhouettes cross stitch - done!


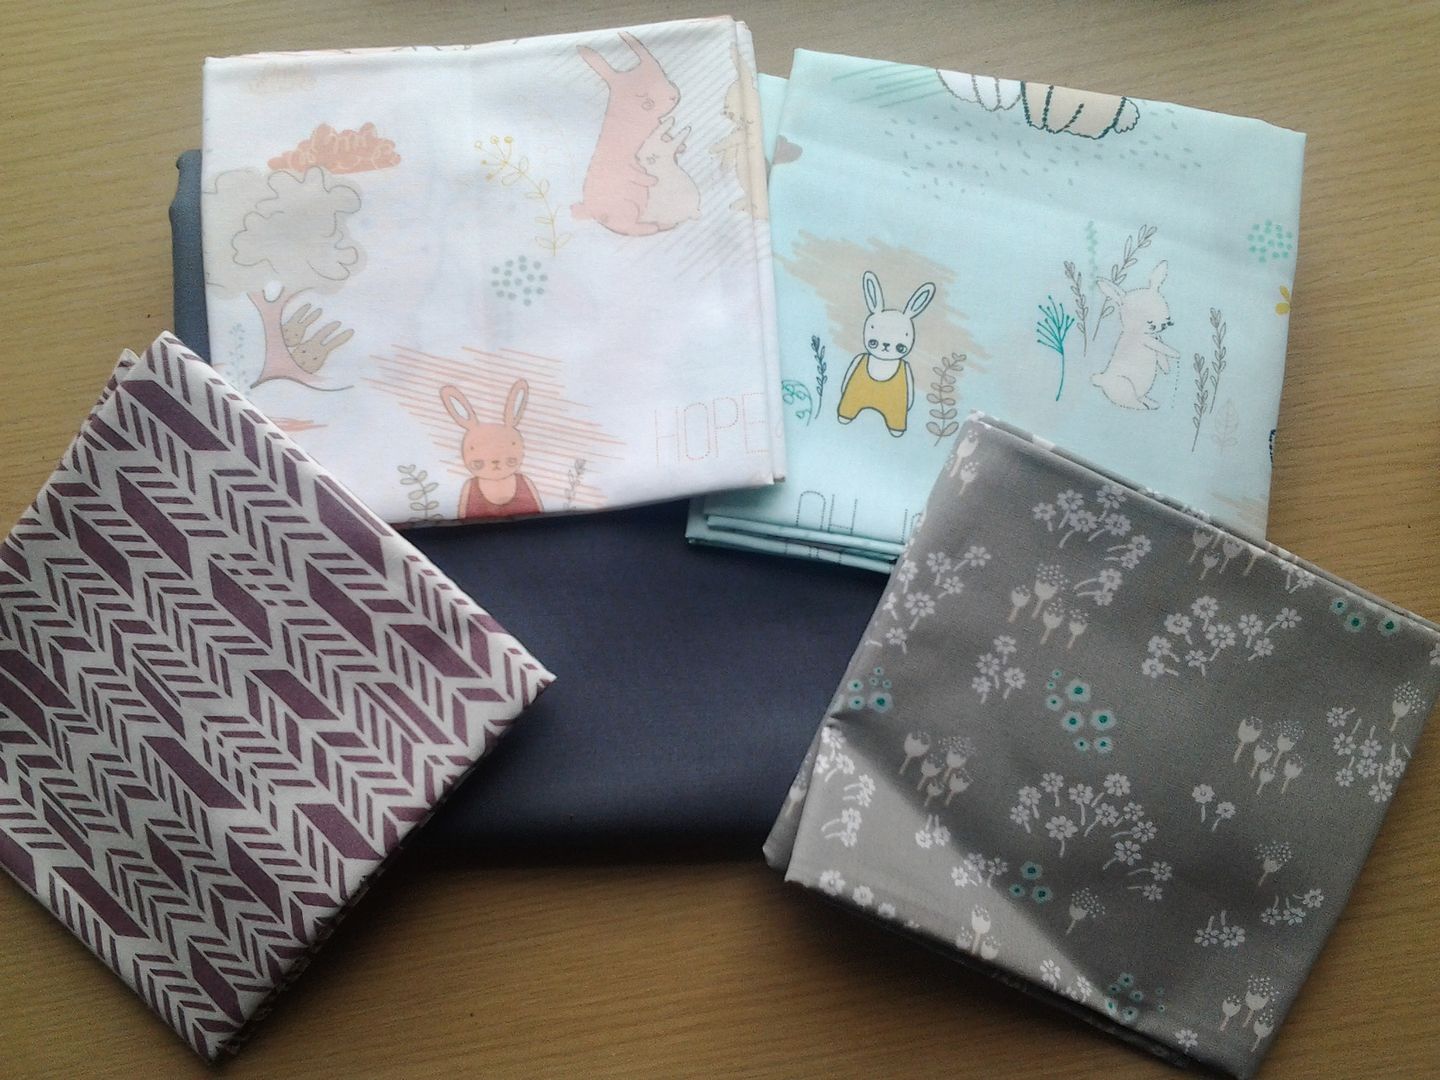
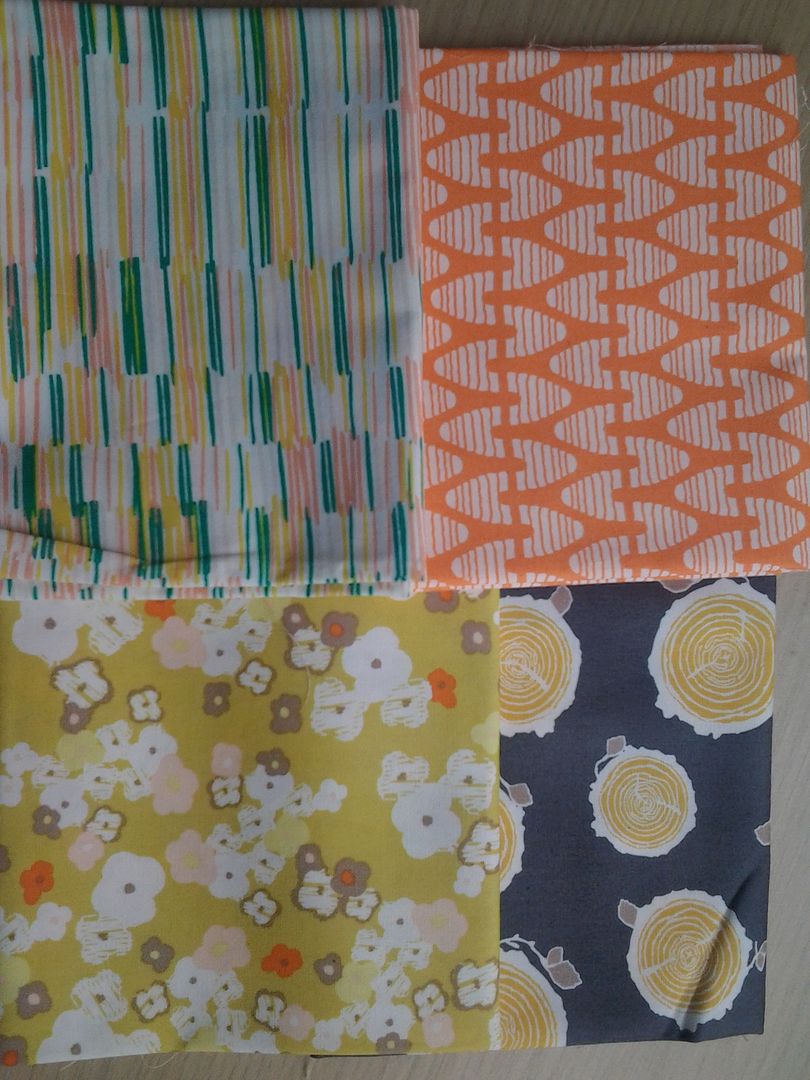
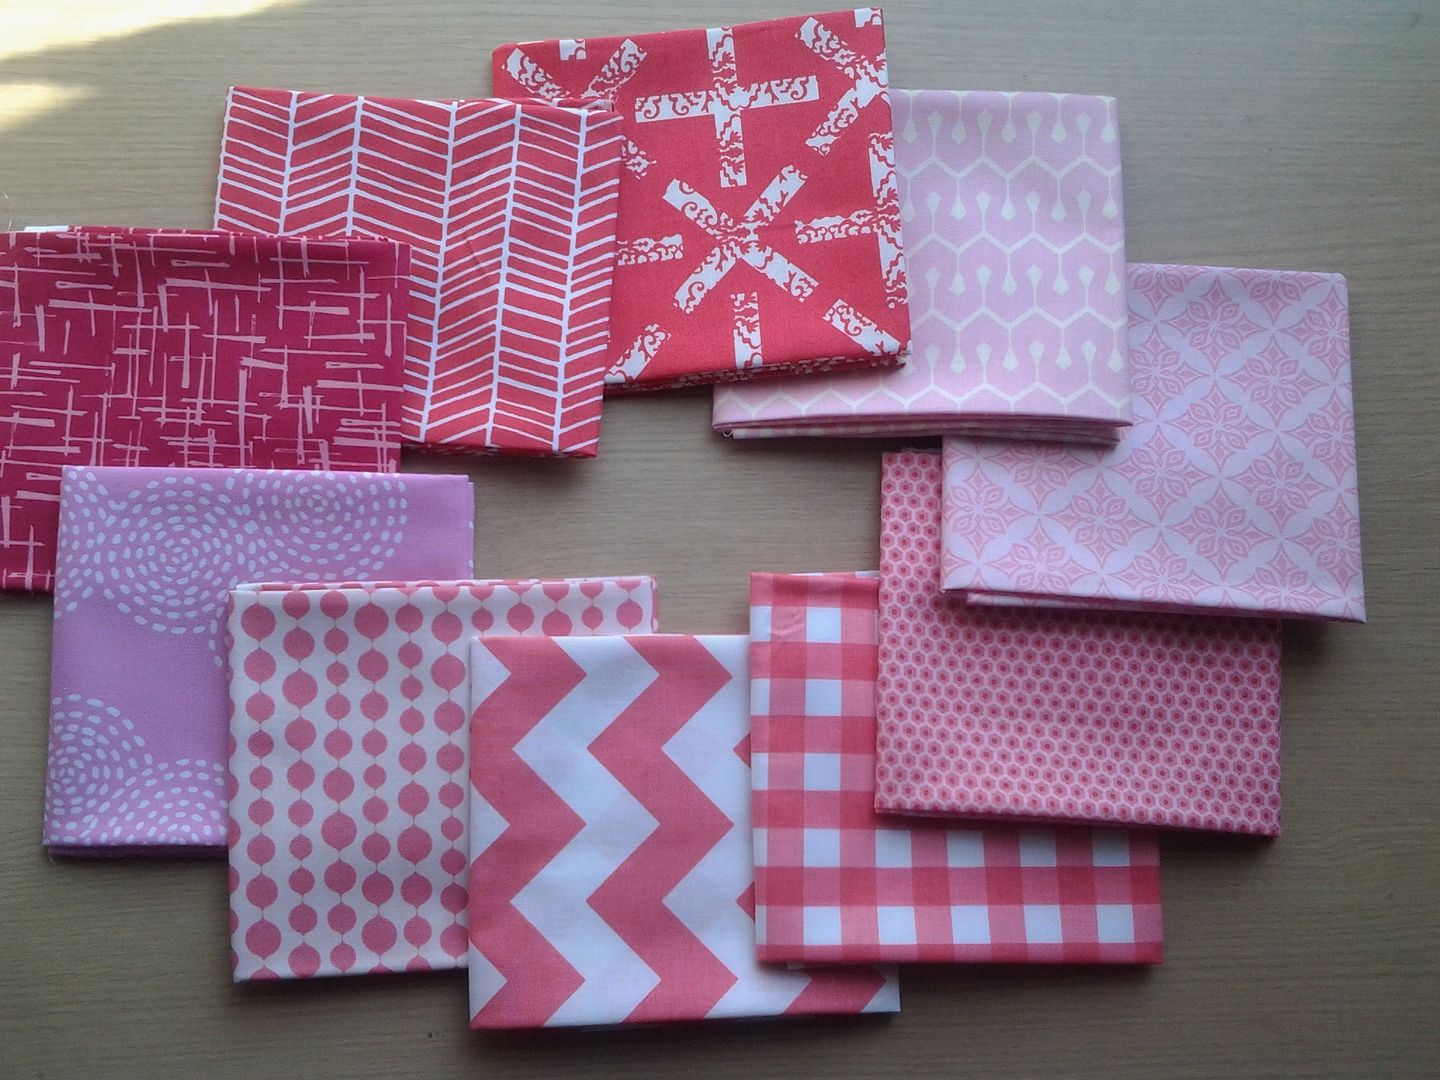
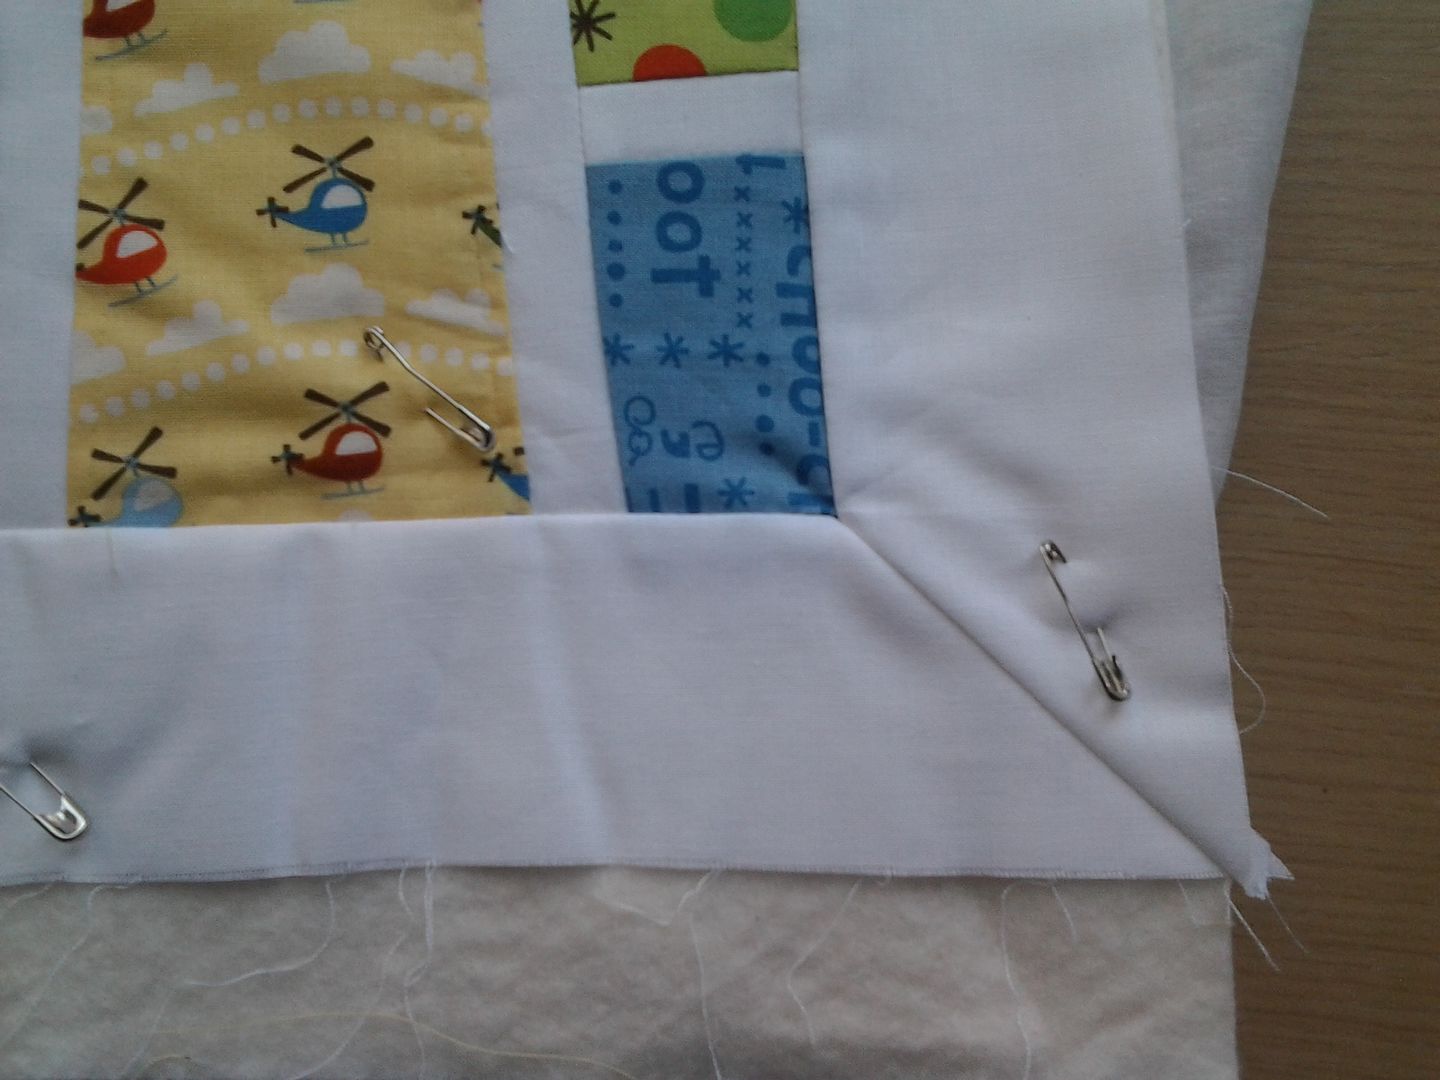
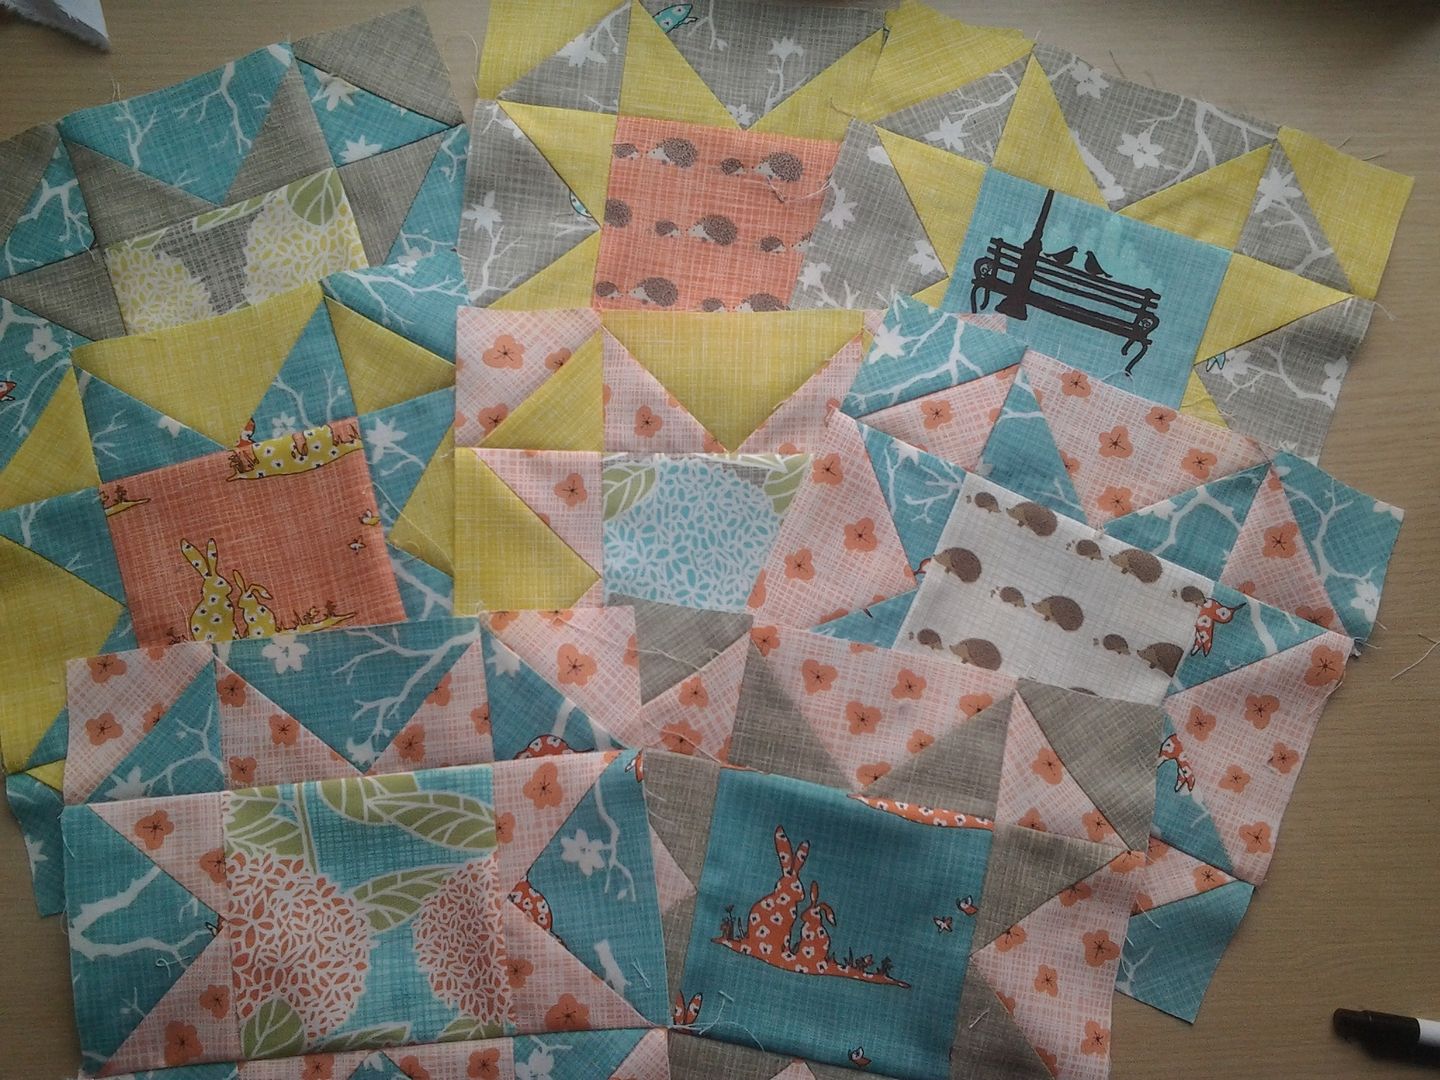
"New" - I started my Bluebird Park quilt - see below


2/2

Something New for 2014

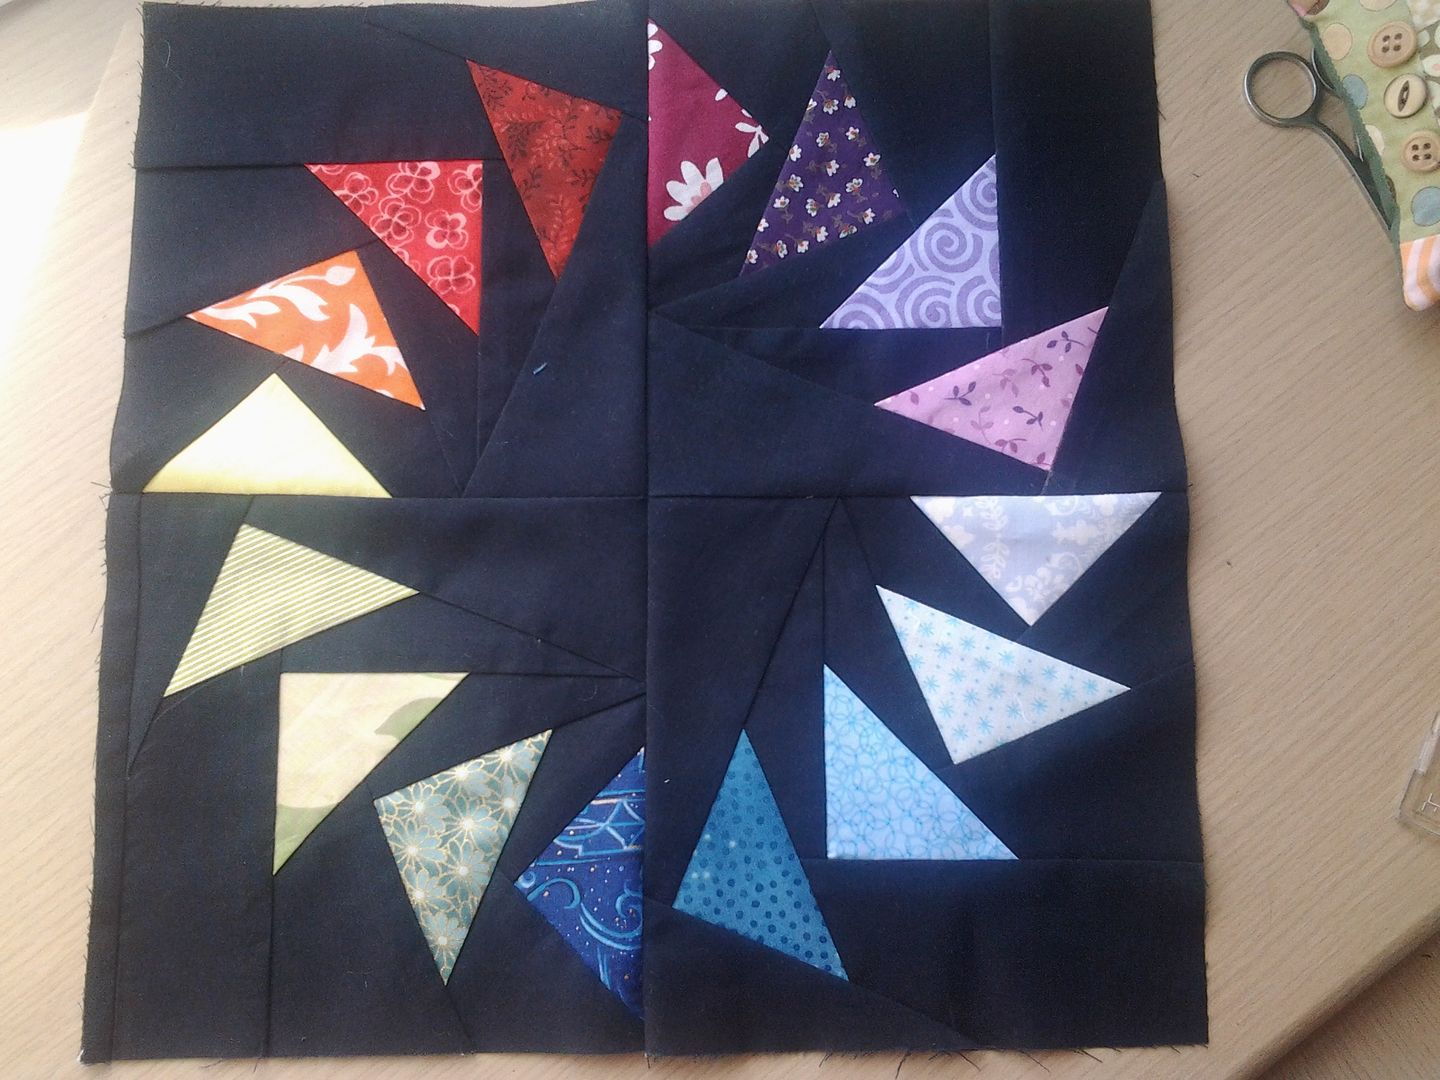
I had a go at curved piecing...

 
...and completely failed.  You can have a laugh at my expense here.

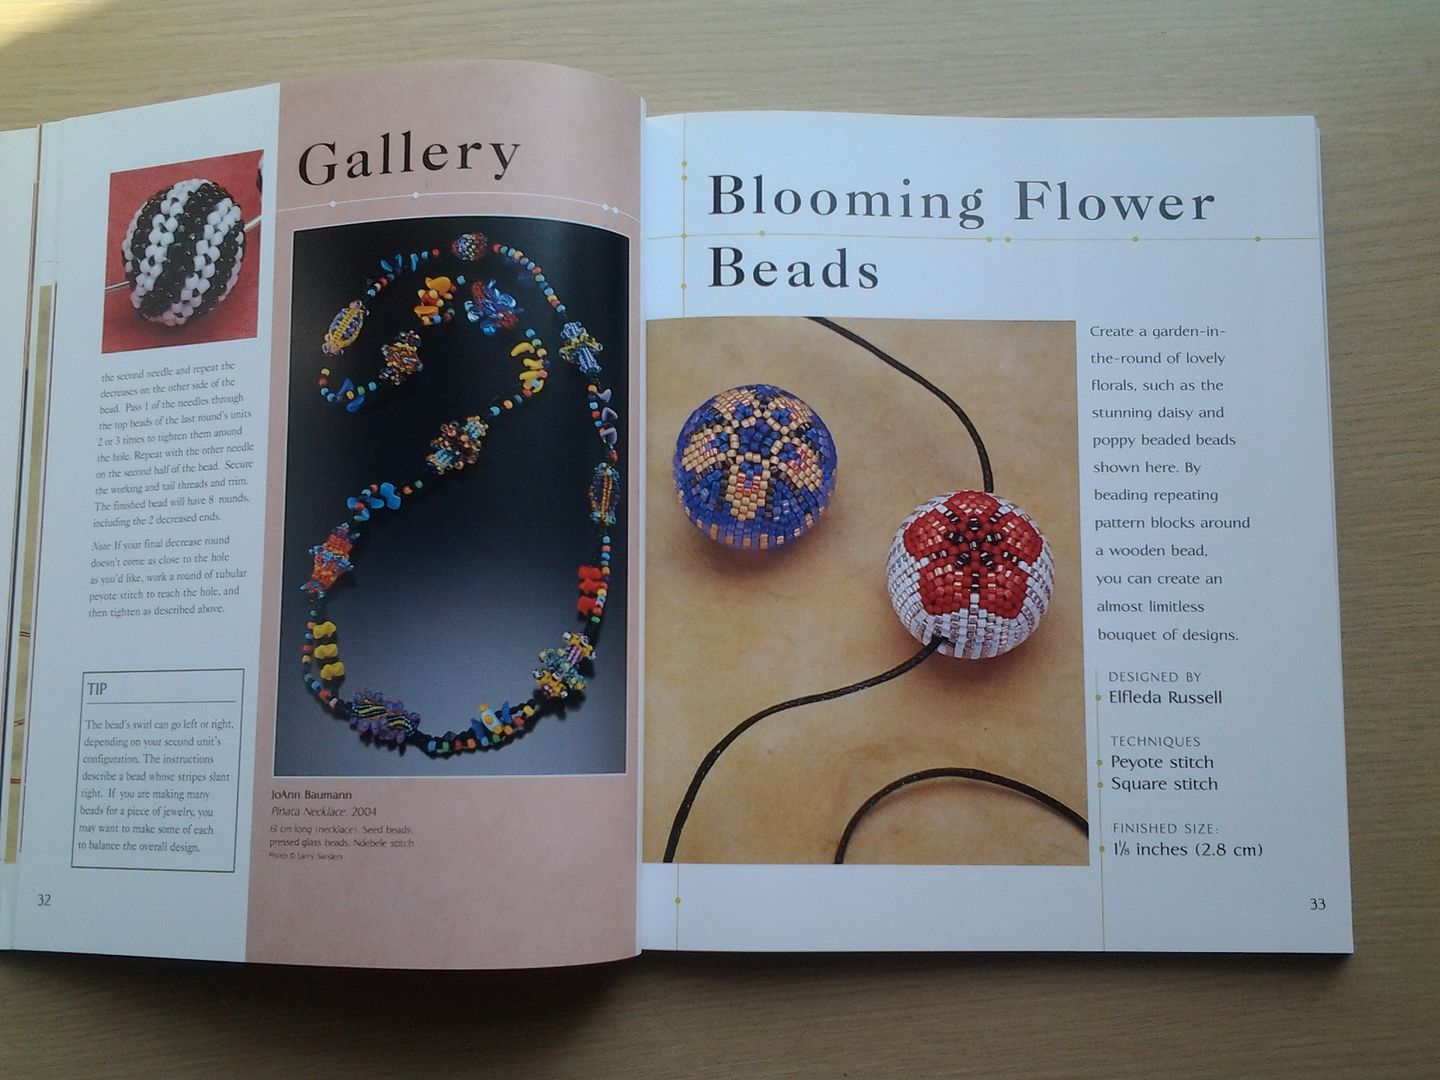
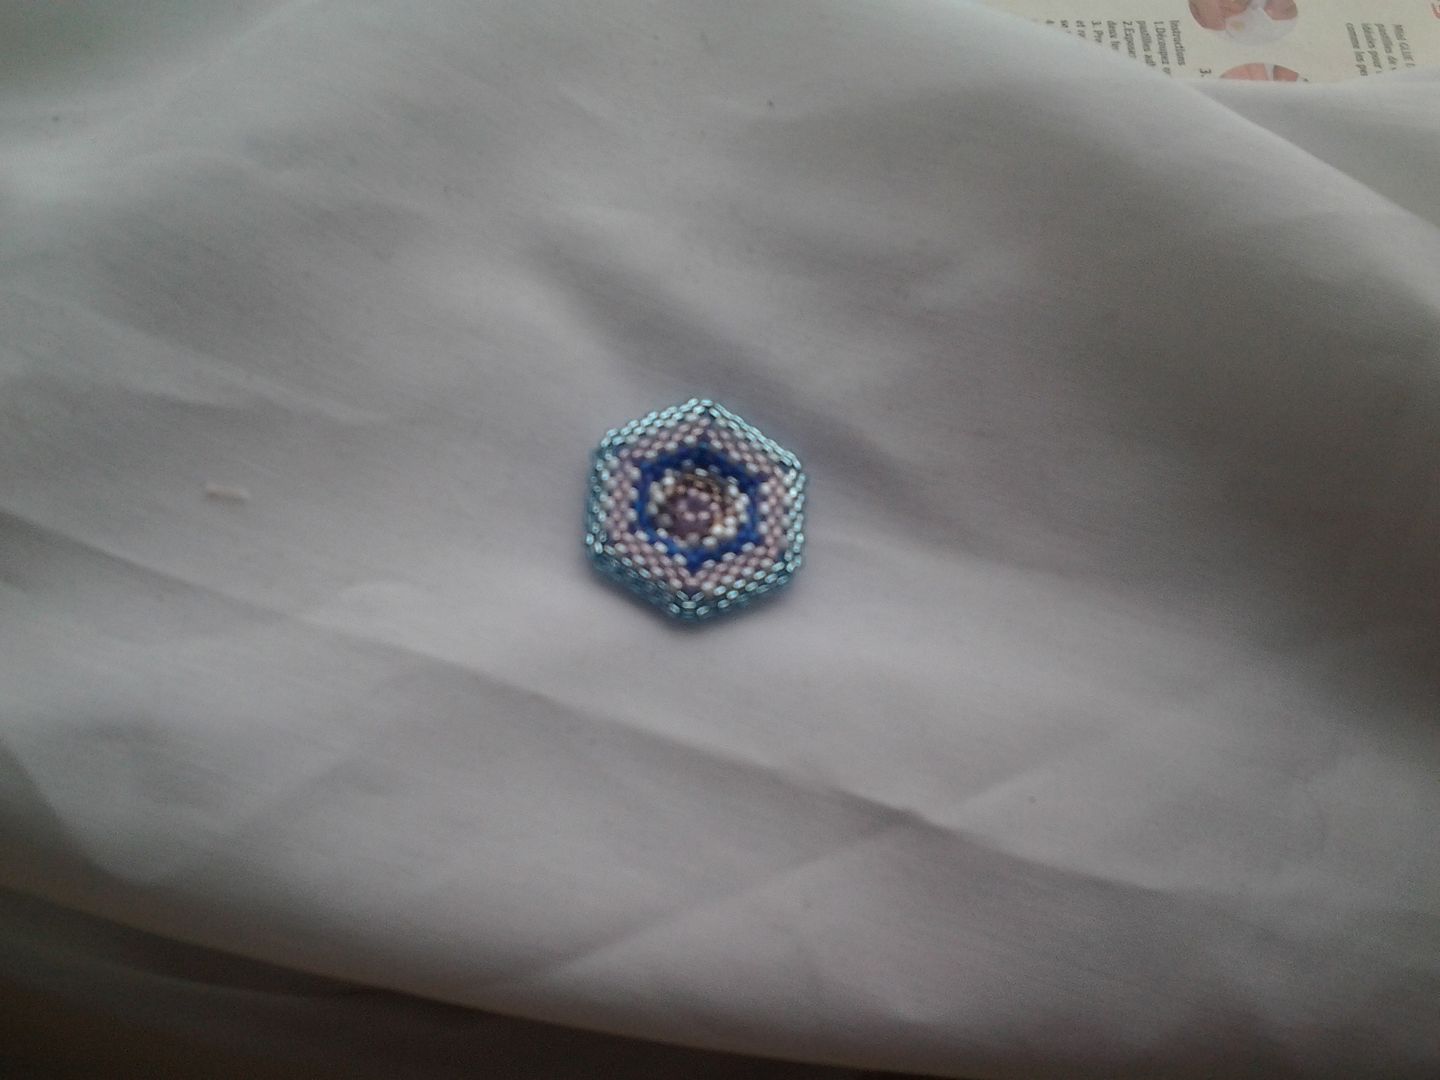
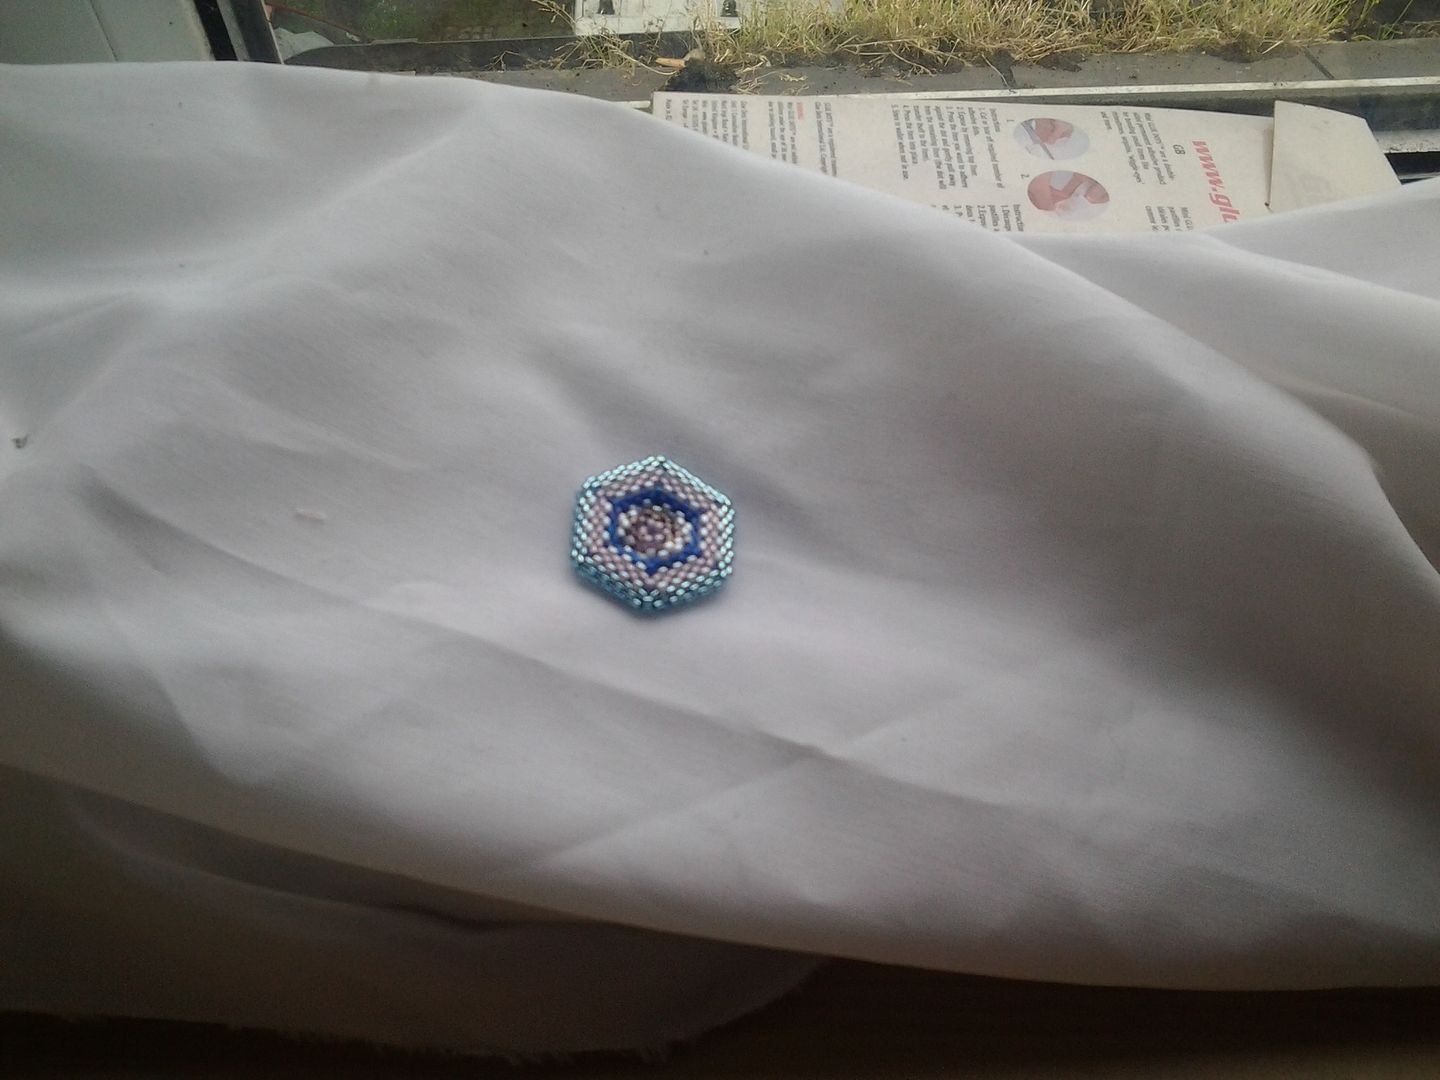
I also made my first beaded bead.


2/1

A Lovely Year of Finishes

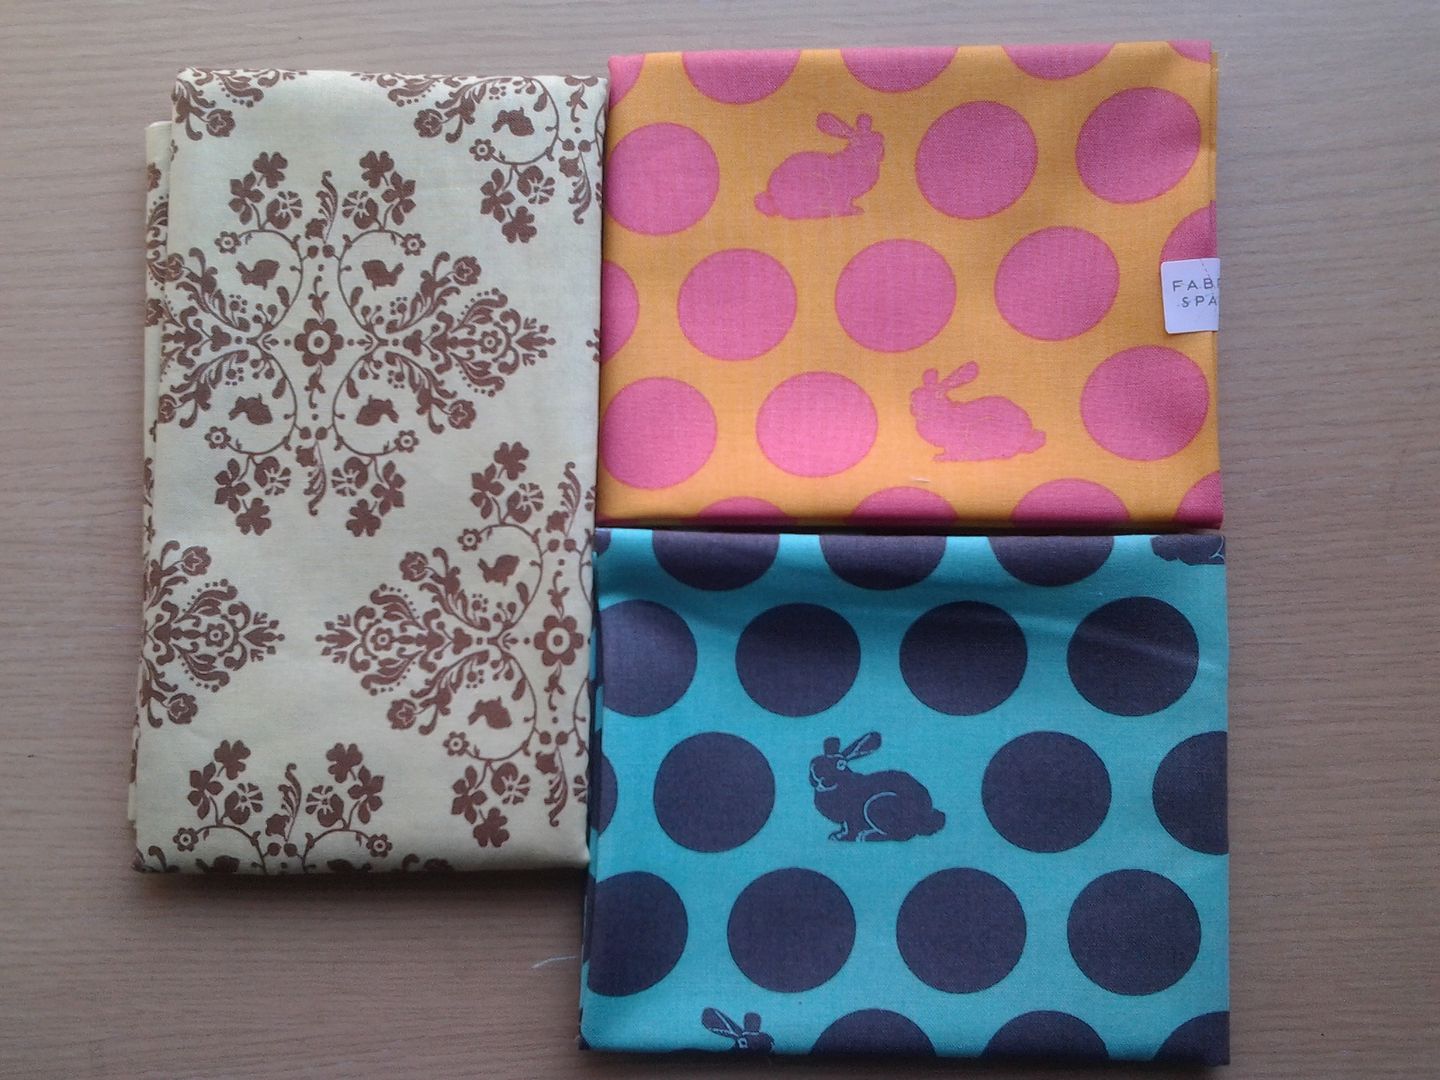
For this month's challenge, I wanted to chose a design and make my first 6 blocks of my Bluebird Park quilt.  I made 8 blocks, but still haven't chosen an overall quilt design.  I'm making it up as I go along!  See my post here.


1/1

Craft Book Sew along

I made projects from, and reviewed Adding Layers and The Art of the Beaded Bead.

2/1

Rainbow Scrap Challenge


This month was green.  I did a Jelly Roll Race styple panel and made it into a scrap bucket.  
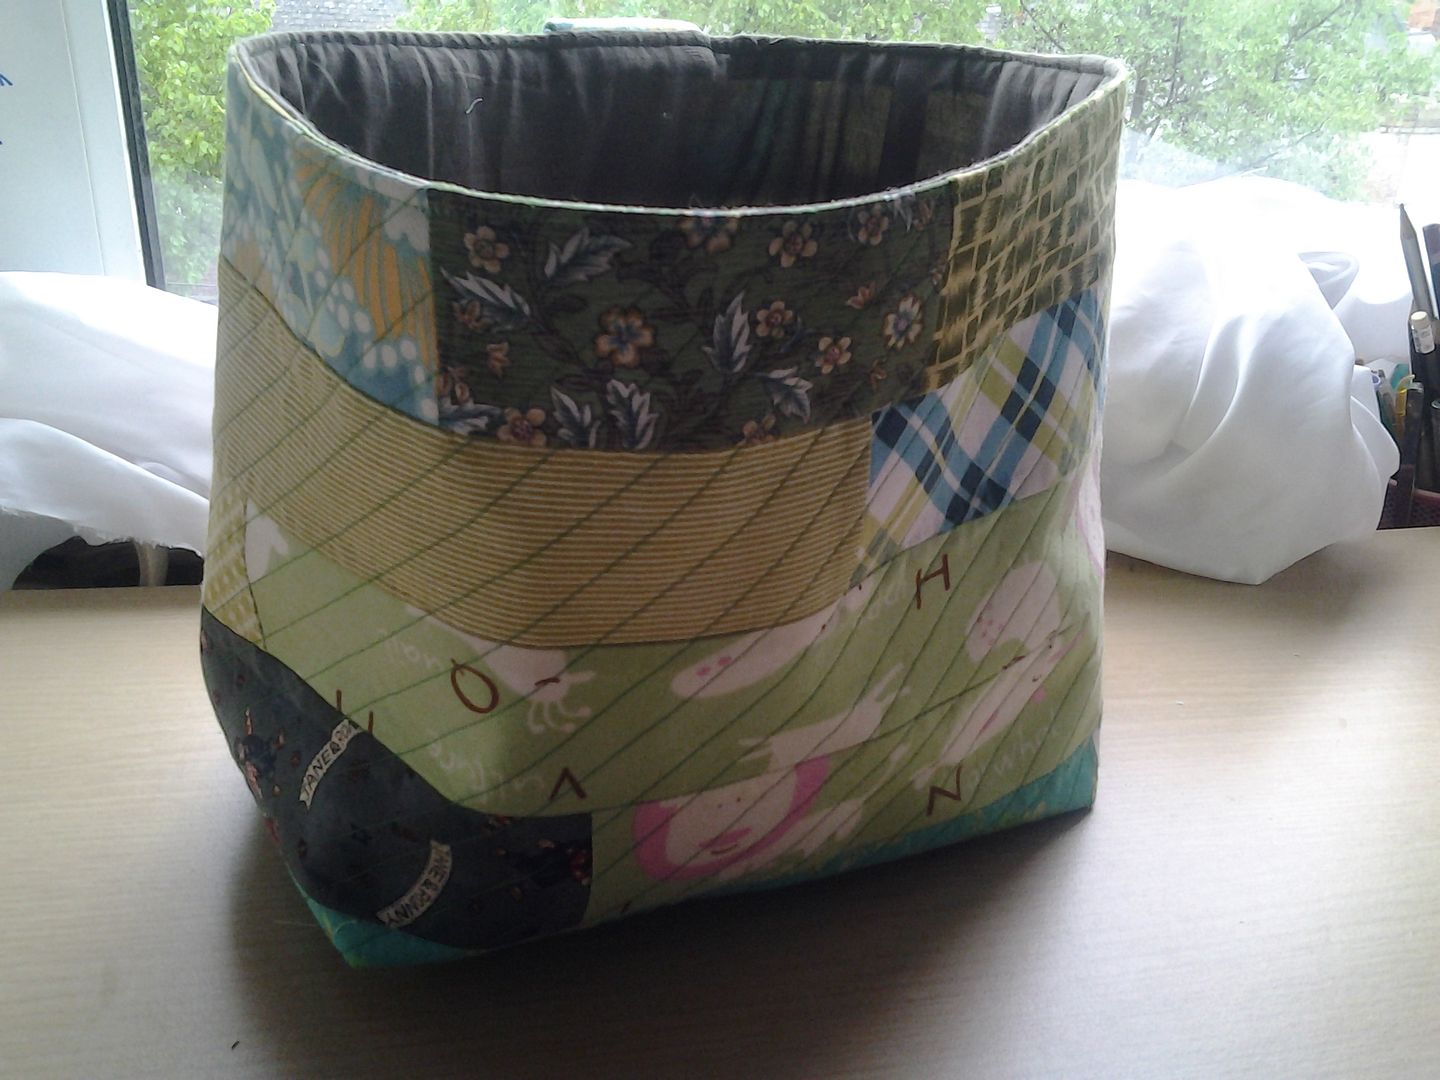


1/1

Smalls SAL

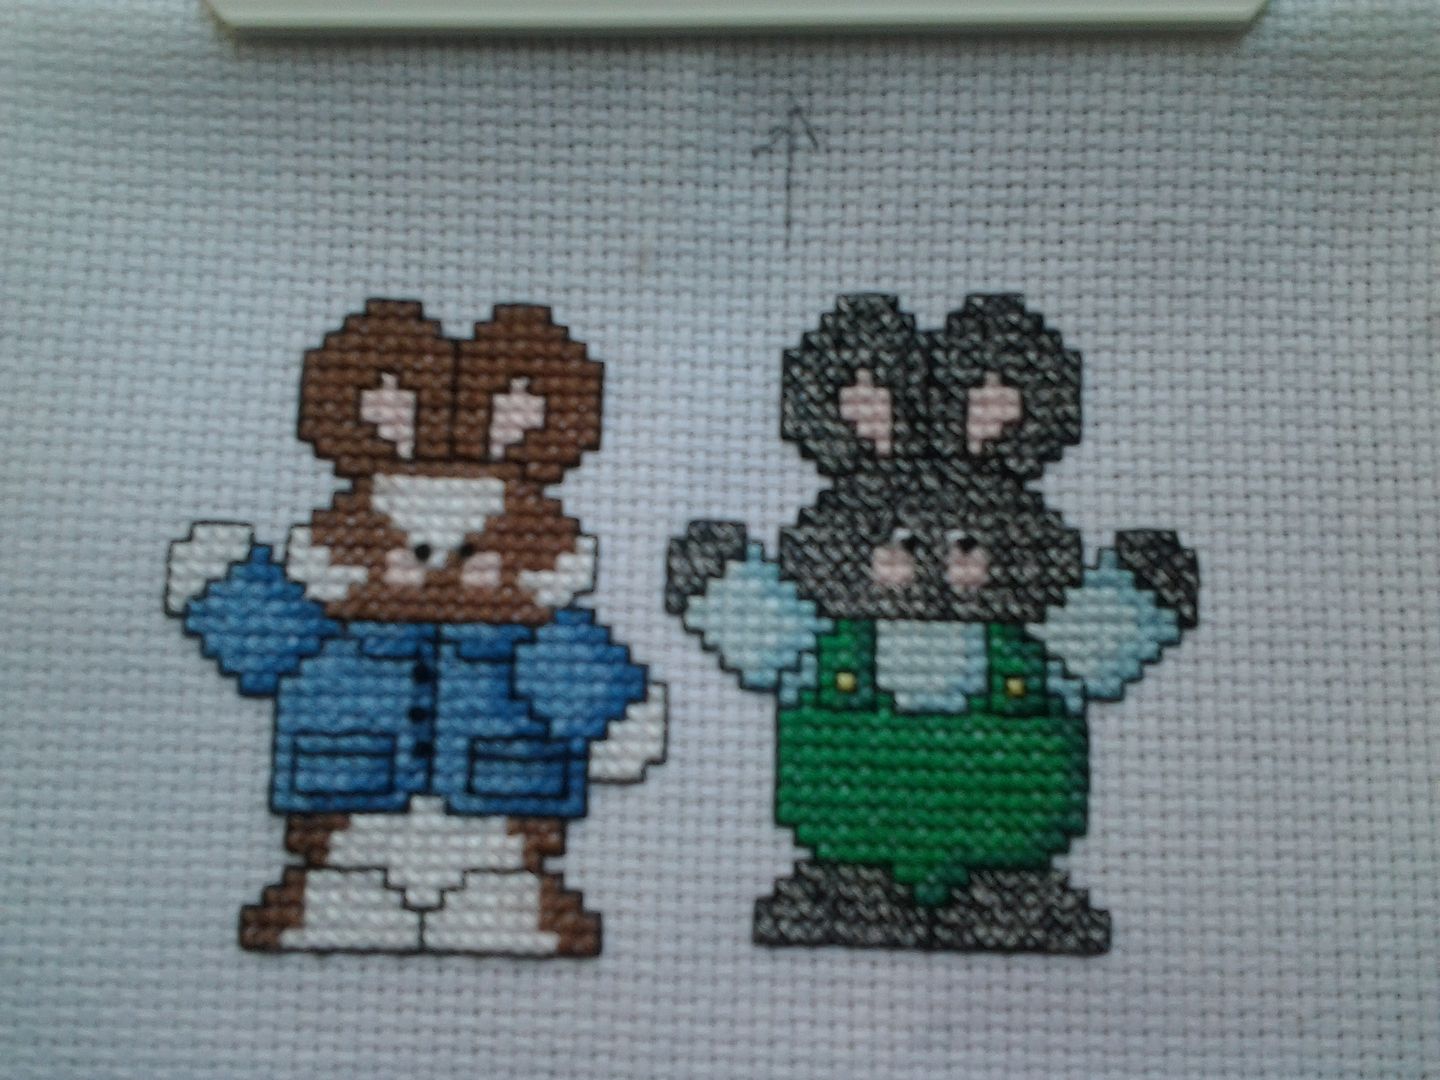
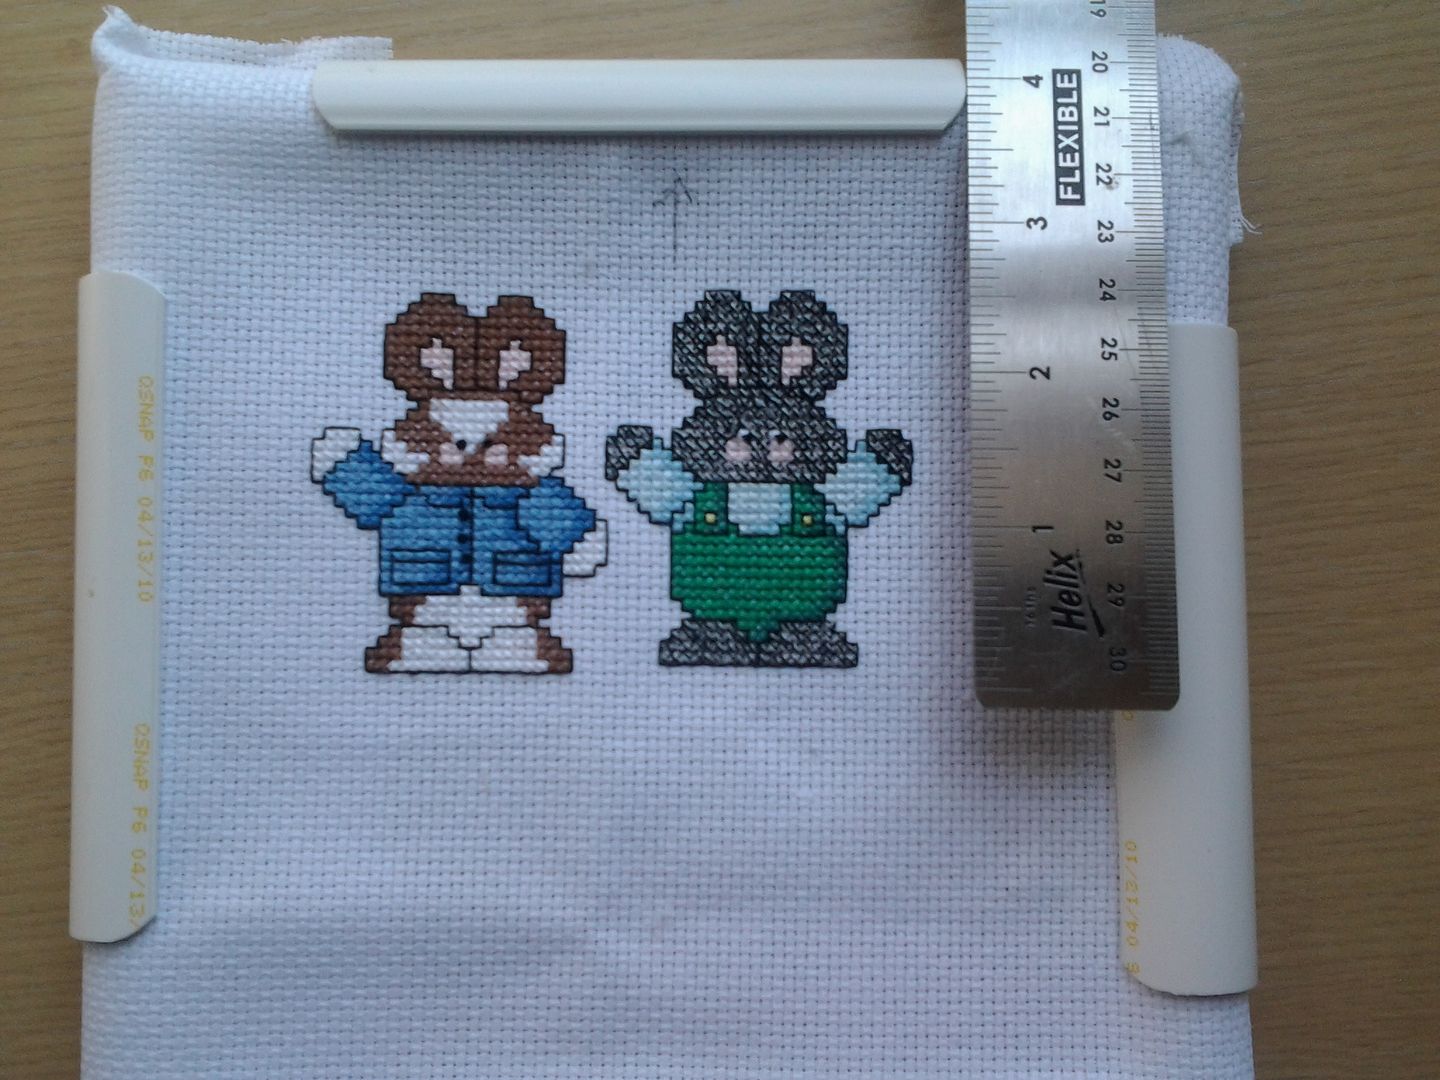
I made a Harry to go along with Mr Colin.


1/1

Sampler Along


I'm dropping out of this one.  I just don't have the time.

So that's a total of 12 projects for 13 goals, bloody good going!


Related Posts


May goals

April review
April goals
March review
March goals
February review 1
February review 2
February review 3
February goals
January review

Friday, 30 May 2014

squishy mail

I was a lucky, lucky girl last month!  I had several parcels.

There was this parcel from the wonderful and lovely Nancy.  She sent me two FQs of Fox Field (the bottom one is actually green!) and some Bunny Hill (also green!) - a half yard!  Thanks Nancy, you are so generous.


I've had my eye on Littlest for ages, so when it arrived at The Village Haberdashery, I knew it was mine!  Some other FQs and 2m of Kona Steel might have also fallen into my basket...


I then discovered I'd won a giveaway at The Sewing Directory when these lovely fabrics dropped through my letterbox!  I'd missed the announcement so had no idea what they were!  Thanks Fiona!


And finally, my Village Stash Society bundle for May, pink.  Those FQ drawers are getting a bit full... 


Wednesday, 28 May 2014

3rd FAL finish, 3rd quilt

Yep, you read that title right, this is my third finish out of five for the 2014 FAL (Finish Along).  You can see my original goal setting post here.


Finish Along 2014


I finished Jacob's quilt!  This is for his "big boy bed", he turned 2 in March.  You know what, I meant to measure it, but I forgot and I've handed it over to him now...  ooops.

Looking back through my posts, it seems I started in February, so it hasn't taken me long at all. 


The pattern is Jungle Path, it's a free pattern found on Moda Bakeshop and designed by Jessica of SewCraftyJess.  I used Scoot by Riley Blake.  I bought some fat quarters, a metre for the backing and a metre for binding.  Yes, I was very stupid wasn't I!  I can't believe I thought that would be enough fabric...


Here is the back - the big piece in the bottom left is the metre of backing...  I paper pieced his name using Just My Type Lowercase by the very talented Kristy.  Every kid loves having their name on things, and I know he's too young to read, but I'm hoping this quilt will last him a few years.  The photos above were taken at the last meeting of The East Midlands Quilty Moderners Guild at StitchCraft.  I love this venue for our meetings, the food is great and there's a shop on site!  The lovely, and very tall, Liz was my able assistant. 


I used a scrappy binding, the left overs from some of the blue and white prints.  I love a good scrappy binding.  I threw the quilt in the washing machine and then the drier that night, and here is Mr CA holding it up in our garden the next day.


As I said, I started it in February and the piecing went very quickly.  I pieced the backing at a QG meeting, must be about 12 weeks ago, then basted it at the same meeting.  It then sat for ages as I was intending to FMQ it and my darning foot snapped.  In the end, I realised Jacob was coming up for a visit and I wanted it done.  Out came the walking foot.


I quilted in a giant square spiral, starting from the second left block on the third row so the spiral is offset.  due to the business of the prints, it's not very obvious, and neither are my extremely "organic" straight lines!  I only had a few thread ends to bury (yep, I decided to do it properly this time and not just backstitch) as the spiral started going off the edge after the first bobbin.


I pieced it with Guttermann in white, then the quilting was done in a pale blue cotton thread.  I bought a job lot from Abakhans at one of the craft shows, they're Molinsk or something...  The thread is very, very strong so I was happy to use it.


So there we go, my third FAL finish and my third quilt.

Ladies of the EMMQG, I think I'd like to change my statement that "I am NOT a quilter"...


Stat:
Quilt top pattern: Jungle Path
Back: Improv with name paper pieced in Just My Type Lowercase
Fabric: Riley Blake Scoot
Size: taller than me, about single bed size
Thread: Guttermanns, Molinsk
Time taken: 3 months start to finish
Binding: Scrappy
Quilting: by me, on my machine, offset square spiral

Monday, 26 May 2014

smalls sal

 Smalls SAL.  Yay, another successful Smalls month!
SmallsSAL2014


Last month I stitched Colin, this month I stitched Harry.  Here he is, levitating slightly - yep, I miscounted!


Harry is a black bunny with a few patches of white on his face and underneath.  I didn't want to stitch him in black as I thought it would be too much, so I used 1 strand of black and 1 of silver.  He's 6 now and he is starting to go grey!


I had a bit of trouble with his face, I did a triangle of white to start with as I was afraid his eyes wouldn't stand out.  It looked terrible, so I unpicked and carried on as I'd done for the rest of him, just leaving 1 square of white for his eyes.  

These little fellas are just 3".  On to the girls next!  Should I make them levitate?


Related Posts

Smalls SAL April
Smalls SAL February
Smalls SAL January

Saturday, 24 May 2014

Craft Book Review - The Art of the Beaded bead

The lovely folk at GMC sent me another book to review.  If you usually click away from my reviews, I do always make something from the book, there are photos further down.

The book this time was The Art of Beaded Beads Before we go any further, the disclaimers.  I was sent the book for free to review but I was not told what to say and all opinions are 100% my own.  I didn't receive any monetary compensation.  Links in this post, as with all my book posts, are affiliated.  If you click over and buy something, I get a few pence towards an Amazon voucher.  


This is a lovely book.  I'd wanted to try beaded beads for a while and thought they'd be hard, but they're not.  The book opens with an introduction to beaded beads, a section on materials and then several pages on beadweaving basics before moving on to the 40 patterns.


Some, like the beads above, are beaded around a core bead, others are made from scratch.  Each project has a clear list of what's required, the finished size and the beadweaving stitches used.  There are also plenty of Gallery shots, like the one above, showing what can be done with beaded beads.


Each project has step by step instructions and clear diagrams.  I found them really easy to follow. And, as I said, there are 40 projects in this book!


The one above is my favourite, it uses 3 different sized beads.  I'm going to have a crack at this one.


There are also a few projects woven around a mini spool!  I've got some upstairs, I just need to check they're the right size as I love these beads.


This is the project I had a go at - the Puffy Mandala Bead.  The instructions were clear and easy to follow.  I have done some bead weaving, but I'd consider myself a beginner so this book is very accessible. However, I wouldn't recommend it for someone who'd never done any beadweaving.  I'd learn to do a few stitches before trying projects from this book.


I could NOT get a photo of my finished bead.  The light was wrong, the camera didn't want to zoom in that far...


See?  Crap photos...  The beads are delicas.  Mine isn't puffy as I ignored the bit about stuffing the bead.  Why do I always think I know best?!?


Book Information


  • Paperback: 144 pages
  • Publisher: Lark (7 Jun 2010)
  • Language: English
  • ISBN-10: 160059588X
  • ISBN-13: 978-1600595882
  • Product Dimensions: 25.4 x 21.6 x 0.9 cm

Disclaimer:

I was given a review copy of the book by GMC however this review and all opinions are 100% my own, I was not told what to say.  Amazon links are affiliate links.


Thursday, 22 May 2014

Piles of quilting...

... waiting to be done.  Damn you Husqvarna who were out of stock of darning feet.  I'm still waiting for mine to arrive so I can quilt this baby:


Sorry for the appalling photo.  I could NOT get the colours at all.  It looks like an Instagram photo, but it's not.  The background is actually black.  I followed the pattern in last month's Love Patchwork and Stitching, but I'm pretty sure I've seen dozens of free versions of this pattern on the internet.  It's paper pieced.


This is a cushion for Jacob to match the quilt I've nearly finished... post coming soon (if I ever finish stitching the damn binding down!).  I used Oh Fransson!'s Mod Mosaic tutorial and really love the effect.  I wanted to use the 20" cushion insert I had, but I wanted it to be puffy and full, so I made the cushion cover 21".  Yep, went the wrong way there!  It will have to be cut down to 19".  I got the insert out to see how much bigger it was and realised I'd bought an 18" insert... oh dear.  I hope the Range has some 20" as Jacob's coming up at the weekend!  


Check out my mitred corner!  Take that Y-seams, you are NOT hard.  I have to get this hand quilted (in Perle) and made up, I suspect I'll be doing it at this weekend's Quilt Guild meeting.  Ladies, prepare for a panicky Wendy!

Tuesday, 20 May 2014

FAL Q2 second finish!

Am I on a roll??  I have finished my second 2014 FAL for the quarter!

Finish Along 2014

You can see my original goal setting post here.

It all started last year when I found a Silhouettes cross stitch kit that would be perfect for my dad.  I stitched the Silhouette Tram for his birthday, then I stitched the Oast Houses (can't find a post where I showed you the finished item!) for Christmas.  It wasn't enough, there has to be 3, especially as mum put them in the living room when I thought they'd be shoved in dad's office!


You didn't get any progress shots, but then I stitched it so much quicker than I thought I would, I quite surprised myself.  


These pictures show the image - it's At the Train Station, before the backstitch was added.


Don't you think it makes a massive difference?  This one is for Father's Day next month, so I hope he likes it.  There are loads more in the set, but for his next birthday I'm moving on to something different... cross stitch again, hope he likes cross stitch!


Related Posts

FAL Q2 goals
Silhouette Tram
Silhouette Oast Houses

Sunday, 18 May 2014

Needlequest - Blackwork

This month's challenge on Needlequest is blackwork, so I knew exactly what project I was going to tackle.  I have done some blackwork before, if you're so inclined,you can see my attempts here, here, here and here.  For this month I wanted to pick up Elizabeth Almond of Blackwork Journey's Save The Stitches.  

You may remember I started this and discovered I was stitching over 1, rather than over 2, you can see my previous attempt if you fancy a laugh!.

Anyway, I was hmmming and haaaing over unpicking all those little fussy stitches, I didn't have enough fabric to start again and it was bloody expensive.  So I did what any sane stitcher would do, I turned the fabric upside down and started from the other end.  If necessary, I'll unpick the first attempt later, but I'm hoping not.  I know this is just putting it off, but if I have to unpick before I start to stitch again, I fear it'll never happen.


The pattern in done in blocks.  This is block 1. I think Elizabeth has released about 11 so far, so  a long way to go.  I started by putting in all the cross stitches.  I'm using the recommended thread, so cross stitches were in Perle 12, and the back stitch is done in one stand of stranded cotton.


I haven't got very far, but I love stitching this.  I have to put it aside to bind a quilt, but I'll be back to it.  If you like a bit of needlework, even if you've only done a bit of cross stitch, I really recommend giving blackwork a go.


Related posts

Needlequest January - Needlepainting
Needlequest February - Japan (Sashiko)
Needlequest March - Goldwork, starting the decoration
Needlequest April - Spring applique

Friday, 16 May 2014

diagonal peyote

A friend's birthday meant a new piece of jewellery... time to turn to my favourite beading book: Seed Bead Stitching: Creative Variations on Traditional Techniques (affiliate link - if you do click over and buy something, I'll get a few pence towards an Amazon voucher).

I decided to try a new stitch and opted for the Diagonal Peyote which reminded me of flashes of lightning.


I used red, gold and black 8/0 seed beads to make this bracelet.  The sample in the book is all one colour, but I wanted to put a pattern in.  It was really easy to stitch and didn't take long either, so I thought I'd make a co-ordinating necklace, using dangles.

The book shows most of the pieces of jewellery with various dangles and I really like the look.  I had a quick look through my stash and chose some white and black heart beads and some red and clear glass beads that I thought would work well.  For some reason, i really don't know why, I switched to size 10/0 seed beads for the necklace, so it's quite thin.


I measured to try and make sure the dangles were central as they're incorporated during the stitching, not afterwards.


Unfortunately I've not been well recently, so I've yet to see the friend in question so don't know if she likes it.  She's a good friend so she'll say she does!  Again, the photos are dreadful.  I've invested in a pop-up lightbox which should be delivered next month, it's to be used with a smartphone and I'm hoping it helps.  My camera has gone funny, I can take photos and see them, but can't download them, so I've been using my tablet.  The picture quality is better than my camera!  I hope the lightbox can be used with the tablet but I'll have to wait and see.  I'm pretty sure my pictures will still be the same crap standard that you're used to from me!

Wednesday, 14 May 2014

tablet stand

I made this AGES ago and keep forgetting to blog about it.  I was the lucky recipient of a tablet from my wonderful parents a couple of months ago.  I love it.  I watch Netflix on it as I'm sewing as I don't have a TV upstairs.  I'm currently addicted to 24 and burning through series 2....


Annoyingly, the tablet lay on my desk and I couldn't see the screen.  I tried propping it up on a tin, but decided I needed a real stand.  As I was sewing at the time, I abandoned my project and got to work.  I used this tutorial by Betty Crocker Ass, works perfectly.


I love this fabric.  I have no idea what it is, but I bought a little bundle of similar colours when I first started sewing, intending to make a patchwork bag. That never happened, but the little bundle still sits alone, outside of my main stash as it's "special".


Clearly at the time I made this I wasn't watching 24.  The little puffy rice-filled cushions at the front hold it so it doesn't slip forward and it leans on the triangle bit at the back.


I added this little channel.  The original tutorial has a solid pillow-type thing at the front, but I added this...


For the charging cable.  I doesn't work perfectly as I failed to take into account the fact it plugs in the bottom, but at the edge of my desk it works just fine!  Next I have to make a case to keep it in...