Friday, 10 June 2011

Toys for the boys

Good morning/evening/afternoon ladies.  Now, I don't have any children of my own (other than my bunny babies of course) and judging by my friend's children, I don't think I want any.  That did not come out right!  They're lovely and gorgeous and I love them to bits, but it's so much commitment!  And the bits where they're crying/mardying/stropping...  I don't think I could cope.

They are, however, a bloody good excuse to sew.  So I did.  I've been seeing taggie blankets all over the place, including over at Sandra Sews.  I wanted to make one.  Usually what happens is I spot something I like, I decide I'll make it, 3 months later I remember I wanted to make it!  This time, I decided I wanted to make a taggy blanket and I did!
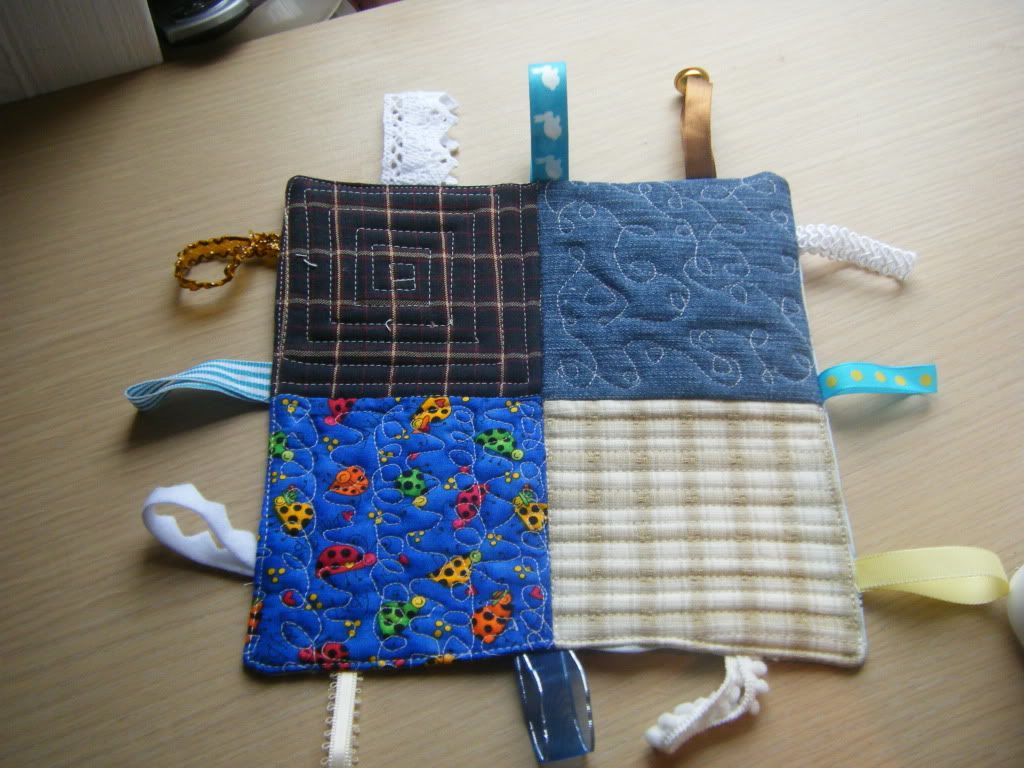

I know that taggy blankets are all about texture so on the front I used a square of cotton, 2 squares of homespun which both feel different and a square of denim from an old pair of jeans.  I pulled together loads of different types of ribbon and threaded a jingle-bell on one.  Sandra has since informed me that a REALLY STUPID IDEA as this is going to a baby.  Ooops.  I gave it to the mother anyway but asked her to cut it off!!  I backed this pieced front with wadding and a piece of white cotton and tried out some quilting.  Oh yes, the Crafter's Apprentice does quilting... after a fashion!
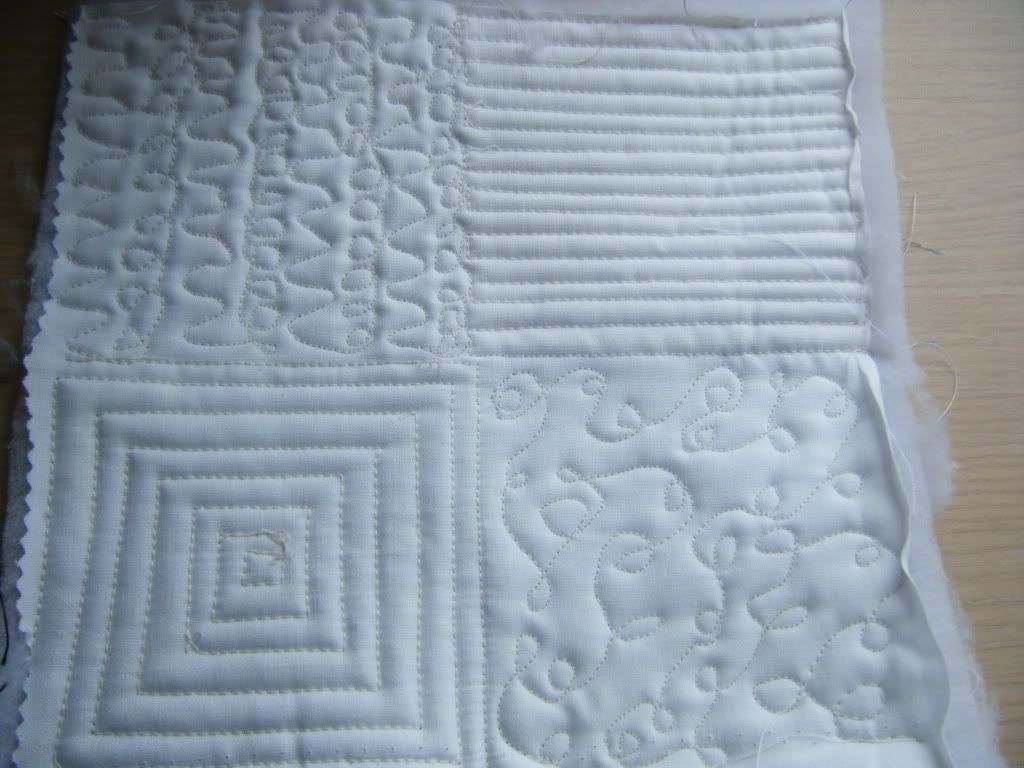
First it was on with the walking foot to do the trusty spiral quilting that I did on a gazillion coasters recently, then some back and forth lines.  Then I changed to my free motion foot and did the meandering - if that's what the loopy thing is, then a random pattern of loops and waves.  I love quilting!!
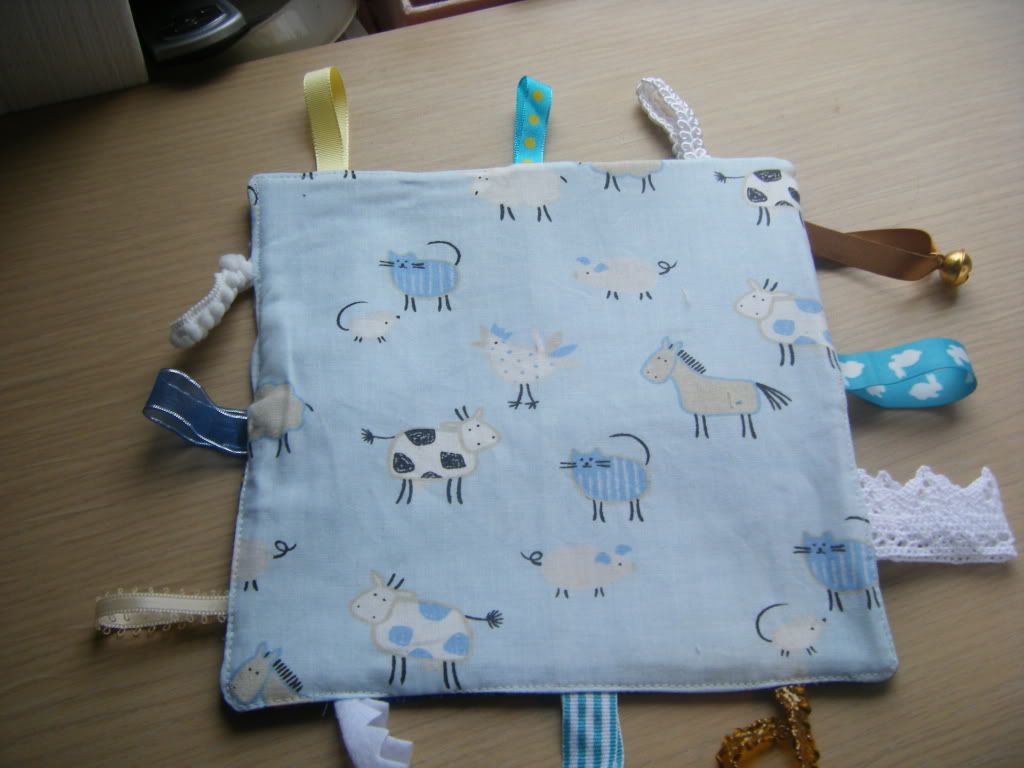
The back of the taggy is this cute cotton fabric.  No idea who it's by.  I was in the Husqvarna shop buying Tilda for my giveaway when I spotted it and so had to have a fat quarter.  The bolts were there also but there was no label on them.
I have given this as a present to my colleague/friend's 12 week only baby.  He reached out to touch it but he doesn't have control of his hands yet.  I'm hoping it'll be suitable for him in a few weeks.
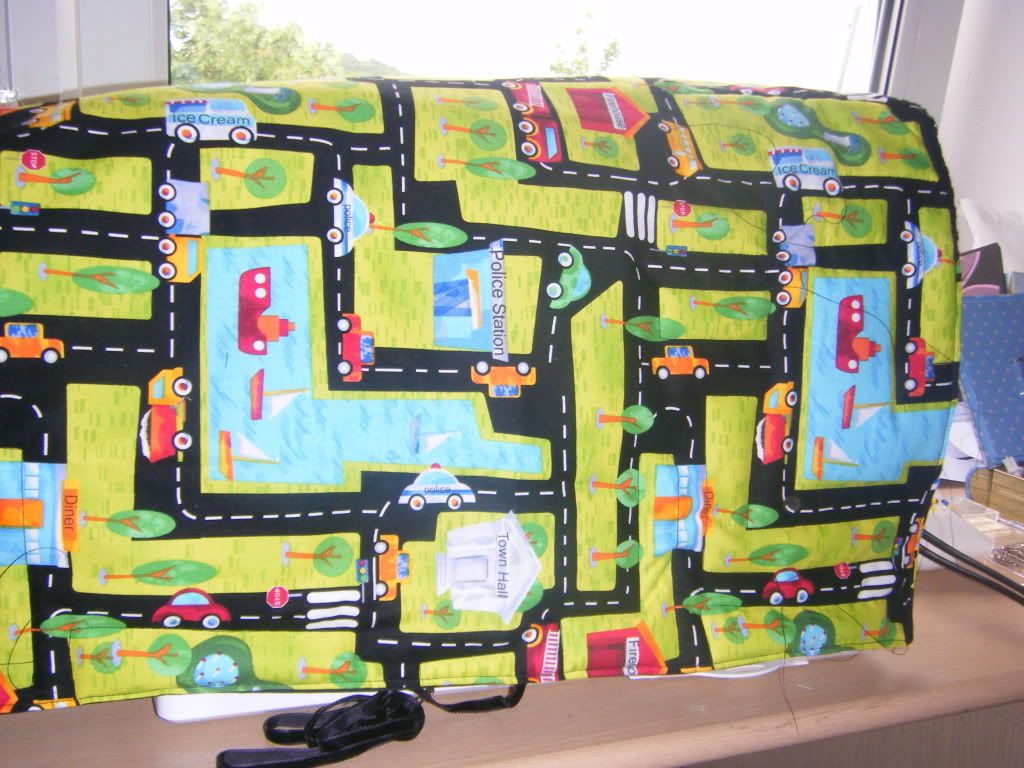
I didn't want to leave out my other colleague/friend's son.  He's 2, nearly 3 and adorable.  He loves to play cars up and down the living room carpet so he had to have a playmat.  I showed you a glimpse of this in a WIP post.
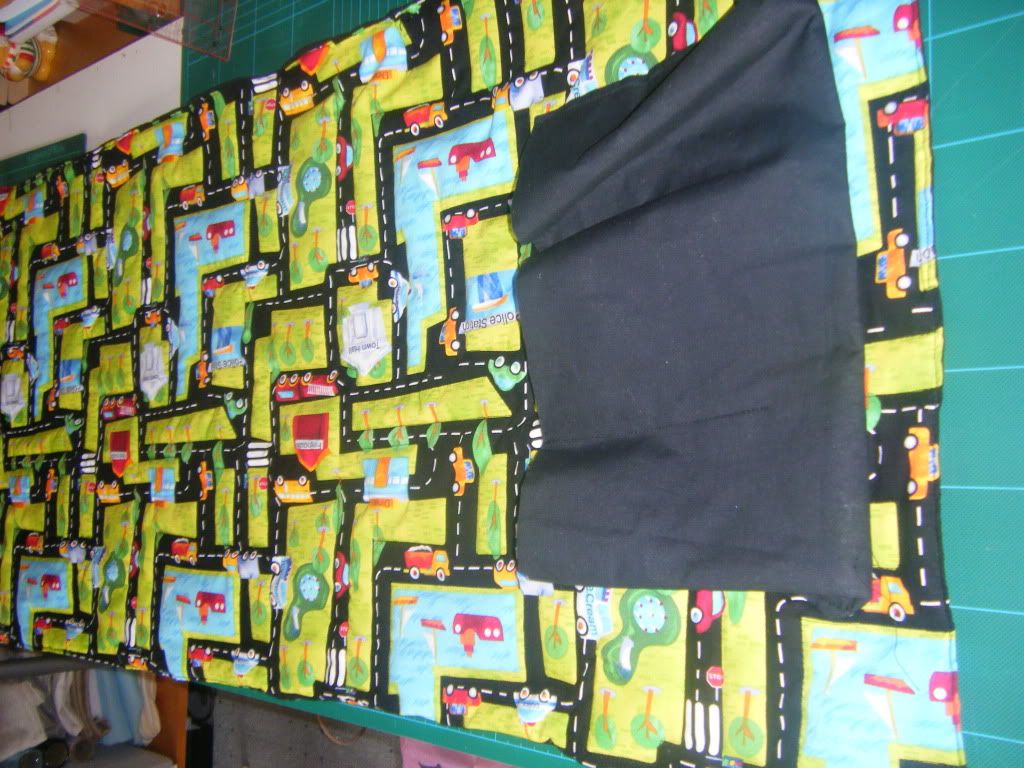
And I quilted it!  I quilted along the edges of the roads.  I used the walking foot so there was a lot of turning involved.  I skipped over the buildings and cars, but sewed right over the trees and road signs or I'd still be quilting it now!
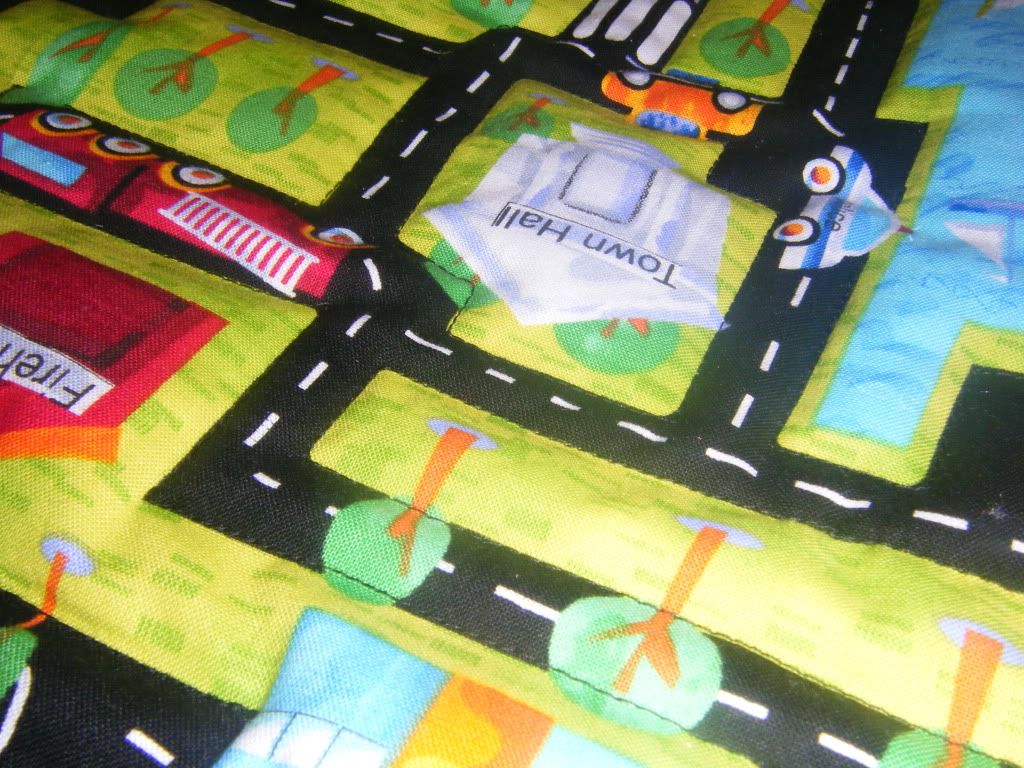

I think you can just make the quilting out if you concentrate on the tops of the trees first.  I really buggered a seam up though and then made it worse with quilting.  Ah well, I doubt this little fella will notice or care.
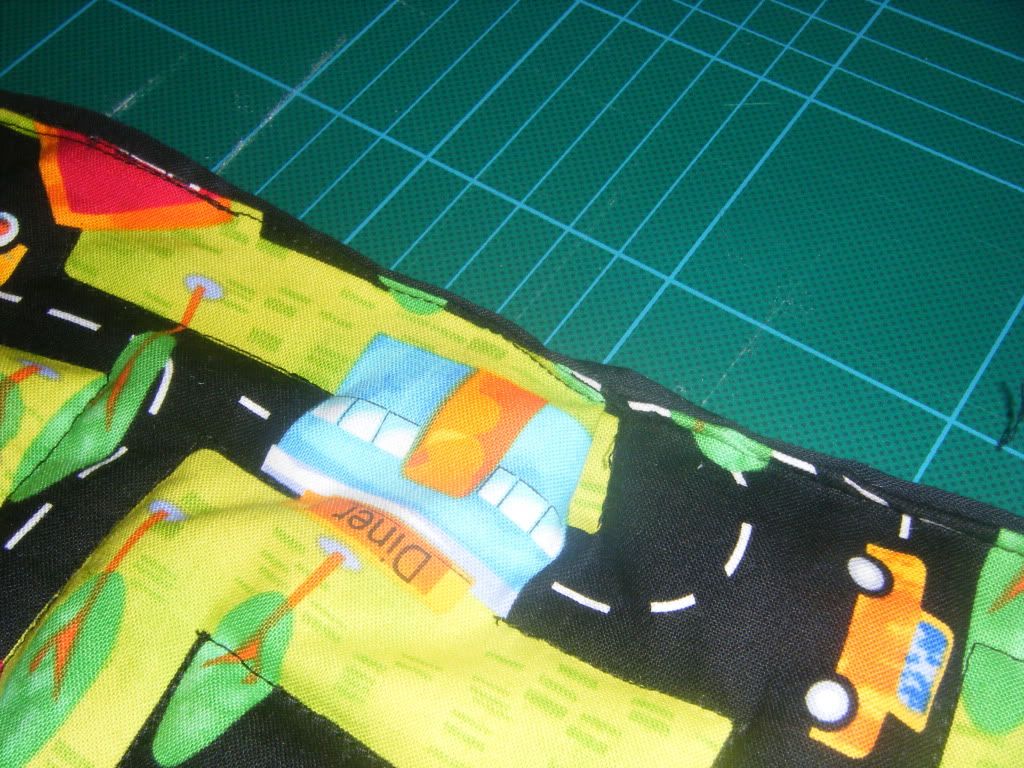

I learnt a lot quilting this.  Firstly basting or pinning would have been a really good idea...  the wadding slipped about so much that it's bunched up in places.   I also got a really good feel for stitching through the sandwich and how sparse quilting like this doesn't quite give the effect I would have liked.
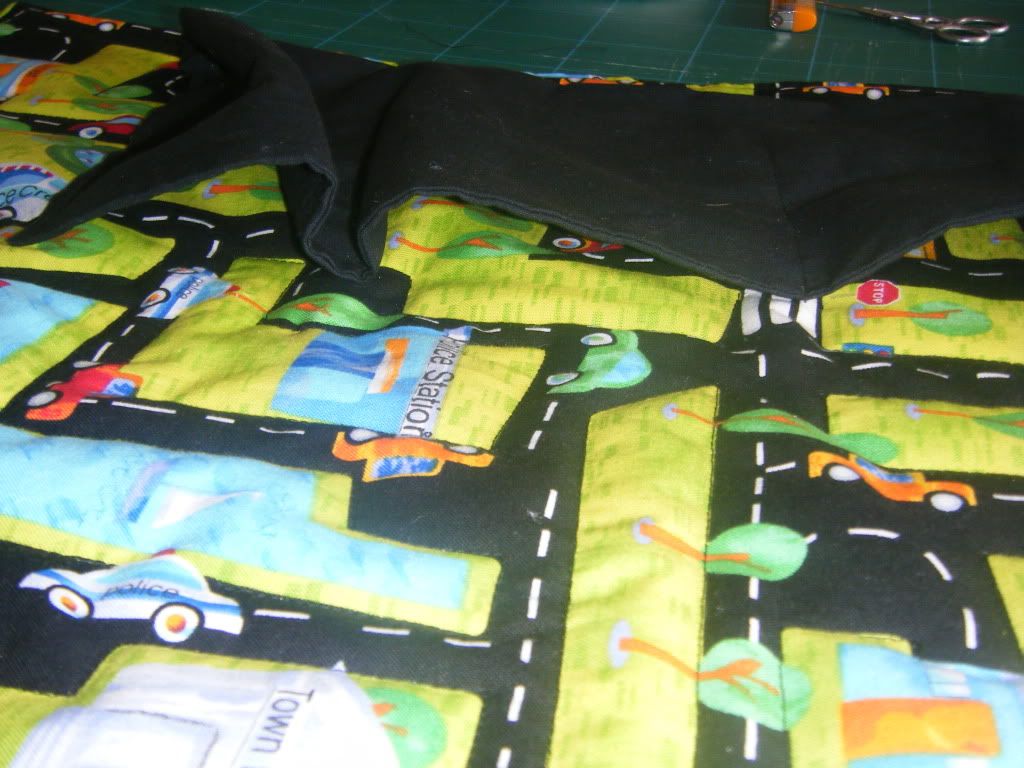


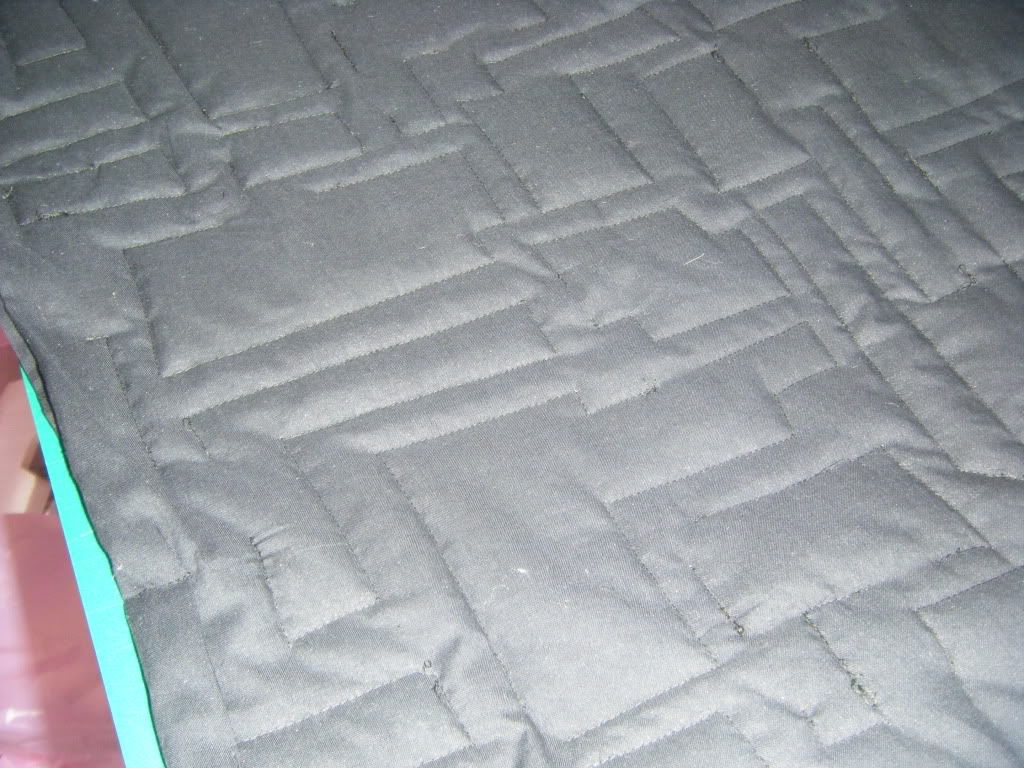
Here's a picture of the back so you can see the quilting.  The back is a black IKEA sheet, though it looks grey here.


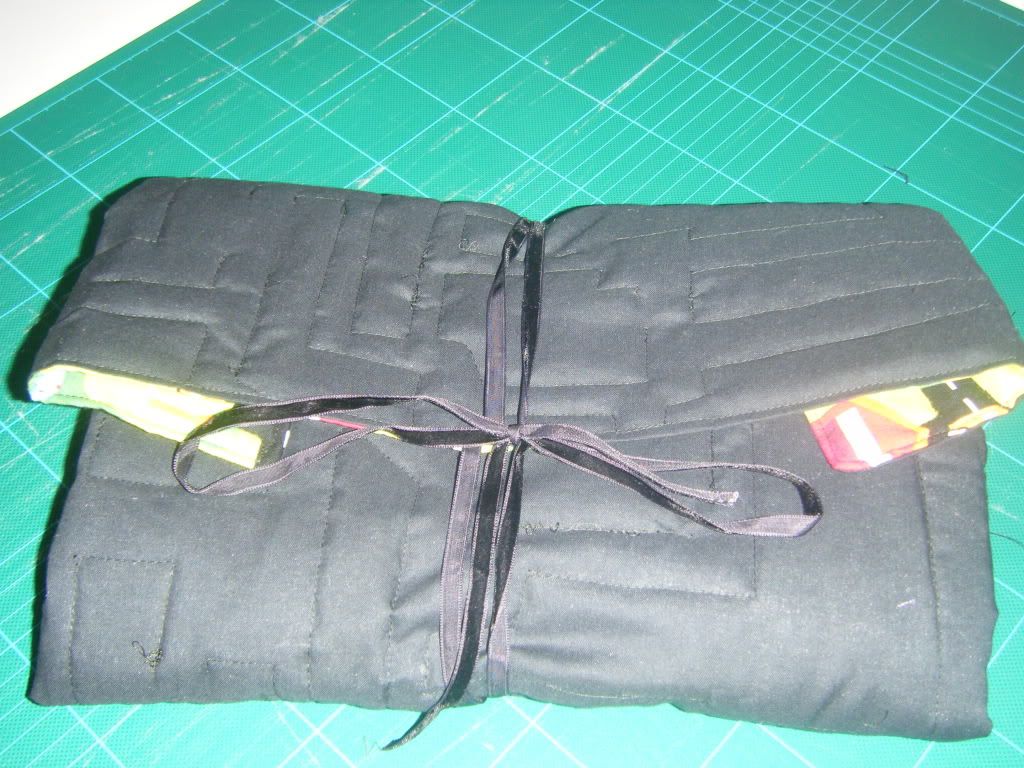
And here it is all rolled up ready to go.

I REALLY enjoyed quilting this even though it's a bit of a mess.  There's definitely a quilt in my near future though I don't know how I'll fit one through the throat of my machine and I don't have any use for cot quilts or lap quilts...
Wednesday, 8 June 2011

The acorn cup/gnome hat/tiny bowl reveal!

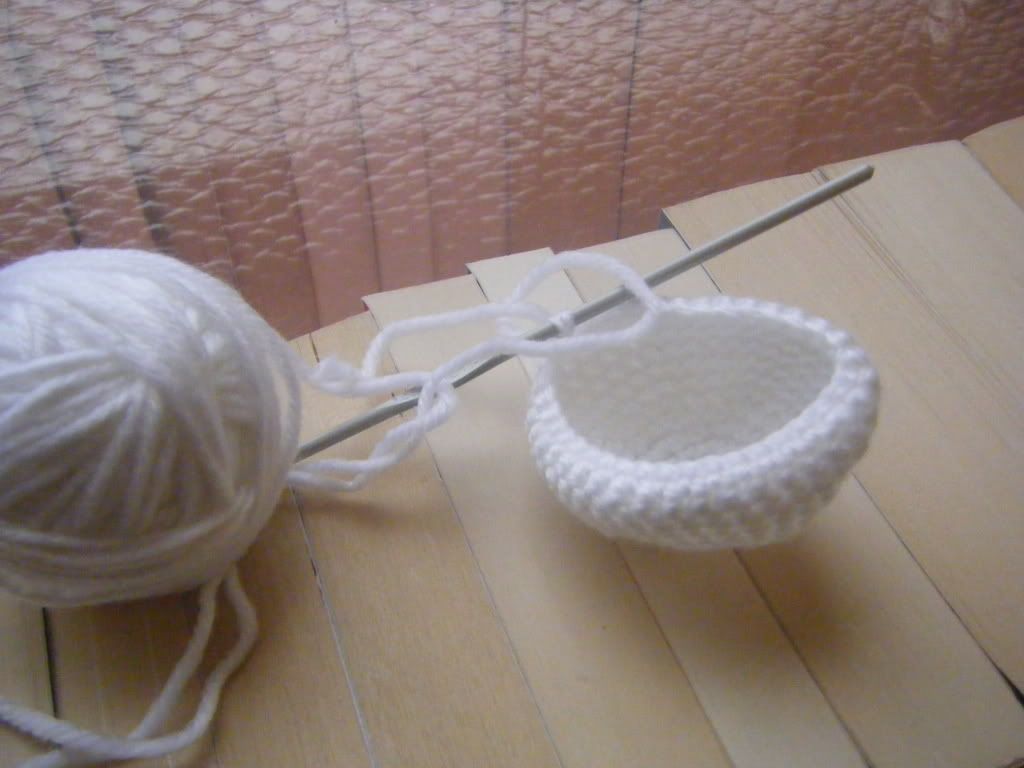
Last week I showed you this photo and asked what you thought it was:


Nope, not a gnome's hat - I don't know any gnomes.
Nope, not an acorn cup - can't think what I'd do with that!
Nope, not a bowl to be felted, it would only be big enough to hold my toenail clippings and me and Mr CA haven't been married long enough for that kind of behavoir.

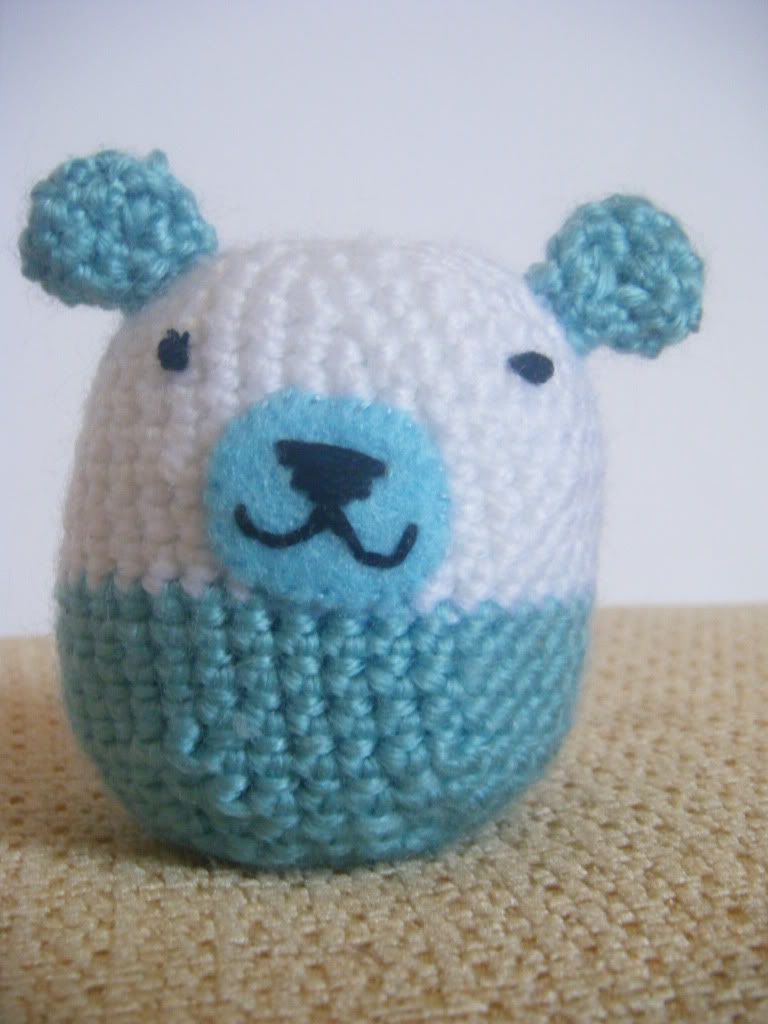
In fact, it was/is this:


I can see you're still wonderin what it is!!  It's a little amigurumi bear.  It's from the book Amigurumi by Lah-Anh Bui and Josephine Wan and I think he's adorable.  He even raised a smile from the Mr who usually gives my handmade items a cursory look and sometimes a grimace.  This might as well be an entry for the Craft Book Challenge, though I don't think the host is doing anything with the challenge, she hasn't even mentioned it since it began, so I wont bother posting the logo and all that!  I will be carrying on with the challenge as I wanted to do it before I saw her challenge.

I'll definitely be making more amigurumi, I really enjoyed it though it was sore on my fingers as the small hook and tight stitches needed were tough to hook.

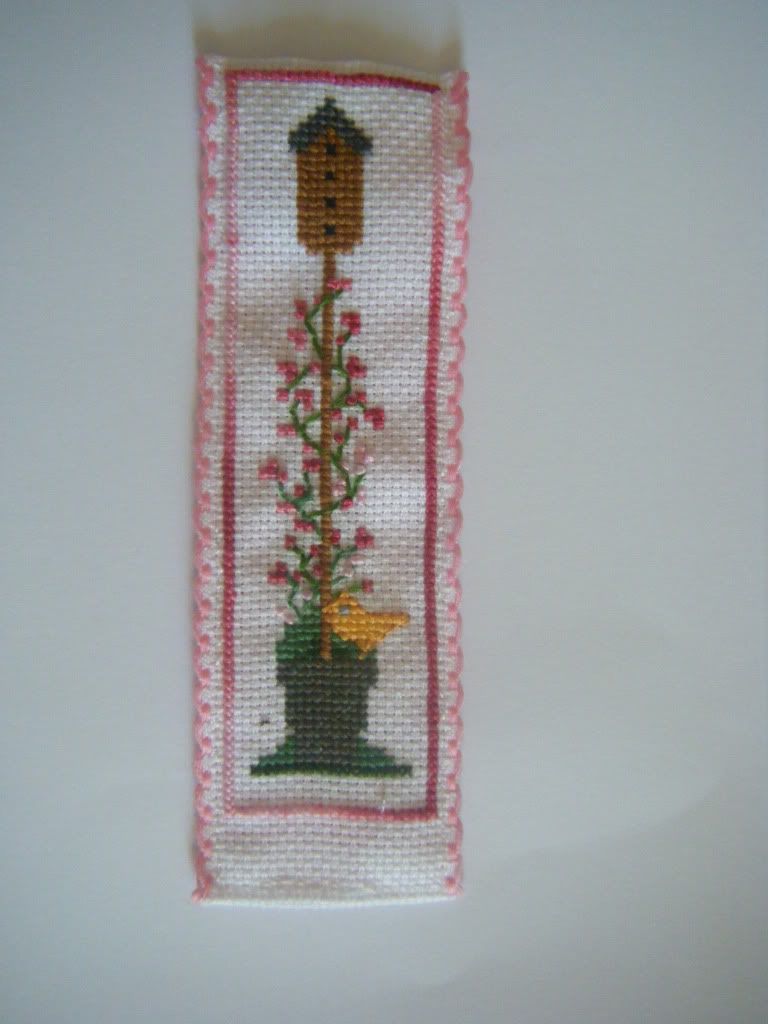
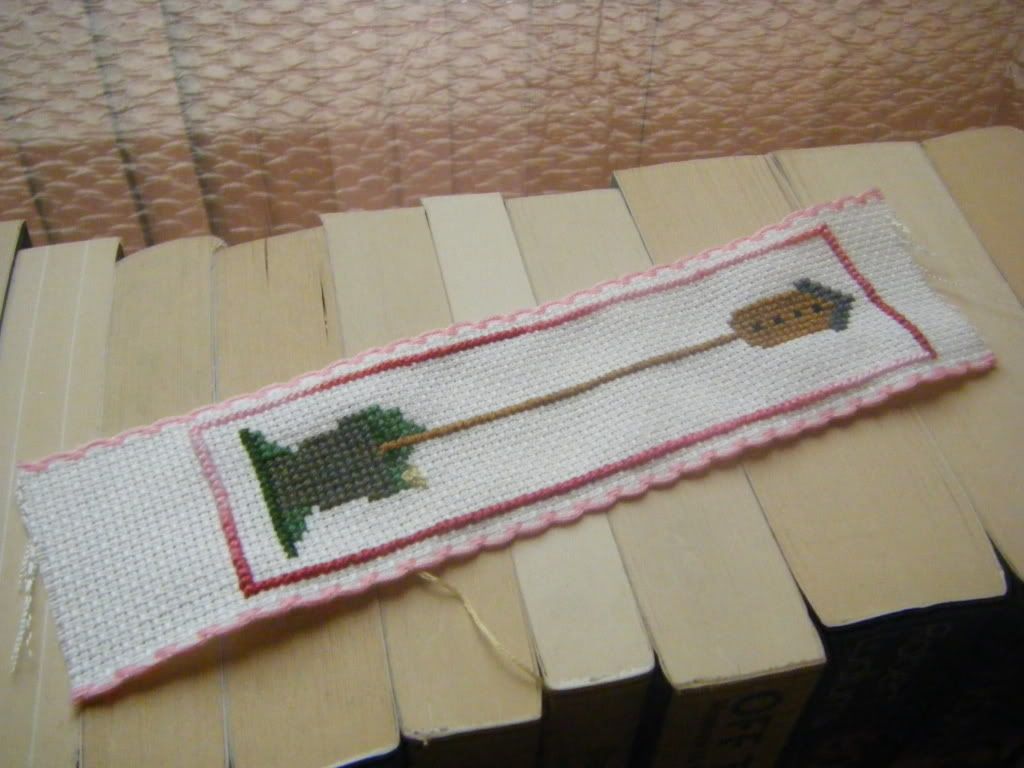
I finished another WIP mentioned in that post - the cross stitch book mark. 


Well OK, it's not quite finished as it needs a tassel but I only just ordered them.  The lovely free chart is available here at the lovely Blog di Gloria.  There is a birdhouse bookmark chart for all the months of the year,  a couple of alphabets and loads of other free charts.  She writes in English, French AND Italian!!  Thank you Gloria, I hope you like what I've done with it.

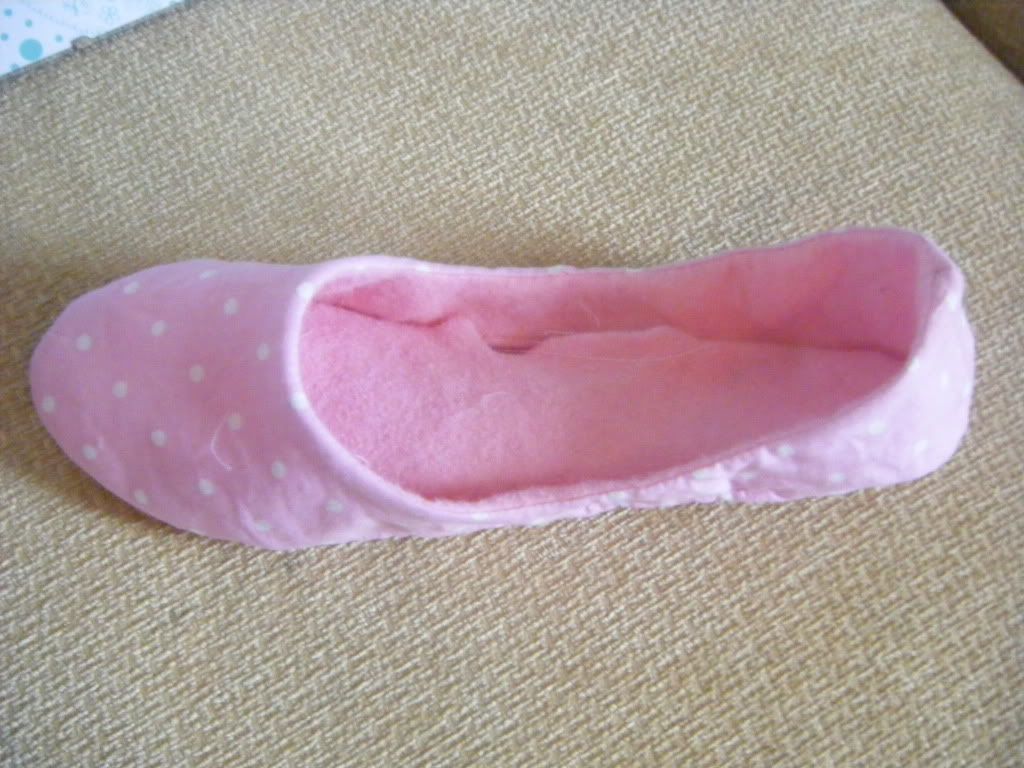
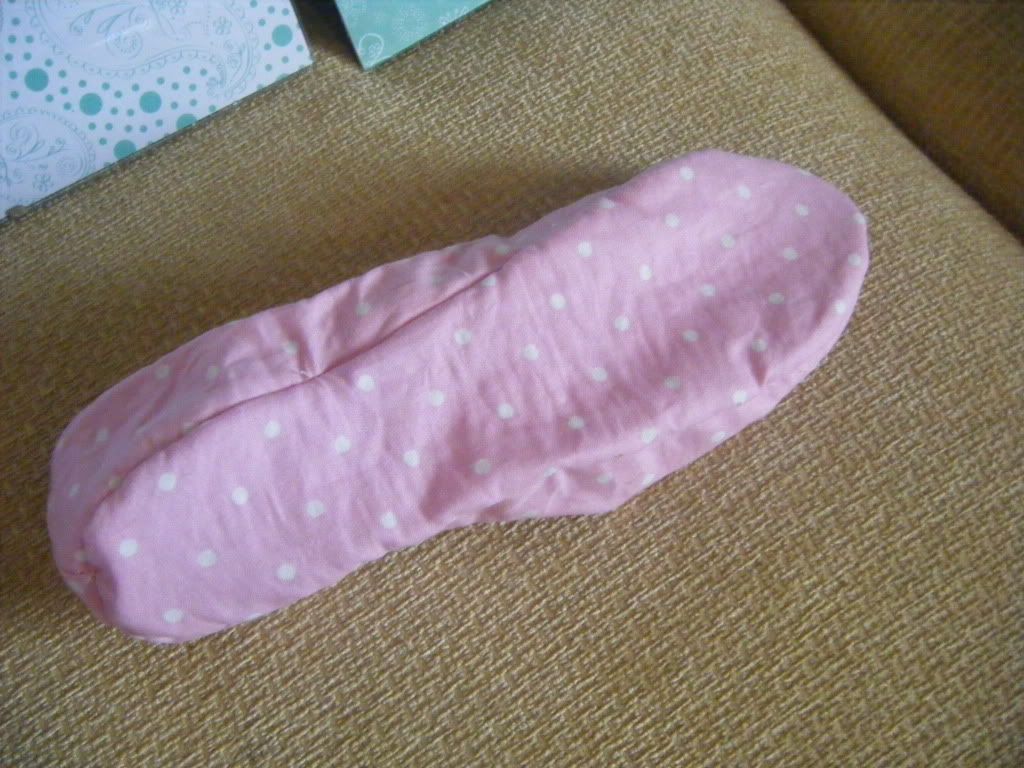
Now, I never wanted this blog to become one of those blogs where everything seems perfect, or that I churn out project after project.  Some of them, make that a lot of them, are a realy mess!  This next item is definitely a fail.  I don't know if you remember that I tried to make the slippers from Sew Perfect Homestyle?  I gave up as I'd messed the stitching up.  Well, I decided that I should try again so I did. This time the stitching went fine, but look!


Is that not just the most mis-shappen slipper you've ever seen?  Need another view?


And it would only fit someone with abnormally thin feet!  It went straight in the bin...


Monday, 6 June 2011

Scrappy patchwork hearts - a tutorial

First of all, please let me apologise if I'm teaching grandmas to suck eggs here.  If there are any grandmas who don't know how to suck eggs, I can help, just email me.  I made a scrappy patchwork heart at the weekend and then thought I could make a tutorial as it was pretty successful.  I know it's not rocket science, but I know I have readers who do various crafts and if any of the non-sewers out there fancied a go at some sewing, this would be a good place to start as it's really forgiving.


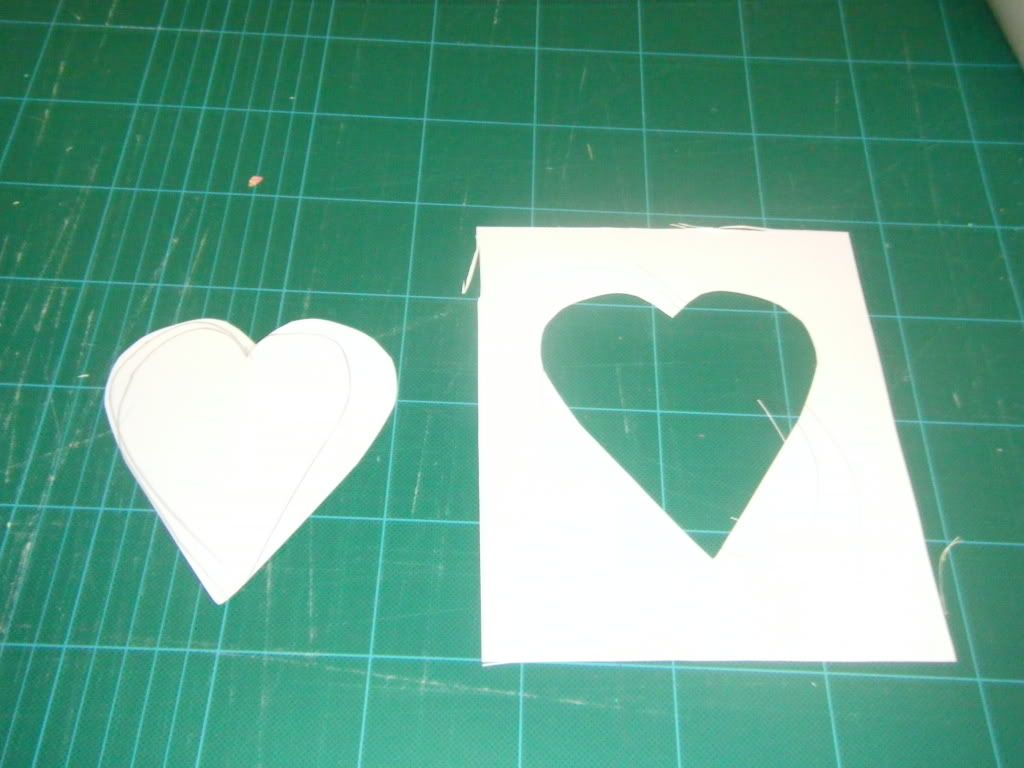
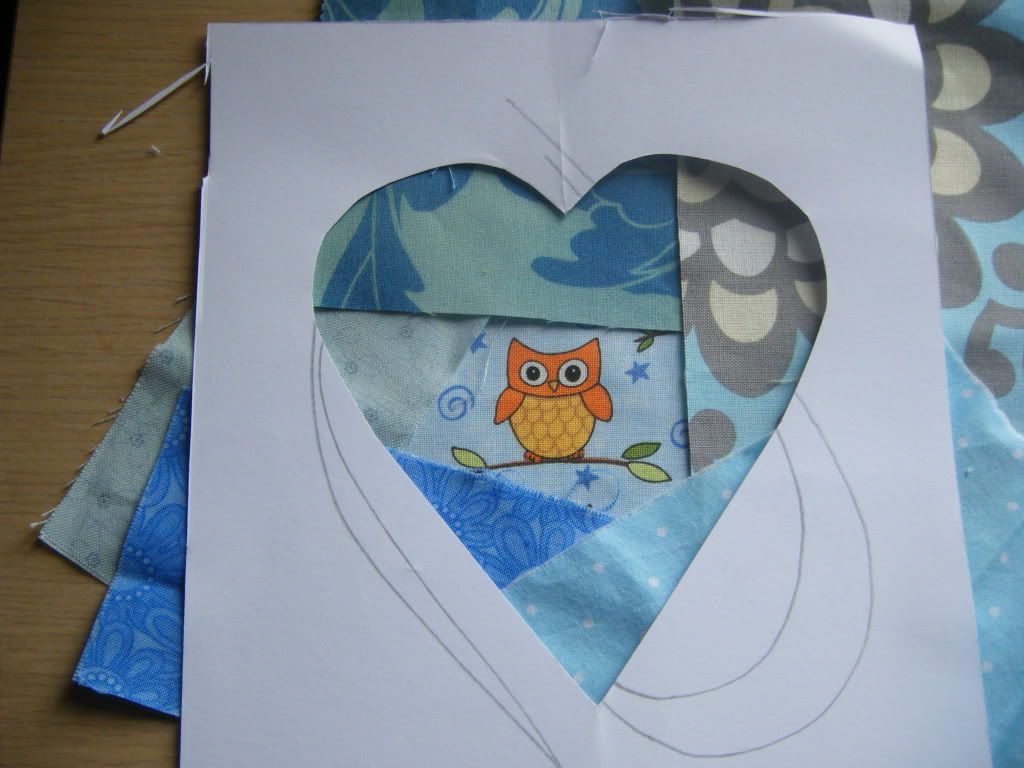
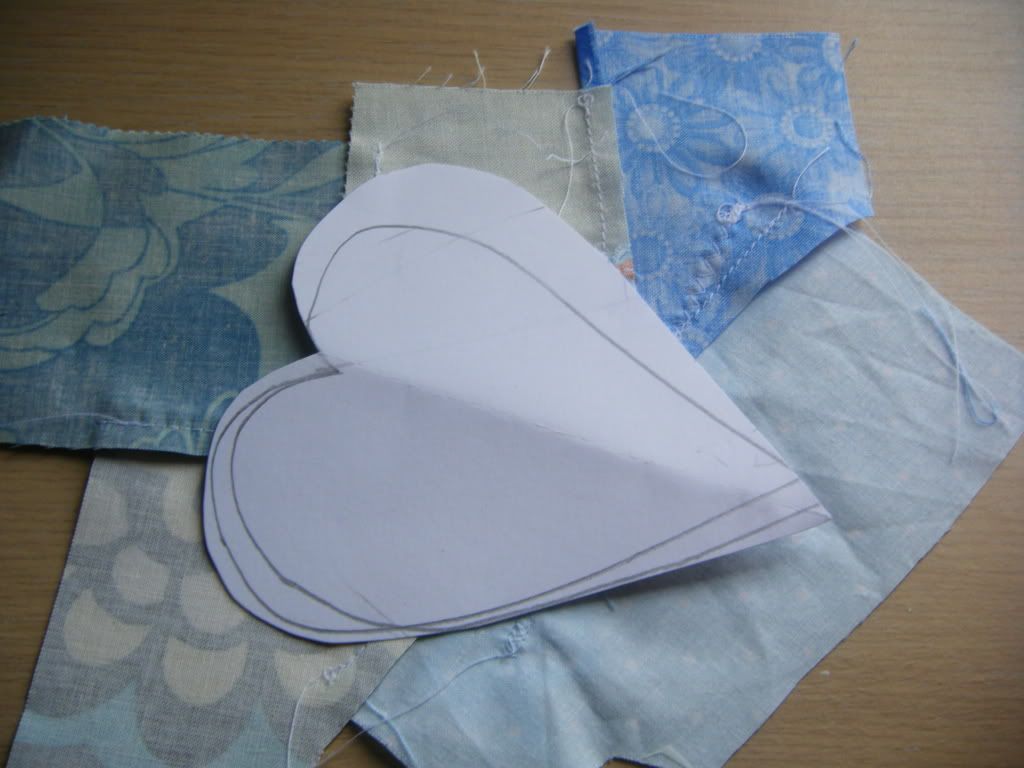
First you need a heart template.  I just drew one free hand and cut it out.  I folded the card in half and drew half a heart to make sure it was even.  You'll need both pieces.


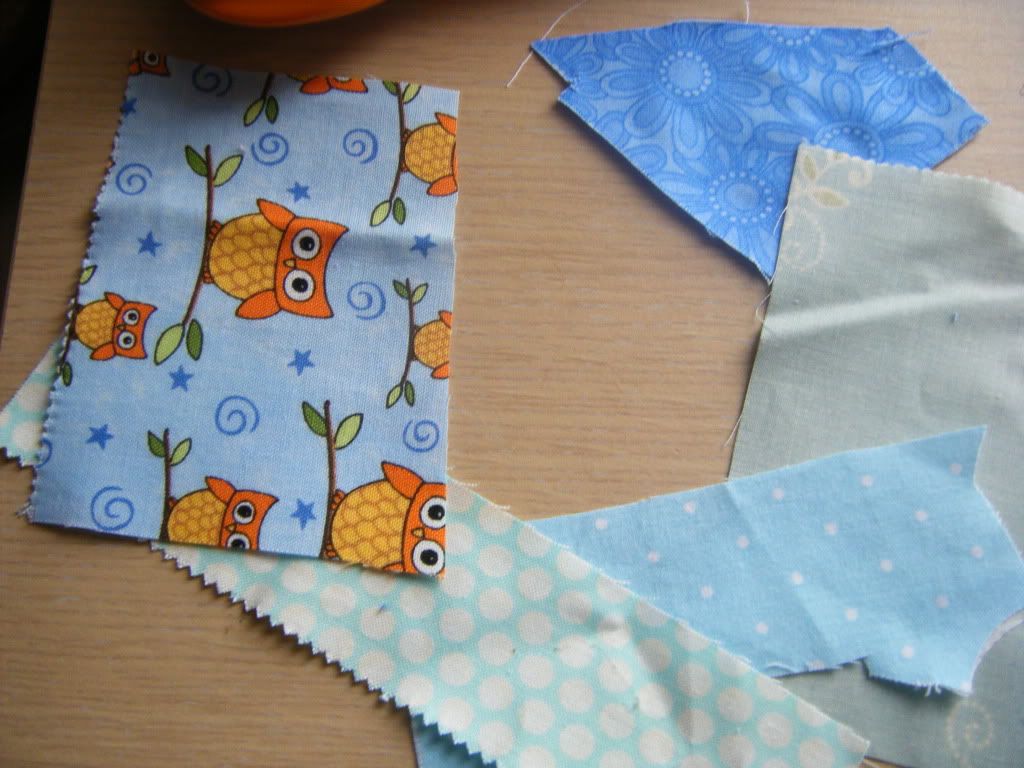
Pick your colour scheme and pull out all the fabrics you have.  You can then refine them down to ones that go together.  I was trying to avoid having all fabrics from one range here, but you can work that way if you have a charm pack or layer cake.  I chose a little owl to be my centre focal point, but it's not necessary to have one. 


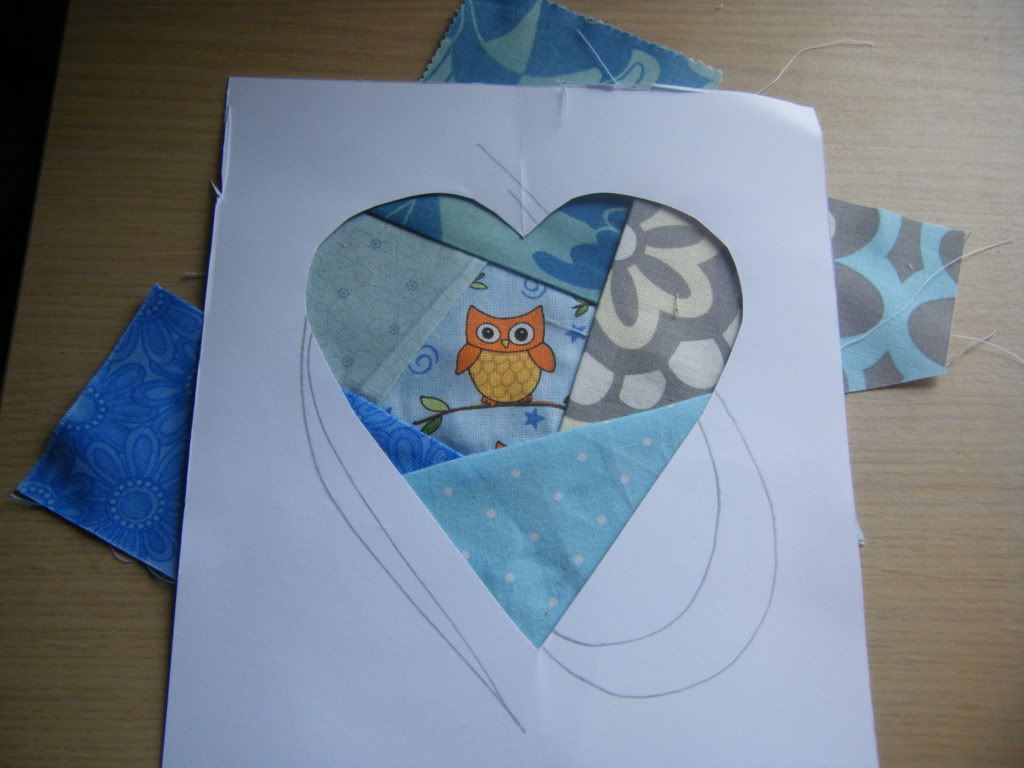
Lay your fabrics out to find a pleasing arrangement.  Put the aperture heart over the top to make sure they all fit within the window.  Once you have your arrangement, just lift the edges of the heart to make sure there is a decent seam allowance to the sides, you don't want the edge of a piece of fabric right on the edge of the template or it wont get caught when you stitch.


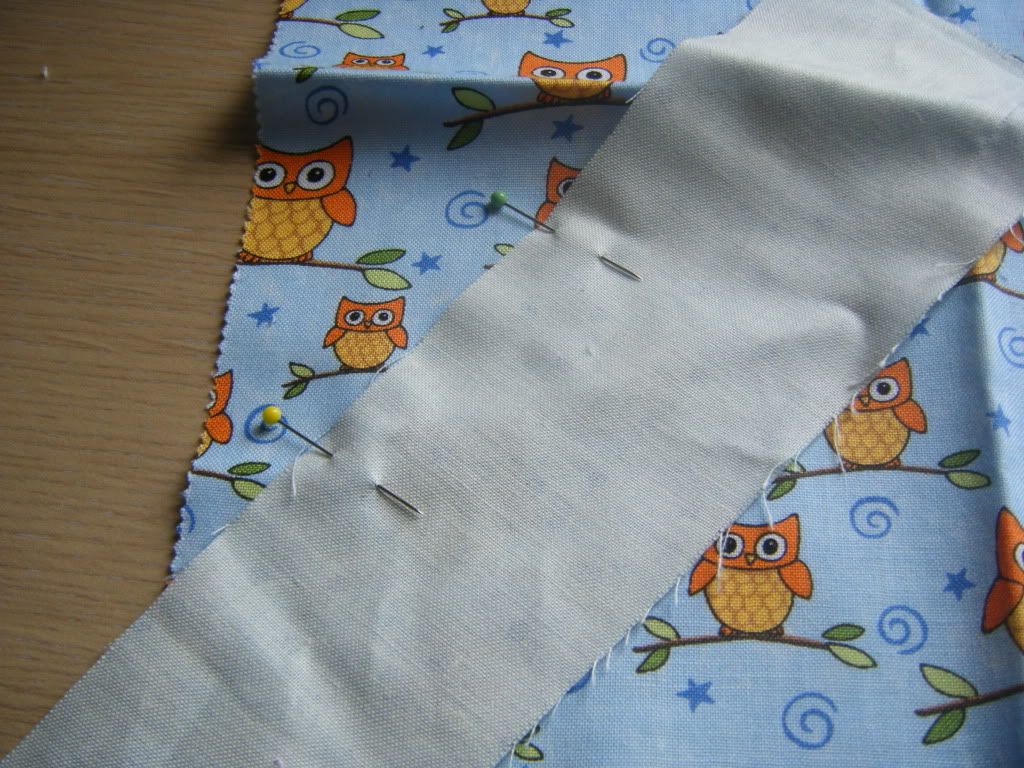
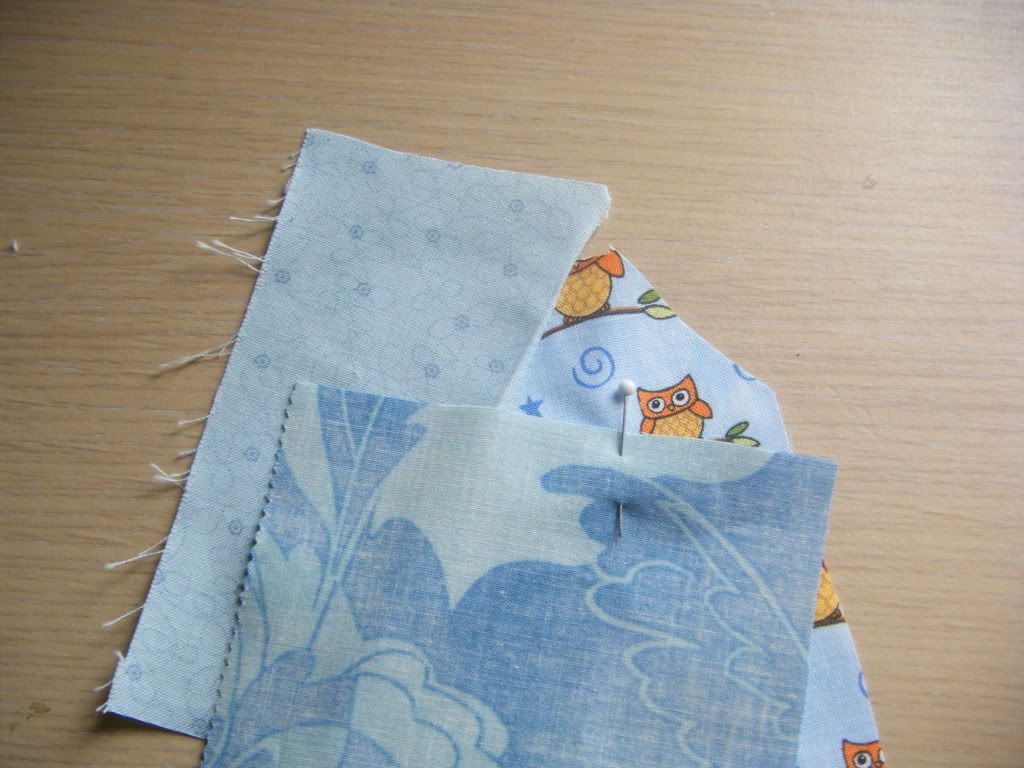
Take your central piece and an adjacent piece and lay one right side up on the other (so both right sides are facing).  Pin in place.


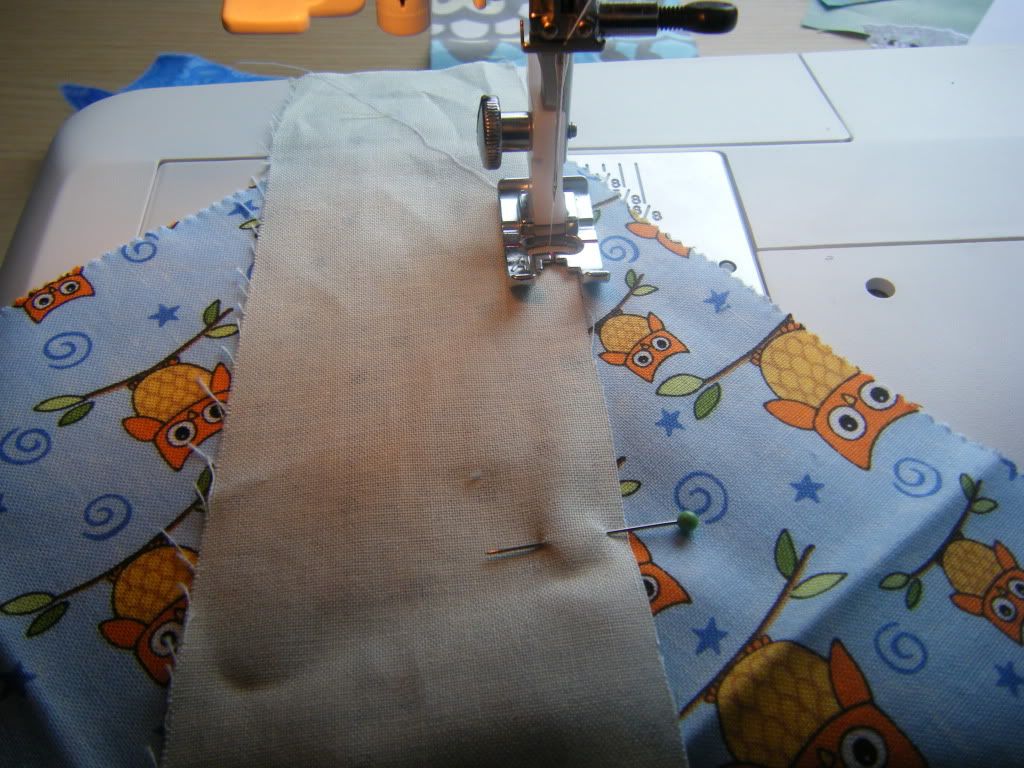
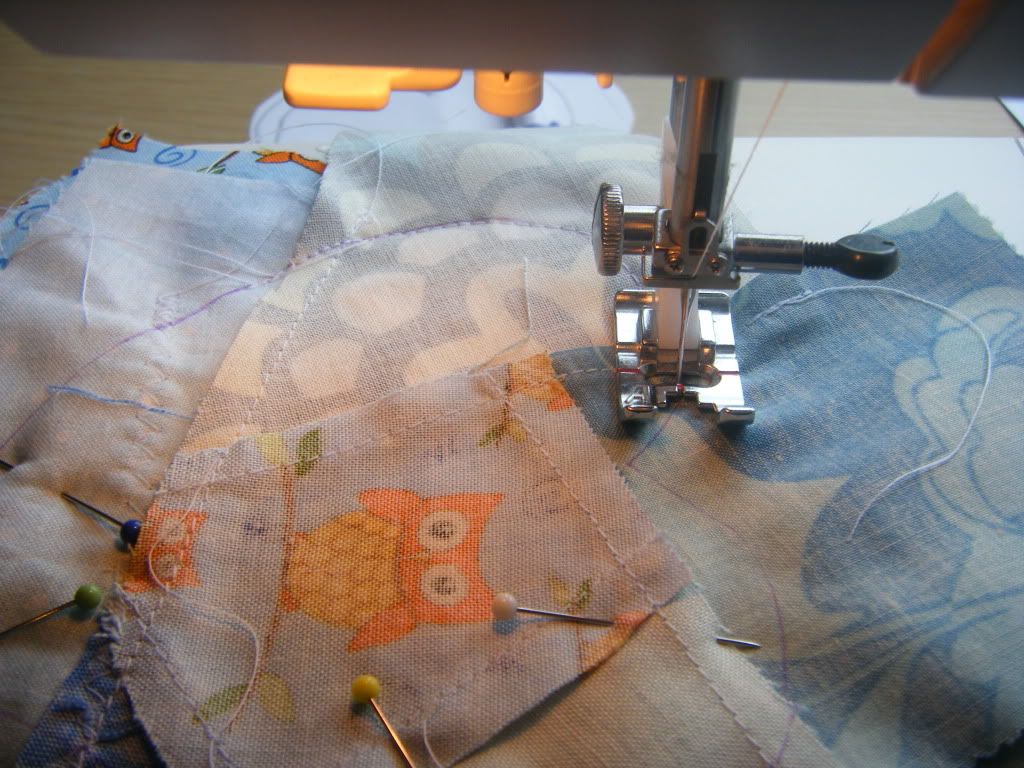
Set your sewing machine to do a straight stitch and sew along the top fabric, leaving a seam allowance of between 1/8 and 1/4 inch.  Make sure to back stitch at the start and finish of the seam to hold the stitches.


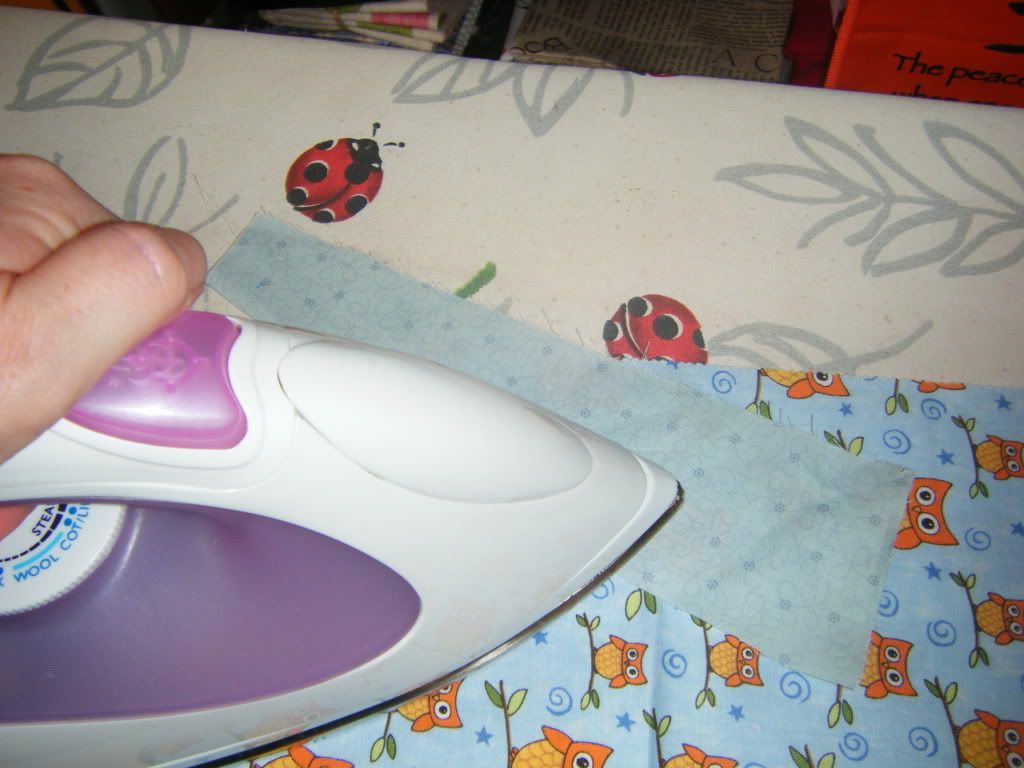
Take your fabric to the ironing board and flip the top piece back and iron it flat. 


This is what it will look  like, hopefully without the big crease next to the seam!  Oh, might be a good idea to iron your scraps first, I'm just too lazy!  Now, trim the fabric back BEHIND the seam to about 1/4 inch.


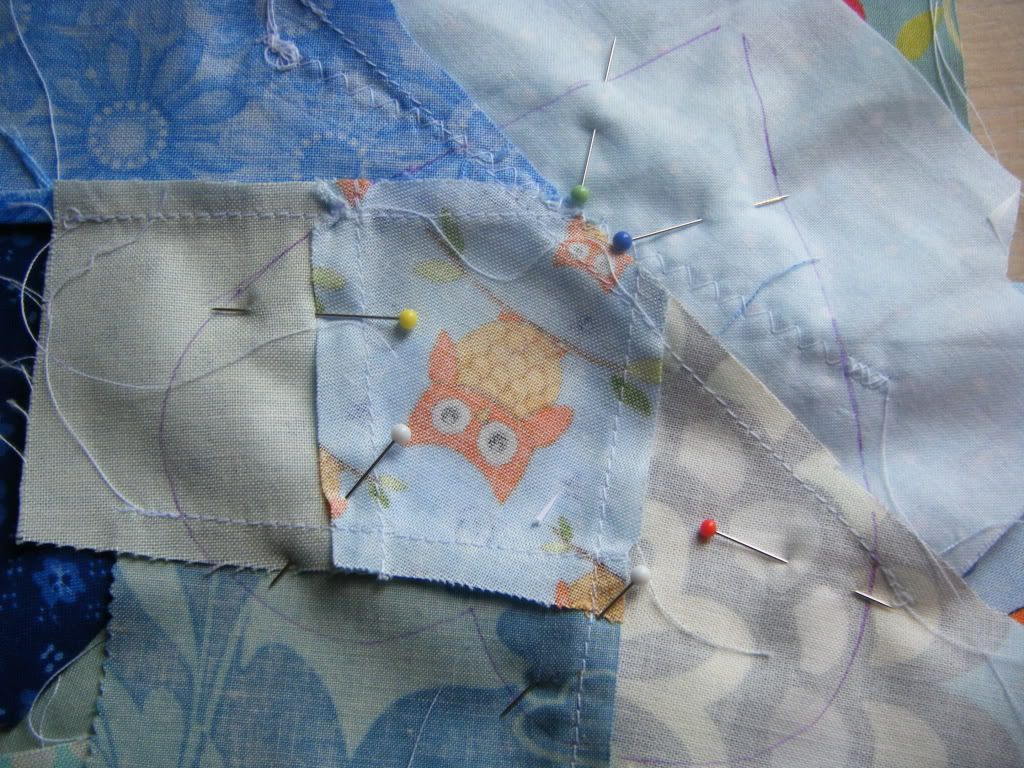
Take your next piece and lay it face down on your patchwork unit.  Pin in place.  Sew along the seam again, trim, then iron.  You will build up your heart like this - place face down where you want it to fold back, pin in place, sew, trim off the excess where it's covered by the fabric and iron.


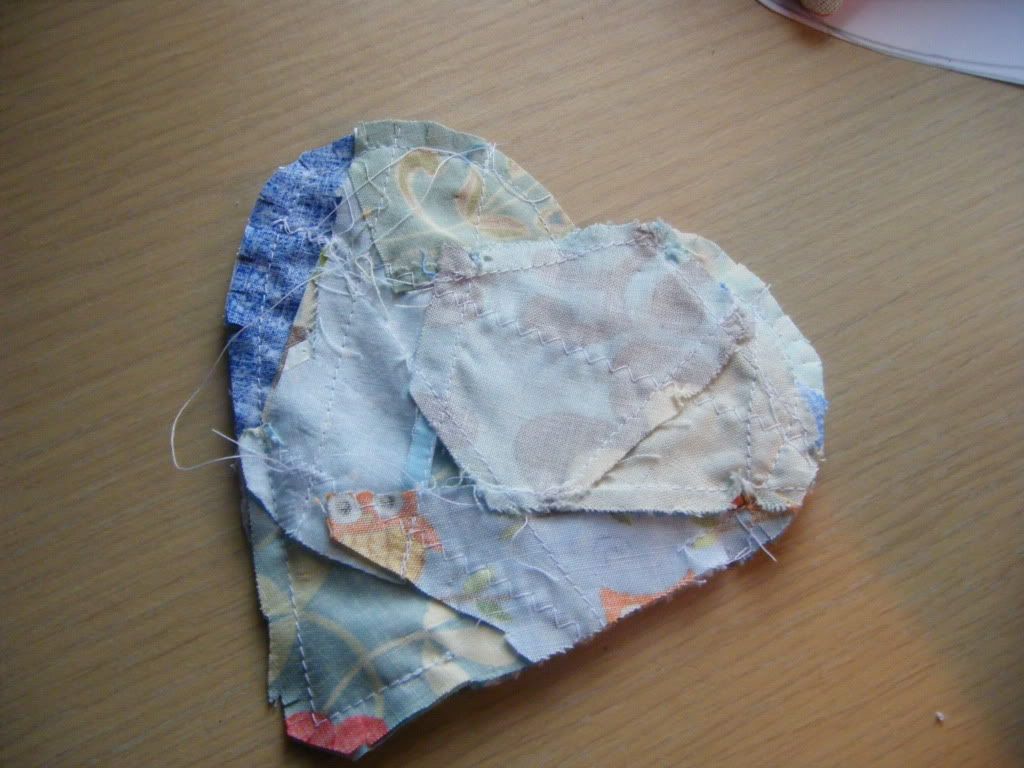
Continue building the pieces around until you've sewn them all.  Put the aperture heart over the top to check that everything fits.  Once again, lift the sides to check you've got room for a decent seam allowance all round.  If not, add another scrap.


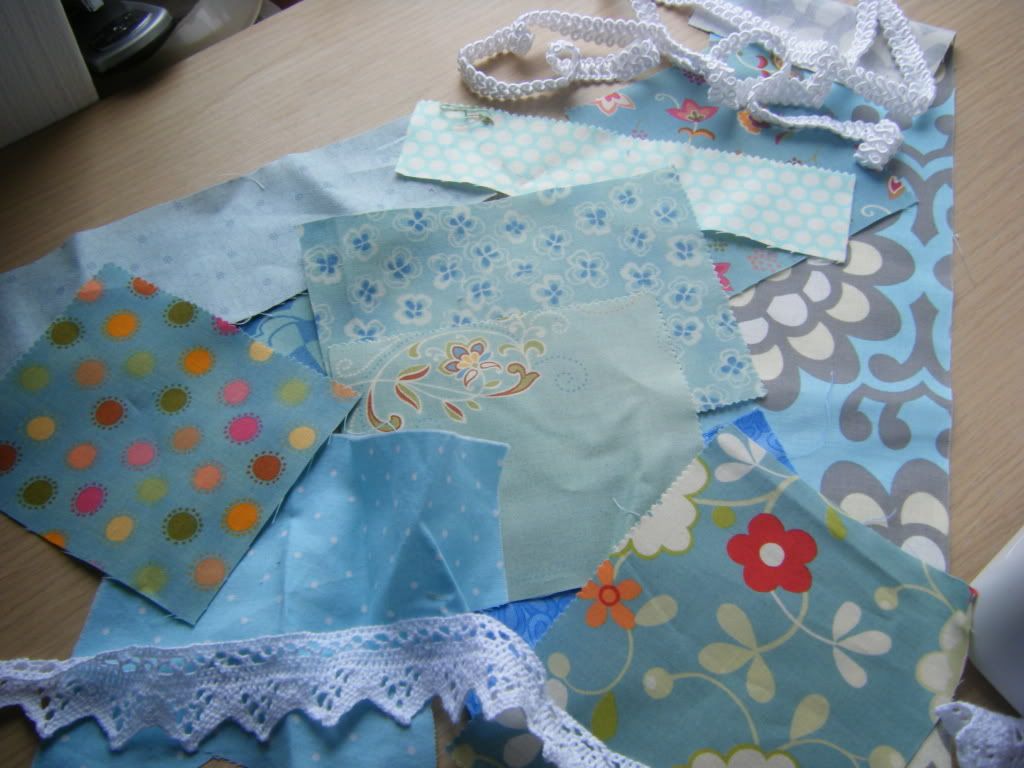
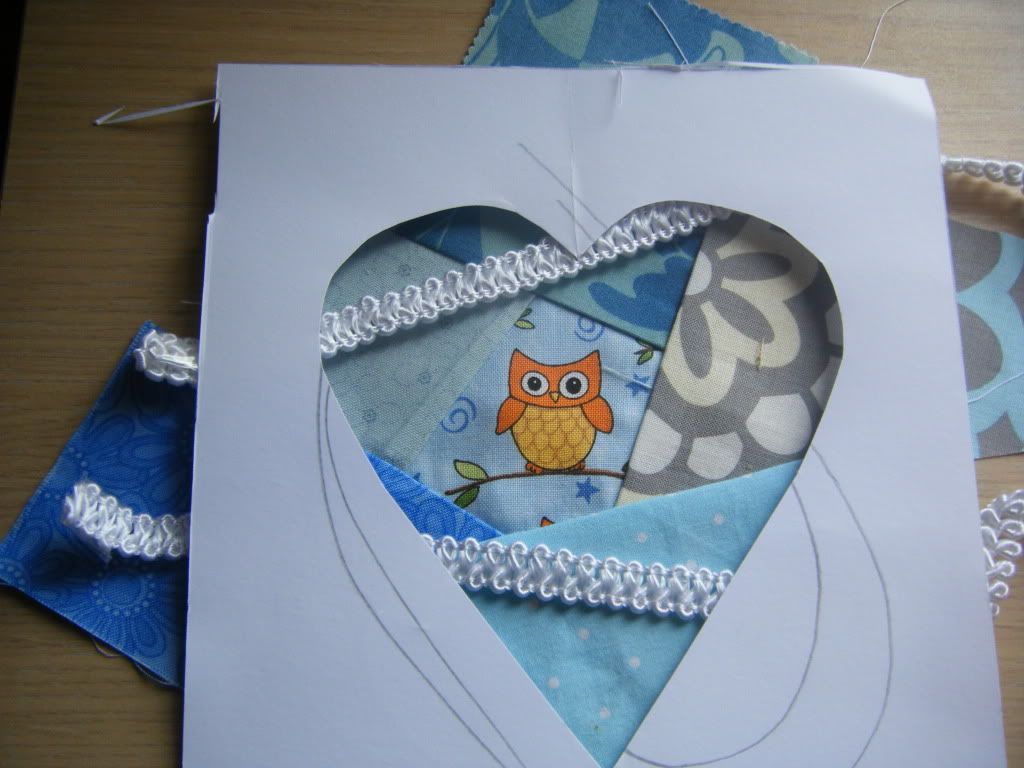
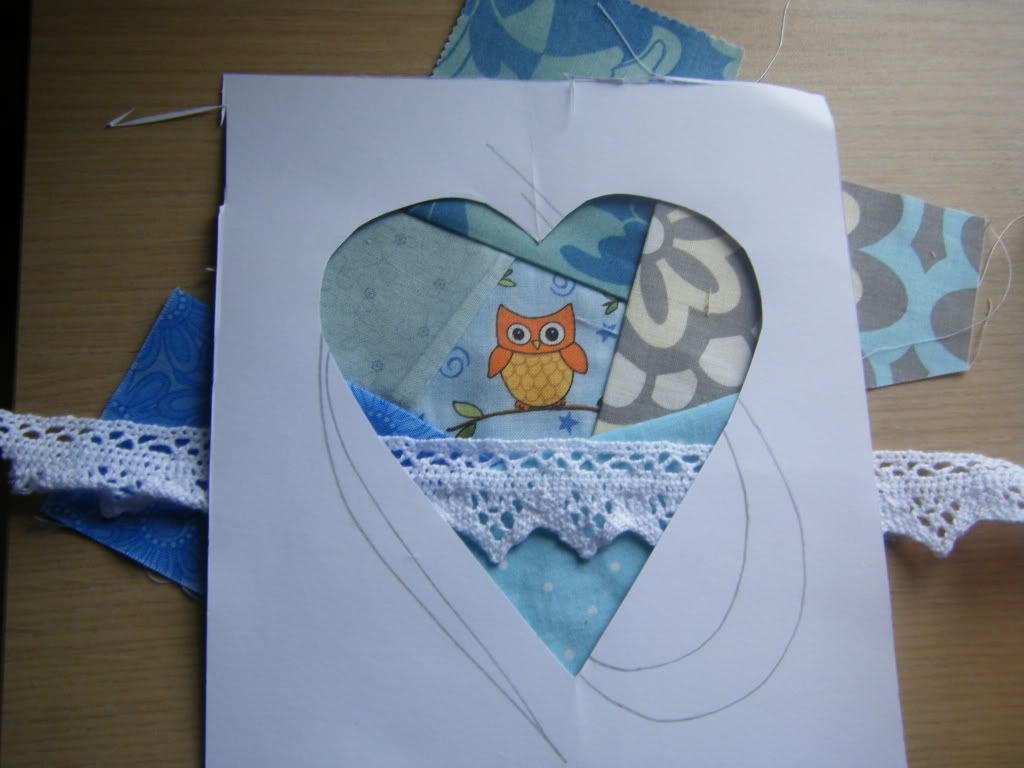
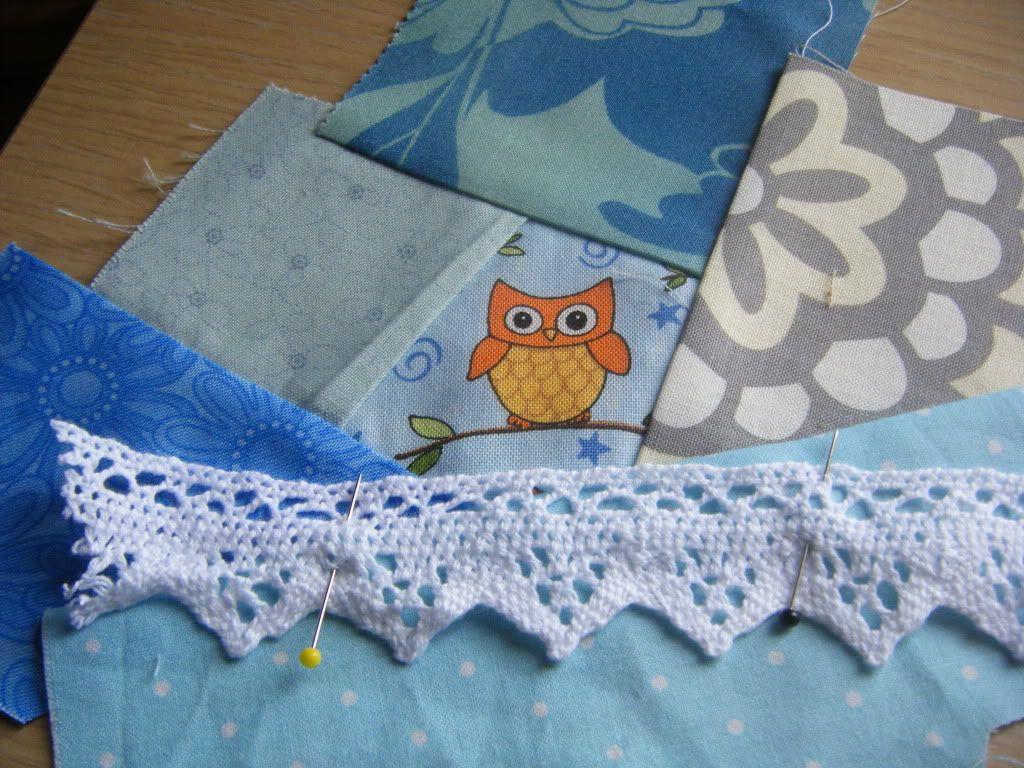
Next, you can add trims.  I trialled a couple.


When you've chosen a trim, you do the same as you did with the fabric pieces.


Pin.


and sew (I used a zig-zag stitch here).


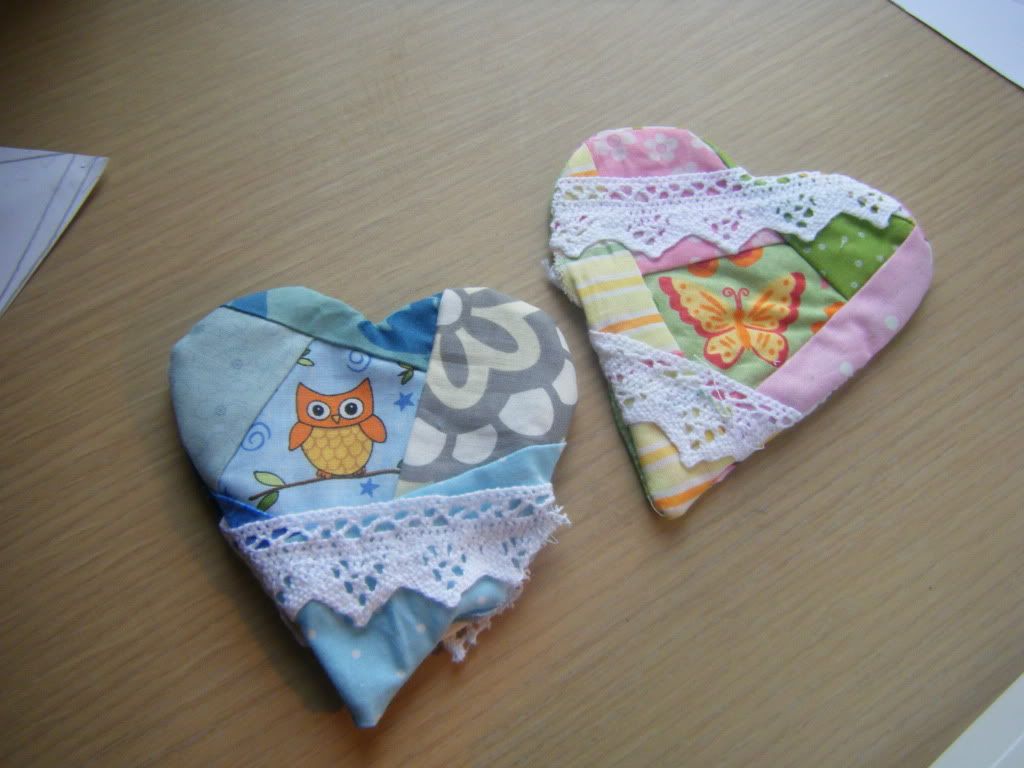
Now make another unit as the back.  I chose not to have a focal point on the backs.


To try to remember where each piece was, I laid them out and then left them there, taking each piece as I needed it.


Once you have completed both pieces of patchwork, lay the heart template on the wrong side of one of the pieces and draw round it.  I used an air erasible fabric pen.


Pin your two hearts together - right sides together.


Then sew slowly and carefully around the line you've drawn, leaving a gap of about 3 inches for turning.  Make sure to back stitch at the begining and end of your stitching.


Trim abou 1/4 inch from the sewn line, clip the curves and cut off the point, being careful not to cut your stitches.


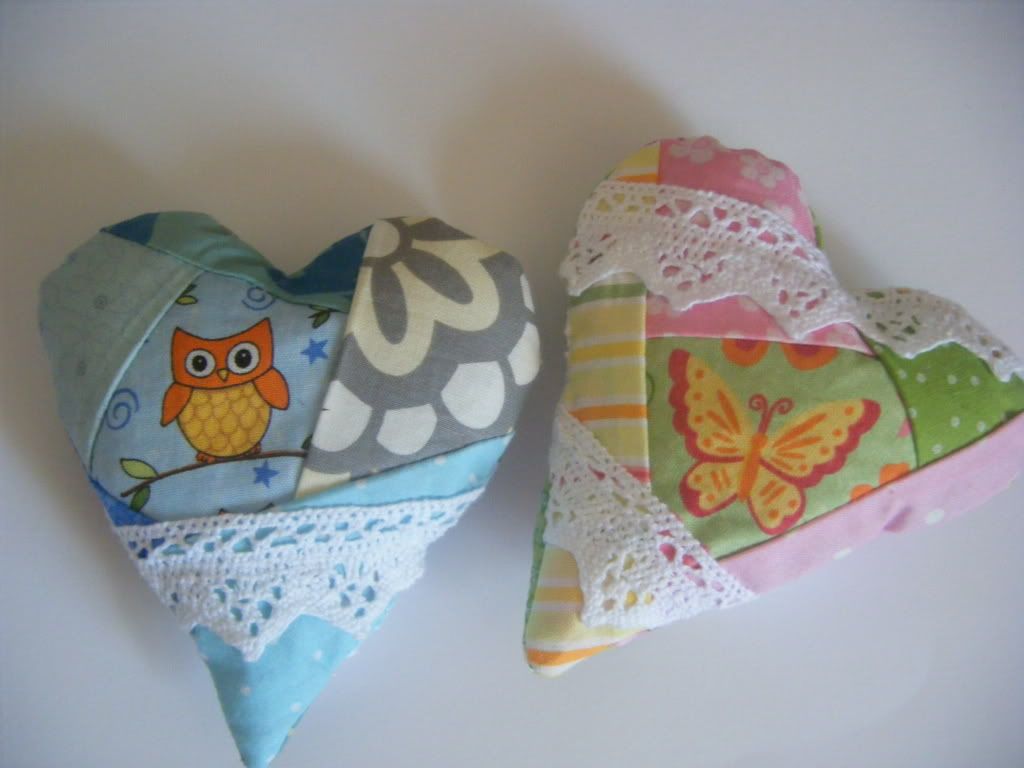
Turn and press.  Then all you need to do is fill them with lavender, pot pourri or toy filling, then stitch up the opening.  I used invisible thread to do that using a simple over stitch.


If you have any questions, please ask.  I'm not sure I've been very clear with my piecing instructions.


Feel free to do what you want with your finished hearts - keep them, give them away, sell them, feed them to the dog, but please don't copy the tutorial.


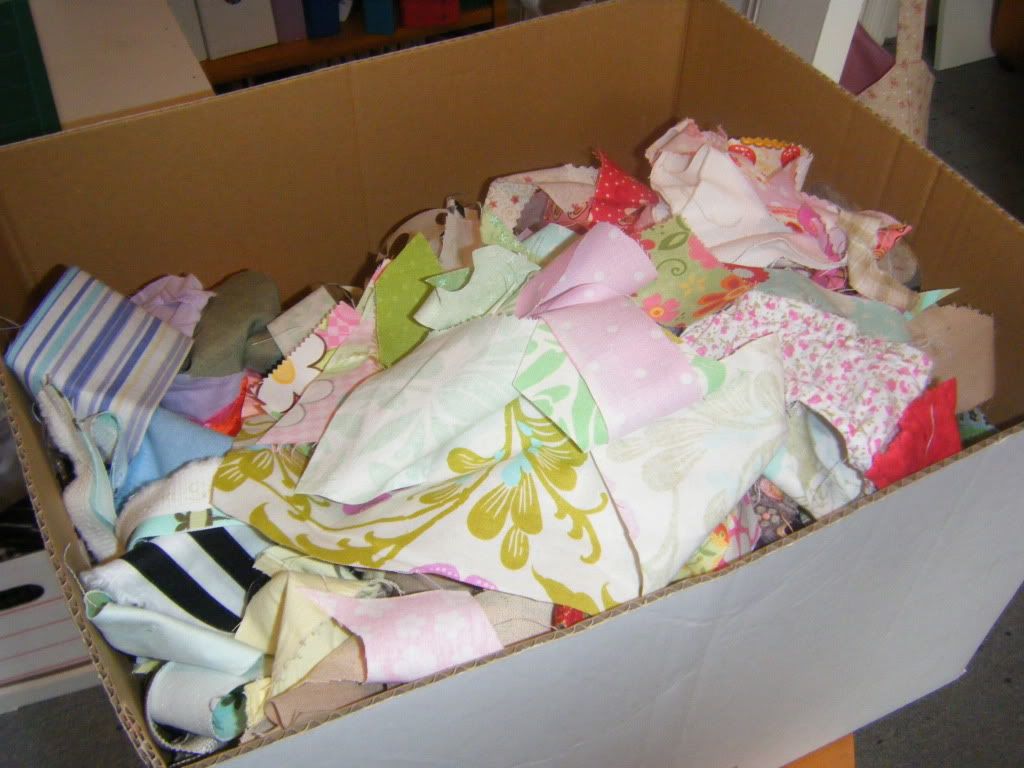
Now get out your scraps.  Here are mine!


Saturday, 4 June 2011

a quick look at my underwear...

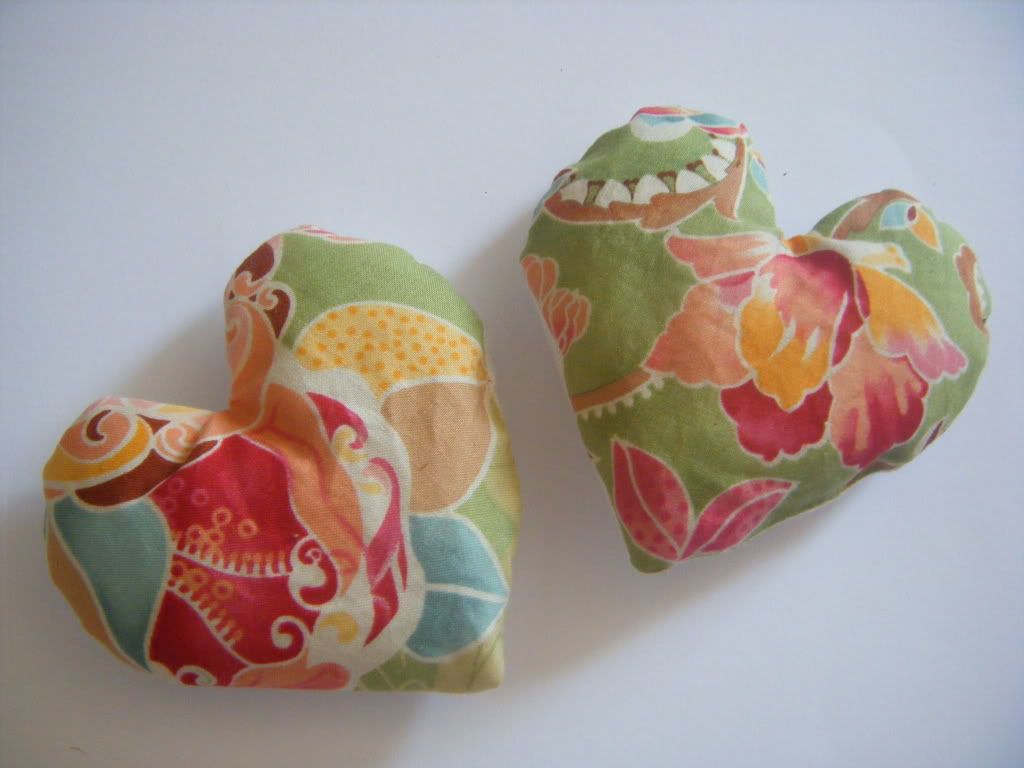
No, not the pants I've got on, but not even Mr CA would be too interested in them, they've seen better days...  I thought you might like to see the lavender hearts that I made. 

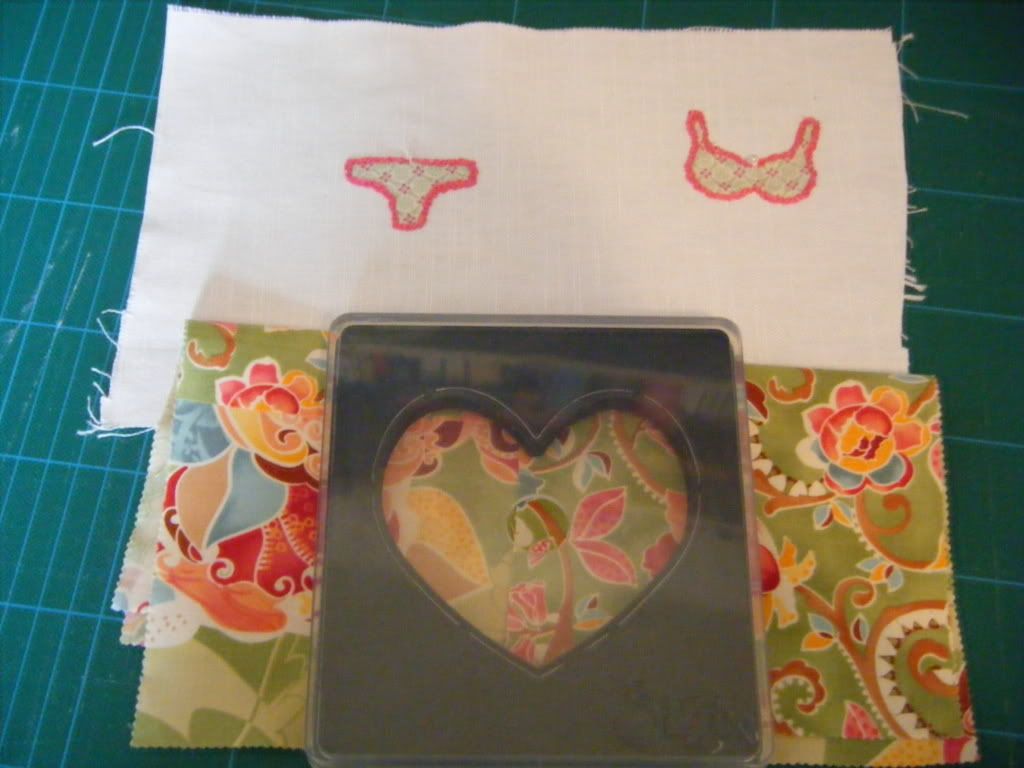
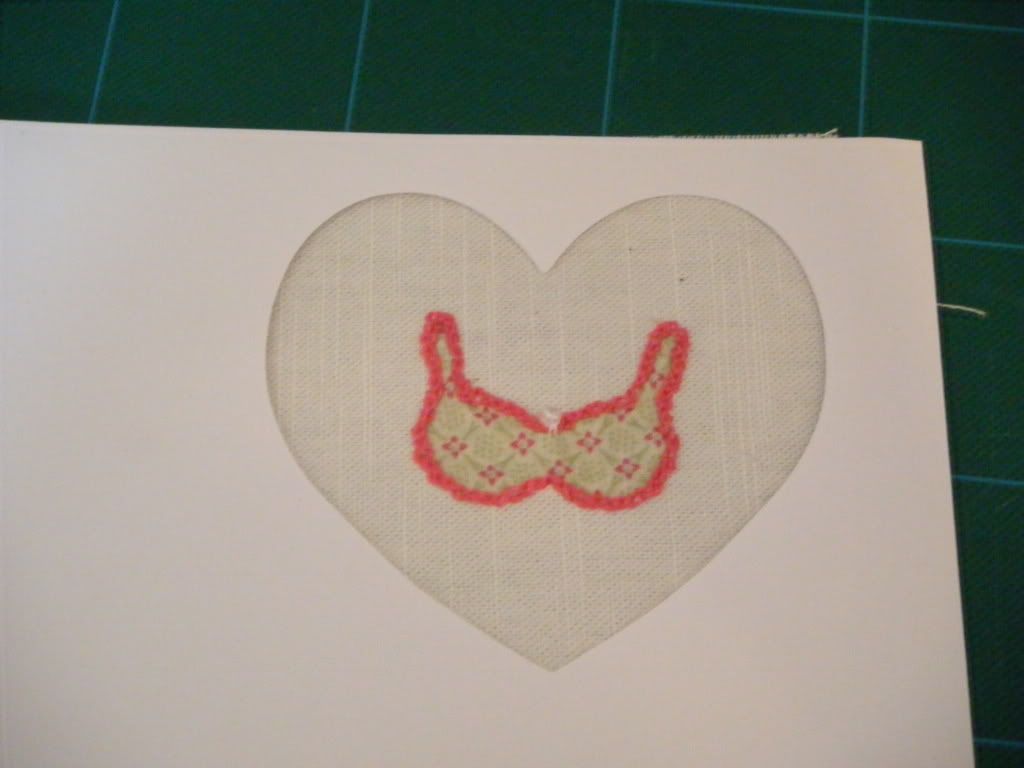
I made some more of the appliqued underwear hearts.  This time I did it a different way.  First I fused my little pants and bra, then embroidered them and added beads.  Then I used my fab new toy - it's a Sizzex heart die that's clear so you can see where you can position it.  I've had a Big Shot die cutting machine for years, but most of the dies aren't compatible with fabric, I'm just starting to build a small collection of dies that are.
 

The backing fabric is from one of my layer cakes, Moda Boutique I think.  I wanted the hearts to be the same size as the die, not the same size minus a seam allowance, so I used the die to cut a card template, drew inside the line and sewed along that.


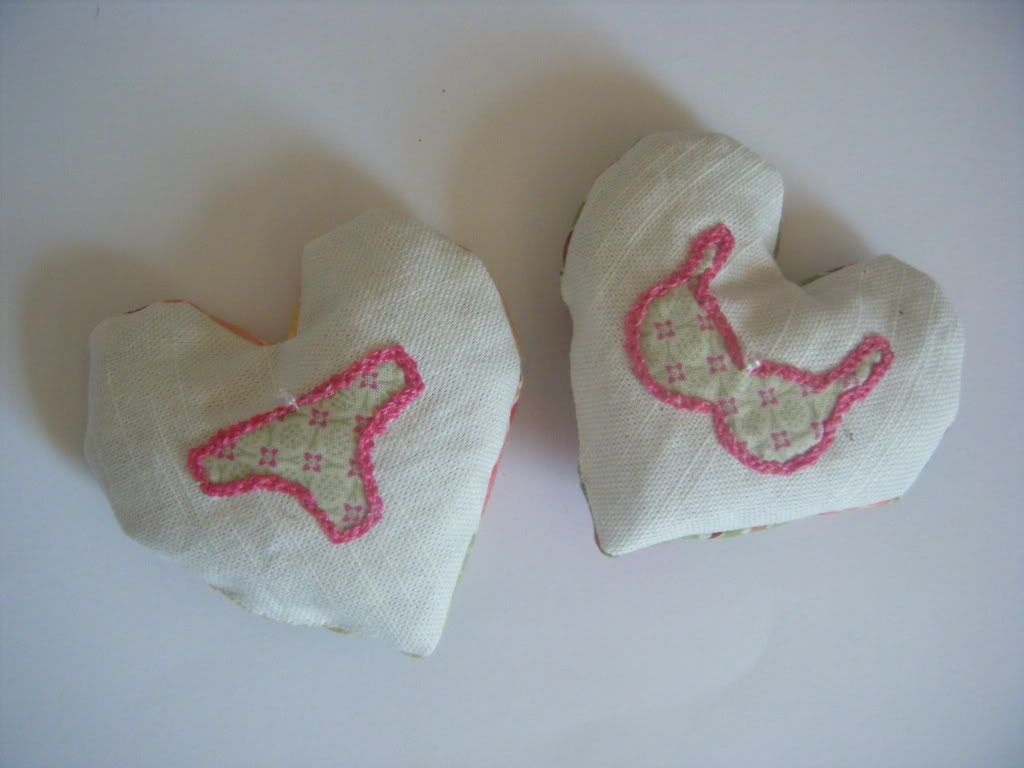
I really love these little hearts.  The thing is, I did the embroidery and sewed them up ages ago, then they sat by the sofa for a couple of months as I absolutely HATE hand stitching closings.  I'm not sure why!


And here's a look at the backs:


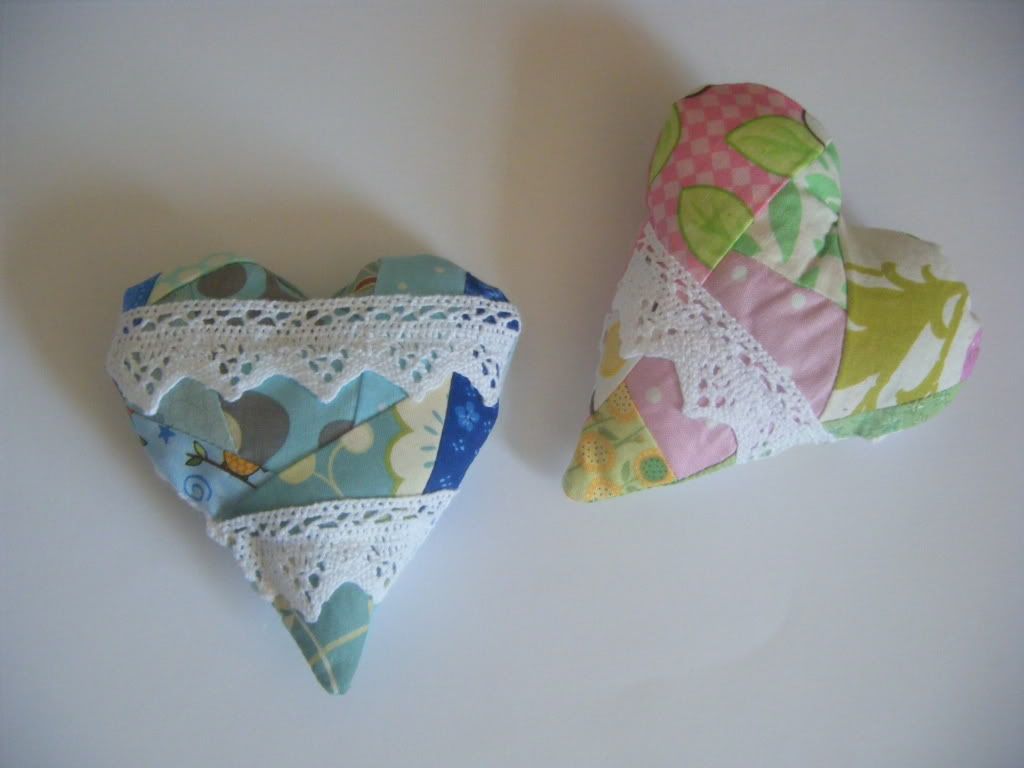
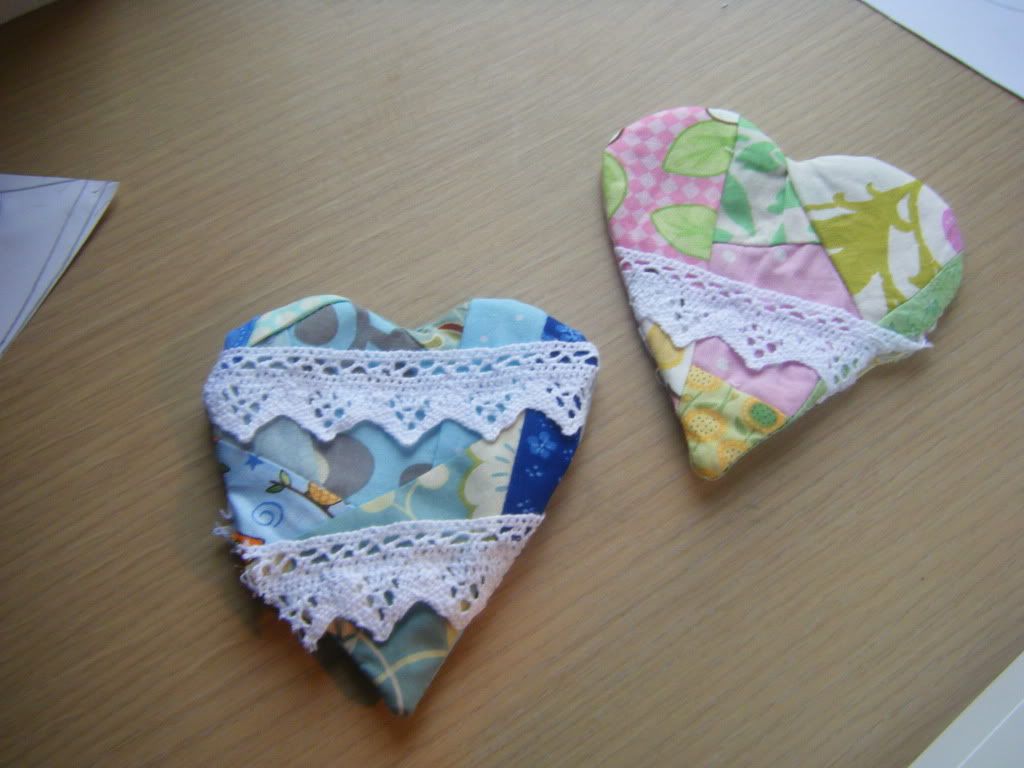
I also made some patchwork hearts.  The idea was to make a simple heart and then use a crochet tutorial I'd found to crochet round the edges.  I think they ended up too fancy so I left them as they are.


Tutorial for these babies coming up soon... I know you expert sewers and sewists don't need a tutorial, but if I could encourage one of you non-sewers out there to give it a go, that would make my day.


Friday, 3 June 2011

The Phoebe bag

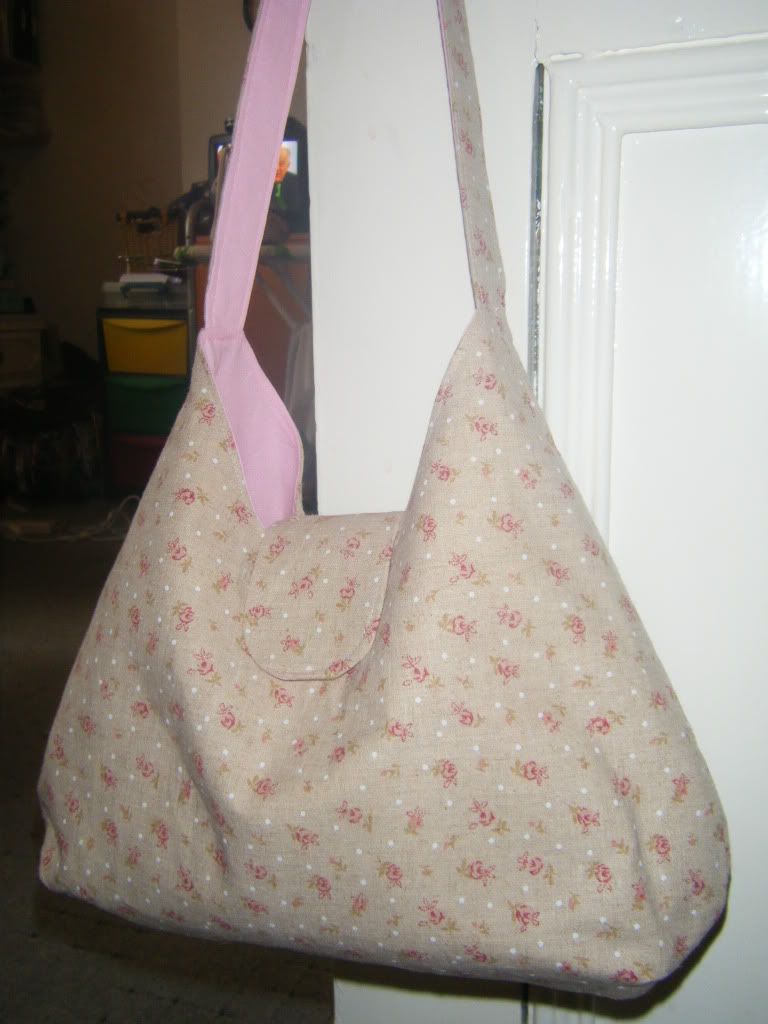
Yes, I know, I need to go to bag-makers-anonymous, or perhaps start a group for people with an addiction to sewing bags.  I just can't stop.  There is something so satisfying about seeing a bag that you've made.  And this one, wow, I love it.  I see more of these in my future.


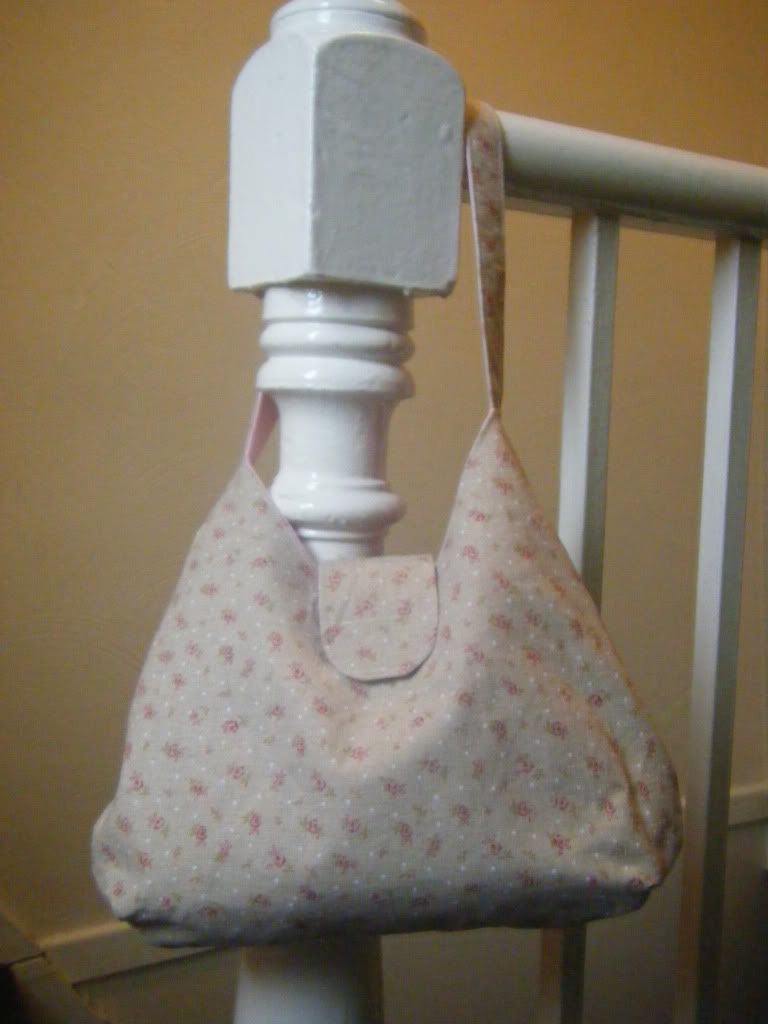
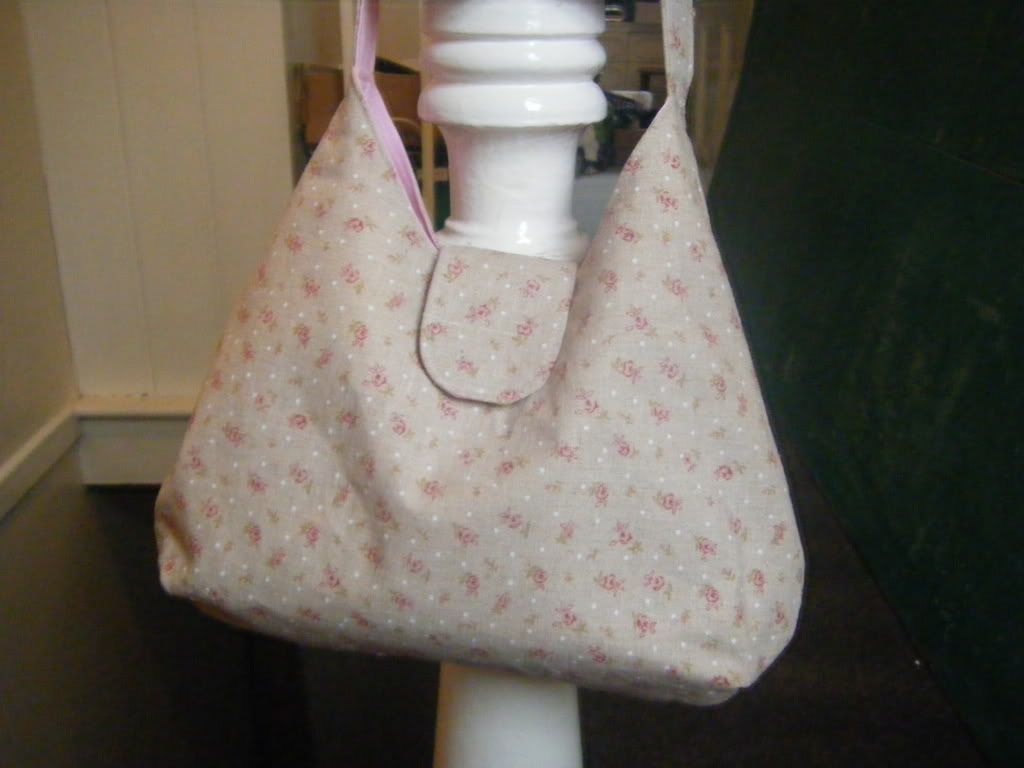
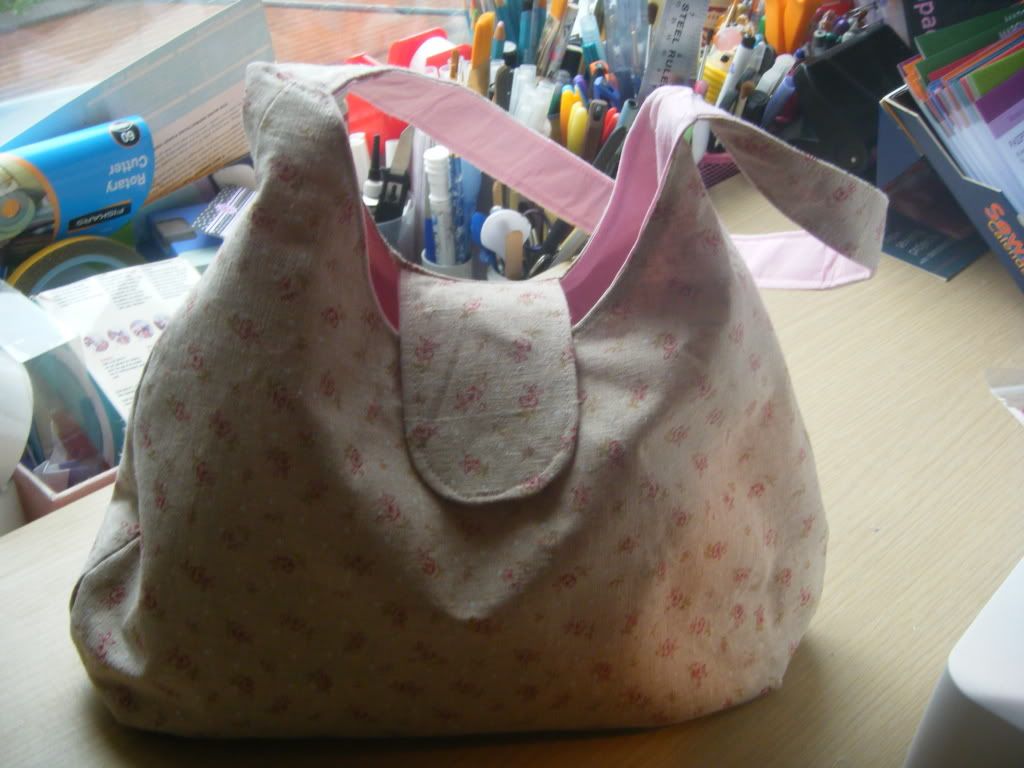
Without further ado, I give you my version of the Phoebe bag.  This gorgeous bag (if I do say so myself!) is designed by Artsy-Crafty Babe, this link leads to her blog post about the bag and a link to the pdf pattern. 


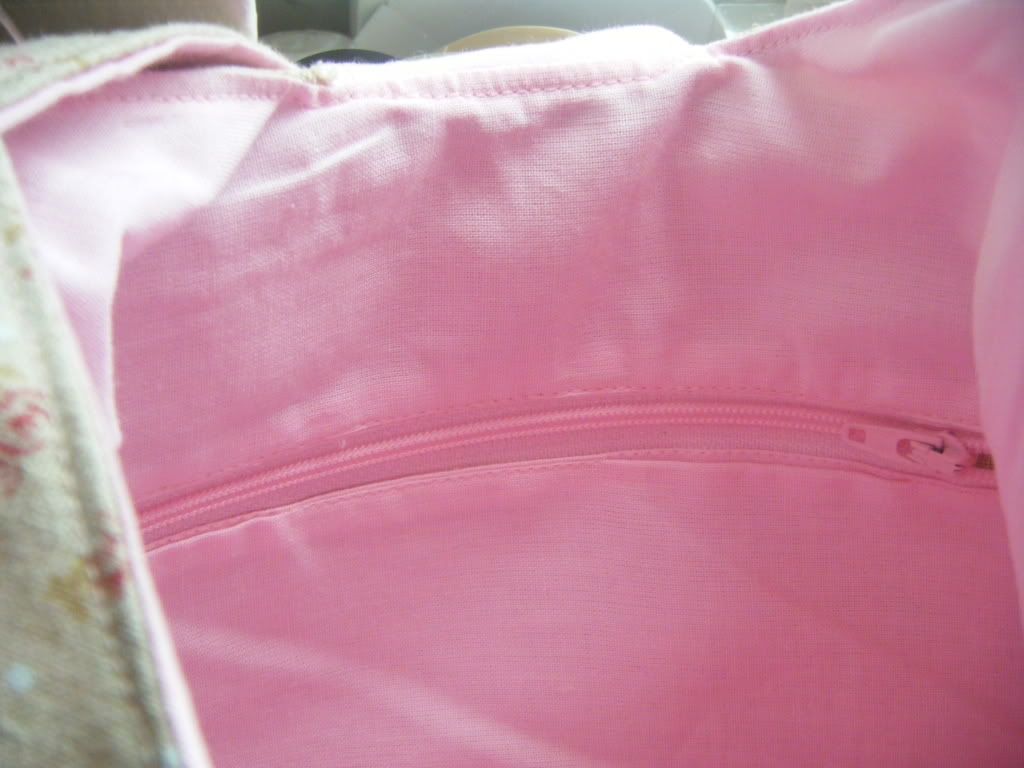
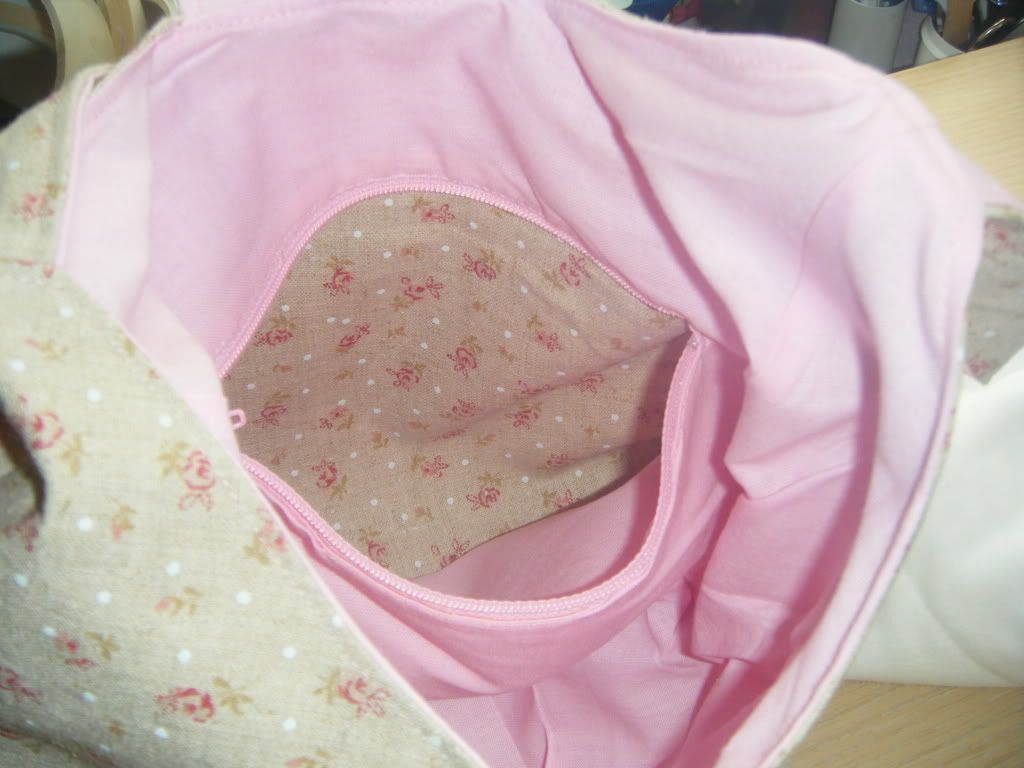
I really, really, really recommend this pattern.  It was so easy to follow and I didn't change a thing or feel that any part of it could have been done better.  I made only one amendment which was to add a flush zipper inside pocket rather than the slip pocket in the pattern, but that's just personal preference.


Again, I followed Lisa Lam's tutorial for flush zipper pockets in the Bag Making Bible.  If you have any interest in sewing bags, you need that book.  If you've never made a bag before, give the Pheobe bag a whirl.  It used just 1/2 yard of the exterior fabric and 1/2 yard of lining. 


Mr CA suggested I should have lined the pocket.  I did line the pocket, I used the outer fabric - perhaps a mistake.  Either way, Mr CA is now trying to get the flea out of his ear.


I used a lovely linen/cotton blend with little roses that I bought on-line, I was sure I'd bought some with blue roses too but I can't find it.


The pink lining is from Fabricland.  Have I raved about Fabricland yet?  I can't remember if I did so I will.  I went to visit my brother in Bristol last weekend.  I'd done a quick Google search for any fabric shops we could accidentally stumple apon and found this one.  My brother, his lady and her daughter left us to it and the husband came and was very useful in carrying bolts for me.  No designer cottons, but tons of fabric.  £3 a metre for plains, £5 a metre for patterned!!  I bought a ton and I'll be instructing my brother what to get on future visits in my name!!

Fabricland, if you're listening - come to Nottingham, please!!  There's a lovely retail park right near my house with a couple of units going... or at least open a webshop!

Wednesday, 1 June 2011

What I'm working on

I see a lot of Work-In-Progress Wednesday posts and, not one to be left out, I'm joining in! 

I've got a few things on the go at the moment.  There are some old favourites like the fleece hat that I still haven't unpicked and the Tone Finengar slippers that I still haven't re-sewn.   I've also got some wips you haven't seen.  Want to see them?  Tough, I'm showing you anyway.  OK, so you could just click away and not look, but you want to now, don't you?


I haven't done any cross stitch for ages and I really felt like it.  I found this wonderful free chart perfect for a bookmark of teapots and teacups.  I'd bought some Aida band at the craft fair, but would you believe it, the chart was too tall for the band.  So I found another chart of a bird house.  I will post the link to the chart and credit the designer once I've finished it. 

I'm enjoying stitching it so I probably will finish it this year!

Next up we have this:


Can you guess what it is?  Nope, not a hat for a gnome.  I'm not going to tell you - treat 'em mean, keep 'em keen and all that.

And finally, I'm attempting some quilting.  Not a quilt, not yet.  It's a car playmat for my friend's son.  I made one recently for my cousin's boys but decided to do this one a bit differently.  I sewed the garages on (couldn't for the life of me remember how I did it last time!), then sewed the panel to the backing (a black sheet) with some wadding.  I then turned and top stitched close to the edge.  Now I'm quilting round all the roads.  Not quilting very well, but quilting none the less!


I've opted to not go over large cars and buildings, but just to carry on stitching right through trees and traffic signs or it would take even longer to complete and I want to give it to her this week.  I'm using my walking foot and backstitching at the beginning and ends, but not breaking the thread, just moving it to another area before resuming stitching.  I bet I'm breaking a quilting law there, but never mind.  The thing to remember is that he's 2.  He's just going to love it whatever and it's a great chance for me to practice my quilting, boy does it need it!