It's been ages since I showed you anything from my silversmithing classes. I was working on some hollow domes, but I couldn't get them to solder together and gave up. I will go back to them at a later date, when my head is a bit better.
I moved on to a different hollow form, I chose a triangle.
This is the copper prototype. Silver is expensive and it can be worthwhile having a go in copper first, especially as I love copper and wear copper jewellery too. It started with a long thin piece of copper (5mm thin, about 8cm long) that I had to score very heavily. I pulled it round and soldered the join. This was then soldered to piece of sheet copper which I had run through the rolling mill with a piece of lace to imprint a pattern on it.
The second side was soldered on - you can see the solder really well in this picture.
The sheet was pierced with a saw close to the edge, then the filing began. And continued. And continued. And then out came the sandpaper... I still have some way to go!
I have now started on the silver version, thinking I'd do some sanding over Christmas, I took some photos to show you the beginning of the process, but they were on my old phone... I will show you again when both pieces are completed.
Thursday, 29 December 2016
Copper triangle
handmade by
Wendy
at
08:00
4
crafty devils said ...
Categories:
craft class,
hollow form,
pendents,
silversmithing,
soldering
Monday, 26 December 2016
checkerboard bracelet
Happy Boxing Day! I hope you all had a lovely Christmas and have eaten and drunk far too much?
Today's post is a bracelet I made at a workshop at The Bead Shop Nottingham last month. I wore it on Friday and realised that I hadn't blogged about it.
It's a Right Angle Weave bracelet made of fire polished beads. The class sample was a single colour, but I wanted to make a checkerboard effect. The photo above was taken in the class and shows a range of sample edgings I was adding as I'd finished it quite quickly. I made a few, then decided on one and so undid it.
The bottom edge is the same as the pattern that Steph wrote for the workshop. The top edge is my own design, I think it looks like lace.
I love the fire polished beads, I wish I'd bought some now!
handmade by
Wendy
at
10:00
8
crafty devils said ...
Categories:
beadweaving,
bracelet,
craft class,
jewellery
Saturday, 24 December 2016
Christmas cross stitch
Happy Christmas Eve! It makes a change not being at work on Christmas Eve! Last night I finished off my last Christmas card. This year I made and sent a grand total of 3 Christmas cards... to be honest, I'm amazed I made any at all the way the past three months have been. But things are looking up...
Some of you may have seen this work in progress on Instagram. I got it finished...
Then I made it into a card. Unfortunately, the photo was on my phone and my phone just inexplicably died on Tuesday. I can't remember if there were other photos I hadn't uploaded to Photobucket, so I may be missing others. You'll just have to imagine it!
I made this one whilst spending a lovely 3 days with my parents at my brothers' house with him, his wife, stepdaughter and my 4-year old nephew. I added eyelets to the corners and a simple peel-off greeting. All the designs are from issues of CrossStitcher (the UK mag), but I can't tell you which ones as I don't keep the magazines, just the patterns I like.
This one took AGES to stitch. I didn't think I'd get it done in time. The backstitch went on forever! Luckily it's for my parents so I can take it round today.
I'd like to wish you all a wonderful Christmas, or, if you don't celebrate, have a lovely weekend. Thanks for all your support over the last few awful months.
handmade by
Wendy
at
07:30
11
crafty devils said ...
Categories:
bunnies,
card making,
christmas stuff,
cross stitch
Friday, 23 December 2016
paper butterflies
Just a quick one today. We went to a free Crafternoon at Debbie Bryan and made these origami butterflies.
The bottom one is made from a punch card from an old lace machine. I live in Nottingham which was the centre of the lace industry back in the 1800s. It's nice to have a little piece of history.
I'm not going to wish you merry Christmas today as I'll be back tomorrow!
The bottom one is made from a punch card from an old lace machine. I live in Nottingham which was the centre of the lace industry back in the 1800s. It's nice to have a little piece of history.
I'm not going to wish you merry Christmas today as I'll be back tomorrow!
Monday, 19 December 2016
pulled thread at the RSN
Back in November, on Saturday 12th to be precise, me and wonderful mum did something very exciting. It was my birthday. Mr Ex-CA had left me a month before and I was in a bit of a state. I didn't want to have a birthday. Wonderful mum booked us onto a Pulled Thread class at The Royal School of Needlework satellite branch in Rugby.
Our tutor was Becky, she was a fab teacher. There was just me and mum there, and another lady doing Drawn Thread work. We each got a kit and lots of individual attention.
I have put my in-progress shots in this post, intending to give you the lowdown on the stitches worked. Alas, I am at work and I don't have my instructions with me so I don't remember what any of them are!
We worked a little on each different stitch, then there was time to go back and fill in the gaps as we went along. We worked with white thread on a loose-weave linen. Again, I don't remember what the thread is!
I've still got quite a lot to do, though I did get a reasonable amount done in the class. I didn't feel like stitching for weeks afterwards and I still can't bear to think of my birthday. I hope that passes in time as actually the class was brilliant.
If I get a chance, I'll update this post with the stitches and threads as that will probably be more interesting to read!
I can tell you that those stitches towards the top are eyelets and they are great fun to stitch. All the stitches involve pulling the thread tight to compress the threads of the fabric and create little holes.
I cancelled my birthday so only mum bought me any presents as she didn't want to ignore the day completely. I think I might have cried as I undid them!
There was a whitework theme with this lovely kit and 3 whitework books - Beginner's Guide to Mountmellick Embroidery - Pat Trott, Pulled Thread Embroidery 64 Patterns used in Rococo and Today - Edith Blocher and Schwalm Embroidery Techniques and Designs - Christine Bishop. The kit can be bought online here.
We have taken classes with Sarah Homfray (and I think we've booked a couple more for 2017, must sort my diary out!) and loved them. I got this crewelwork hare kit.
And this beetle-wing embroidery kit. How unusual is that? You can buy Sarah's kits online here.
Sorry about a rather depressing post, but I hope you enjoyed the pictures! I hope to become happier, more cheerful and more detailed in the new year!
Our tutor was Becky, she was a fab teacher. There was just me and mum there, and another lady doing Drawn Thread work. We each got a kit and lots of individual attention.
I have put my in-progress shots in this post, intending to give you the lowdown on the stitches worked. Alas, I am at work and I don't have my instructions with me so I don't remember what any of them are!
We worked a little on each different stitch, then there was time to go back and fill in the gaps as we went along. We worked with white thread on a loose-weave linen. Again, I don't remember what the thread is!
I've still got quite a lot to do, though I did get a reasonable amount done in the class. I didn't feel like stitching for weeks afterwards and I still can't bear to think of my birthday. I hope that passes in time as actually the class was brilliant.
If I get a chance, I'll update this post with the stitches and threads as that will probably be more interesting to read!
I can tell you that those stitches towards the top are eyelets and they are great fun to stitch. All the stitches involve pulling the thread tight to compress the threads of the fabric and create little holes.
It's a really lovely technique and I enjoyed it. I bought a clip on OTT light at the Knitting and Stitching show so that should help me work on this peace, hopefully over Christmas.
I've still got to fill in the gaps and then there is a starfish at the bottom. I will, of course, show you when it's done, AND give details of the thread and stitches!
I cancelled my birthday so only mum bought me any presents as she didn't want to ignore the day completely. I think I might have cried as I undid them!
There was a whitework theme with this lovely kit and 3 whitework books - Beginner's Guide to Mountmellick Embroidery - Pat Trott, Pulled Thread Embroidery 64 Patterns used in Rococo and Today - Edith Blocher and Schwalm Embroidery Techniques and Designs - Christine Bishop. The kit can be bought online here.
We have taken classes with Sarah Homfray (and I think we've booked a couple more for 2017, must sort my diary out!) and loved them. I got this crewelwork hare kit.
And this beetle-wing embroidery kit. How unusual is that? You can buy Sarah's kits online here.
Sorry about a rather depressing post, but I hope you enjoyed the pictures! I hope to become happier, more cheerful and more detailed in the new year!
handmade by
Wendy
at
07:30
10
crafty devils said ...
Categories:
craft books,
craft class,
embroidery,
pulled thread,
whitework
Friday, 16 December 2016
planning

Yvonne at Quilting Jetgirl is having a planning party, you can find the link up here. The link party closes on December 31st so there's plenty of time to join in.
The past few years I have avoided joining in the Finish Along and other blog events, not wanting to put too much pressure on myself. I am still keen to avoid that pressure, but, as my life changed so dramatically recently, I feel I need to join in with a few things to feel part of the community.
My biggest and overriding goal for 2017 is possibly unattainable, but I'm going to try my damnest. I want to get better. I want to recover from this depression. I know that I will most likely have it all my life, but if I can just have the odd episode every now and again, that would be a vast improvement over the constant depression of the last 4 years.
As my marriage is over and my dream of children is not to be, I need to make a new life and I want it to involve sewing and quilting. I barely sewed in 2016 as I couldn't bring myself to go up to my sewing room and I never felt like it. Now that I am alone, I've brought my machine downstairs and I intend to use it! My second goal for the year is to get back into making quilts and sewing,
(all process posts will now be dark and gloomy - my sewing room has a big sunny window, my living room/dining room does not!)
I will make a list of my WiPs and will attempt to work through each and every one of them. I know another blogger is planning on doing a WIP event in 2017 so I will join in with that and make a list.
There are also new things I plan to make. I'm going on the Bag Retreat in April and I need a new bag to take with me. I know, that sounds a bit odd, but the current bag I carry is old and the zip is ripped, it's past time for a new one and I can't turn up at an event with lots of bag makers carrying a decrepit old bag!
There are a few quilts I'd like to make too, including my bunny polaroid, a medallion rainbow quilt and Hyde Park - a bunny applique quilt.
Most of all, I'd like to be happy.
Monday, 12 December 2016
Finishing things off
Hello my lovely readers. I am back. I think I'm back, I suppose that remains to be seen. Thank you for your wonderful messages of support on my previous post, it's so lovely to know that people care. My situation remains unchanged, some days are OK, some are horrible. I'm struggling to differentiate what is grief over the end of my marriage, what is me missing Mr Ex-CA and what is depression/BPD. Anyway, enough of that!
I've made plenty of things recently. I've been to a lot of classes (including 4 at the Harrogate Knitting and Stitching Show), however I've completely failed to take photos. I'm going to remedy that soon, but in the meantime...
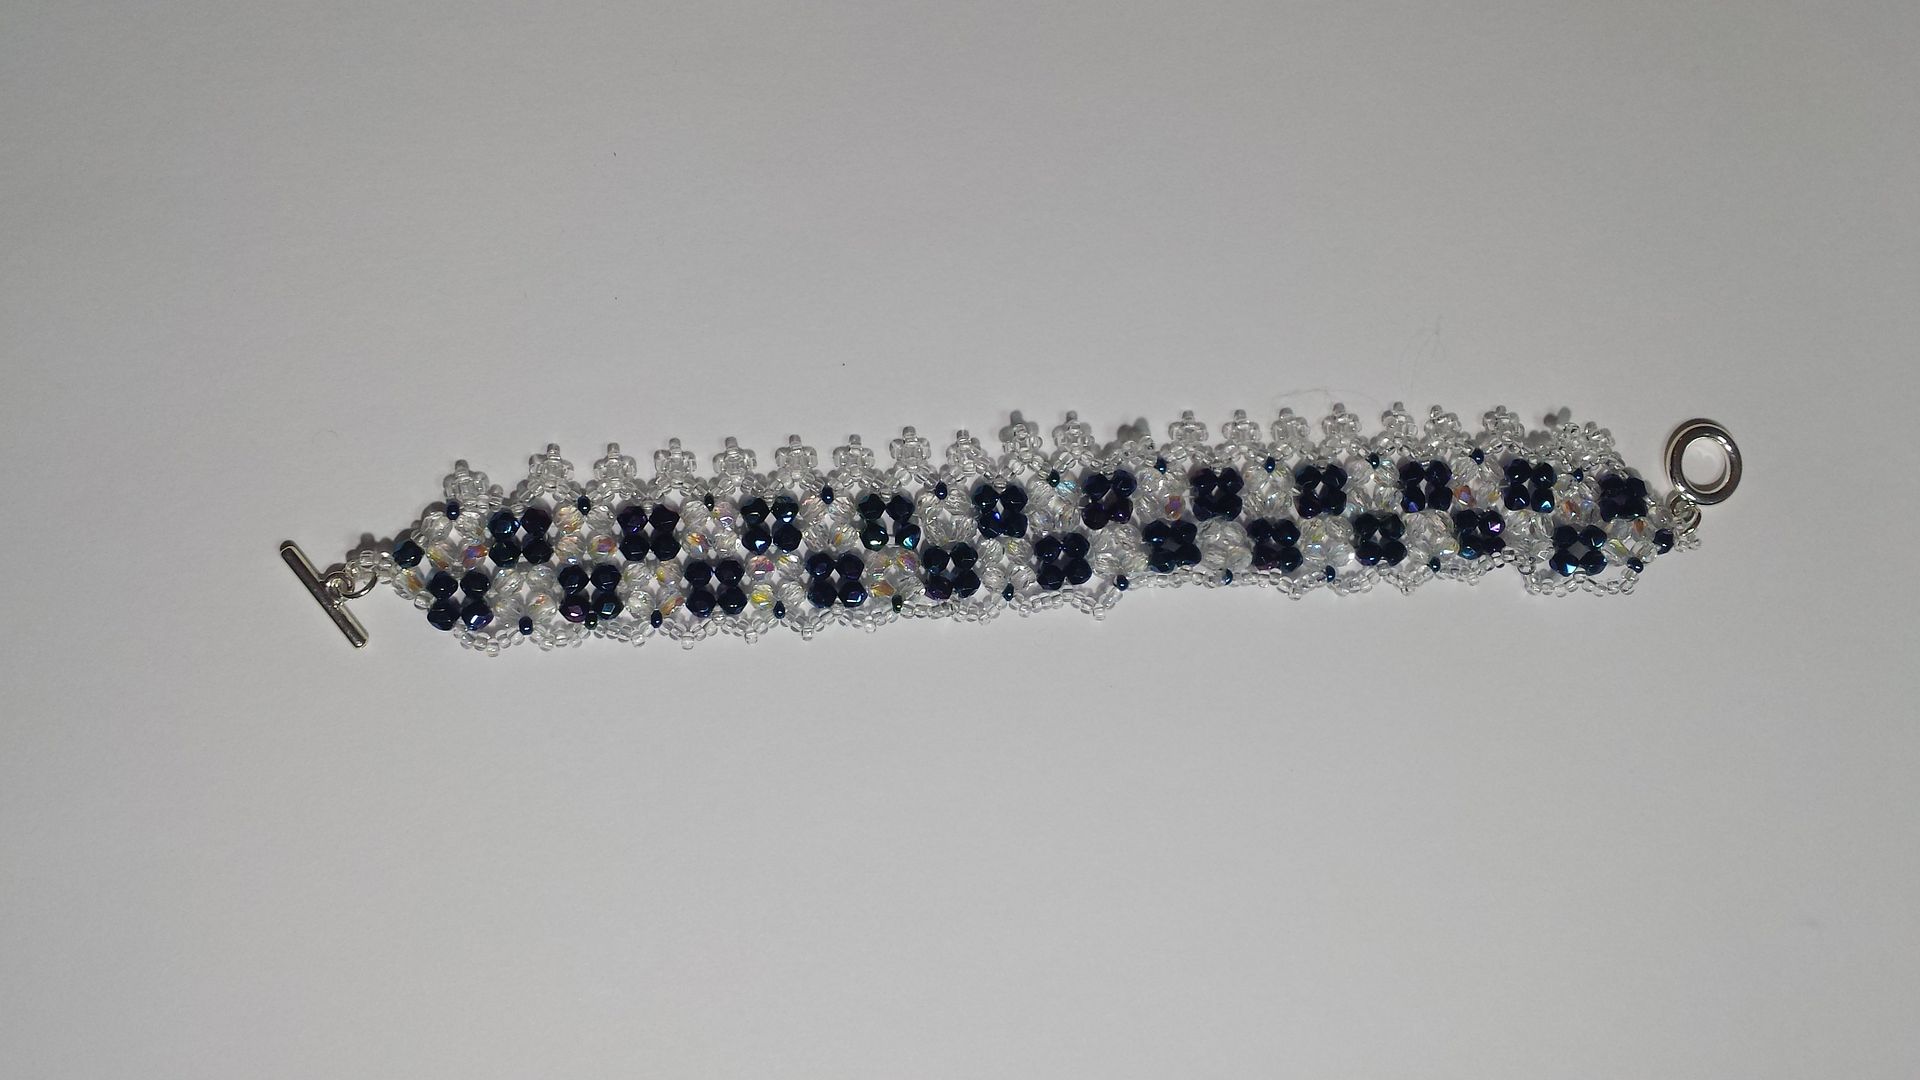
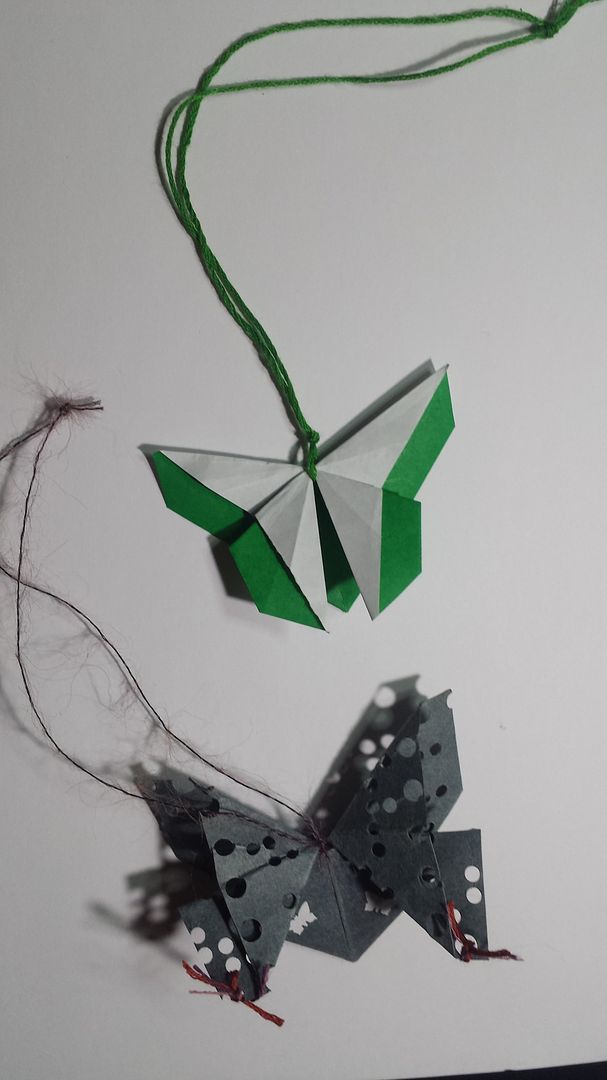
I made the clear and black version of this necklace in a class, a LONG time ago. I then bought the components to make the aqua and black one. A couple of years ago, as I was putting on the aqua one, the thread snapped and the beads on one side fell off. Another day, the clear pendent fell off the necklace. There they sat for years... I think it took me 20 minutes to fix them both!
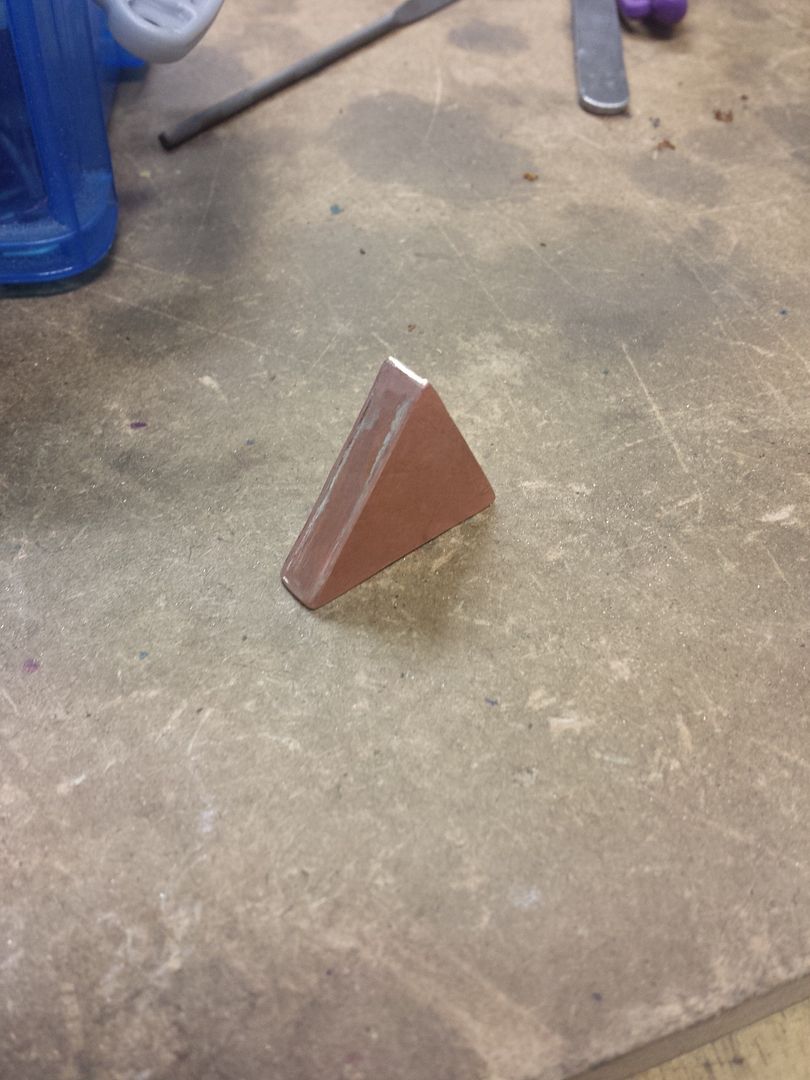
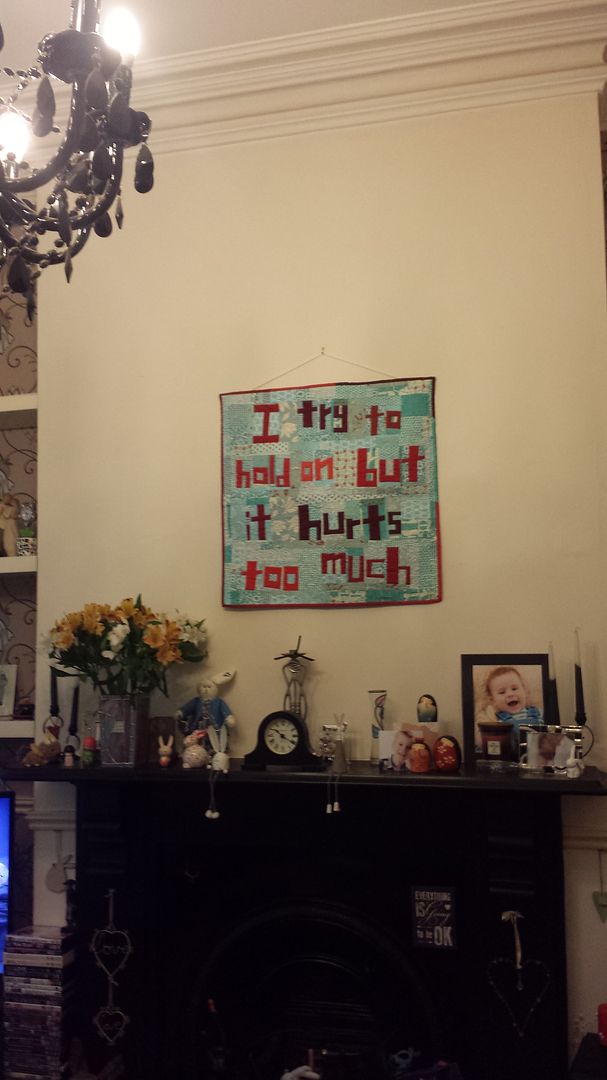
I also finally took the time to hang some of the wall hangings I've made. I bought some dowel which I cut to size and sanded with my Dremel.
This quilt got pride of place over the fireplace. I love seeing it up. I wish I'd put it up months ago as maybe Mr Ex-CA needed reminding of what I was going through... (see the quilt here)
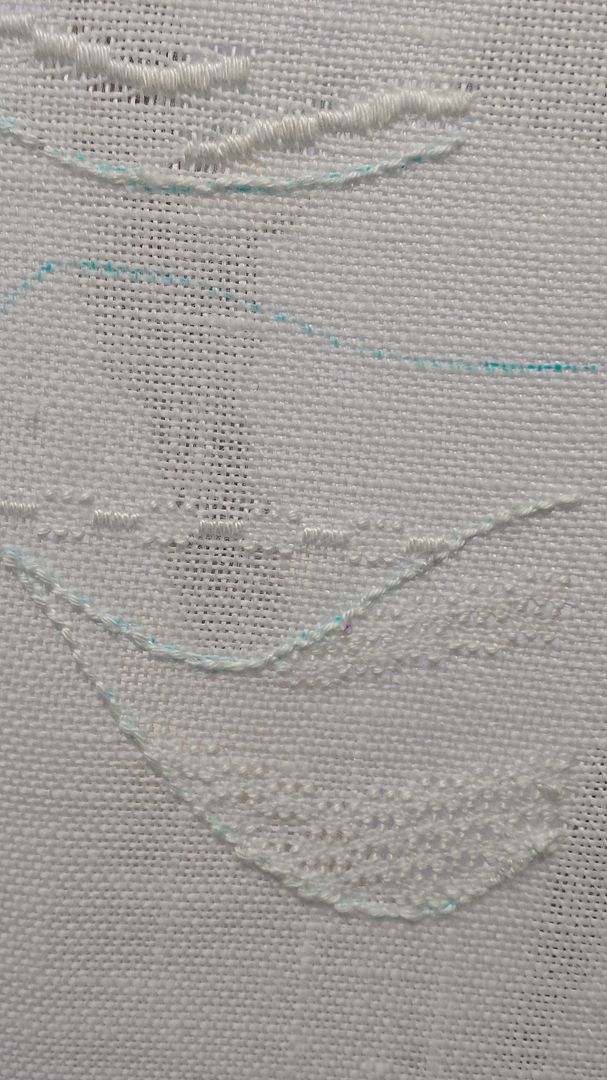
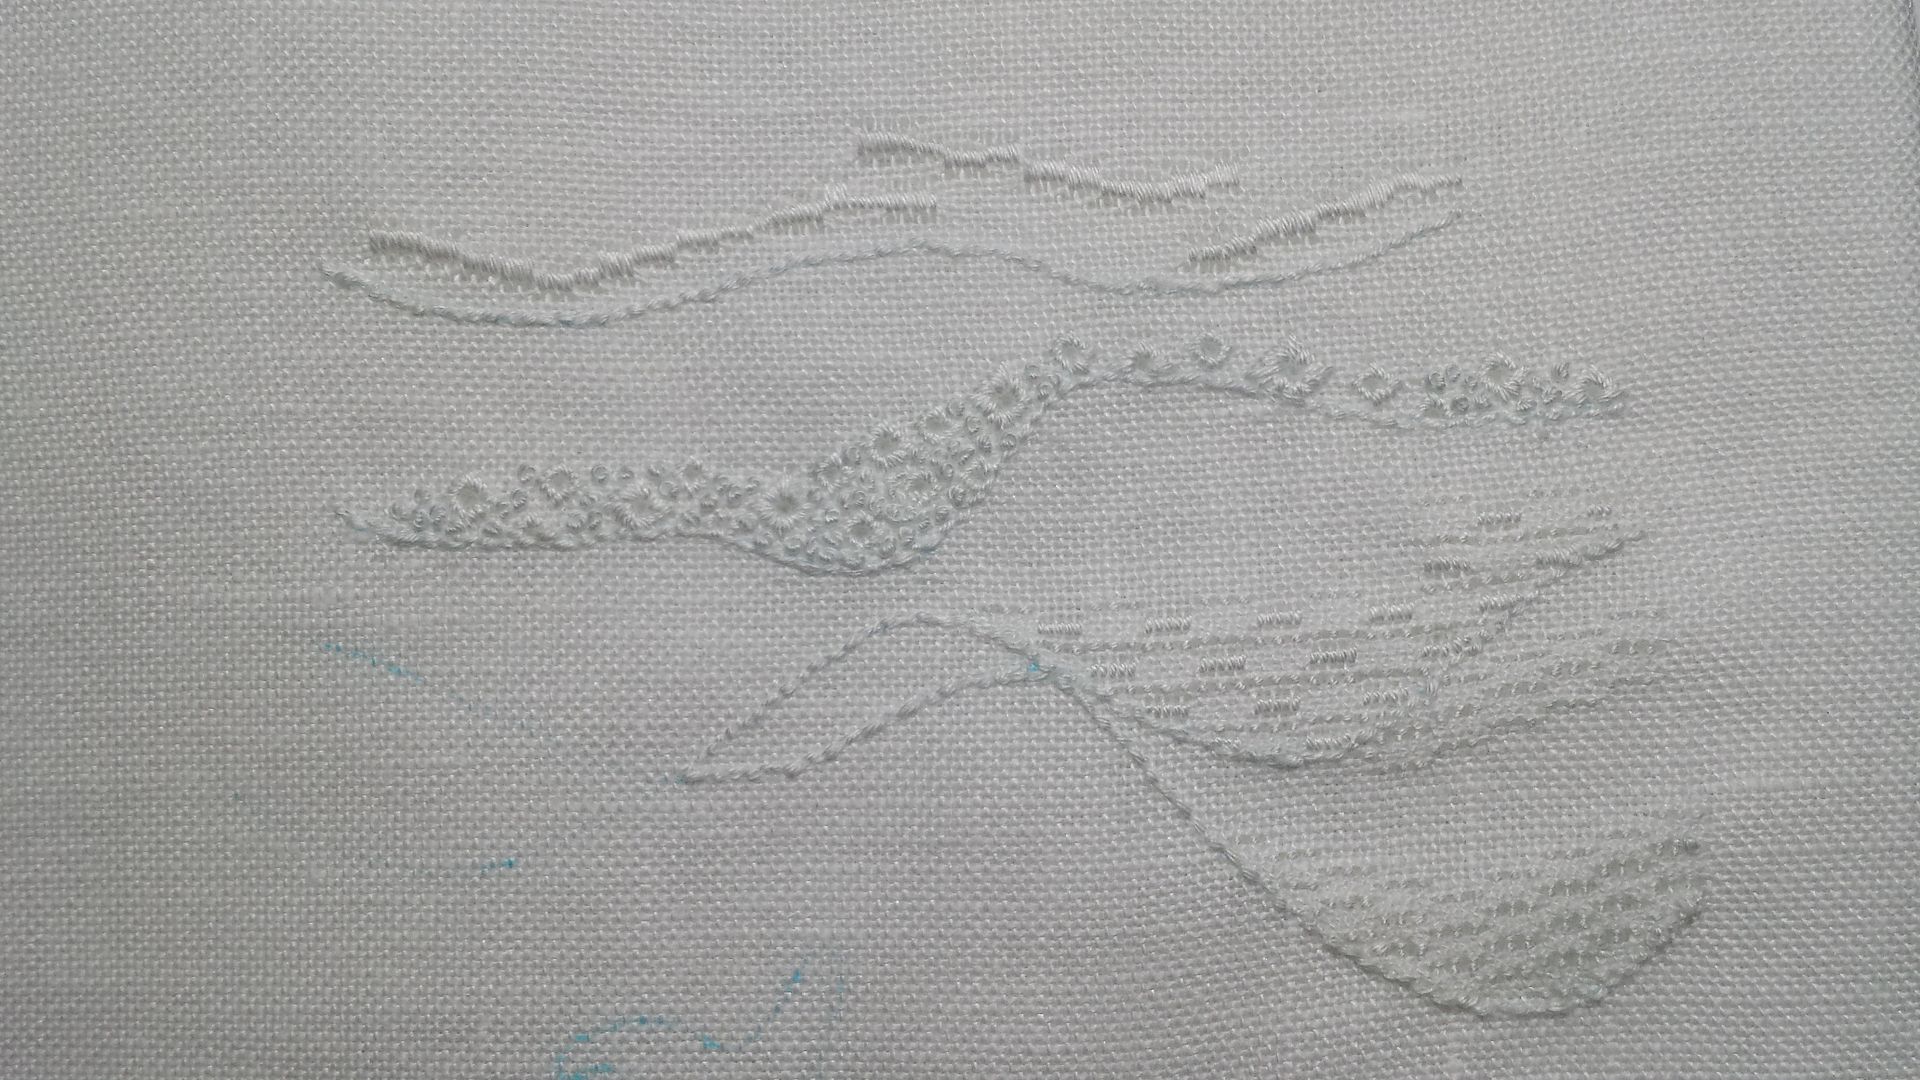
My large blackwork sampler went on the wall in the living room. I felt I needed a narrowish space to hang it due to the shape. I apologise for the photos, however there's no natural light in my house (I have film on the windows to stop people seeing in) and this was the best I could do. (Much better photo of this piece found here)
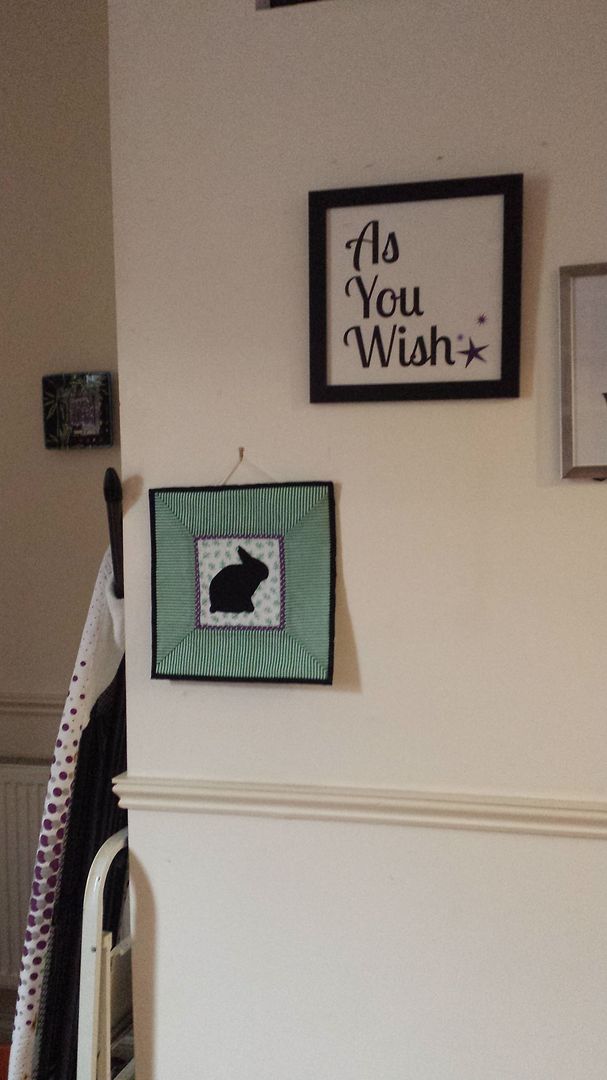
Harry ended up on this wall in the dining room with a picture I bought for Mr Ex-CA and (just out of shot) one I letterpressed for him. I'll be removing them at some point so Harry might move. (See a post about this quilt here)
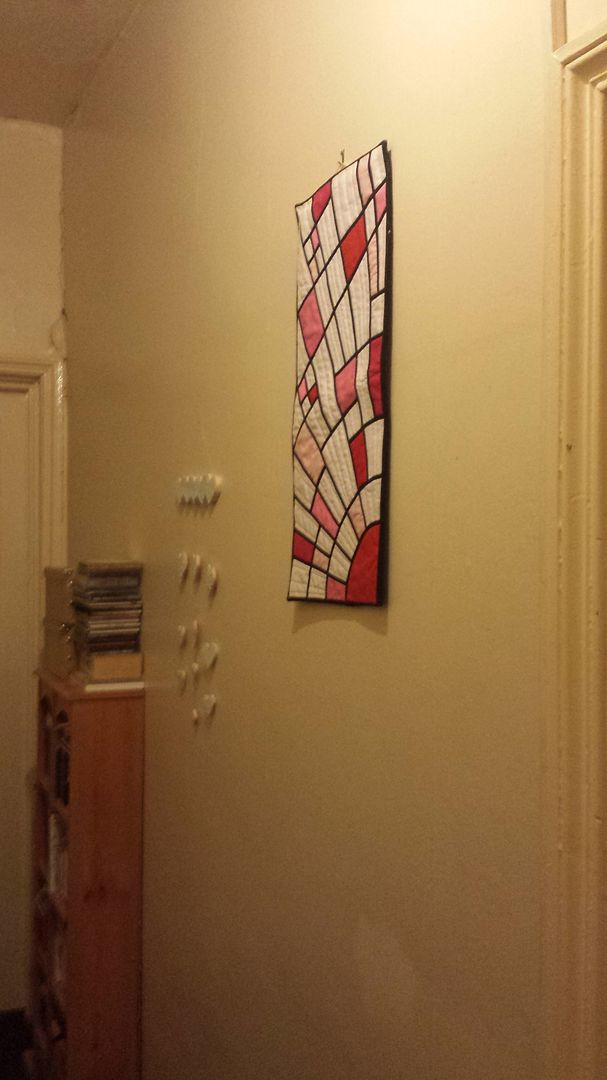
This hanging was placed next to my ceramic hearts in the first floor landing. I can't get a front-on picture as that would involve me falling down the stairs... Again, it's pretty murky and the hall (along with 70% of my house) really needs doing up! Any keen DIYers who fancy coming round? (Better picture of the quilt here)
This post was quite painful to write (though I don't really know why), but I'm glad I'm blogging again. I'll be back soon.
handmade by
Wendy
at
13:16
18
crafty devils said ...
Categories:
beadweaving,
blackwork,
mini quilt,
necklace
Subscribe to:
Comments (Atom)


