Friday, 28 November 2014

Craft class - making copper beads

Months ago me and my lovely mum took a class at The Bead Shop Nottingham to make beads from Copper clay.  The photos have been languishing in a draft blog post and I've no idea why I haven't written a post and published it!  Well, today is the day!

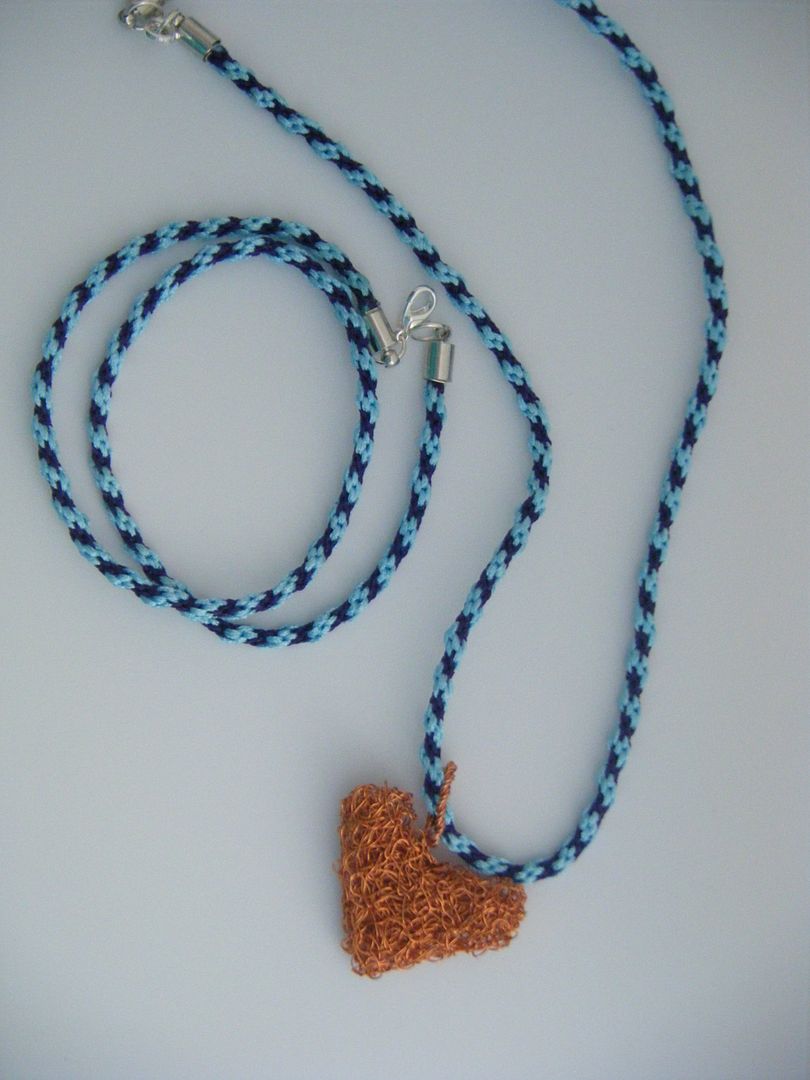
Copper clay is like silver clay, other than it's copper, in that it starts life as a pliable clay and after firing becomes a precious metal.  I didn't really get on with the silver clay, finding it too hard to work, but this was much easier and I enjoyed it.


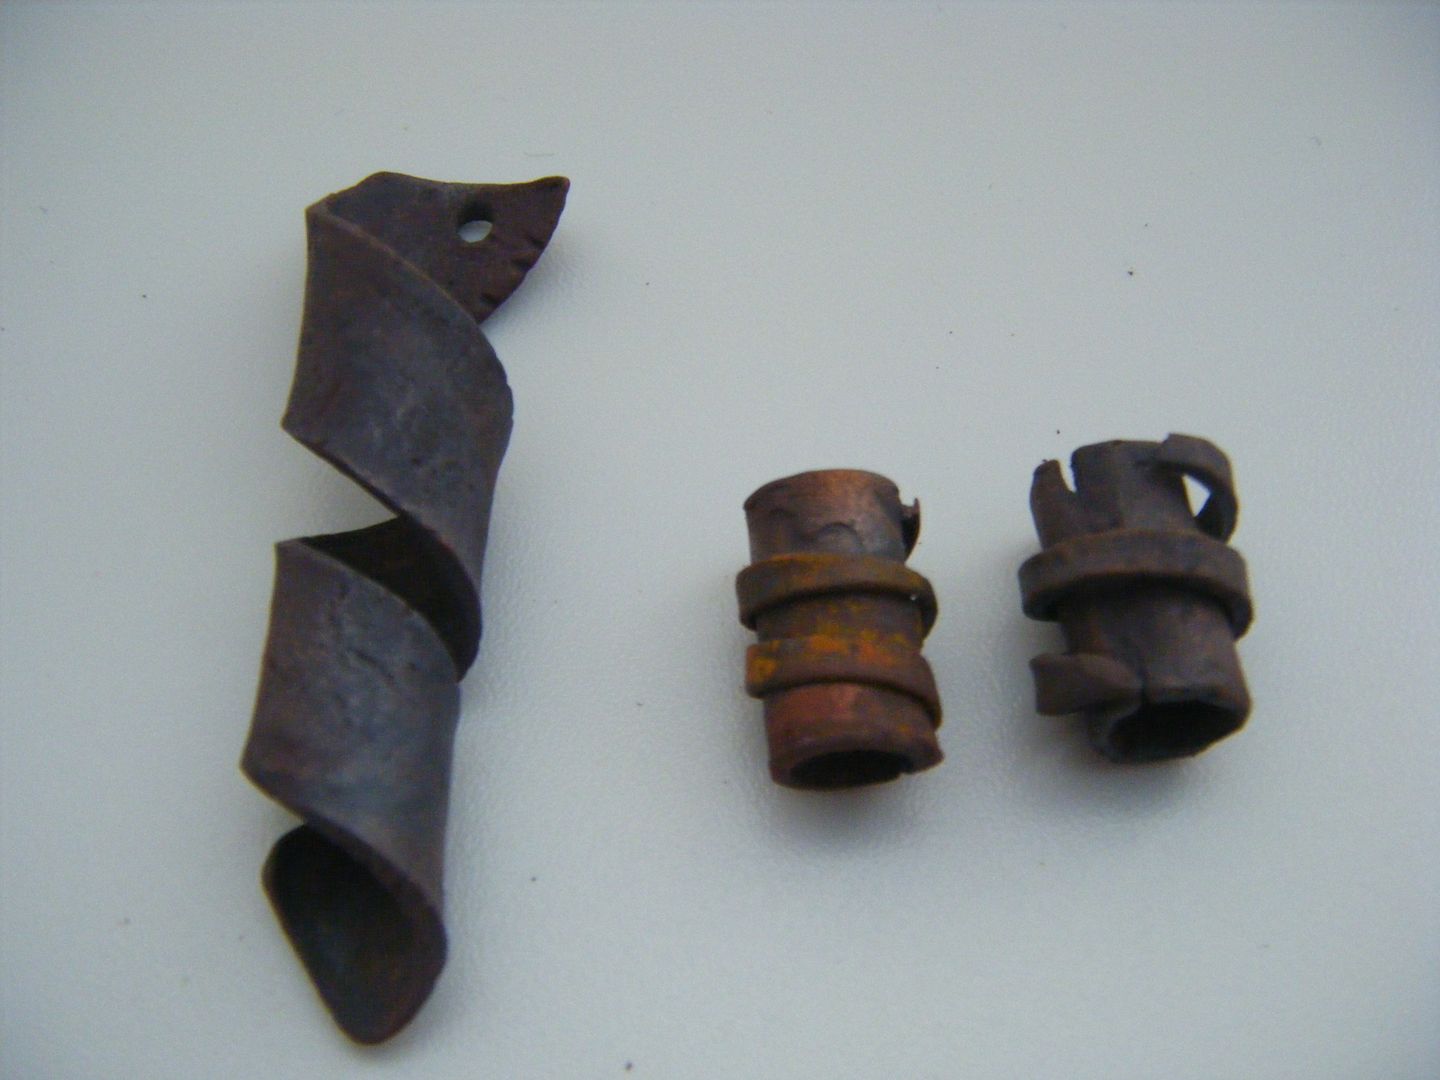
I made a large spiral which is to be a pendant and two smaller spiral beads.  These have been fired and the bead in the middle shows the fire scale.  I need to sand that down and then sand and polish all my beads.  They've been languishing unfinished, just like this post!  The bead on the right broke in the kiln but it might be OK to use, I'll see when I've cleaned them up.


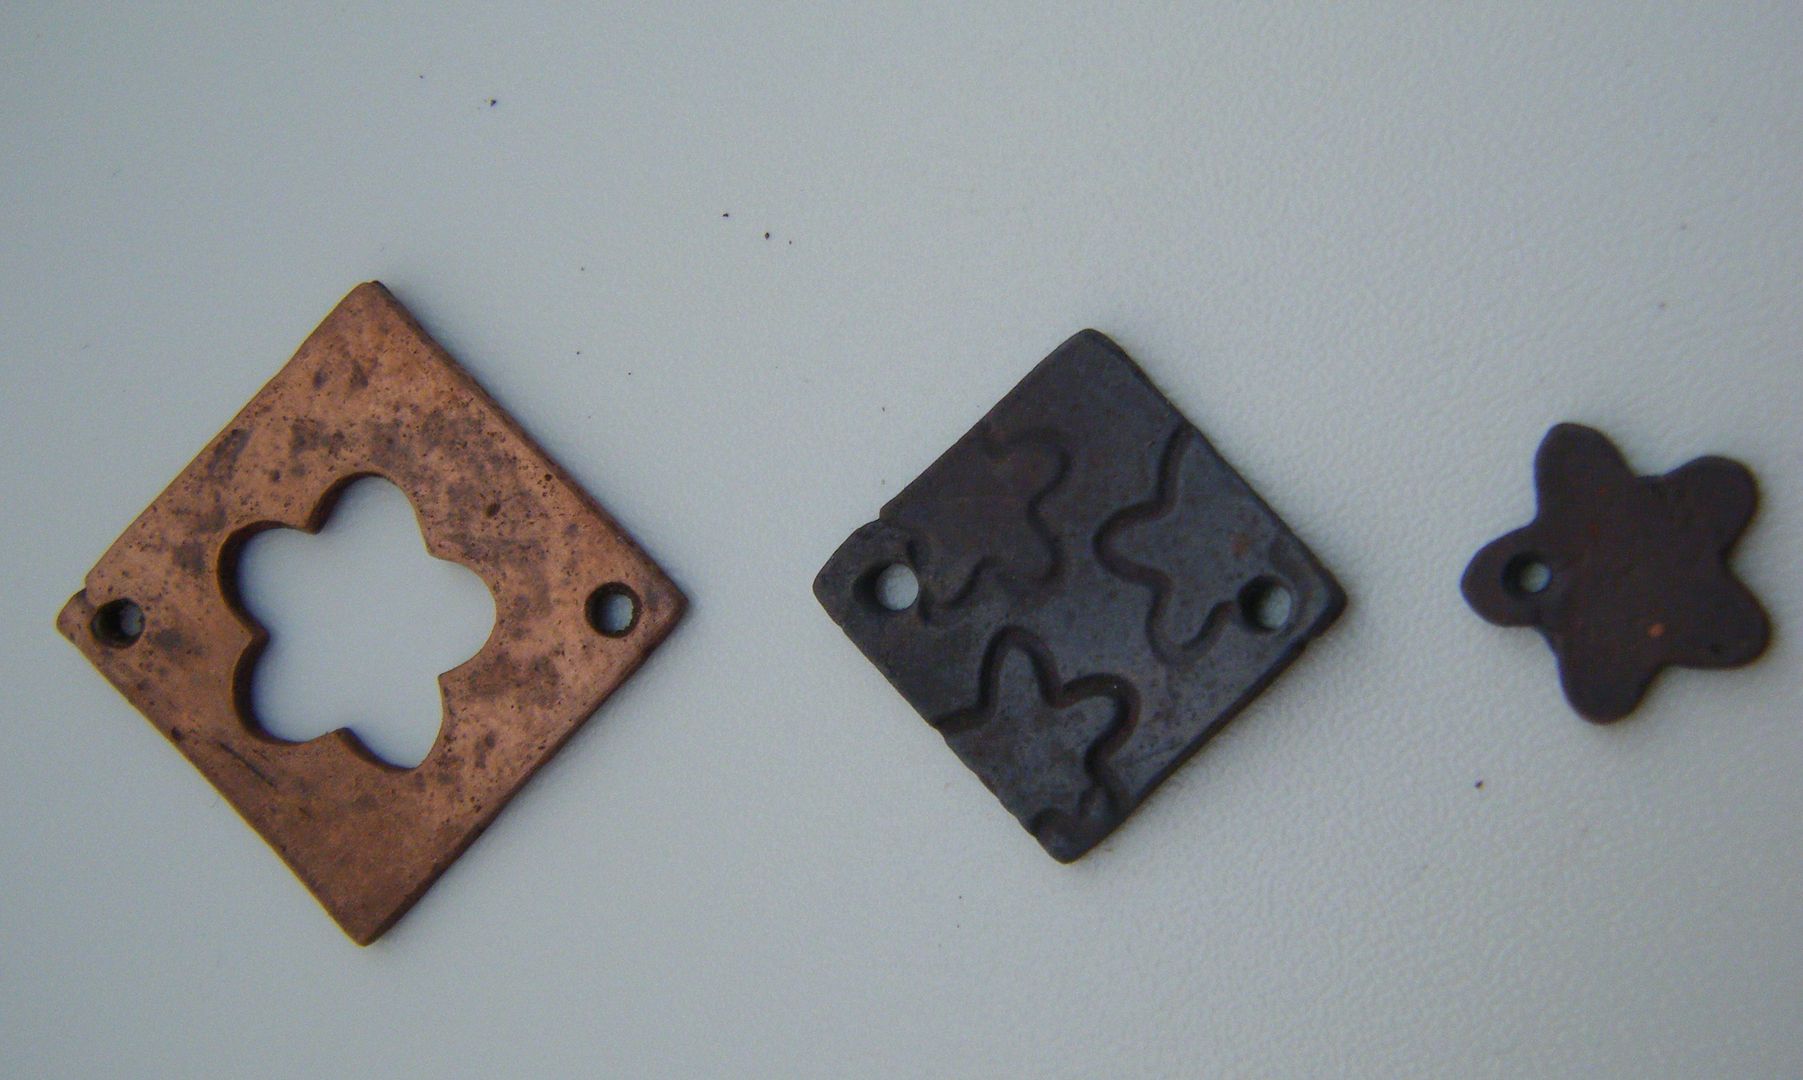
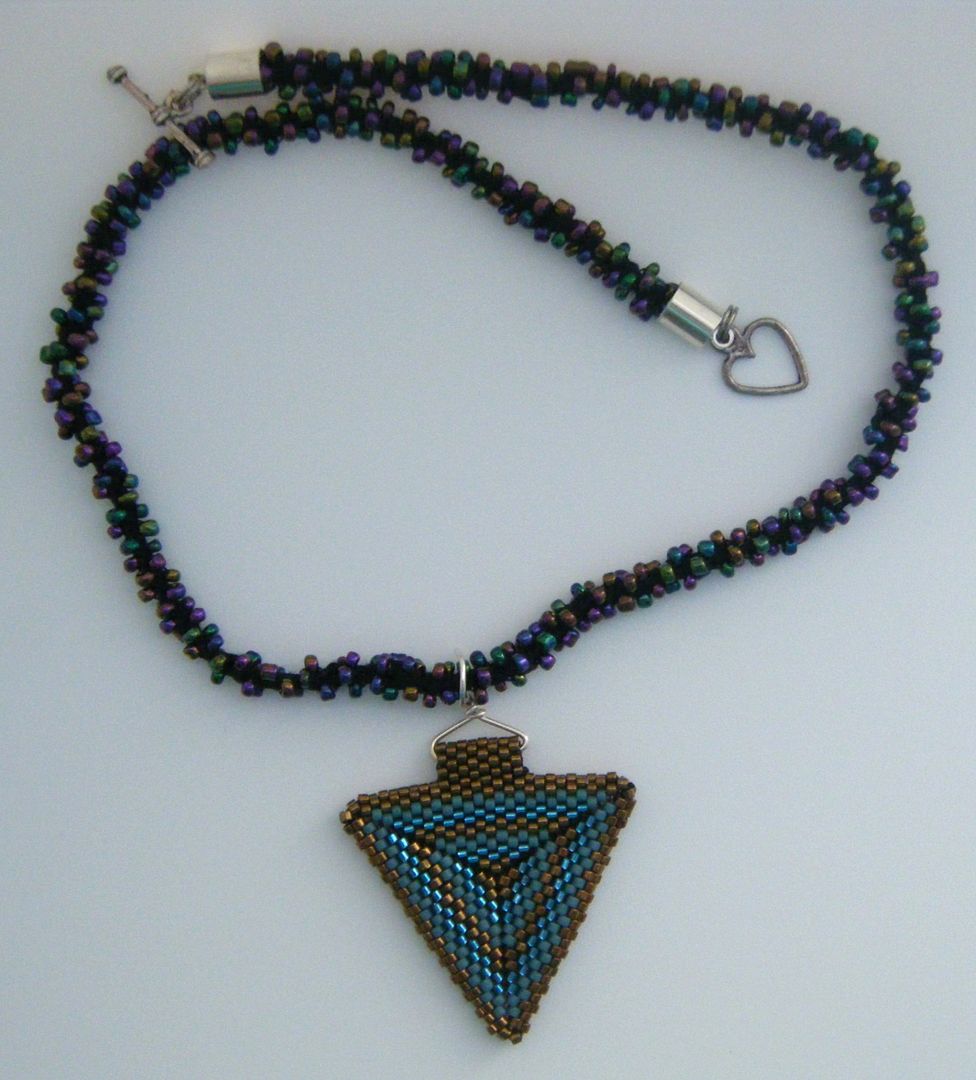
I also made a set of three charms which I envision as a long pendent.  I cut two squares, then I cut a flower out of the larger one using a clay punch.  I used this punch to make impressions on the smaller square without cutting right through.  I used the cut out flower as the final charm which is why it only has one hanging hole.


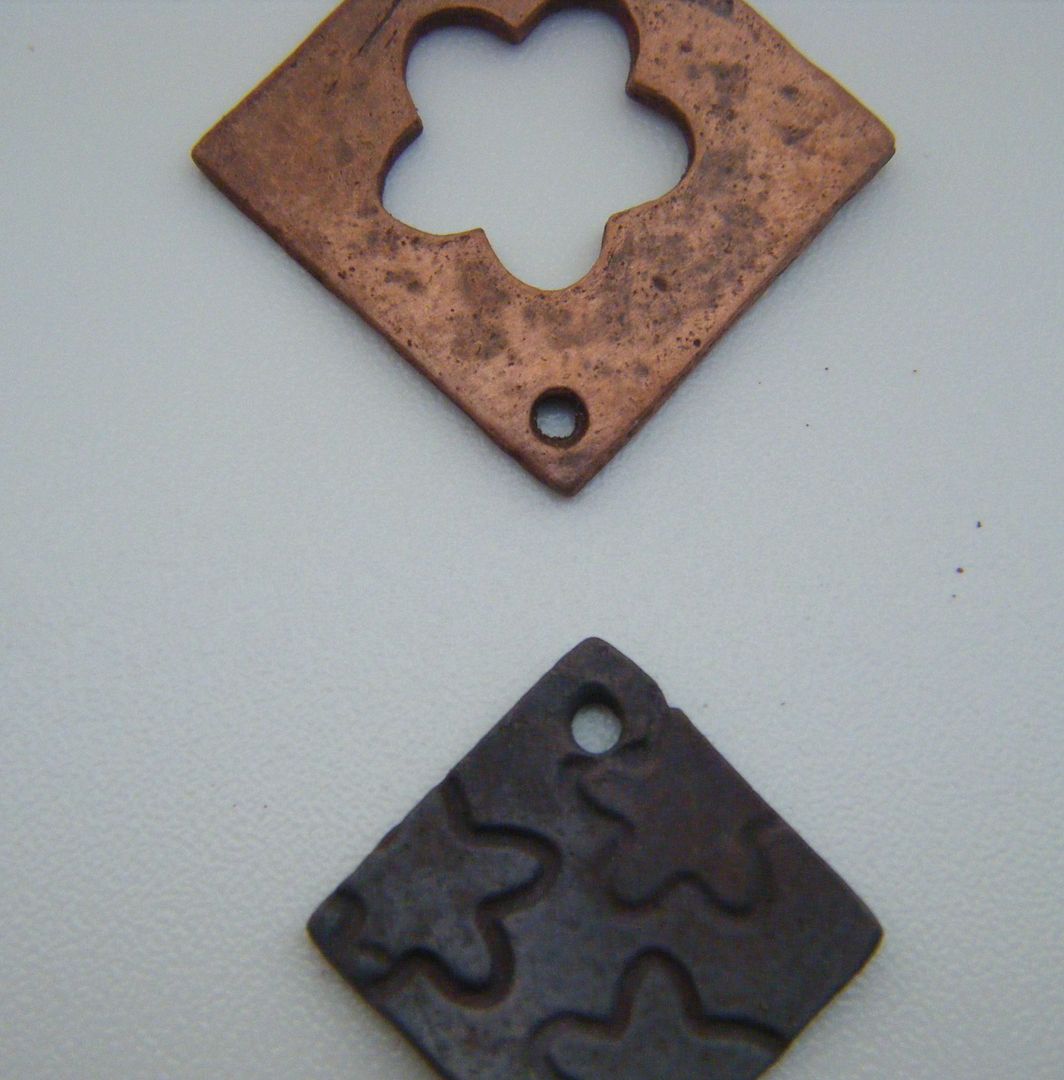
Again, they need cleaning up.  I wonder if I was leaving this post until I'd made the final pieces of jewellery - I bought a few Swarovski crystals to go with the finished pieces.  How deluded am I?  I'm sure it'll be many months before this gets finished!

I enjoyed playing with copper clay, I'm starting to think I really do need a kiln....


Something New for 2014


Celtic Thistle Stitches  

Wednesday, 26 November 2014

Craft Book Review - Pretty Quilled Cards

The lovely folk at GMC sent me another book to review.

Pretty Quilled Cards by Cecilia Louie
Before we go any further, the disclaimers.  I was sent the book for free to review but I was not told what to say and all opinions are 100% my own.  I didn't receive any monetary compensation.  Links in this post, as with all my book posts, are affiliated.  If you click over and buy something, I get a few pence towards an Amazon voucher.  


I have done quilling before, it's something I used to do a lot of as a teenager and I'm used to the traditional coiled shapes.  This style of quilling is a bit different.  It still uses long thin paper strips on their edge, but there is less coiling and more shaping.


The book has 25 designs, each one showing a large colour photo of the finished item, the lengths of each colour strip to cut and a diagram showing how they are put together.


The next pages are a written explanation of how to form each design, including more diagrams.  The instructions really are top notch.


There are a whole range of different designs in the book, including card designs for birthday, Christmas and other special occasions.  You could, of course, use the motifs however you like and aren't restricted to making cards.


Each design is rated out of 5 for difficulty and I, stupidly, chose the level 3 cherry blossom design.  It was tricky.  It was fiddly and frustrating at times, but I did it.


I wasn't very happy with my shapes as I was forming them and I didn't think I'd get a good result, but you know what?  I'm really chuffed with my final piece.  I don't think I've done a bad job.  It took a long time, nearly 2 hours, to put this together so it wasn't quick!

Whilst making the design, I was sure I'd never make another design from this book as it was just too fiddly, but when I'd finished, I rethought this and I think I might just tackle another!

The designs are lovely, I do like the style and the instructions are really detailed.  I think this book would be ideal for someone who's got some experience in quilling, but anyone with a bit of patience who is able to do fiddly work could make the designs.  My one criticism of the book is that there aren't enough designs suitable for me, the only one being a necktie.  


Linking up to:
Craft Book Sew Along at Live. Love. Create.


Disclaimer:

I was given a review copy of the book by GMC however this review and all opinions are 100% my own, I was not told what to say.  Amazon links are affiliate links.


Monday, 24 November 2014

jewellery - finishing

It seems to take me forever to make a piece of jewellery.  I make part of it, then it sits for months before I do anything with it!


I recently made the worlds longest kumihimo braid (disclaimer: that's not actually true) and wasn't sure what to do with it.  In the end I made a double wrap braid and used the rest as a necklace for this knitted copper wire heart pendent I made ages ago.  The twisted wire necklace it was hanging had become kinked and misshapen so it was time to rehang it.


I finished this peyote triangle pendent in a bead class ages ago.  I wasn't sure what to hang it on, then mum gave me this beaded cord.  It was ready made, I didn't make it.  I thought the pendent would be ideal to hang on it.


The only problem was that I couldn't get the beaded cord through the bail as the bail was tiny.  I used a bit of wire to create a hanger instead.  Perhaps not the most elegant solution, but it works.


I love this beaded cord and have a bit more of it, I might have to make a pendent to go with it...  give me another year or so and I'm sure I'll get round to it!


Saturday, 22 November 2014

Save the Stitches SAL update

Has it really been three weeks since the last update?  It must been as it's check in time for the SAL hosted by Avis and Claire


This is block 13.  I haven't yet done the metallic stitching on it.  I don't seem to have got much done this time, but I have been spending a lot of my stitching time working on my Orange Peels.

I bet the other participants have done more than me, so go and visit them:


Claire at Claire93's blog

Gun at Rutigt


Eleanor at Sun and Cake 

Alison at Minerva Handmade


Thursday, 20 November 2014

giveaway win

I was incredibly lucky to win a giveaway held by the lovely, and very generous Rebecca of One Wee Bird


The prize advertised was 7 FQs of Katie Jump Rope, but the naughty lady snuck in 10 and all these strips!  What a wonderful prize, thank you so much Rebecca.

Tuesday, 18 November 2014

Felt play

I have started a new project.  And not just any project.  Oh no, this is a time-consuming one.  I've been pinning quiet book pages for ages and always wanted to make one for Jacob.  He'll be three in March so I think I need to do it sooner rather than later. 


For those that haven't heard of quiet books, they're felt books with activities on each page to keep kids quiet.  It seems that a lot of LDS mums make them for their kids in church, but mine will be secular of course!  Above is the felt pieces for 3 pages.  I haven't got any further as I either need to find my velcro, or buy some more before I can continue.


I've pinned loads of pages for inspiration, but I've drawn my own templates.  This is a face with interchangeable features and accessories.  Hopefully Jacob will enjoy sticking a ginger beard on a rather odd looking man!  Well, who wouldn't?

Sunday, 16 November 2014

dish cloths

Whilst at the Manor House, I took some crocheting to do in the evenings.  I needed a couple of new dishcloths and thought I'd try some different patterns.  I started off with this free tutorial at Mellie Blossoms for a zig zag dish cloth.  Check out all the ends you end up with to weave in!


I added the round bit so I can hang it off my tap as I love this feature in my existing dishcloths.  I have no idea why it turned out diamond shape and not square!


As you can see, it's a one-sided pattern, but hey, it's a dishcloth, who cares if it's got a back!


Next I moved onto this tartan washcloth tutorial at Happy Berry.  I used cotton yarn for both dishcloths as it dries quite quickly and I can throw them in the washing machine at 60 degrees with my towels and socks.


I love the way this turned out but it's huge!  I should have scaled it down to make a dishcloth.  Again, I added the circle bit to hang it up.


The pattern is created by slip stitching into the front of the cloth when it's finished, that was a new technique for me and very effective.  I'm not sure what it's called, slip stitch crochet?  Tapestry crochet?  I'm not sure.


This photo shows how it looks from the back - not so neat.

Right, I'm off to wash the rabbit bowls out with one of my new dishcloths!  (No, it doesn't make the job any more interesting... but they're pretty!)

Monday, 10 November 2014

tablet case

My blog post titles are just so creative aren't they?  Does anyone enjoy trying to come up with something interesting or do we all hate writing the damn things?

Anyway, it is what it says.  I made a case for my tablet.  It's not an i-pad, I'm not some label queen, it's a Samsung tablet and I love it to bits.  When I went to the Manor House in October, I wanted to take my tablet and so the weekend before saw me making a last minute case for it.  Turns out I might as well not have bothered as there was no wifi signal there so I couldn't use it!


I used an FQ of Kate and Birdie's Winter Lane which I've been hoarding.  I don't think it's particularly wintery so I was happy to use it.  I drafted my own pattern for this case, took some measurements, cut out my rectangles and then quilted.


I do enjoy FMQ so I'm not sure why I'm putting of FMQing the And Sew On quilt and my applique cushion cover.  I know it will be fun when I get started.


I stupidly quilted it with the lining fabric, in hindsight I would have much preferred making a separate lining, I wouldn't have had to bind the damn thing for a start!


I wish I'd taken a picture of the cut out pattern piece before I sewed it up.  It's one piece with a rectangle taken out of the top to form the front.  It was a stupid design and I bound it in the most ridiculous way, but never mind, it's done now!


I love the finished case, but you have to make sure not to look directly at the binding as it's so sloppily put on it could explode in your face.  True.


I put in a button hole and added a self-cover button to match the lining.  I probably could have fussy cut it!


Night night Mr Tablet, sleep tight.

Saturday, 8 November 2014

Craft Book Review - Felting Fabulous Flowers

Pavilion very kindly sent me a copy of Felting Fabulous Flowers by Gillian Harris to review for you all.

Before we go any further, the disclaimers.  I was sent the book for free to review but I was not told what to say and all opinions are 100% my own.  I didn't receive any monetary compensation.  Links in this post, as with all my book posts, are affiliated.  If you click over and buy something, I get a few pence towards an Amazon voucher.  


I'm embarrassed to say that it's taken me quite a while to get round to reviewing this for you and I'm not sure why as when I got started, I really enjoyed it.


The book has 23 different flower patterns and some leaf shapes too.  The flowers are divided by colour and each given a rating of easy, intermediate or advanced.


There are some truly beautiful flowers included.  Look at that amazing passion flower!  Yes, that one is advanced!


The cosmos flower is the bottom right of the above photo, this is one that I chose to make.  All of the flowers are a mixture of wet and dry (needle) felting.


I didn't have any green merino tops to hand, so I didn't attempt any of the leaves, but they'd look fabulous is a bouquet or with a flower as a corsage.


Each flower has it's own page of instructions, then there are instructions for the various felting techniques at the end, followed by the full-sized templates.


I decided to make the daisy and the cosmos (though in blue!), so I started making some felt.  My white felt ended up rather thick.  It's been a long time since I made felt and I overestimated how much it shrinks.


I actually used two different shades of turquoise for the second piece of felt.  One colour on the front...


...and the other on the back.


It's not easy to see the difference, but there is one!


I cut out the cosmos shape from the turquoise felt and decided the lighter colour would be the front.  I added some needle felted veins in the darker turquoise, which are hard to see, and did a simple needle felted centre rather than the balls in the original.  This flower needs shaping with some Mod Podge or fabric stiffener to give it more shape.


The daisy is made up of two layers of petals with a yellow centre needled to make it a dome shape.


I liked this so much I added a brooch pin and it's already on my winter coat.  I know, daisies aren't very wintery but I don't care!

I have a few of Gillian Harris's felting books and all of them are fabulous.  The projects are lovely, the photography is gorgeous and the instructions are good.  This book is no exception and I actually want to try each and every flower in this book.  I think they'd make a wonderful bouquet to put in a vase on the table.  

If you have any interest in felting, whether you're a seasoned felter or are completely new to it, I'd recommend this book.  The instructions are good enough for a beginner to make their first piece of felt and try their hand at needle felting, and the projects are varied enough to interested the more advanced felter.


Product details

  • Hardcover: 80 pages
  • Publisher: Collins & Brown (3 July 2014)
  • Language: English
  • ISBN-10: 1909397393
  • ISBN-13: 978-1909397392
  • Product Dimensions: 1.3 x 21 x 21 cm


Linking up to:
Craft Book Sew Along at Live. Love. Create.


Something New for 2014


Celtic Thistle Stitches  


Disclaimer:


I was given a review copy of the book by Pavilion, however this review and all opinions are 100% my own, I was not told what to say.  Amazon links are affiliate links.


Thursday, 6 November 2014

cuzco update

It's been a long time since I updated you on the progress of my Cuzco stained glass quilt.  The last post was back in June when I said I'd finished all the blocks.  I had, but I decided to double the size of the quilt and so made all the blocks again.  I finished them during a guild meeting in the summer and they've sat waiting for me ever since.


It was high time I did something with them, I was sick of moving them from cutting table to ironing board to sofa and back again!  I had the house to myself last Saturday so I set myself up on the dining room table and spread the blocks out on the living room floor (it's open plan, I can't see through walls).


Time for sashing!


All sashed and rows sewn together.  Now I have to square it up (it's nowhere near square or even at all!), then add the wide borders.  I'm really nervous about this step as I really don't know how to go about squaring it up.  It's a twin sized quilt (I think!), though to me that means a single bed quilt.  I'm determined not to let this sit for another 4 months, so watch this space.