
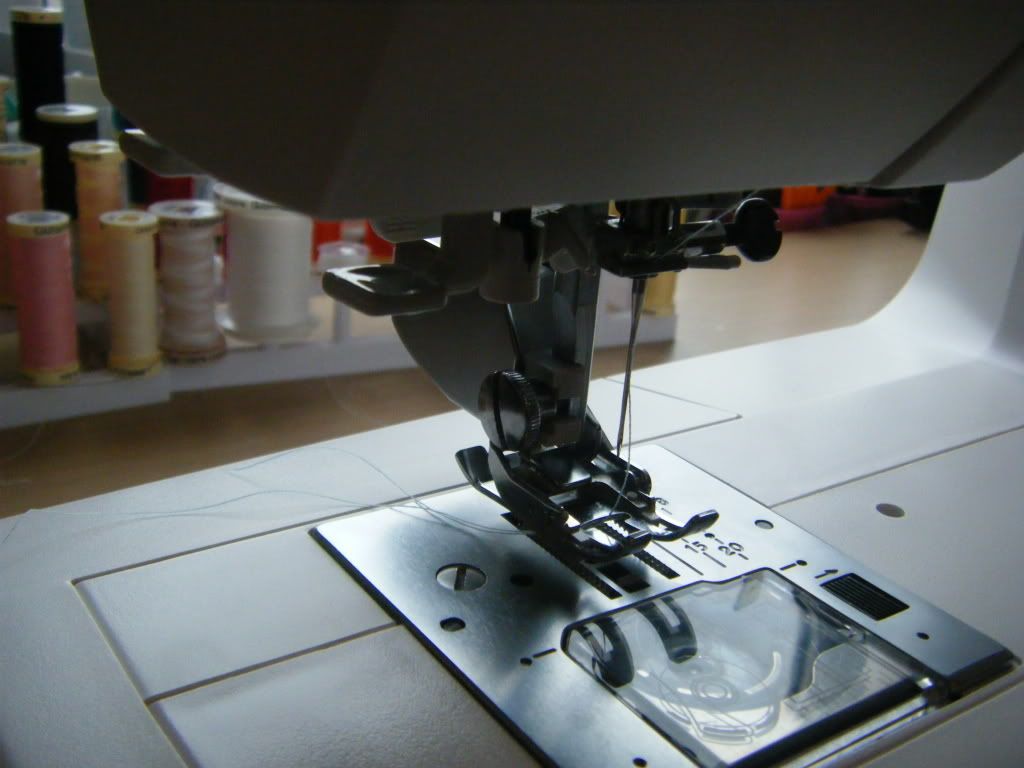
I have noticed that I like looking at progress photos on other blogs as much as I like seeing the finished item, so I thought I'd take some as I went along.
This pattern is from Australia Homespun Vol. 11 No. 11, but you can buy it from the lovely Bloom, see this page here.
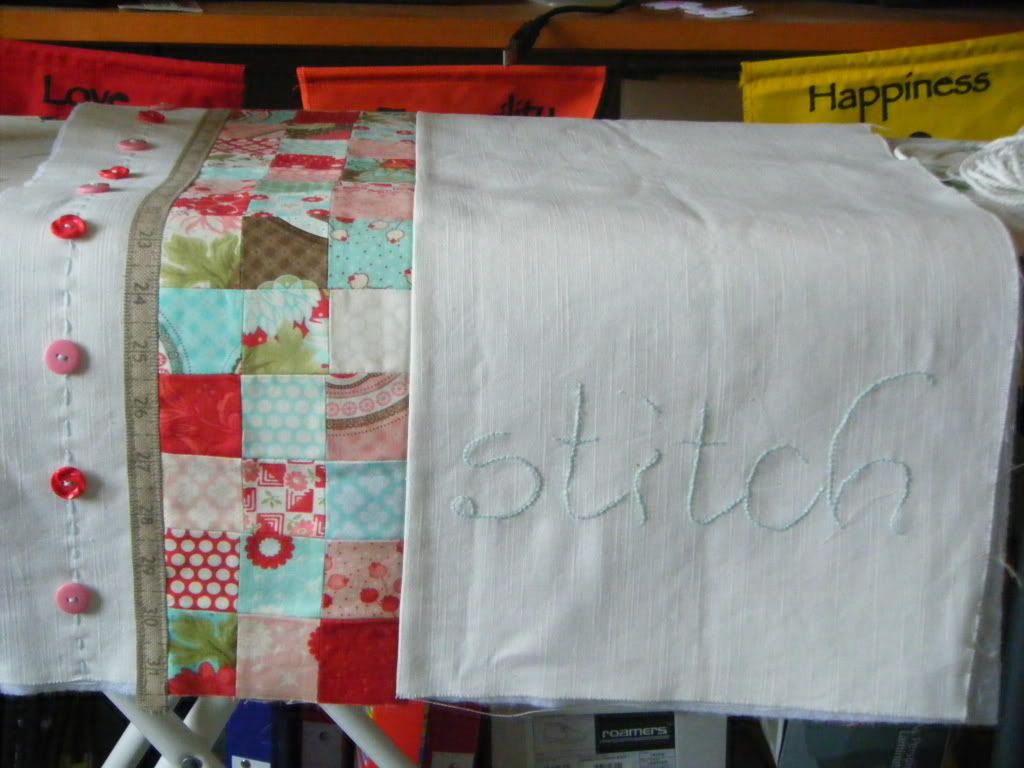
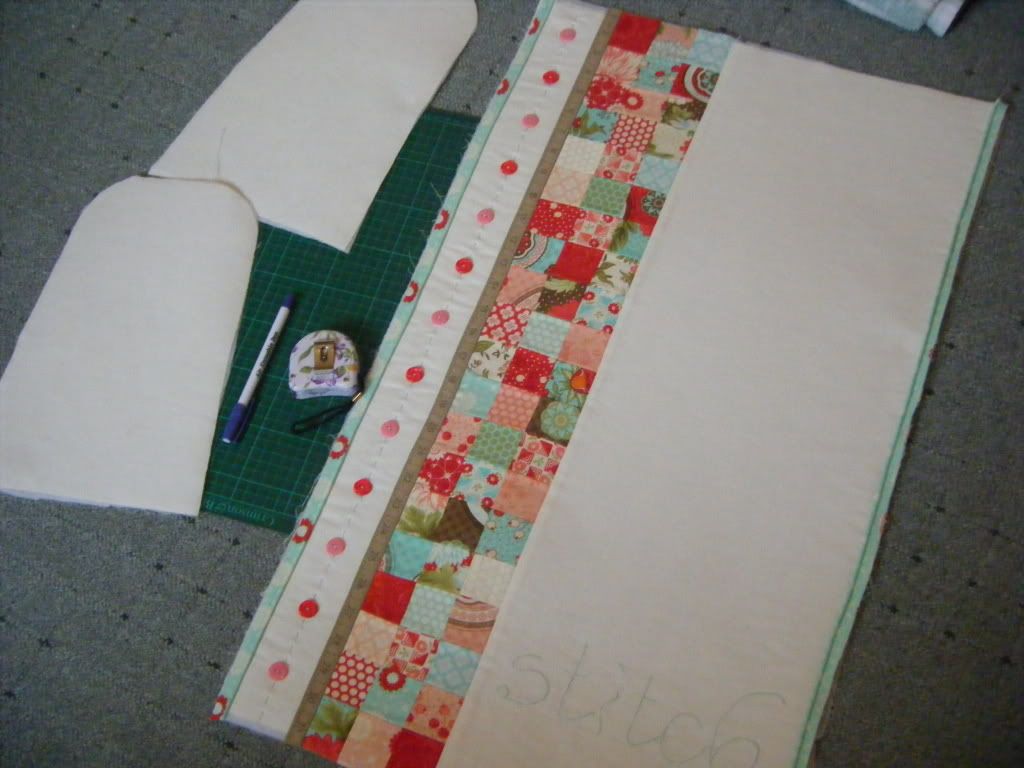
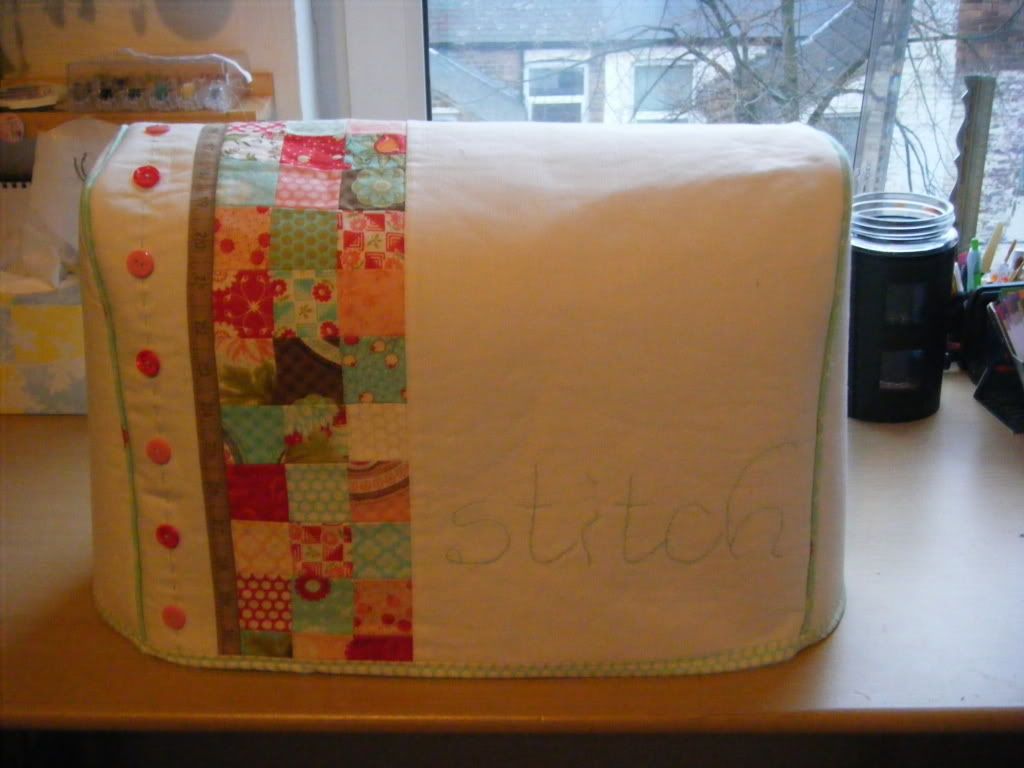
I had been struggling with my patchwork pieces when the machine died, so I finished them off on Sunday. Then I added the side panel that I'd hand-embroidered with the word "Stitch".
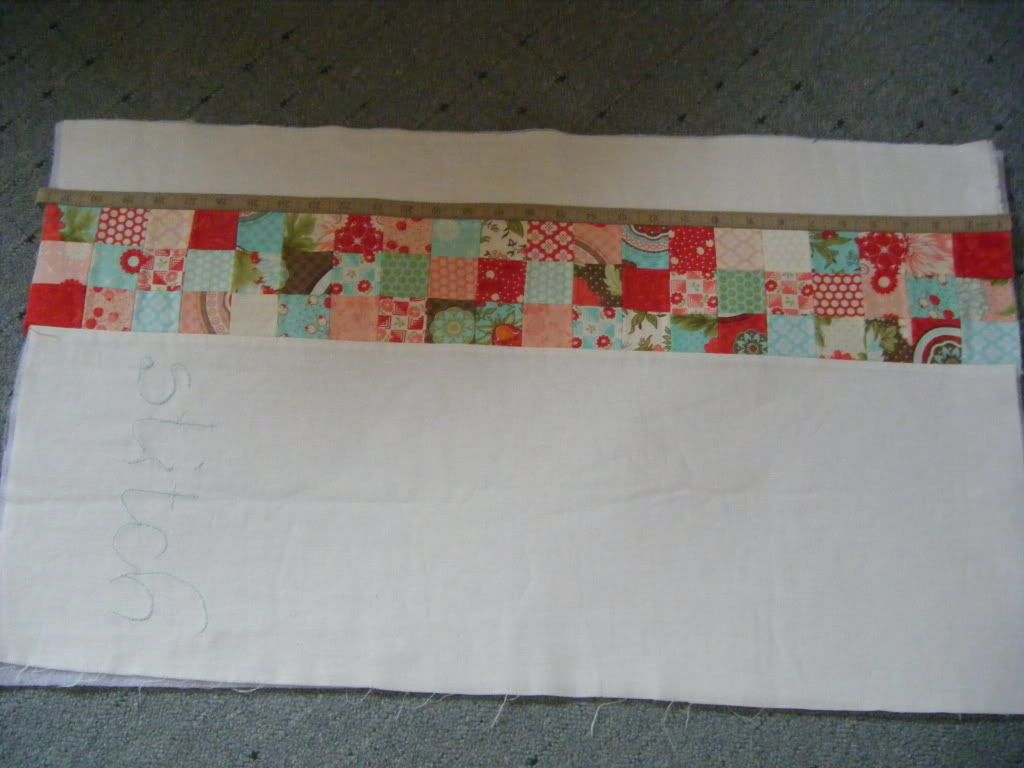
I've used white linen, a Bliss layer cake (well a tiny bit of it!) and some tape measure twill that I happened to have in my card-making stash! The embroidery is sewn in DMC Light Effects thread.
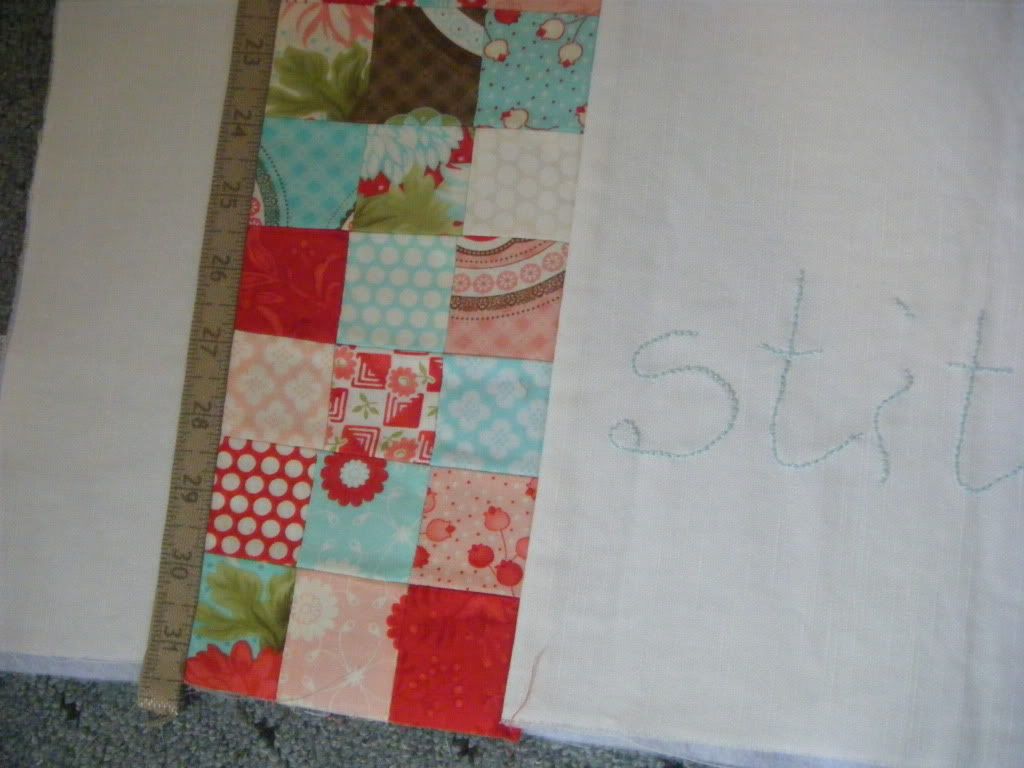
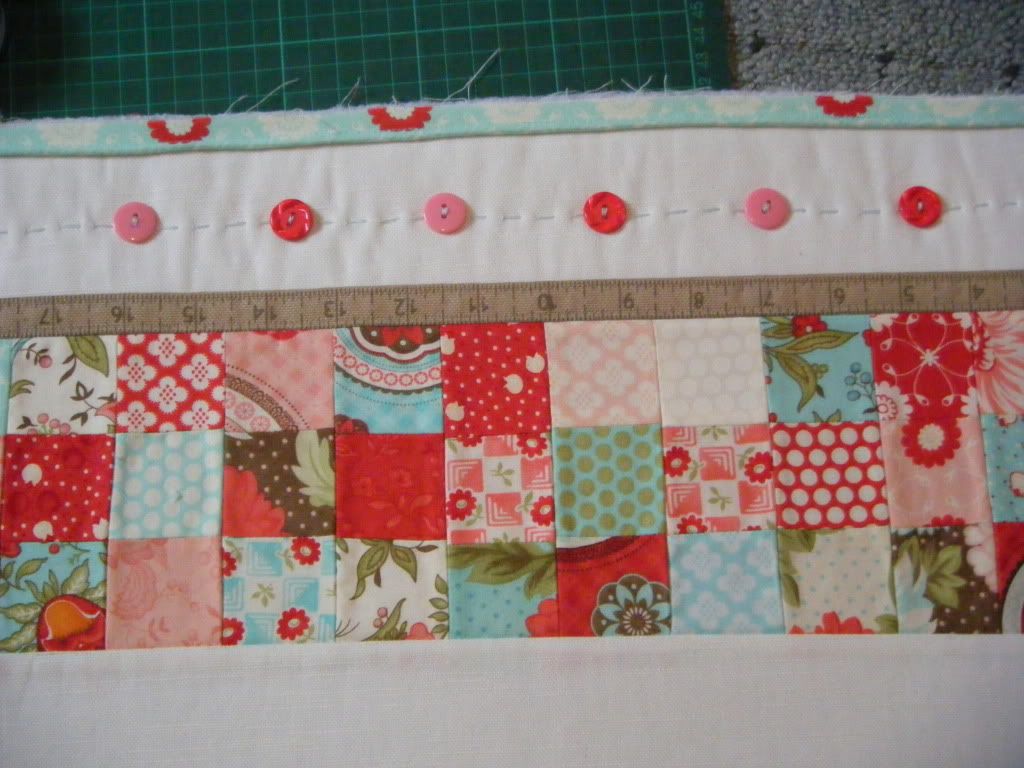
Here's a close up so you can see just how wonky my patchwork is!
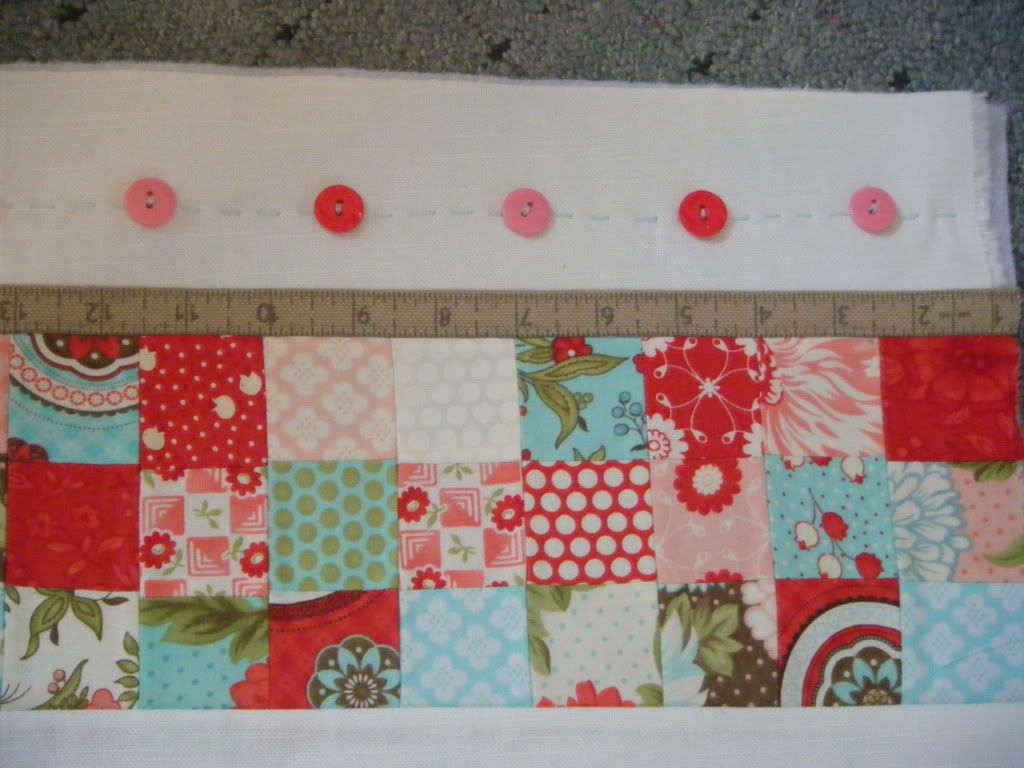
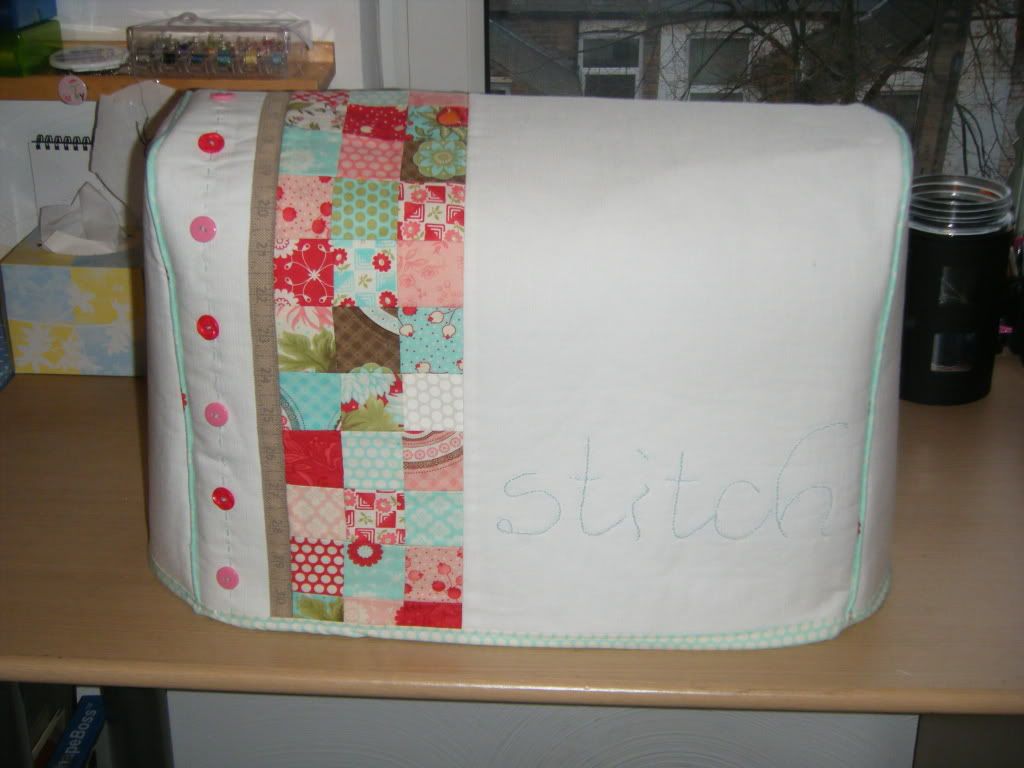
I'd forgotten I'd need buttons and I didn't have 13 matching so I used a combination of red and pink buttons (again from my card-making stash). I think they offset the blue thread nicely. This is the DMC Light Effects again. There is a thick layer of fusible fleece on the back of this machine cover, so does this count as me having done some hand quilting? If you enlarge the photo you'll see the spot of my blood! I do like to put something personal into a project...
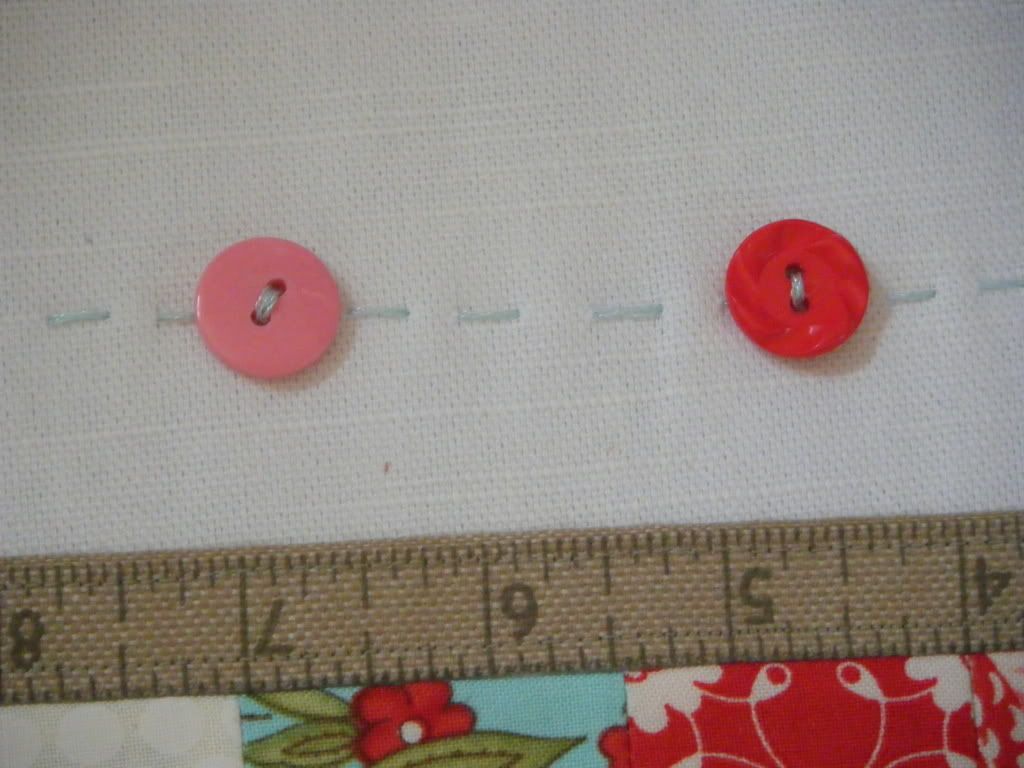
See it?
I thought that I would be stitching in the ditch along the patchwork, but the pattern didn't call for it, so I didn't.
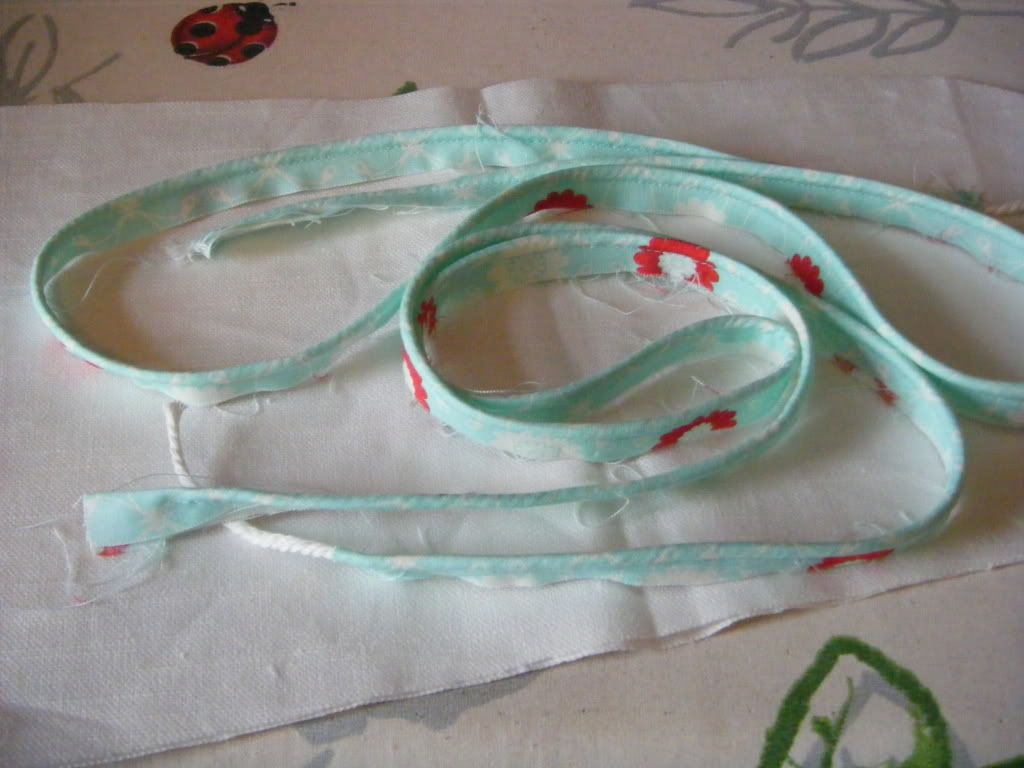
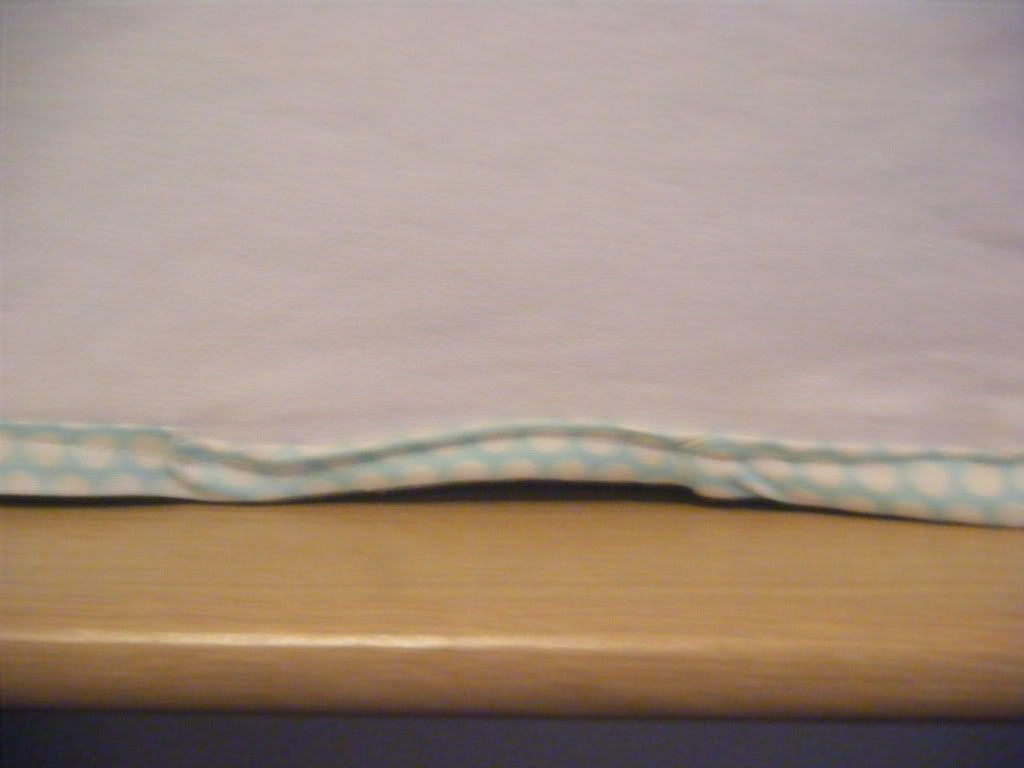
That's my piping. I've never done piping before and I was scared but it was EASY. I used my zipper foot as I don't have a piping foot and it worked fine. I did have to do an emergency mid-project run to Hobbycraft to get the piping cord... I really should consider planning ahead! I bought a metre of one Bliss print and a half metre of another for lining and piping, but this used up the tiniest bit of fabric, 2 inches I think!
Piping added.
What do you think of my piping efforts?
The next step was to sew the main panel and the end panels together. We're talking 2 layers of linen, 2 layers of fusible fleece, 2 layers of medium-weight interfacing and 2 layers of cotton. My machine said no, so I bought out this baby:
Oh yes, the walking foot. Why was I scared of it? It took about 20 seconds to install and is BRILLIANT!! It made short work of all those layers and soon I was finished.
Ta Da!! Sorry about the light - it was 6pm when I finished but I HAD to get photos.
This is the back, and you can see that I messed up the lining:
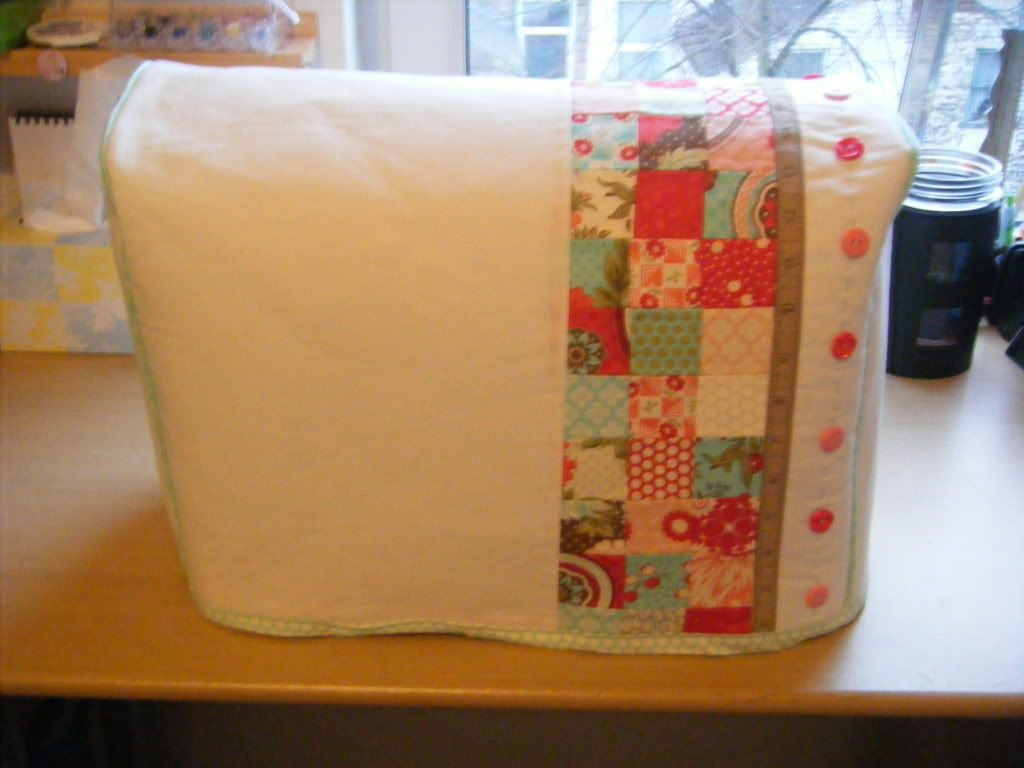
I used a blue spot print for the lining and when I put it all together, it formed a sort of cuff on the right side. The lining isn't supposed to be showing on the front, but I liked it so sewed it in place like that.
The lining was bigger than the outside piece, so I ended up with ruffles and tucks and it looks a bit of a mess, but it's on the back!
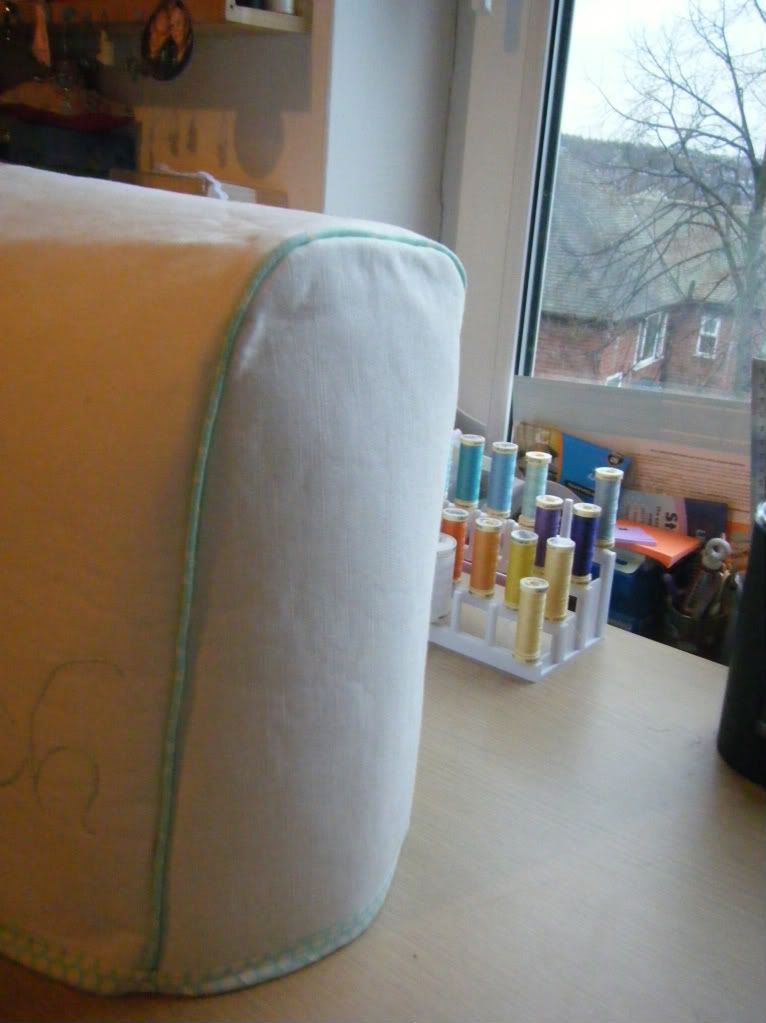
Go on, admire that piping again!
Sandra, I'm declaring this as my March LANT (Learn a New Technique) - I did walking foot sewing, piping and Quilt As You Go, oh, and hand quilting! No full quilt for me this month, maybe April (or maybe not!).
By the way, I see I have loads more followers, thanks girls and welcome! I wanted to come and visit you, but the list is no longer in date order of when you joined so I can't identify you, feel free to let me know if you're a new follower so I can come and visit you.