Showing posts with label failures. Show all posts

Monday, 25 November 2013

playing with fimo

Following the craft class, I wanted to try some more polymer clay techniques I'd had my eye on.  The first is an imprint technique from the book Patterns in Polymer by Julie Picarello 


I created a layered stack and then used various items to imprint it.  I didn't have many items I could use, I need to keep a good eye out and maybe visit B&Q.   Above I mainly used cutters, but the crosses are a screwdriver, the circles at the top are from a spool and the wavy lines are a cutter.


This really terrible shot is of the layers.  I can't get a decent in-progress shot of some crafts, like polymer clay, as I do them downstairs in the dining room which has a special film on the window so people can't see in.  It means that the light is also blocked.  Working on a garish cutting board doesn't help either!


The idea is to cut thin slices.  I didn't succeed with that!  Most of mine were wedges or about 10mm thick!  Here's a couple of the slices.


Don't you think this one looks like a frog!


I cut a couple of decent areas out with cutters and I'll turn them into brooches.  The failure of this made me want to try again, but this time I started at the beginning with something a bit more basic from the same book.


Not so bad!  But they're also very thick.  I wish I hadn't cut the large one out so asymmetrically.


I then pulled out The Art of Polymer Clay Millefiori Techniques by Donna Kato.  The striped cane was fine.  What I did with it... not so much!


OK, so back to an old technique that I know is a success.  I've made these before, but not in blue.  I am going to make them into necklaces, the small round ones are beads which have been pieced through the sides.


Still managed to make a mess of this though!  So the marks?

Tuesday, 19 November 2013

french knitting

You may have noticed that I didn't do a Wipocalypse post at the end of October.  No?  You didn't notice?  Didn't think so... I'm under doctor's orders not to put myself under any stress whatsover and even though it's a self-imposed challenge with no real consequences, I can't help getting competitive (with myself?) so I'm going to do the next, and final Wipocalypse round up at the end of December and whatever I achieve, I achieve.  

That was my rather long link into a post about French Knitting, or Spool Knitting as I believe it's sometimes called.  I acquired this little bee French Knitter at Harrogate last year and have been pondering it for a while.


I started with some lightweight DK yarn.  I love the texture and pattern, but I'm not really sure what it could be used for.


My real objective was to use wire to create jewellery, perhaps with beads trapped inside.  It didn't work out.  The silver wire is very fine, 36 gauge I think, and didn't hold its shape at all.  I moved on to 28 guage, but still no success.  I'm not sure if the problem is the shape of the pins at the top of the spool.  Has anyone tried French Knitting with wire?  Did you succeed?  I could do with some tips as I would like this to work!


As the wire was such a flop (literally), I thought I'd try with some other materials I had to hand.  The green one is 1mm rattail and the bottom one is cord.  I quite like them, but again, I don't know what I'd use them for.


The photo below shows the rattail and cord version with the yarn version.  The yarn provides a much tighter weave though I wasn't pulling any harder or knitting any more tightly. 


Hmmm, I'm going to go back to pondering French Knitting.


Tuesday, 22 October 2013

noodlehead divided basket

Good morning ladies.  I've got the day off work today and I'm trying to avoid doing any housework, so I'm starting with a blog post, then I'll get on with the thing that needs doing that I took the day off for... more about that later in the week.  Hopefully.  

I didn't tell you about the last meeting of the East Midland's Modern Quilt Guild.  The lovely Moira booked us a church hall in a location halfway between my house and my work.  I set off on the Saturday morning, all smug as I couldn't get lost this week as I usually do.  Then I found myself nearly at work.  I had to turn around and drive back!  I was late anyway as I was waiting for a man to come and fix our dishwasher following the letter we got telling us our dishwasher is likely to blow up and burn the house down.  Great, thanks for that Hotpoint.  When I arrived the other ladies were steaming through their projects.  

Some of us were making Noodlehead's Divided basket.  Moira had suggested the pattern and as I'd been umming and ahhing about buying it anyway, I went for it.  You can buy the pattern here.

Now, I had a little problem.  Looking through my supplies prior to going to the meeting, I didn't seem to have enough fusible fleece.  I grabbed some interfacing, thinking that would do.


It didn't!  How hilarious is that floppy mess??  I chose not to sew the lining inside the outer, but to try and do something with it when I got home.  Strangely for me, I set to the very next day.


Turns out I did have enough fusible fleece, it was just in 4 pieces, but that's not really a problem as it was fused in place, then sewn.  The fleece still wasn't really thick enough.  I think for future baskets I'd want a very firm interfacing and maybe some thicker fleece too.


The outer is some of the Femme FQs I won a while ago, they're linen-cotton mix which I thought would give it more body (clearly not).  The lining is some stripy fabric, I'm pretty sure someone designed it and manufactured it, but I don't know who.


Sewing in the divider was tricky and I struggled with it, but the rest was a breeze... until it came to sewing the lining to the outer.  The lining was a bit too small.  I'm not sure if it was the fault of my crap sewing or my crap cutting!  I fudged it eventually and don't have any huge puckers or tucks.  


It's currently living in the bathroom holding cleaning supplies and the centres of toilet rolls (I give them to the bunnies who love them), but it mocks me every time I go to the loo, so I might have to make another and relegate this one to my craft room where there are dozens of uses for it.


Oh, forgot to mention my handles.  Yeah, they definitely need some interfacing!


The pocket is lined with the lining fabric.


I think I took this photo to show you the hideous pucker in one of the corners that I didn't notice until it was all sewn up.  But maybe my camera just went off, it doesn't look like the kind of photo you'd deliberately take... 

Coming up this week, something completely knew and a some tiny little crochet items.  Maybe the afore-mentioned project that I've taken today off for too. 

Saturday, 25 May 2013

more fab mail and a bad case of stitch ripping...

I have a stalker.  I've had her for a while and I'm alright with it.  I don't think she's dangerous, though I might be wrong.  Her name is Samantha.  Not only does she stalk me, she sends me parcels.  Unfortunately, my local post office sees fit to hold these parcels to ransom, and then to open them for me!


Yep, thanks postie.  So, Samantha, memory game time... what, if anything, is missing:


And yes, I did notice the Kit Kat Chunky's were open - he definitely stole one of those... *

I started a new project last week - remember I showed you the tape measure ribbon that wasn't quite long enough for the project and you all thought I was complaining that my tape measure wasn't long enough??  Same project, different issue.


Damn you stupid puckers.  And damn you stupid backing that doesn't attach itself properly.


I had a proper hissy fit and threw it across the room... it might stay on the floor in the corner.


*disclaimer.  It might have been me that "stole" the Kit Kat Chunky.


Wednesday, 24 April 2013

laundry bag and travel jewellery organiser

I'm going to Turkey next week.  Nope, I'm not off on a jolly, it's work.  I know everyone thinks that travelling with work is a massive bonus, but it actually involves daytimes in a factory, working, evenings in a hotel room, working, so not so glamorous!

I was supposed to attend the East Midlands Modern Quilt Guild meetup last weekend to work on a Weekender bag.  I didn't go.  I'd ordered some interfacing from Jaycotts and it hadn't arrived, it hadn't even shipped.  You can be sure I won't be using that shop again.

Aside from the Weekender (which I actually want as carry-on luggage to hold my laptop, book, crochet, etc etc), there were a few other things I need, so I got to work.


Bag for dirty undies.  Just a very simple drawstring bag with ribbon closure that I can sling in the washing machine with the aforementioned dirty undies.


I've had this washing line fabric for ages, no idea where I got it from though I think it's Japanese.  I lined it with a green print.  I have no idea where that came from either!


Next up I wanted to make a jewellery roll.  I have about a million patterns bookmarked, and there is one in pretty much every sewing book I own, but they ALL focus on rings and (bleurghhh) earrings.  I only wear my engagement and wedding ring, and wear them all the time so don't need somewhere to store them, and I certainly don't put bits of metal through...

... sorry, had to go and puke.  I won't finish that sentence, my stomach can't take it.  In the end I bastardised a pattern from 100 Pretty Little Projects.


I used some Daisy Cottage and half followed the pattern, half did it my way.  The pattern called for binding, but I couldn't be bothered, so did the stitch-right-sides-together-and-turn method.  Hmmm, doesn't work so well with zips.  I unpicked, fine, I'll bind.  Reading the instructions again, it's not actually binding, so I was back to winging it!


Hmmm.  Doesn't close.  Seam ripper, where are you?

I'm still binding this, it's been a nightmare, I'll show you when it's finally done!

Tuesday, 26 March 2013

A very boring post

That's not to say all my posts aren't boring, but even the subject of this one is dull...


Do you know what it is yet?  It's a very funny shape, though I blame the gingham for that.  


Are you all managing to contain your excitement at these thrilling photos of a chair cushion?  Come on, own up, who just peed themselves?  Mum asked me to make some covers for the new chairs she'd bought.  They came with a wipe clean cover in a dirty white colour.  This was ages ago and I finally got round to it.  Let me tell you, making these (I've made 2 seat cushions so far, I've still got another 2 to make, then 4 for the cushions that go at the back) was a bloody nightmare.


See that?  See how I've sewn both ends of those tabs?  They're supposed to look like this:


Those tabs will have velcro on and will wrap round the frame to hold the cushion on.  So why don't they have velcro on?  The kind I had was self-adhesive.  I stuck it in place and tried to sew it.  Two needles later I discovered you CAN'T sew self-adhesive velcro.  So I left it, I mean, it's self-adhesive.  That means it will not stick to the tabs, but will stick to the floor, my leg or anywhere else it might fall off... I now have 16 velcro tabs to hand sew in place, when I've peeled them off the coffee table...


See that zip?  That's the back of the cover and is to put the cushion (which is pretty rigid) in place.  Do you have any idea how many times I sewed that seam?  Firstly I made a long covered zipper panel - the zip is 20", the panel was 23".  I sewed it in place and added the top, I had a complete cover.  The pad is 20" x 23".  Yes, that's right, I'd put the zip on the wrong side and I couldn't get the cushion in.  Unpick, recut, resew, stuff cushion in, seam splits open.  Resew seam, sewing over it 3 times.  Stuff cushion, seam splits... expletives.  

You have no idea how glad I am this damn thing is done.  You also have no idea how much I'm dreading the other 6...


Tuesday, 15 January 2013

smelly drawers

Morning ladies, we had snow yesterday!  I always get excited about snow.  I lived in Poland for 2 years, during that time the country had the worst winter in 100 (or something) years and it snowed everyday for 4 months. I got excited every single day.  English snow is nothing like that, but it was good whilst it lasted!

Saturday caught me sewing again.  This time I broke out WIP #48 which is one of the ones that isn't a WIP, it's a set of hankies.  My great aunt bought these for me about 10 years ago.  I've never used a hanky, I find them a little bit gross, you know, the idea of carrying snot around in your pocket, then putting it in the washing machine with your knickers...


But, they were a gift and too pretty to throw away and so they sat in a procession of drawers for many years.  No longer!  I knew I wanted to make lavender sachets, for me for a change, so lavender sachets I made.


I started by cutting one out in a circle, sewing it to a plain backing and adding a white cotton trim.  I backed it with a patterned fabric (below).


A pink one was cut in a square, doubled as the fabric is so think, and a pink lace border rather unsuccessfully added!  The back is plain white.
 

The blue one was given the same treatment, but smaller and centred and using this lovely blue trim I found in a box. 


On a quick side note... rummaging for the blue trim lead to a 2 hour sort out of all my ribbons and trims.  Trims were wound onto cards and pinned, ribbons were put in big jars according to colour.  Longer lengths of ribbon were wound onto empty ribbon bobbins (which I keep for some reason), and then sewing spools when the bobbins ran out.  It was a time consuming detour.


I wanted to experiment whilst making these sachets as it didn't matter if they didn't look great as they are just for me, so I decided to try some patchwork.  This block is from 200 Quilt Blocks.  This is number 182, plain block.  The pink one was successful.


So was the blue.  The yellow one was not.


I don't even know how I managed to do that??  I mean, how does that happen??


The two successful blocks were backed and stuffed with lavender.  The yellow block is now living in the bin.  He's very happy there he tells me.

Both are backed with plain cotton.  I would show you a photo but Photobucket says no.  They've revamped it and it's dreadful.  It's always been slow, now I have to go into each and every photo to get the link whereas before I could do it from the index page.  Now it's died completely.

There were 12 hankies in the pack, 5 are now sewn, 1 is in the bin, so that leaves 6...  I sewed again on Sunday... I'll show you the results soon.


Tuesday, 6 November 2012

UR Priceless blog hop


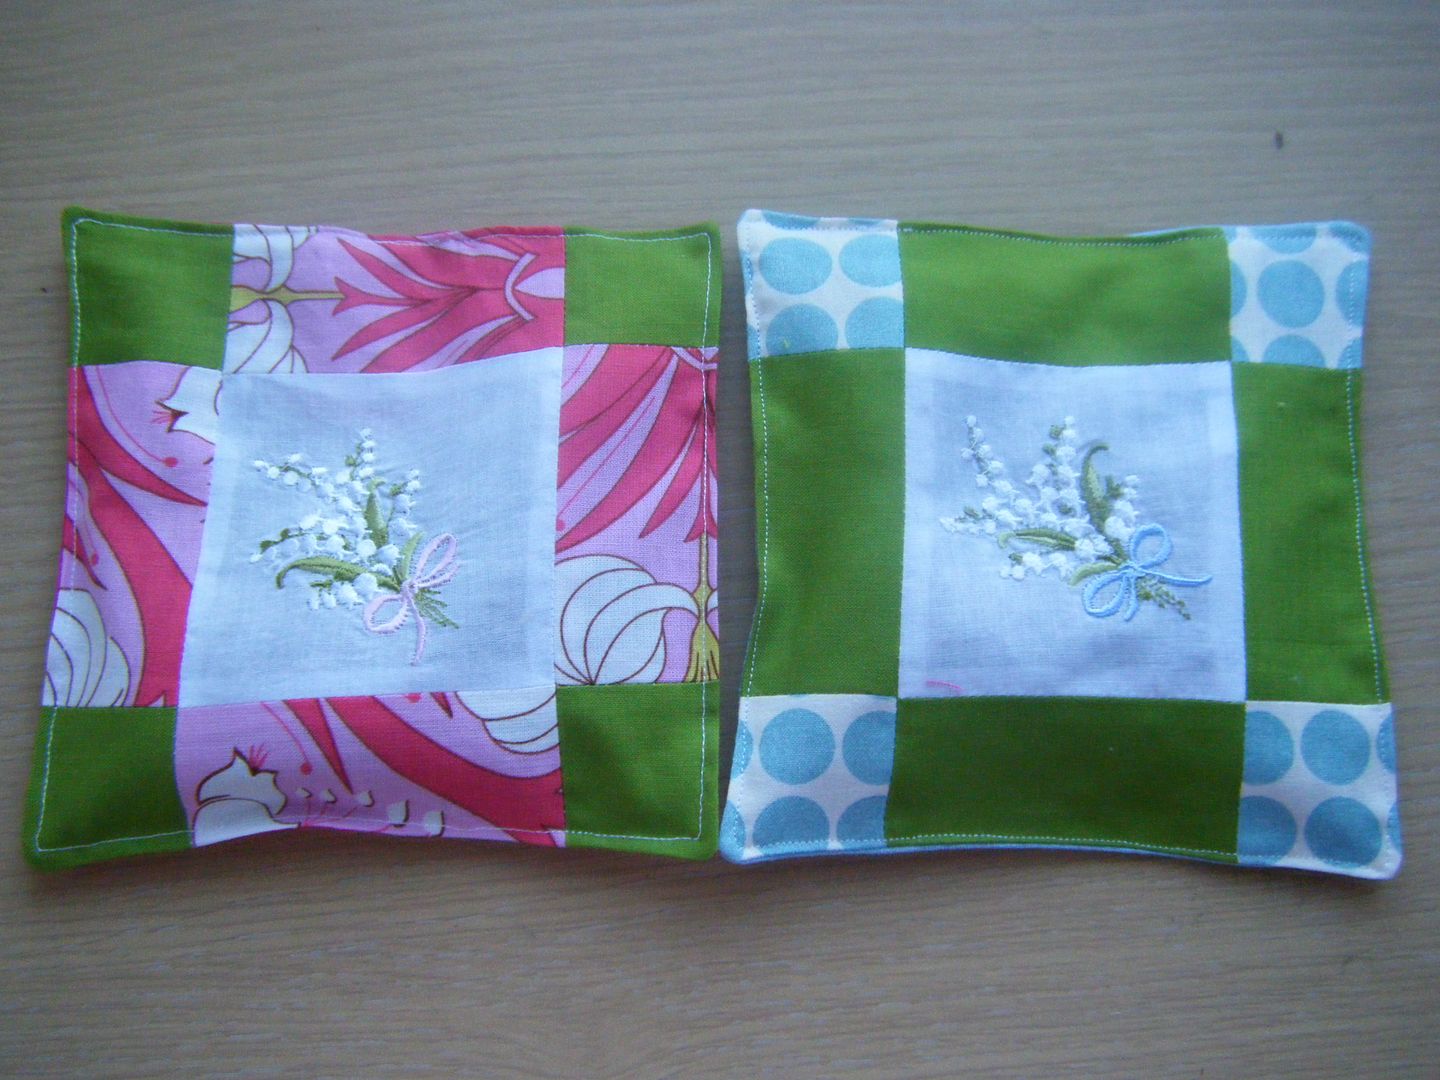
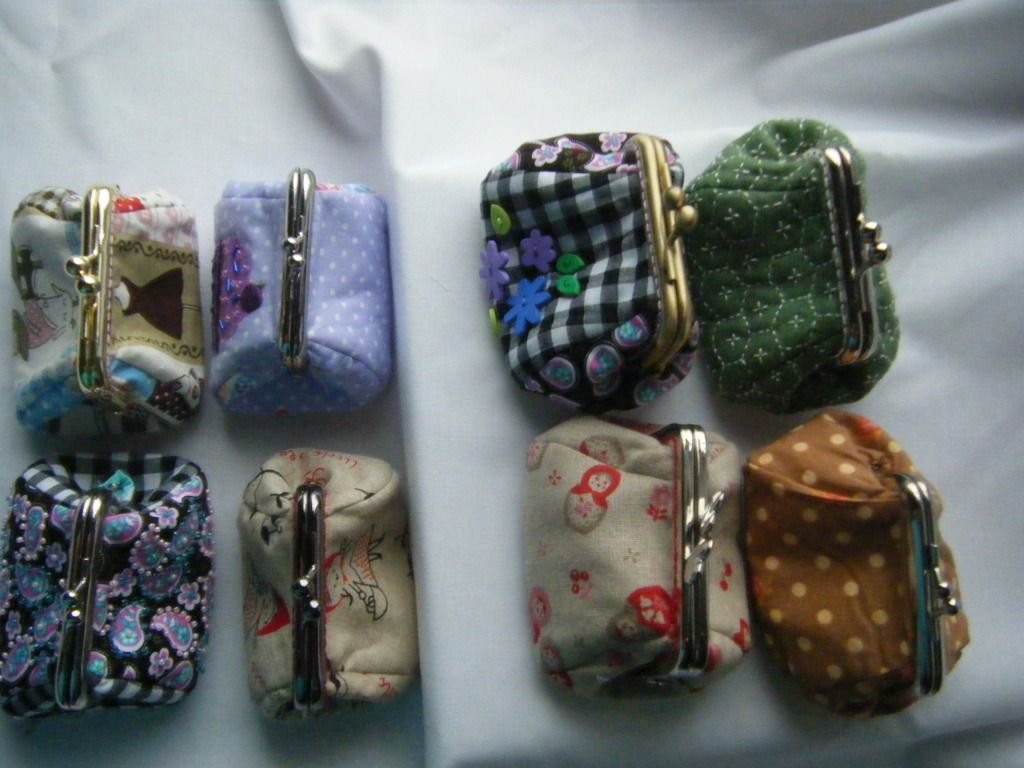
Today is my day on the UR Priceless blog hop, hosted by the lovely Katherine.  We were to make a coin purse using a pattern provided by Madame Samm.  I was right up to the wire on this one.  The pattern pieces were cut out a long time ago, most of the sewing had been done, but I still had to attach the frame.  I managed it though and made not 5 purses, not 8, but 8 and a half.  Oh yes.


The first 5 are made with sew-on frames, as instructed as part of the hop rules.  I couldn't find a single 3" sew-in frame in Britain, not one.  I ended up getting mine from Hong Kong, a pack of 5 mixed coloured frames with ball clasps, and one silver one with heart clasps.


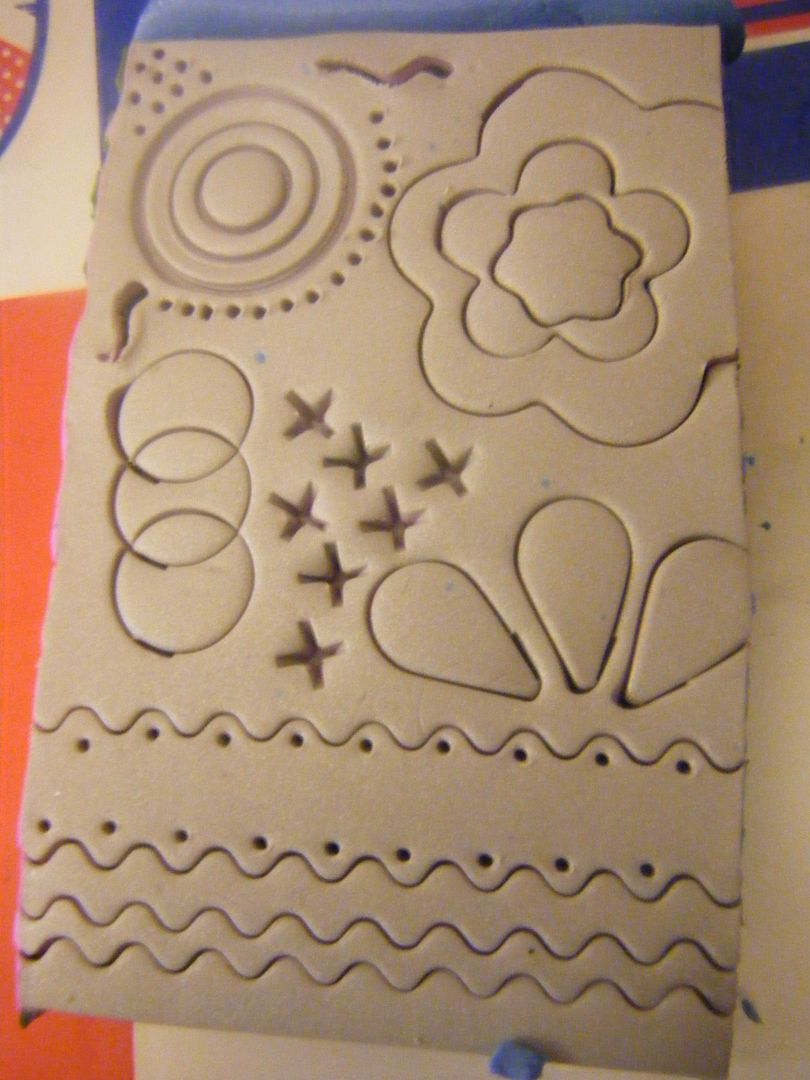
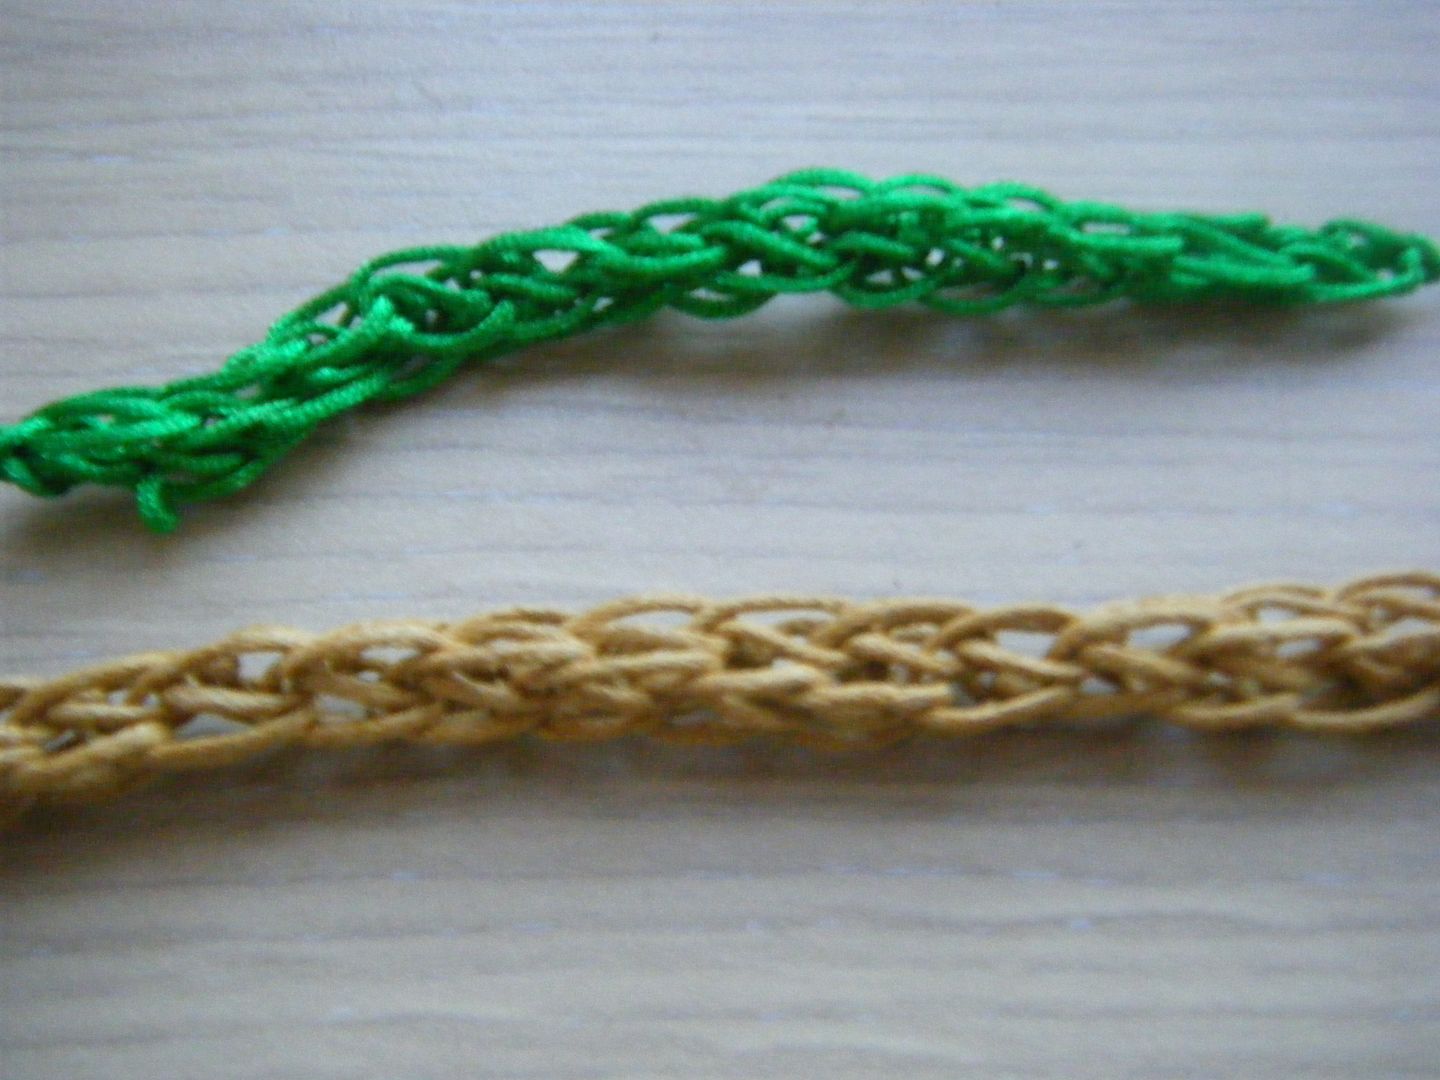
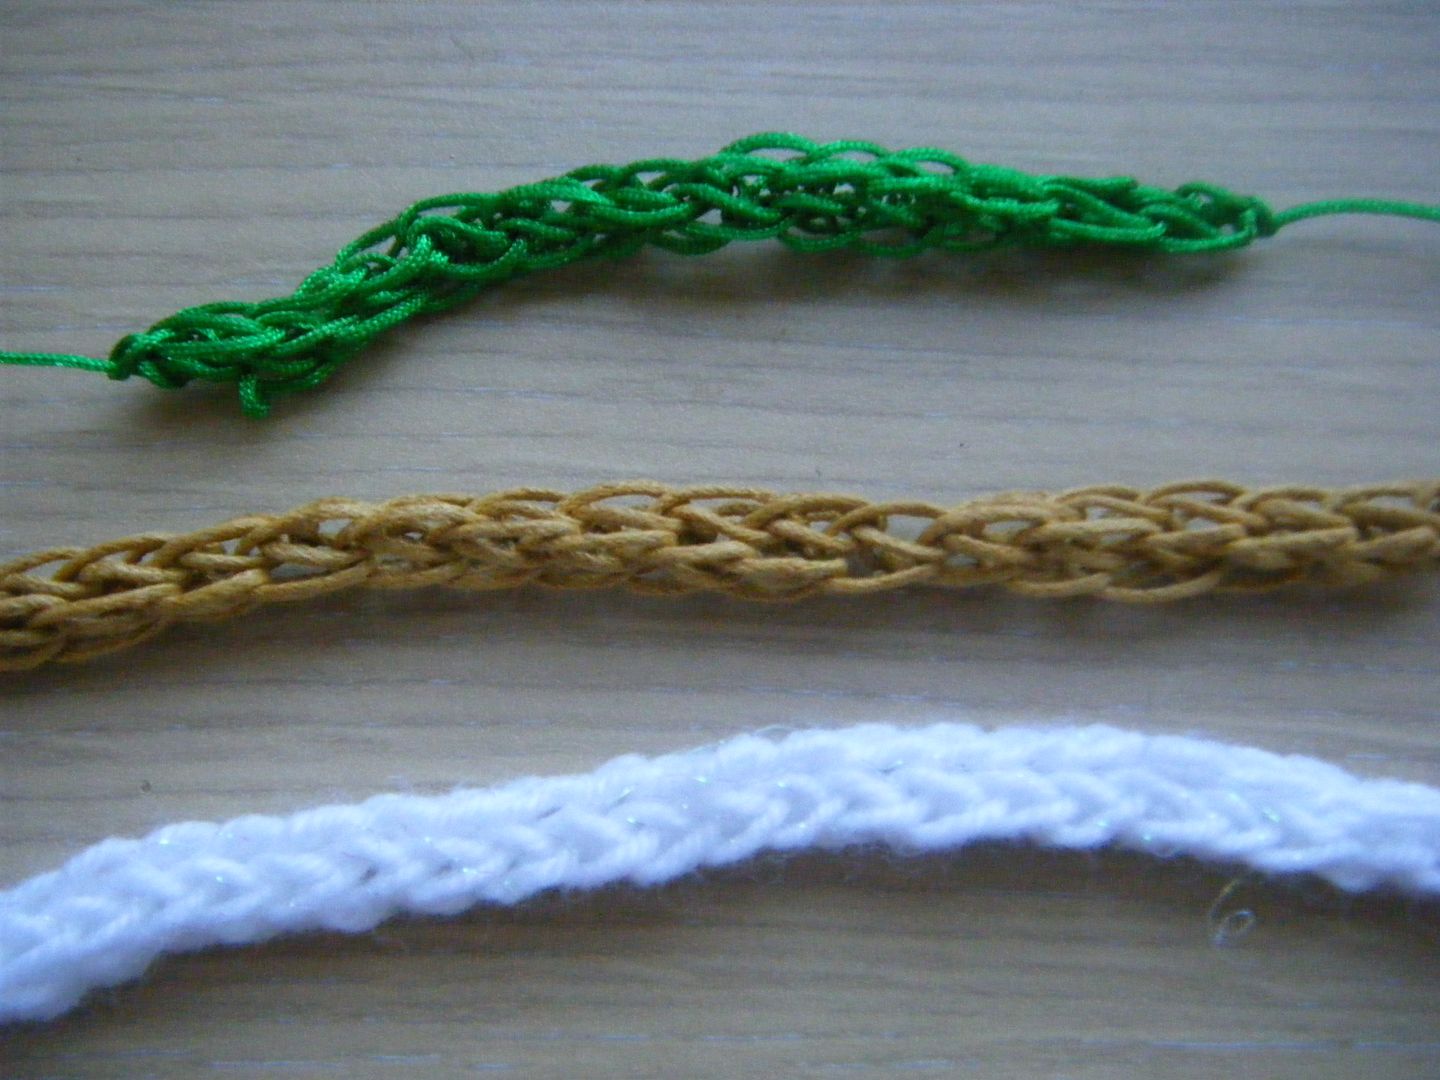
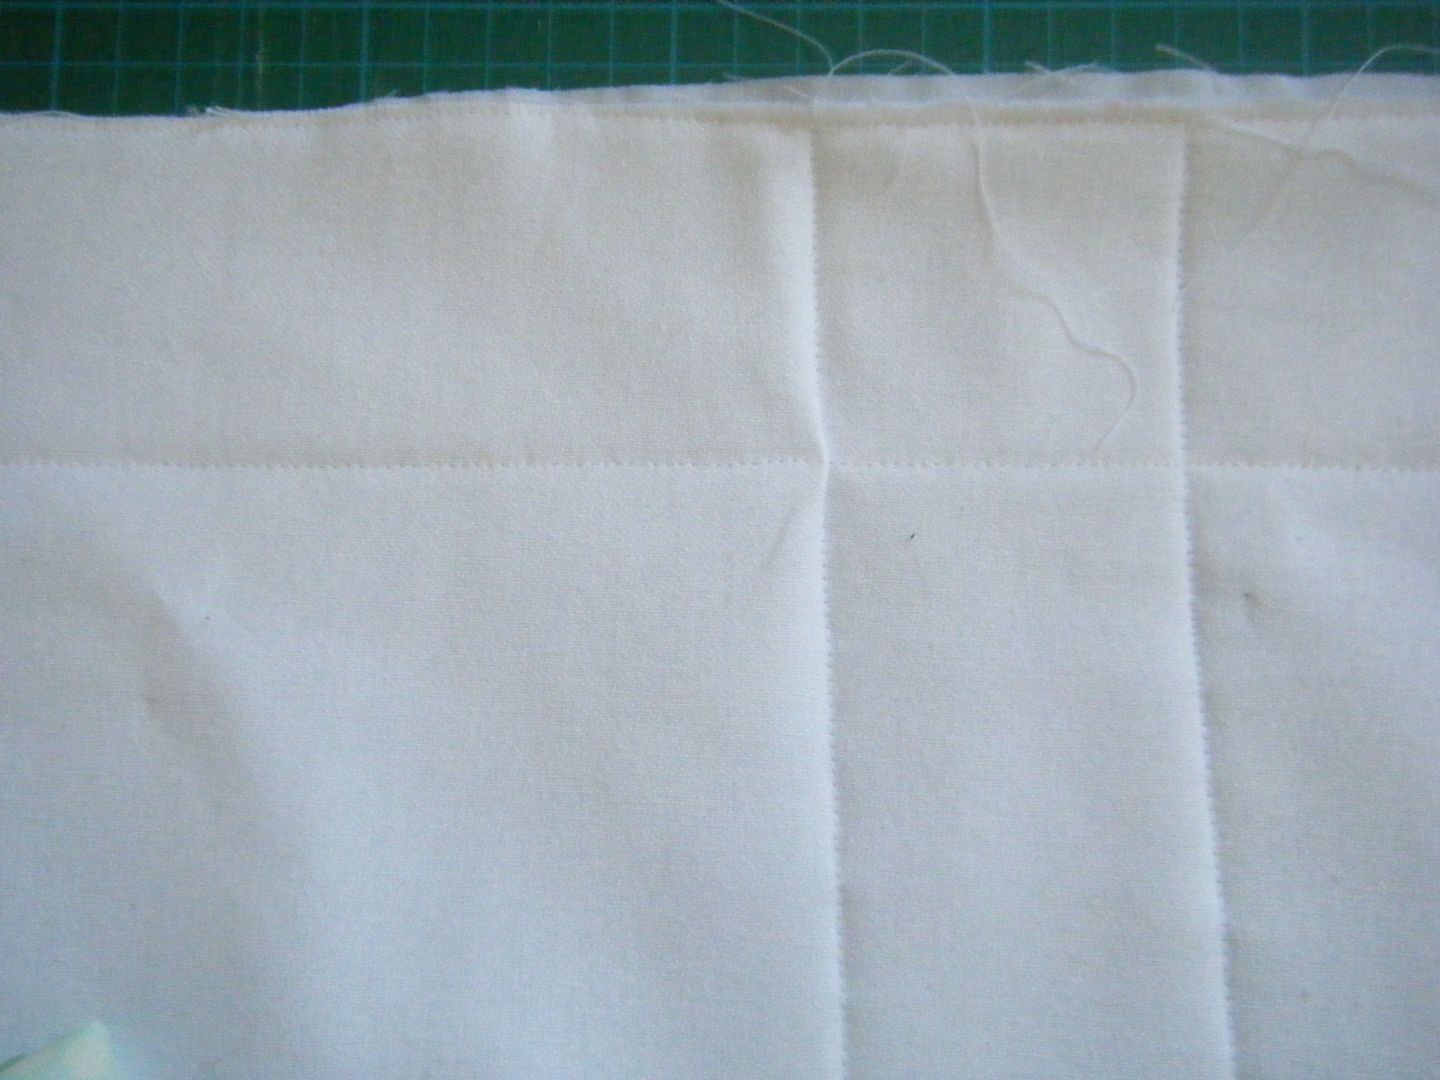
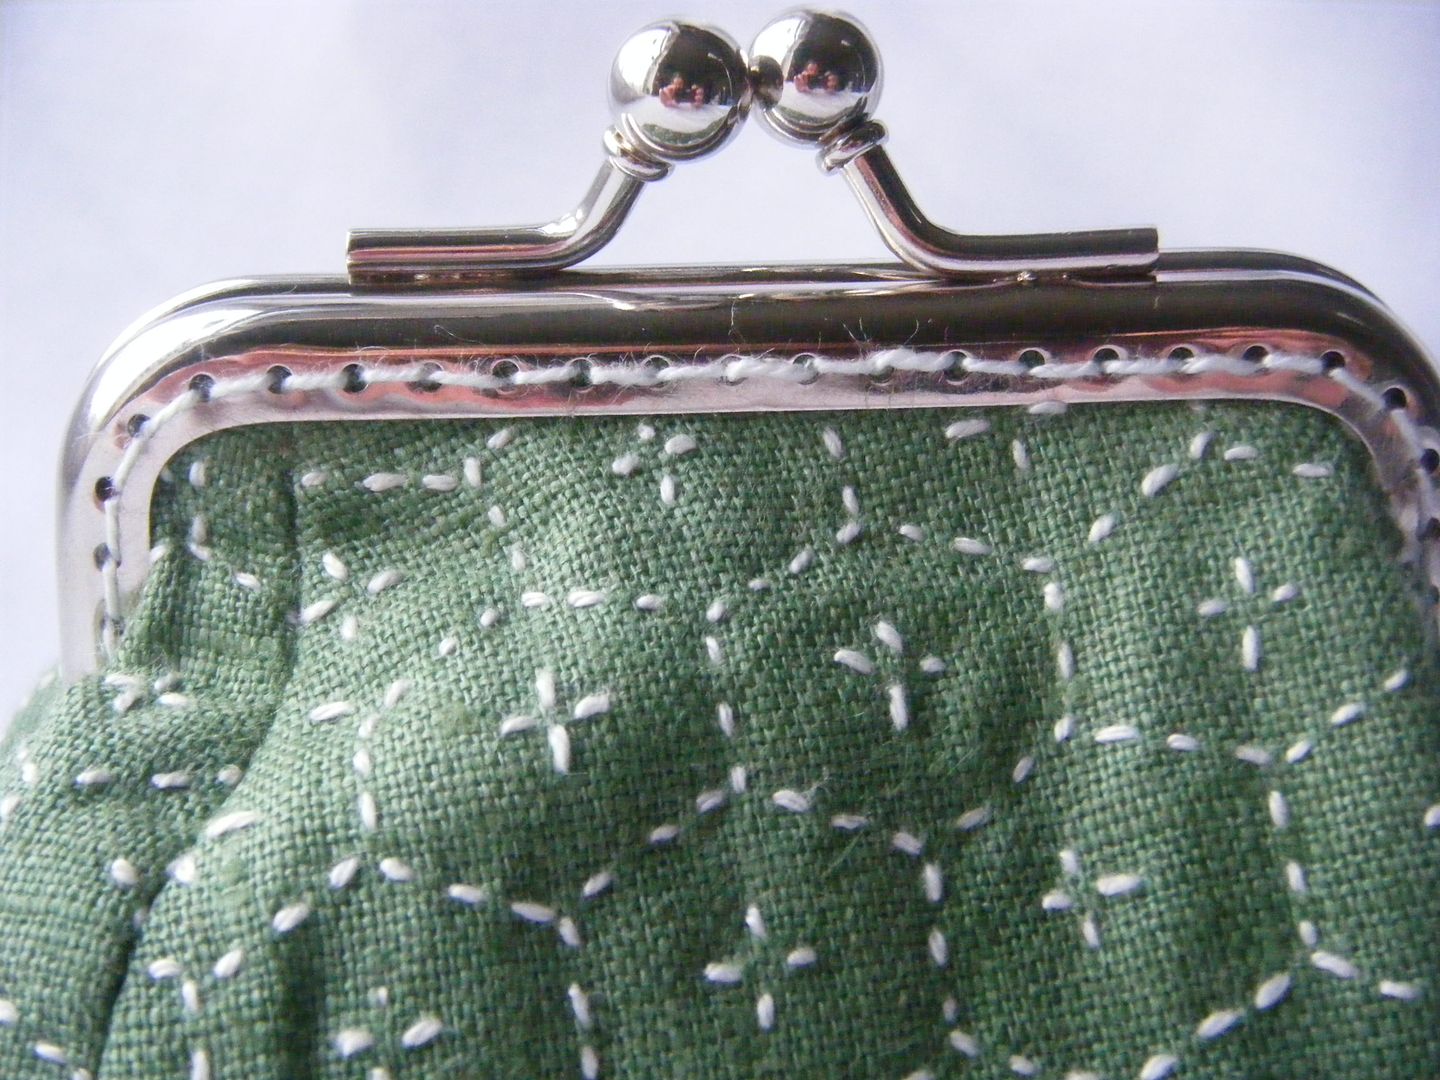
Do you remember this?  I showed you the sashiko a week or so ago. Well here it is all sewn up!  I sashiko'd in white perle cotton on green linen and used the same perle cotton to add the frame.


My stitching isn't perhaps the best, but it works.  The corners were a NIGHTMARE to get in place.  No amount of prodding and poking could get them to stay!


This one is lined with a white cotton fabric with flowers on it.  Taking pictures of the inside of the purses was incredibly difficult!


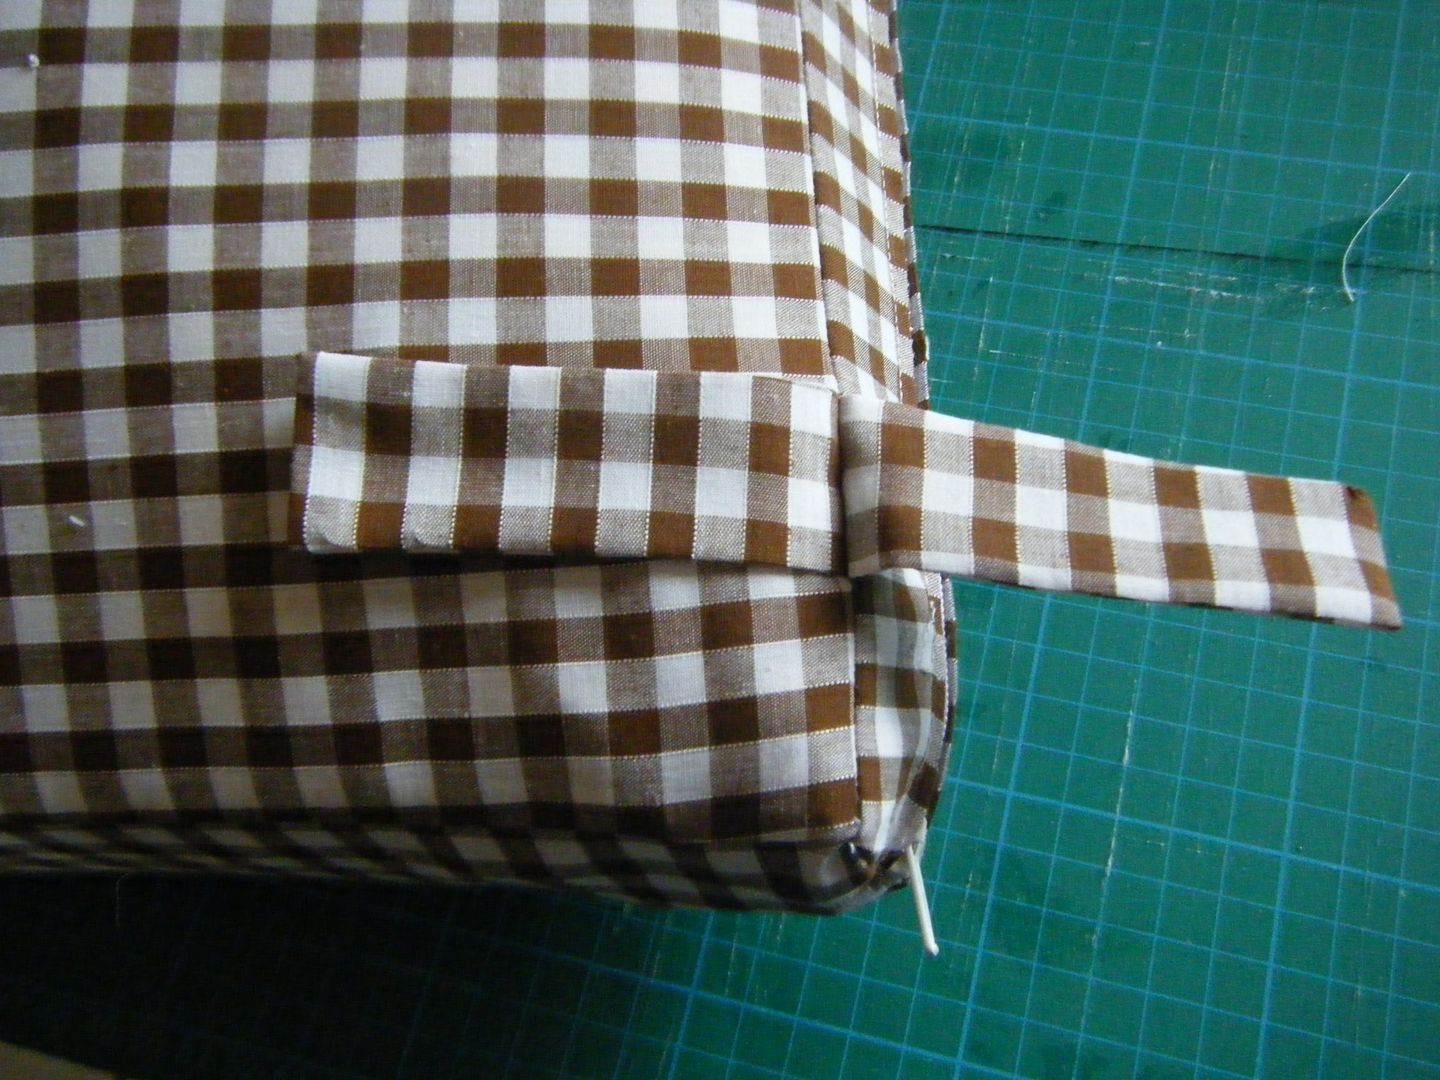
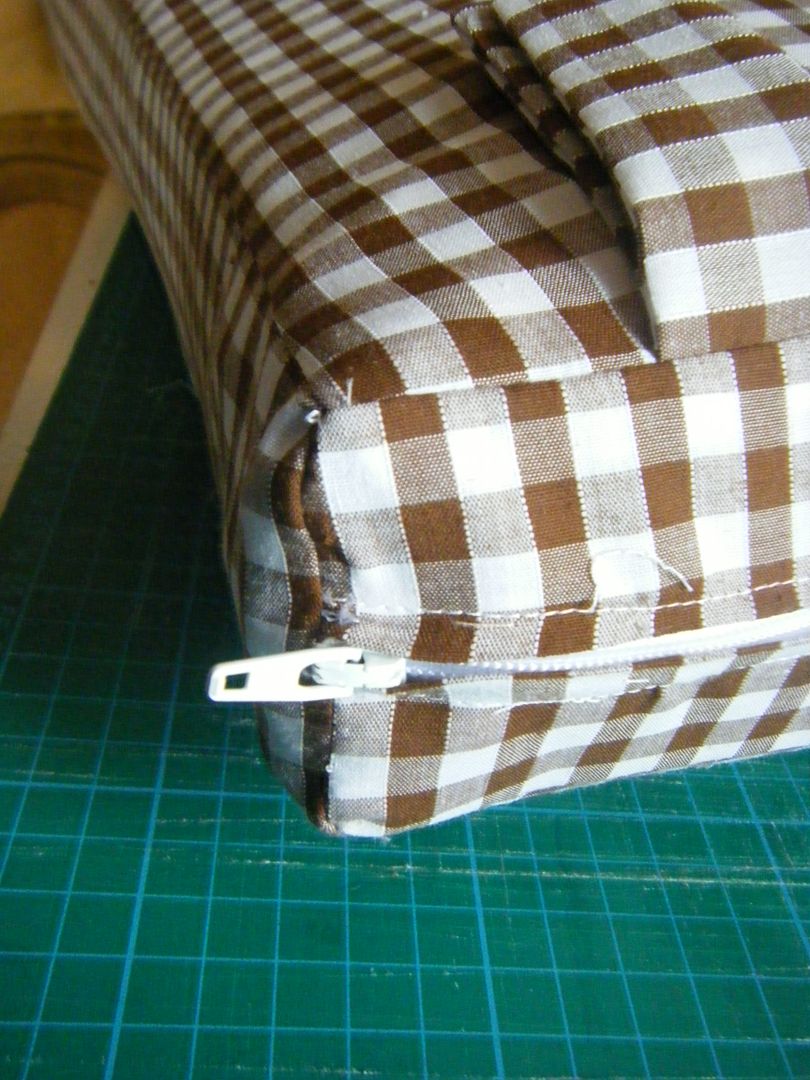
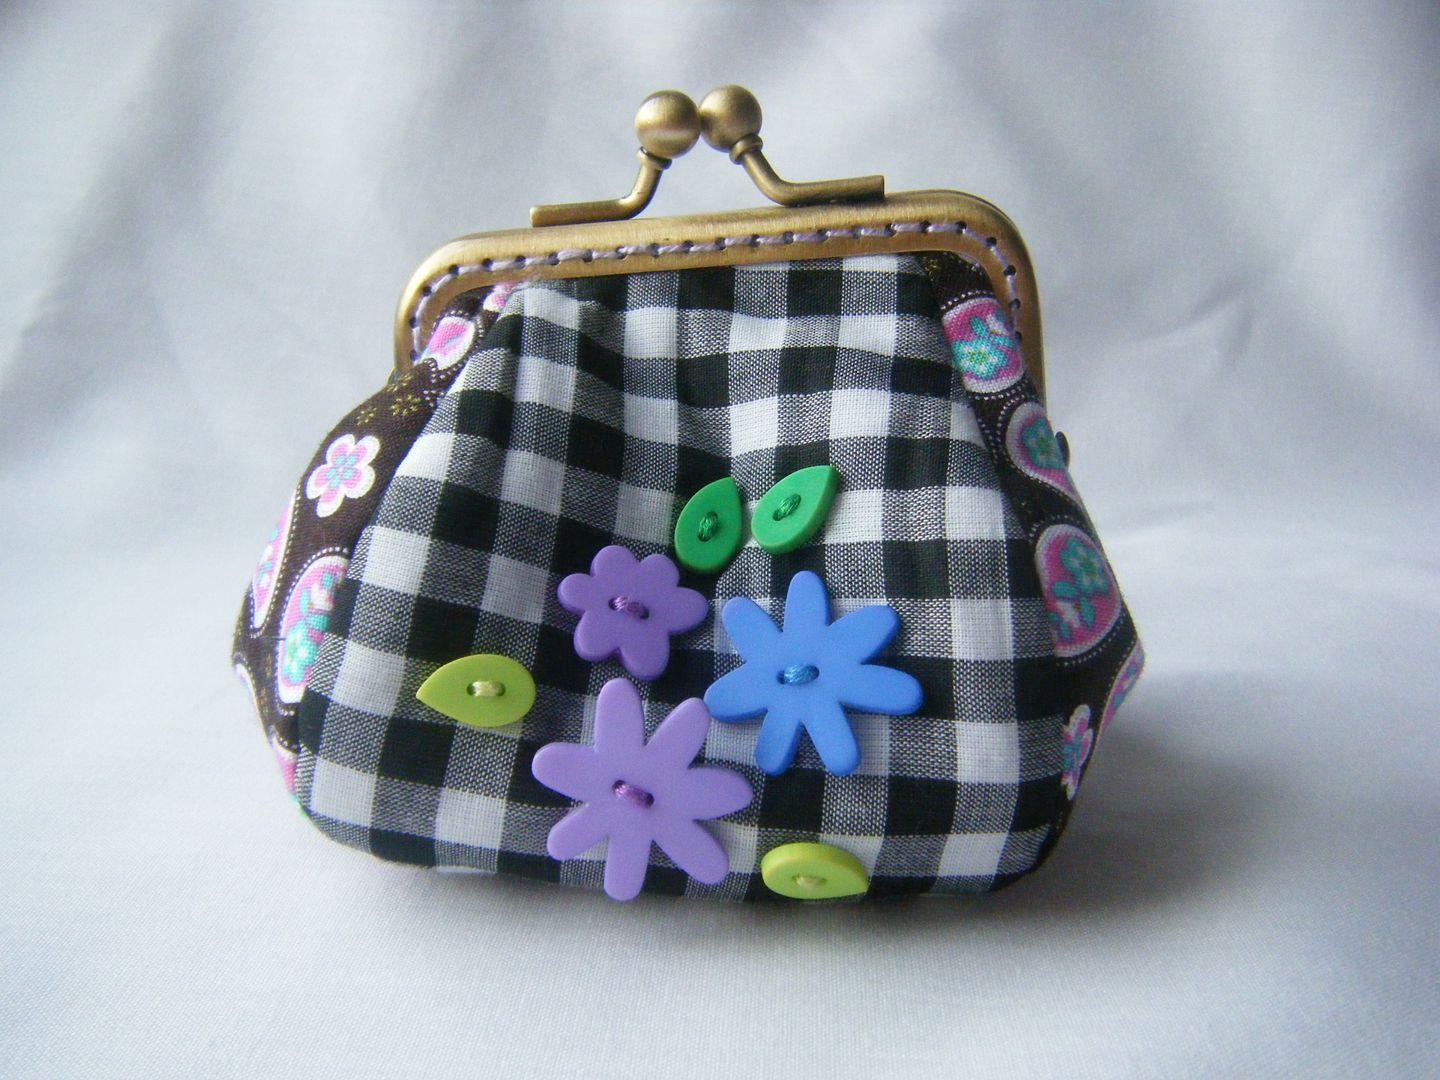
Number two came about when I decided to mix and match the pieces cut out for the beaded purse (we haven't got to that one yet!).  I used the two side panels and added the check to the front and back.  I thought it might be a good idea to add some buttons.  This one isn't actually as wonky as it looks, it's jus the way it was sitting.


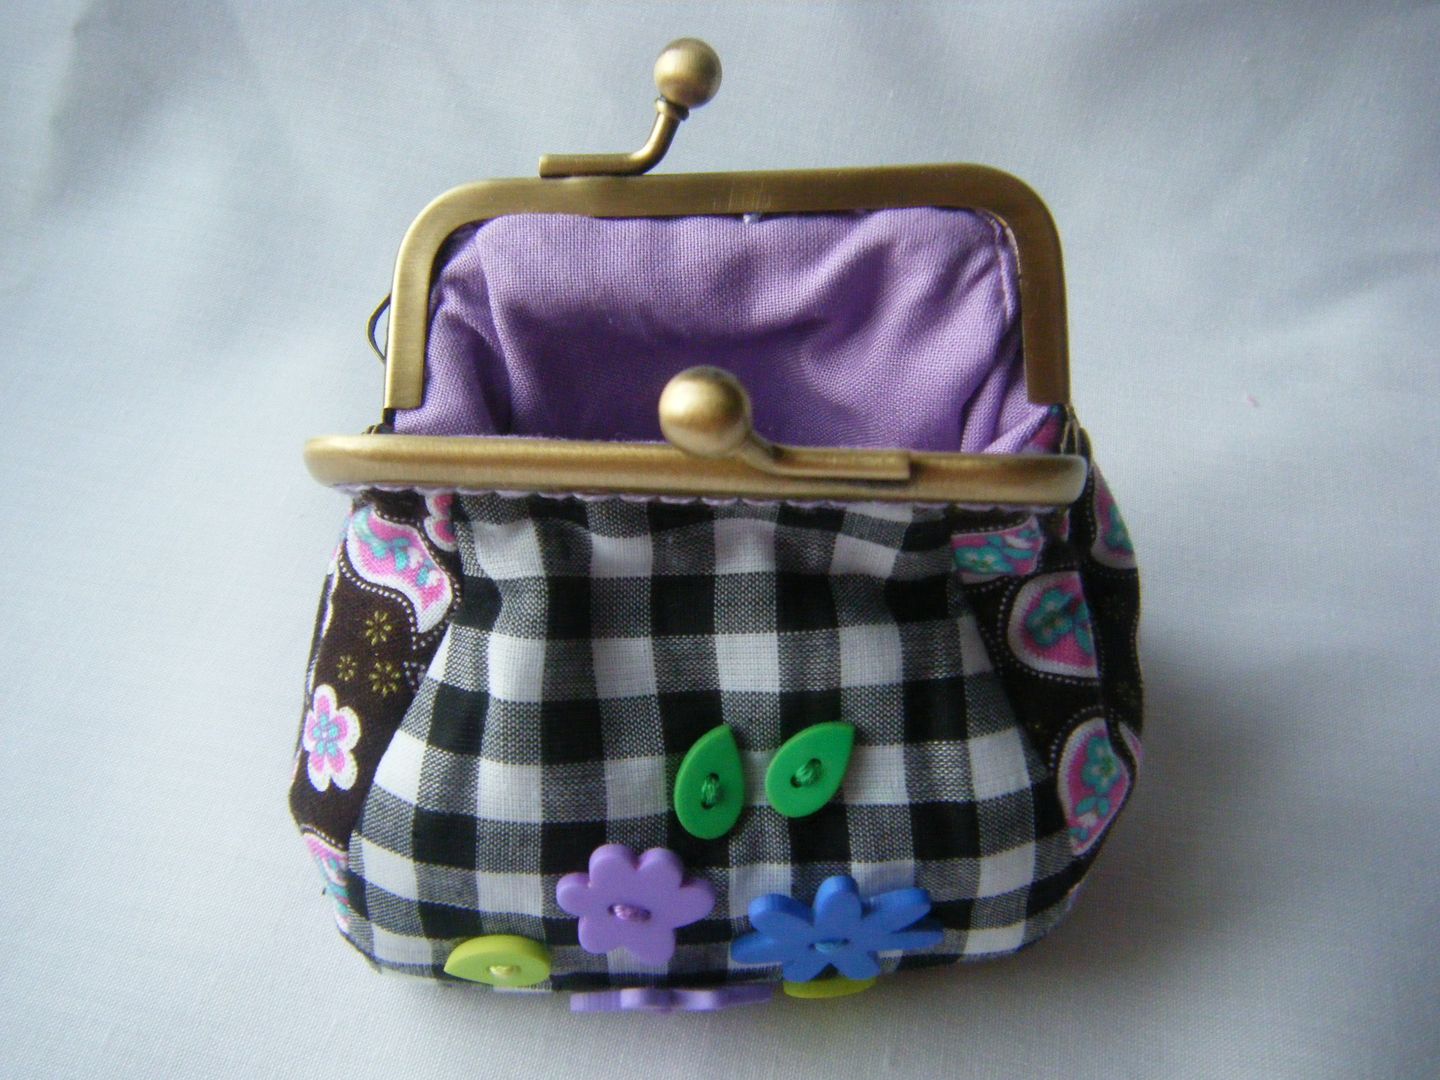
Lined with purple cotton that looks a bit like satin in these photos.


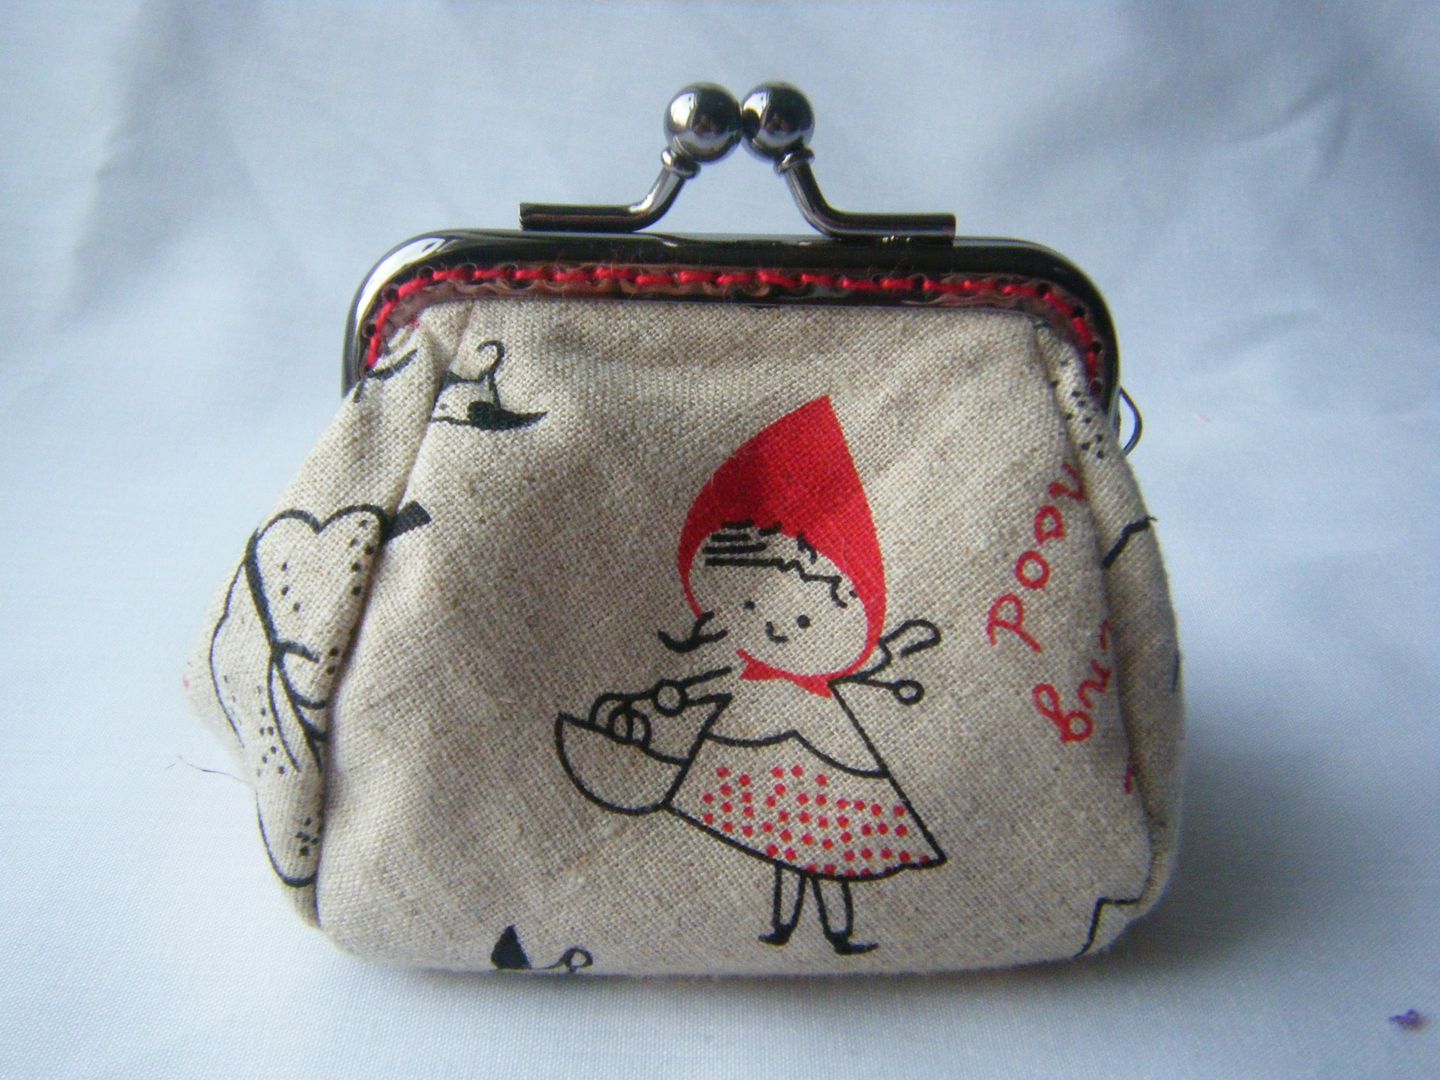
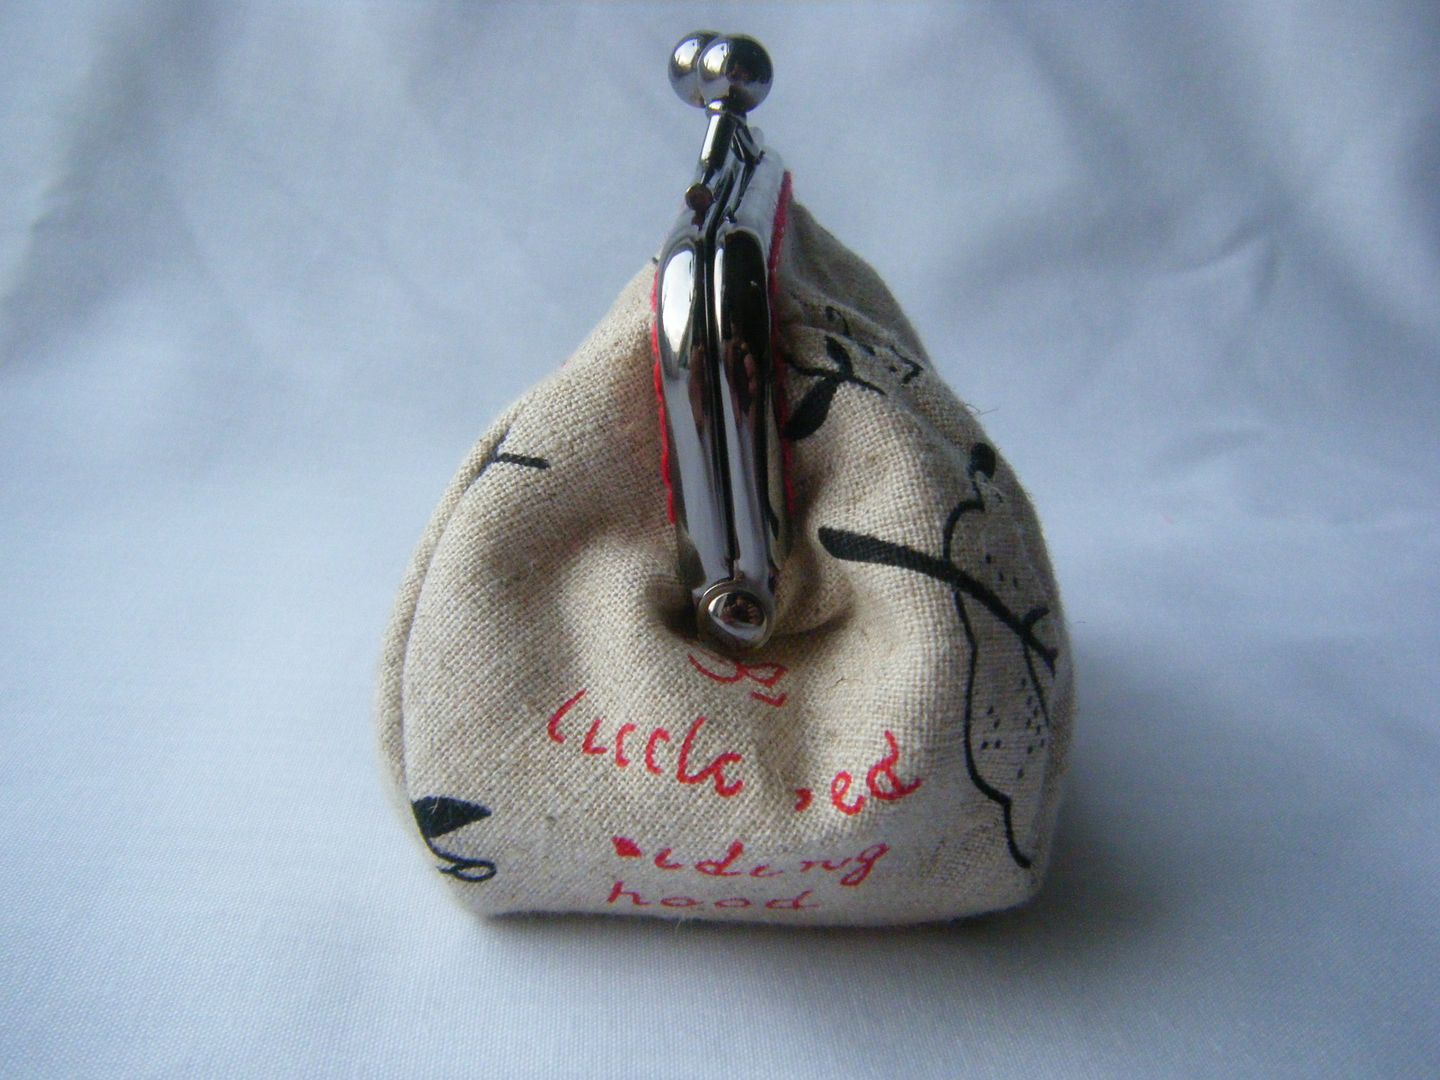
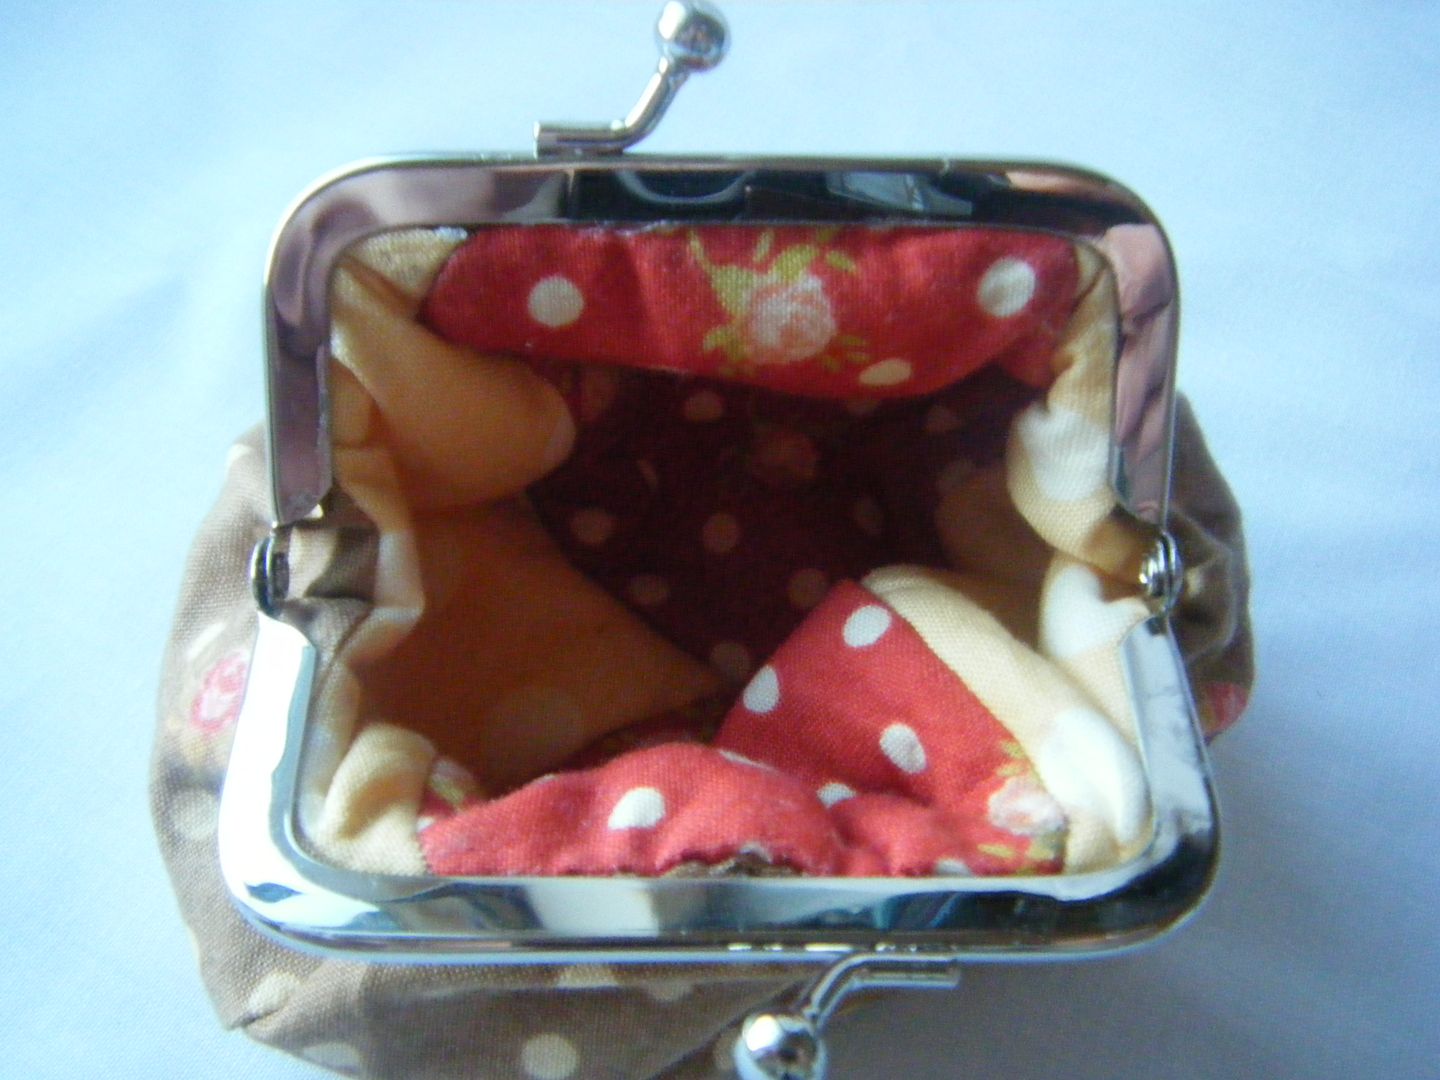
Number three is a fussy cut version.  I wanted to use this Little Red Riding Hood linen I'd been hoarding for a long time.  The front and back feature Little Red...


And the side has her name. All topped off with a silver frame attached with the most frustrating red perle cotton known to man.  Most of my perles are a brand called Rubi, they were fine.  This one was an emergency purchase from Hobbycraft and is Anchor.  I hate that damn stuff.  It snapped about 4 times during the sewing of this frame so I had to keep starting again.


I used the Sugar and Spice red fabric that I won in a recent giveaway as a lining.


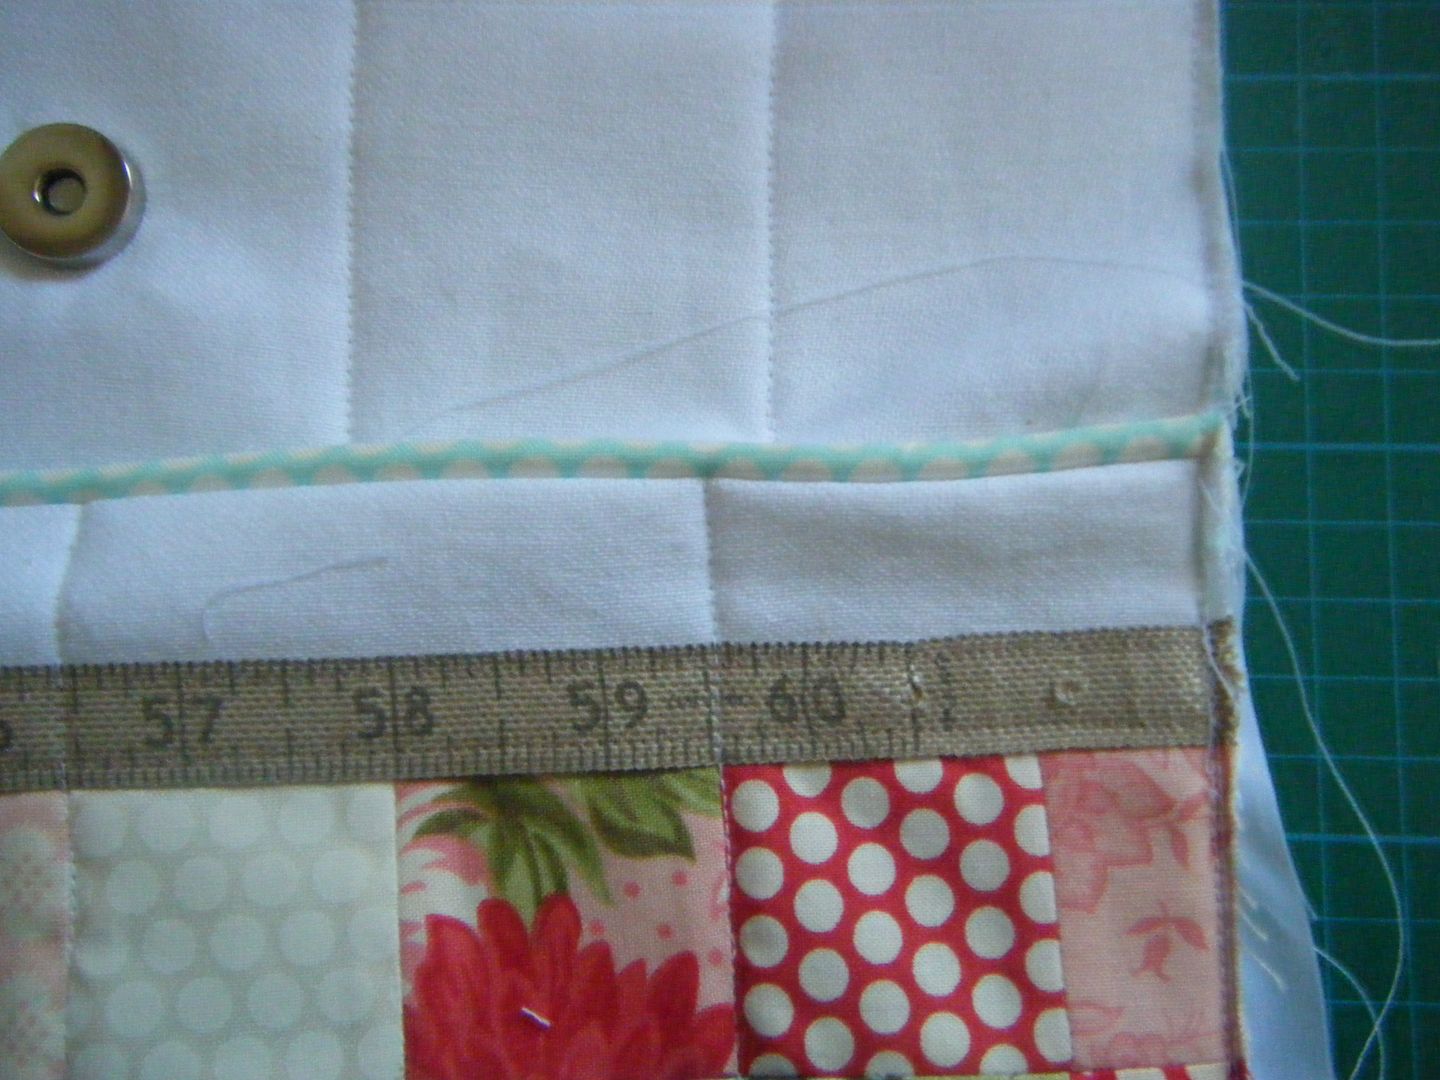
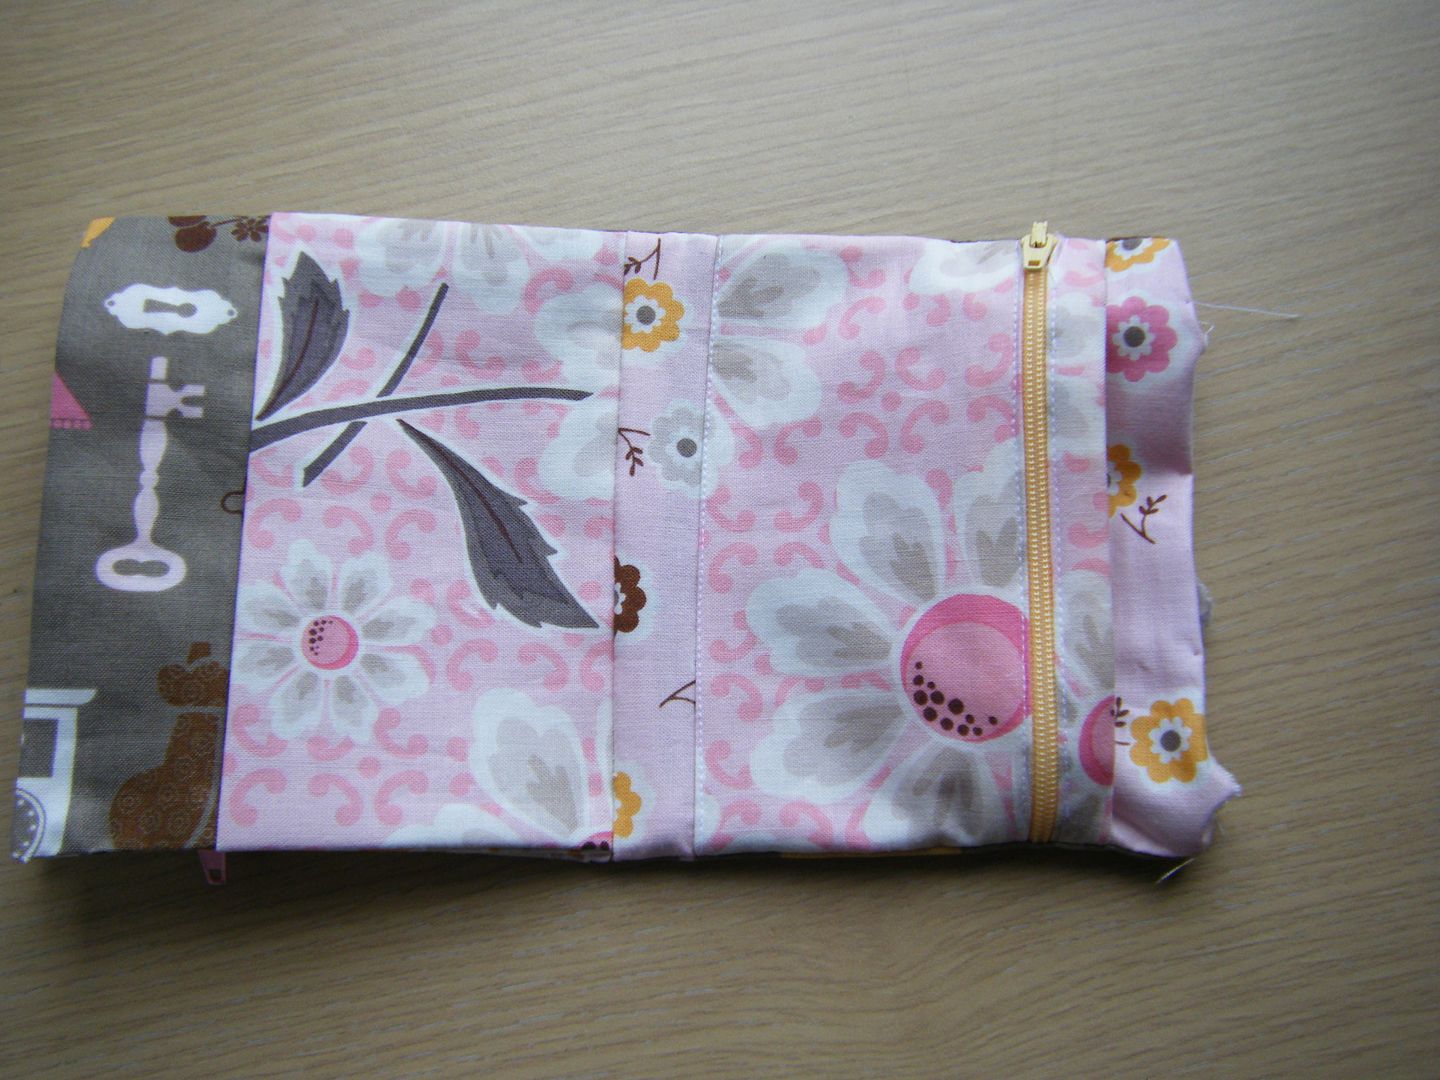
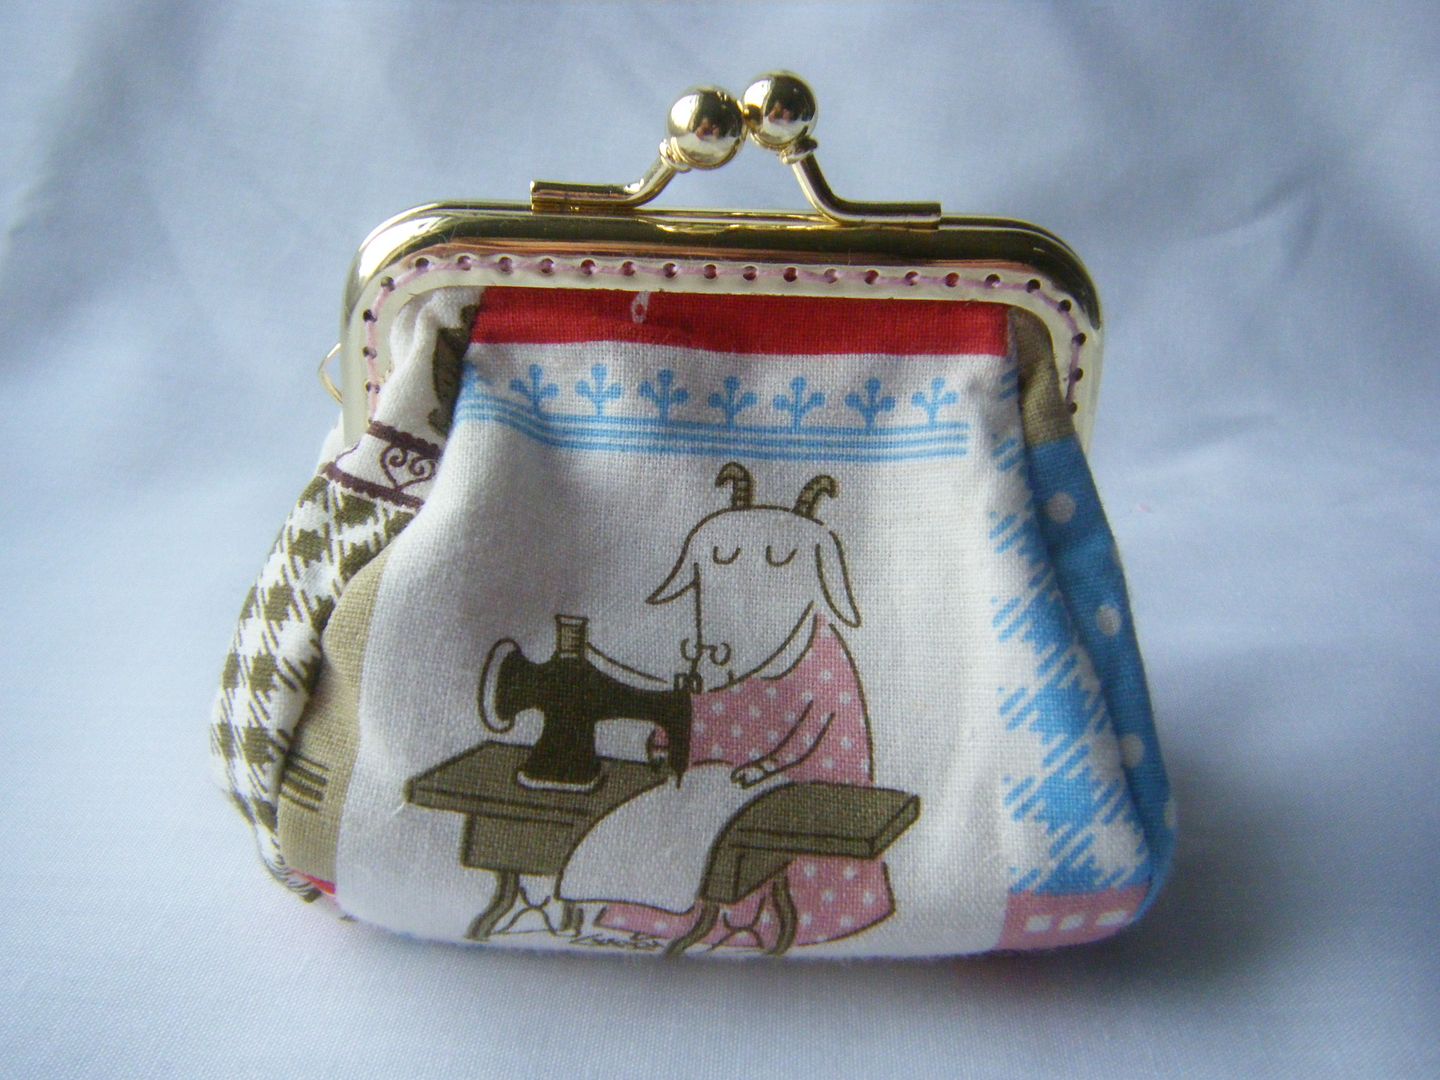
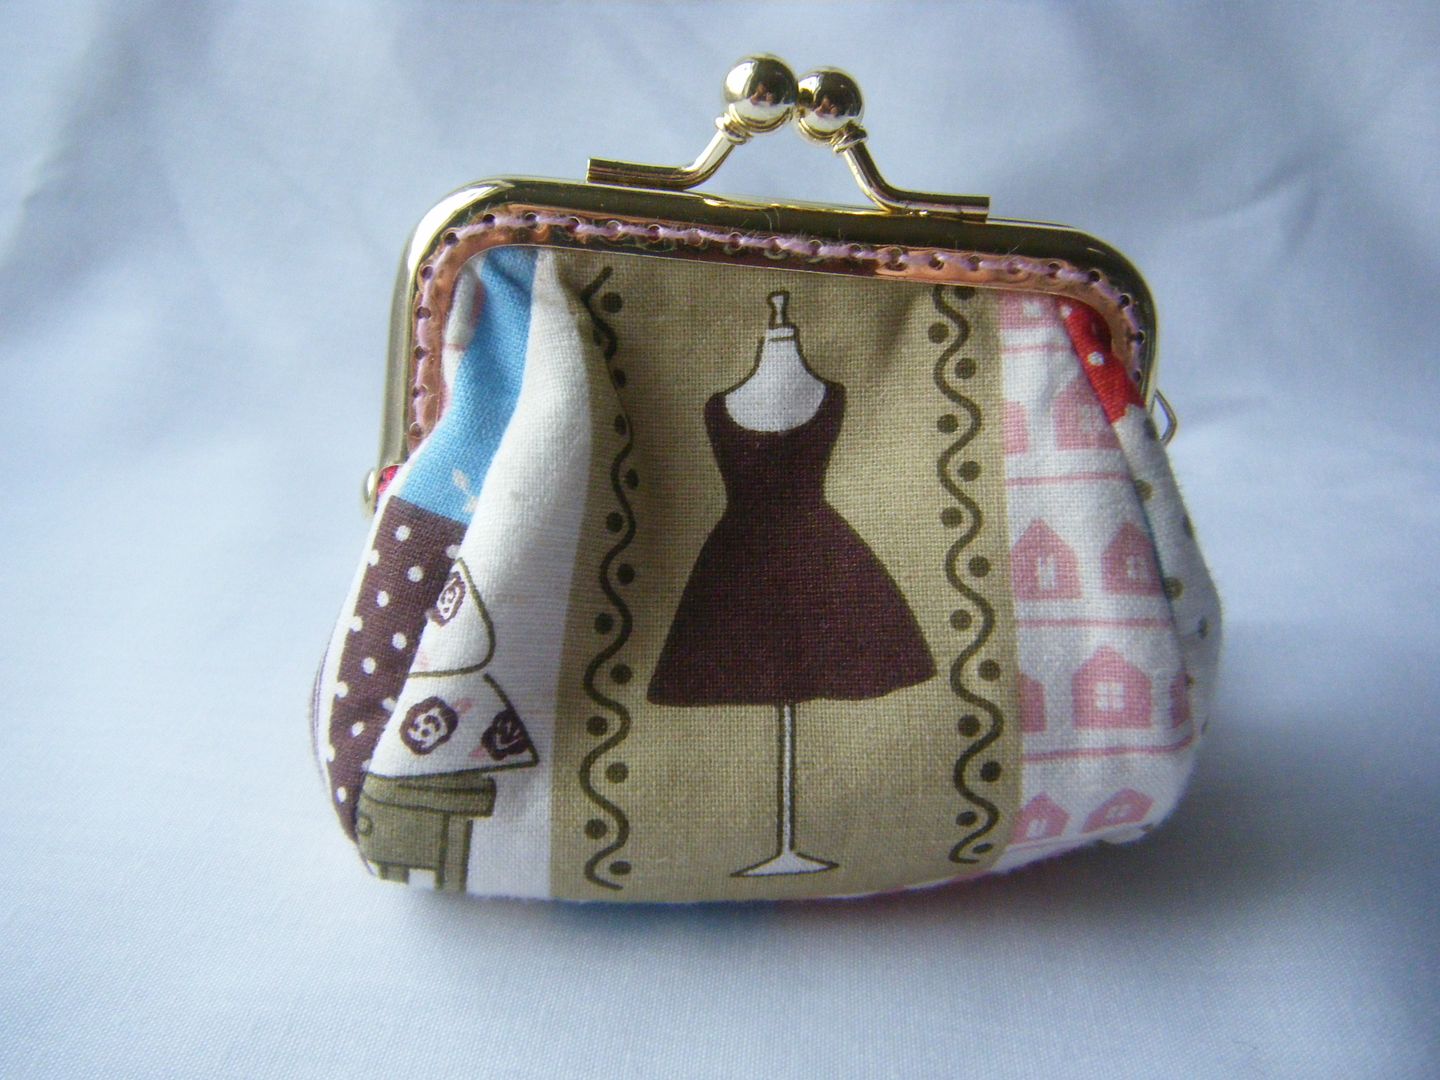
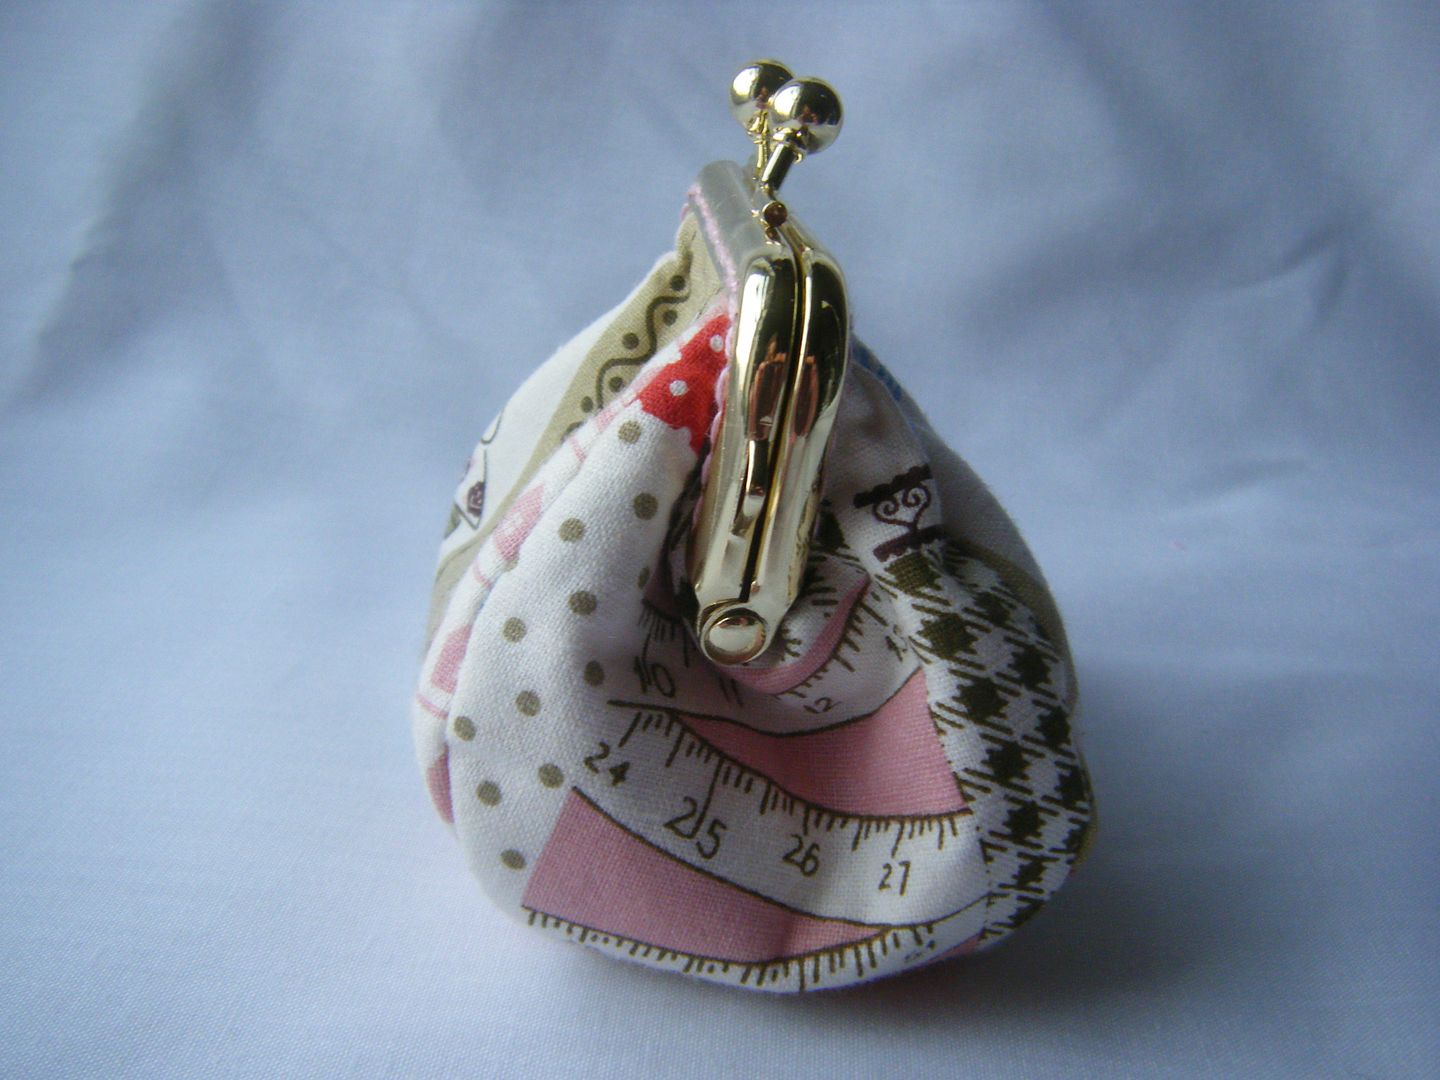
Number 4 is also fussy cut. I had this novelty FQ in my stash - I'm really not sure why I bought it.  Sewing themed - good.  Goats - ??


I fussy cut a different part for each motif.  The frame is stitched on with pink perle cotton to match part of the colour scheme of the fabric.


I love these tape measures!


I was quite lucky the motifs were the right size to fit my panels.


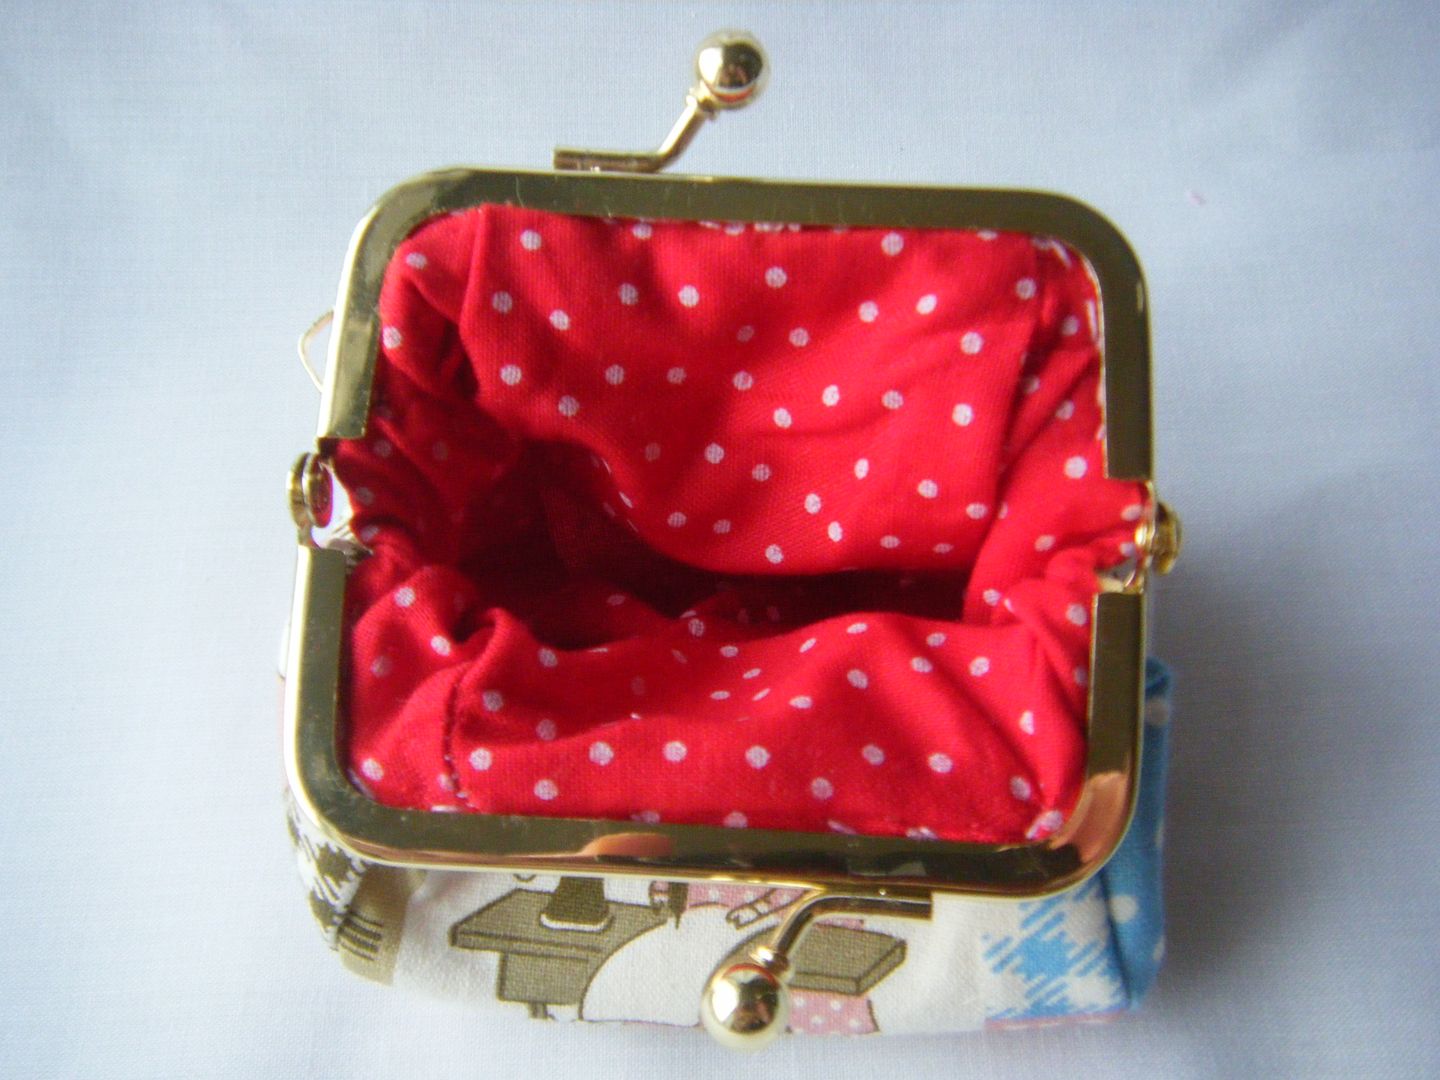
This is lined with a red polka dot found in my stash.


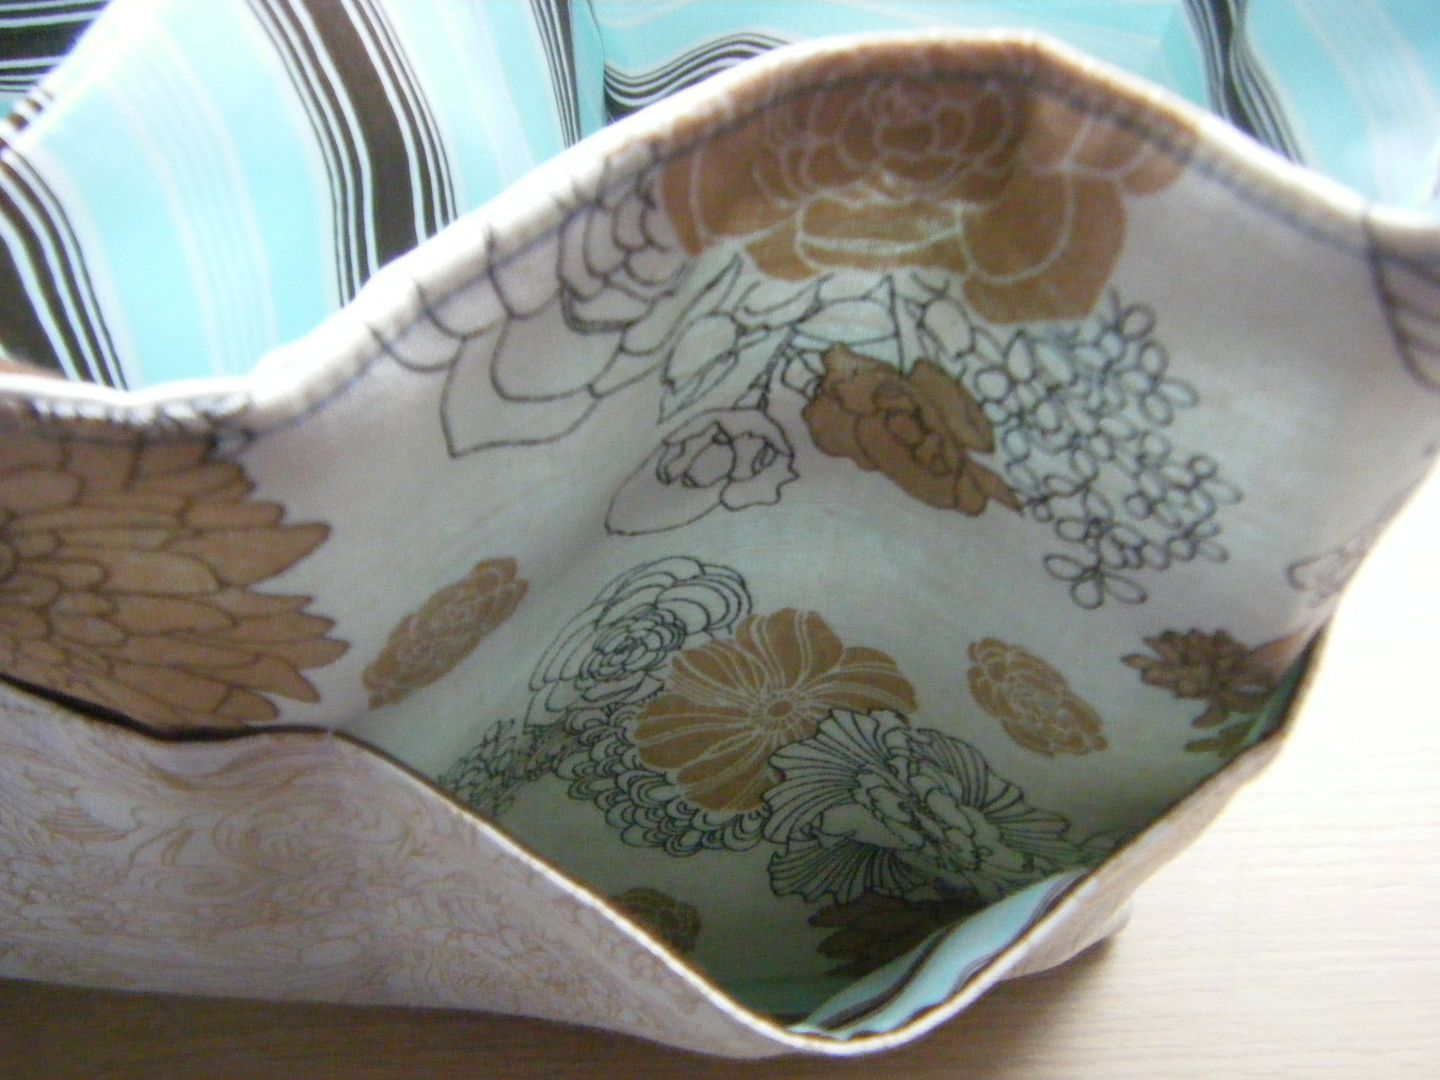
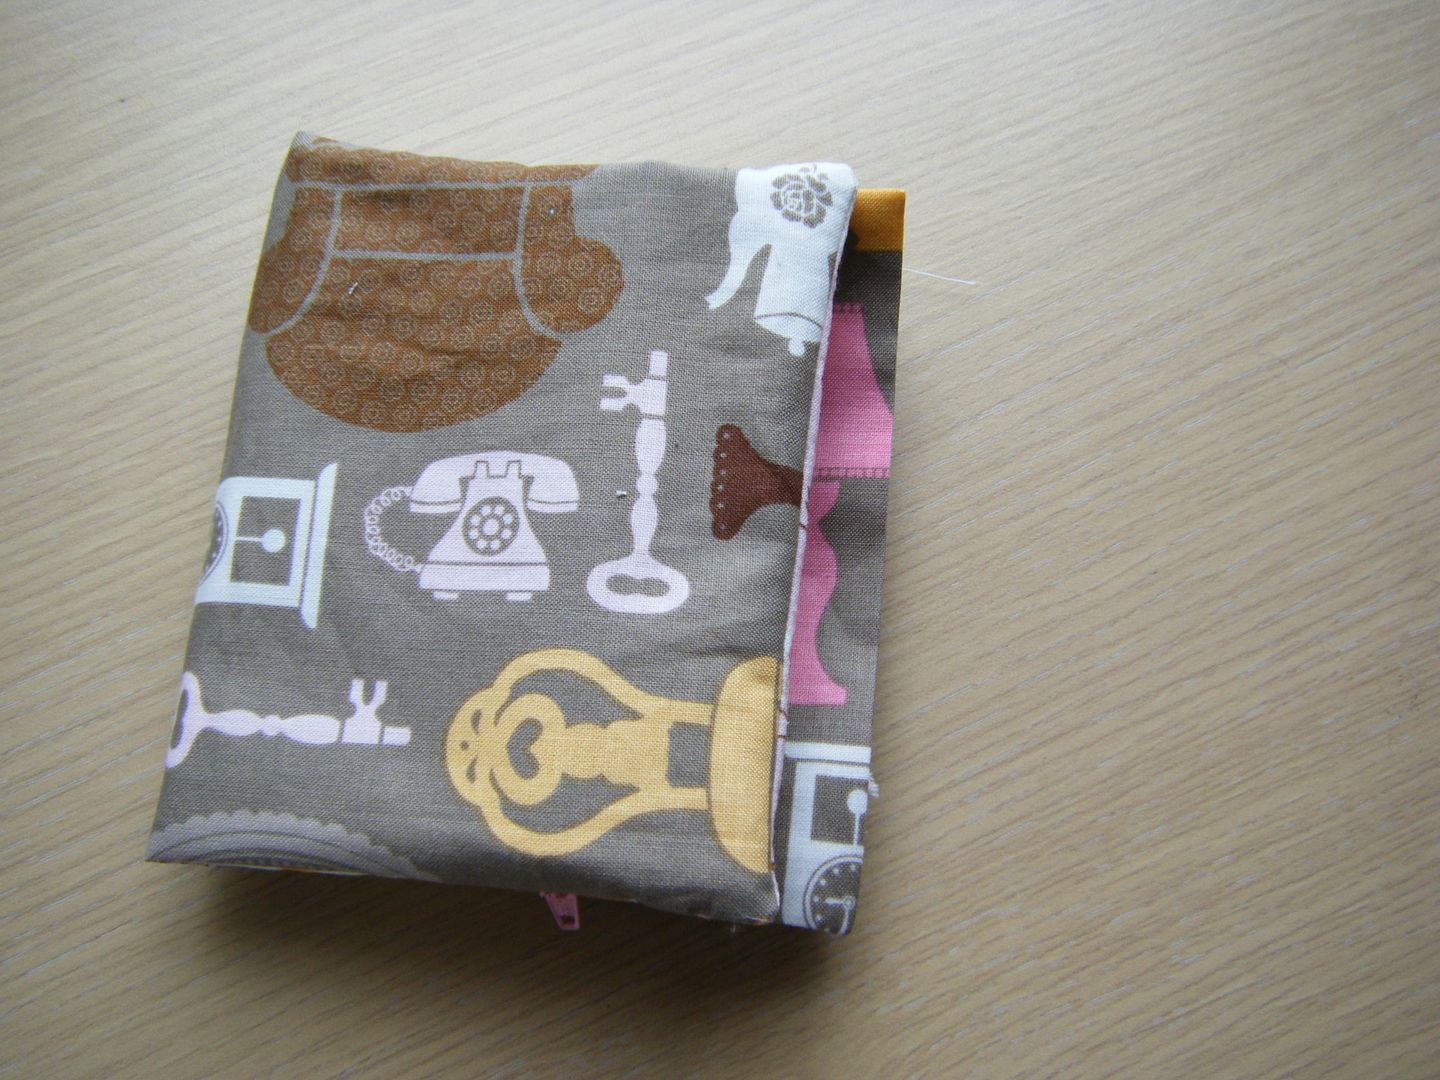
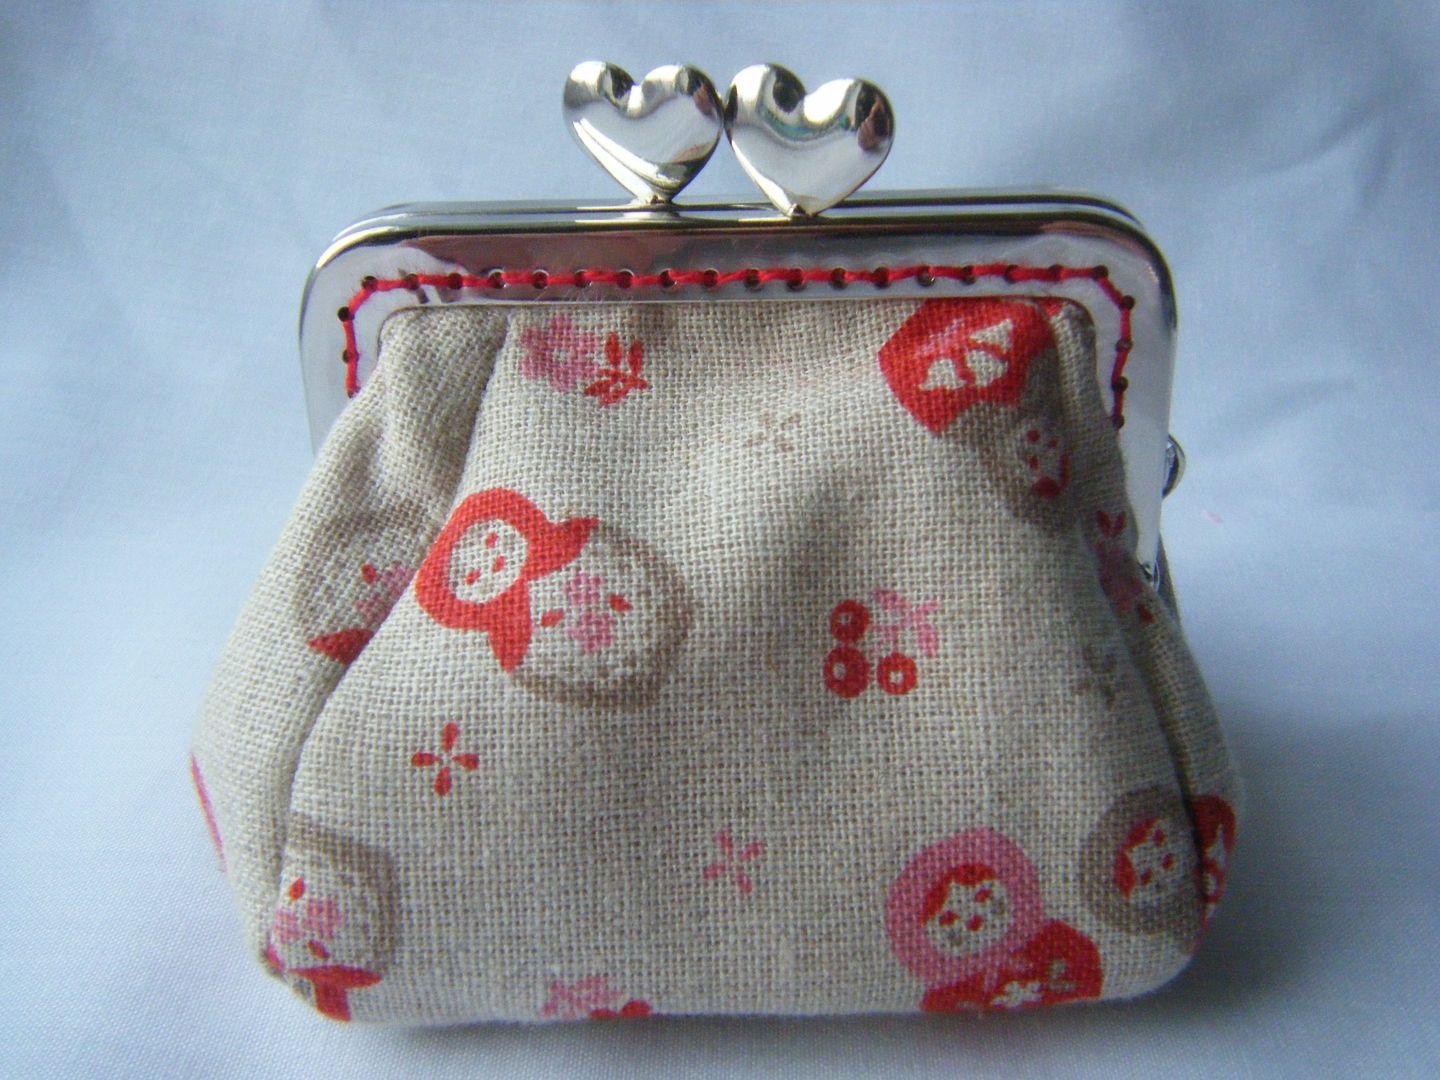
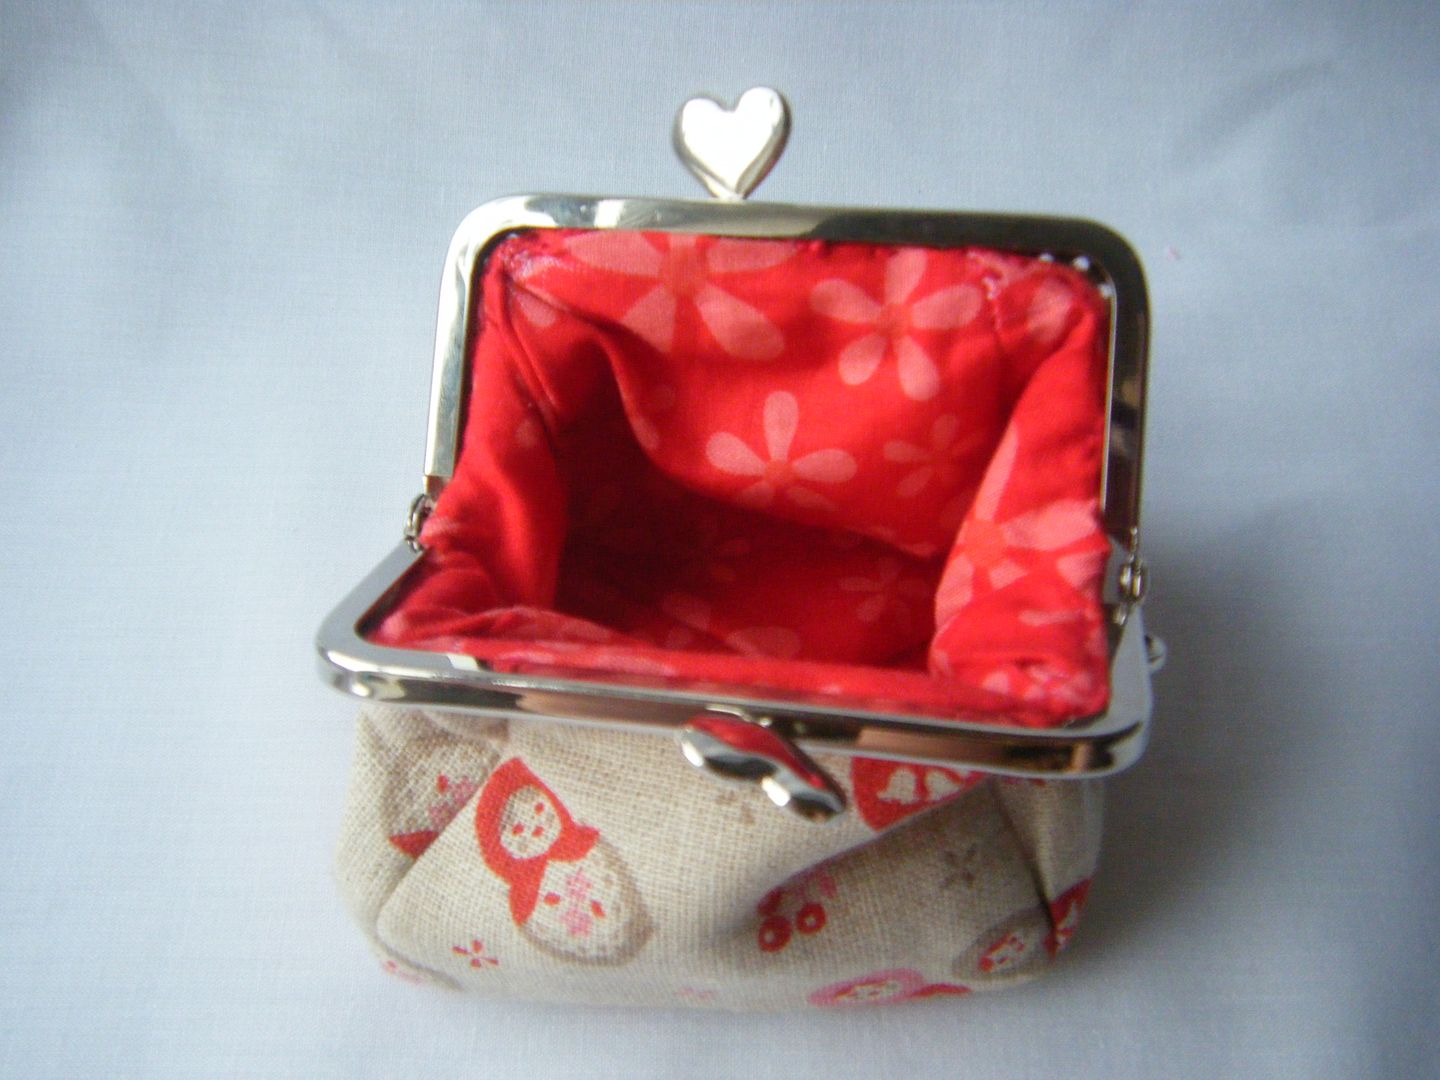
Number 5 is made with babushka printed linen and features the same hair-tearing-out Anchor perle cotton... I hate that stuff!  Originally I made this one as a single-fabric alternative.  The original purse by Madame Samm has different fabrics for the front/back and sides (as in my button one above).  Whilst thinking of variations, I decided to do one with the fabric the same all round - I actually ended up doing a lot of those!


I used the same Sugar and Spice print in this one.


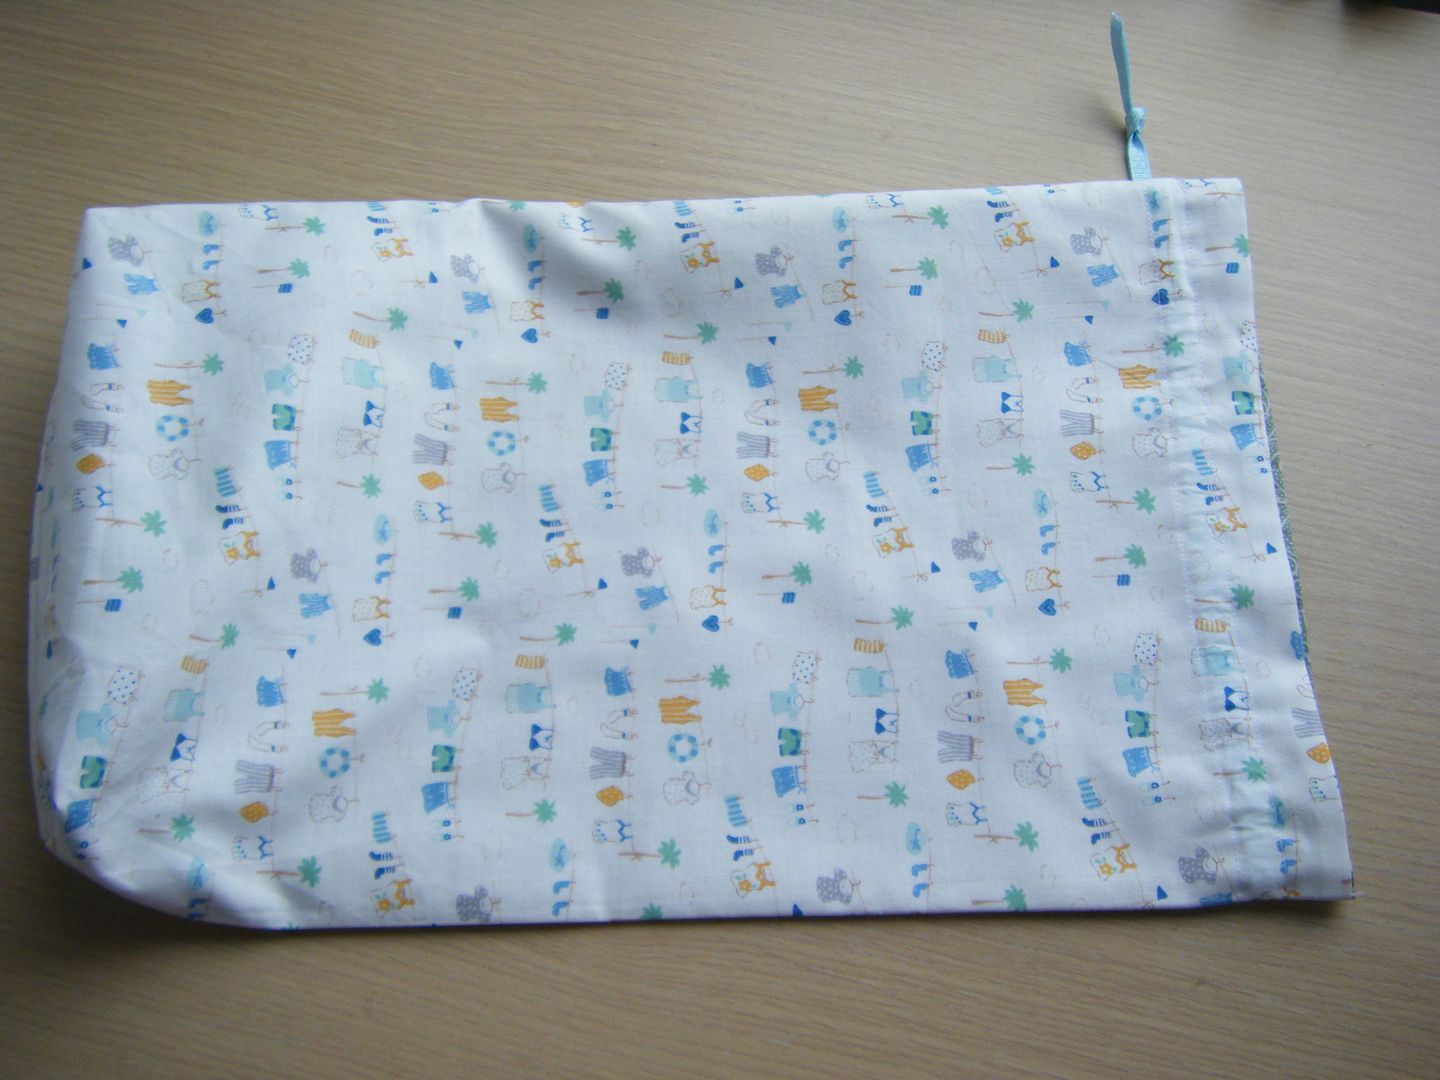
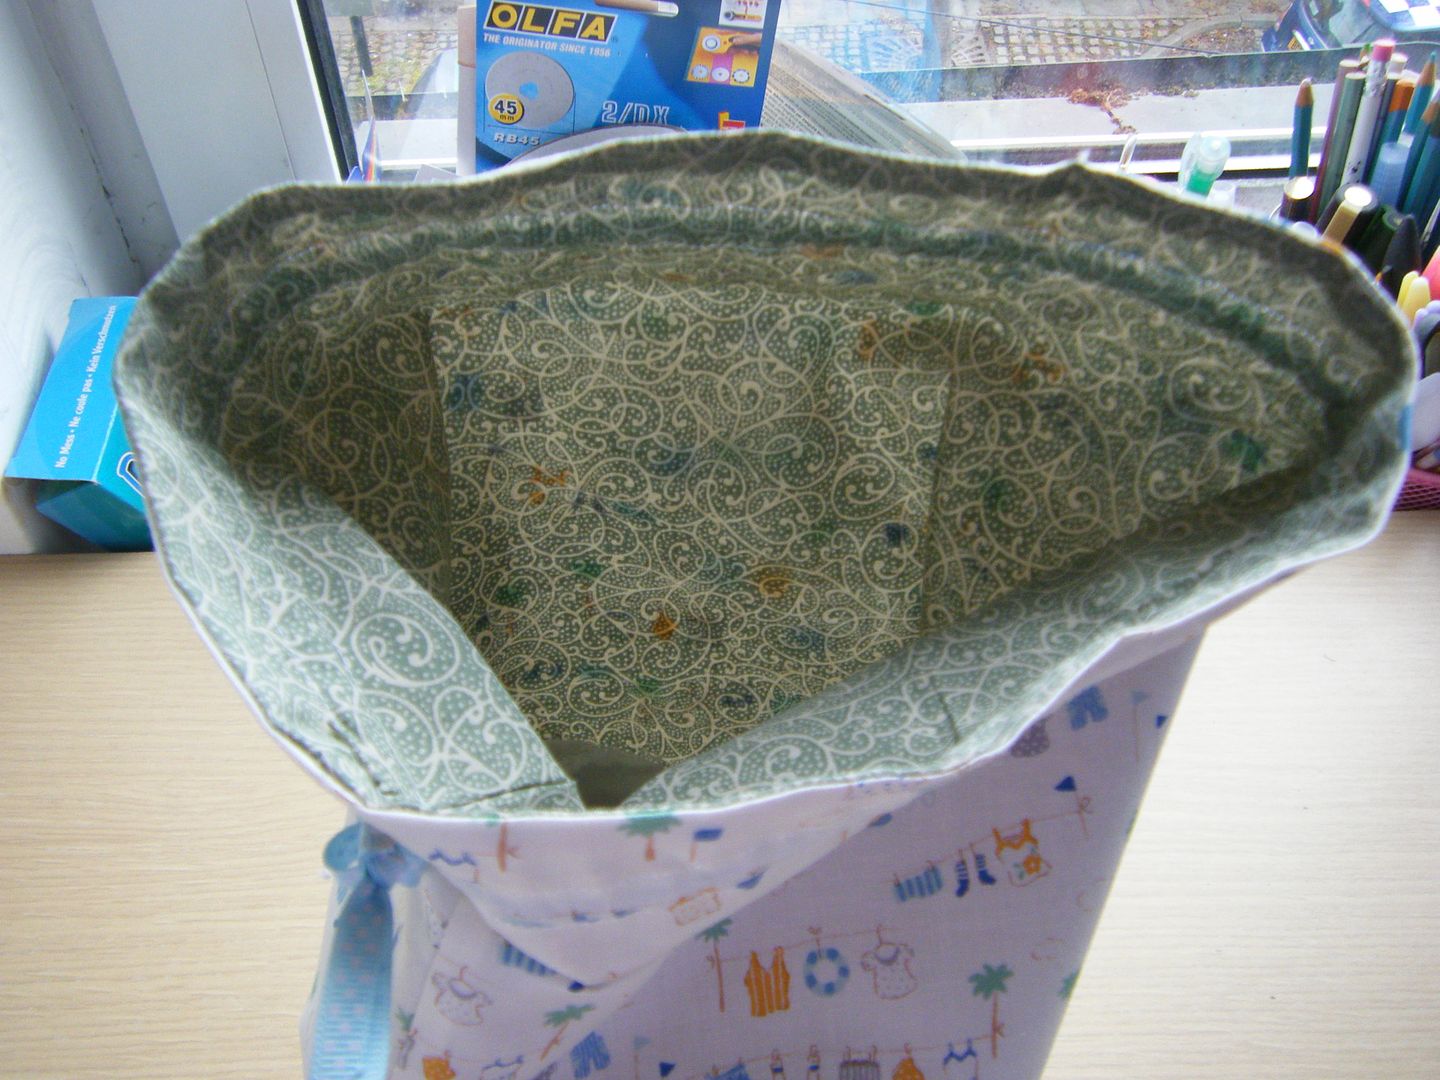
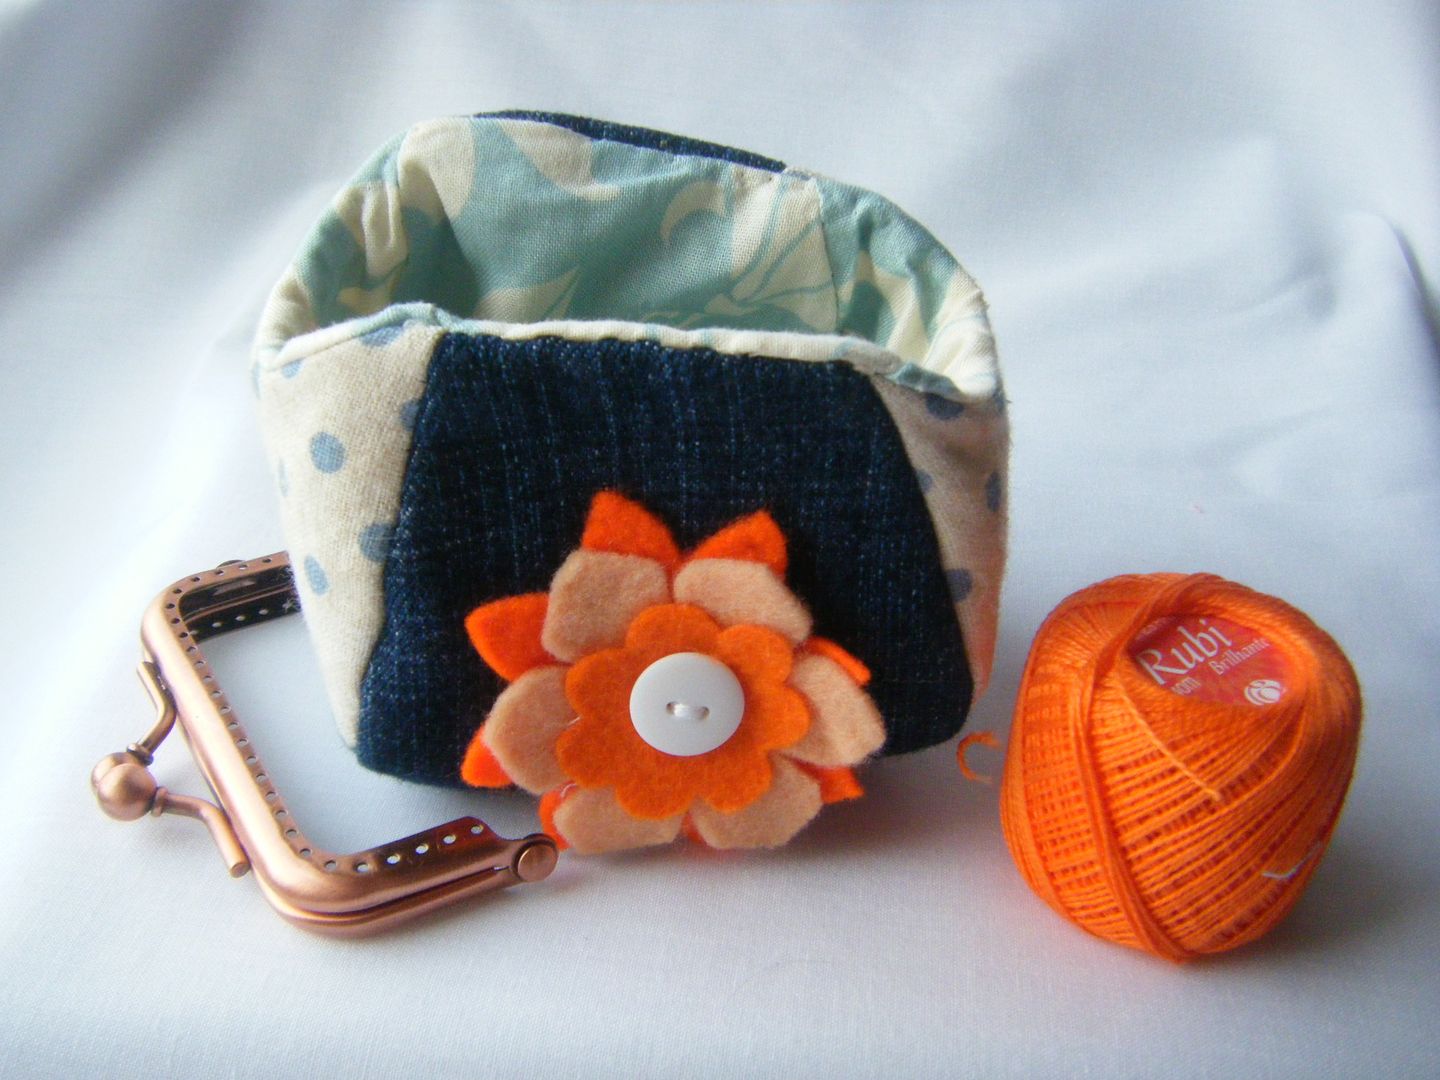
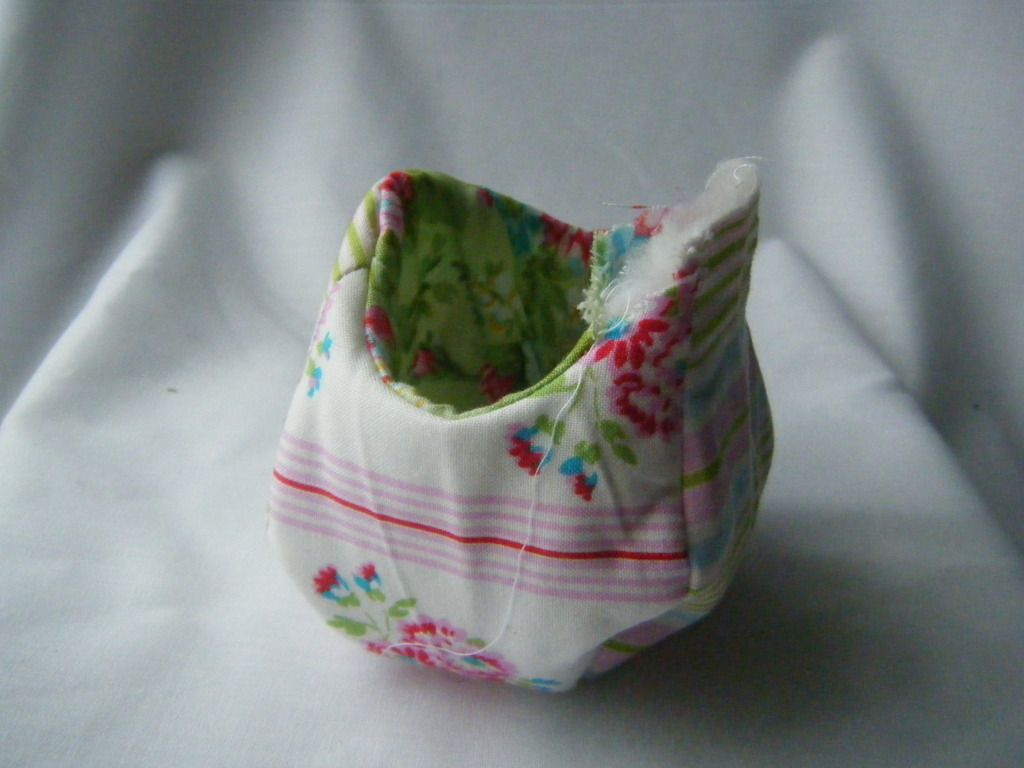
This one's the half!  As you can see the pouch is sewn up - denim from my hubby's old jeans, a blue and cream linen for the side panels, some Kate Spain inside and featuring one of my felt flowers.  I just simply ran out of time sewing the frame on.  I'll show you in a later blog post when it's done.


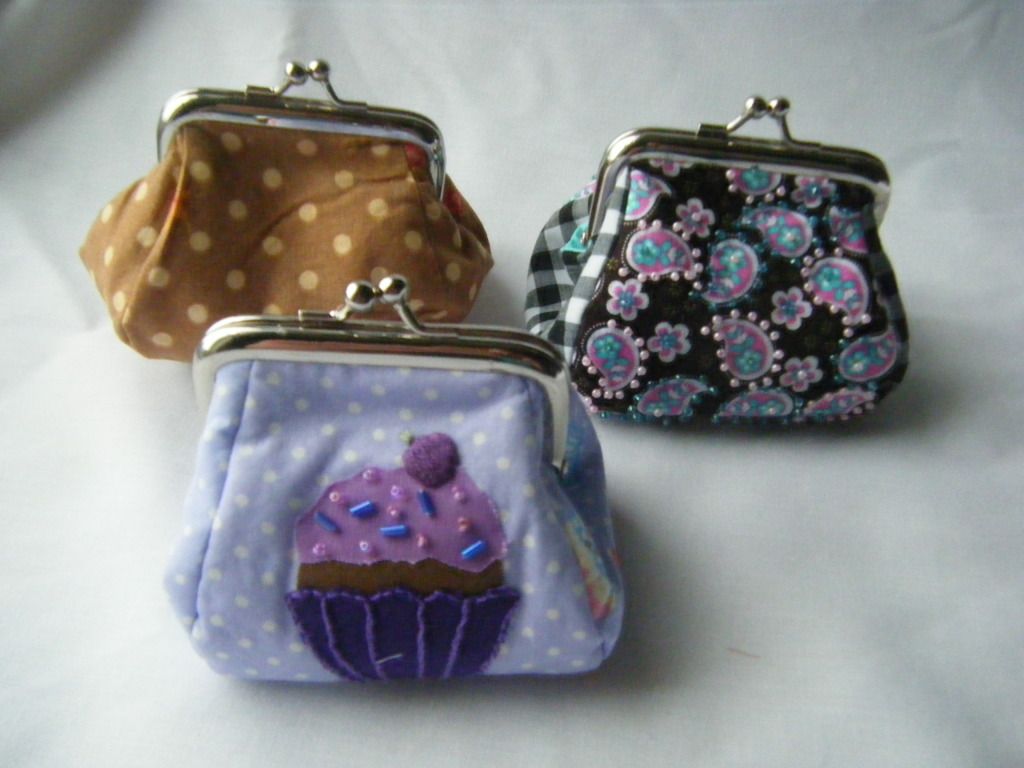
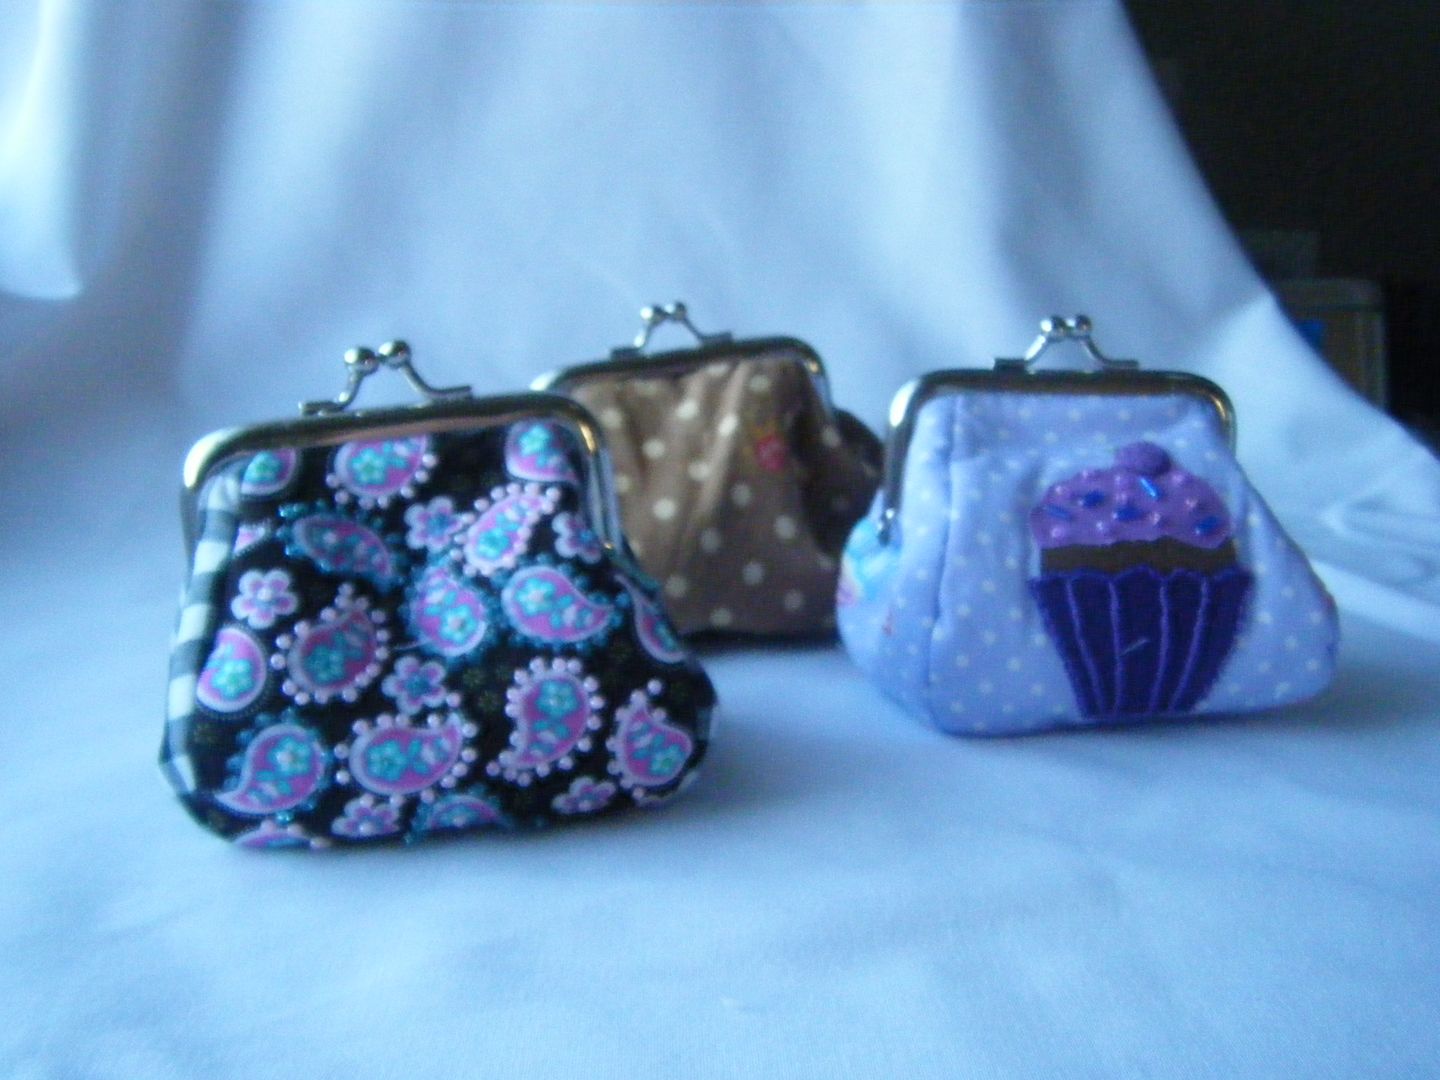
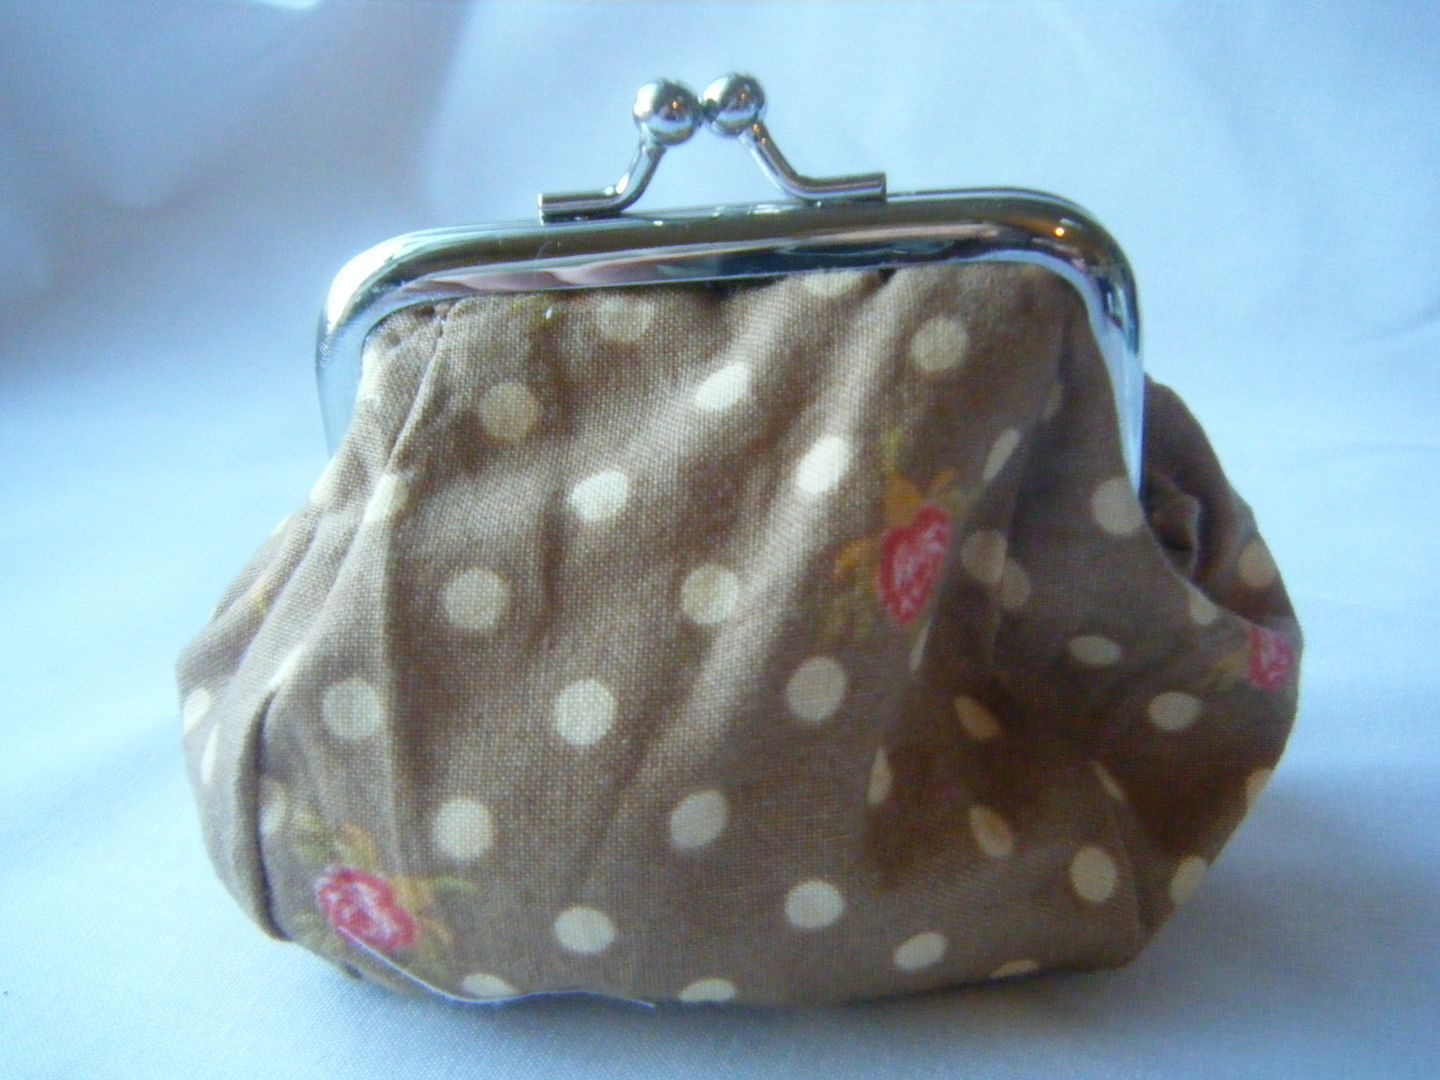
Now we move on to the final 3.  These are made with glue in frames.  I bought these when I first joined the hop just in case I couldn't get hold of the sew in frames.  I know they're breaking the rules, but I'm sure Katherine won't mind me showing them.  I must apologise at this point for the photos.  The sew-in pictures were taken on Saturday morning, these were taken on Saturday about 3pm when we'd already lost the light!  Unfortunately, I knew it was the only chance I'd get for photos, so you'll have to put up with them! I'm updating the photos!


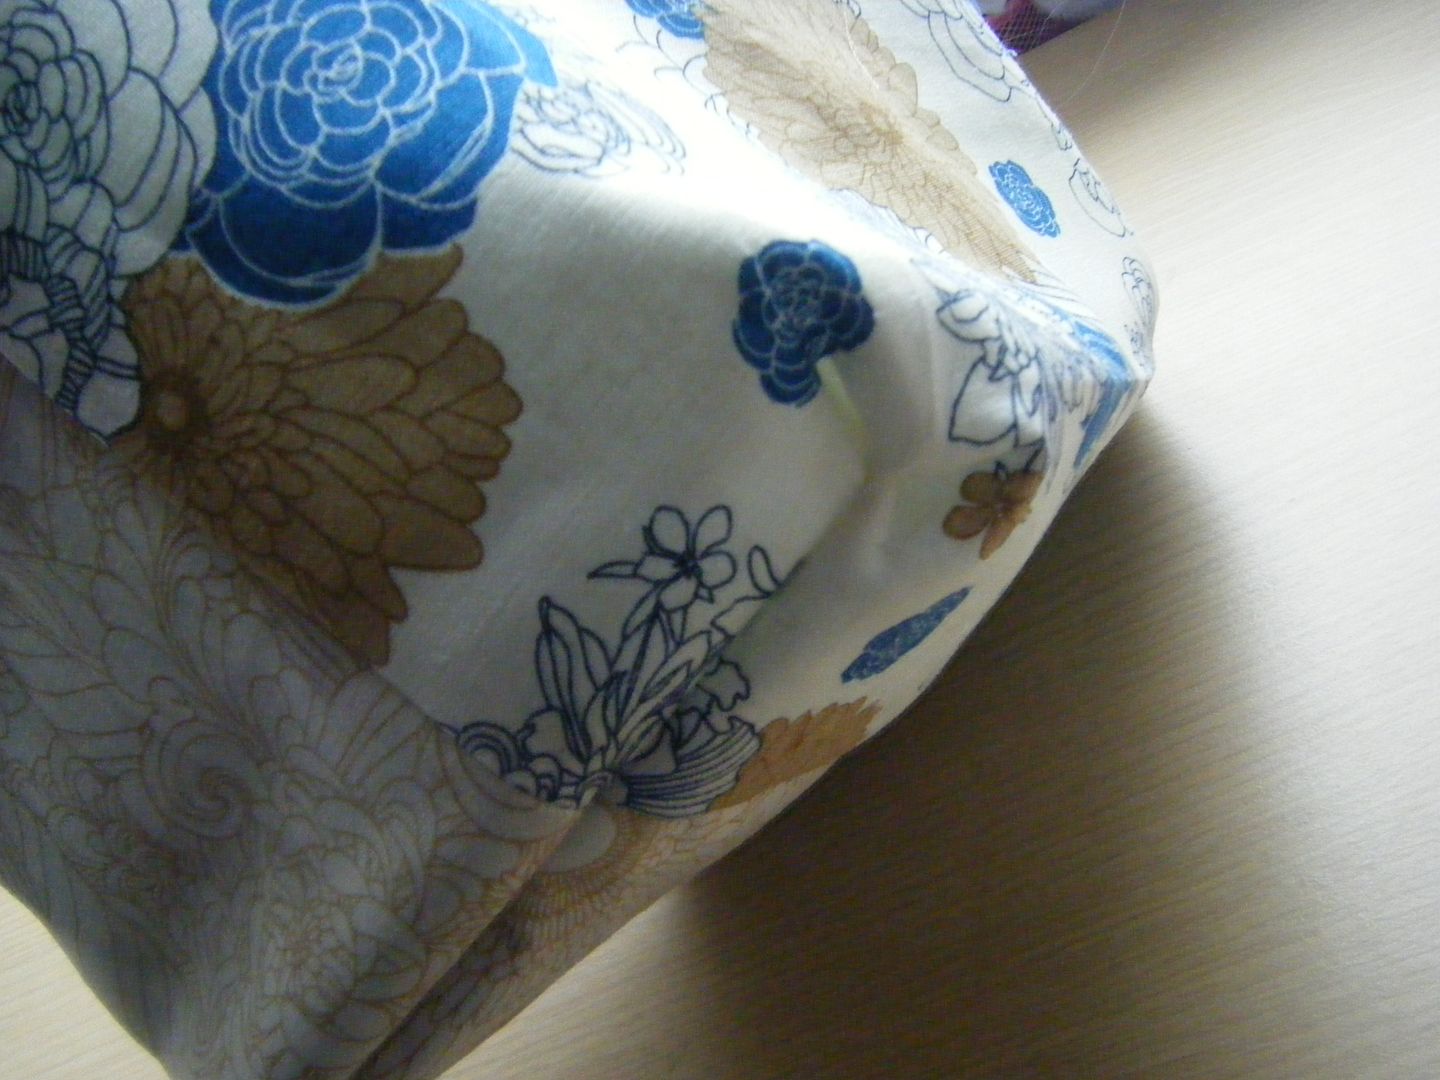
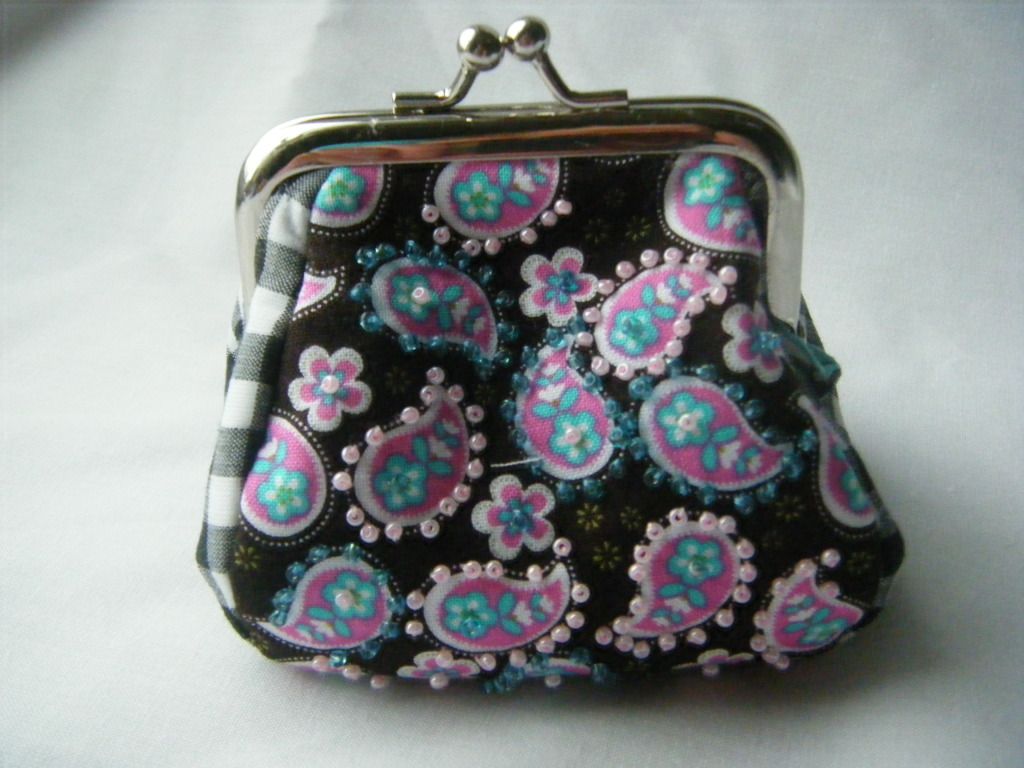
Remember the beading I showed you?  This is what I did with it.  I added little seed beads to this Michael Miller print.  The front and back are both beaded and I managed not to break any beads when sewing it up!


The sides are the check fabric as seen in the button purse above.  I didn't update this photos I forgot to take a replacement.


It's lined with a bright blue cotton.  I know it doesn't look bright blue, but believe me, it's just the photos.


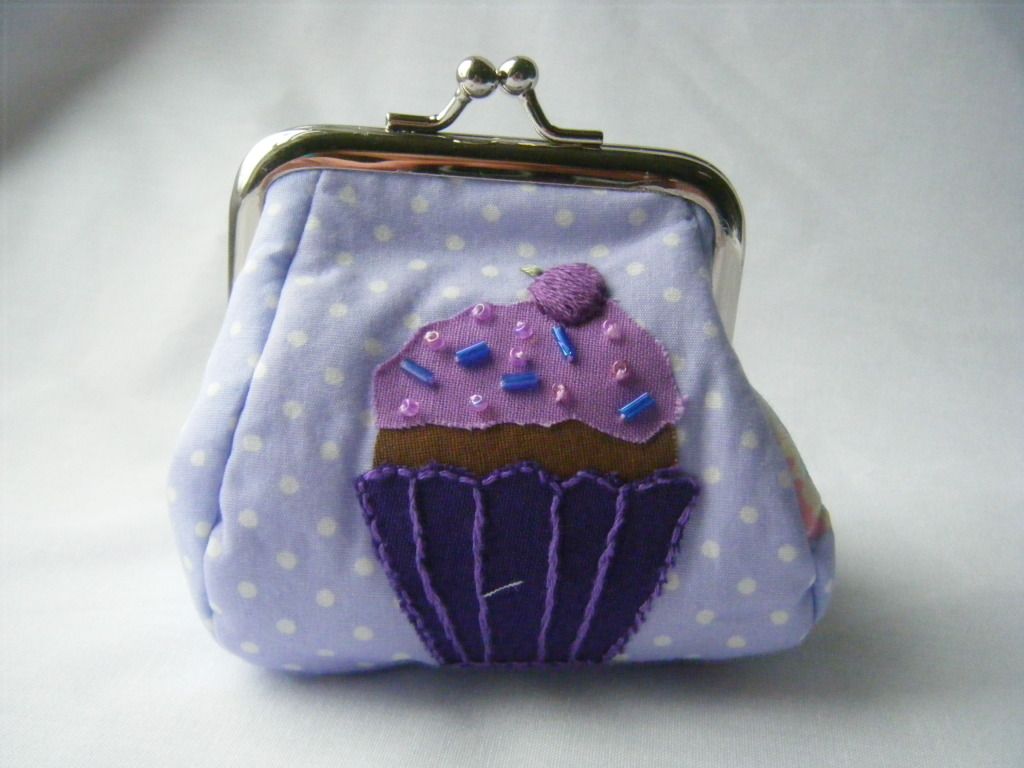
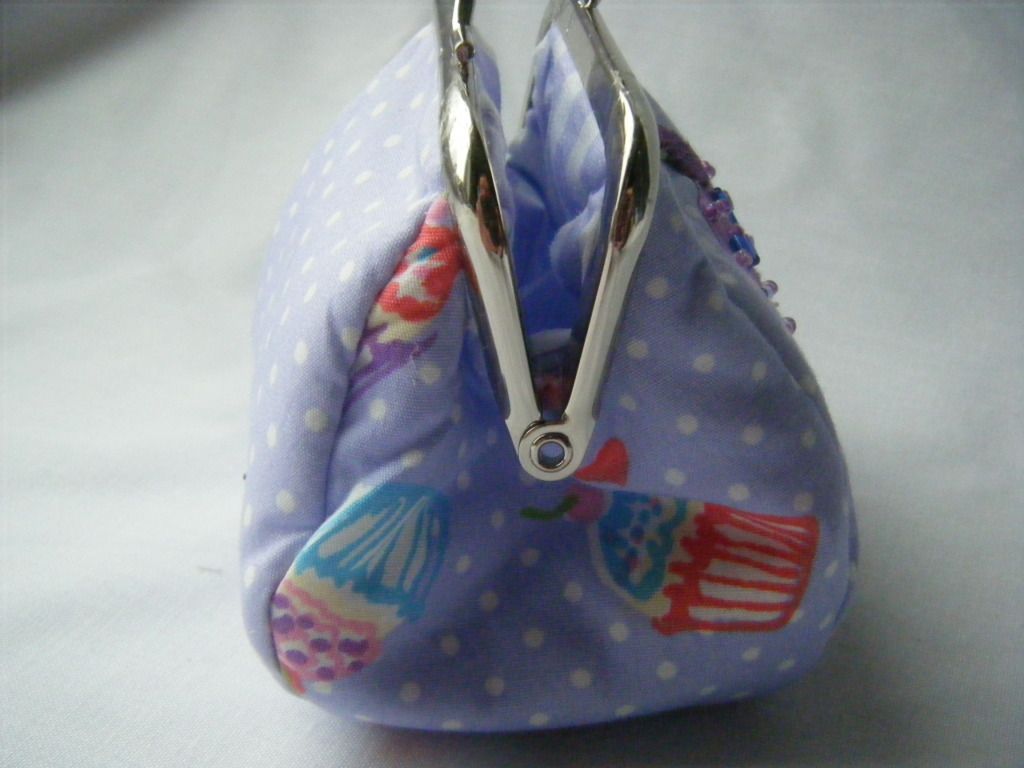
Number 7 is appliquéd.  I used a purple spotty print for the front and back (yep, that's purple!) and appliquéd a cupcake to the front.  I wanted to machine appliqué it because I'm lazy, but I used that horrible Heat N Bond and didn't dare subject my needle to it.  I hand appliquéd instead and added some beads for sprinkles and a purple cherry.


The idea for the cupcake came from the side panel fabric.


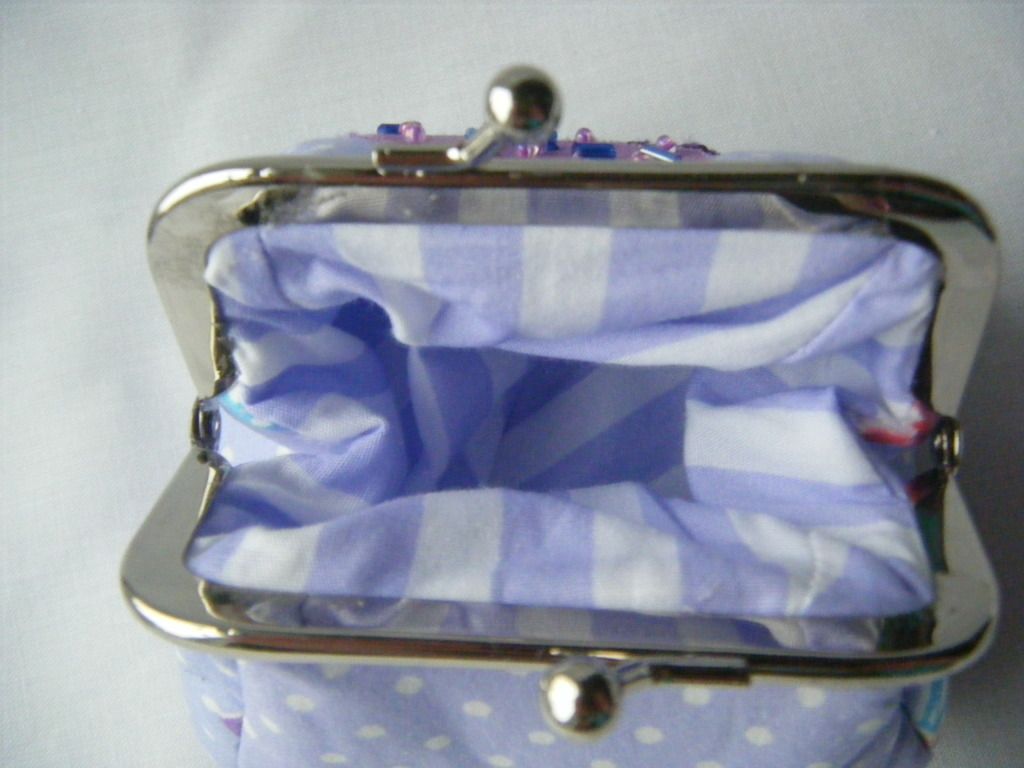
This one is lined with a purple and white stripe.  I don't know who made this fabric, I've had the little bundle for a long time.  Just a note about gluing in the frames - it's a bloody nightmare!  Is it worse than sewing them in?  I'm not sure, I just know I got glue EVERYWHERE.


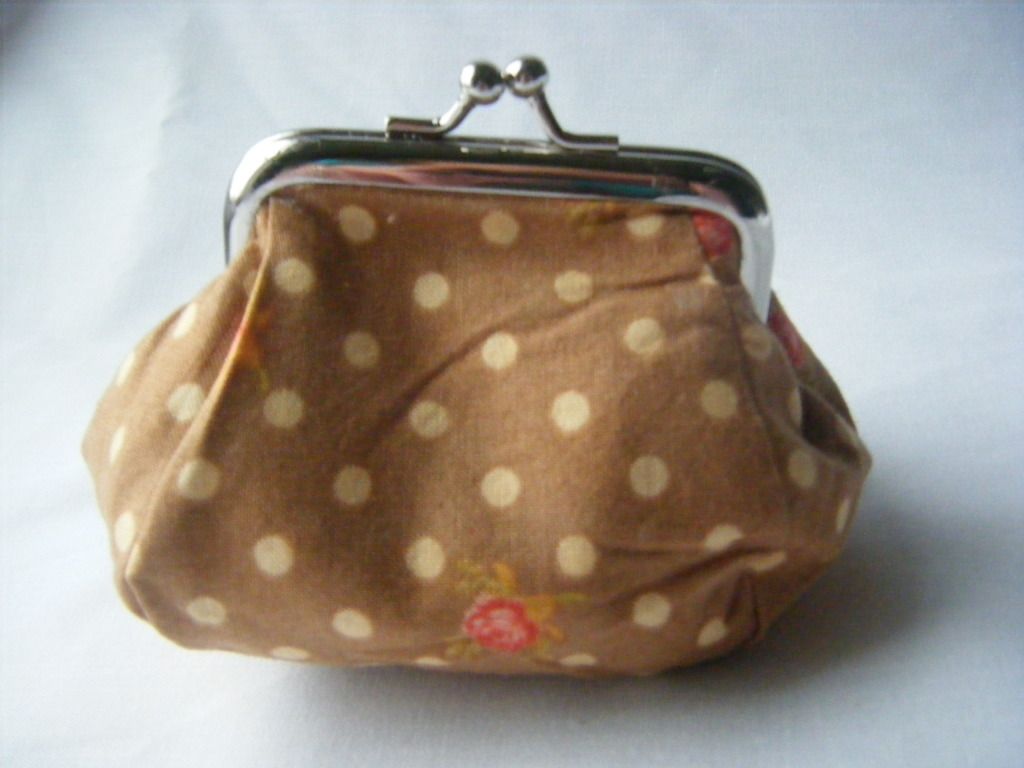
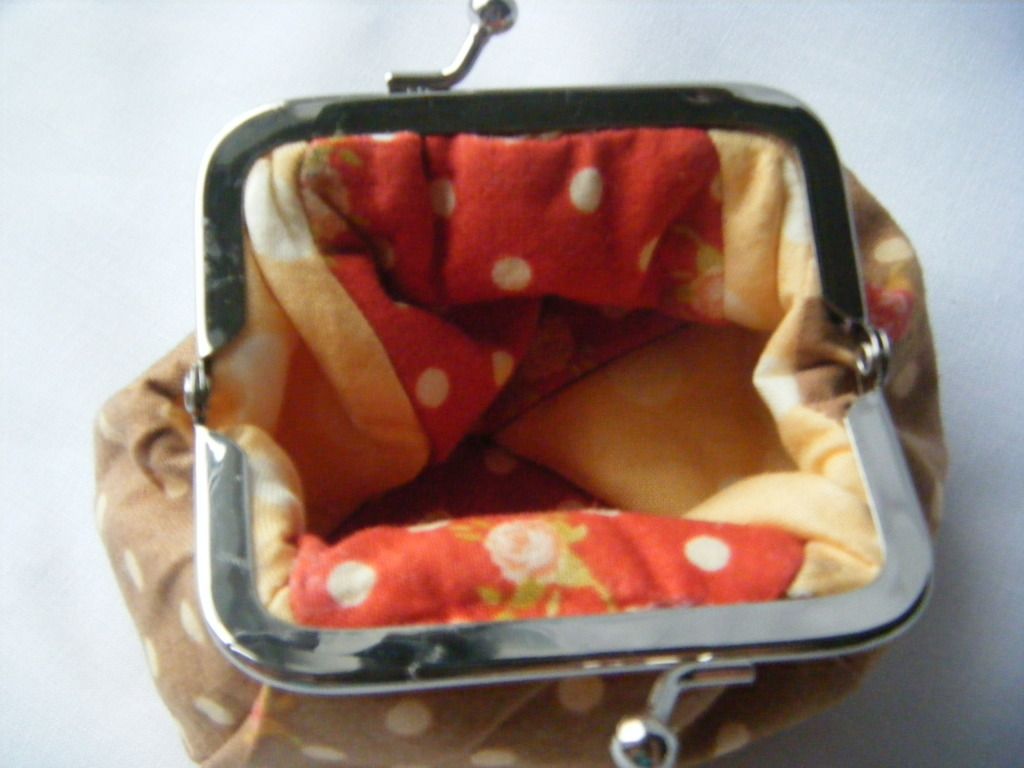
Now we're on to the disasters.  This ladies and gentlemen is number 8.  It looks like it needs a good press, doesn't it?  That's probably because this is the lining.  I glued the frame on back to front and had to turn it inside out!


THIS should have been the outside.  I'm not sure I like it like this. 


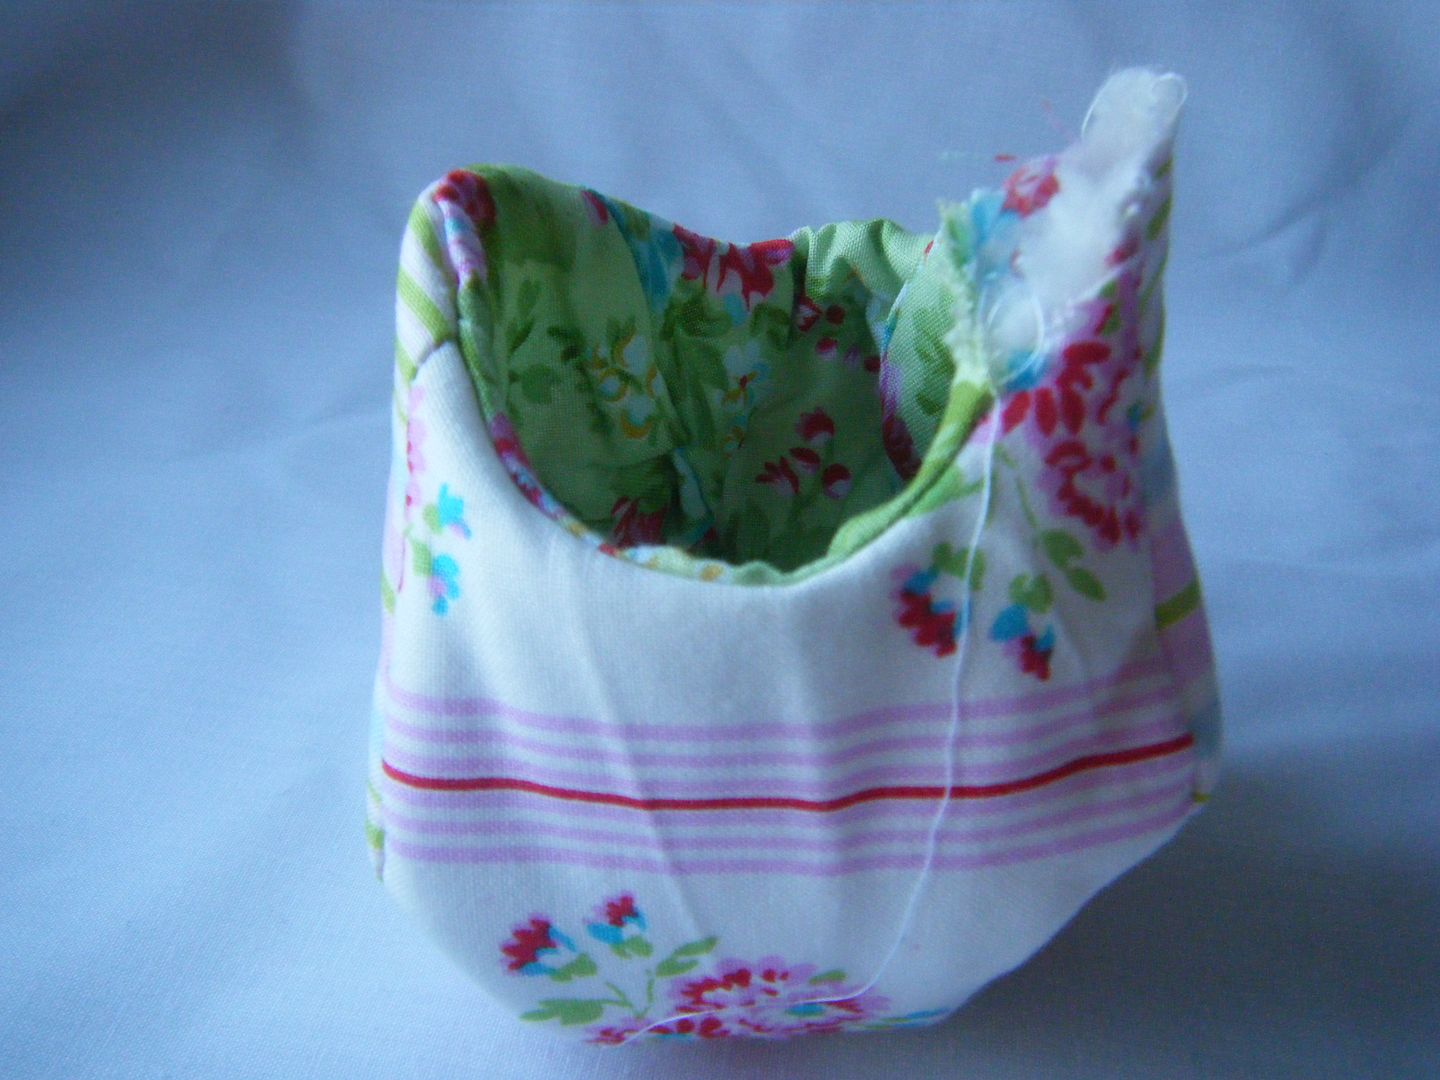
This baby would have been number 10 but I made a fundamental mistake.  I sewed the outer and the lining, then realised I'd forgotten the fusible fleece.  I added it to the sewn outer.  Not a good idea.  See those crease marks?  They're permanent.  I abandoned this one!


So, if I've whetted your appetite for purse sewing, the purse pattern available to buy here.

Now it's time to go and visit my fellow hoppers, there's a chance to win a prize with each comment you leave! Click the button at the top to see the prizes and the full line up.

Day 2 - Nov.6th

The Crafter's Apprentice (c'est moi!)Jane's Fabric and Quilts
Rosemary B
Why-Knot-Kwilt
Random Thoughts..do or "di"
Mary T.
Supermom No Cape
Lily Pad Quilting
.Quiltscapes.
Stitch, Stitch, Stitch
Rose Creations
The Treehouse
Gracie Oliver Arts
Quilting Prolifically
Stekje
Grammie Q's