Showing posts with label mixed media. Show all posts

Saturday, 2 April 2016

Little soldered boxes

I had my first taste of mixed media at a workshop me and wonderful mum went to at Hope and Elvis.  The workshop was led by Di Tinker Foster and we made little soldered boxes.

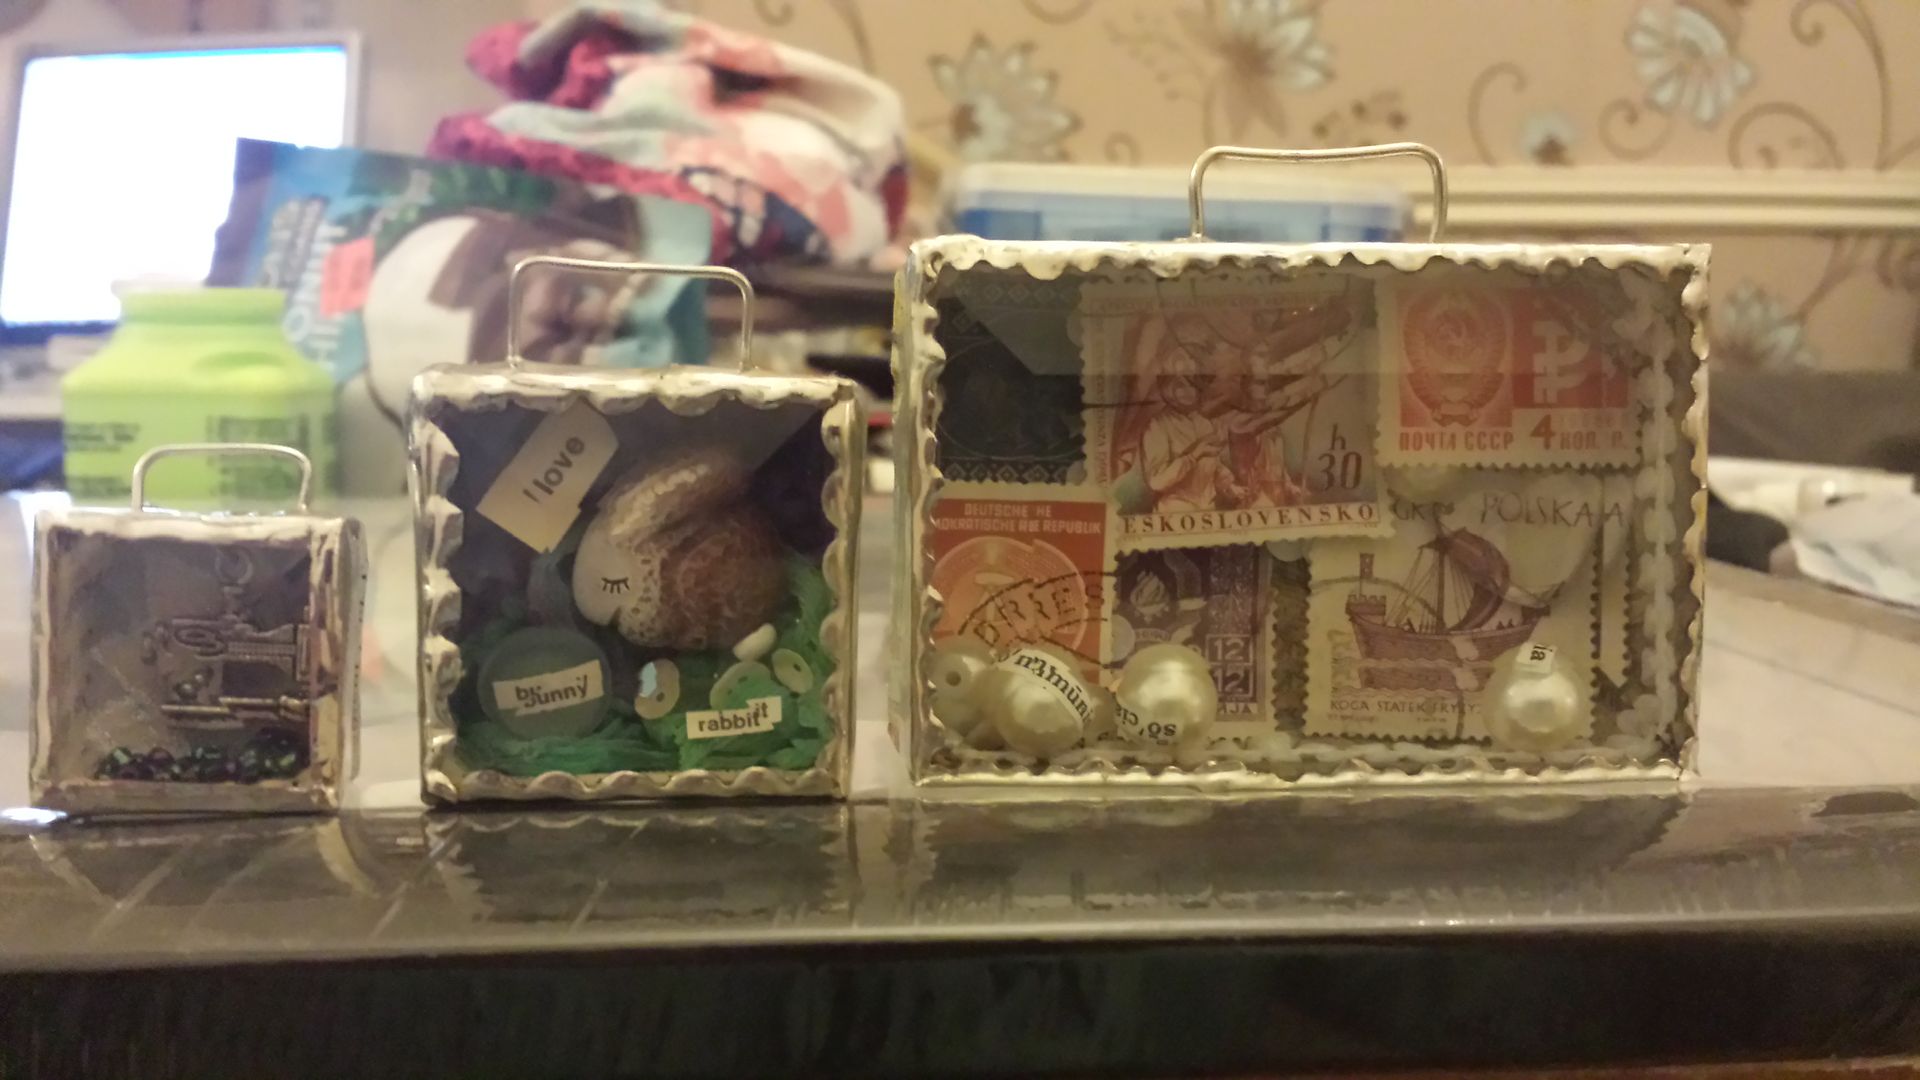
There were a selection of paper boxes to chose from and we selected one in each of three sizes - 1" square, 1.5" square and 3"x2".  There were a whole host of "bits" to chose from too, and we'd brought along some things of our own.


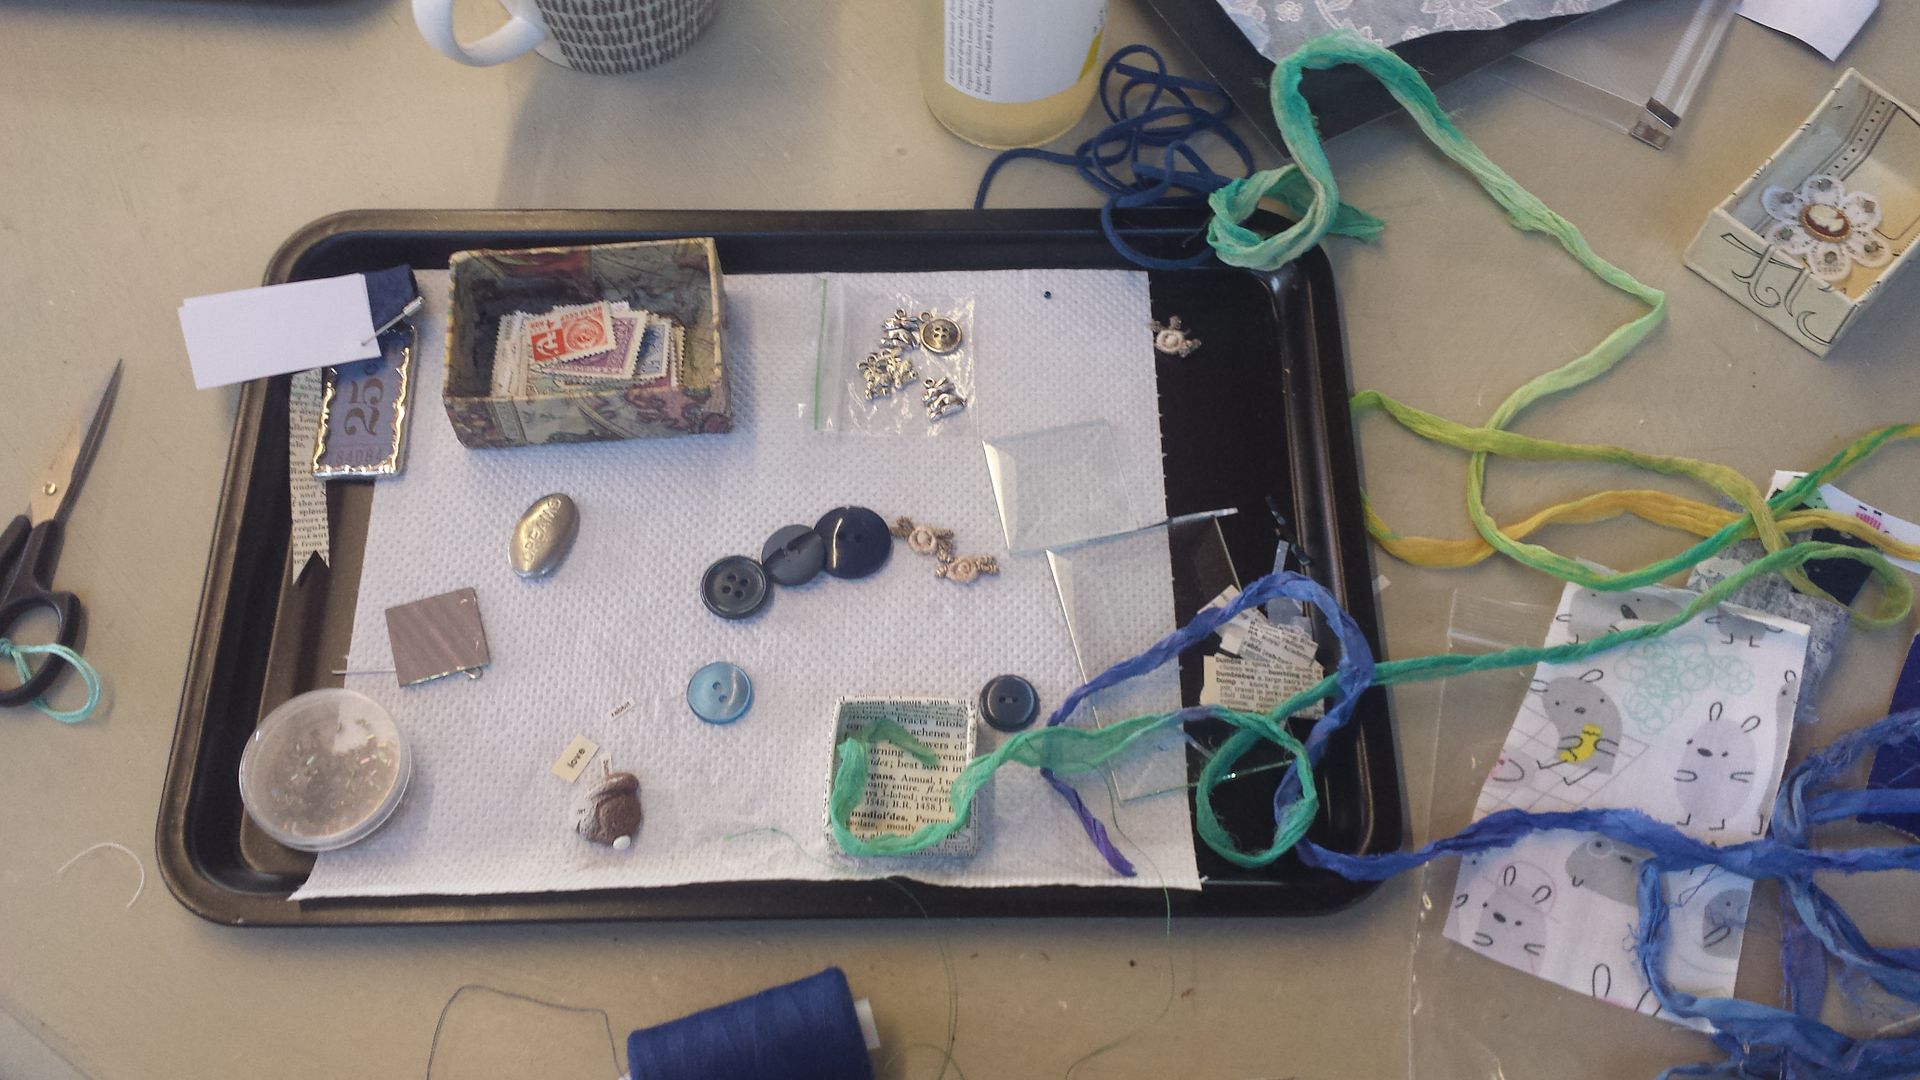
There were loads of old postage stamps, and I managed to dig out some old Communist ones, including one from the USSR!  I was thrilled with that as the Communist world is of endless fascination to me.  I'd taken along some fabrics, and some charms, and available were glitters, the postage stamps, old dictionaries to cut up, sari silk, tons of beads and buttons, sewing thread, bits of lace and other trims, and broken jewellery.  

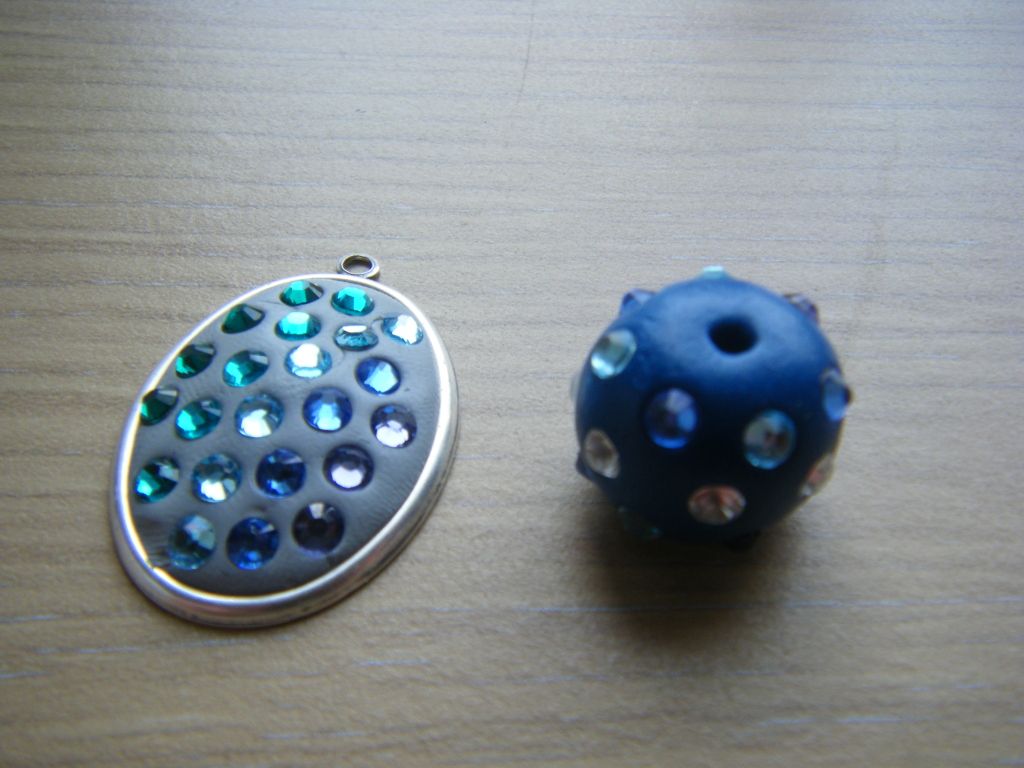
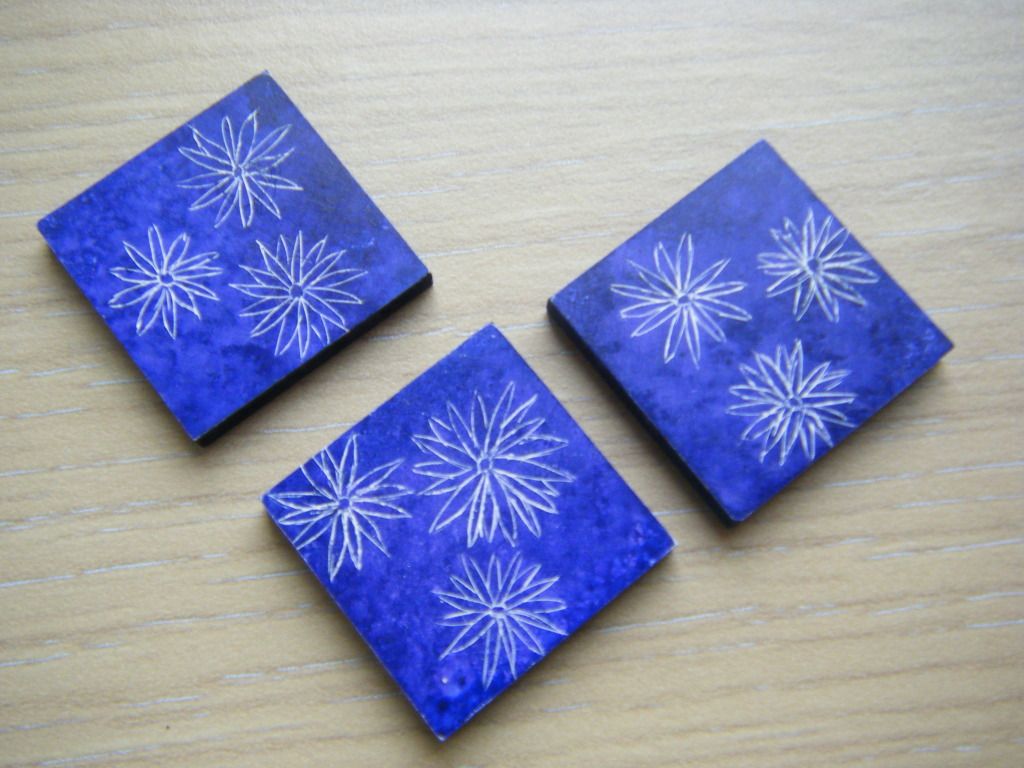
On my tray above you can see my largest box at the back with the stamps in it, some charms, buttons, a pot of beads, a mirror tile, a bunny bead (it's actually hand made, not by me, and I've treasured it for a couple of years waiting for the perfect project), the 1" box and my glass lids.  The glass lids are heavy bevelled glass.


This is my big box.  I stuck down the stamps using foam pads on some to make them different heights.  I picked out some large pearls and cut out words from the dictionary and glued them on.  The words include communism, Poland, Yugoslavia, USSR, comitern and socialist.  There is also a little bead with KGB on it - unfortunately it has wedged itself behind the USSR stamp which I think is hilarious - the KGB is behind the Iron Curtain!

I added a trim round the edge.  The process was to solder the glass lid on using copper tape and solder.  This is a technique I've done before when I've done copper foiling on glass projects so I was familiar with what we were doing.  I cut the copper tape using deckle-edged scissors, then applied it to the box and lid.  Solder is then used to cover the copper tape, holding everything securely in place.  I added little handles with some wire.


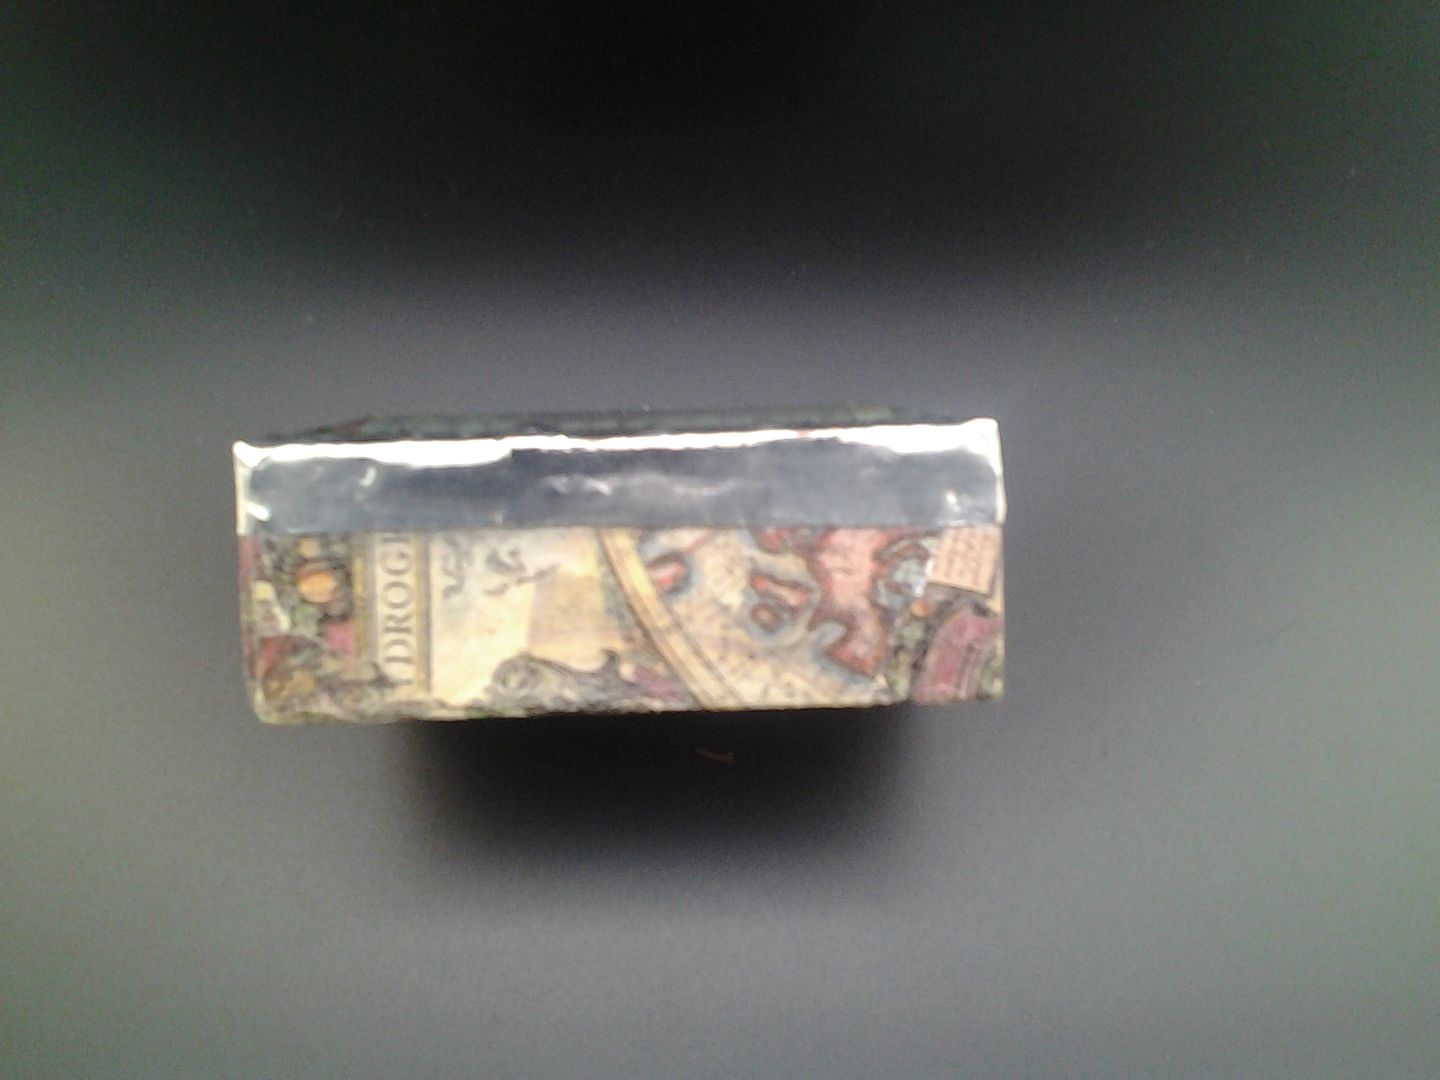
The paper box was made from olde worlde map paper which is quite fitting!


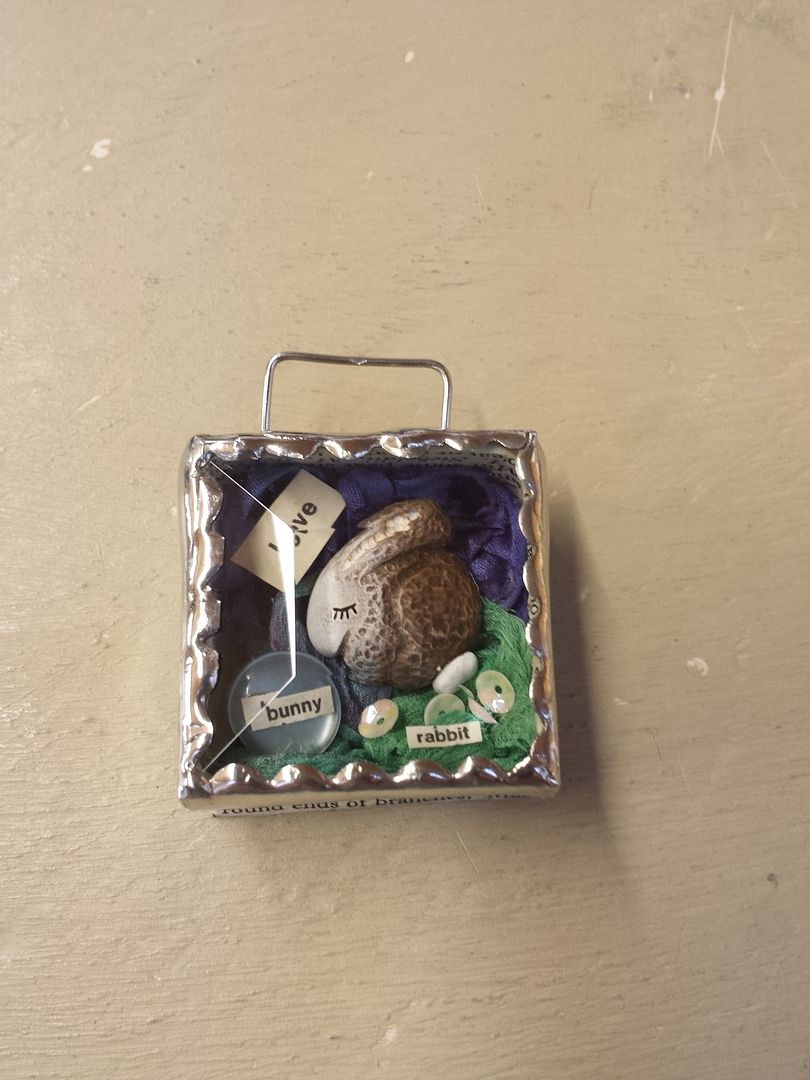
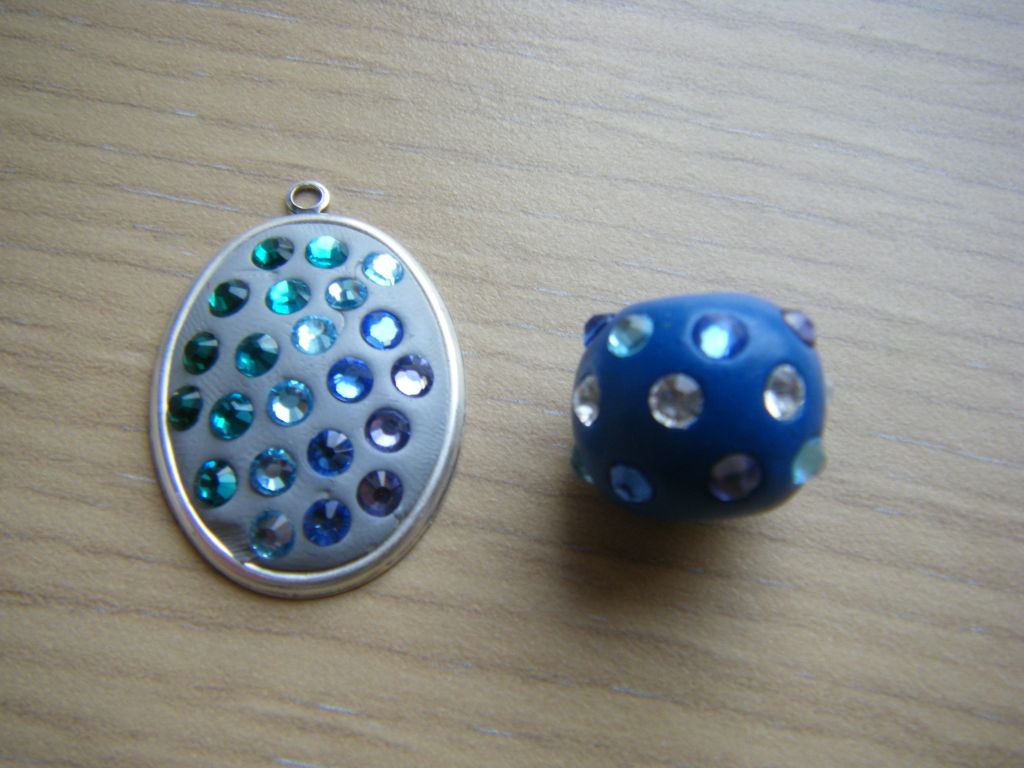
This is my 1.5" square box.  I gathered some sari silk and used it as a background.  I then added some sequins and a button and three words.  Love.  Bunny.  Rabbit.  Appropriate for this beautiful bead, and for bunnies in general!  The bead is from Tree Wings Studio on Etsy.
Her beads are amazing and there are a few more I'd like!  This was pricy, but it was a present from the lovely Mr CA.  Of course, being handcrafted, it is well worth the price, but it is a lot of money to pay for a bead.


The paper box was made from a dictionary page.


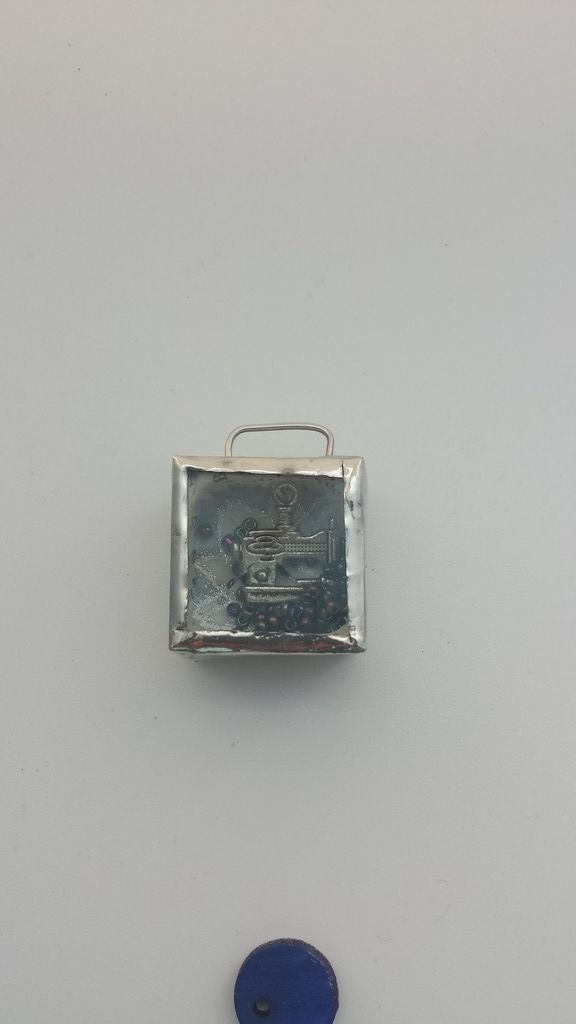
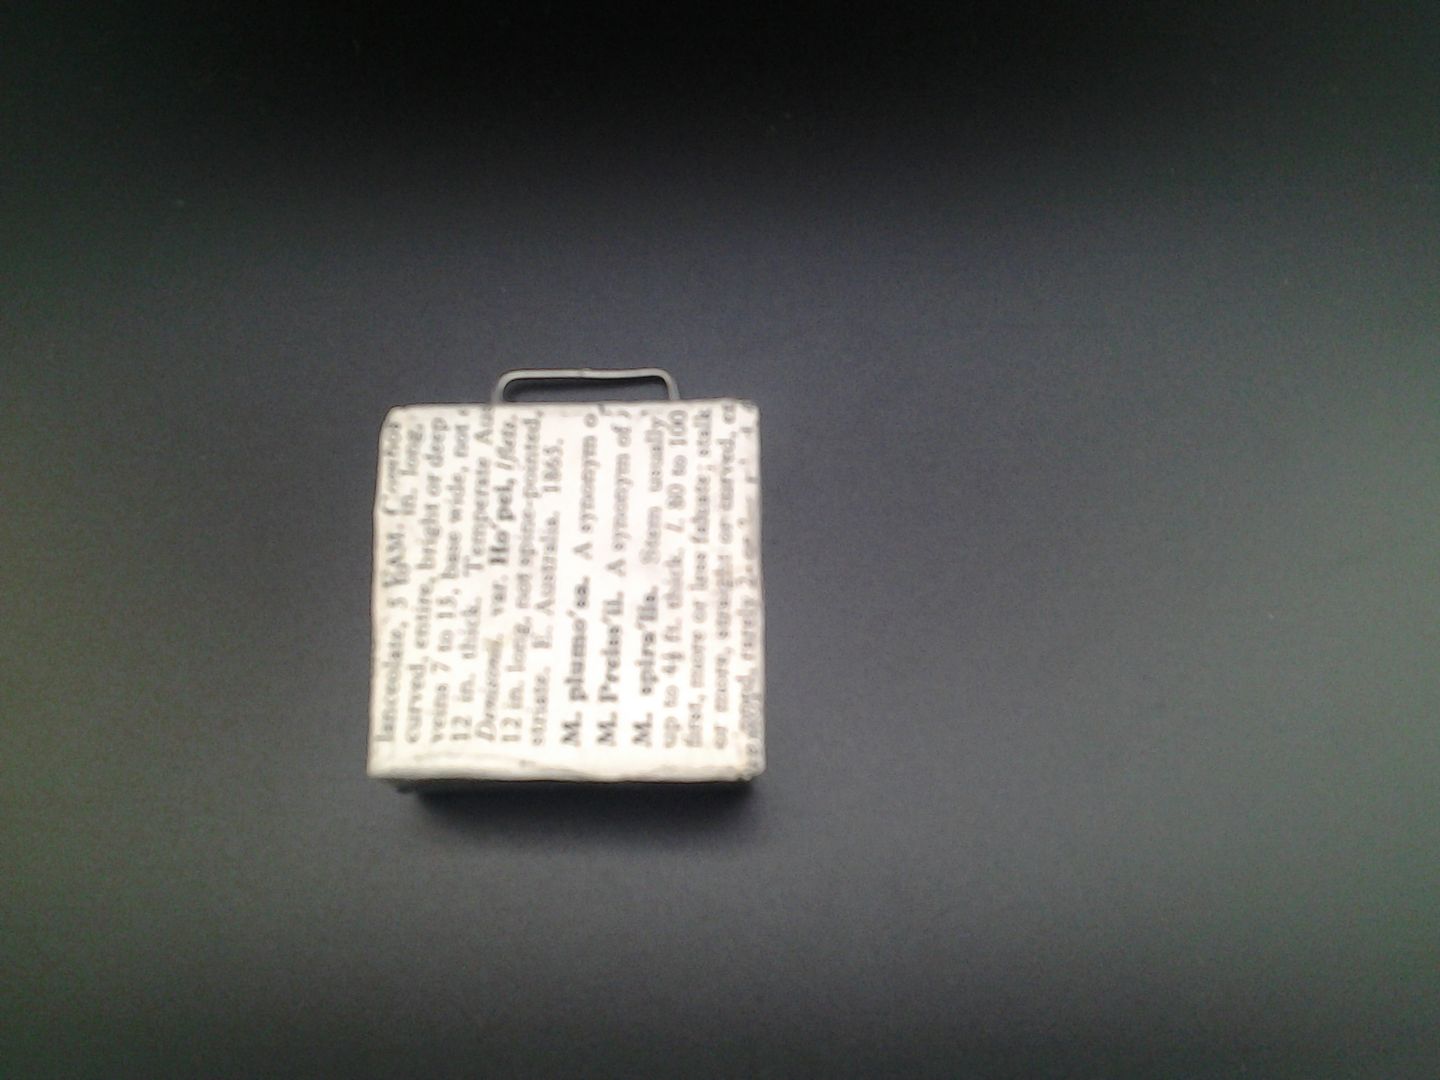
This was so hard to photograph!  This is the tiny 1" square box.  The paper box is a page from a French book.  I put some pretty paper in the back (mum had brought some with her), then suspended a sewing machine charm from the top.  I added some small purple iris beads which I left loose to rattle around.  


We had an absolutely brilliant day, it was the day before mother's day so also took mum to the on-site cafe for lunch.  Playing around with bits and bobs was so much fun.  I'd love to do some more mixed media, but I want to take more classes first, I don't feel prepared to just run with it.  Have any of you lovely readers tried mixed media?

Thursday, 7 January 2016

Snowflake stars

Just before Christmas wonderful mum and I (I hate typing that.  I know it's grammatically correct but I just don't like it) went to a craft session at Debbie Bryan.  It was just titled "snowflakes" and I suppose you would call it mixed media.  As usual there was a constant flow of coffee and cake.  Steph, the tutor from The Bead Shop Nottingham was there too (as a participant) and we had a great time.


We were given a bag with three different plain wooden snowflakes in it (one of them is technically a star) along with some small pieces of wood and the acrylic centre to the top snowflake.  The blanks have holes drilled in them so you can stitch on them.  We were let loose with paint, stamps, embroidery floss and our imaginations.


It was a really windy day when we took these photos, so I couldn't capture it very well.  The middle snowflake has buttons sewn on one side, the star is laced with bronze metallic floss and there are 4 little arrows tied on to the bottom below the last star (one under the other).  It is all joined together with the bronze thread.  

I probably should have taken some close up pictures!


Thursday, 19 November 2015

Speed Craft #3

I'm back to telling you about my Sunday at Speed Craft, hosted by Debbie Bryan.  You can read my previous posts here and here.

The third table we went to was called "handcrafted robin".  We had no idea what that might involve and having done it, I'm not sure what I'd call it!  I didn't think to take any process photos, which would have been useful.


We were given a wood blank the shape of the whole robin.  It had holes drilled in it.  The and back are also a wood blank.  The red breast is acrylic.  We simply had to hand stitch the various elements together.


We then glued a piece of leather to the back to hide the messy stitching.  I had some time left at the end so I played with some other small blanks the tutor had for jewellery making, but I can't find them now, I might have left them behind.

This was interesting to do, but it was just like doing a kit as everything was pre-cut.  It would be interesting to make my own, if I were into cutting wood and acrylic that is!  Mind you, I do have a dremel or two...

Next up: Mono printing

Wednesday, 19 December 2012

Pin it

Good morning ladies.  Well, it's starting to feel a bit like Christmas round here.  I finally put some tinsel on my desk on Friday, along with my mini Christmas tree topped off with a decapitated Santa's head I found in a bag - a bit scary, but festive!  I was presented with a lovely present this morning from one of my colleagues.  She'd asked me to replace the zip in a pair of jeans her daughter had bought.  I set about it with a lot of trepidation but you know what?  It wasn't that hard!  She also asked how much she owed me, even though she'd bought the zip.  I know my time was involved but I can't charge my friends and colleagues for things like that.  I was pleased with the experience anyway as it made me feel confident about doing things like that again, so that was my reward.

We also did Secret Santa in the projects and purchasing teams last week.  Some cheeky bugger bought me a rear view reversing mirror!  They all laugh at me here for hitting the gate post 3 times, and a wall, and 3 parked cars, and one car doing an emergency stop... 

Anyway, enough of the waffle, today I bring you brooches.

 
I don't know if you remember that me and my wonderful mum did a Mixed Media jewellery workshop earlier in the year?  Mum loved the fantasy paint and has used it to make these brooches.  The effects are just lovely.  She's used a variety of charms and spacer beads in the centre. 
 
We had these on sale at the craft fair, along with my knitted wire tube brooches and needle felted creations.  She sold a couple as did I so we were quite pleased.  They are pinned onto a piece of velvet mounted inside a frame that she painted white.  They looked fab, I have to say!  I do confess to having stolen one of these brooches since the fair (as they ended up at my house) and I have my eye on a couple more.  I LOVE brooches.  She also made some pendants on a ribbon "chain" in a similar way, but I don't have photos.  I'm going to work on getting good pics over the Christmas break and hopefully get them in the shop early next year.
 
I've noticed a lot of bloggers saying goodbye until after Christmas or January.  I have no specific plans to take a break, but in case I do drop off the radar, or if you drop off the radar for a few weeks - have a wonderful Christmas!

Friday, 24 August 2012

bottle tops

Good afternoon ladies!  I hope you're all well of a Friday afternoon?  Now, I don't want you all to panic, this post isn't about the Zakka Style Sew Along.  I know, incredible isn't it, I'm actually talking about something else!
A little while ago I told you all about the mixed-media jewellery making workshop that I attended.  One of the products was Pebeo Fantasy Paints.  I had a thought and fancied giving it a go.  Out came my big bag of bottle tops, aquired years ago at a craft show.  I used to use them in cardmaking but they'd been put aside for a while.  I got to work filling them with the paint and swirling two or three colours together in some of them.


Please excuse the rather dark, badly-lit, badly-shot photo and the crappy old placemat.  I wanted to get a shot of them before they dried, and so waiting for optimal light conditions was out of the question, as was moving them! 


I love the effect.  We were told at the workshop that you have no control over how the paint comes out.  This isn't strictly true if you've worked with them a little as you get to know how they behave and so can manipulate the paint.  There was one big flaw.  I didn't take shrinkage into account and they shrunk so much that I could see the inner circle of the bottle top on many of them.  Quite predictably, on my favourites!


I added some more paint and got my cocktail stick out again for more swirling and swooshing and other onomatopeic words.  Hey, big fancy word there, eh?  Spelt wrongly I don't doubt!  You can still see the bottom in some of these, but I've only noticed it on the photo, not in real life.


I did one each of the colours alone, though I don't seem to have done a red one for some reason.  They didn't turn out so well.  The light blue one on the left is how they should look, with that strange patterning.


Then I went to town swirling and mixing.  Some I love, some I don't like so much.  In some cases I loved the first go, but when I tried to replicate it as they were too empty, it didn't quite work, despite all my talk of learning how the paints work!  I suppose they're just not that precise.


It used a lot of paint.  I think next time I'll half fill the bottle tops with ordinary acrylic paint, then use the Fantasy paint over the top.  So you're all sitting there thinking "but what are they for", I can see it.  I'm thinking of adding brooch backs or even bails to make them into necklaces.  I'm wondering about drilling them to string a few together - but that's got to wait until I get a Dremel.  I'm saving up in Amazon vouchers that I get for doing on-line surveys, I'm half way there!

This lovely parcel plopped through my letter box this week.  Well, in all honesty, it plopped through my parents' letterbox and they passed it on to me.  I won this gorgeous panel from my lovely bloggy pal Susan.  She very generously added the perfect co-ordinating FQ and some flavoured teas.  I'm looking forward to getting to work on this one, I just hope I don't mess it up!
In other news, my lovely friend Allie has just started selling her patterns.  She's incredibly talented, so please go and take a look.  You can see her work on her blog and I'm sure you'll all agree that her patterns are amazing.  You can buy her first pattern (below) here.


Wednesday, 18 July 2012

mixed media workshop


I had last Thursday off work.  Wednesday had been a nightmare with crisis after crisis at work so I was glad to be off.  Shame it's just a distant memory now...  I had the day off work to go to the second in the set of 4 jewellery workshops I've booked onto with my wonderful mum at The Bead Shop in Nottingham.  This one was mixed media.

To be honest, we had no idea what that meant!  It actually meant 4 different jewellery making techniques. 

The first was using the brand new Pebeo Fantasy Paints.  They're a lovely paint which dries into fabulous textures, not so apparent in my crappy photo below!  We used the paint on various metal elements and practiced swirling and layering to get different effects.  I have to confess I didn't make the round red one below. I made a green and gold flower that didn't end up looking like a flower and I didn't like it but mum loved it and swapped me.


The ring below uses silver and pink paints to create this fab effect.


The second tecnique used Geofix clay.  It's a clay that comes in two parts and is mixed together.  After they are mixed you have about an hour to play with it before it sets.  I made a pendant and a very bling bead which I struggled to take a photo of.


The bead is on its side in the photo below but it's still a rubbish picture.  I love the pendent. 


Next up was Stampbord.  No, I haven't spelt that wrong, that's the brand name.  It's a board covered with a clay type thing. I used inks to mix, swirl and dab colour on, then I used an etching tool to take parts back to the clay underneath.


When she showed us the samples of the beginning, I didn't think I'd like it, it didn't seem very "me".  You know what?  I fell in love with this technique.  I could have sat there all day and stampborded.  That isn't a word, I made that one up.  You can also use them as a basis for collage, I bought some of the pieces so I'll try it at home. You're probably wondering how this is jewellery.  I could stick brooch backs on, or a bail, or I could punch holes in them with my Big Bite and add eyelets.

Finally, we did shrink plastic.  I think most of you will be familiar with this.


My rainbow is definitely too small, and looks like it was drawn by a 3 year old.  Hmmm, don't think I quite took to this technique.  Can you see what I was trying to achieve?

After lunch, we could decide what we wanted to play with.  I went for stampbord straight away.


I couldn't believe that I could draw with the etcher thing, I can't draw full stop but this just flowed.  I'll hang the bottom one in the picture above from the top one with jump rings and add a brooch back.  They all need varnishing to preserve them too.


I plan to add eyelets to this one and make it into a necklace in the formation above.  This technique is also very forgiving.  Made a mistake?  You can rub it out with a special tool, taking it back to the clay, or you can paint over it!  Fab.  You can also use the Fantasy Paints on the Stampbord which my mum did to great effect.  Did I take photos?  Of course not, I was too busy etching!

Expect to see more of this...

p.s. anyone know any jewellery making blogs?  I only have about two on my reader but I'm loving it!


Don't forget to enter my Something Old, Something New competition.  The deadline is 31st July and there is a prize!


something old something new button