
Silversmithing ended for the summer last week. Unfortunately, I wasn't able to go to the last class as I fell down the stairs at work and badly sprained my ankle! At the time, I actually thought it was broken, luckily, it wasn't, but it did mean I couldn't walk or drive.
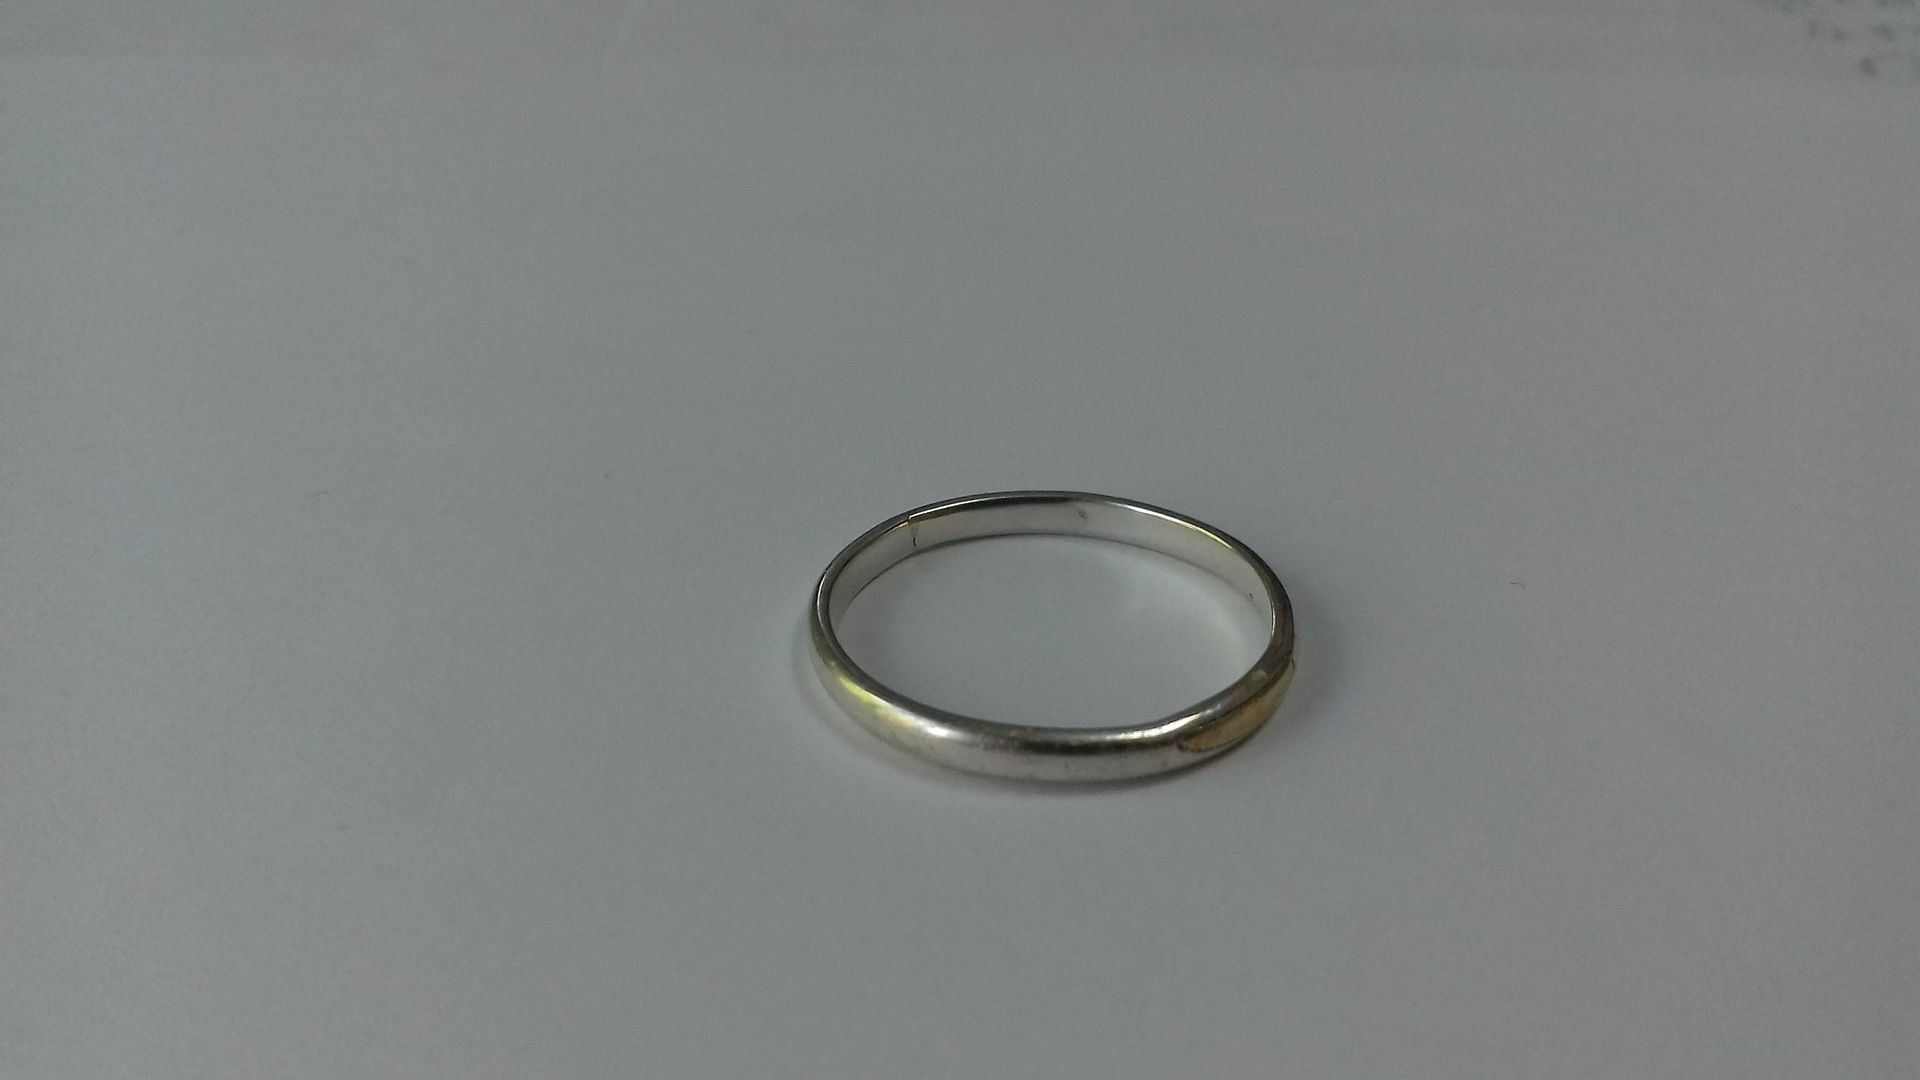
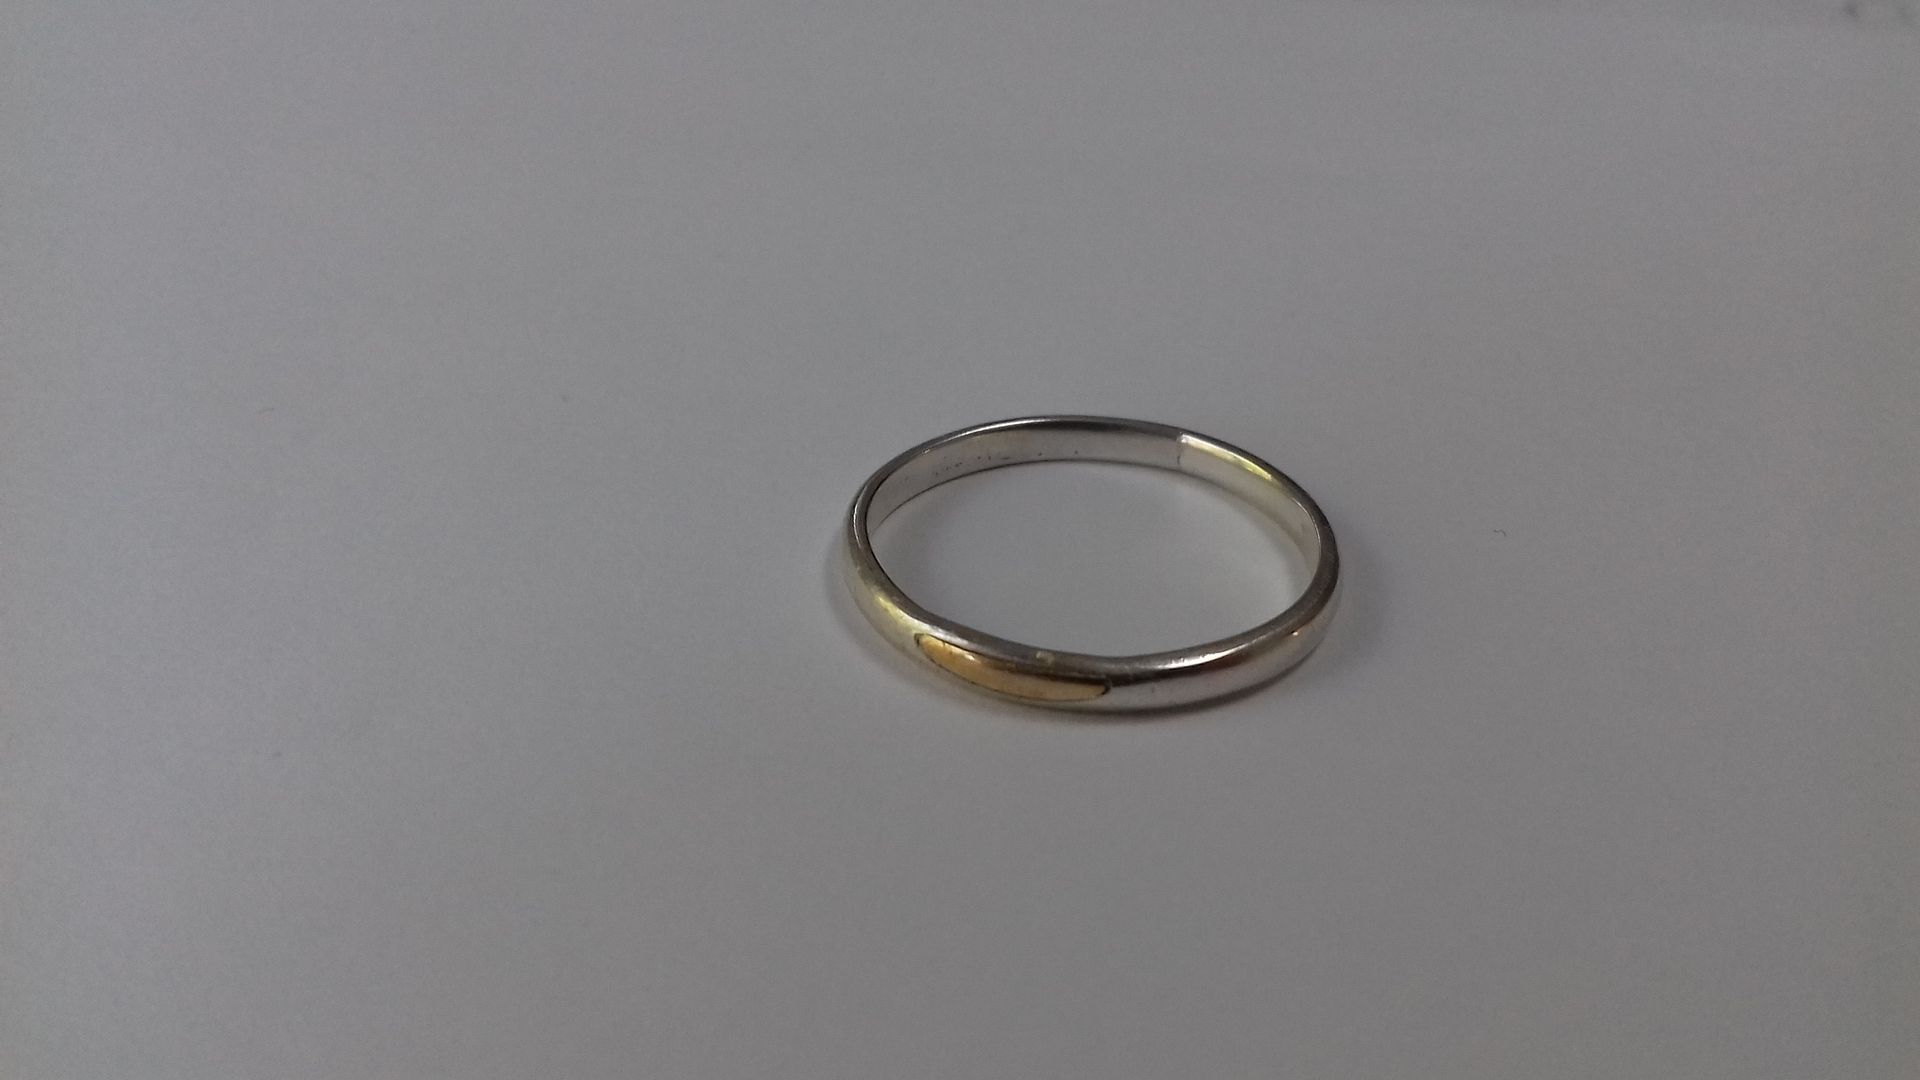
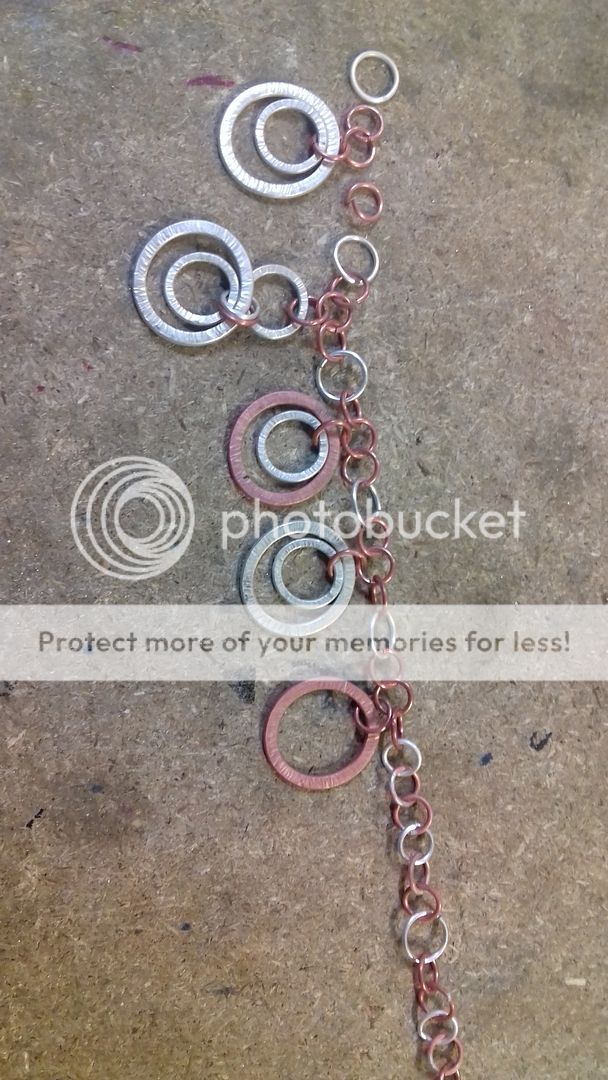
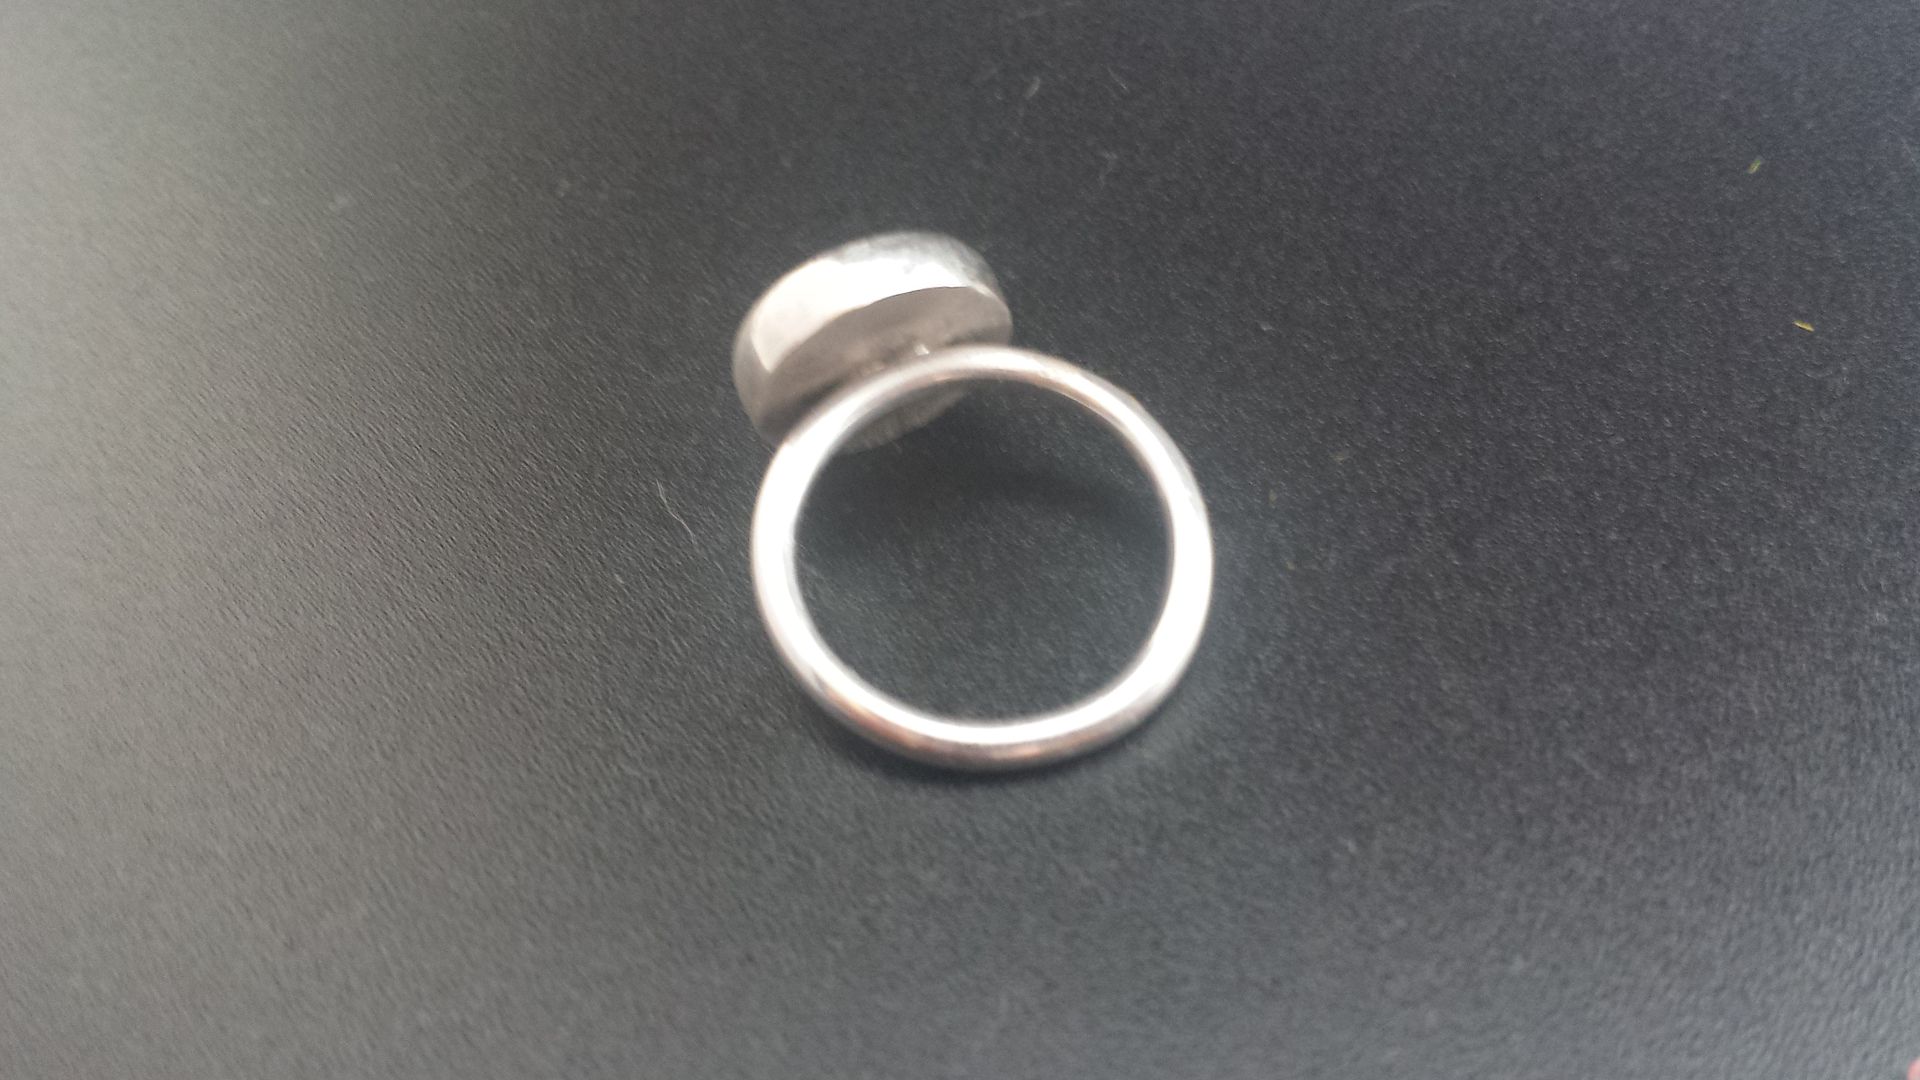
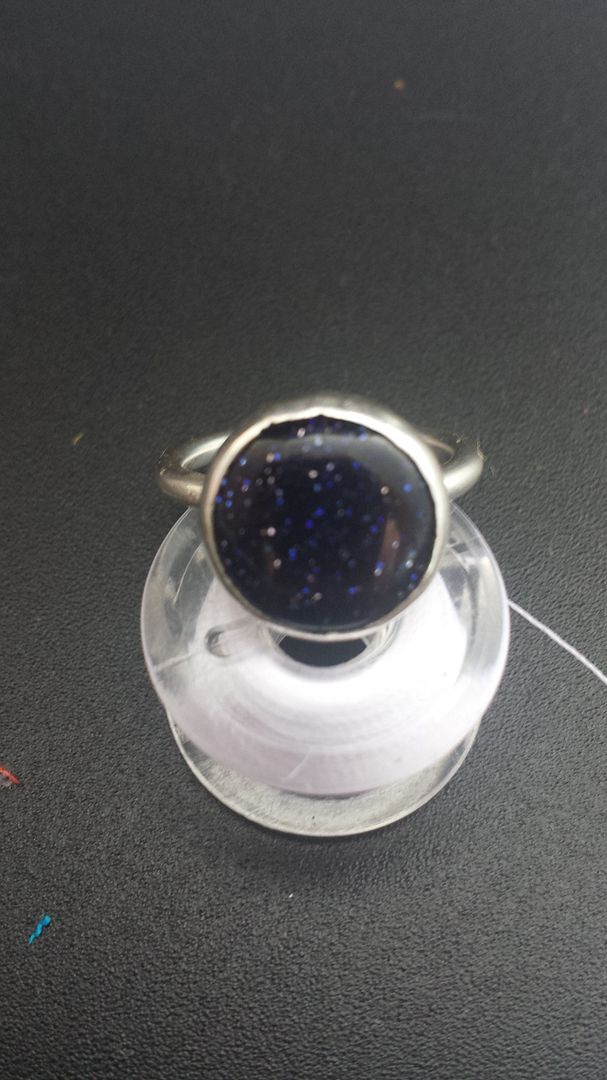
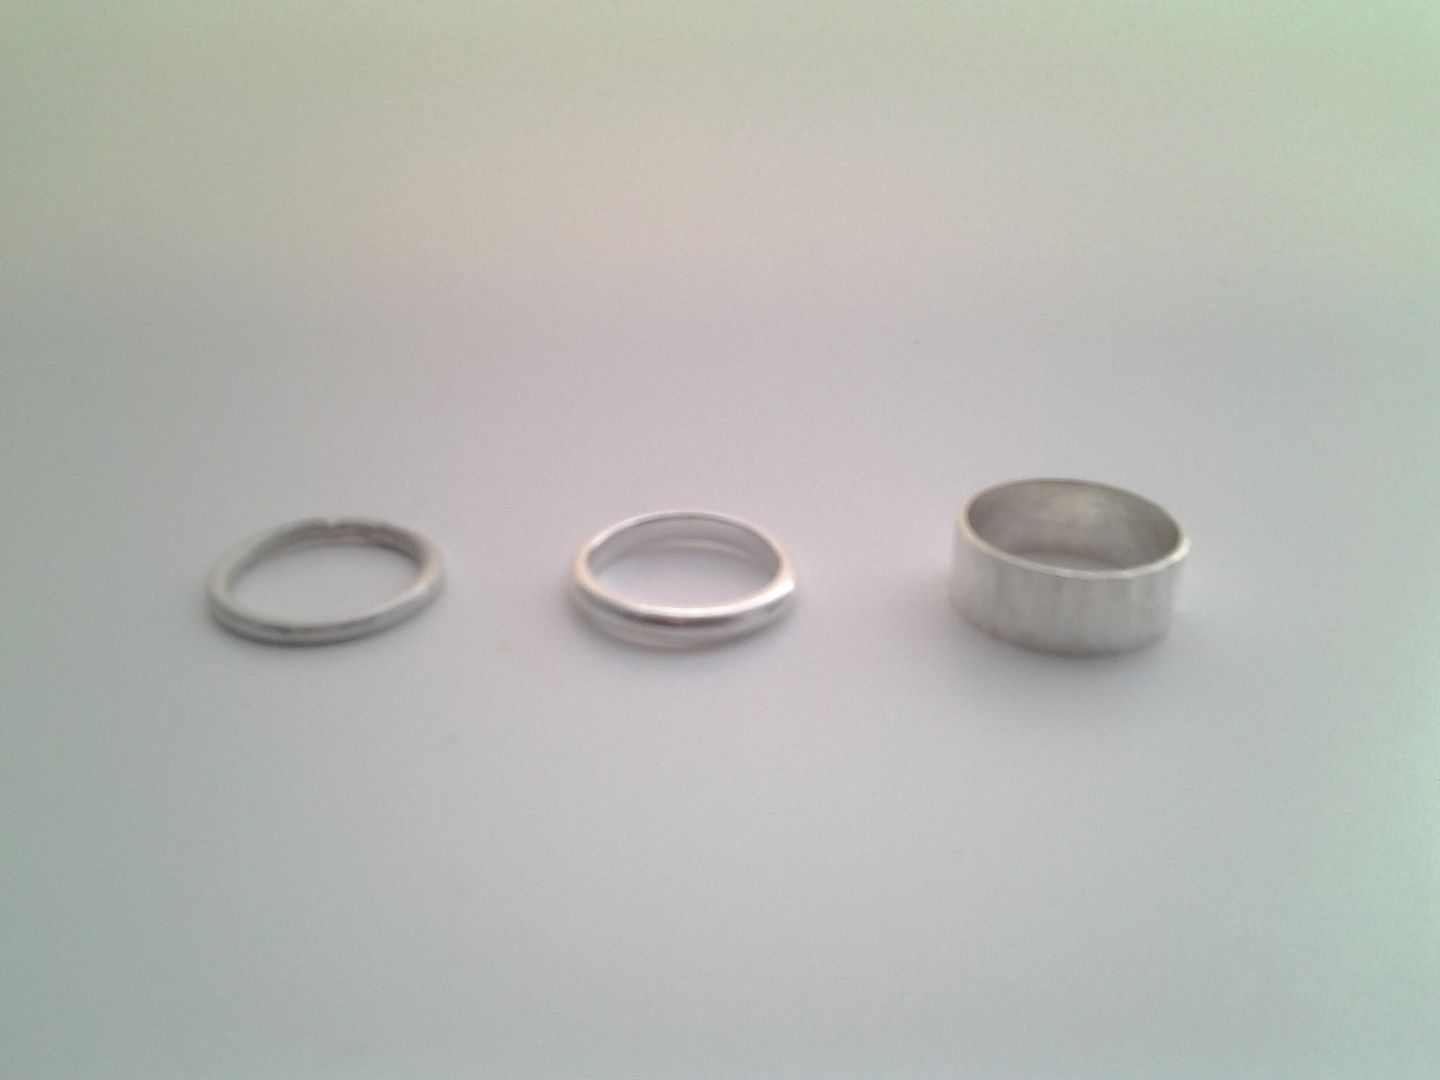
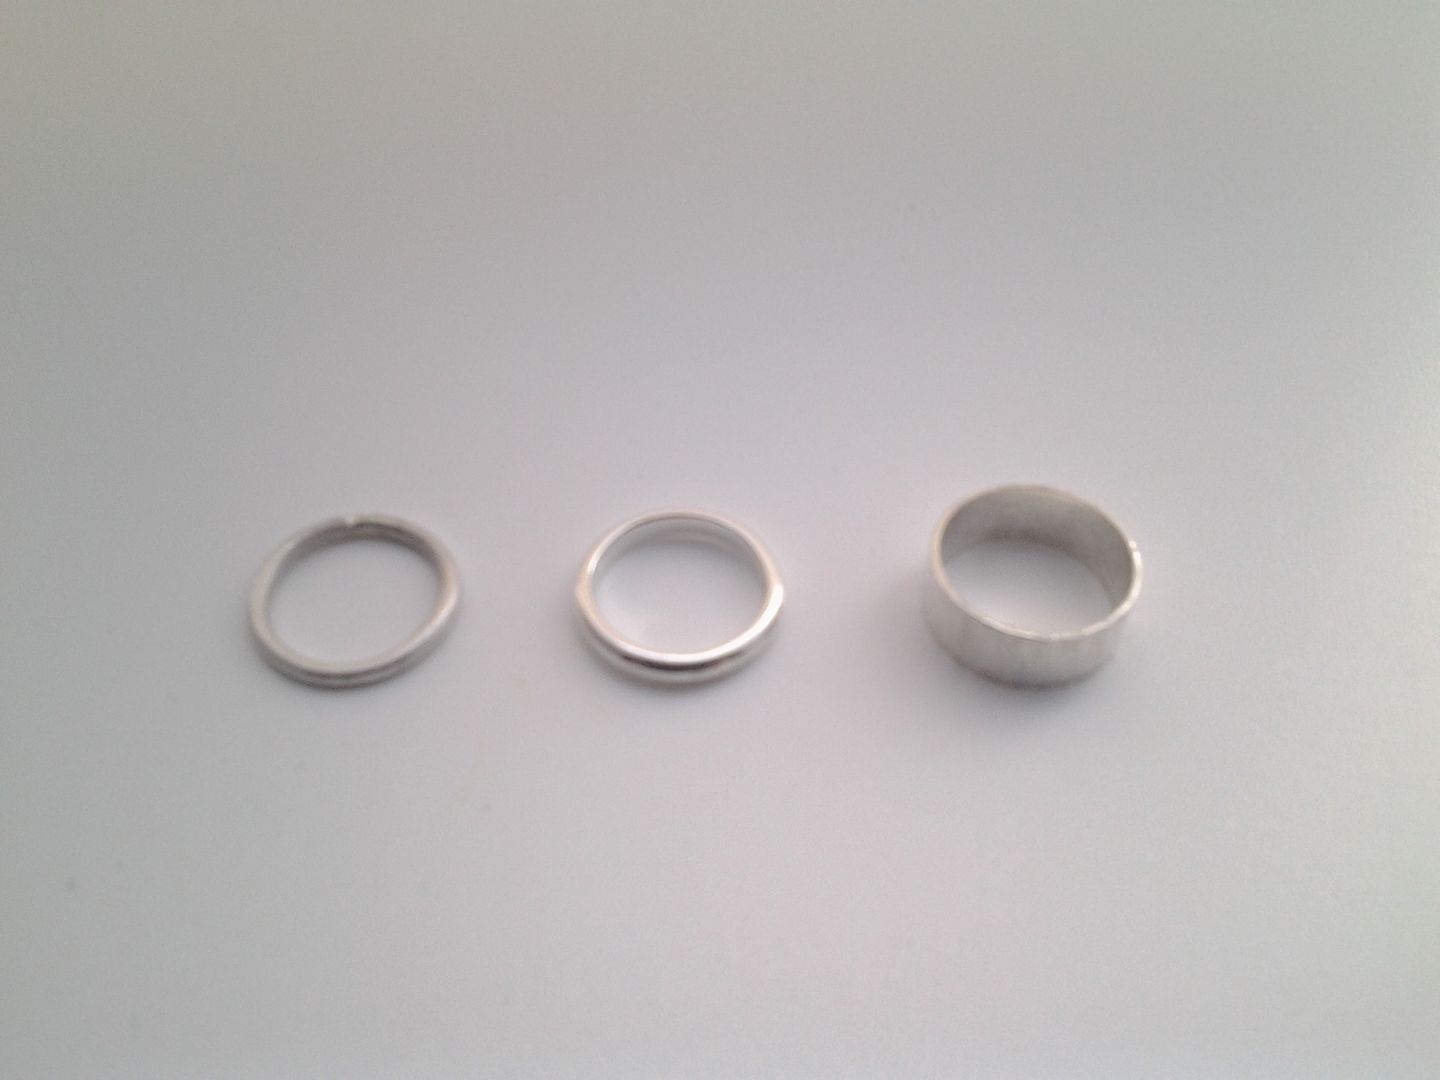
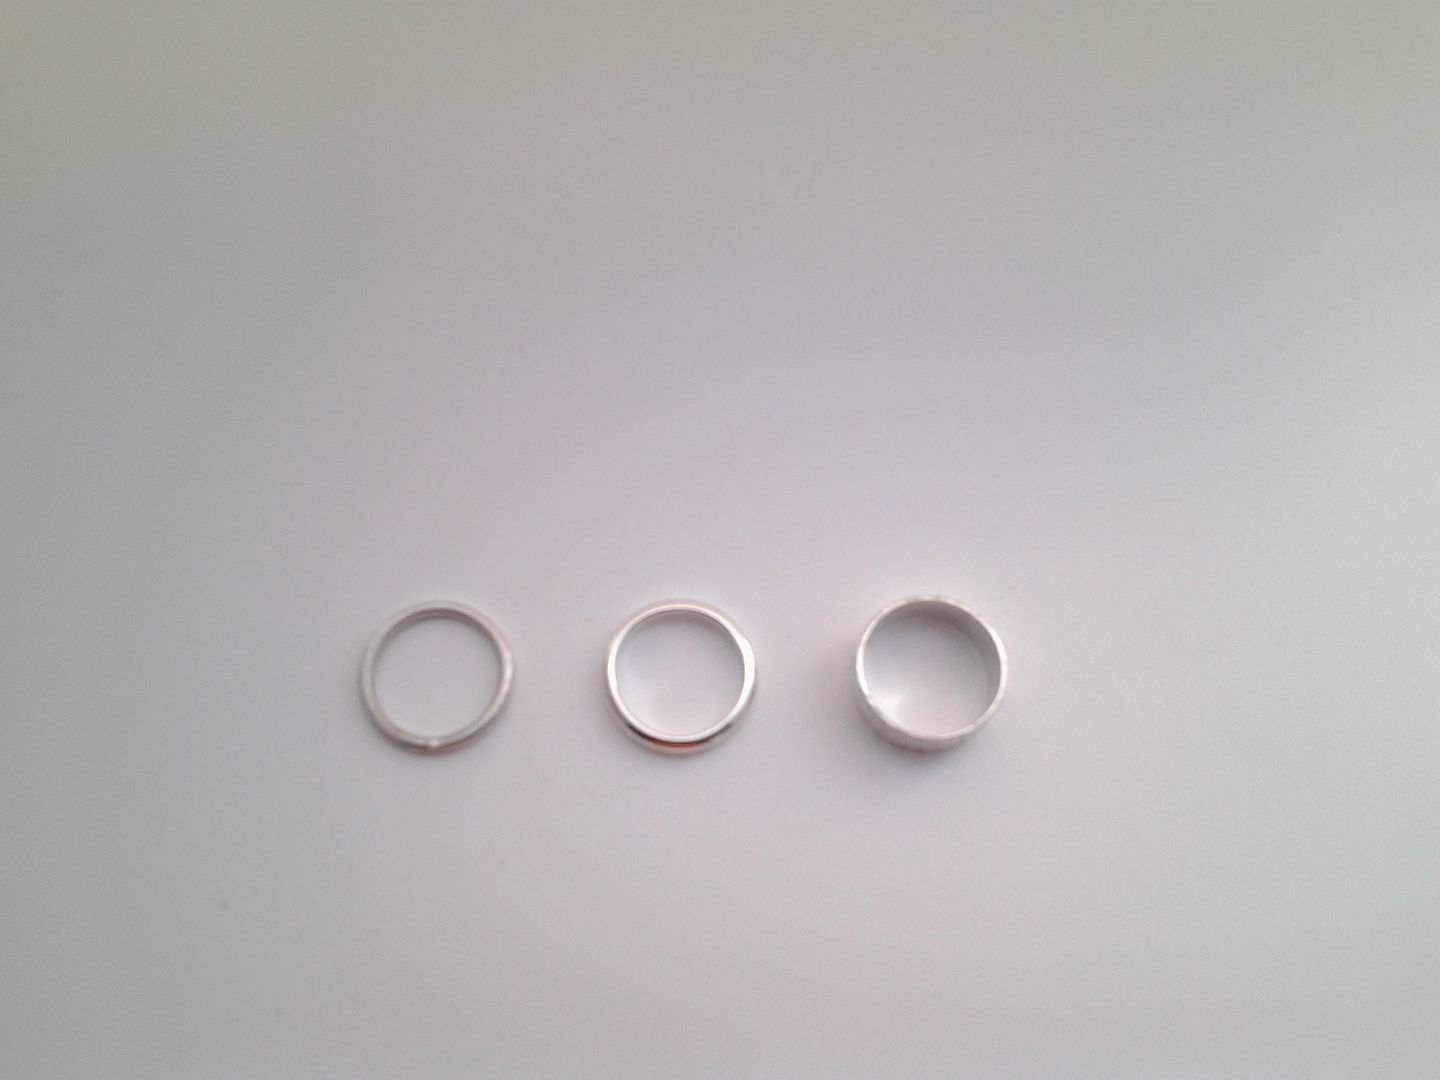
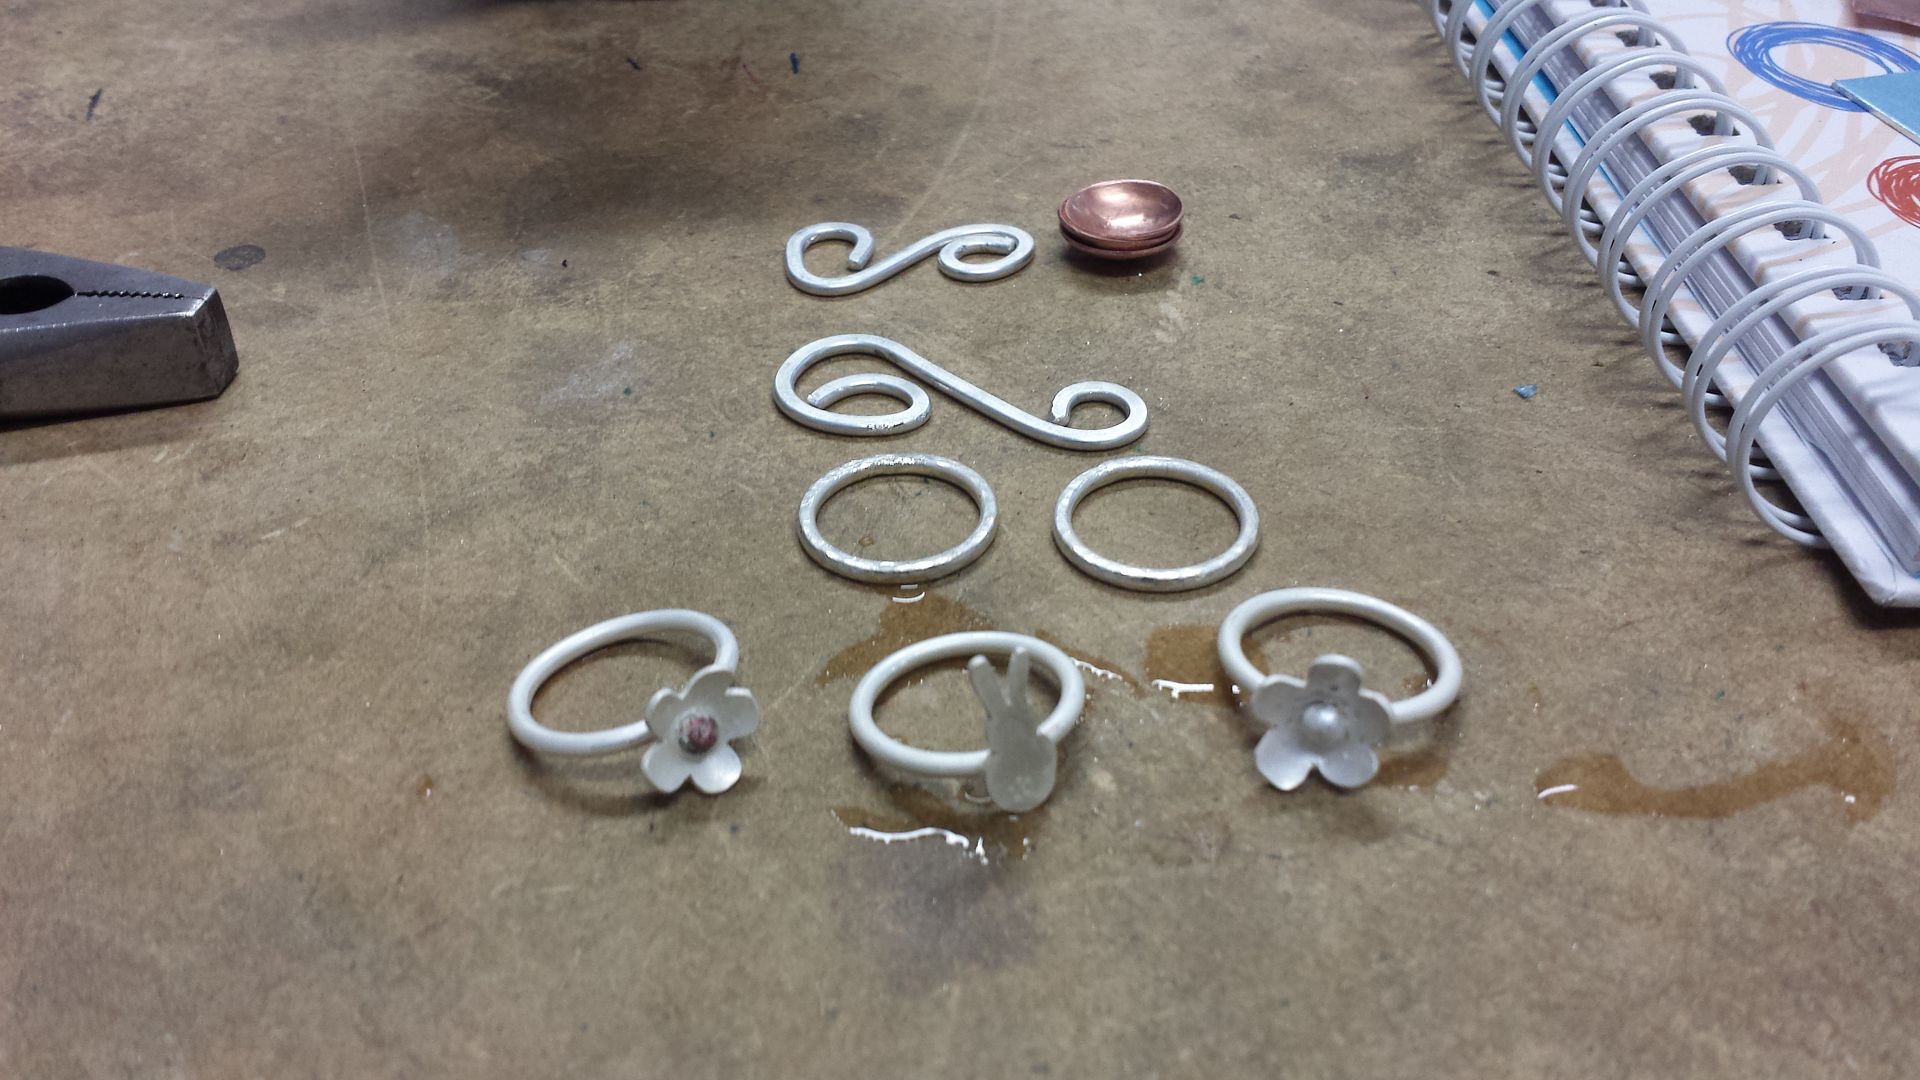
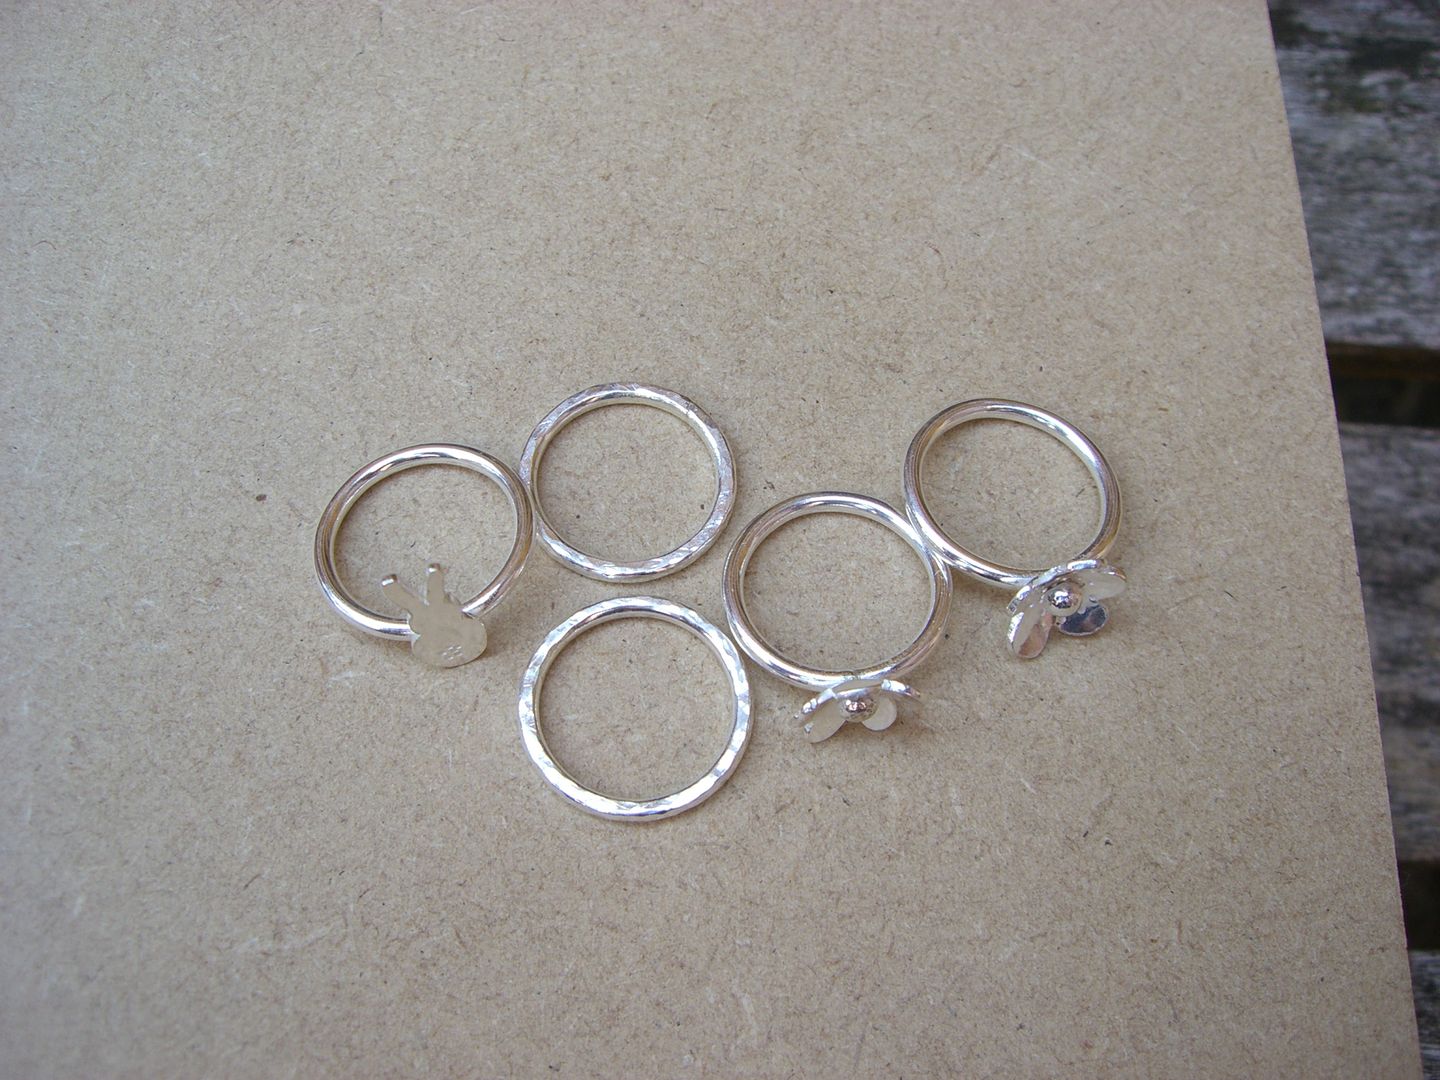
There were three pieces I wanted to finish before summer. The chain necklace I've been making for months which just needs to be cleaned up, I'm more than half way across. This I could actually do at home, then just pickle and barrel polish it in September. Secondly, the spinner ring which is a replacement for the one that didn't spin which was a replacement for the one that became too big! And finally, a silver pendent using gold from my mum's wedding ring.
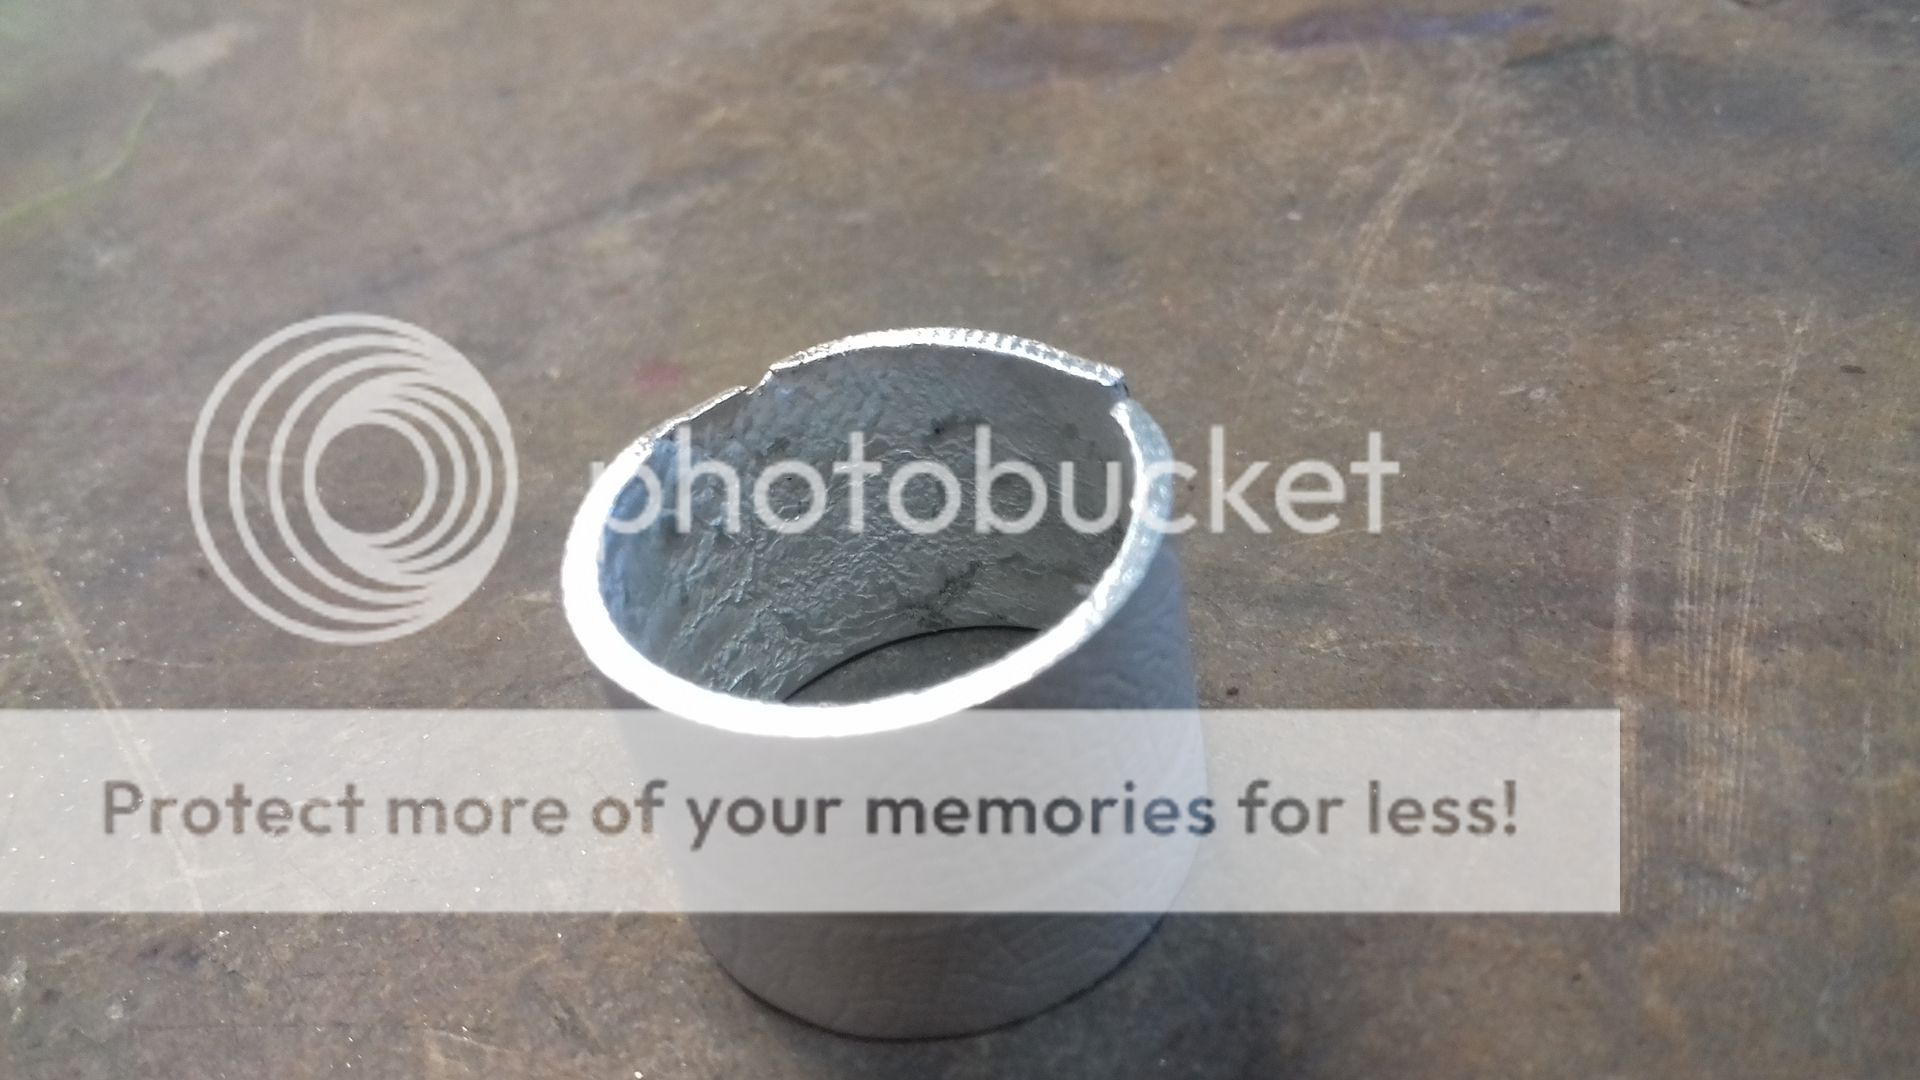
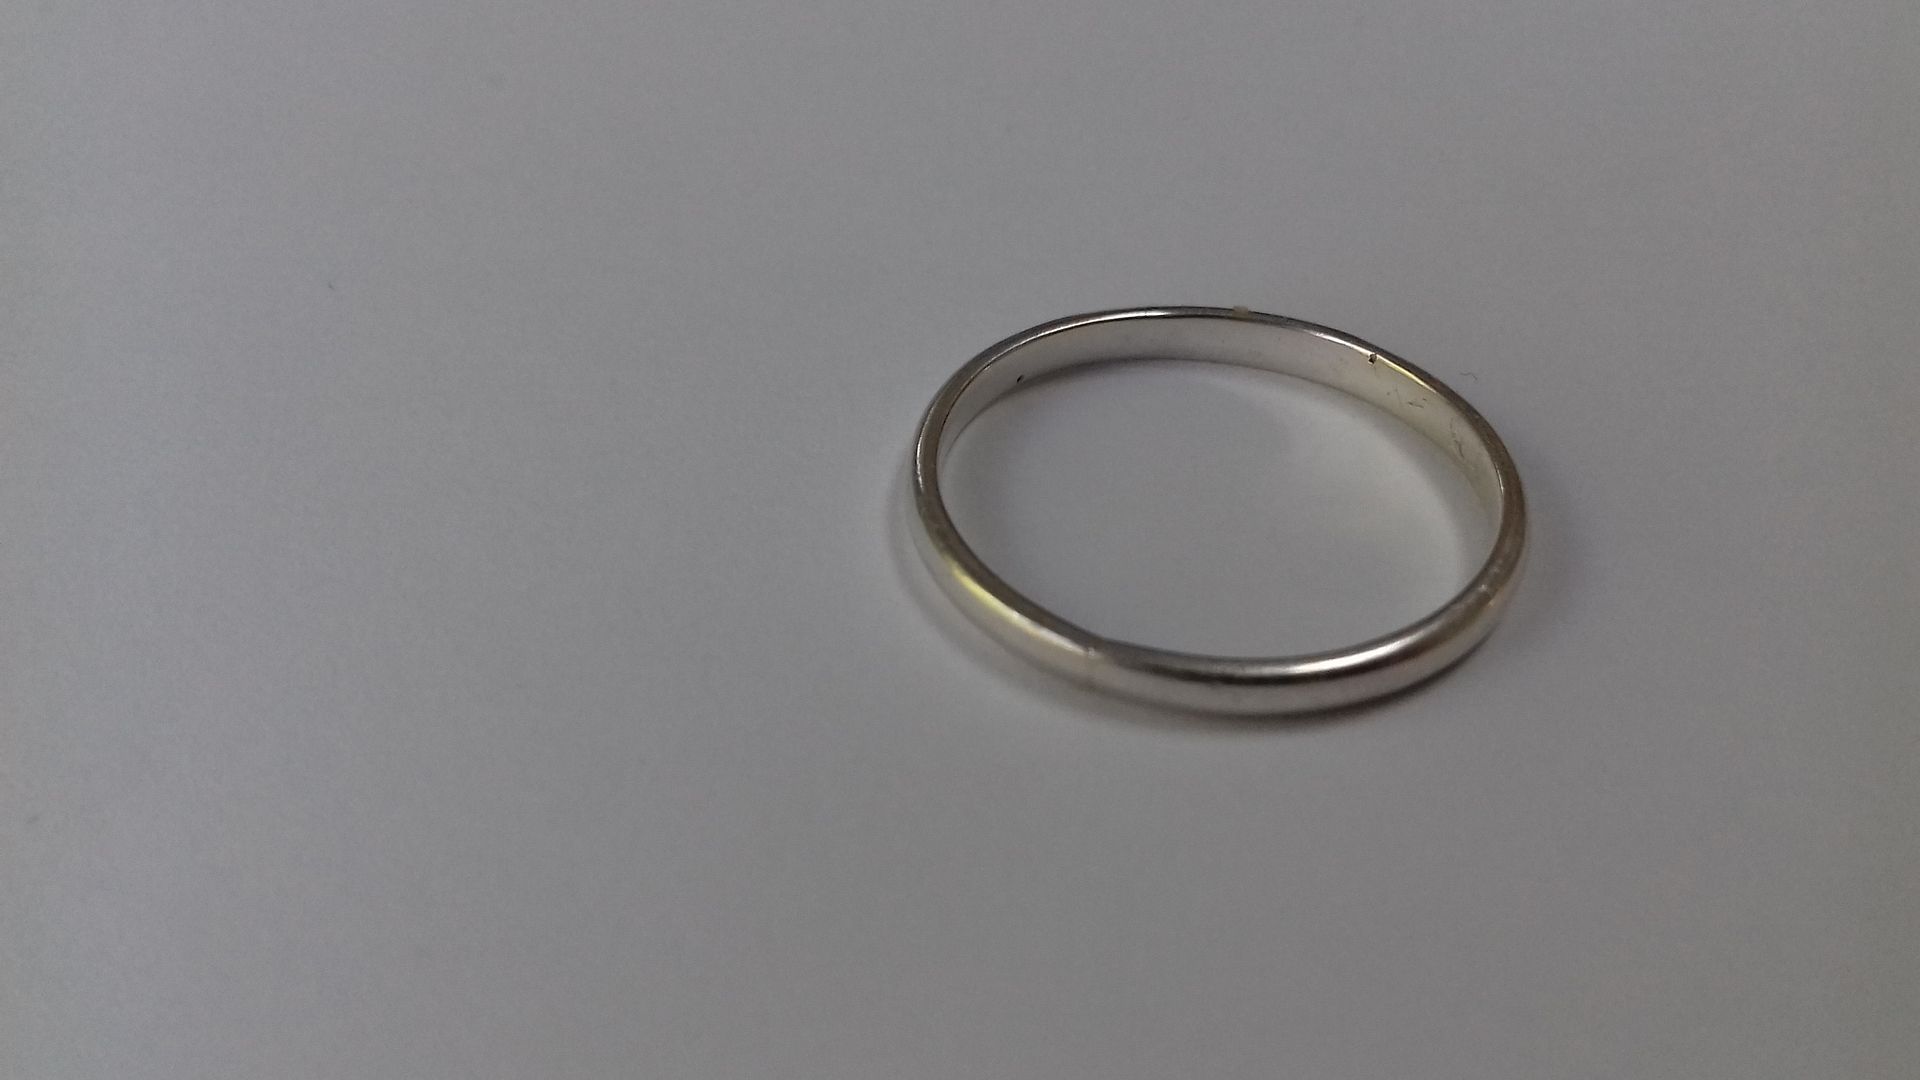
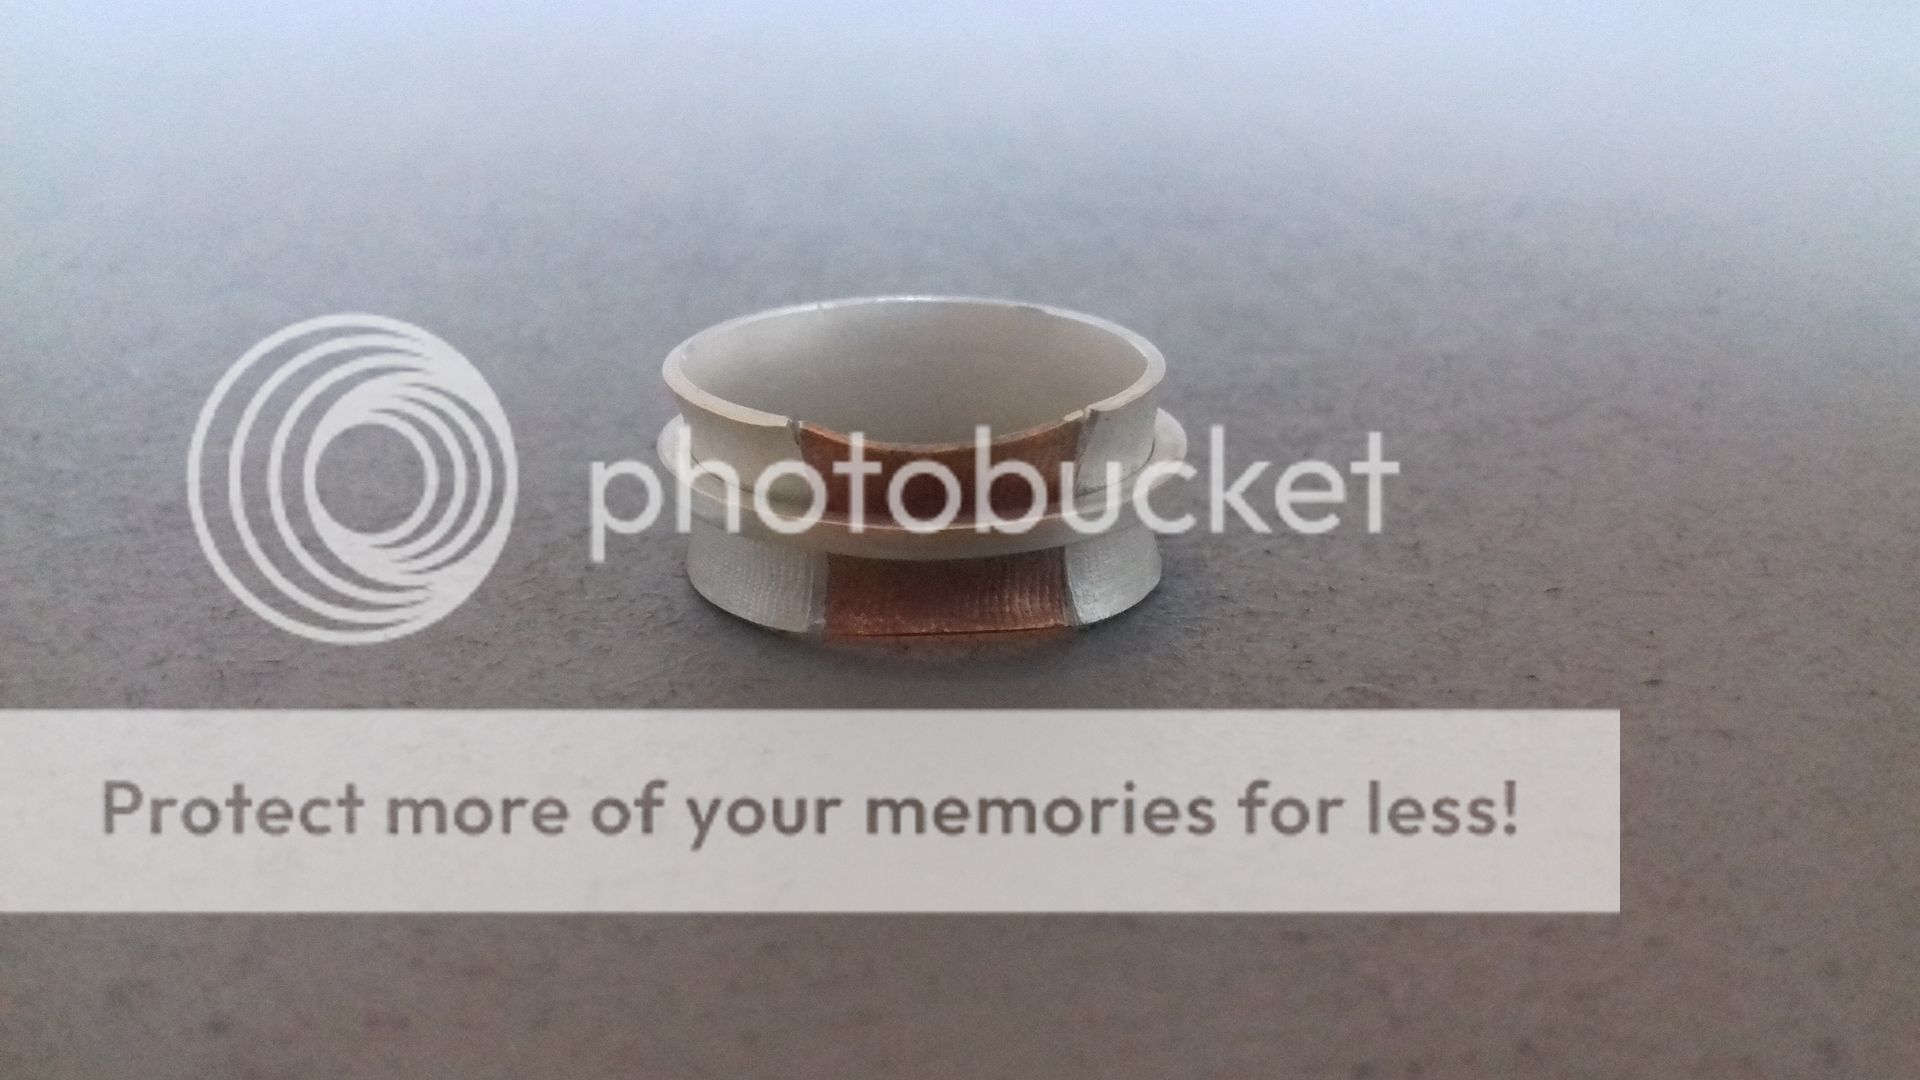
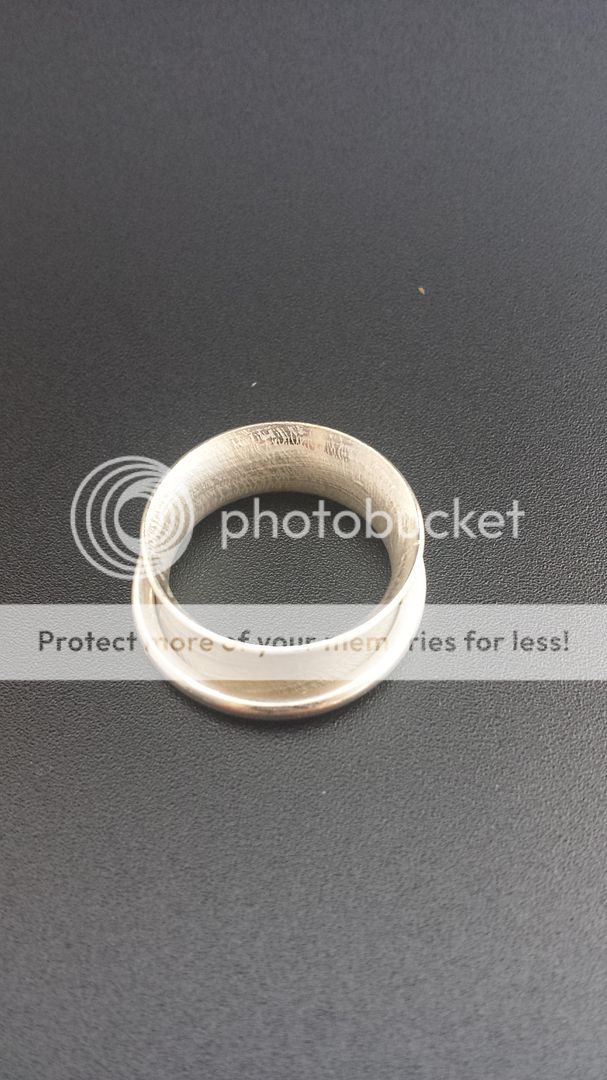
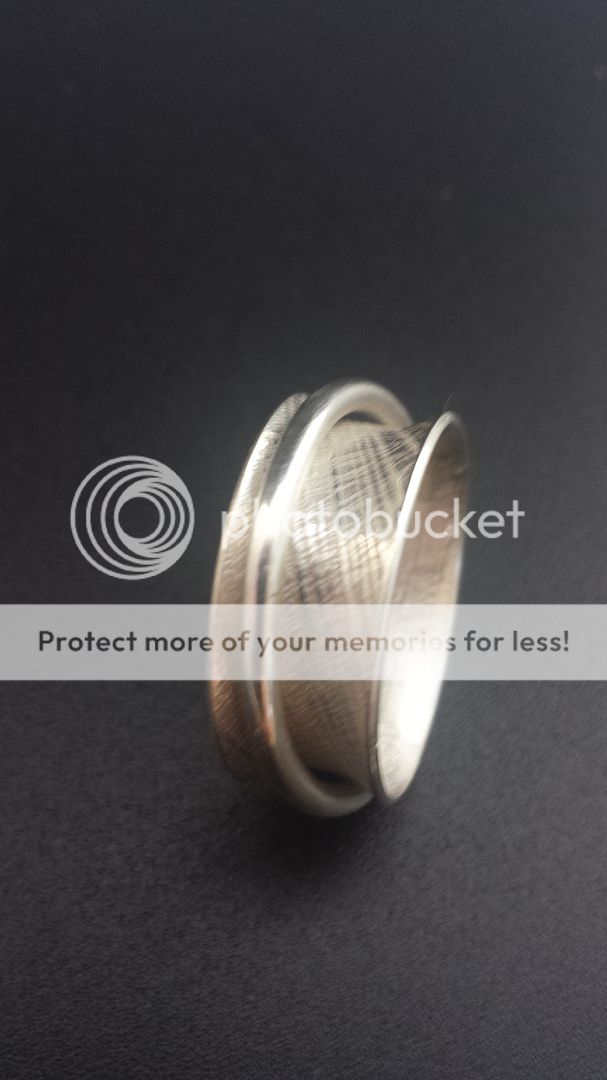
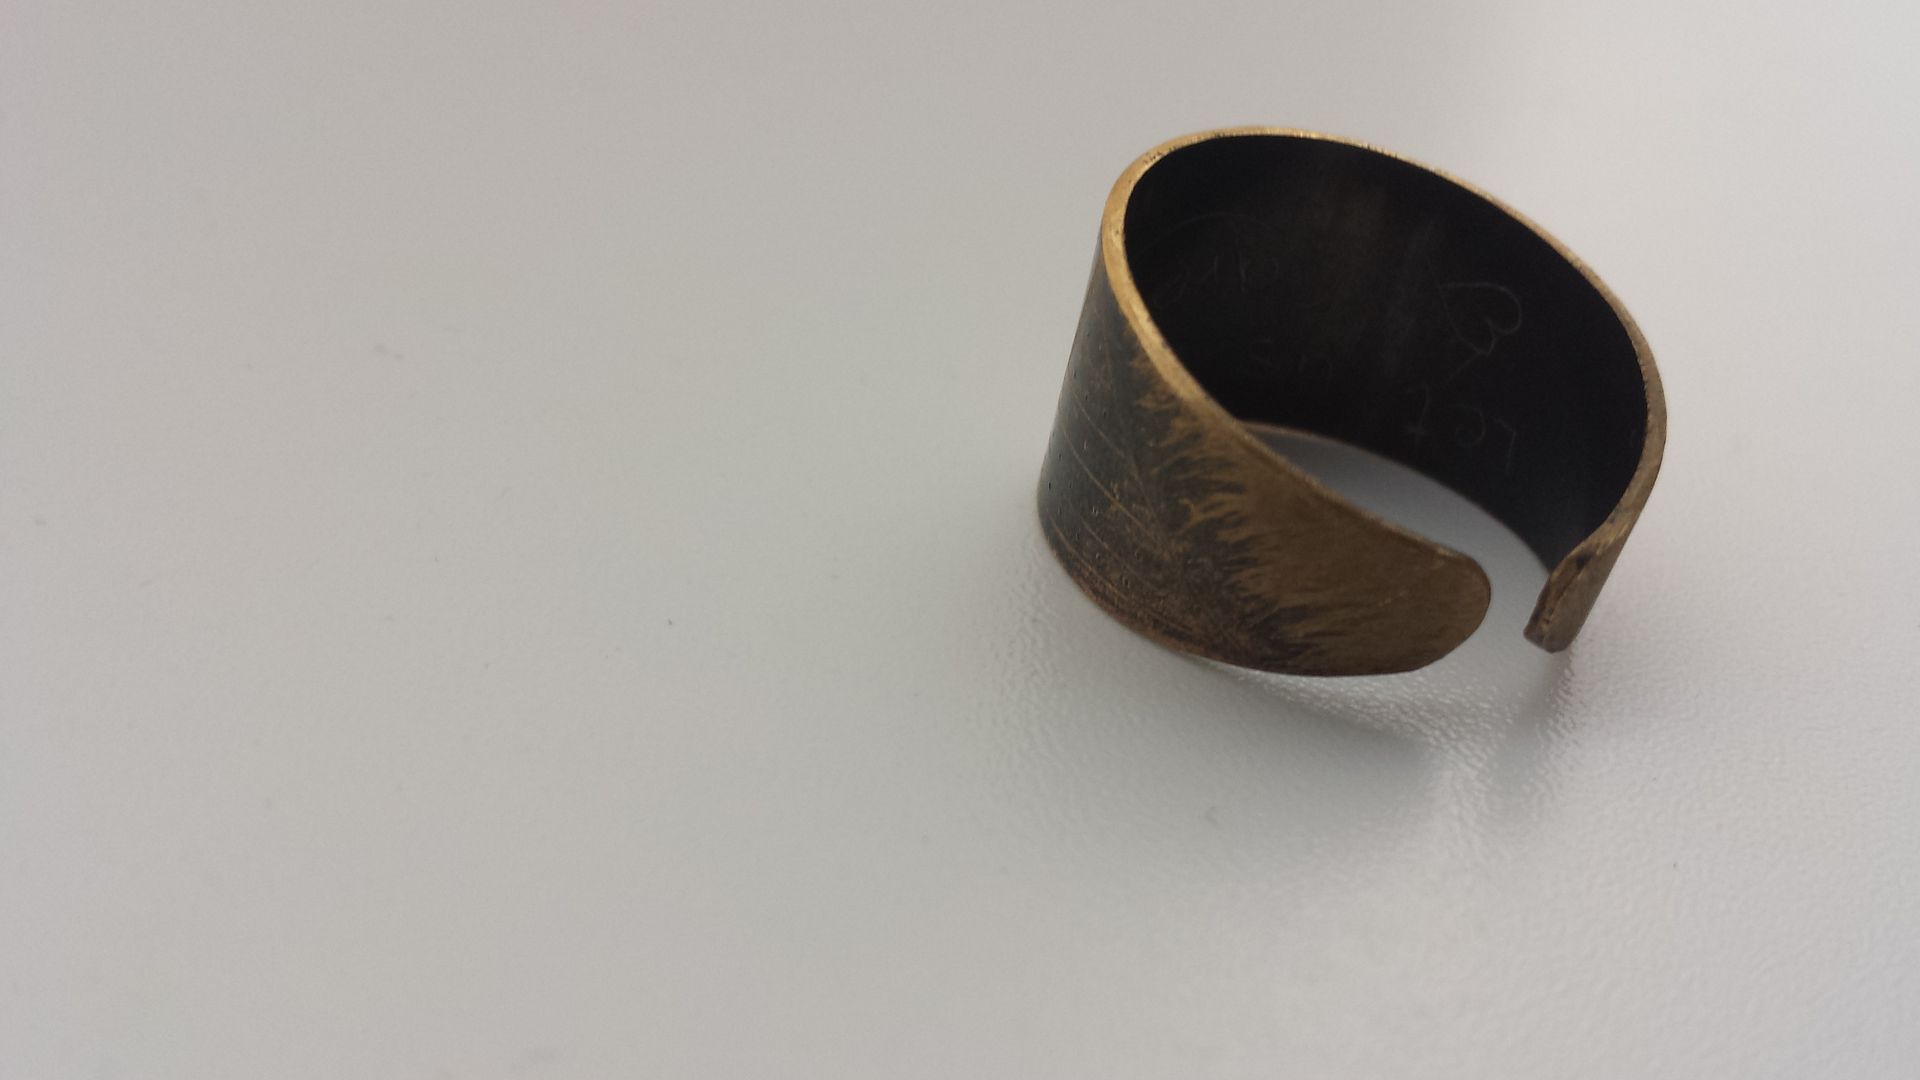
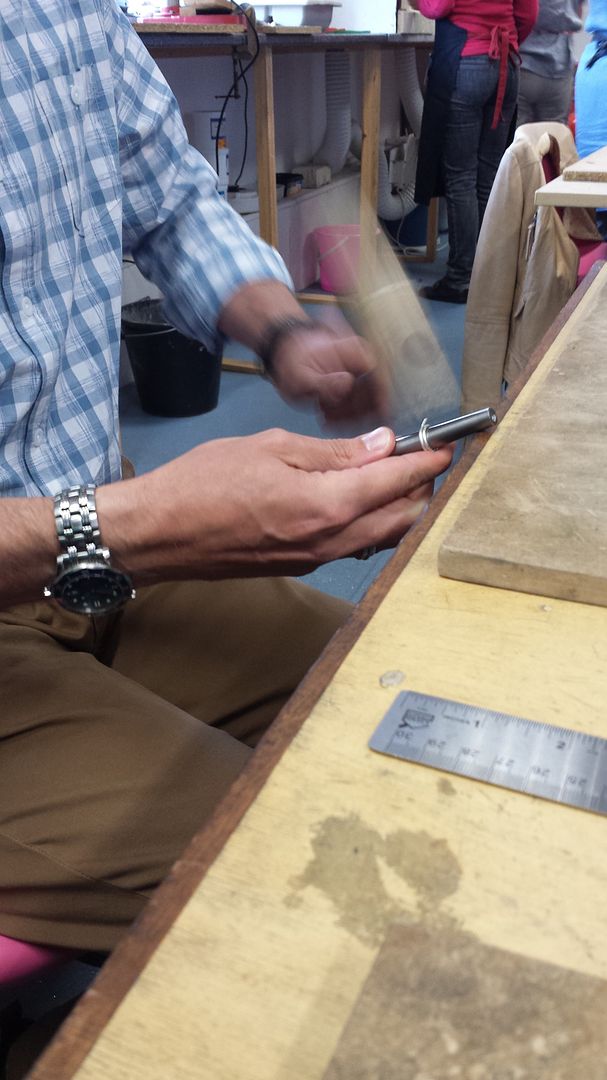
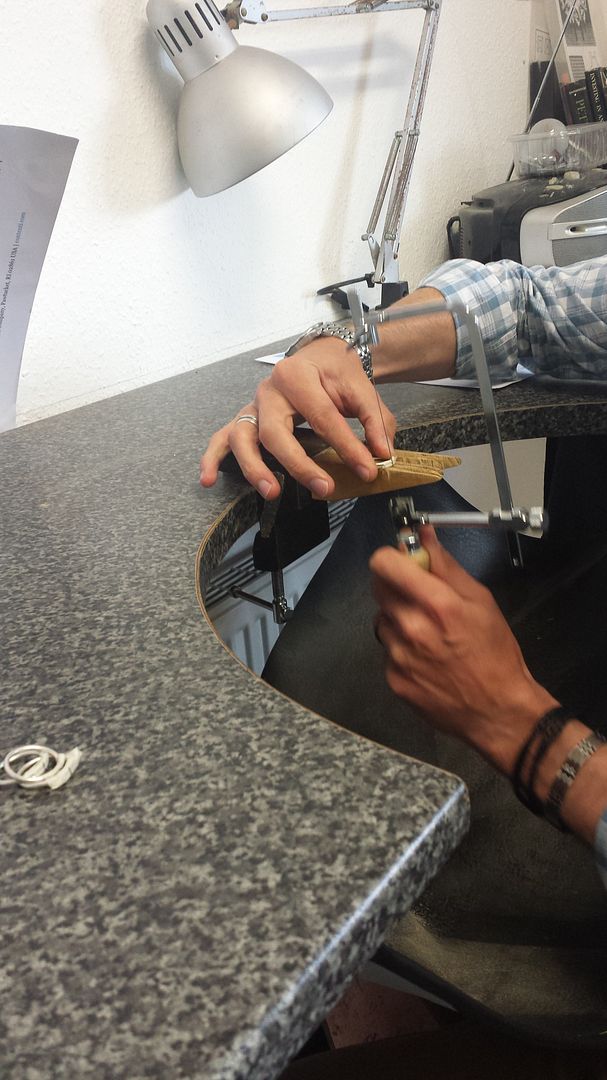
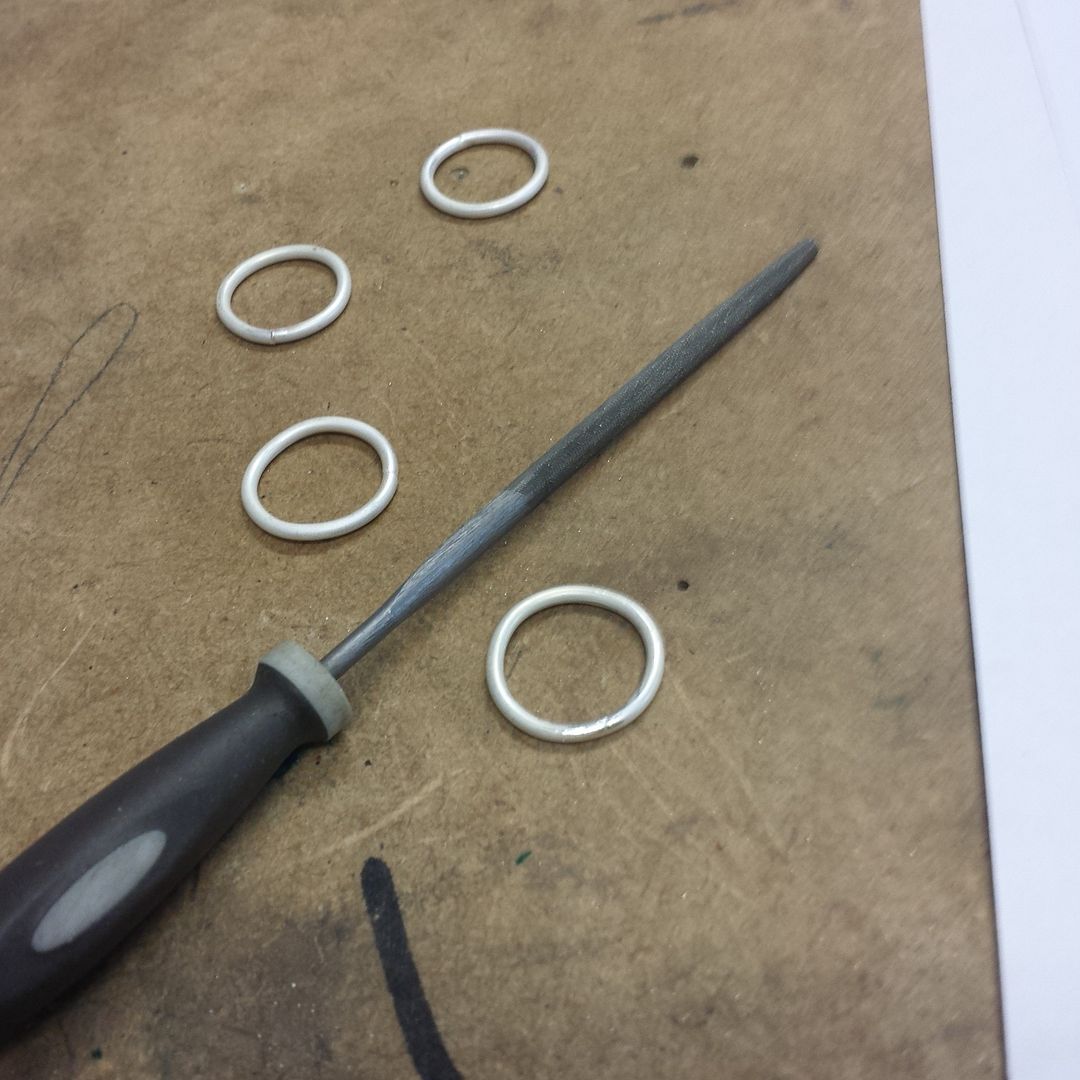
The pan-ultimate lesson brought some disasters. See that raggedy bit towards the top left? I melted it. I heated it too much whilst annealing. I had to file the whole things down. I filed for about 90 minutes. Ouch.
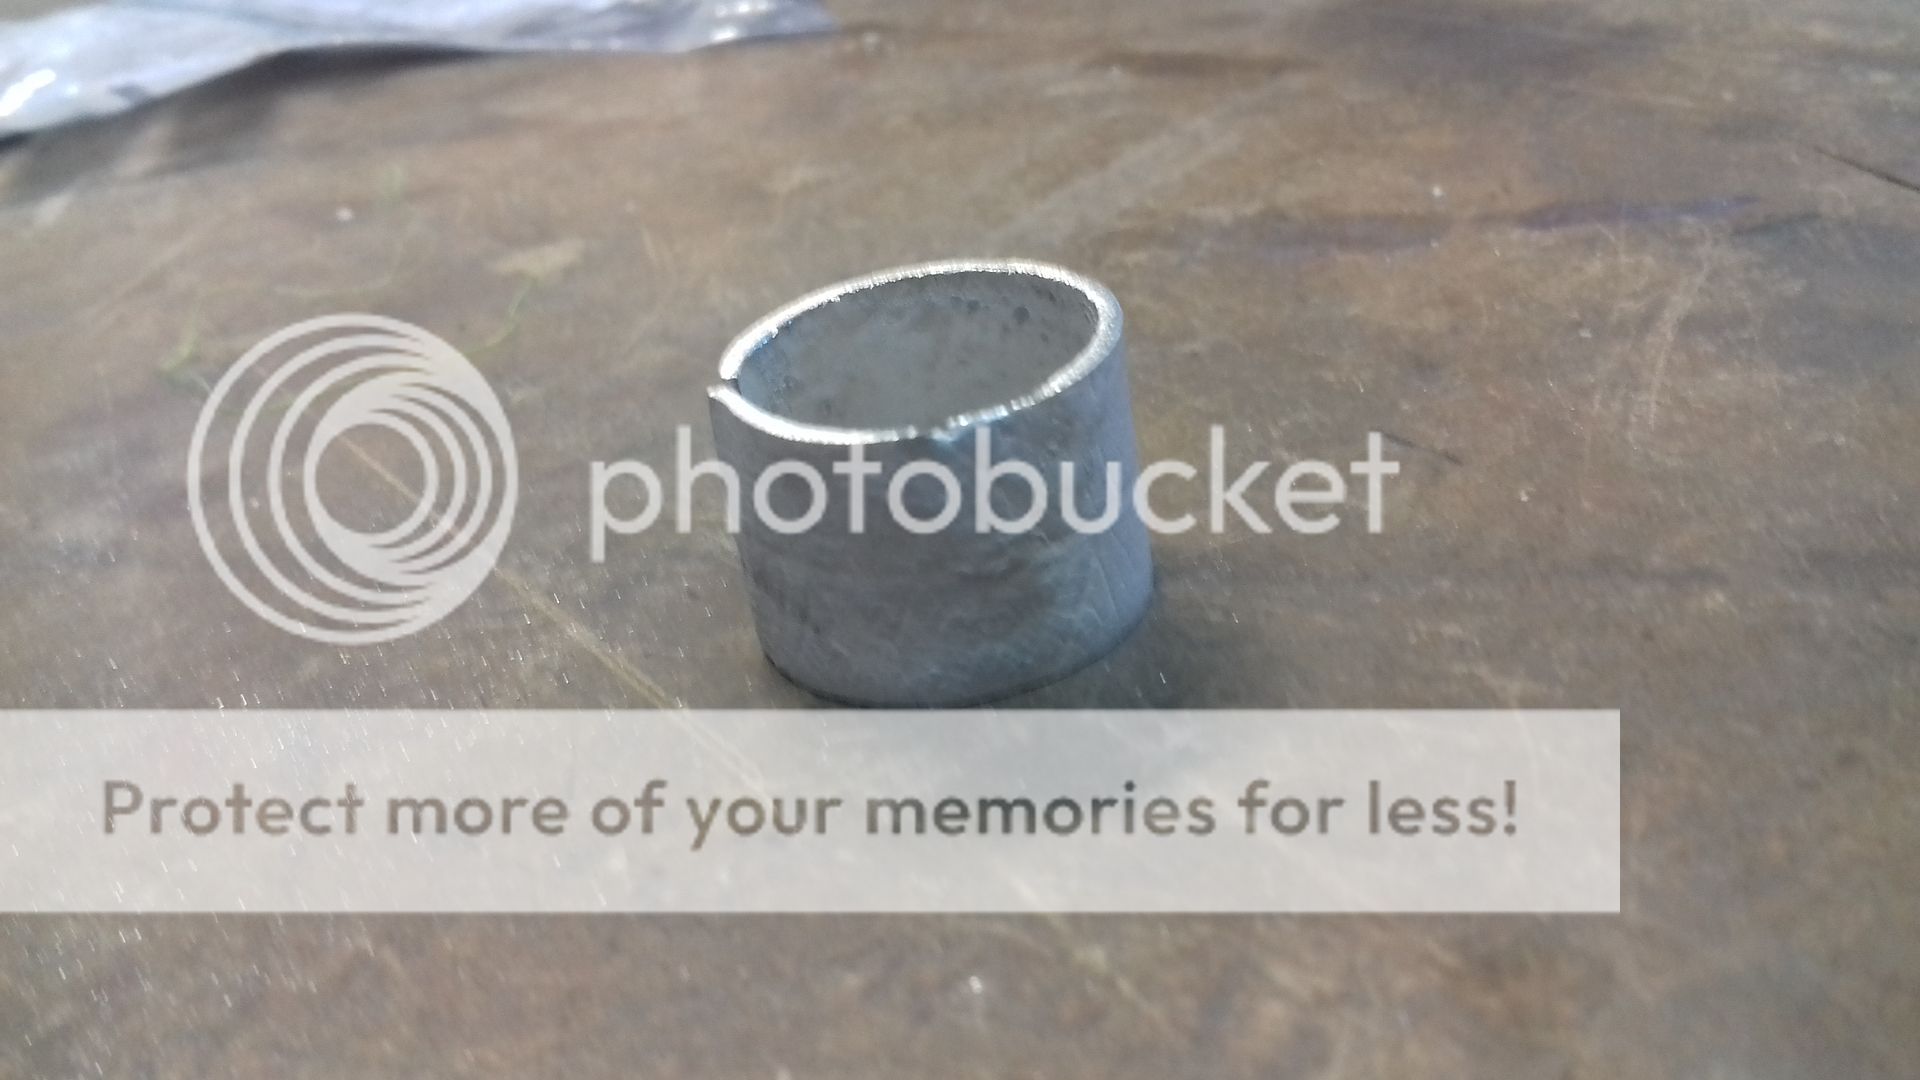
I took this picture about halfway through the filing! You may notice that the join also split. Oh dear, not going well!!
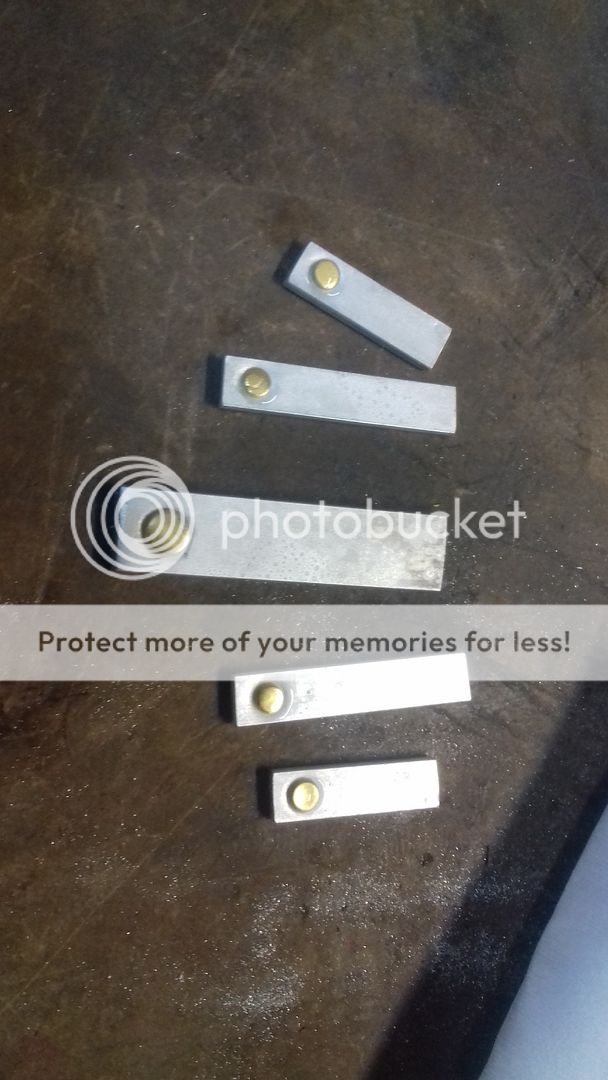
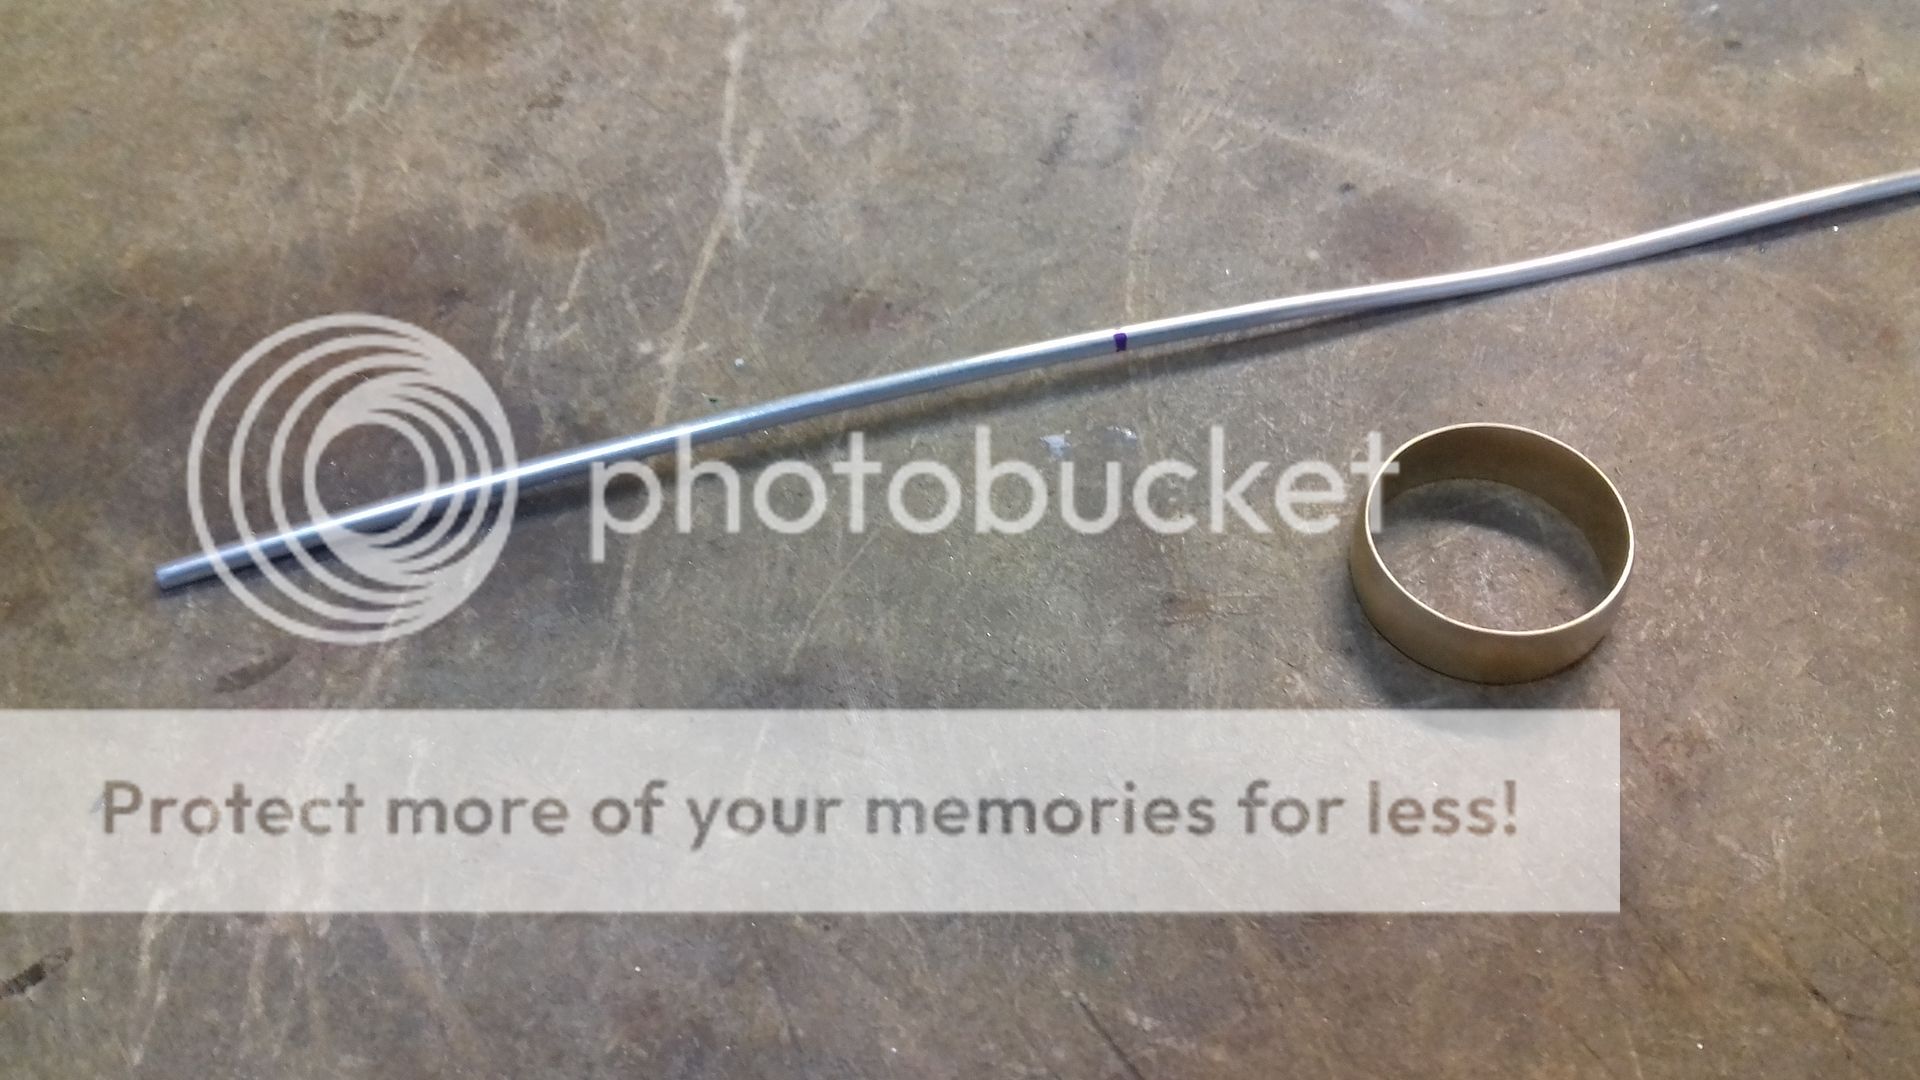
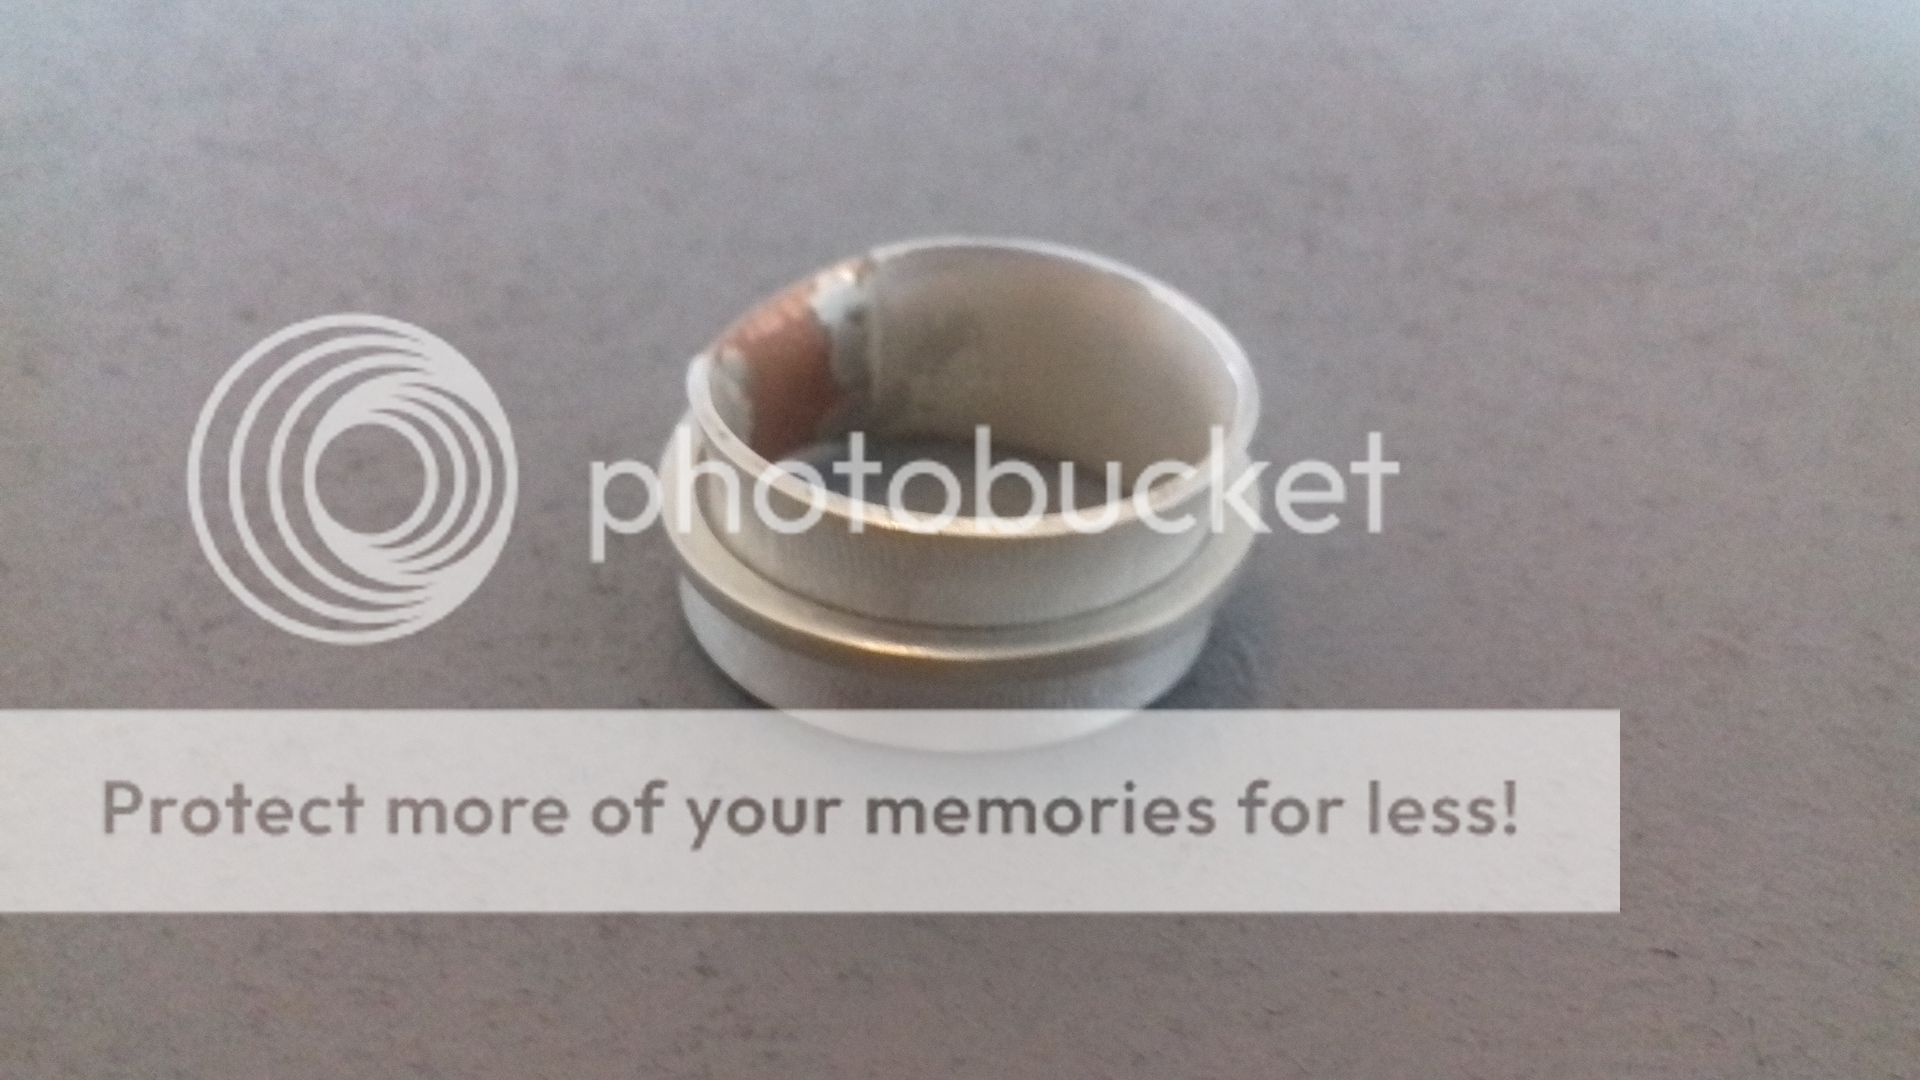
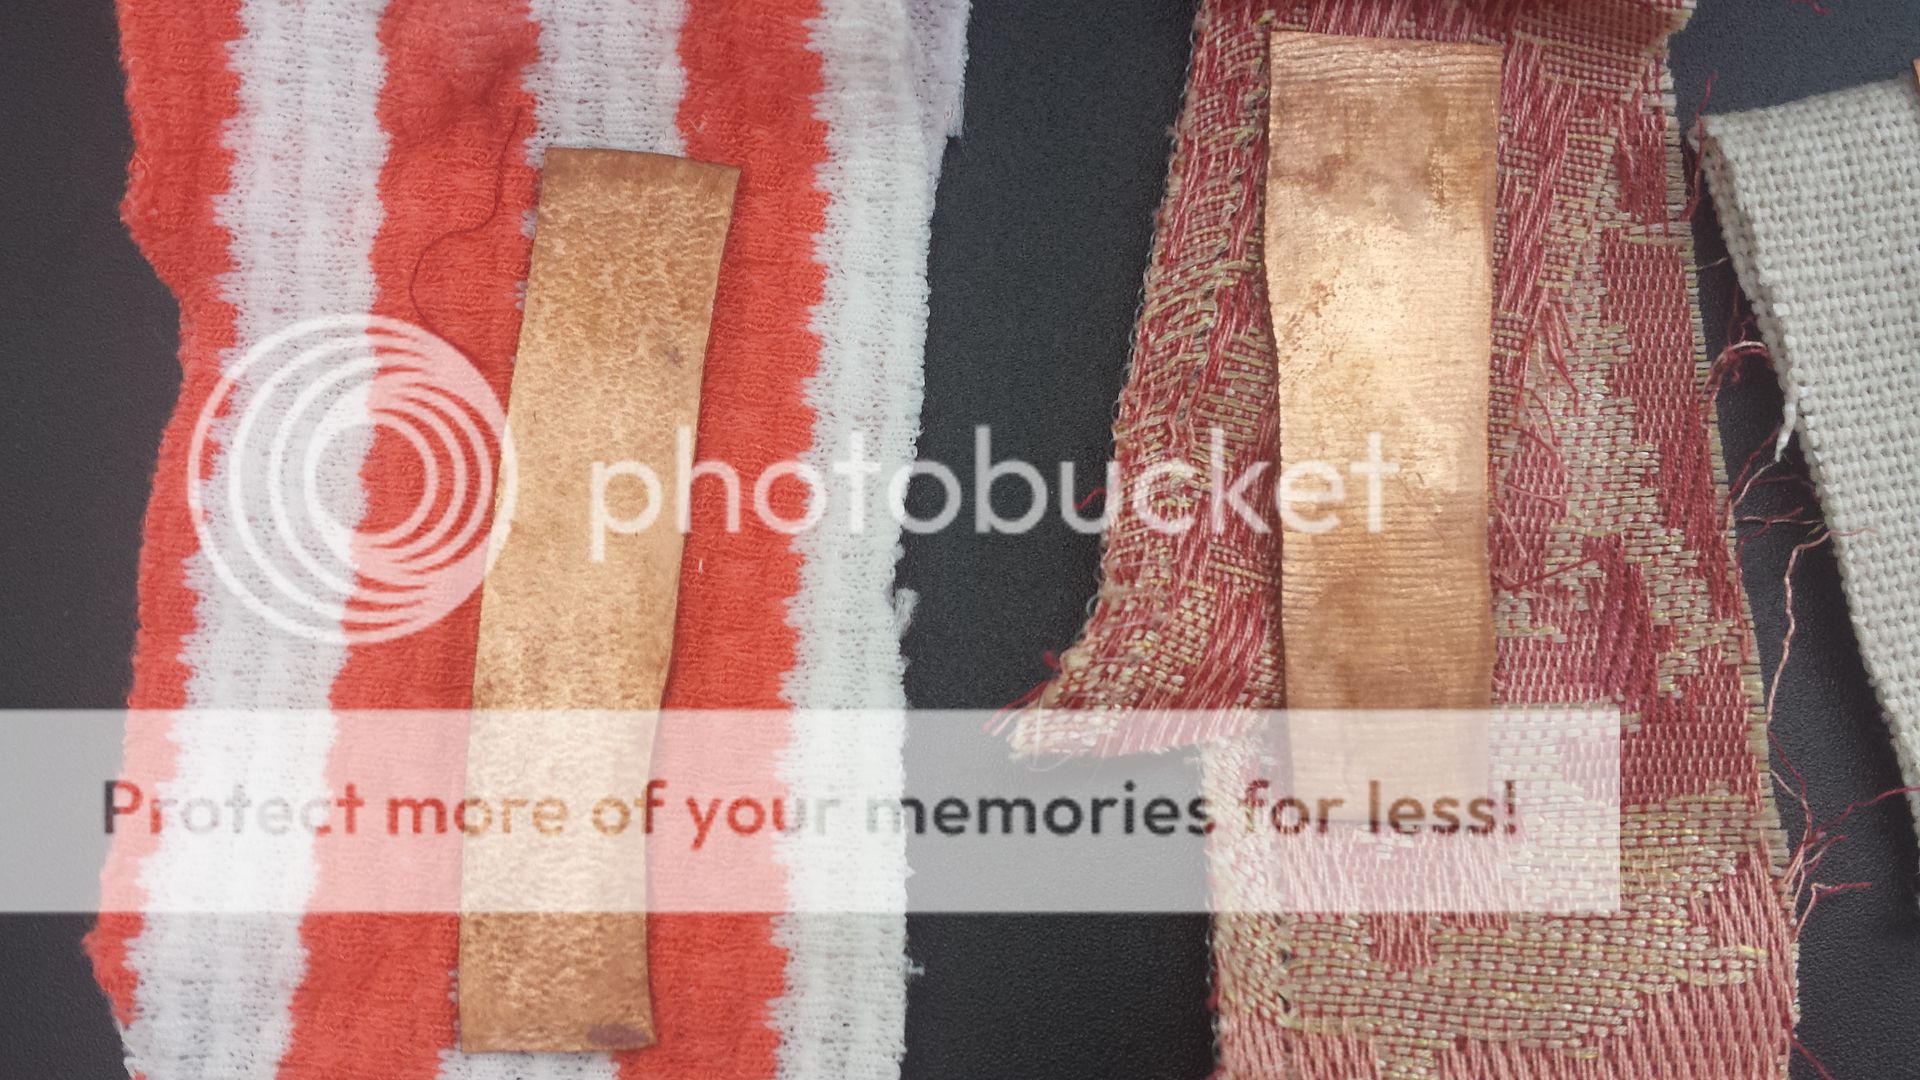
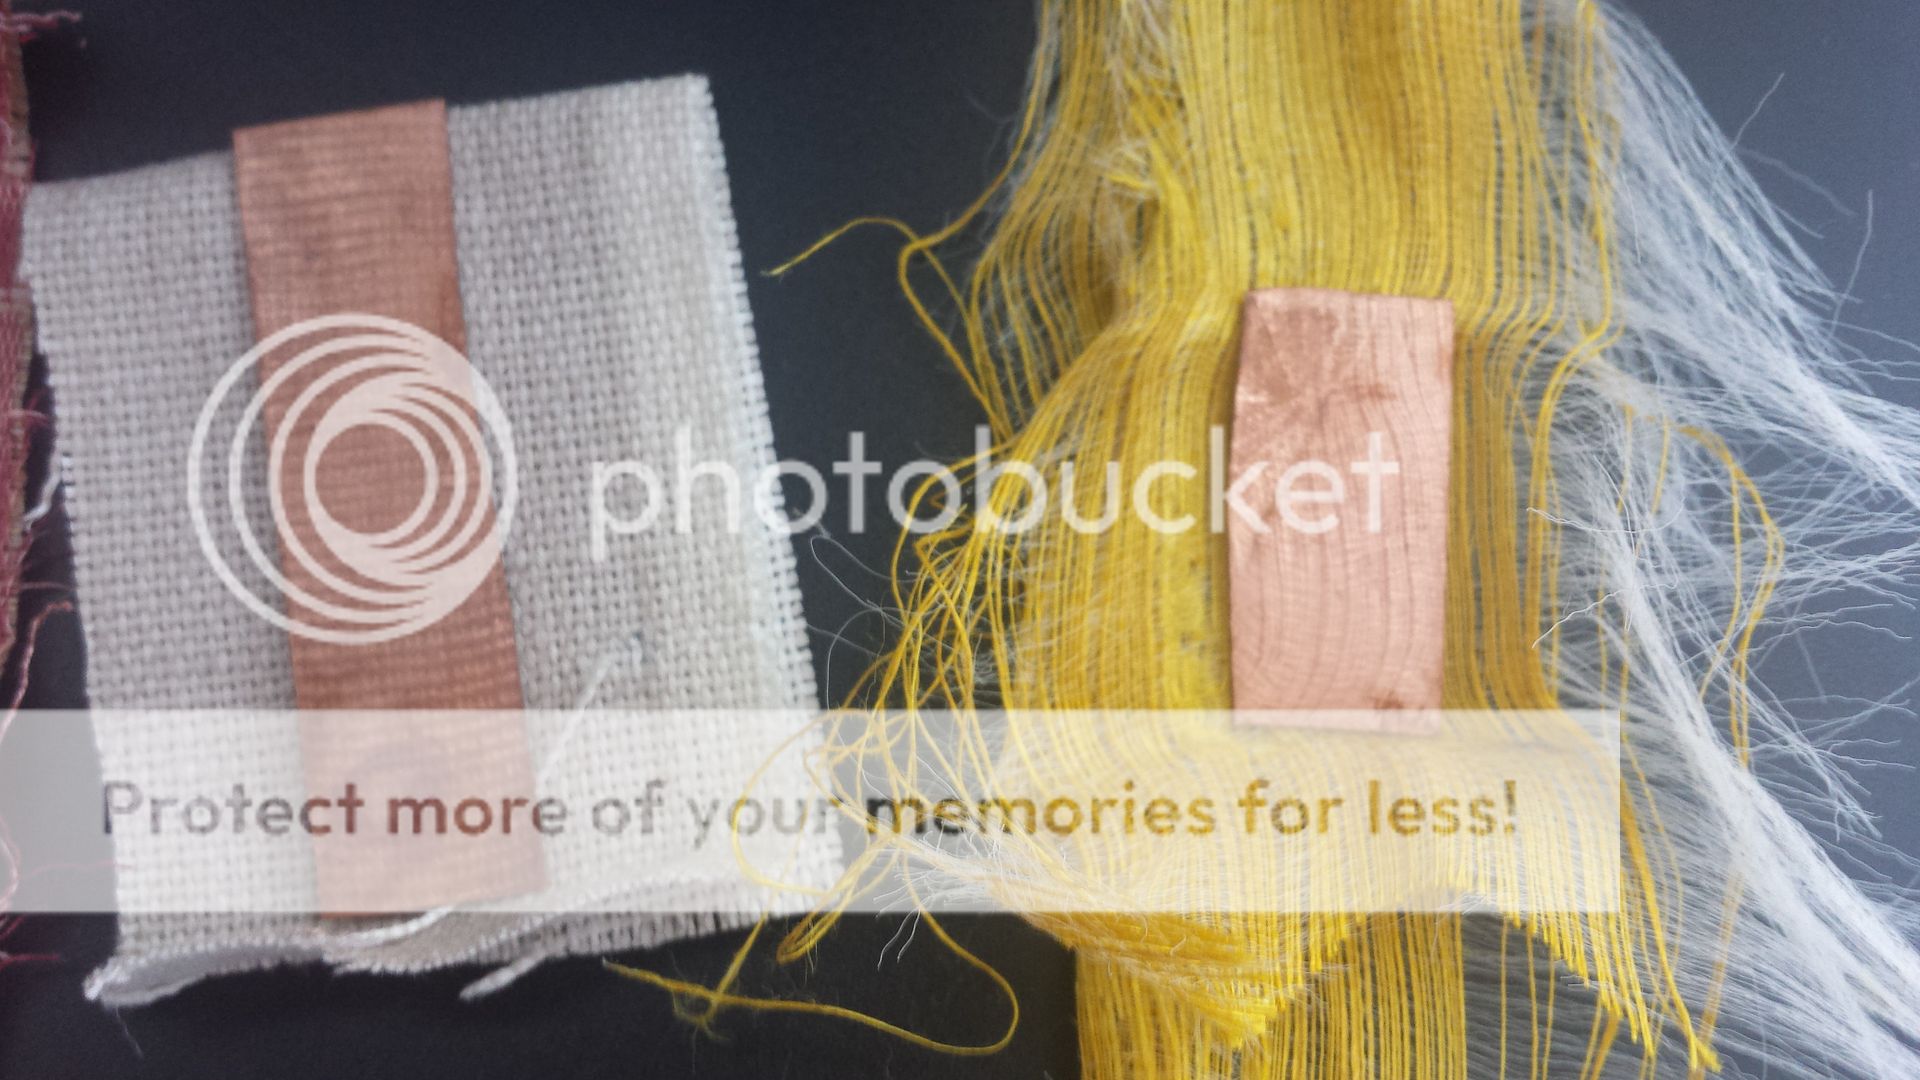
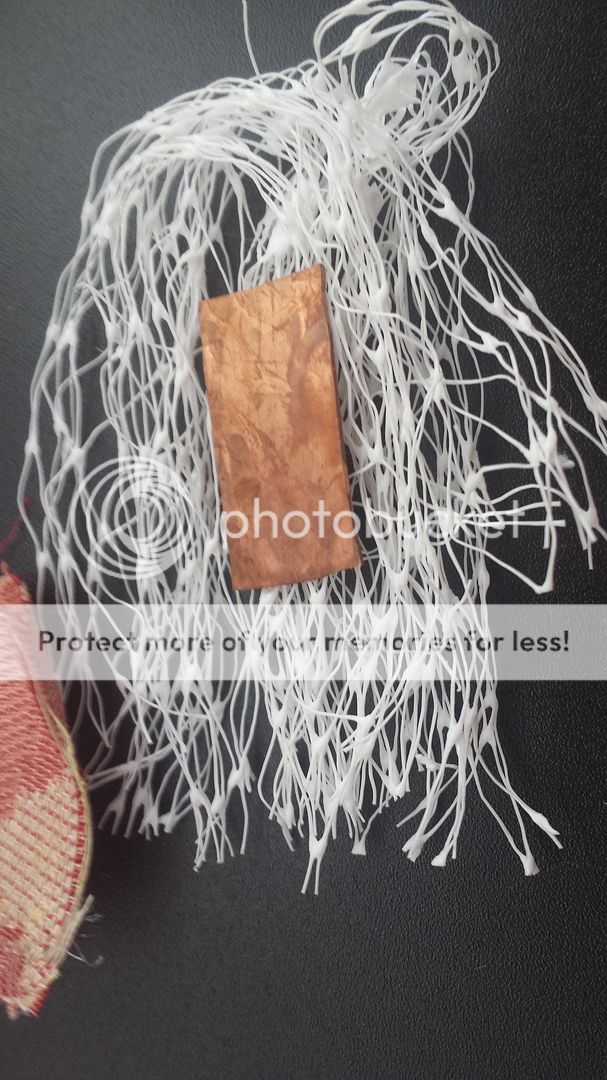
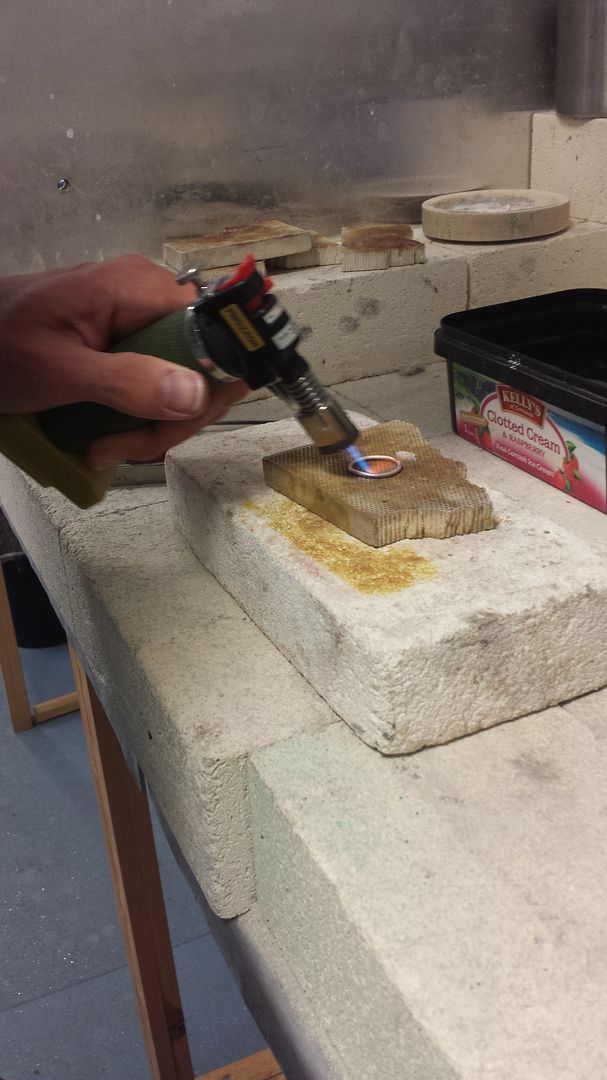
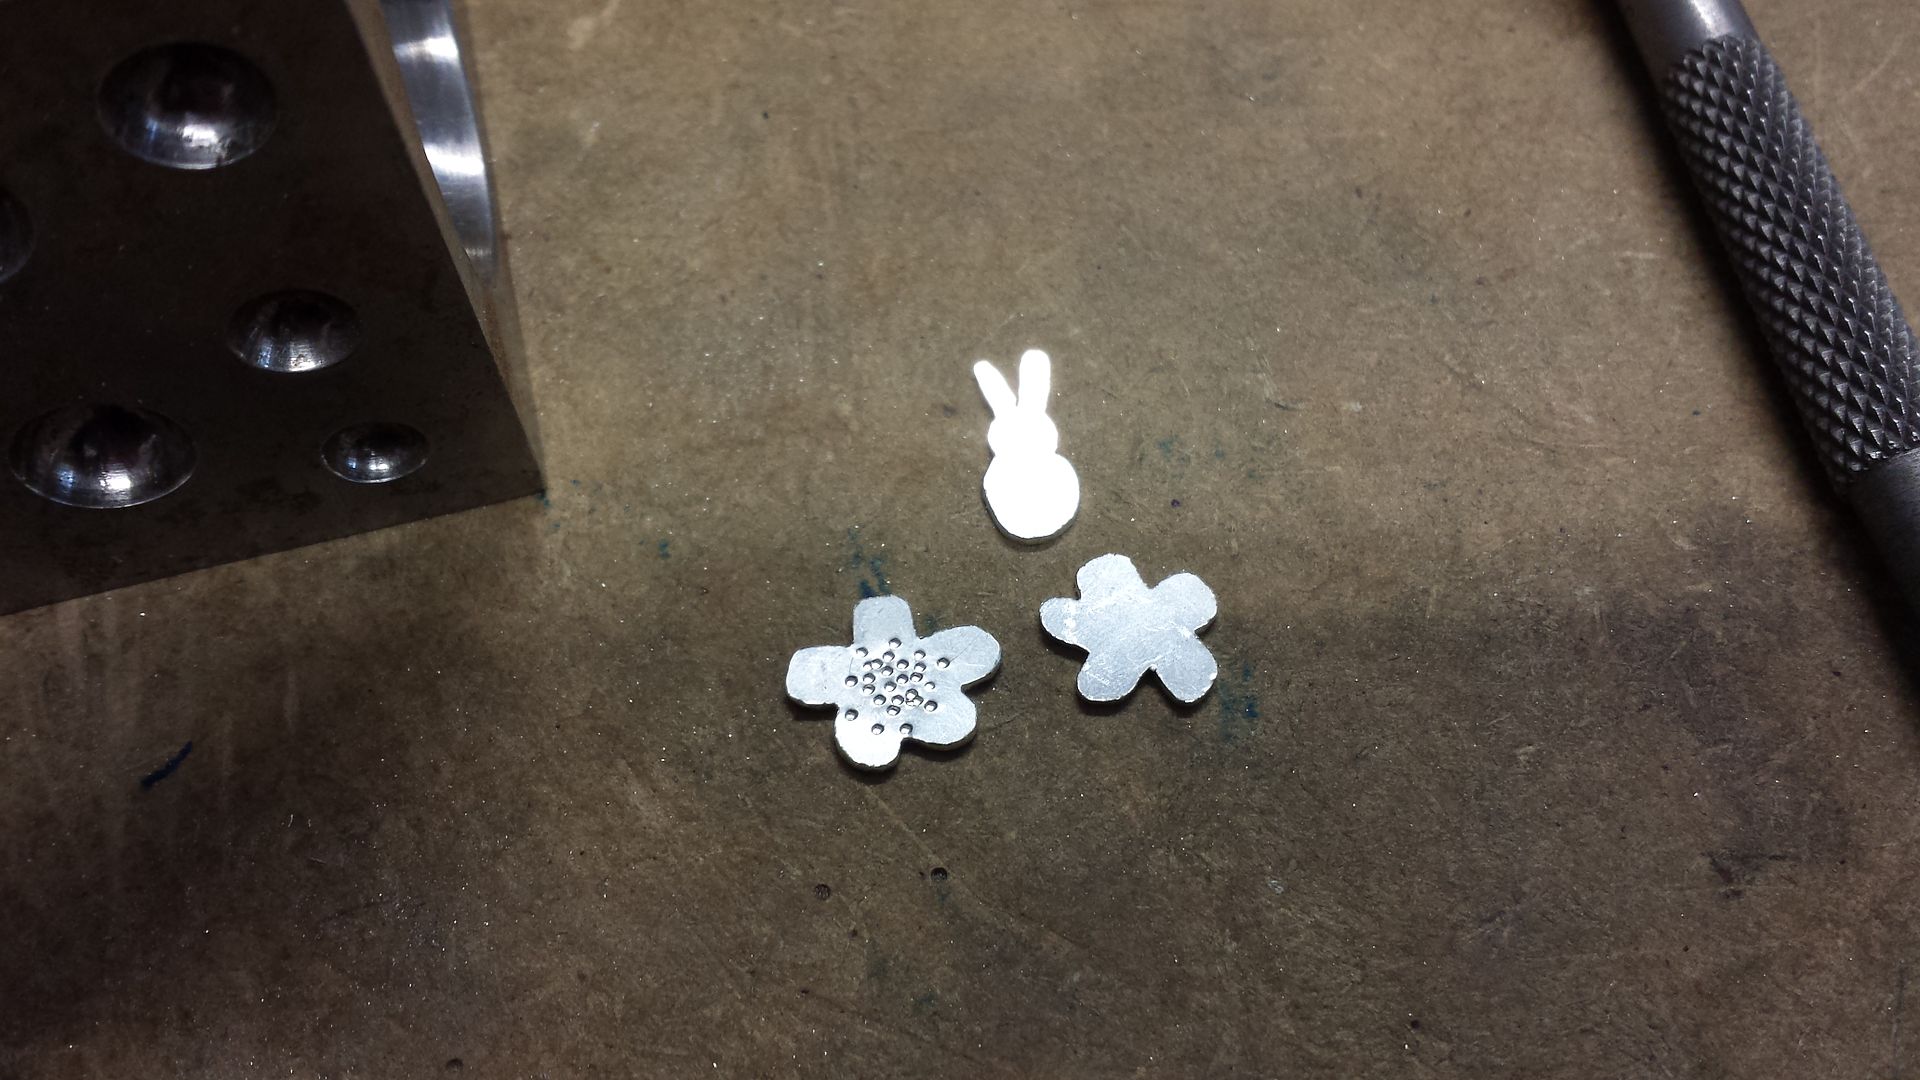
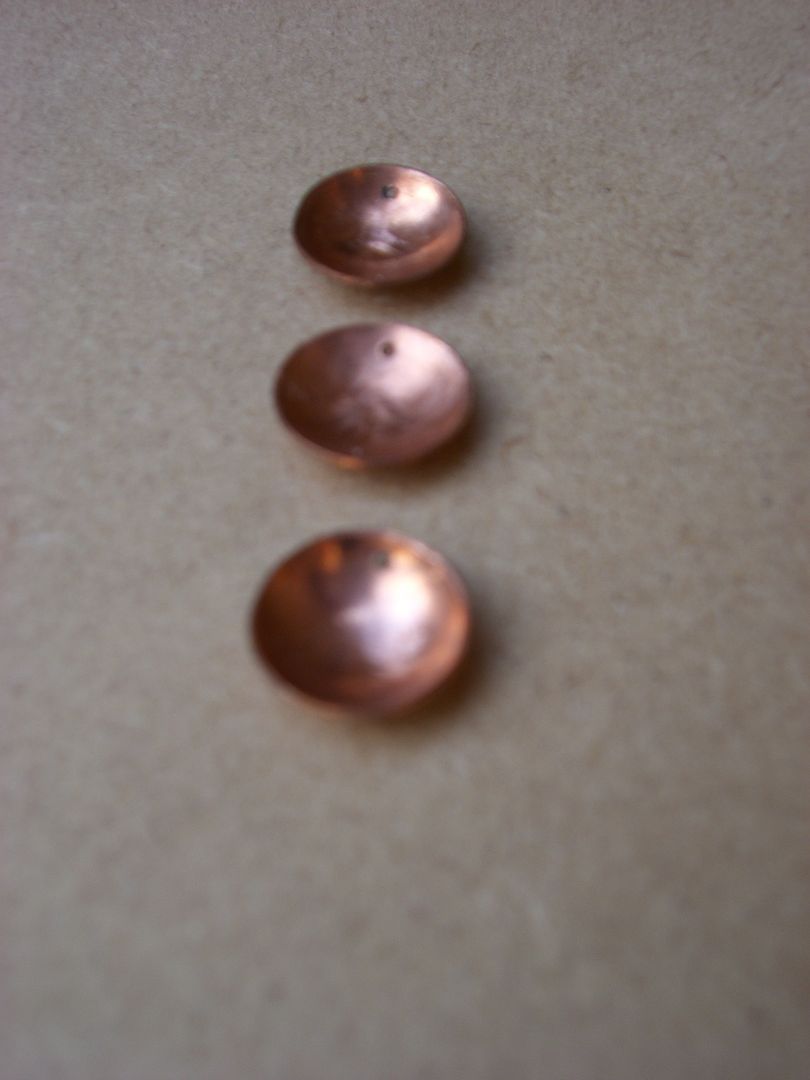
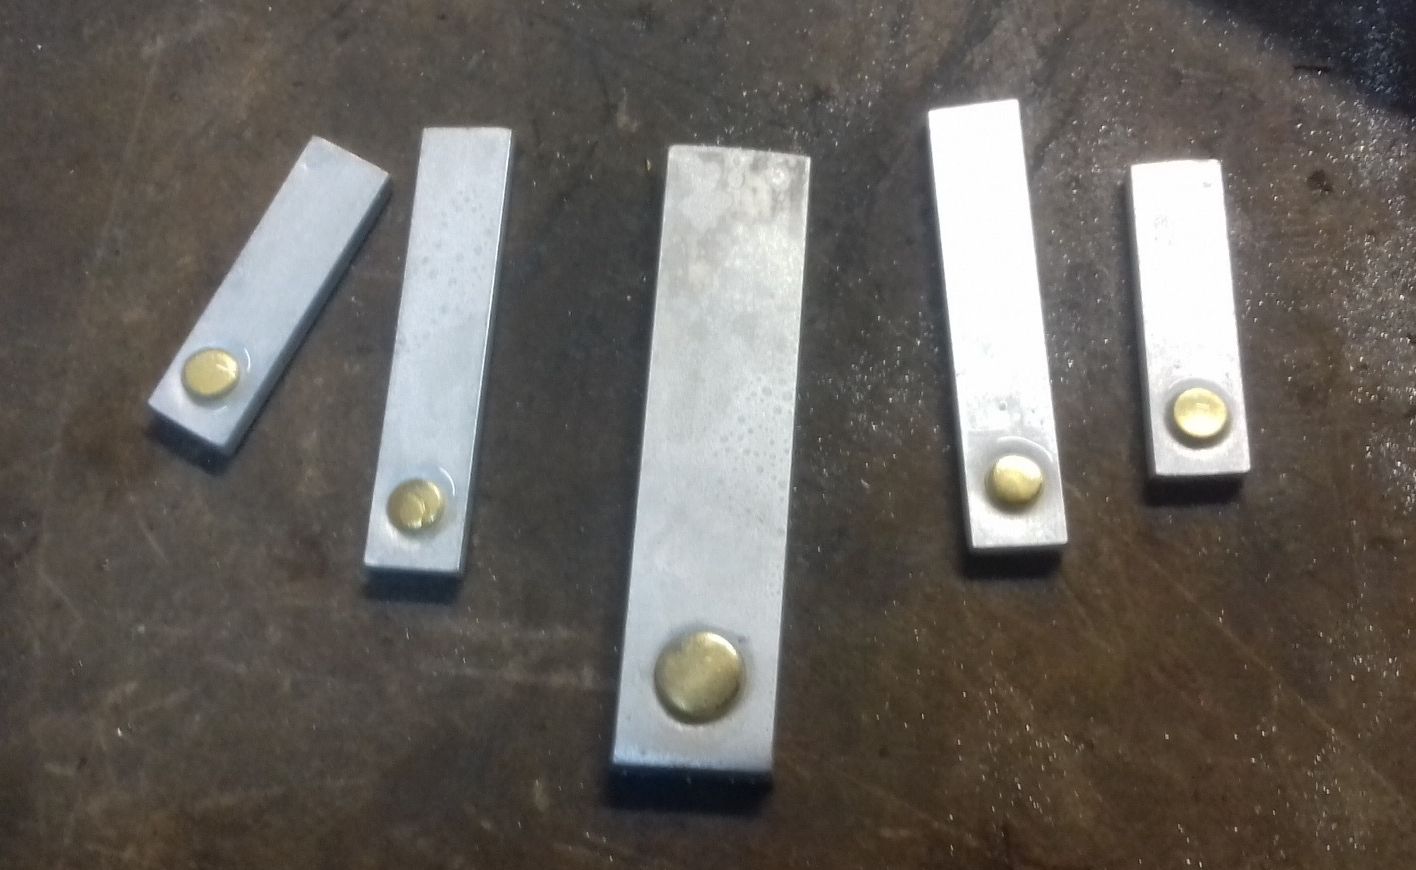
This is a new piece. Sorry for the sideway-ness of the photos. Apparently you can't rotate in Photobucket without it making a mess of the photo. The bars are argentium, which I used in my brother's ring. This makes it easier to attached the tiny gold circles which are cut from mum's wedding ring. I used a hydrolic press with a set of circle cutters to cut such precise circles. The idea was to attach them, then run them through the rolling mill to make an inlay, but I decided I liked them standing proud. I just need to add tube to the back and clean them up and this will be ready. Sadly, it will have to wait til September now, thanks to the fact I'm so clumsy!
There were three pieces I wanted to finish before summer. The chain necklace I've been making for months which just needs to be cleaned up, I'm more than half way across. This I could actually do at home, then just pickle and barrel polish it in September. Secondly, the spinner ring which is a replacement for the one that didn't spin which was a replacement for the one that became too big! And finally, a silver pendent using gold from my mum's wedding ring.

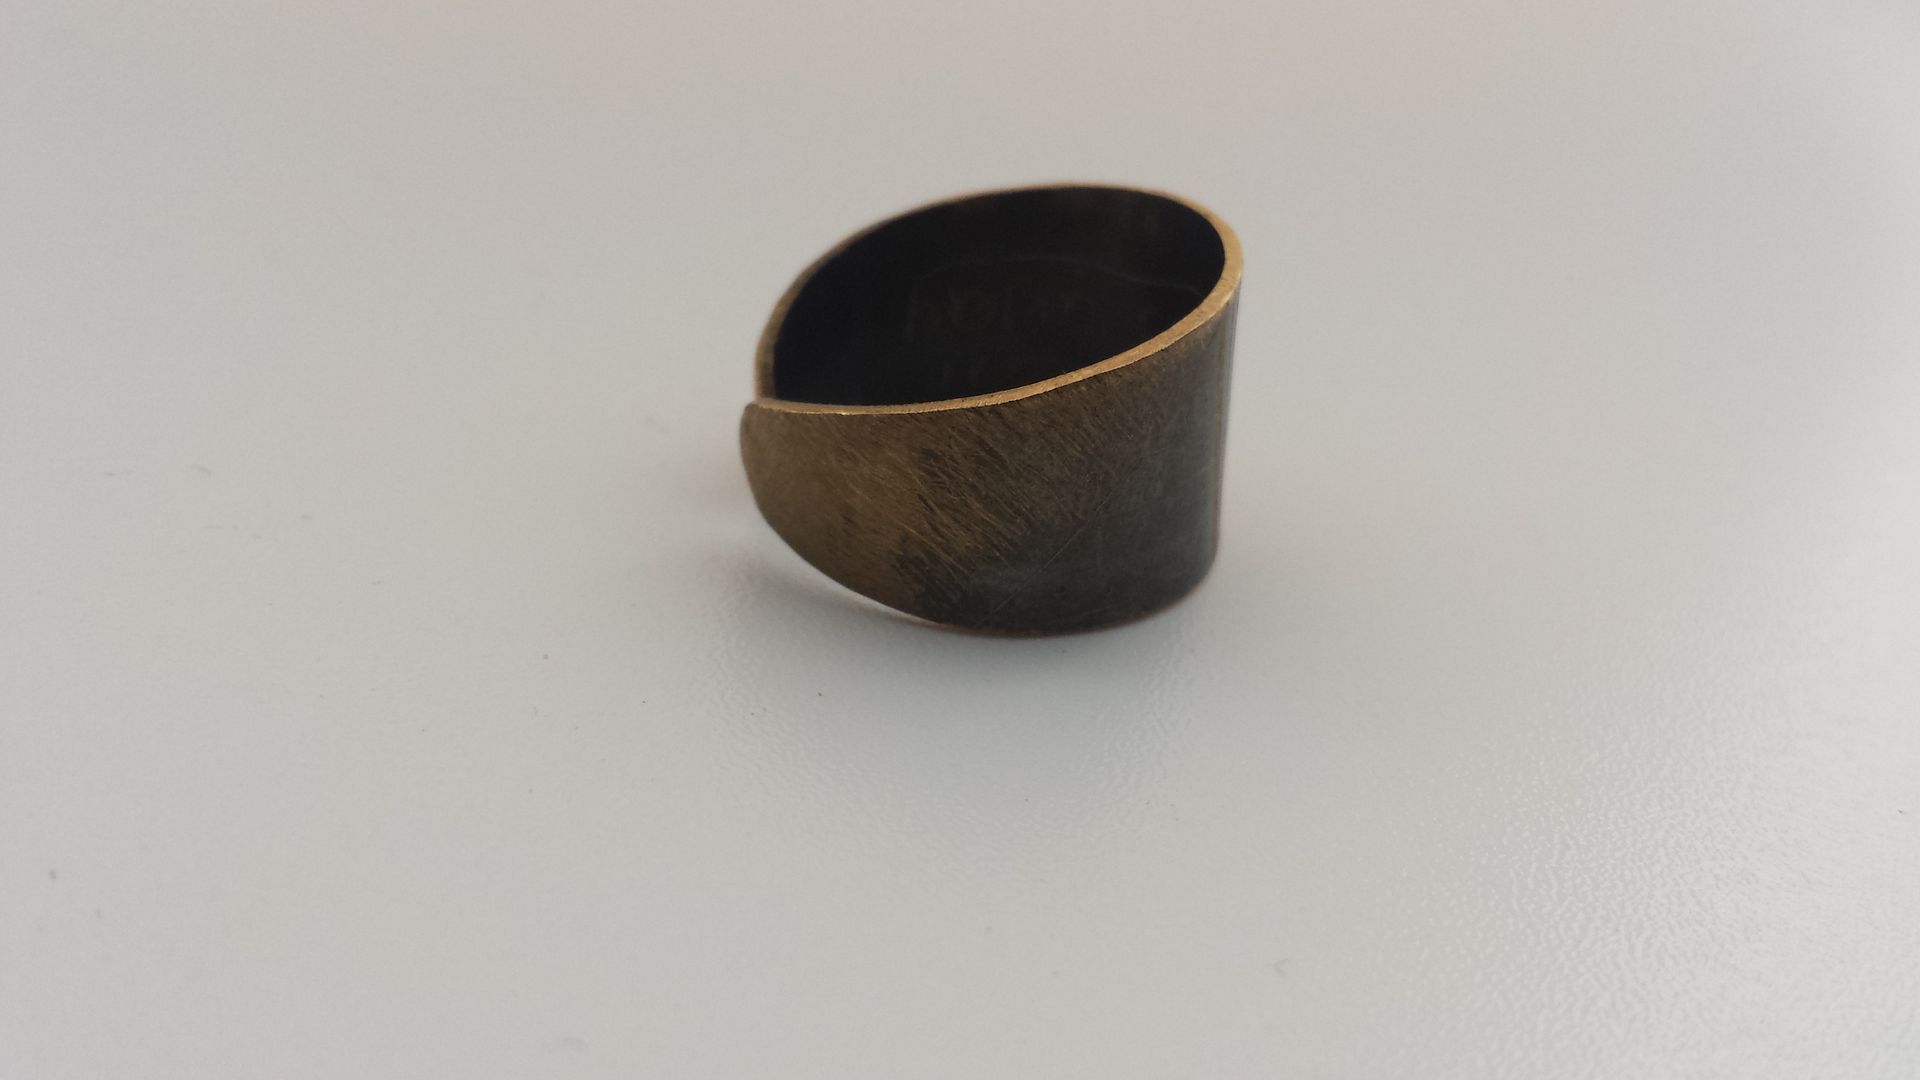
The pan-ultimate lesson brought some disasters. See that raggedy bit towards the top left? I melted it. I heated it too much whilst annealing. I had to file the whole things down. I filed for about 90 minutes. Ouch.

I took this picture about halfway through the filing! You may notice that the join also split. Oh dear, not going well!!

This is a new piece. Sorry for the sideway-ness of the photos. Apparently you can't rotate in Photobucket without it making a mess of the photo. The bars are argentium, which I used in my brother's ring. This makes it easier to attached the tiny gold circles which are cut from mum's wedding ring. I used a hydrolic press with a set of circle cutters to cut such precise circles. The idea was to attach them, then run them through the rolling mill to make an inlay, but I decided I liked them standing proud. I just need to add tube to the back and clean them up and this will be ready. Sadly, it will have to wait til September now, thanks to the fact I'm so clumsy!


