Showing posts with label hammering. Show all posts

Friday, 11 January 2019

Copper and silver necklace

There'll be no review of 2018 or goals for 2019 from me.  I did so little craft last year, I can barely believe it.  I would like to craft more this year, but I'm not putting any pressure on myself, so I'll make what I make and post when I post!
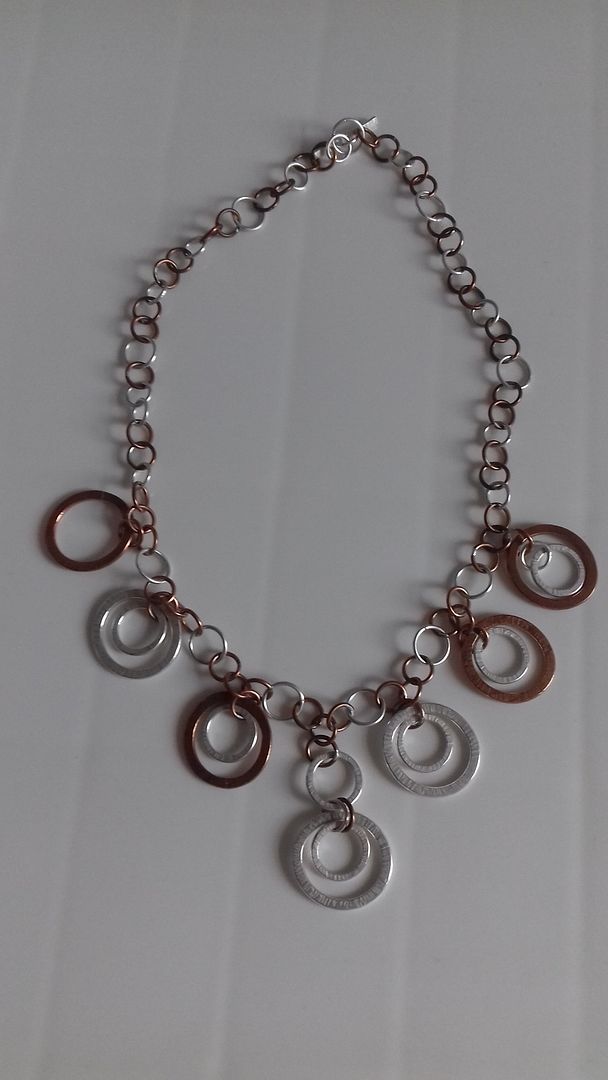

I finished this necklace before Christmas.  I've shown you peeks of me making it.  In this post from March last year, I showed you a bit of the technique!  Making soldered chain IS a time-consuming process, but I'm also quite slow and made various other things at the same time!
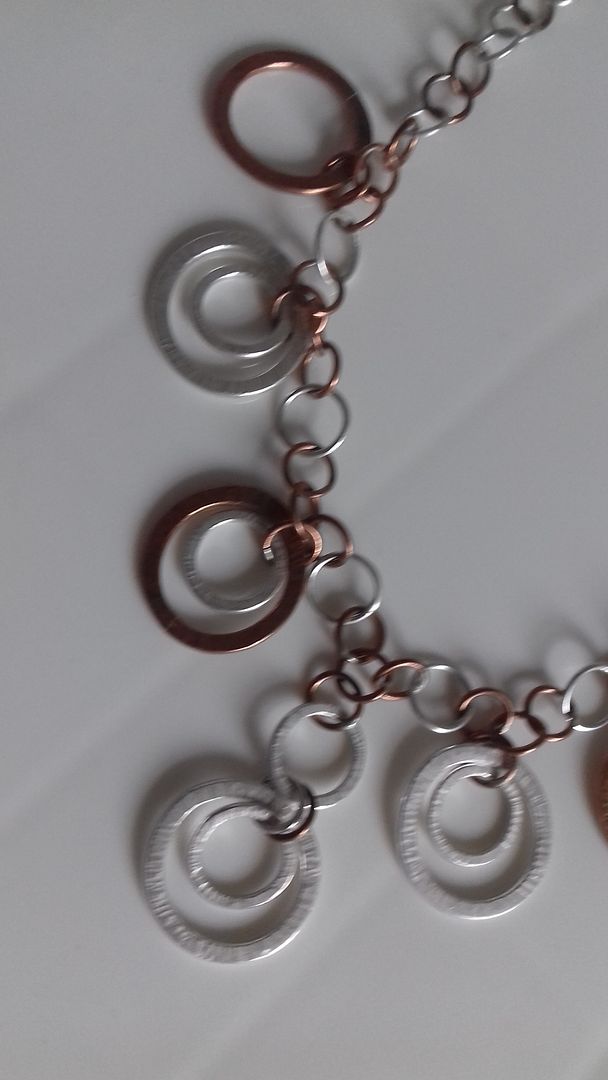

It's made from copper and sterling silver.  I made large jump rings, soldered them and cleaned them up, then rolled them through the rolling mill to flatten them.  They were then hammered to add texture.  I then made what felt like about a gazillion small jump rings and soldered it all together.  I then spent a LONG time filing and sanding each and every link!
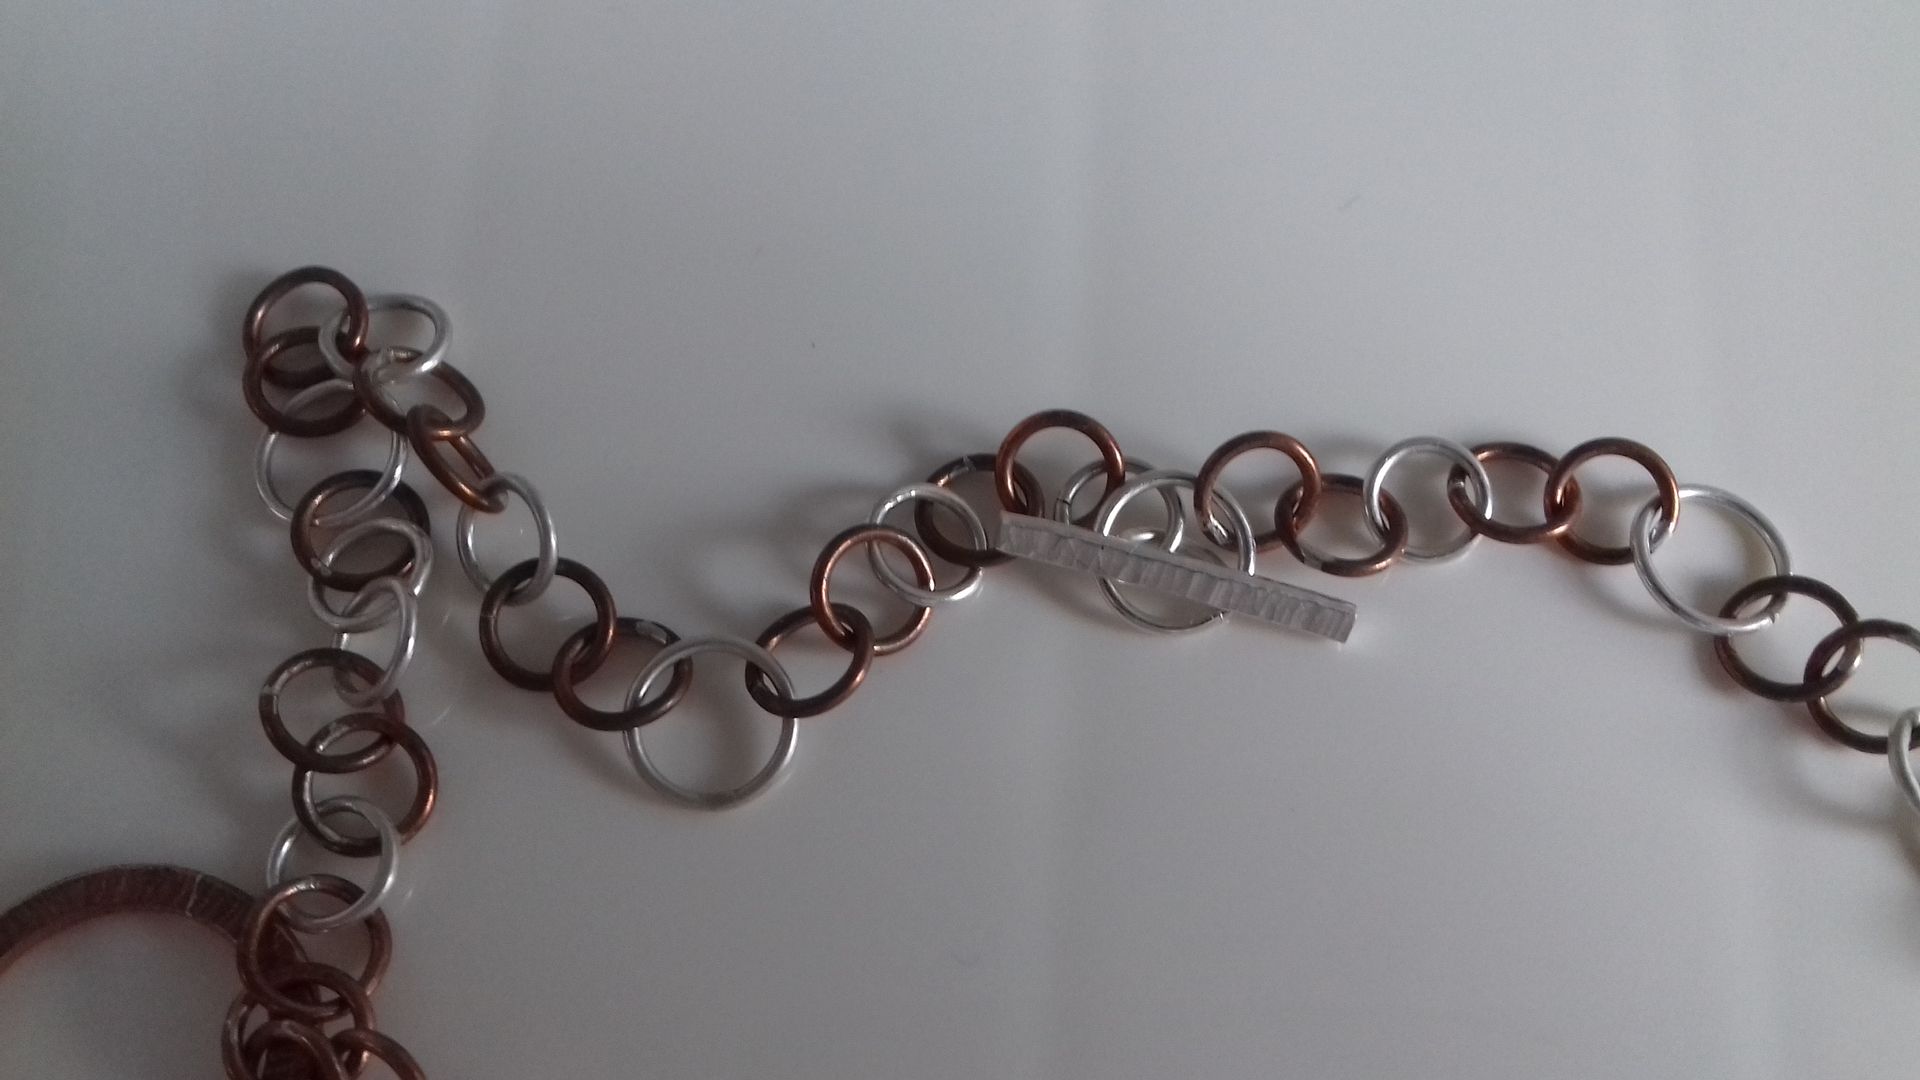

It is finished with a hand made and hammered toggle clasp.  I love it.  I love mixed metal jewellery and I love rings like this.  I'm not sure I'd embark on making another chain from scratch though!
Friday, 11 May 2018

A present for a friend

I am now at that age where my friends are turning 40.  Yes, I'm 40, good guess!  It was my oldest friend's 40th last weekend, 2 weeks before the event I suddenly realised I needed to buy her a present.  She's not an easy person to buy for... I decided something handmade would be more suitable.


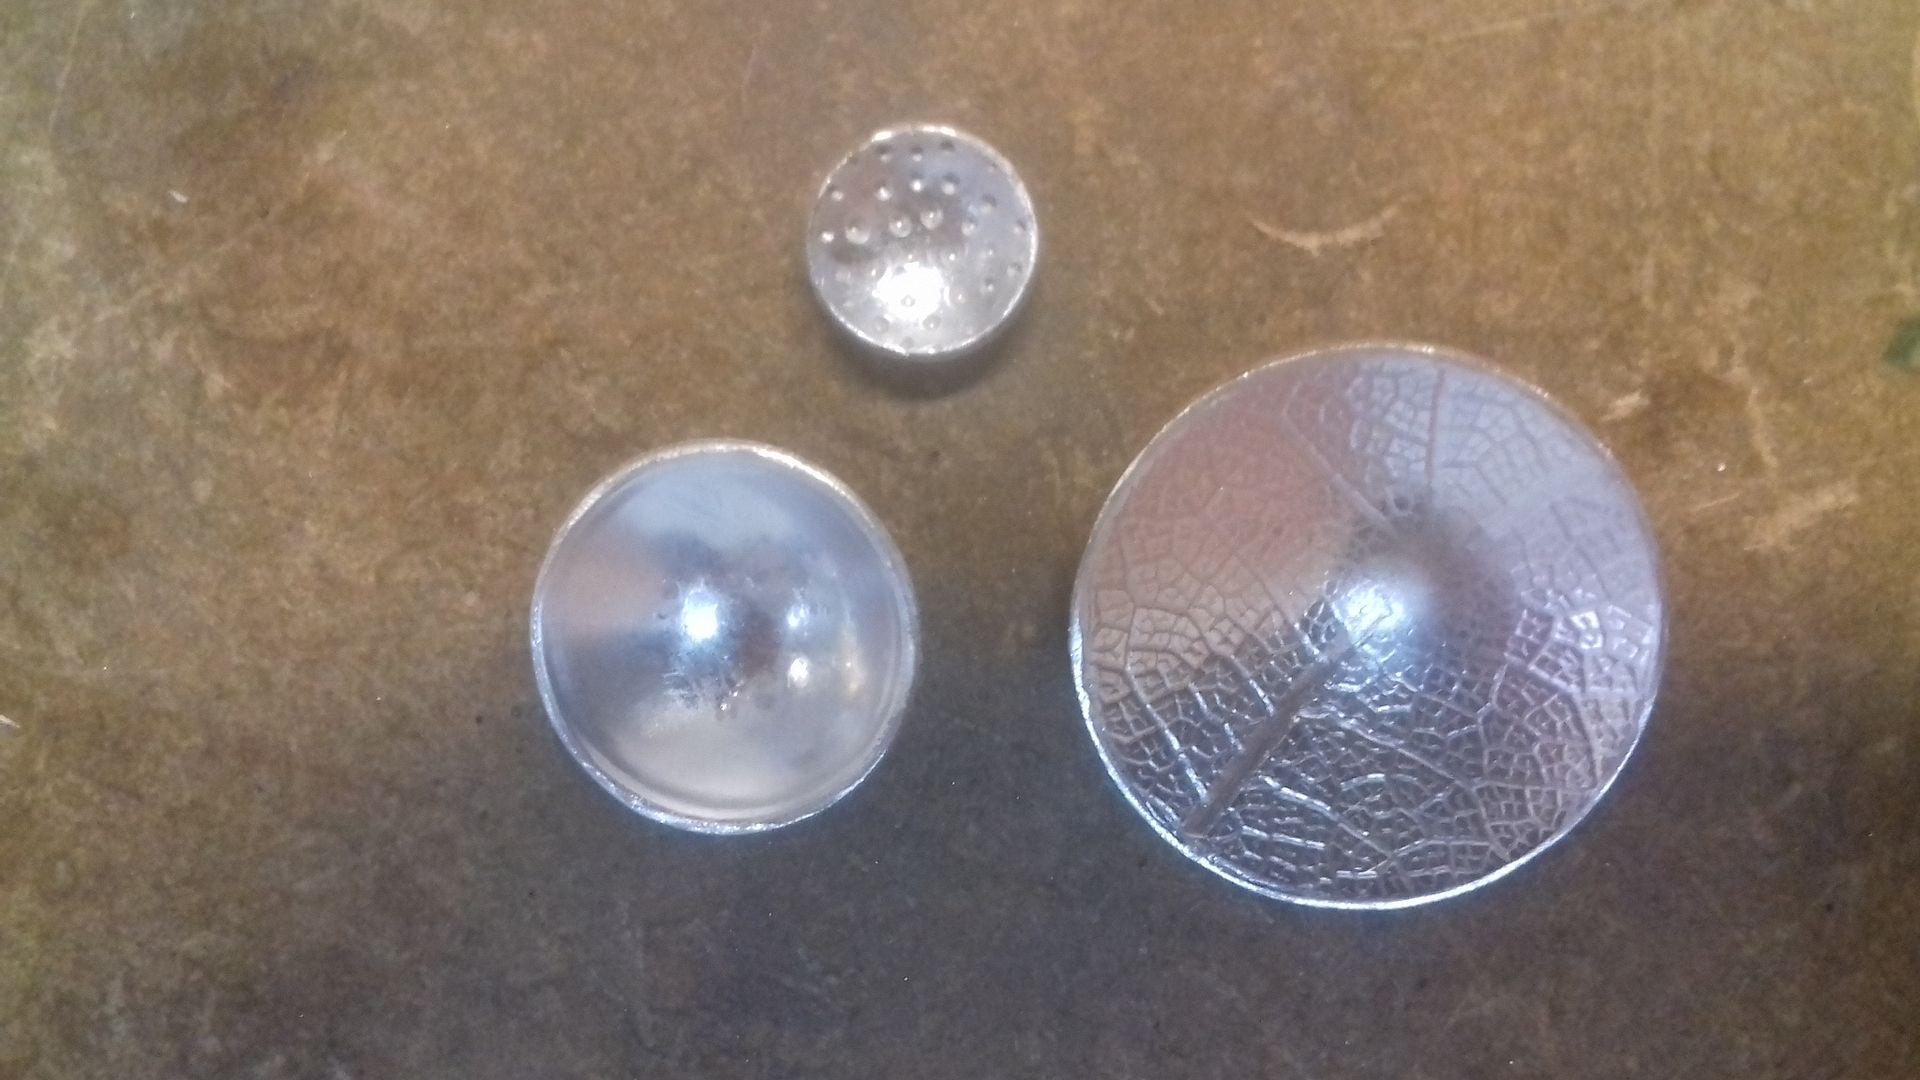
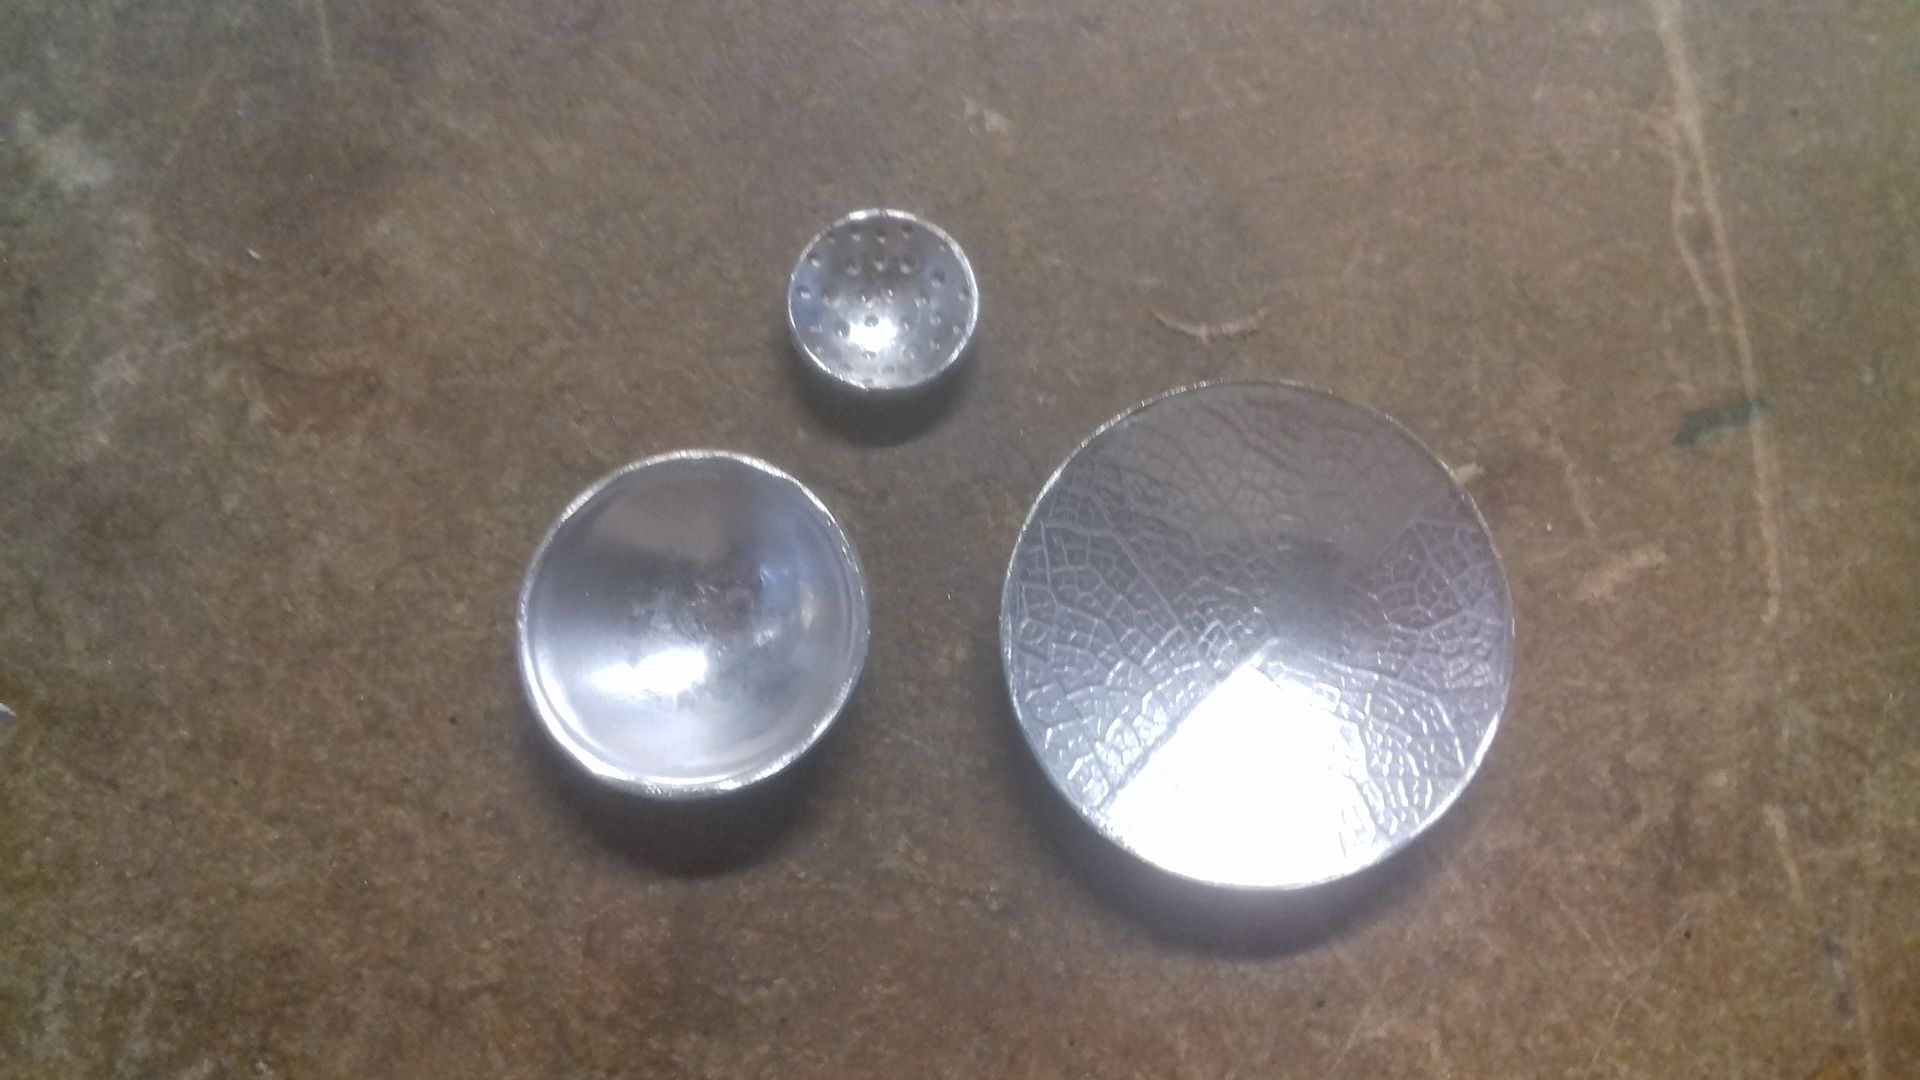
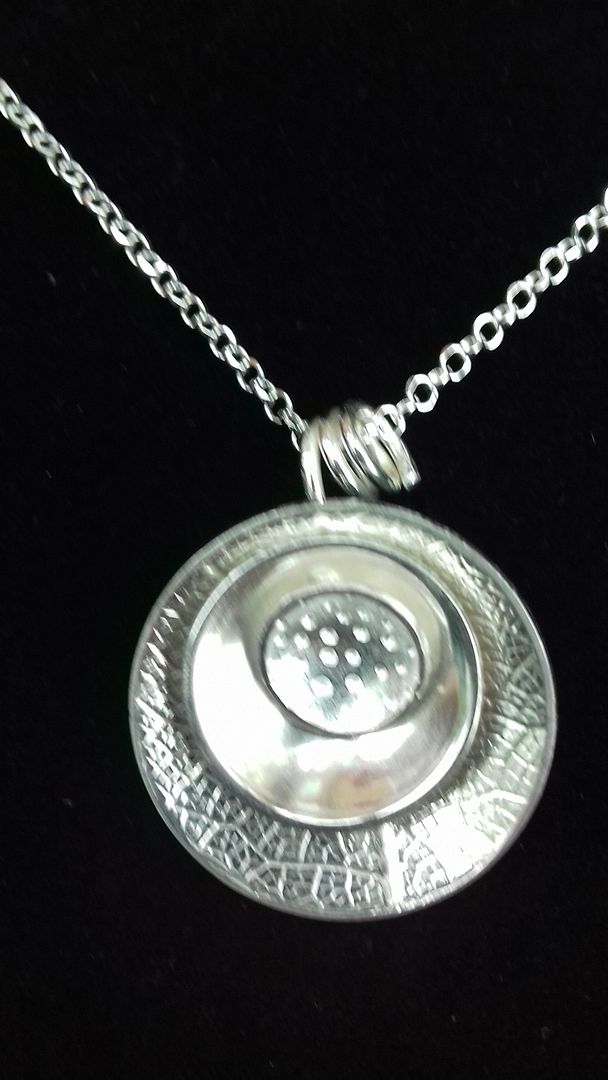
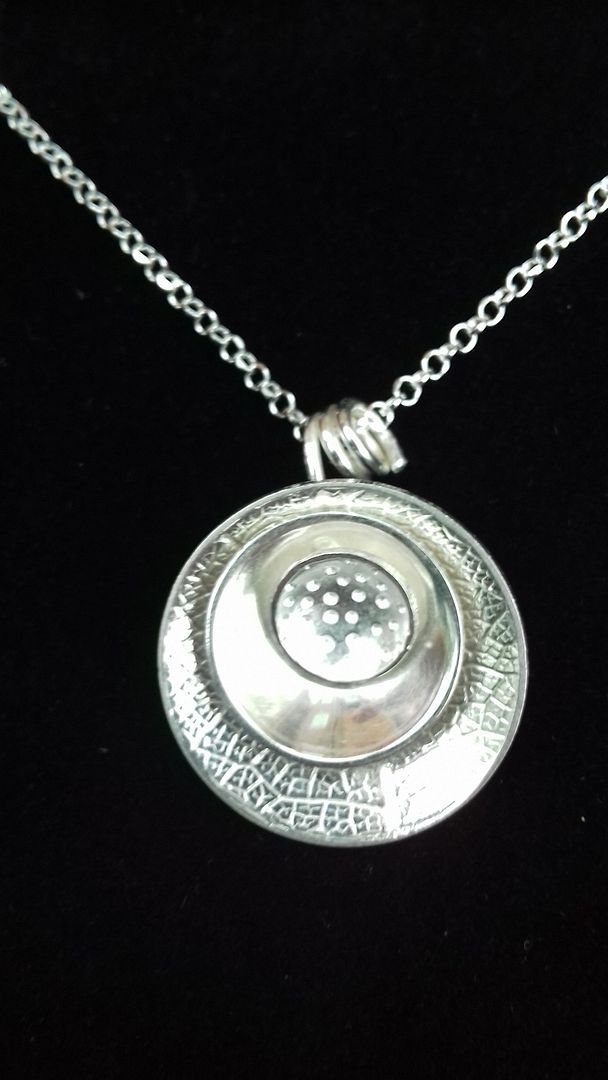
I'd been thinking about an idea of making a pendent using 3 different size circles.  I cut them out of 1mm thick sterling silver sheet using a circle punch.  The mid-sized circle was left blank.  The larger and smaller circles were texturised before punching them out.


The smallest circle is patterned using a centre punch and hammer to make tiny indentations.  The largest circle was rolled through the rolling mill with a skeleton leaf.  I adore this pattern and have it in mind for some future makes.  As the pieces had burrs after punching, I had to file and sand to clean them up.  The smallest circle got a stick soldered to the reverse and the larger two had holes punched through.


This "stick" (a piece of 0.8mm round wire) was inserted through the other 2 circles, then I just used the round nosed pliers to make a bail before filing and sanding the edge.


It was really hard to take photos as I had put it in the barrel polisher, meaning it's very shiny!  I've just put it on a bought trace chain, also in sterling silver.  

This was a pretty quick make.  When I told my tutor my plans, she said I could get it done in half a session.  It actually took me a session and a half, but I work really slowly and do rather a lot of talking and eating!

Oh, and yes, the friend liked it!

Monday, 22 February 2016

Silversmithing - rings

Last year me and Mr CA did a 2 day silver jewellery making workshop.  The teacher was so good that I put myself on her waiting list for her evening class.  Back in January, a space came up so I'm not attending a silversmithing class every Wednesday evening.  My teacher is Lisa Pearson, I can't find her on social media, so you'll have to believe me when I say she's a brilliant teacher.  Not only does she clearly know her onions, she's a really good teacher, great with an explanation and very patient.


Most of the class have been doing it for a while, so they kind of get on with their own thing and Lisa helps and advises when she's needed.  She also does a demonstration on different silversmithing techniques each class.  There is one other newbie besides me and we are going through a schedule designed to teach us the basics.


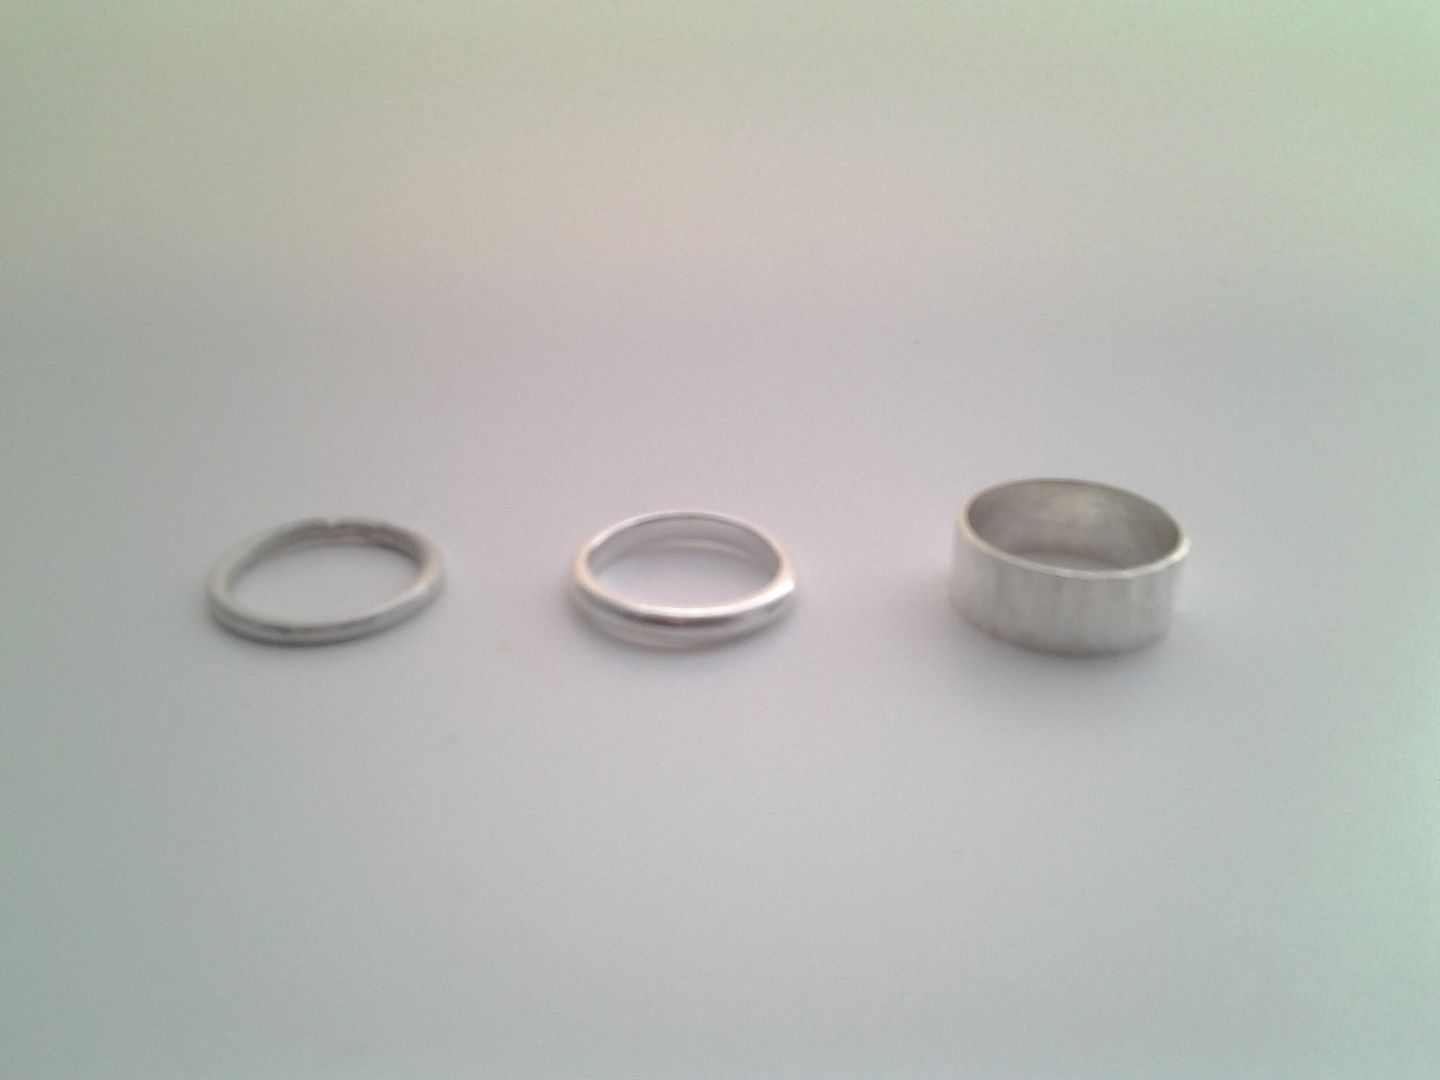
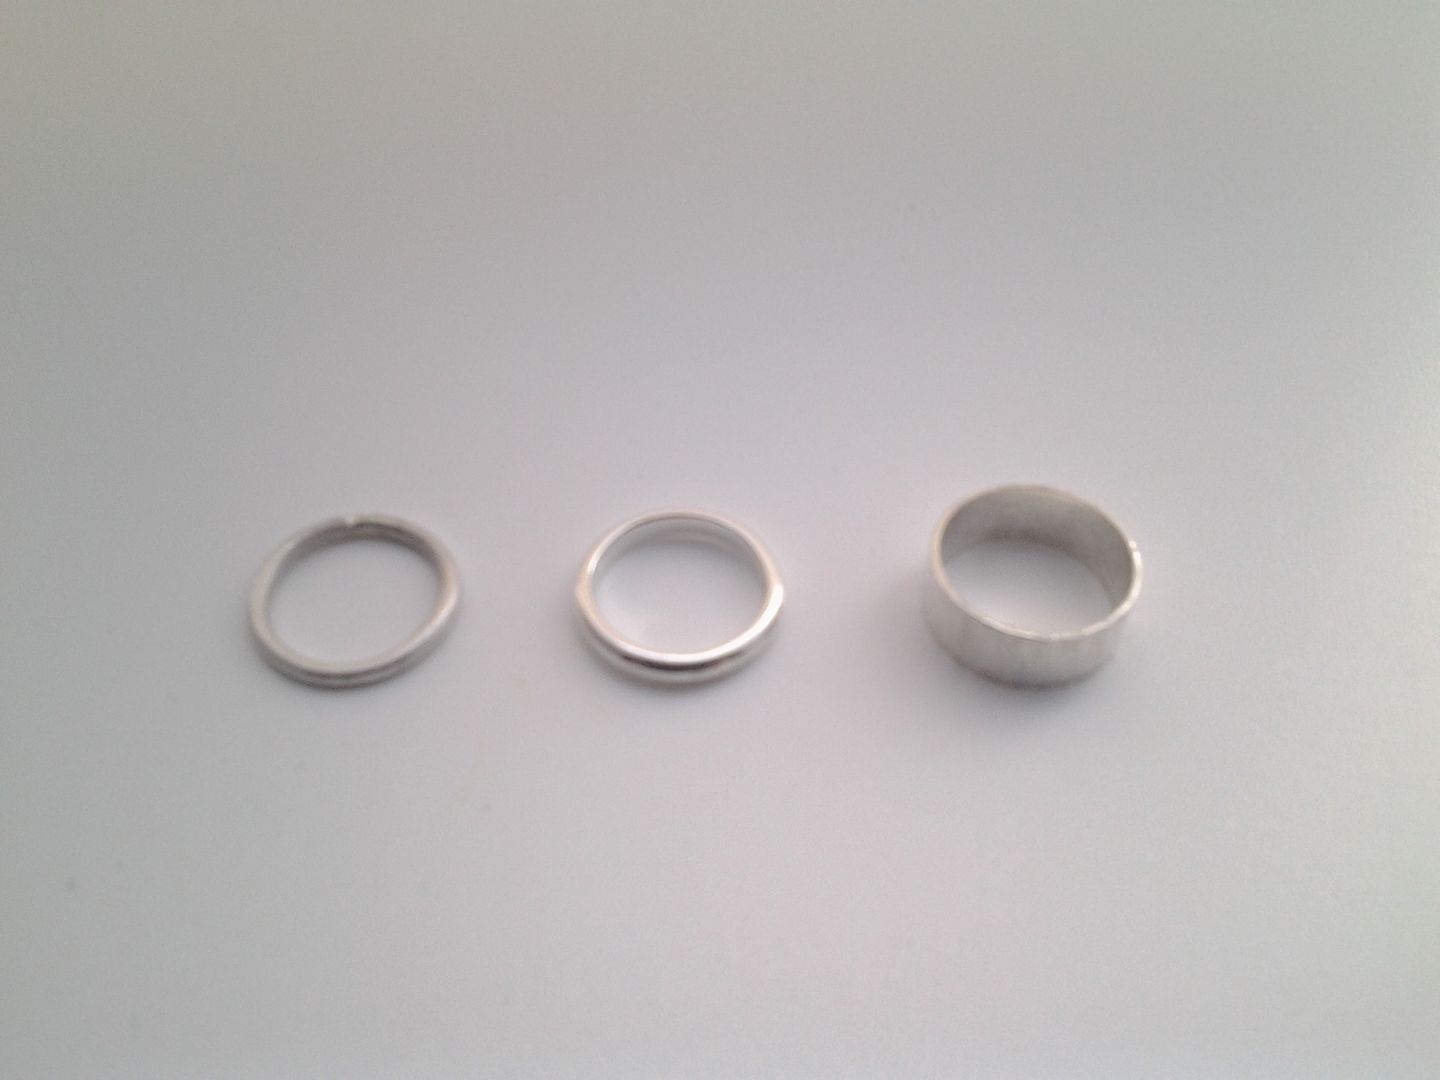
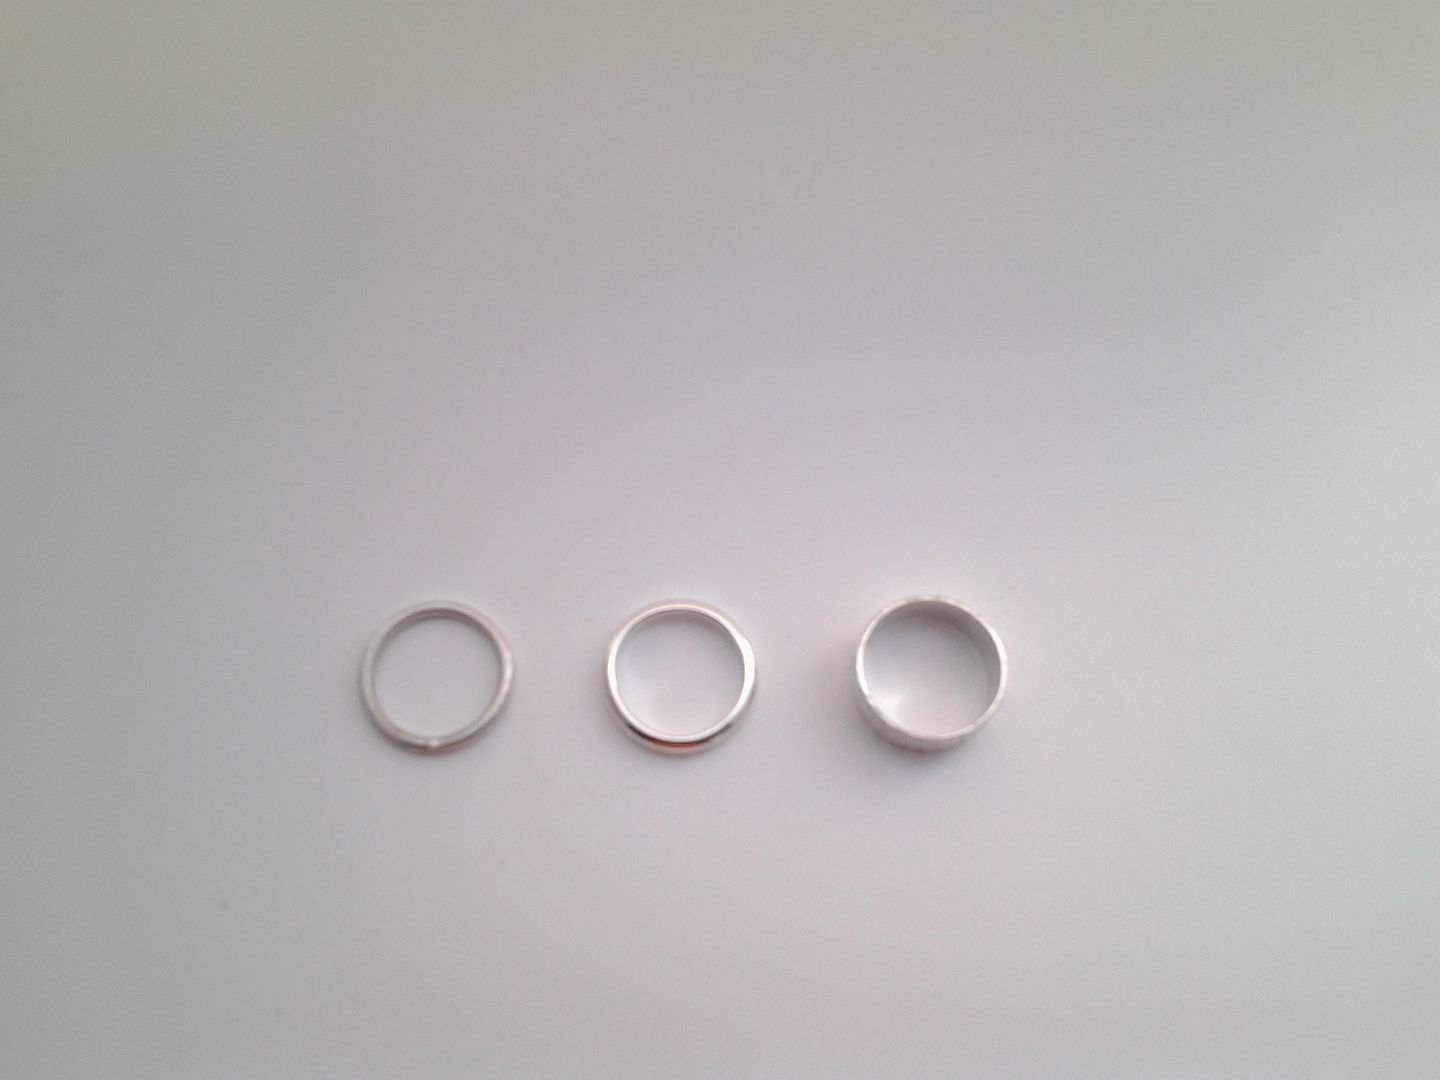
Over the first three weeks we made 3 silver rings.  The first (on the left) is made from simple 2mm round silver wire, shaped, soldered, filed and hammered to give a nice texture.  Mine turned out too big so I didn't bother polishing it up, though I may incorporate it into a necklace in the future in which case I will finish it.


The middle ring is made from 2mm x 3mm D-wire.  The inside is flat to your finger, the outside is curved.  This is just shaped, soldered and polished and I'm really happy with mine.


Finally we made a ring from 1mm sheet silver.  We used a pre-cut blank and textured it with a cross-pein hammer to give the bark texture.  We then soldered, filed and polished before burnishing to bring up the shine.  I'm also very happy with this ring but don't find it very comfortable to wear as it's 7mm high and I've only got titch fingers.

Week 4 was a pendent so watch out for that coming up...

Tuesday, 29 September 2015

Silversmithing

Mr CA and I went on a fab silversmithing workshop ran by the local college at a local venue The Textile Workshop.  Yes, you read that right, Mr CA came with me!  It's his first time to one of my craft classes but it's something he's fancied giving a go for a while and we have talked about it in the past.  I found this class on the Textile Workshop's website and as it was £38 per person for a 2-day course (excluding materials) there was no way I was passing it up!

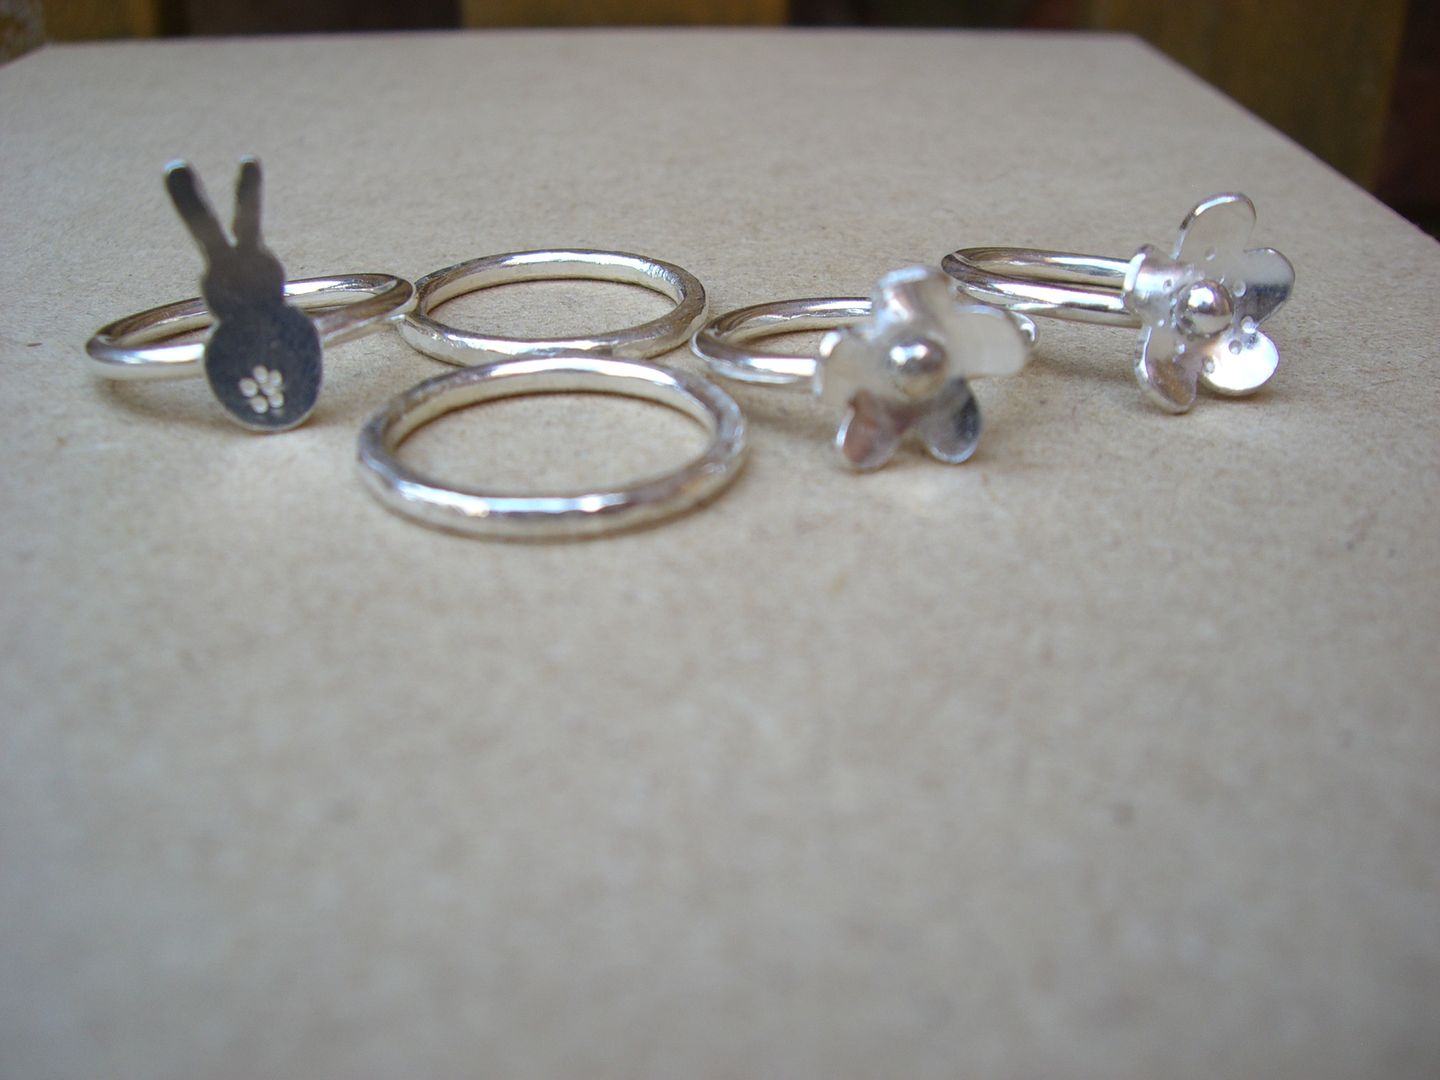
It was a great class, the tutor - Lisa Pearson - was brilliant and we both enjoyed it.  Mr CA will be my beautiful assistant, demonstrating the various stages we went through to make these rings.  (I made these rings, Mr CA made a masculine one for himself).


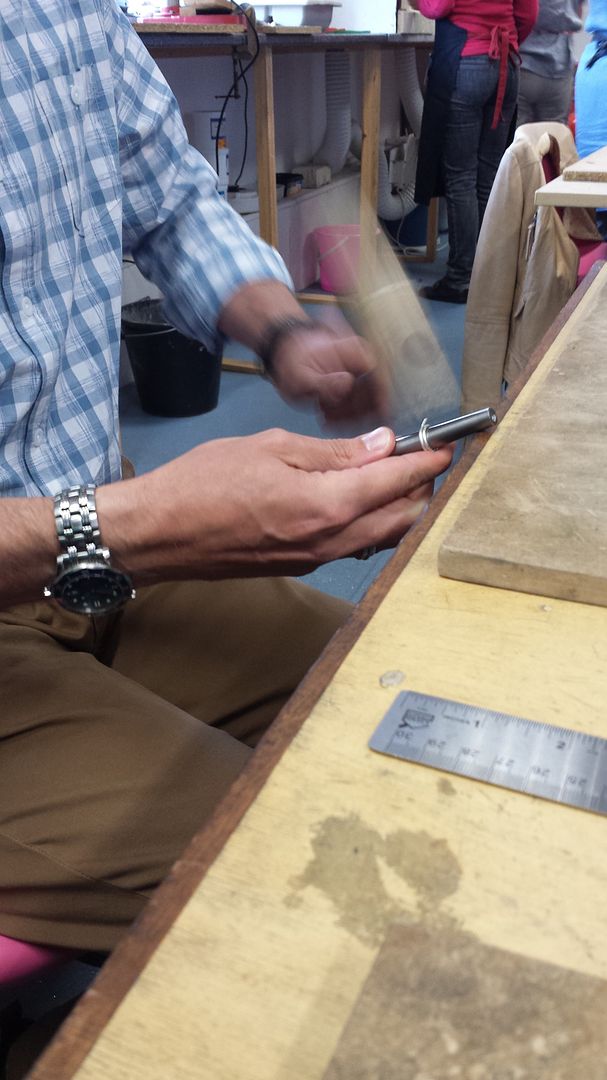
We started with 2mm silver wire which we bent around a ring mandrel and hammered with a rawhide mallet to get it to the correct size and a perfect circle.

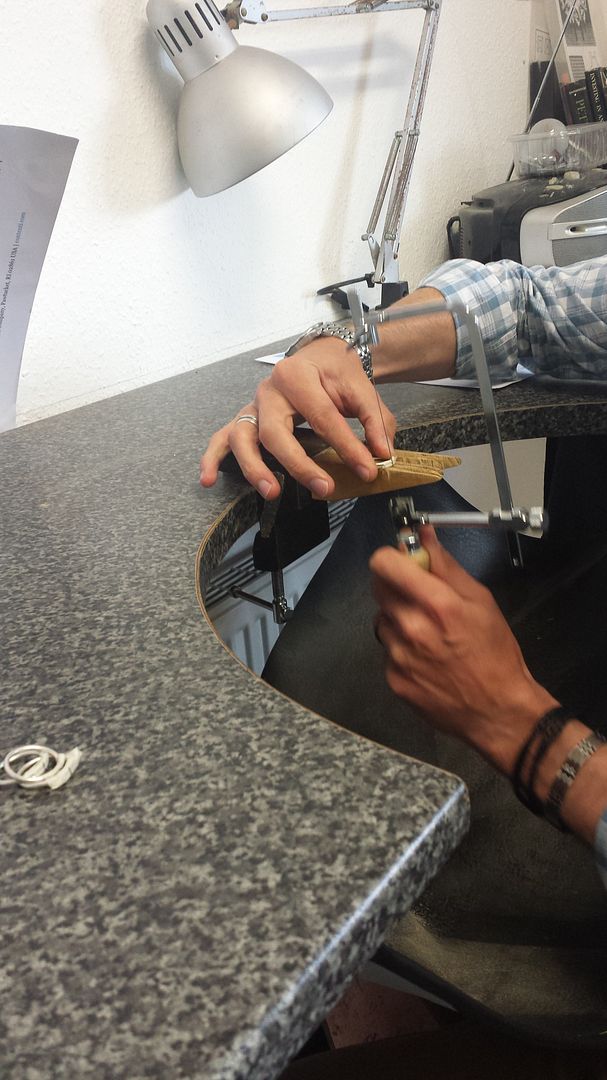
As there was an overlap, we used a piercing saw (like a hacksaw) on a bench peg to saw the join between the overlaps to make our ring bases.


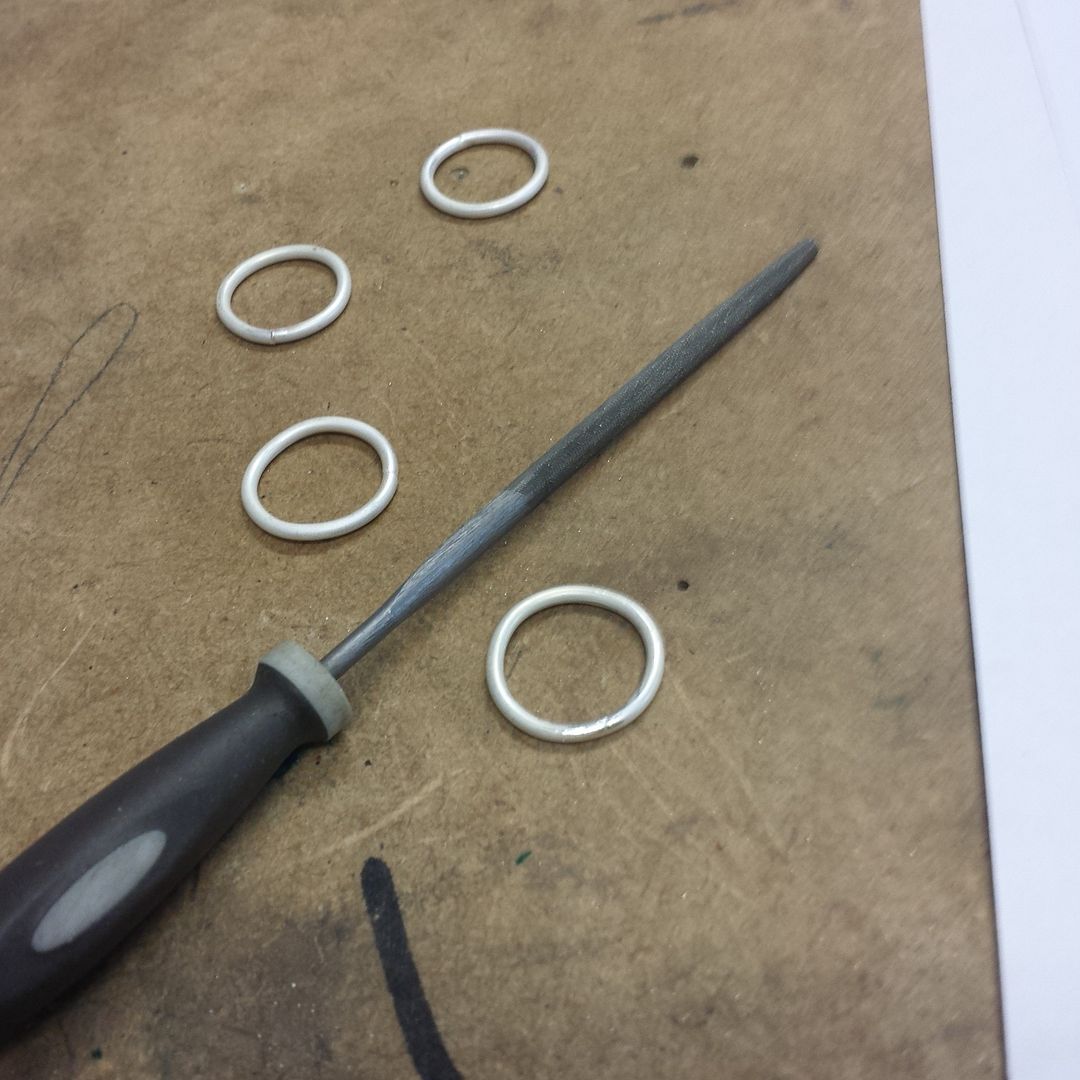
This is what you come out with after that stage:


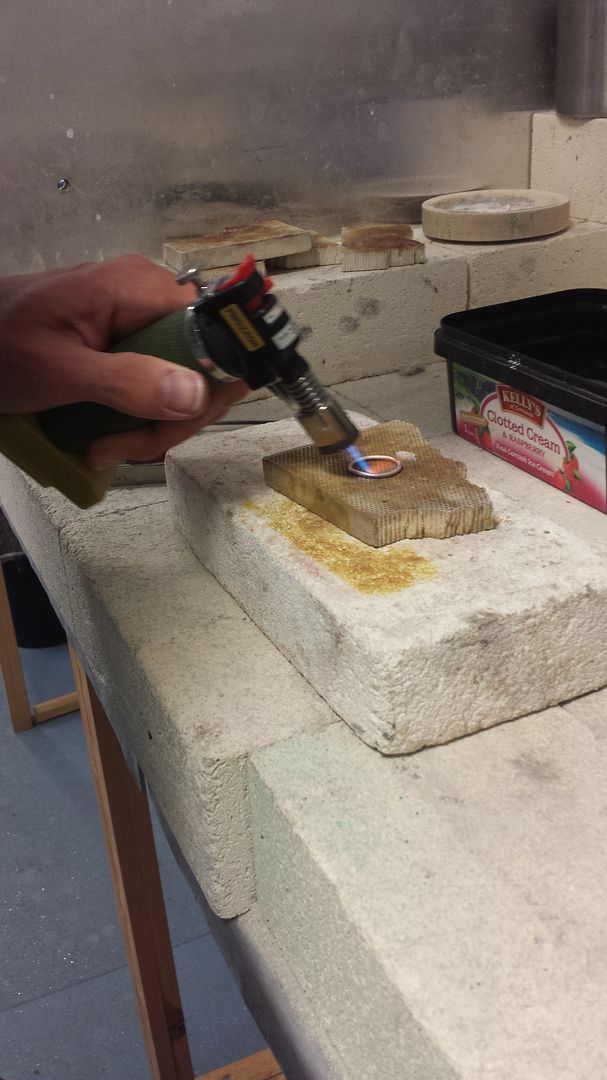
Then comes the fun bit - soldering!  The join is painted with flux which is a liquid that helps the solder to run.  A tiny pallion of hard solder was added to the join and then you use a blowtorch to melt the solder into the join.

It is quenched in cold water, then placed into pickle - an acid-based liquid heated to 60 degrees centigrade - to burn off the fire scale.  It's then rinsed in cold water.  Then it was time to file to get the joins lovely and perfect.

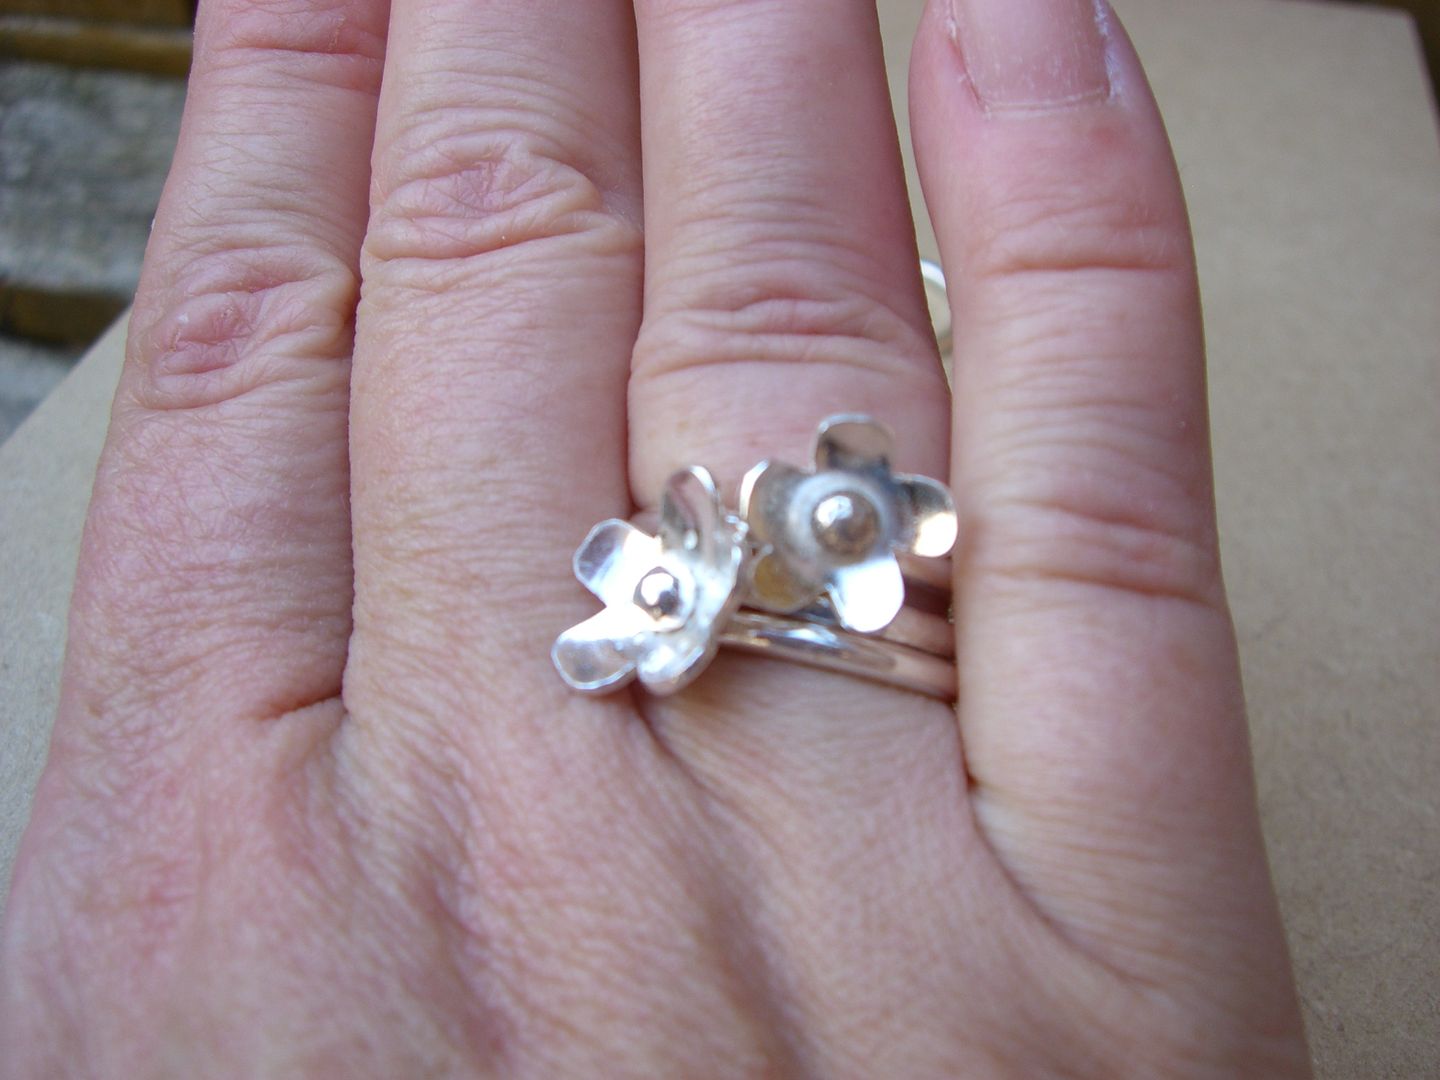
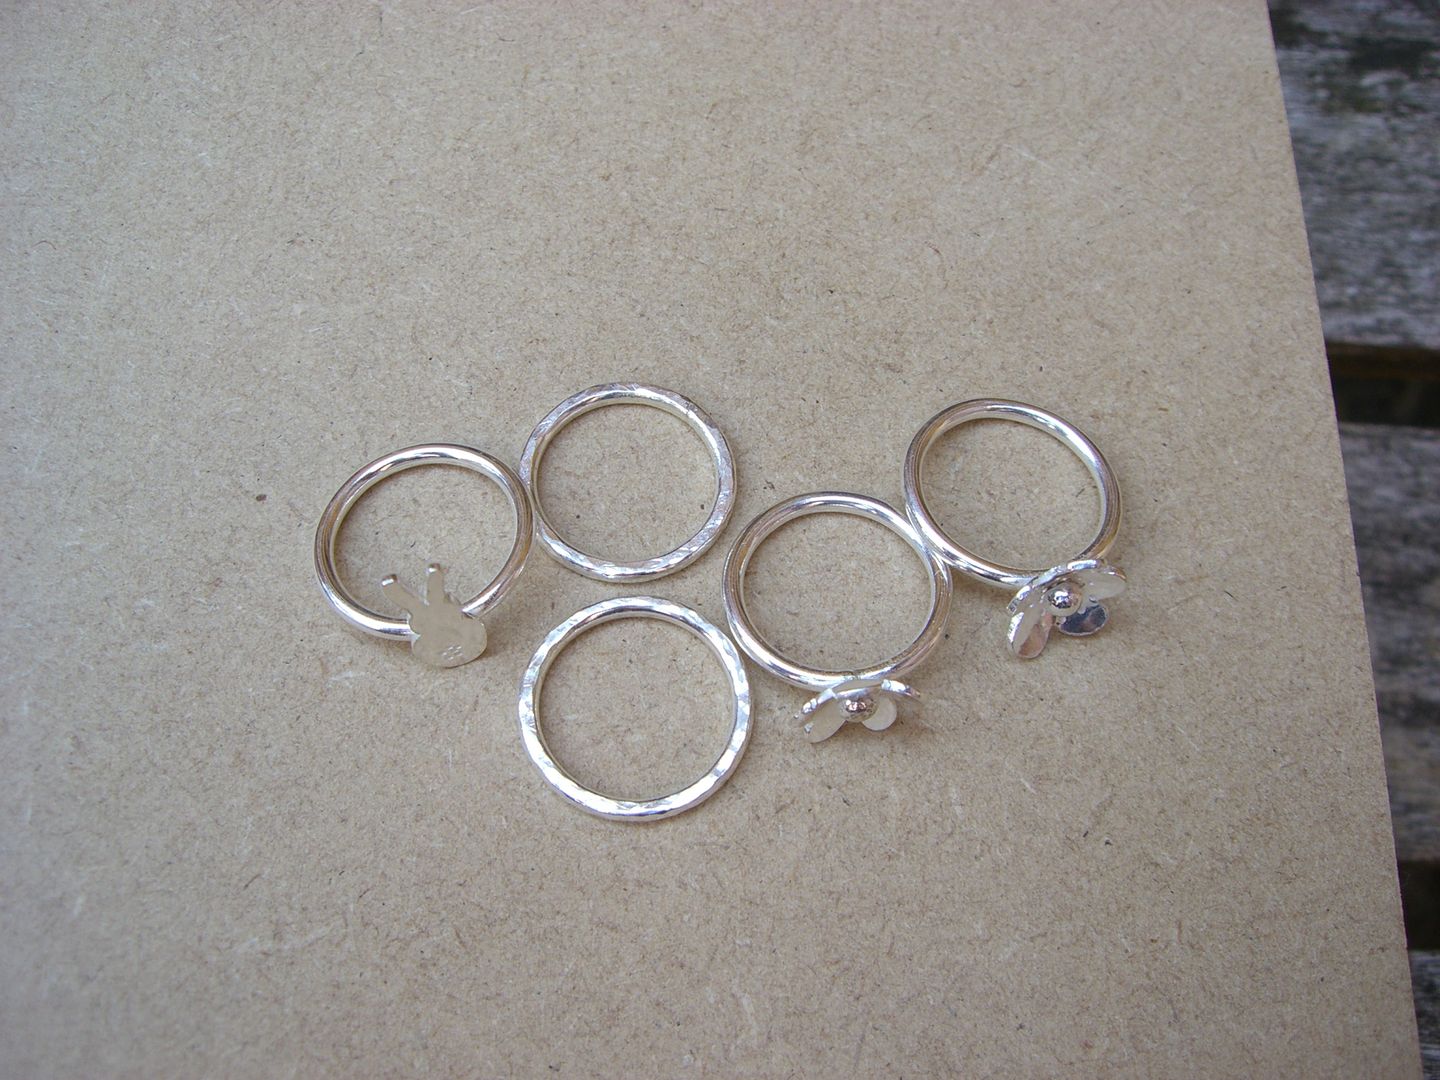
It was about this time that I became so engrossed in what I was doing that I forgot to take many more photos!  At this stage you could hammer the ring with a ball pein (round) or cross pein (wide and short) hammer to create a texture.  I did that on 2 of my rings.  I forgot to say at the start, we were making a set of 5 stacking rings, though I quickly discovered my fingers are too stumpy for 5 rings, so I made a set of 2 stacking rings to be worn with 1 spacer, and a single ring to be worn with 2 spacers.


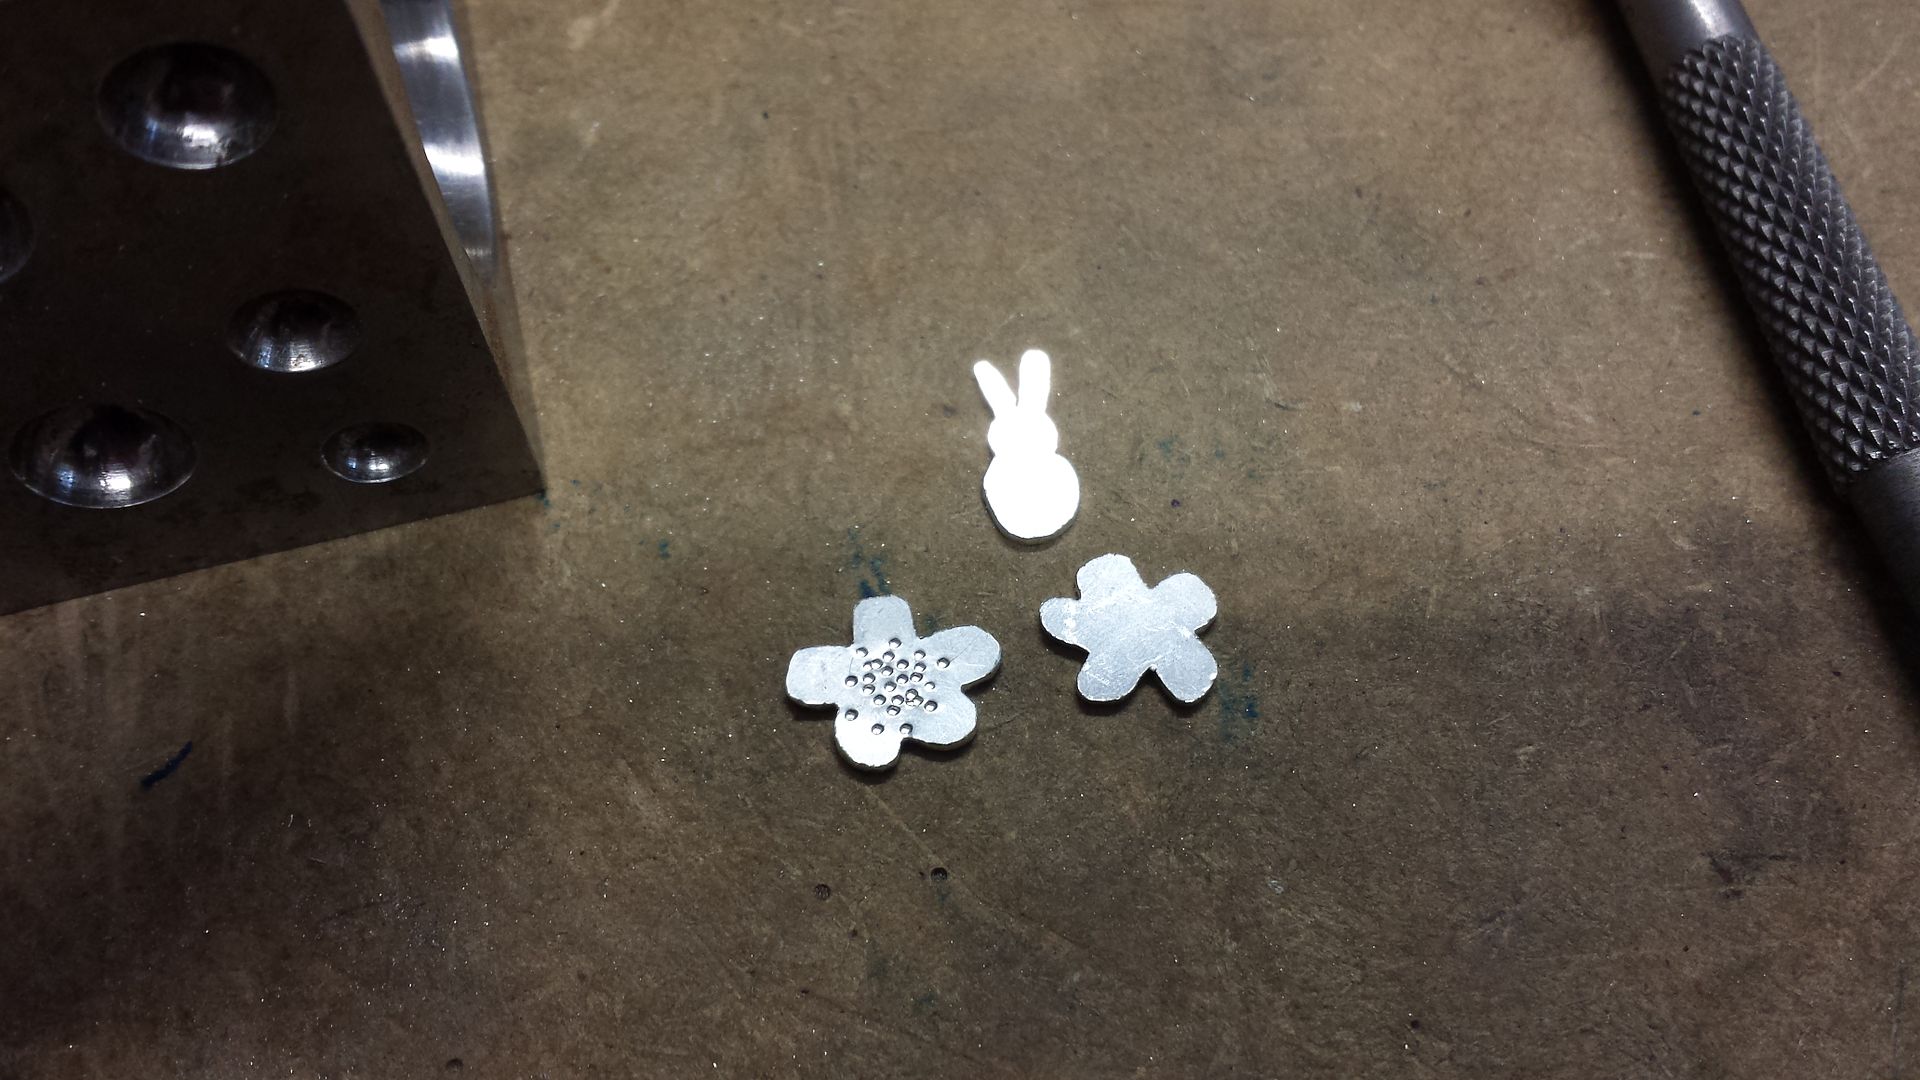
I cut out these shapes from 0.8mm silver metal sheet using the piercing saw we used to cut the rings.  It was quite tricky and fiddly but I didn't cut myself.  I hammered some dots on one of the flowers (that's what they're supposed to be!) and for a tail of the bunny using a centre punch which is a spike you hit with a hammer.  There's a lot of hammering in silversmithing!


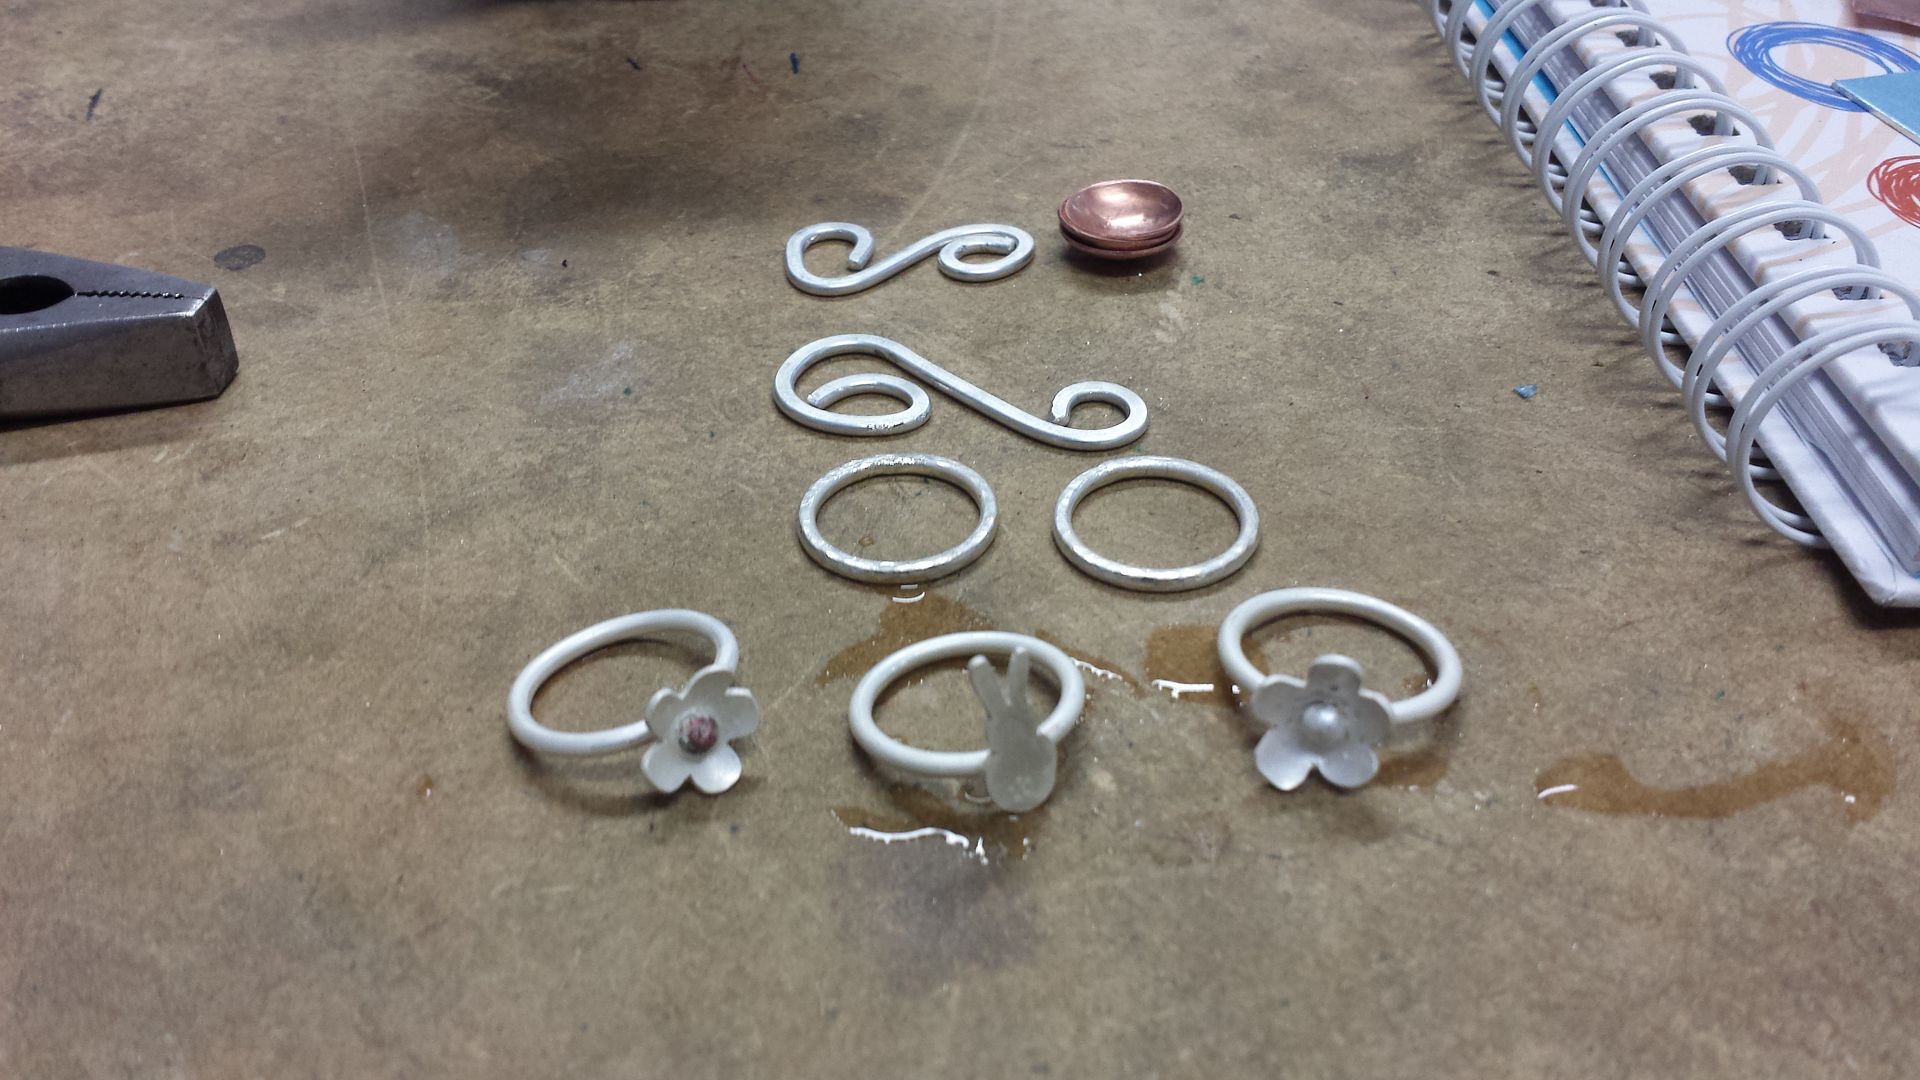
I shaped the flower using this.  This is a doming block and the doming punches to use with it.  I put the flowers into the concave slots, then hammered the punch on top to create the curves.  I made a couple of silver balls by just heating a small piece of silver, then soldered these into the rings.  The ring tops were then soldered onto the bases using easy solder, pickled and rinsed.


The penultimate step is to clean up the rings using needle files and them emery paper of various grades until the rings are as perfect as you can get them.  As you can see in the above photo, the soldering process leaves them white.  We put them into a barrel polisher and they came out all sparkly!


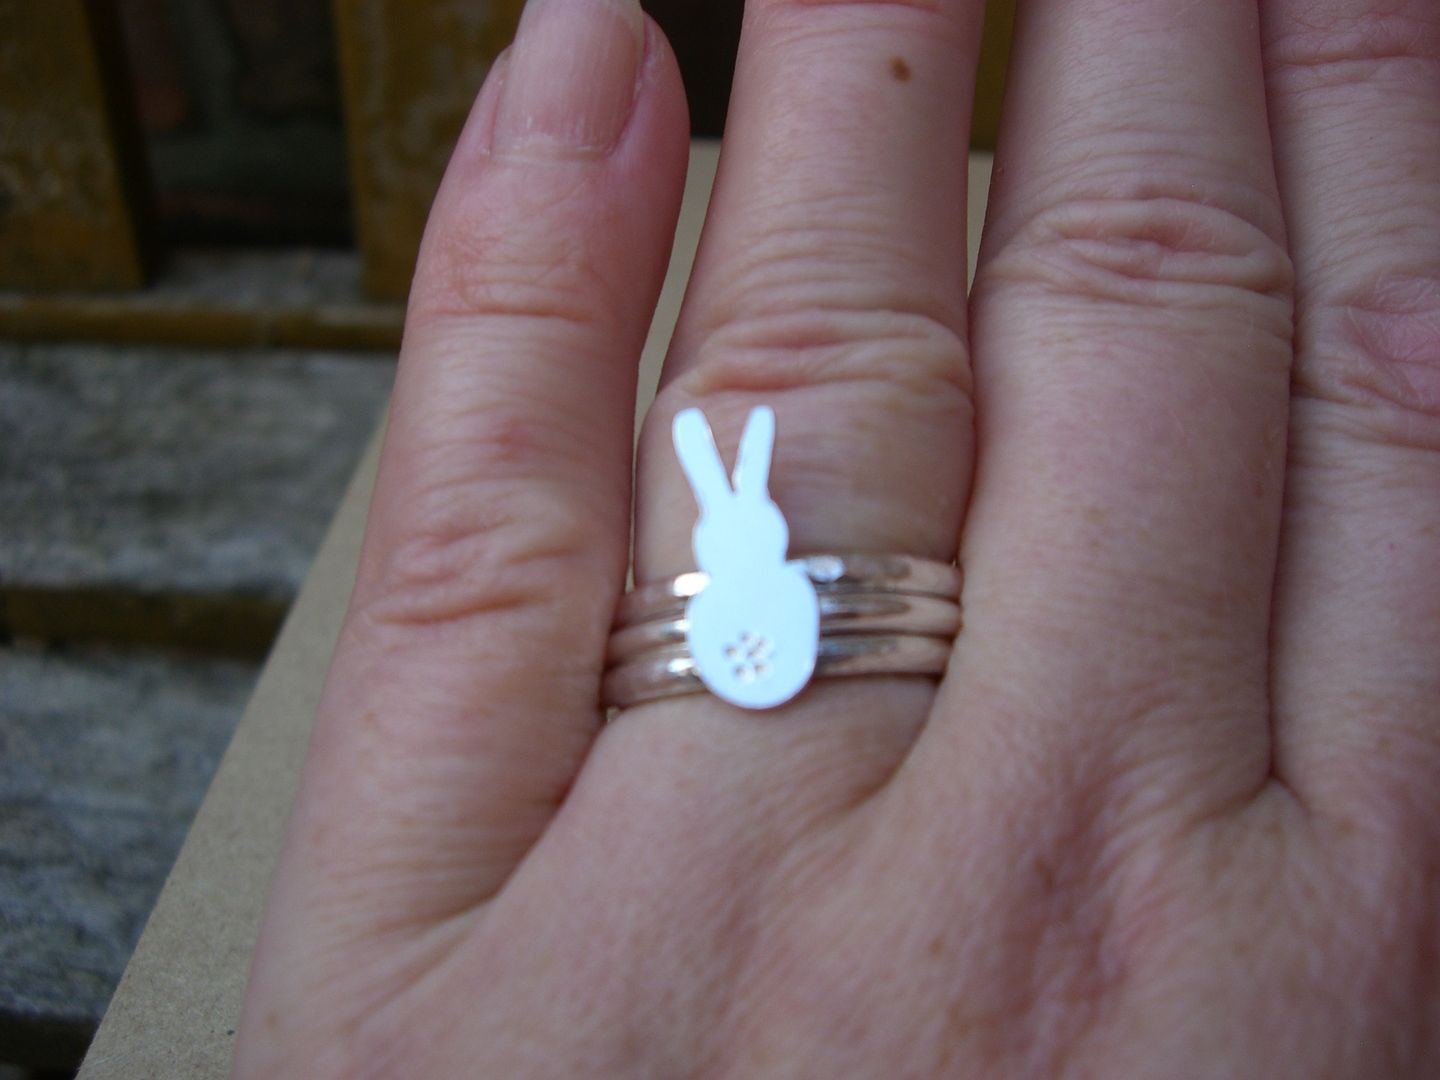
Here are the spacer rings with the bunny, can you see the light glinting off the spacer rings?


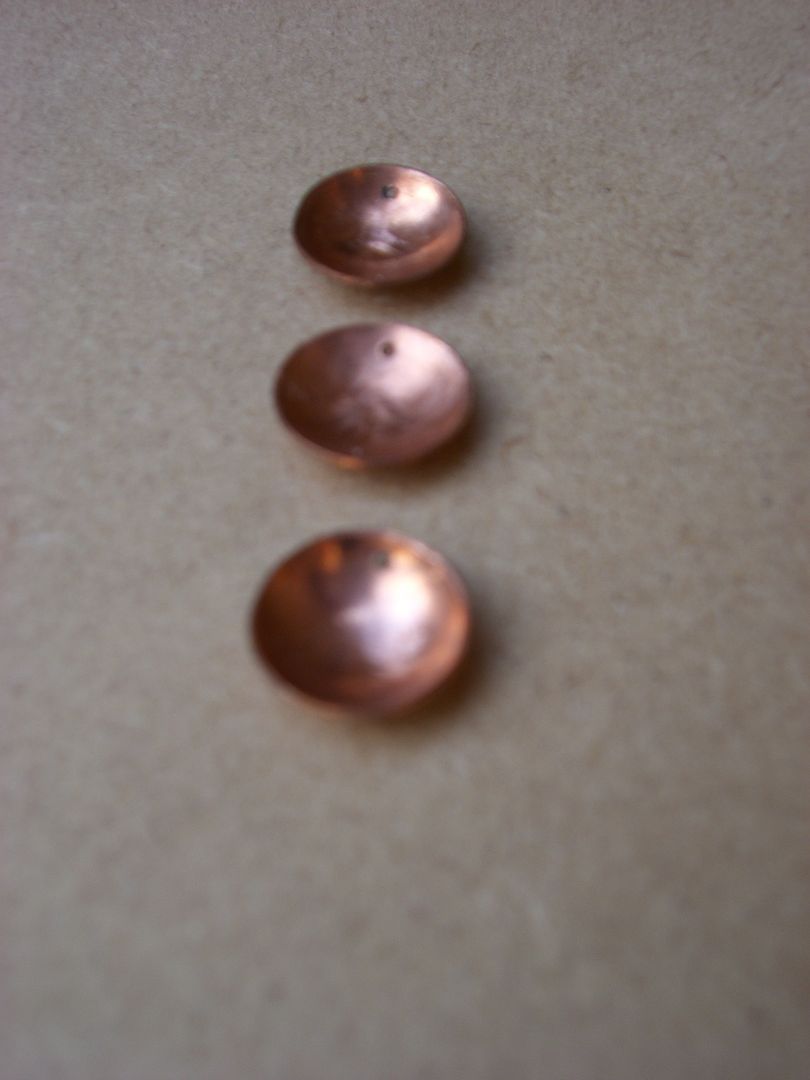
I had a bit of time left, so I used a piece of copper to cut some circles using a circle punch, then domed them in the doming block.  I drilled top and bottom, except for one which was just drilled at the bottom.  I plan to do some enamelling on them and turn them into a pendent.

I also used some more 2mm wire to make necklace connectors.  I spiralled them using pliers which was really difficult as the wire was so thick.  I then ran them through the rolling mill which flattens them.  I have plans for these, hopefully I'll show you before too long.  I also pierced out the heart, though I didn't have much time for finishing it properly.  I think I'll texture it, then I can use it in a piece.


Well that was a long post!  It was a brilliant class and I WILL be doing more silversmithing!  I'm on the waiting list for an evening class, but I also intend to do some at home... watch this space (but not too soon, you know how it takes me an age to get to anything!).  This class was also responsible for pulling me out of a depressive episode which just shows the power of craft!


Tuesday, 5 November 2013

Texturing Metal - craft class

Good morning ladies, I hope you are all well this Bonfire Night morning.  Not really sure if Bonfire Night morning makes sense.  All the fireworks seemed to happen round our way at the weekend.  When they started I went rushing out to see if the buns were OK.  They just looked bored with it!

On Saturday me and my wonderful mum went to another class at The Bead Shop, Nottingham.  It's a good thing they keep adding classes or we'd have to find something else to do!  This class was texturing metal.  It was an experimental class rather than a class where you go away with a finished piece.  This has been on my WIP list all year since I got some hammers for Christmas, but it was good to get some advice and tips.


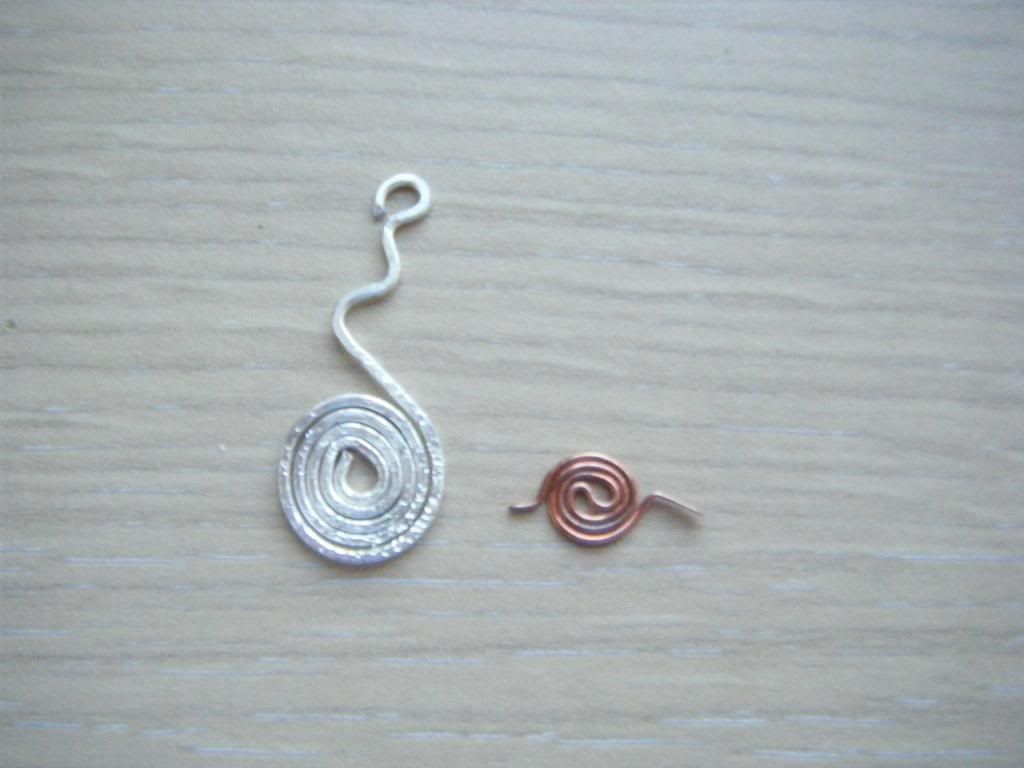
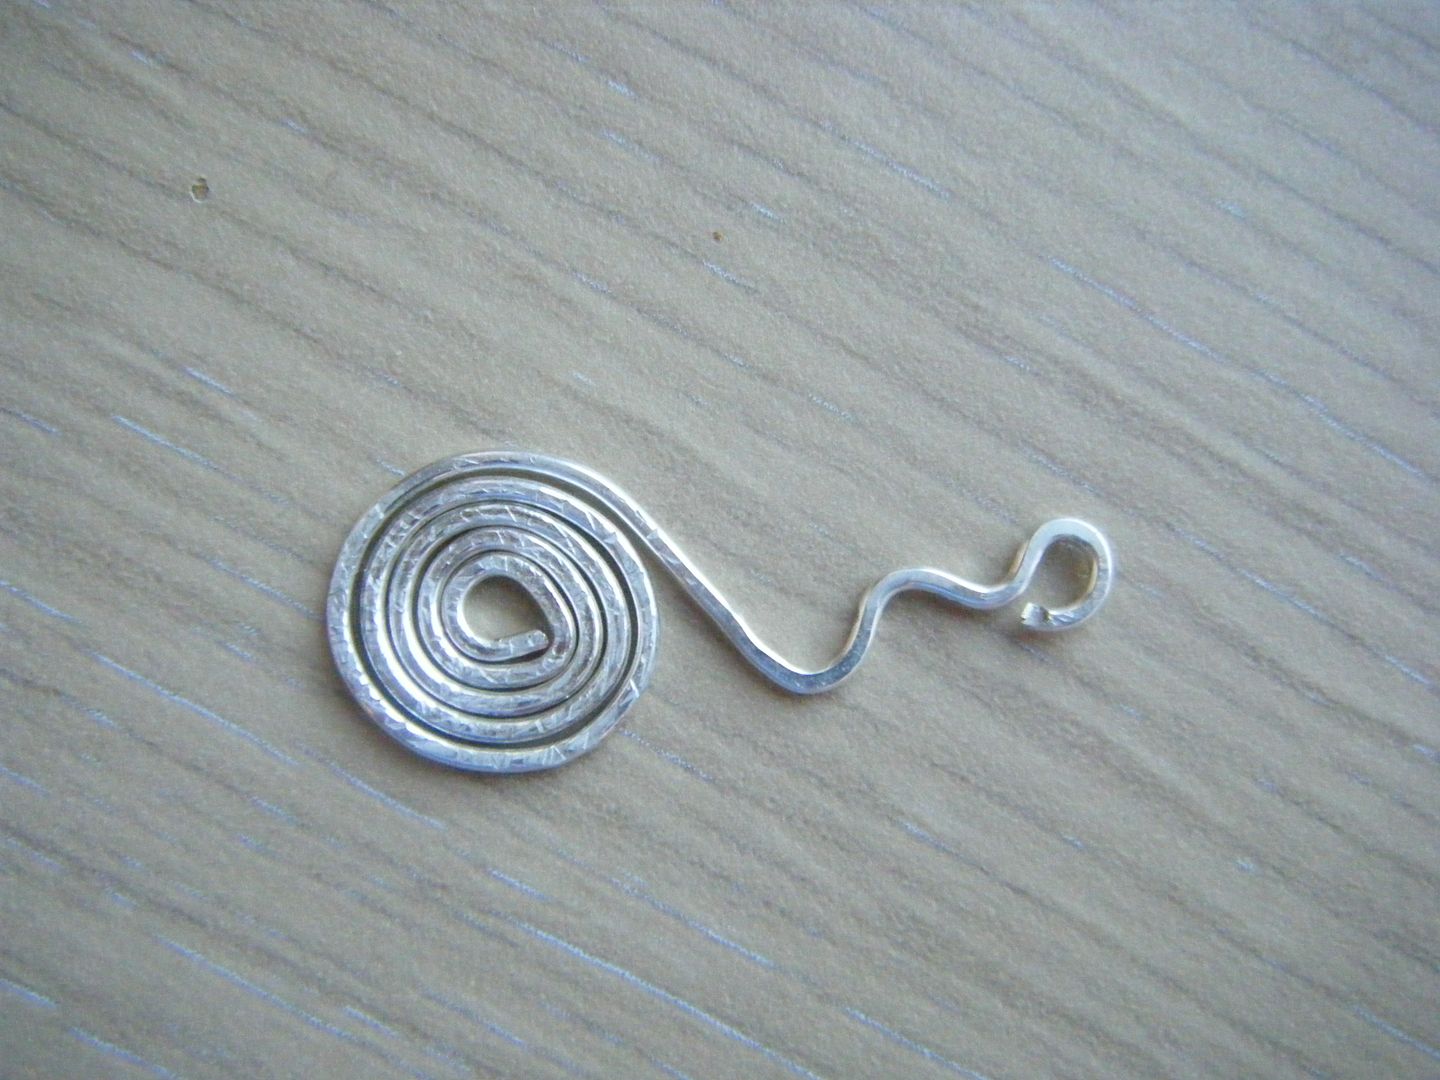
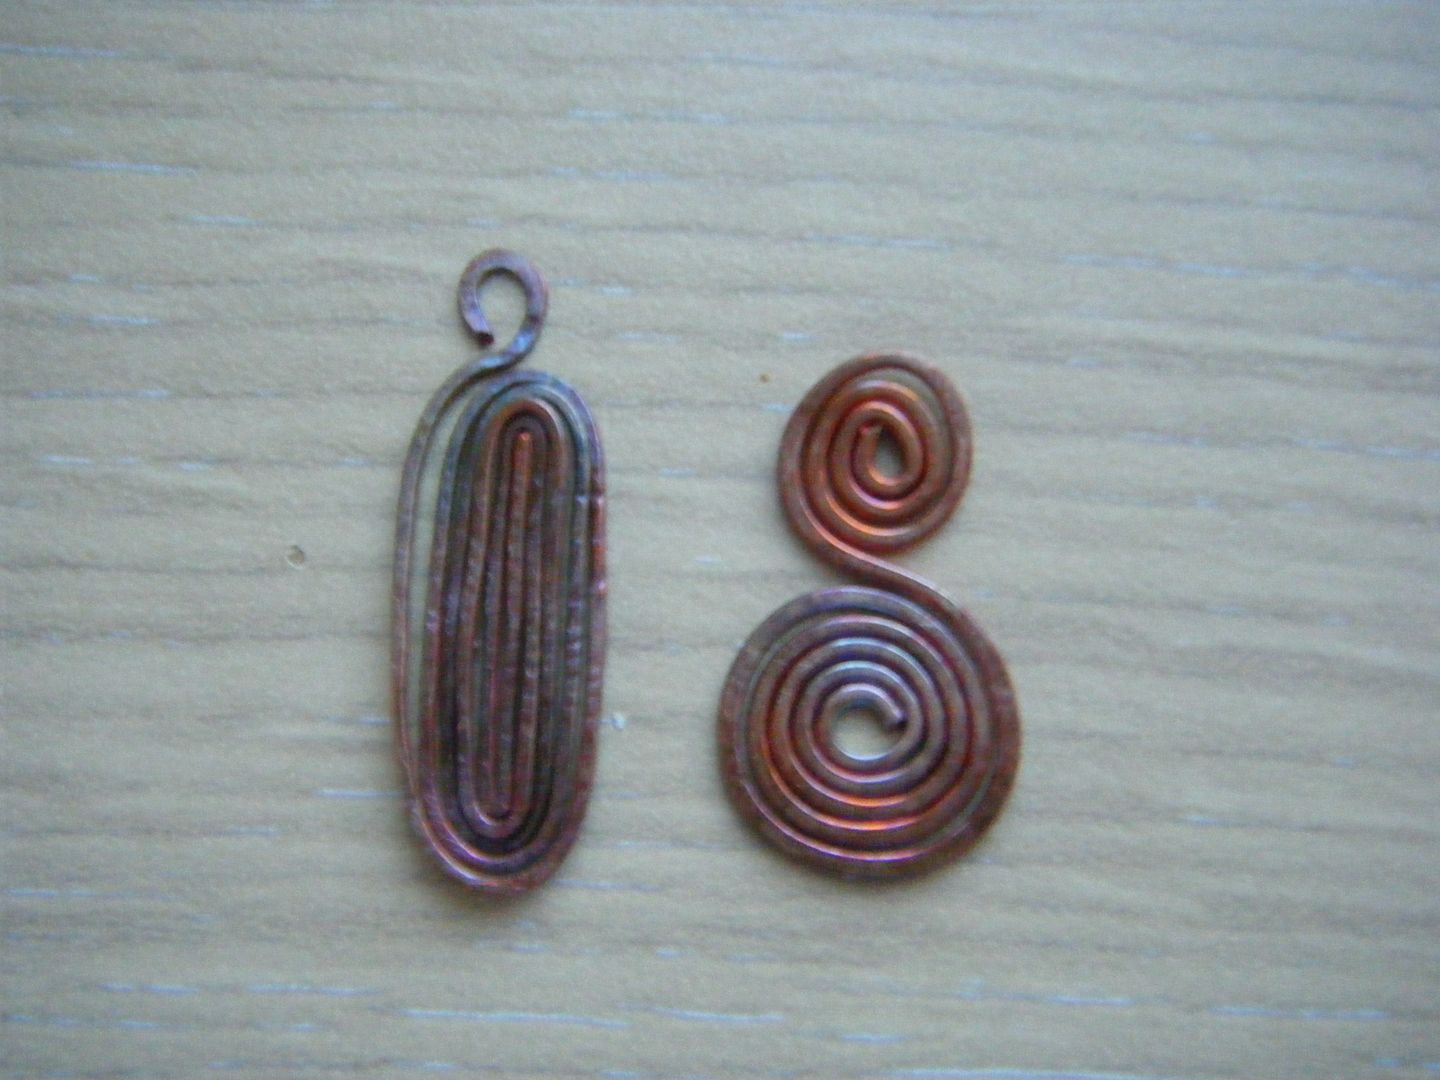
We started off making some coils.  The silver one is 1.5mm wire and the copper one is 0.8mm, though we used 1mm too.  Once we'd made some coils, we had a good old bash.  We used a chasing hammer and there was also a Beadsmith hammer with interchangeable heads to give patterns.  I wasn't keen on that on the wire, I think it'd be better on sheet metal.  Above the silver one has been bashed flat at the top, then textured.  The bronze one is also hammered flat.


I used two different heads on each side, this one gives it a bit of a shimmer.


Next we moved on to colouring the copper with a heat gun.  I always thought you needed a torch for this so it was good to know I can use my trusty heat gun.  Heating for different lengths of time gives a different colour finish.


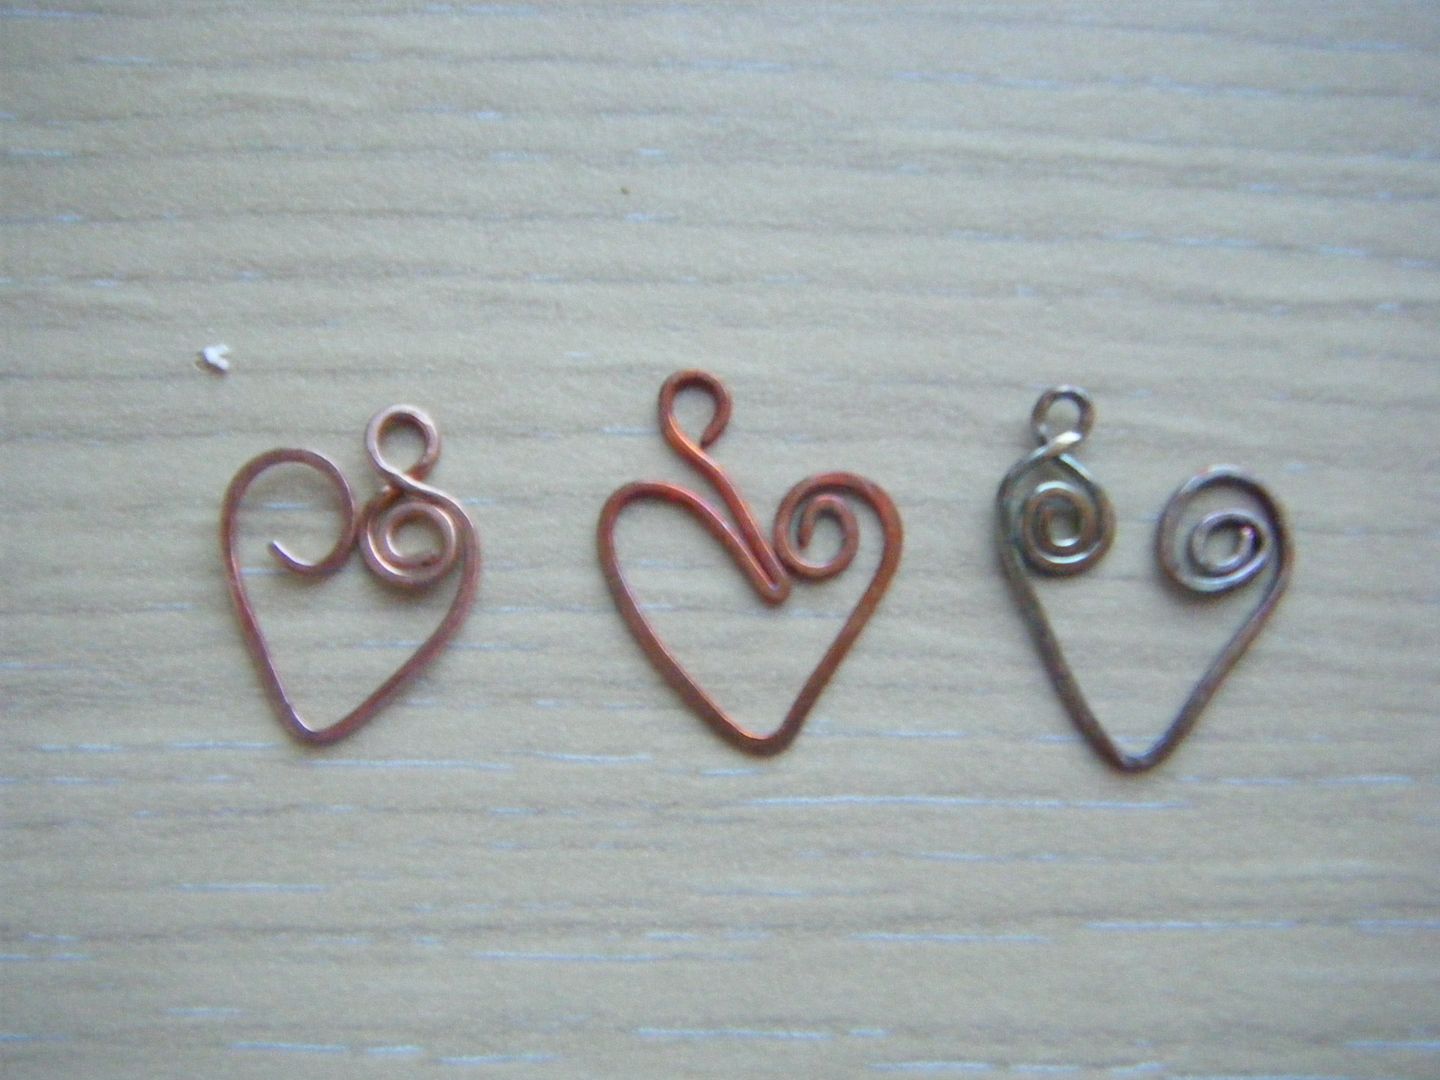
Here I was experimenting with heart shapes - the one on the left is a clear winner.  All were hammered flat.  The left one hasn't been heated at all, the middle one heated to an amber colour and the one on the right to a purple/blue colour.

The class was really interesting and now I need to get my hammers out and have a bit of a go!  Better get the dining room sorted out so I have a table to work on...