Showing posts with label babystuff. Show all posts

Friday, 22 April 2016

baby blanket

A lovely colleague should be having her baby boy around now.... push Carol, push!  I had to make her a present and settled on a baby blanket.  I'd bought some balls of Whisper White yarn a while ago, but never got round to using it so this seemed the ticket.  It's a lovely soft Merino yarn and is in a shade of bluish-white so seemed perfect, especially as I began it before I found out the sex of the baby!

I used a pattern from Cute and Easy Crochet by Nicki Trench.  It's a very simple ripple pattern and I enjoyed it.


These photos were taken whilst it was being blocked.  I finished it on Monday night and was blocking it around 10.30, way past my bed time!  Having to give it to her on the Friday, I knew I didn't have any other chance to get daylight pictures so I took these on the Tuesday when I had a day off (craft class - coming up!).


I started it back in November, plenty of time!  Then I didn't work on it again until February.  Unfortunately, although I remembered how much I like to crochet, and although I liked the pattern and the yarn, it hurt my hands and I could only do a couple of rows at a time so it took forever!

I'm not sure it is big enough so I'm hoping she has a little baby!

Friday, 15 November 2013

top hat


So I made a top hat.  Not the kind of thing you hear everyday.  It was another prop for my friend's baby photo business (which you can see here if you're interested), but it's the last one for the time being before you fall asleep.


Made from black felt, it was a bit of a feat of engineering.  I didn't even look to see if I could fnd a tutorial as I knew I wouldn't!  The brim is interfaced, as is the crown, but the tubey-bit isn't.  It does seem to stand up OK though.


I called Mr Hefalump into service again.  He didn't mind modelling for me whilst he sorted my pins into colour groups.  I think the hat makes him look more dignified than the bonnets I usually make him model.


I made it to fit my friend's daughter, I took it over to her and it's slightly too large, but that actually makes it even more adorable!


Here's the inside view.  It's not the neatest stitching on earth (I challenge you to make a neatly-stitched top hat!), but it looks fine from the outside.

Job done!

Wednesday, 13 November 2013

booties

Having finished all the baby photo prop stuff I wanted to make (with the exception of one item as I hadn't figured out how to make it yet), sitting on the sofa watching TV, I needed something to do.

Something made me reach for the book Cute and Easy Crochet by Nicky Trench and when I came to the pattern for the booties, I knew I'd found the perfect quick project.


They're made with DK yarn, I had bought the green one recently though I can't remember what for.  The blue in the middle is from a never-ending ball of my favourite Sublime merino and the purple is the left-overs of some soft recycled yarn.  I think it's called Calico though I don't know who made it.


I did struggle putting the fronts together and after repicking twice, I amended the pattern to suit me personally better.  It was an excellent pattern, I think sometimes you need to find your own method though.


The purple tops are supposed to be picot stitches and I do think something was missing from the instructions here.  I can't seem to do picots but I'm sure they can't be THAT hard.


How cute are the soles!  I have no idea what I'm going to do with these.  I suppose they'll sit in my craft room until someone has a baby.  But only if they agree to lend me the baby for some head measurements.

Sunday, 10 November 2013

More bum coverings.

Still on a newborn photo prop kick!  I have seen really cute ruffle bum nappy covers around, but no tutorials other than those using a special ruffle fabric. I decided to wing it.  I started off with this tutorial at Made which is fabulous.  I thought I knew what I was doing with the ruffles but it all ended up a tangled mess with ruffles stuck in leg seams and stitches everywhere.  I started again, first with a simple cover, no ruffles.


Perfect for a little boy.  Then, with a better idea of how it all worked, I moved on to the ruffle one.


This is the front, it looks very odd! The fabric was from a craft fair, perhaps at the NEC and was a very bad choice as those little white flowers melt when you iron them.  Lesson learned.


Here is the back, showing the three rows of ruffles.  You can't really make it out, can you?  I need a model... Mr Hefalump!


Poor Mr Hefalump, no wonder he looks so sad.  This does show the finished effect better though!


And it co-ordinates with his blanket!  I'm sorry Mr Hefalump.  I won't ask you to model baby stuff again (I will). 

Oh, and I won an award!  I came second in Homecrafts Blog Awards.  Go check me out and the other winners.


Homecrafts

Thursday, 7 November 2013

santa hat and nappy cover

I've still got more newborn photo props for you I'm afraid!  I just hope my friend remembers all this when she's a rich and famous photographer (she will).  She'd asked for a Santa hat to take photos of her little one.  Although she's now almost 8 months, she's a tiny little thing who wears clothes for 1-3 month olds, so this would probably fit some newborns anyway!


In case you can't guess, this is a Santa hat and a nappy cover.  A nappy is a diaper to you North Americans.  I used this free Santa hat pattern, but I used a chunky yarn and didn't add the rows in white, instead I sewed on a maribou trim.  It was a nightmare.  Not only did the feathers get everywhere, the thread didn't like it and got caught up with most stitches.


You can imagine how much I enjoyed sewing it to the nappy cover, for which I used this free nappy cover pattern.  The front tabs fold in to encircle the baby's waist and are fixed with buttons through the rows of trebles (US - so UK double trebles).


I think I prefer the back view!


I was rummaging through my button jar for the perfect white buttons, but couldn't find any big enough, then I remembered my self-cover buttons. 


I used a scrap of Christmas fabric, not that you can tell!  I think white might have been a better choice, but then everyone will be looking at the cute baby, not the method of closure!


Right, I'm off to lint roll myself, the sofa and floor.  Again. 

Friday, 1 November 2013

more bonnets

Yep, I'm still living in 1800s England...  I bet my mum wished bonnets were in fashion in the 70s when I was a baby.  I was bald until I was 2.  I can just imagine the looks I got.


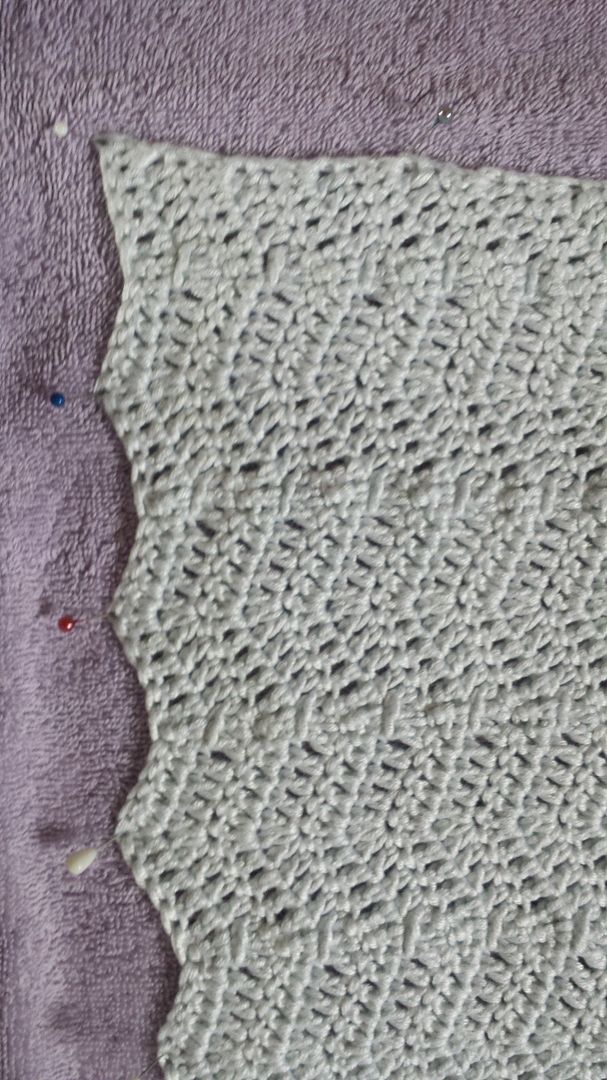
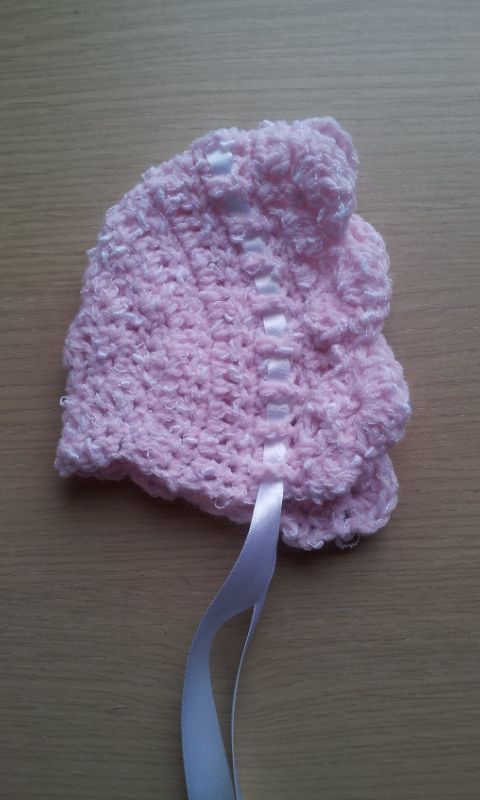
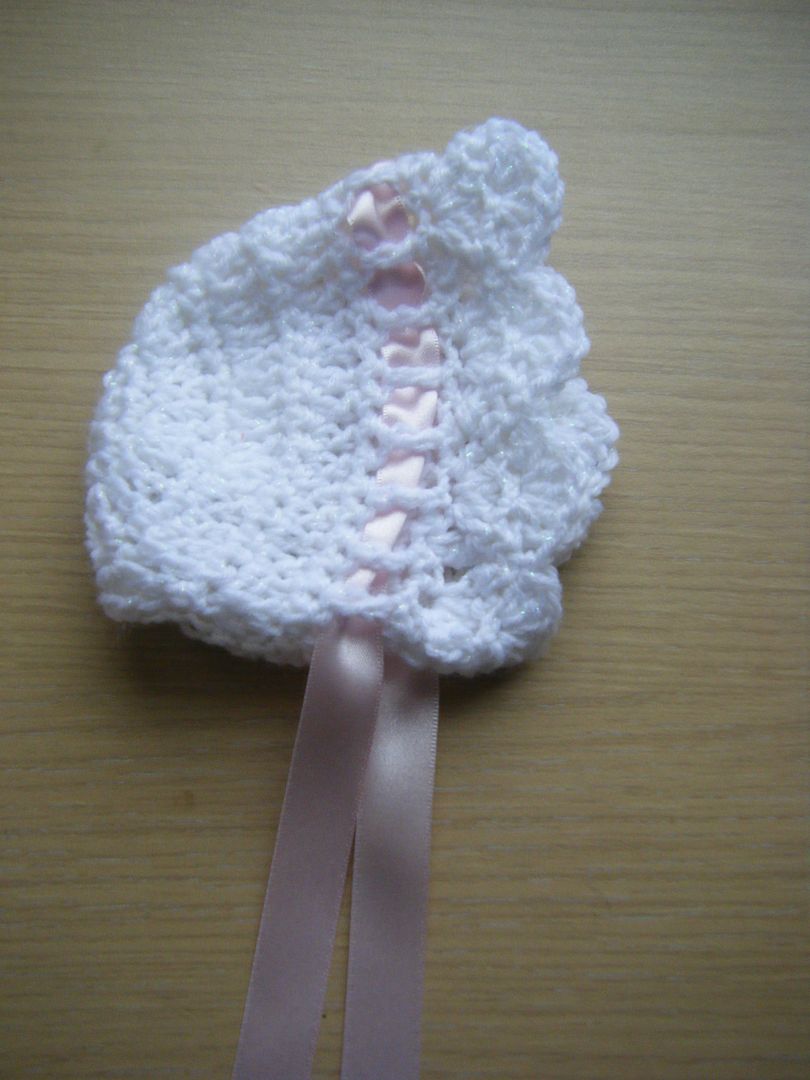
I used this tutorial at Mousse Mouse Creations again, but this time used a pink yarn.  It was Sirdar Snuggly baby yarn again, but I can't remember what the next bit was.  It has little white slubs in which look nice but are an absolute *%$&*$ to sew in at the end.


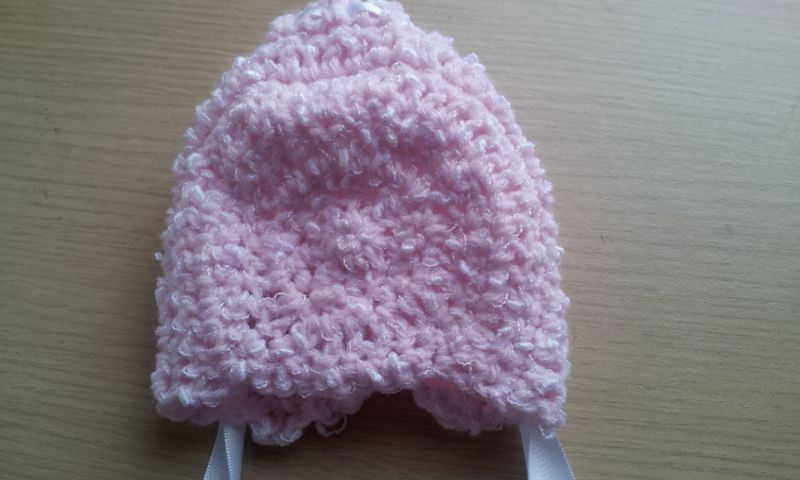
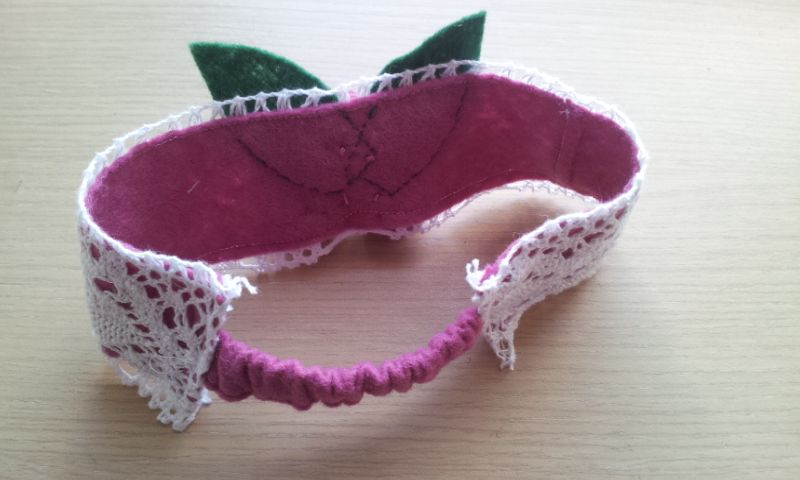
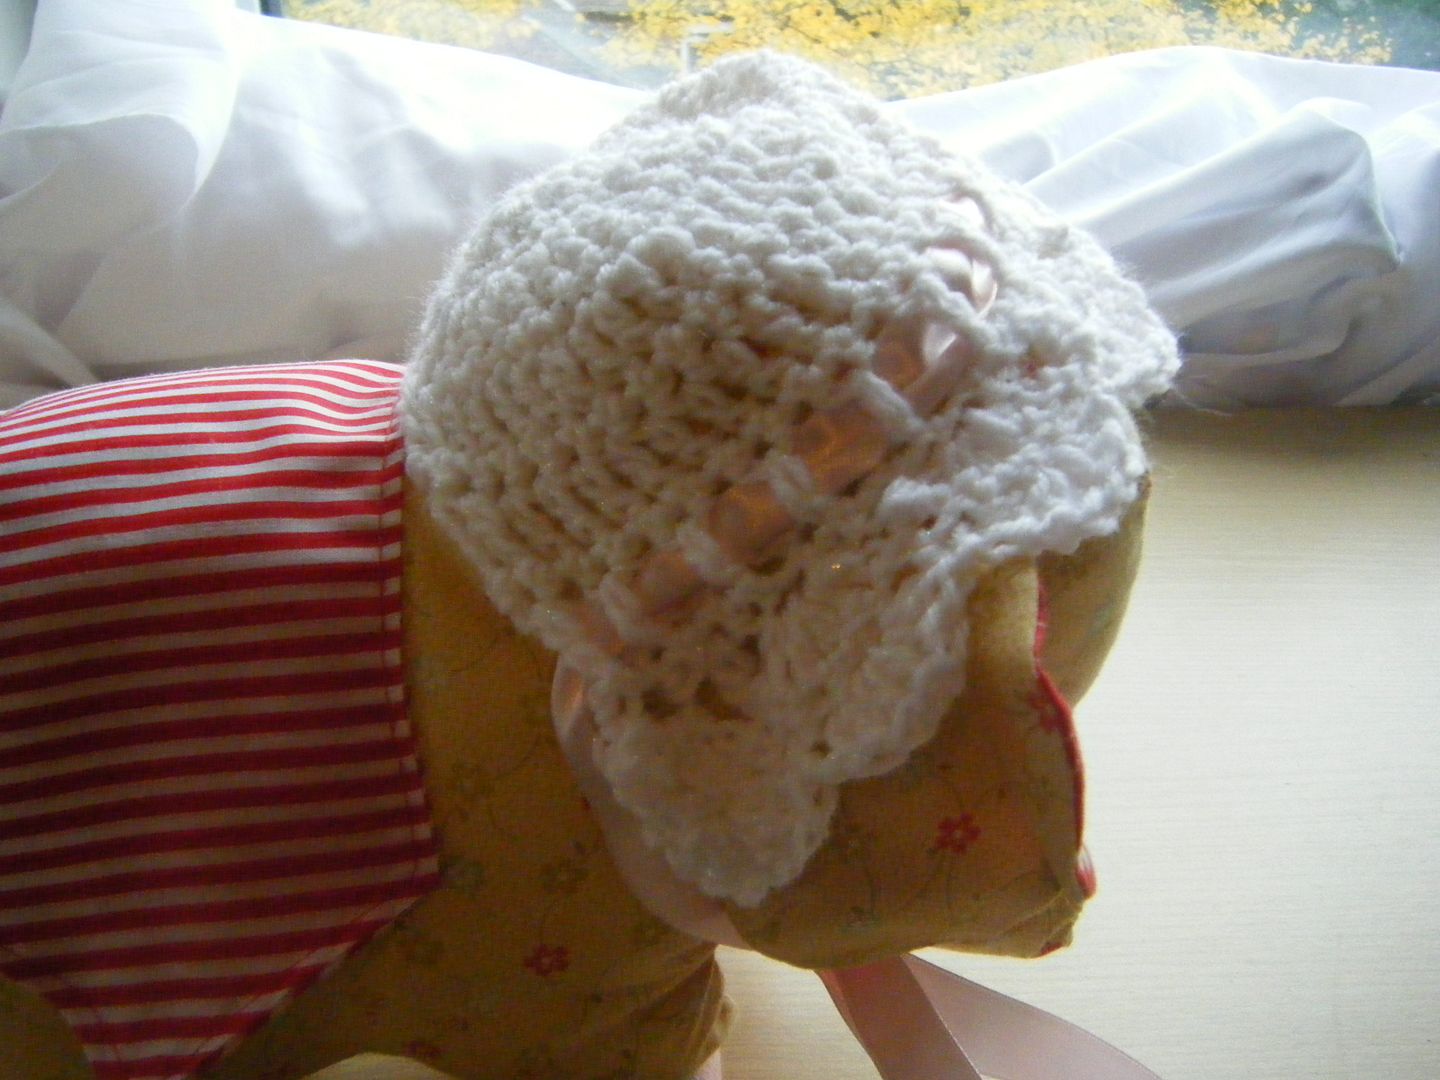
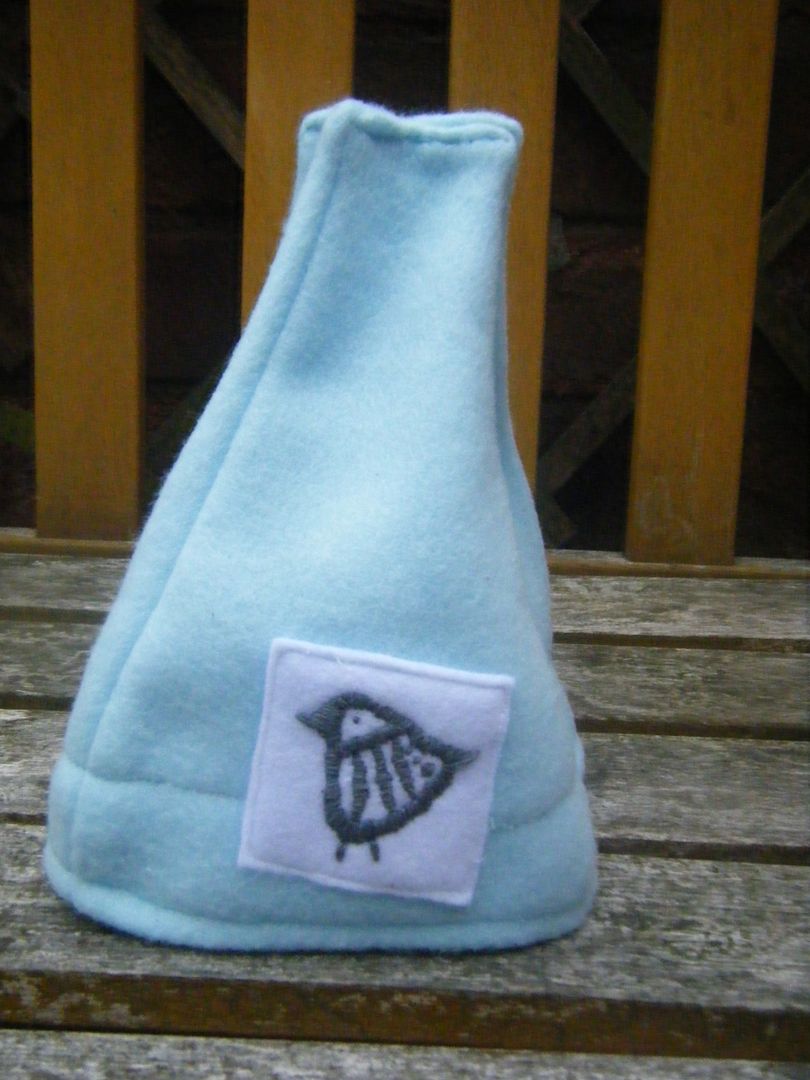
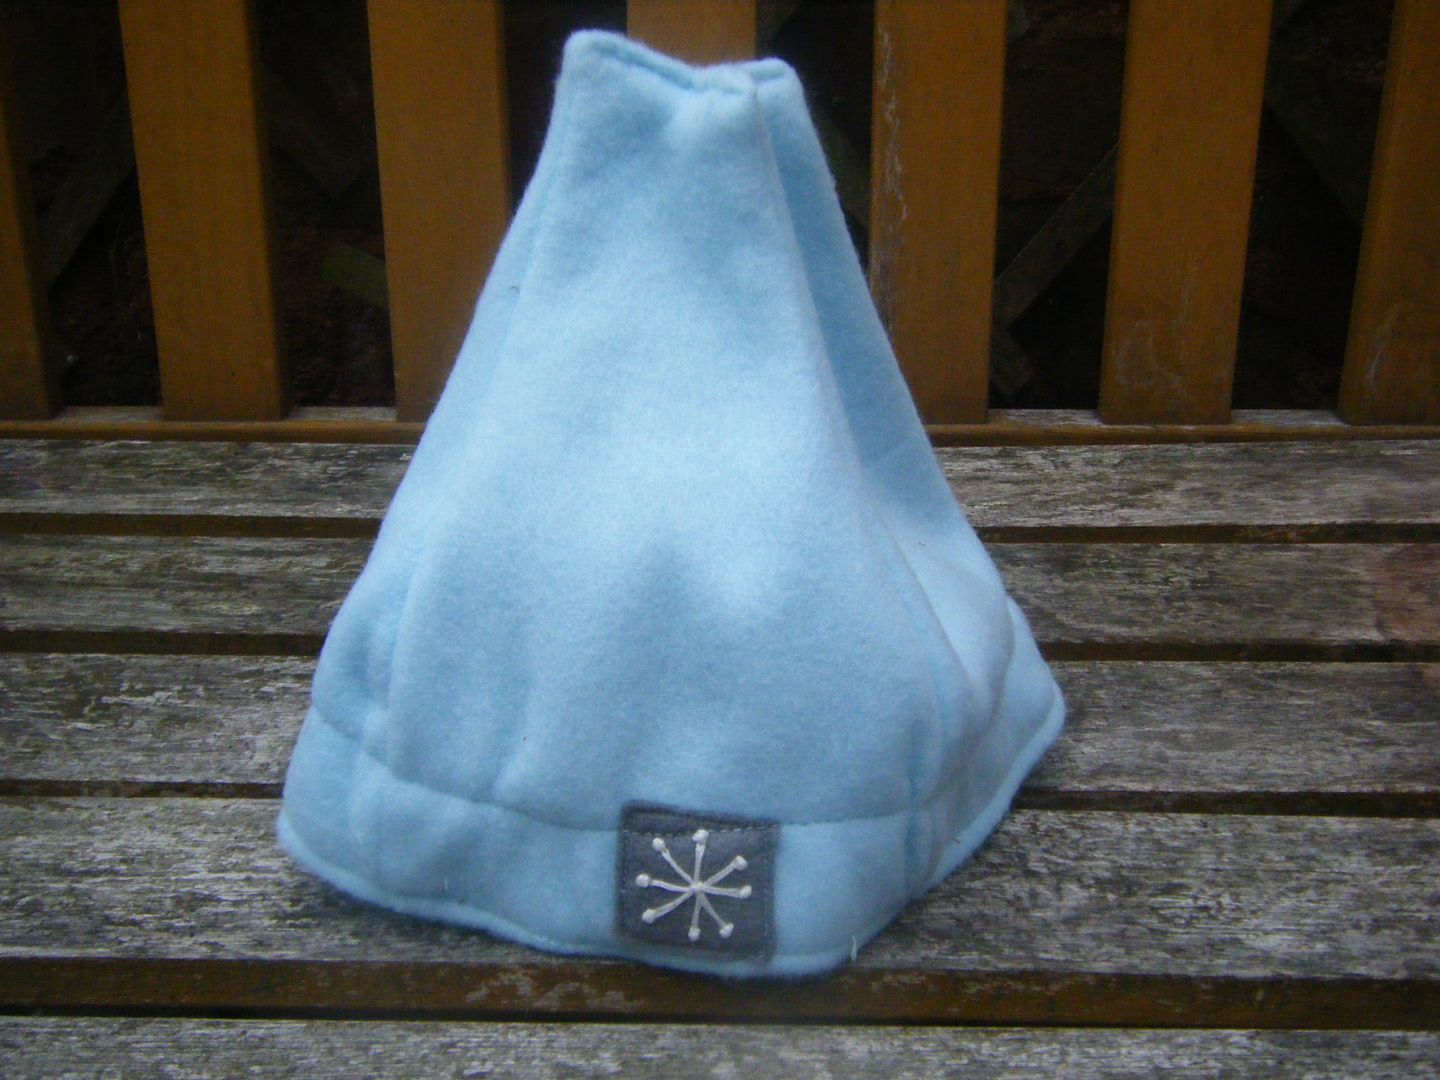
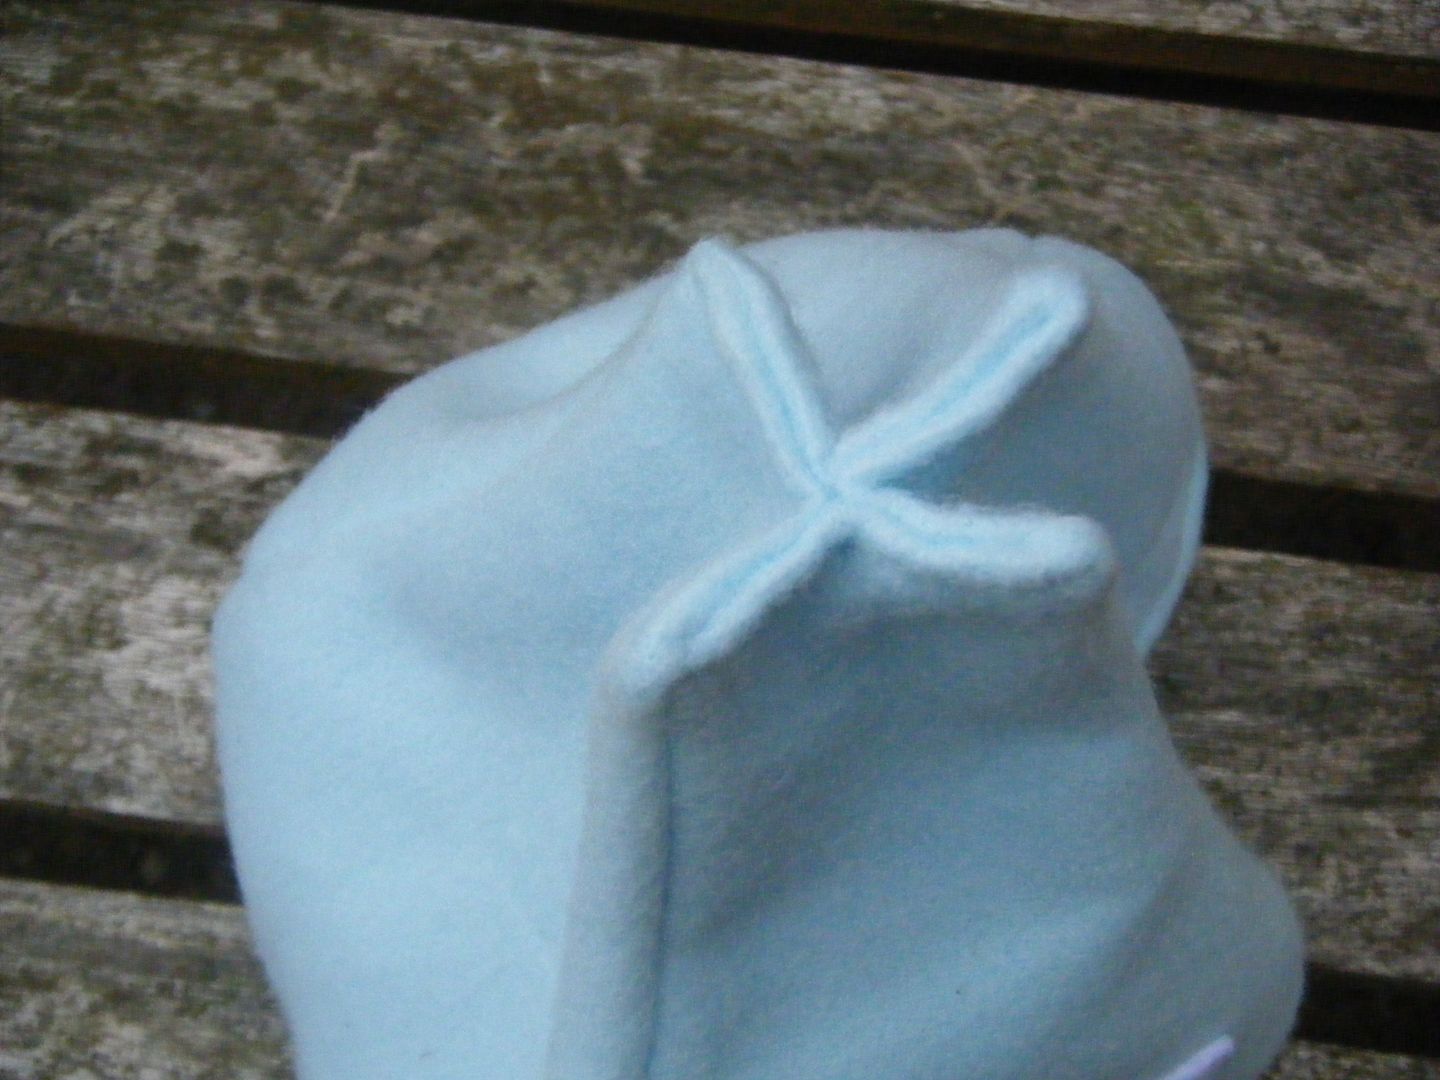
This is a back view, the back is quite flat.  I think newborns have quite flat heads at the back, though I don't really know as NOT ONE OF YOU volunteered to lend me a newborn.  Yeah, thanks ladies.


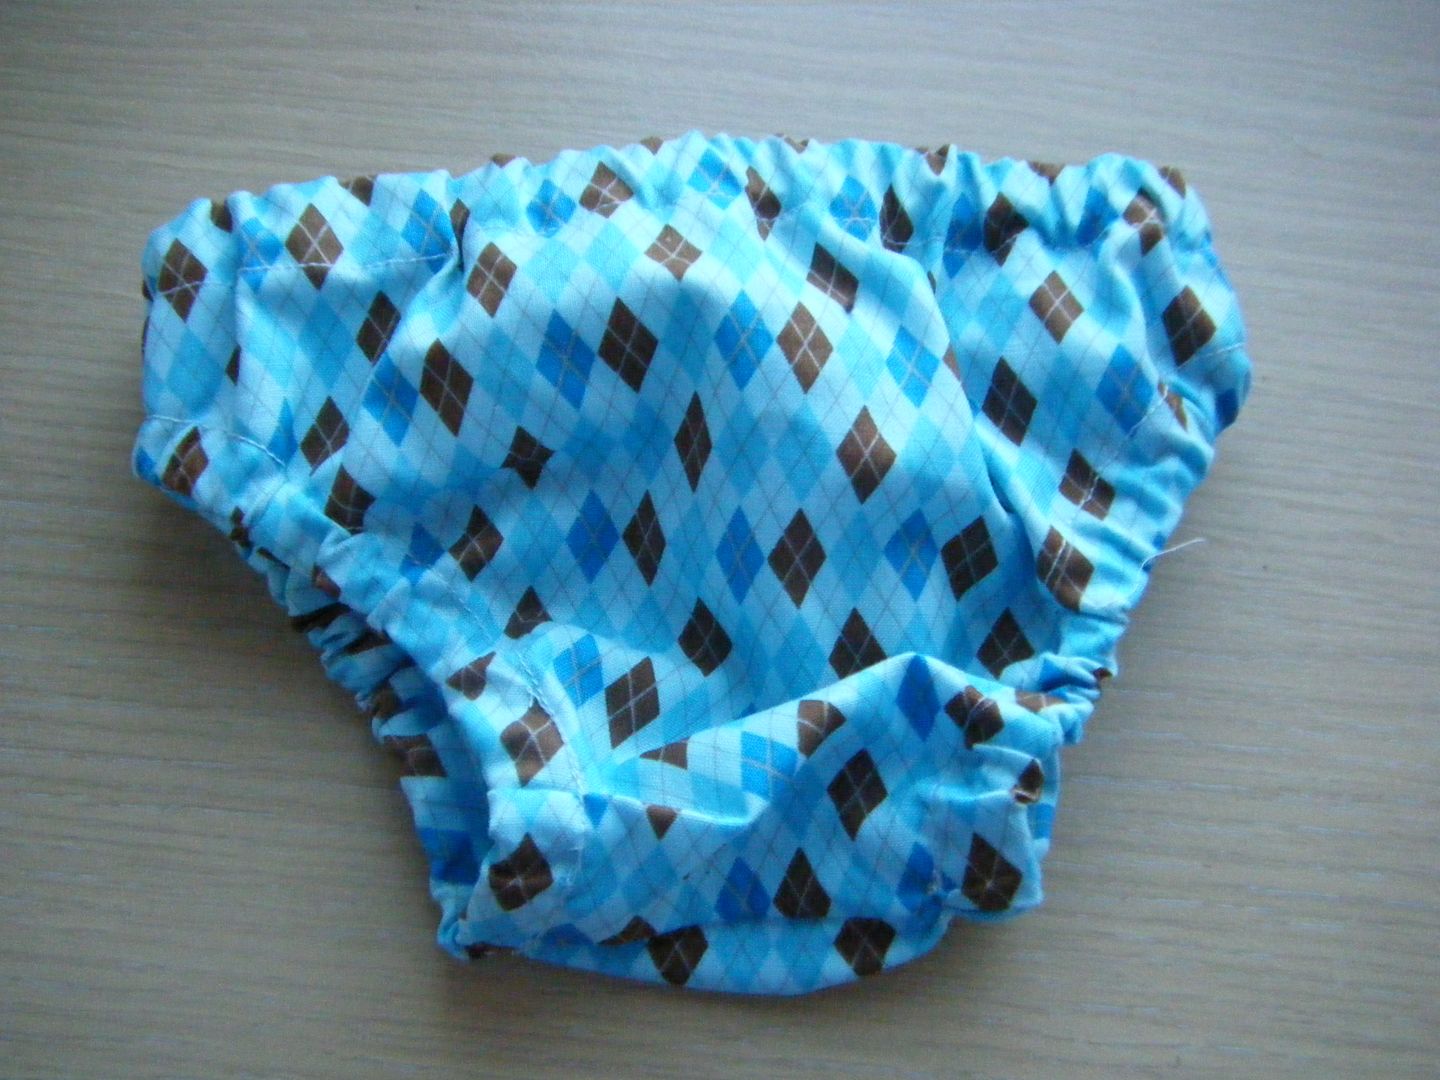
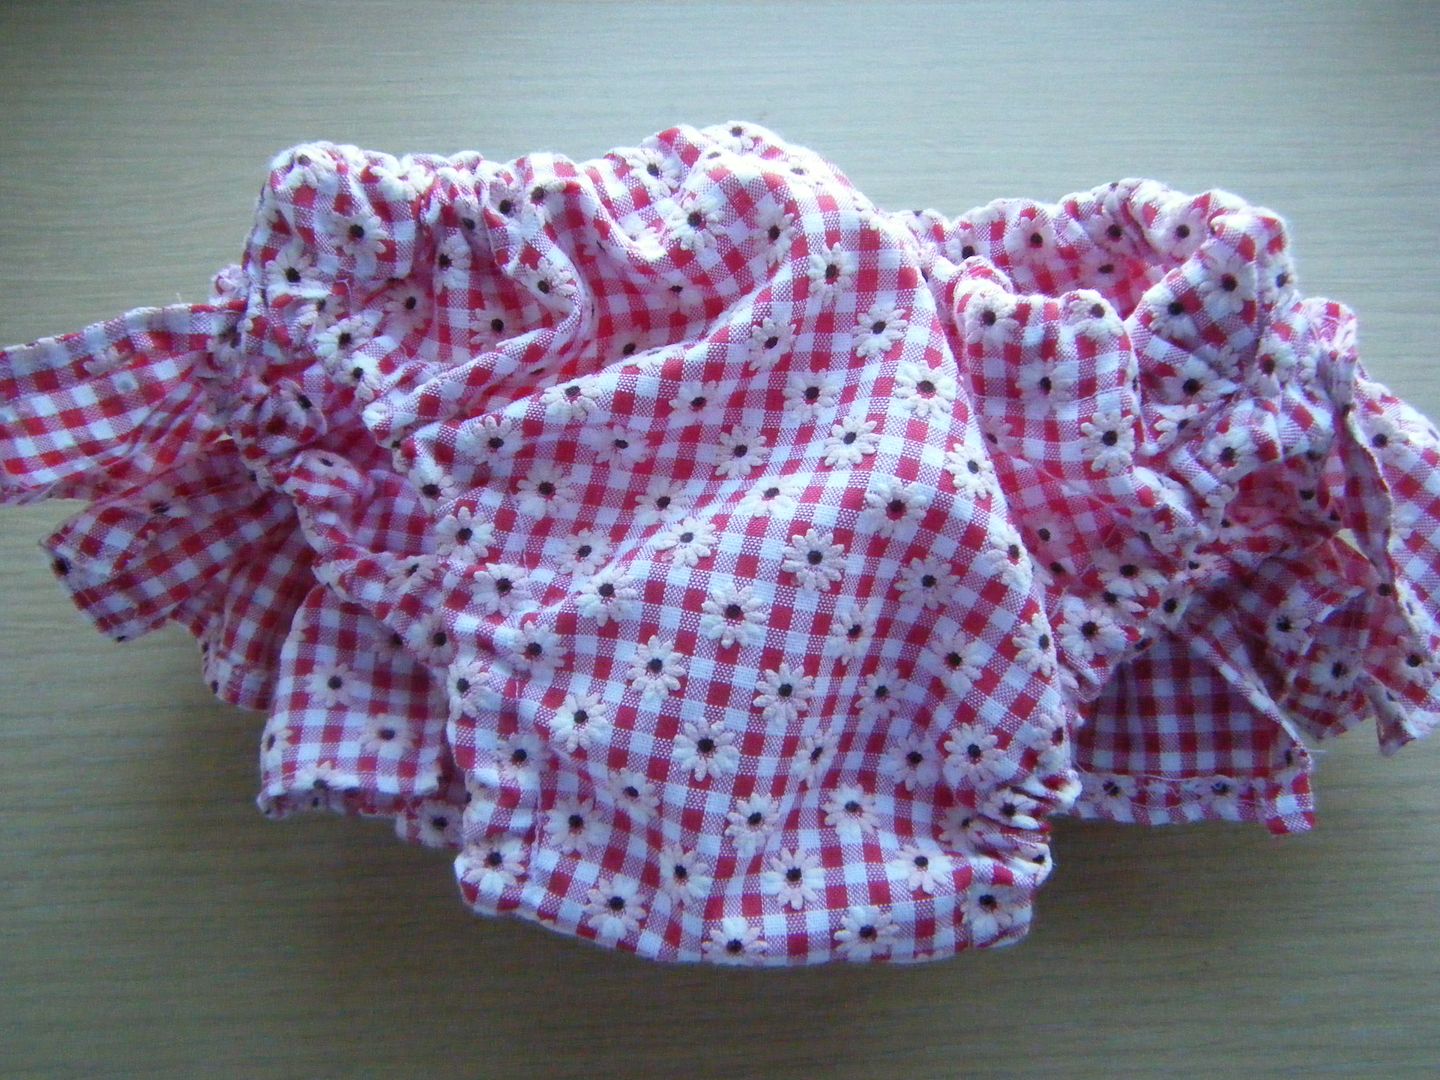
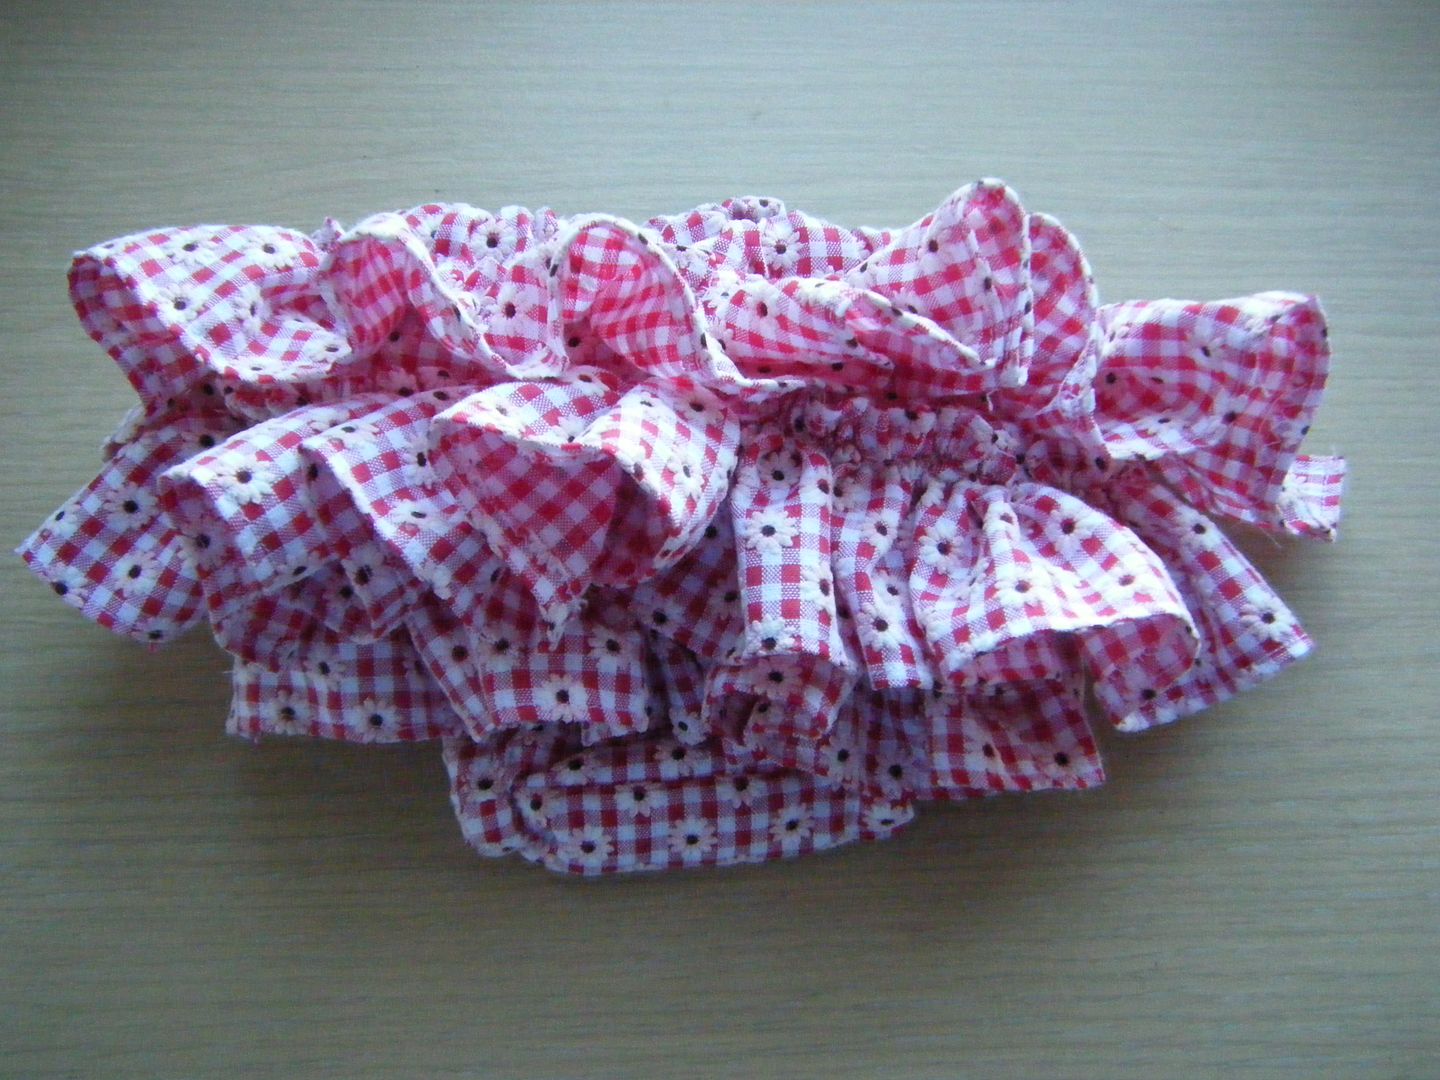
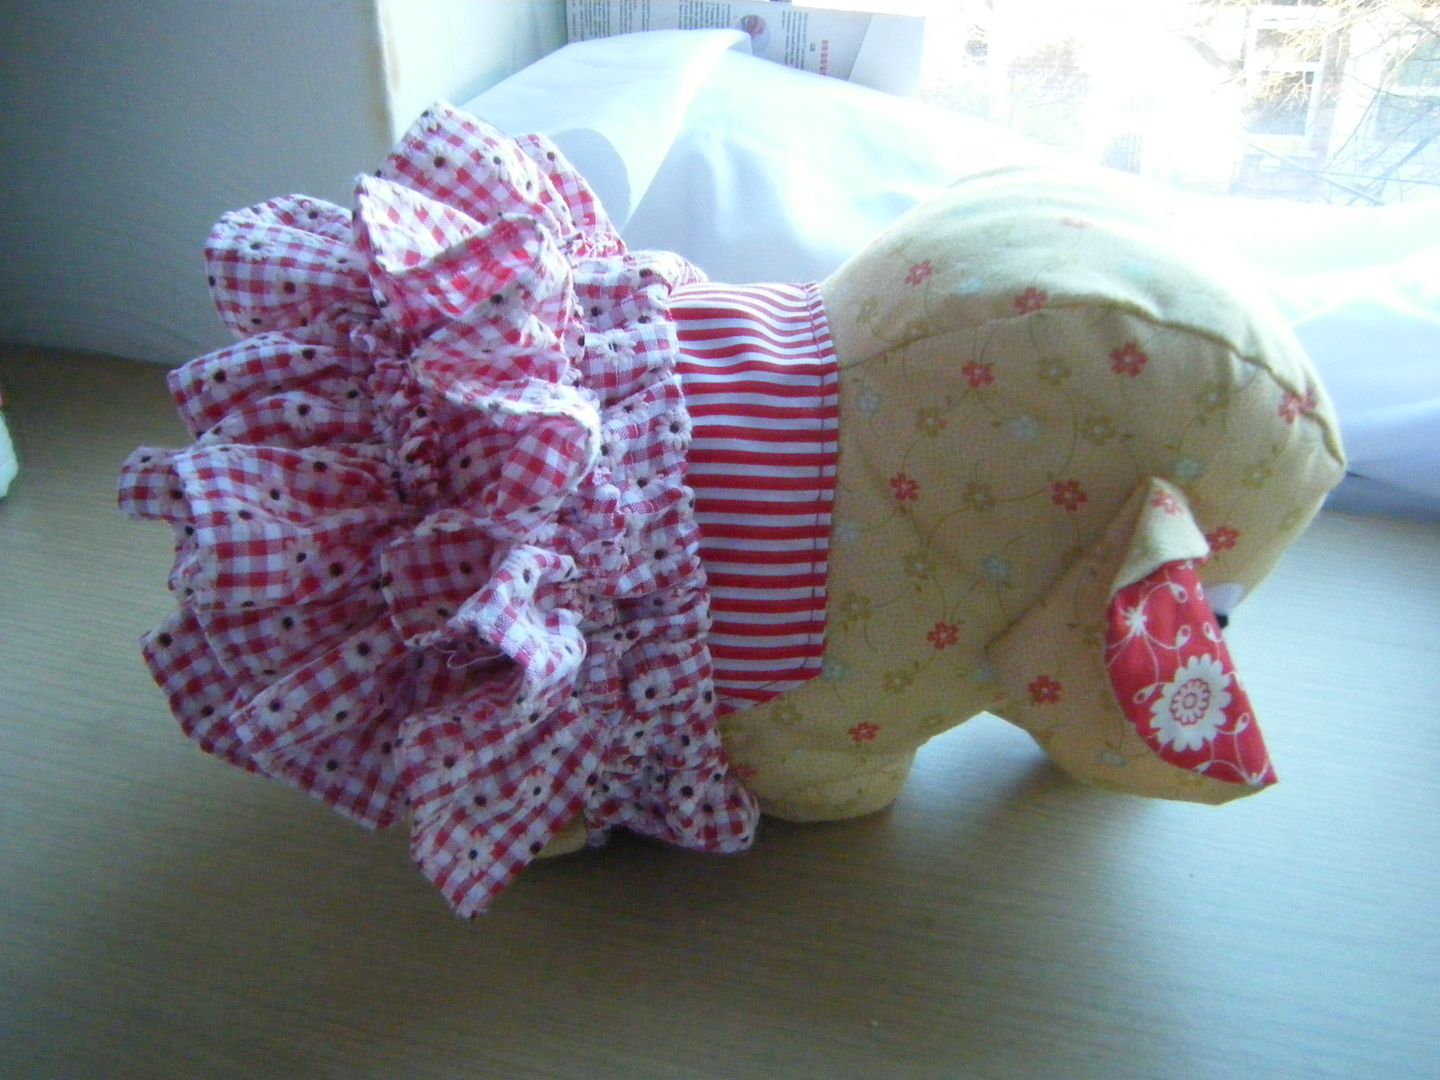
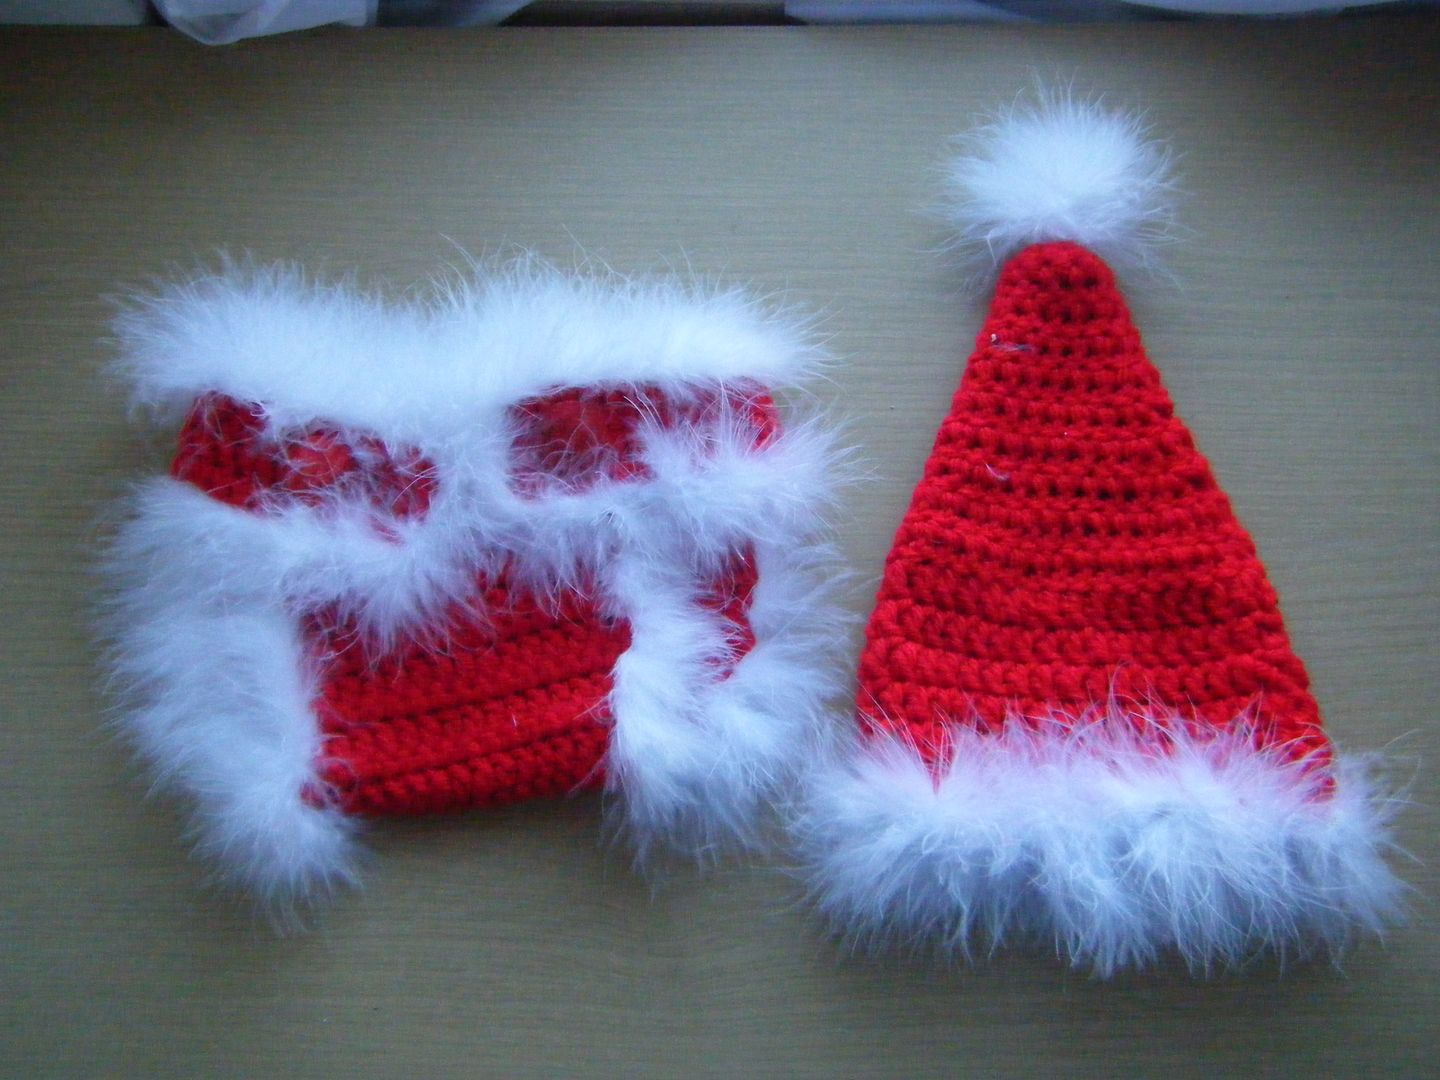
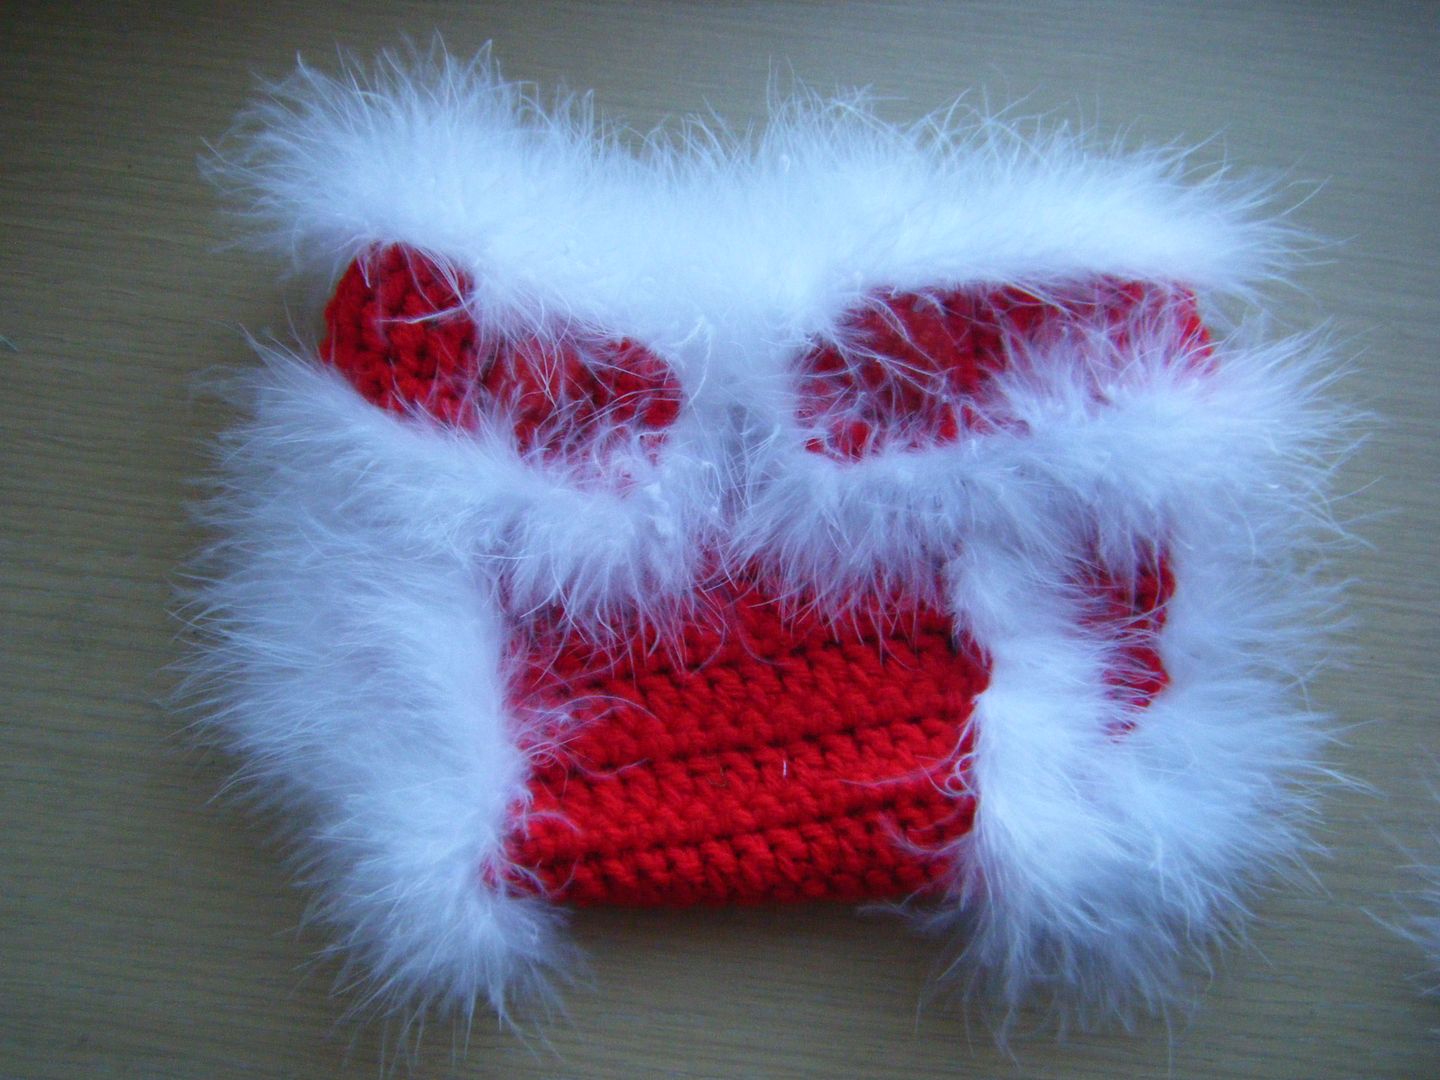
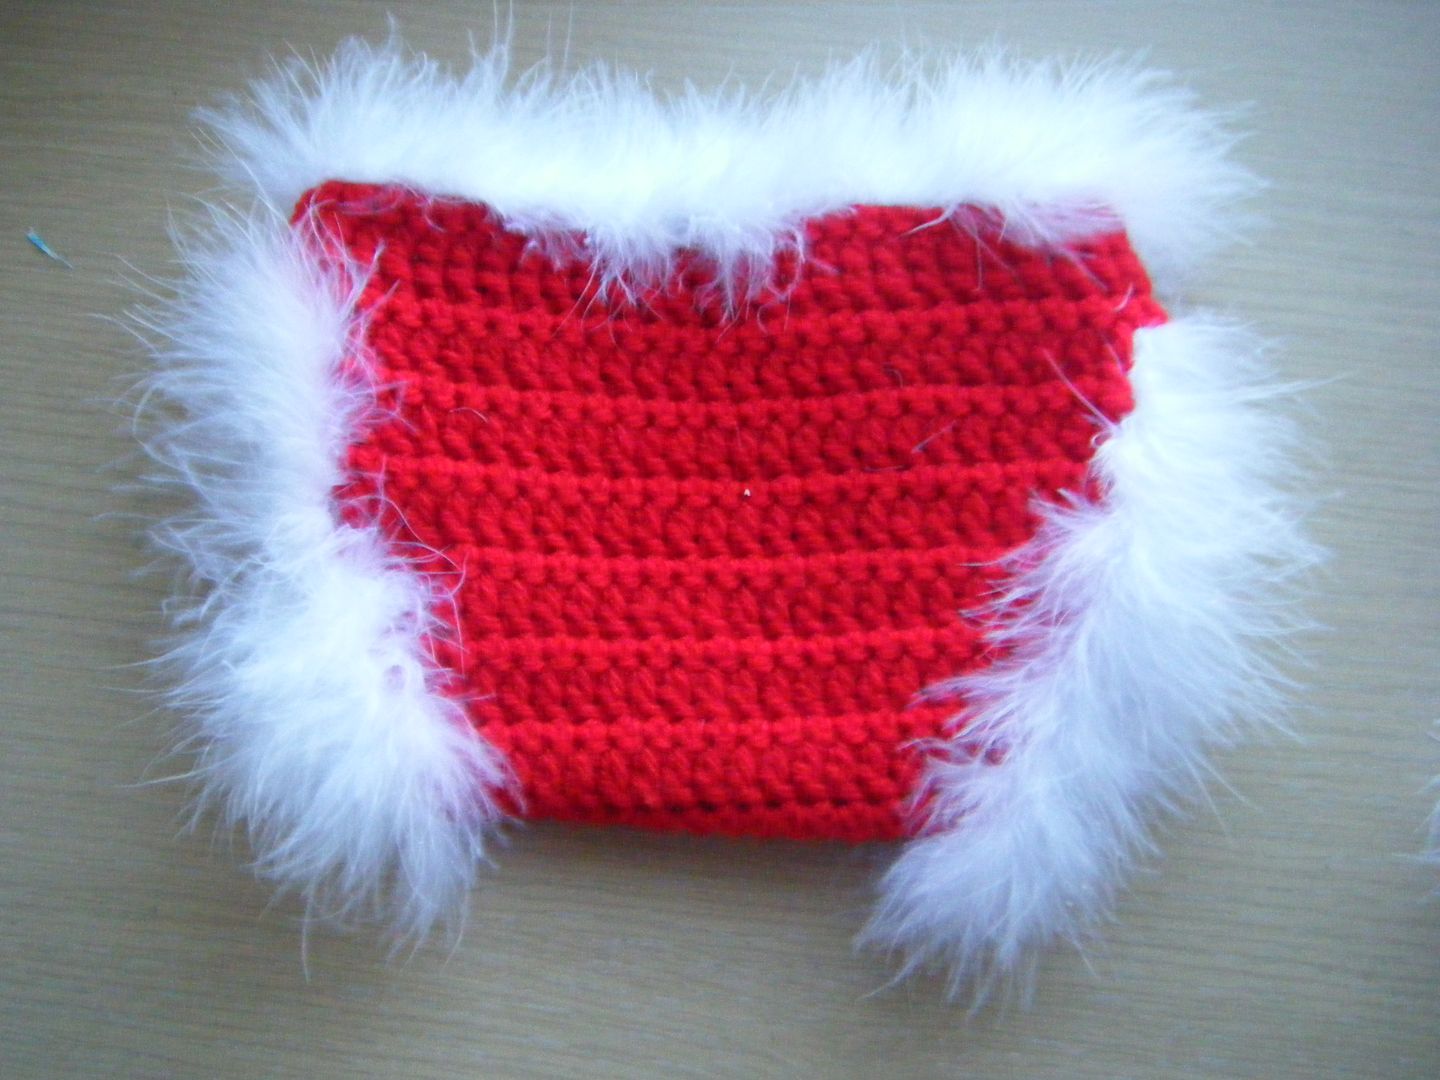
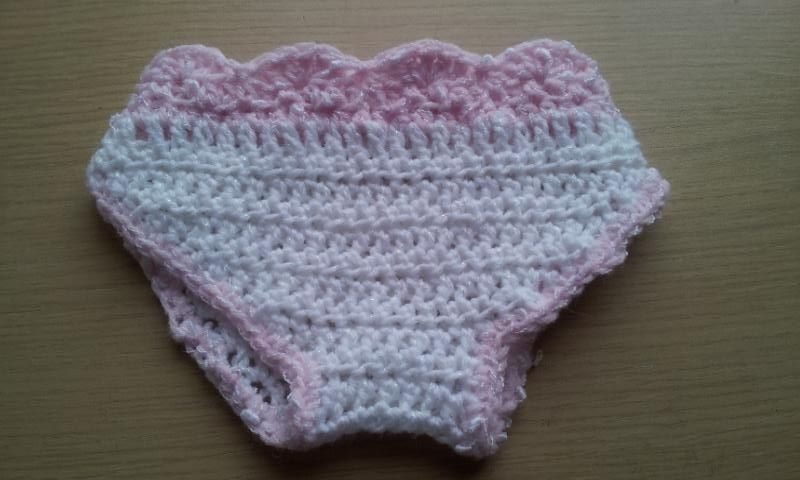
A matching nappy cover was in order.  A nappy is what those across the pond call a diaper.  I do prefer the word nappy so I'm not going to Americanise it!  I made this from this free pattern and used both the white and pink yarns.  It looks impossibly small.  Now I also need a baby bum to add to my baby head...


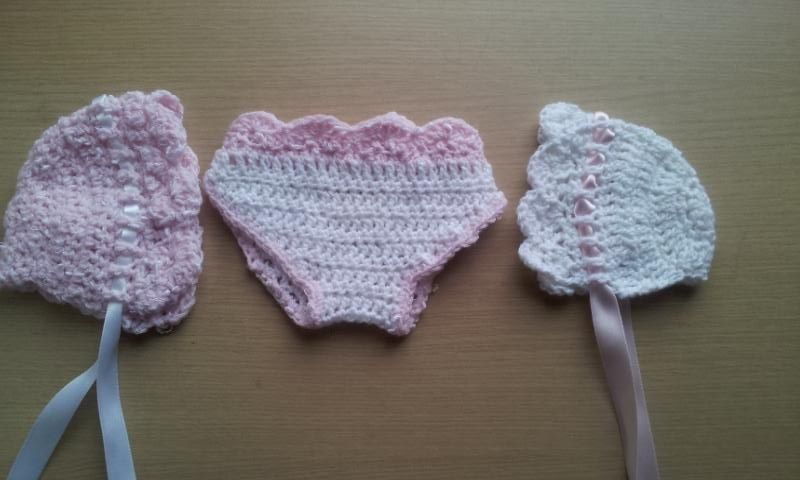
The nappy cover goes with all the bonnets.  I don't know why these pictures are this way up.  I rotated them in the folder before I uploaded to photobucket.  They were still this way up in photobucket so I rotated them there.  Blogger didn't like that.  Blogger has decided you all have to look at it sideways on, so do as Blogger tells you.

I think I'm done with bonnets for a while (until my friend tells me they're too small and I have to start again...), on to something else.  Something else to put on baby's heads and bums so if anyone does want to lend me their newborn...  I'll only borrow it for a few days and I promise not to call it "it".


Wednesday, 30 October 2013

head bands

The imaginative titles are just coming thick and fast this week!  Yep, you guessed it, more baby-photo props.  My friend always has her little girl (who is the cutest little baby ever) in a headband, so I thought head bands would go down well.  After flicking through Pinterest, I came up with an idea.  


A dusky-pink piece of wool felt, with some cotton lace sewn to the front and finished with three rolled roses and 2 leaves.


I only had enough of the dusky pink felt to make one rose, the others were from another shade, but I think they look OK.  All the tutorials I found on these little buds were for gluing them which I didn't want to do, so I wung it and stitched them.  The top one is definitely the best!  Leaves and roses were attached by hand with embroidery floss.


Still not having a newborn head (or indeed the attached baby, I'm not some kind of baby-head collecting sicko) to hand, I had a bit of a guess at the size and added some elastic - I made a casing from the pink felt.  I don't think it looks too bad, but this will be at the back, out of shot.


The flower for this one was based on this tutorial.  It is made of a couple of strips of grey linen, artfully frayed, a short piece of lace and then I stitched some artificial pearls in the middle.  


I made a headband from grey linen and attached the flower off centre.


Again with the newborn head size guessing, I added some elastic.  I don't like the way I've done this one, but again, it will be at the back, out of shot.  

Does anyone have a newborn they can lend me for a couple of days?

Monday, 28 October 2013

bonnets

You may think that you've travelled back in time about a hundred years with this post!  Remember the baby-photographing friend?  I've been making more props for her.  She's a big fan of vintage, despite my misgivings on the subject, and so vintage it is. What could be more vintage than a bonnet?


I crocheted this one from this free pattern at Moose Mouse Creations.  I used Sirdar Snuggly Tiny Tots which has a lovely shimmer in it, but doesn't feel rough.  I threaded a wide pink satin ribbon through the holes at the front.


Poor Mr Hefalump was pressed into service to model it.  Doesn't he look cute?


It was so quick to crochet (an evening's tv-viewing time), so before I knew it, I found myself crocheting another, using this free pattern at Crochet Latte.  I was pretty sure the first one was far too small.  It was comforting that this one came out the exact same size.  Still, they might be too small.  It's kind of hard to imagine a newborn's head when you don't have one to hand...

Got to go, I feel another bonnet coming on!

Saturday, 26 October 2013

wee willie winky


A friend of mine is a newborn photographer.  She started out when she had her children and is really talented.  She's now gone beyond the friends and family stage and is photographing babies of people she doesn't know.  She told me she'd been looking for photo props but they were so expensive.  Enter Wendy.


I absolutely love this free pattern at Oodles for Noodles for an elf hat (it also makes me think of Wee Willie Winky, hence the title).  I crocheted it in chunky yarn - Sirdar Click.  It used most of both balls which was a shame as I wanted to do a purple and beige striped one too.  I may go back for more.  It was from Hobbycraft on their 3 for 2 offer.


I made a chunky pom pom with my Prym pompom maker.  I know you can make pompoms with a circle of card, but that little gadget makes life much easier and it wasn't expensive.


I had about 6 false starts with this pattern.  I couldn't get the colour changes right on the stripes without cutting the yarn after each round, that would have made for a monster number of ends to weave in so I persevered and finally got it.  

You'd be right if you thought you'd seen this hat on my blog before, click the link if you want to see my previous version.

Expect more baby props soon...

Saturday, 29 June 2013

nightmare hat

I have just realised all my recent posts are sewing-related... my apologies for my non-sewing readers, I will try to do something else in the near future!  

This, my ladies, is #21 fleece baby hat from the infamous list.  Perhaps not so infamous...  It is taken from Scandinavian Needlecraft, so also counts towards my craft book challenge.  Links to two of my ridiculously long lists in one paragraph, doing well.

I started this hat ages ago and abandoned it as the fleece was impossible to sew.  Then I bought some Stitch n' Tear and thought it would work for the fleece.  Then I lost the Stitch n' Tear.  I strongly suspect that Sandra stole it, but she's returned it now so the hat could go on.


I had completed all the embroidery and thought I'd sewn the motifs in place, but found the snowflake only attached by a pin.  I didn't think to measure, or make sure it was straight or anything sensible like that, I just sewed it in place.  Hmmm, bit wonky then.  Just like the bird!


Every seam that was sewn was ripped out and resewn.  It took me ages to fold up the hem and then stitch it and I was finally left with a little circle to stitch to the top.  I didn't even attempt it, it was clearly NEVER going to happen so I didn't try.  I hand stitched the opening closed in a "funky" pattern (i.e. the only thing I could think of) instead.


The hat was given to my friend who had a baby boy a few weeks ago, but clearly he won't be wearing it for a few years, it's enormous!  I'm not sure if the pattern was off or it just stretched a LOT whilst sewing.


The seams should have been topstitched with a zigzag in a contrasting colour.  I tried twice.  Even I have my limits and clearly they come from sewing this fleece.  Oh, it came from a blanket I bought in IKEA for a couple of quid.  I thought it was a real bargain.  My sewing machine disagreed and won the ensuing fight.

So pleased it's done, even if it is a little odd.

Thursday, 27 June 2013

ungar #2

This is #20 Ungar from my massive list.  When my lovely nephew was born, I made him loads of stuff, including a little stuffed bunnied called Ungar. He loved that bunny as his tiny hand fit round his neck and he could stuff the ears in his mouth.  He spent many happy hours slobbering on that bunny.  You can see original Ungar, also the beginnings of Ungar #2, so I started this bunny just over a year ago!


My friend recently had a baby boy.  She went through a lot to get him and so I wanted to show him how much everyone loves him and is happy he's here.  It was time to finish Ungar #2.


A splash of patterned fabric in his ears and an embroidered face.  Ungar #2 was accompanied by an applique baby grow.


His name does start with an "R", it wasn't a random letter choice.


I used a fancy stitch and variegated thread, but wasn't entirely happy so went round a second time.  It think it looks better now.

One more gift accompanied these two items... I'll tell you about that later.  Hold on to your hats, it's a tale of disaster!

Friday, 8 March 2013

soft book

Good morning ladies.  I'm home from work ill today.  I've got a cold, but it is one hell of a cold, my entire face hurts... sympathy please!  I was too uncomfortable in bed so I thought I'd sit on the sofa and watch the Craftsy QuiltCon lectures... hmmm, not exactly exciting are they!

Onwards!  Remember this panel I bought?


One day a couple of weeks ago I was overcome with the NEED to make a soft book for my nephew, I have no idea where this urge came from but you have to listen to yourself when it comes to gratuitous shopping, don't you?  There was a surprising lack of book panels, but I finally found this one.


I picked out all the squares that had "what sound does the XXX make" and laid them out as if they were a book.  I then sewed them all together completely wrong as the pages that were supposed to be next to each other, I sewed together!  I could also have done with leaving myself a bit more room round the edges of the squares.


I cut squares of wadding and stuffed each page.  I knew I needed to quilt them to keep the wadding in place but clearly I hadn't thought this through - I should have quilted each page individually before sewing them together.  Ah well, I went with a simple zig zag around the edges of each central panel - or thereabouts as they didn't line up very well front-back!


I zigzagged the inner edge of each page to stop them fraying too badly, then all that remained was to sew some kind of spine on. 


No, I don't have a photo of the finished book.  Being Mrs Last-minute, I sewed the spine on at 10pm in our B&B room the day before Jacob's birthday!


Here, however, is a picture of the spine before I sewed the binding on.


And here is the book.  Jacob loves books, he immediately put this one in his mouth - that means it's a success in the eyes of a 1 year old, doesn't it?

Right, I'm going to see if Jeremy Kyle is on, clearly I'm not a real quilter as I'd rather watch trash TV that this stultifying video...