Showing posts with label embroidery hoops. Show all posts

Monday, 31 October 2016

more finishing

As I mention, a lot, I've not been crafting much outside the classes I take with mum, but I have been doing something, I've been finishing a few things off.


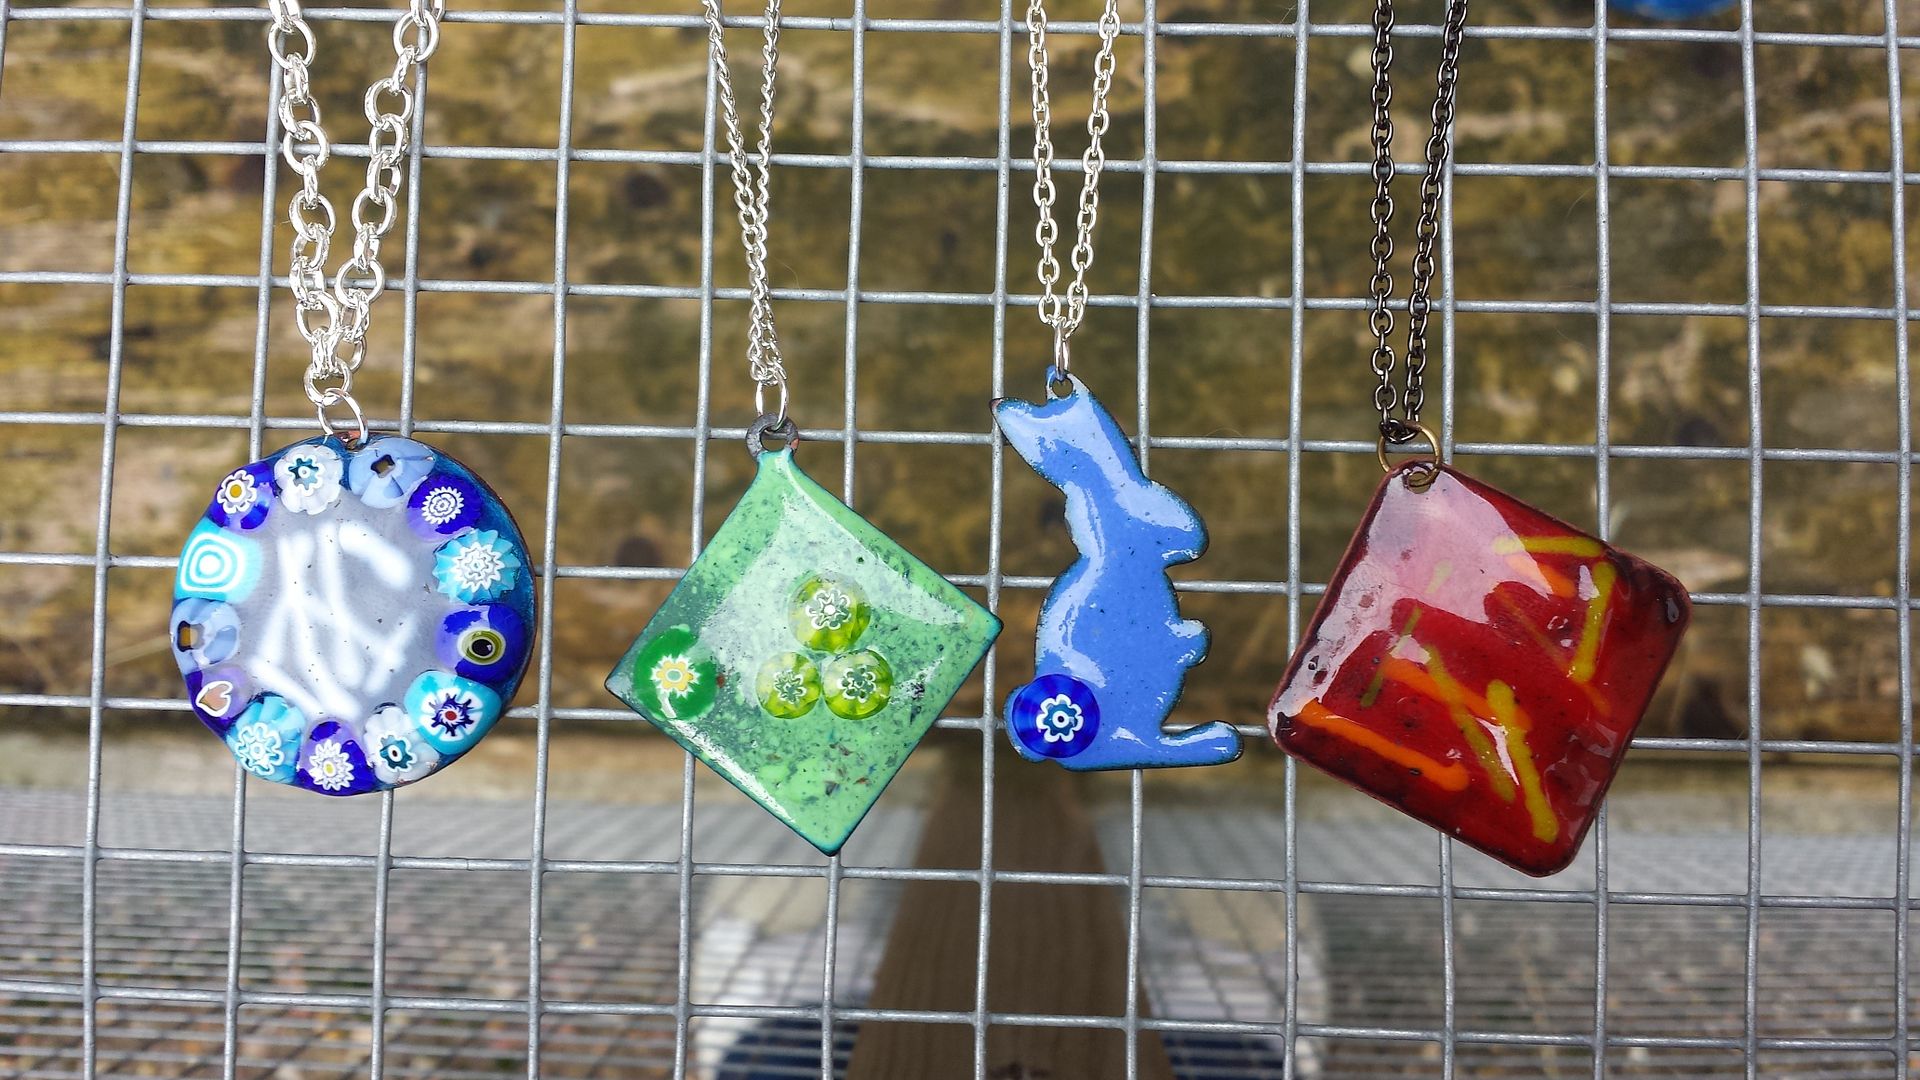
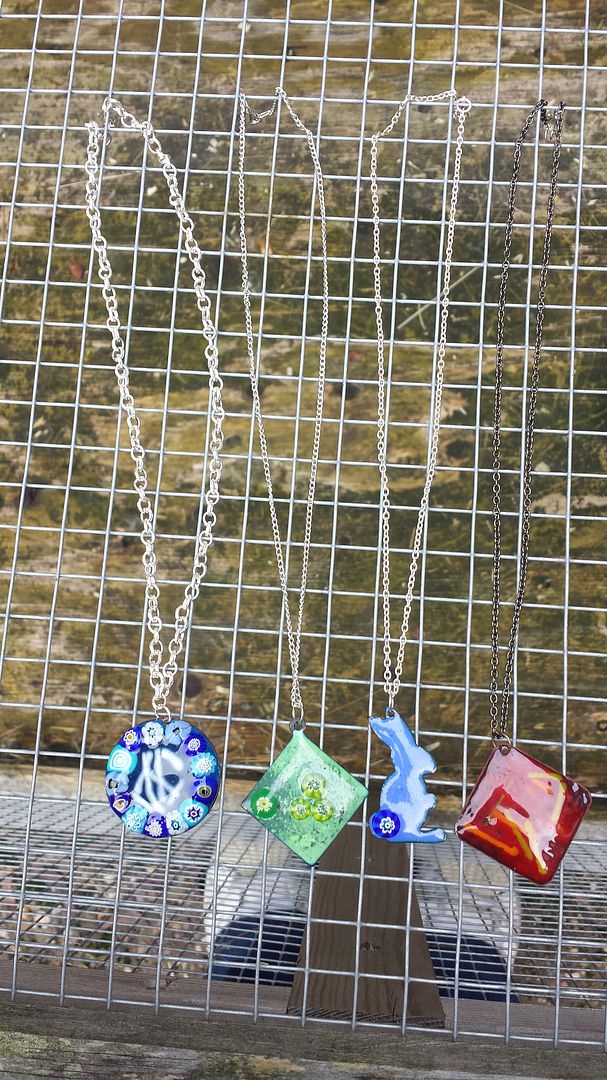
I made these enamelled copper pieces at the Manor House hotel, 2 years ago now.  You can see the original post http://thecraftersapprentice.blogspot.co.uk/2014/10/manor-house-enamelling.html.  They have been lying in my jewellery WIP box ever since.  I'd open it, look at them, put them back and forget about them!  This time I took them out so I wouldn't forget and they sat on the table for a couple of months instead!


I made each one a different pendent, using various pieces of chain I have.  I often buy fancy chain at craft shows and this seemed a good use for it as it can overwhelm a beaded pendant.  I've forgotten how to spell pendant again.  I could have made kumihimo or beadwoven straps for them, but I quite like them simple.


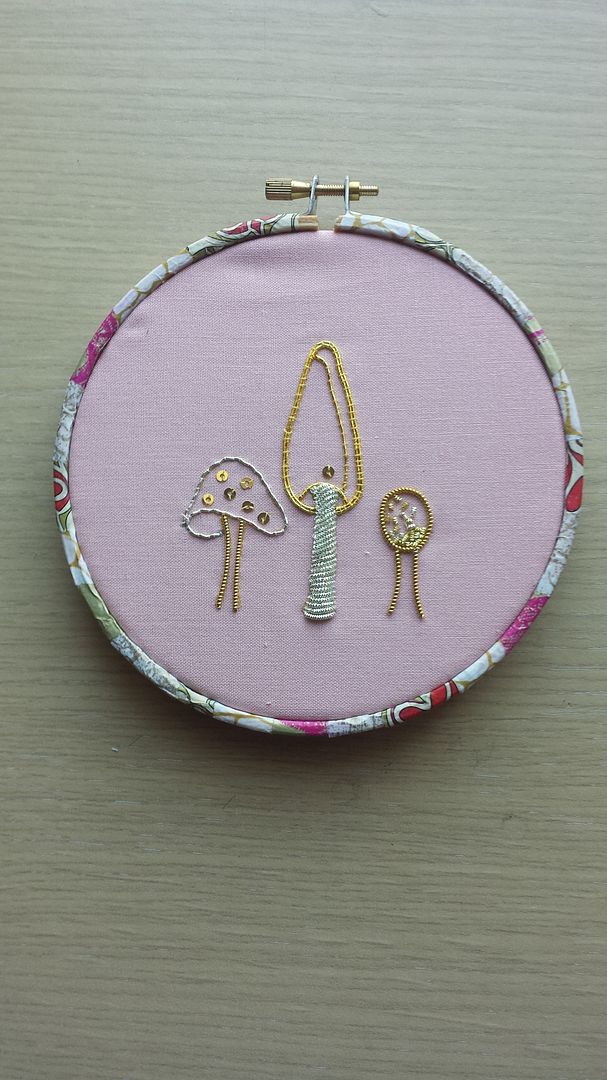
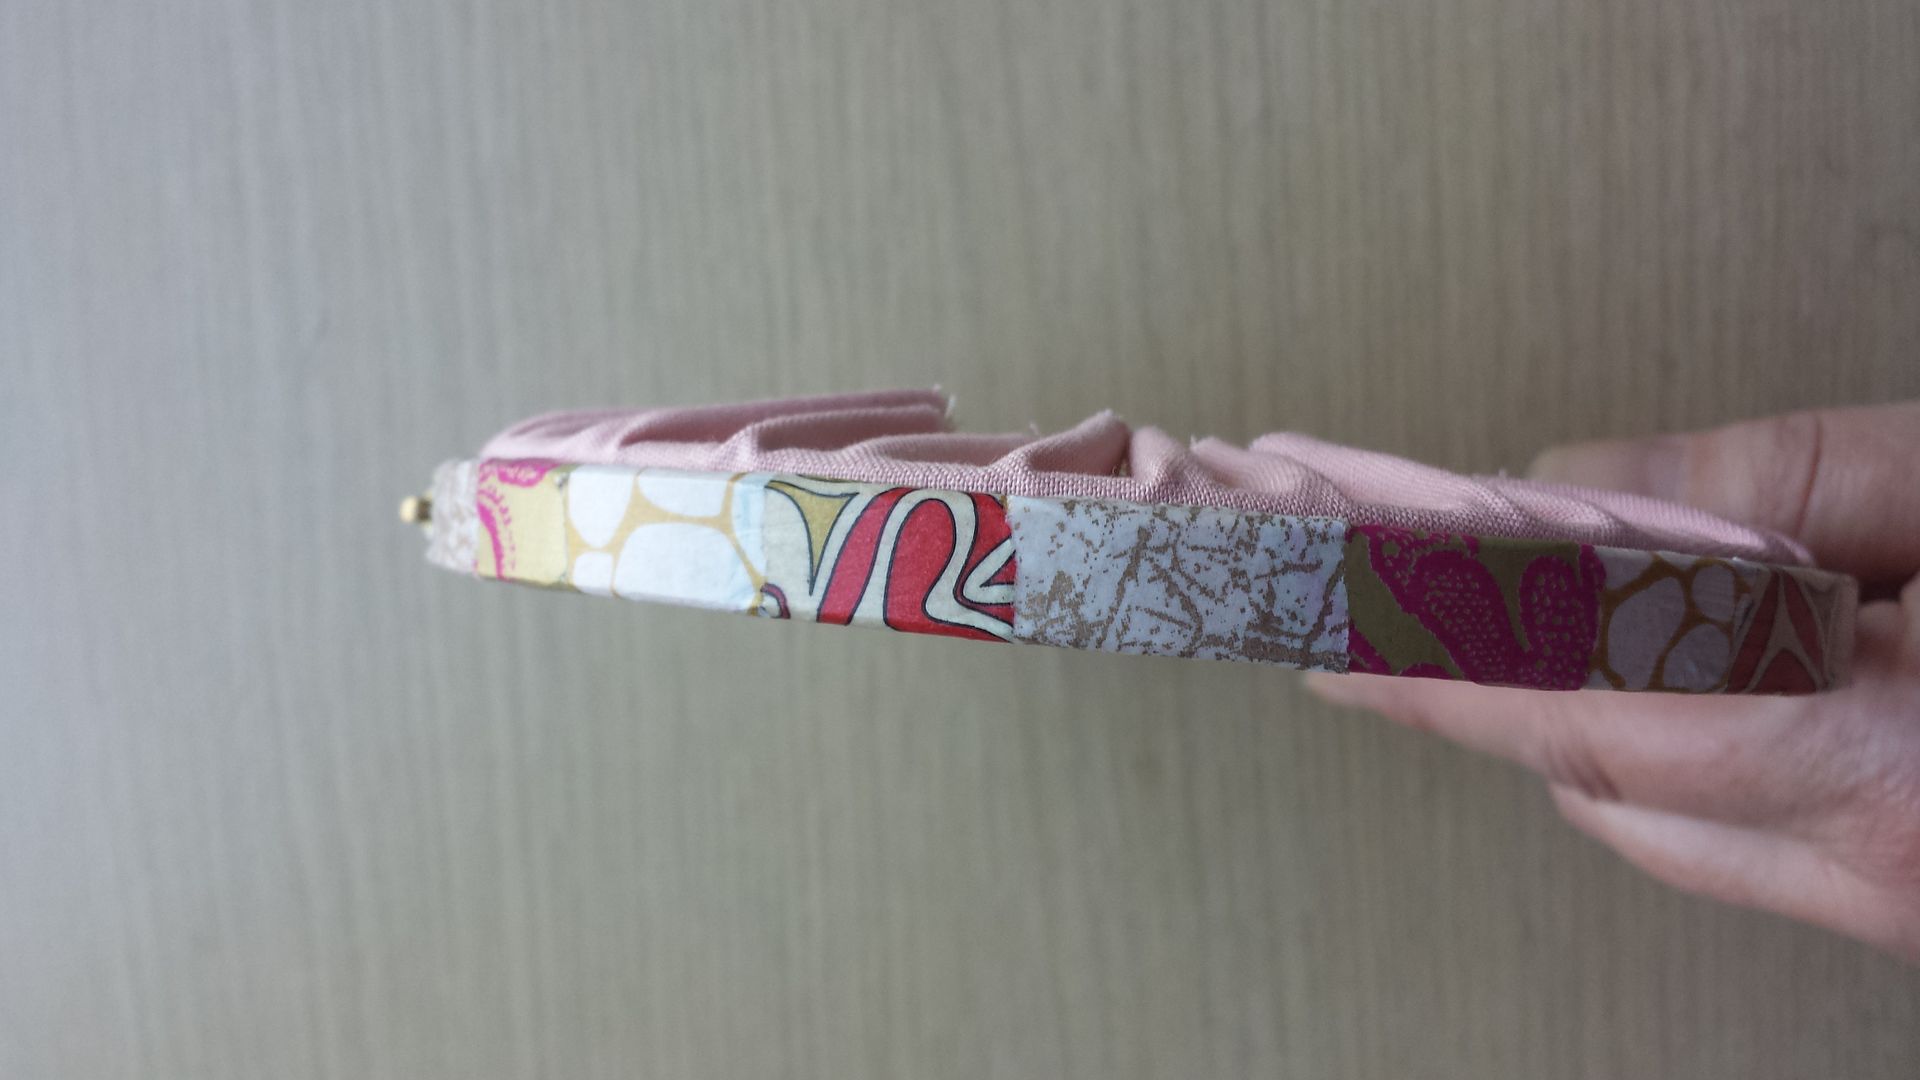
In my last finishing post, I showed you that I'd finished this goldwork piece.  I had to order an embroidery hoop for it as I wanted a 4" hoop but only had 3" or 5" ones at home.  Then it took me an age to decorate it as I wanted to paint it but couldn't find my paints anywhere.  I still can't find them and, as I'm sitting here typing this, I remember where I put them!  Too late now.  I decopatched it instead.


I chose red, gold and silver papers and stuck then down in the same order each time.  I'm not sure if this will damage the embroidery, but then it's hardly a heirloom piece and I don't have any heirs anyway!


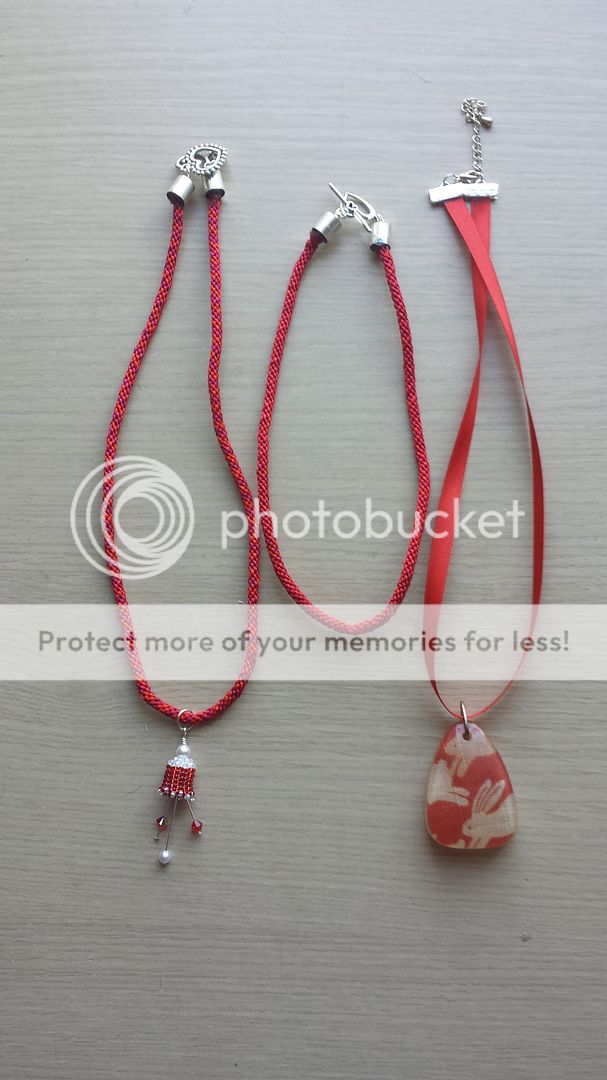
Finally, I finished these pieces.  I made a really long red kumihimo cord, then cut it into two.  I threaded a bell flower on the necklace piece and made the other piece into a double-wrap bracelet.  I'd be nice with some charms on it so I may add to it at some stage.  The necklace on the right was actually made by my friend Kerry, but the ribbon was too long.  I'm short and very chesty and long necklaces looks stupid on me and are probably dangerous with the way they swing!  I shortened it by a few inches and added new ribbon clasps.

Now I just need to buy some red clothes...

Thursday, 20 October 2016

Finishing - stumpwork and gold work

I've been finishing things!  Almost completely....

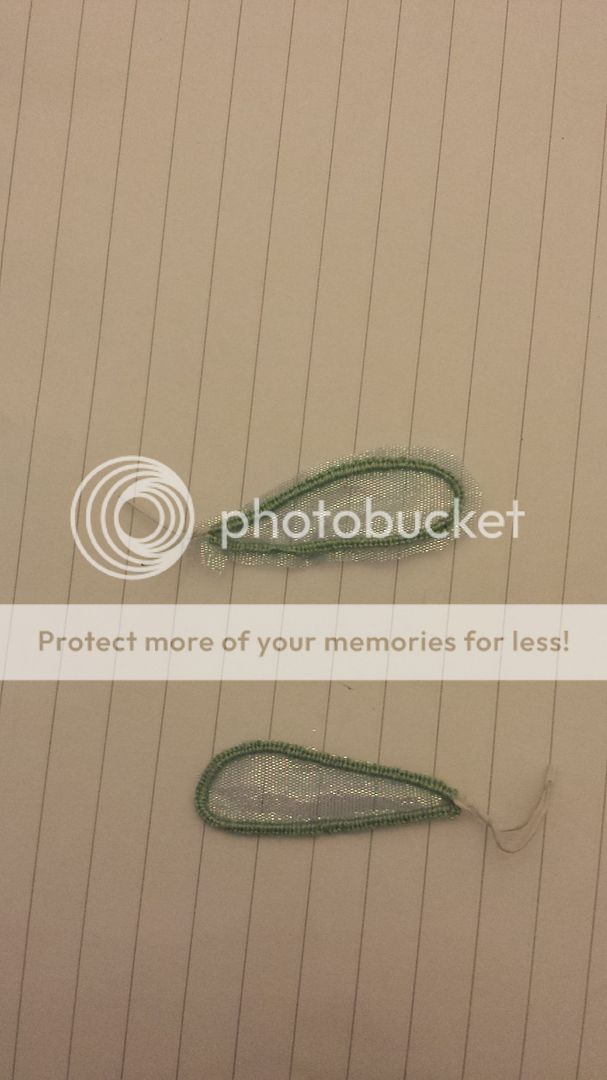
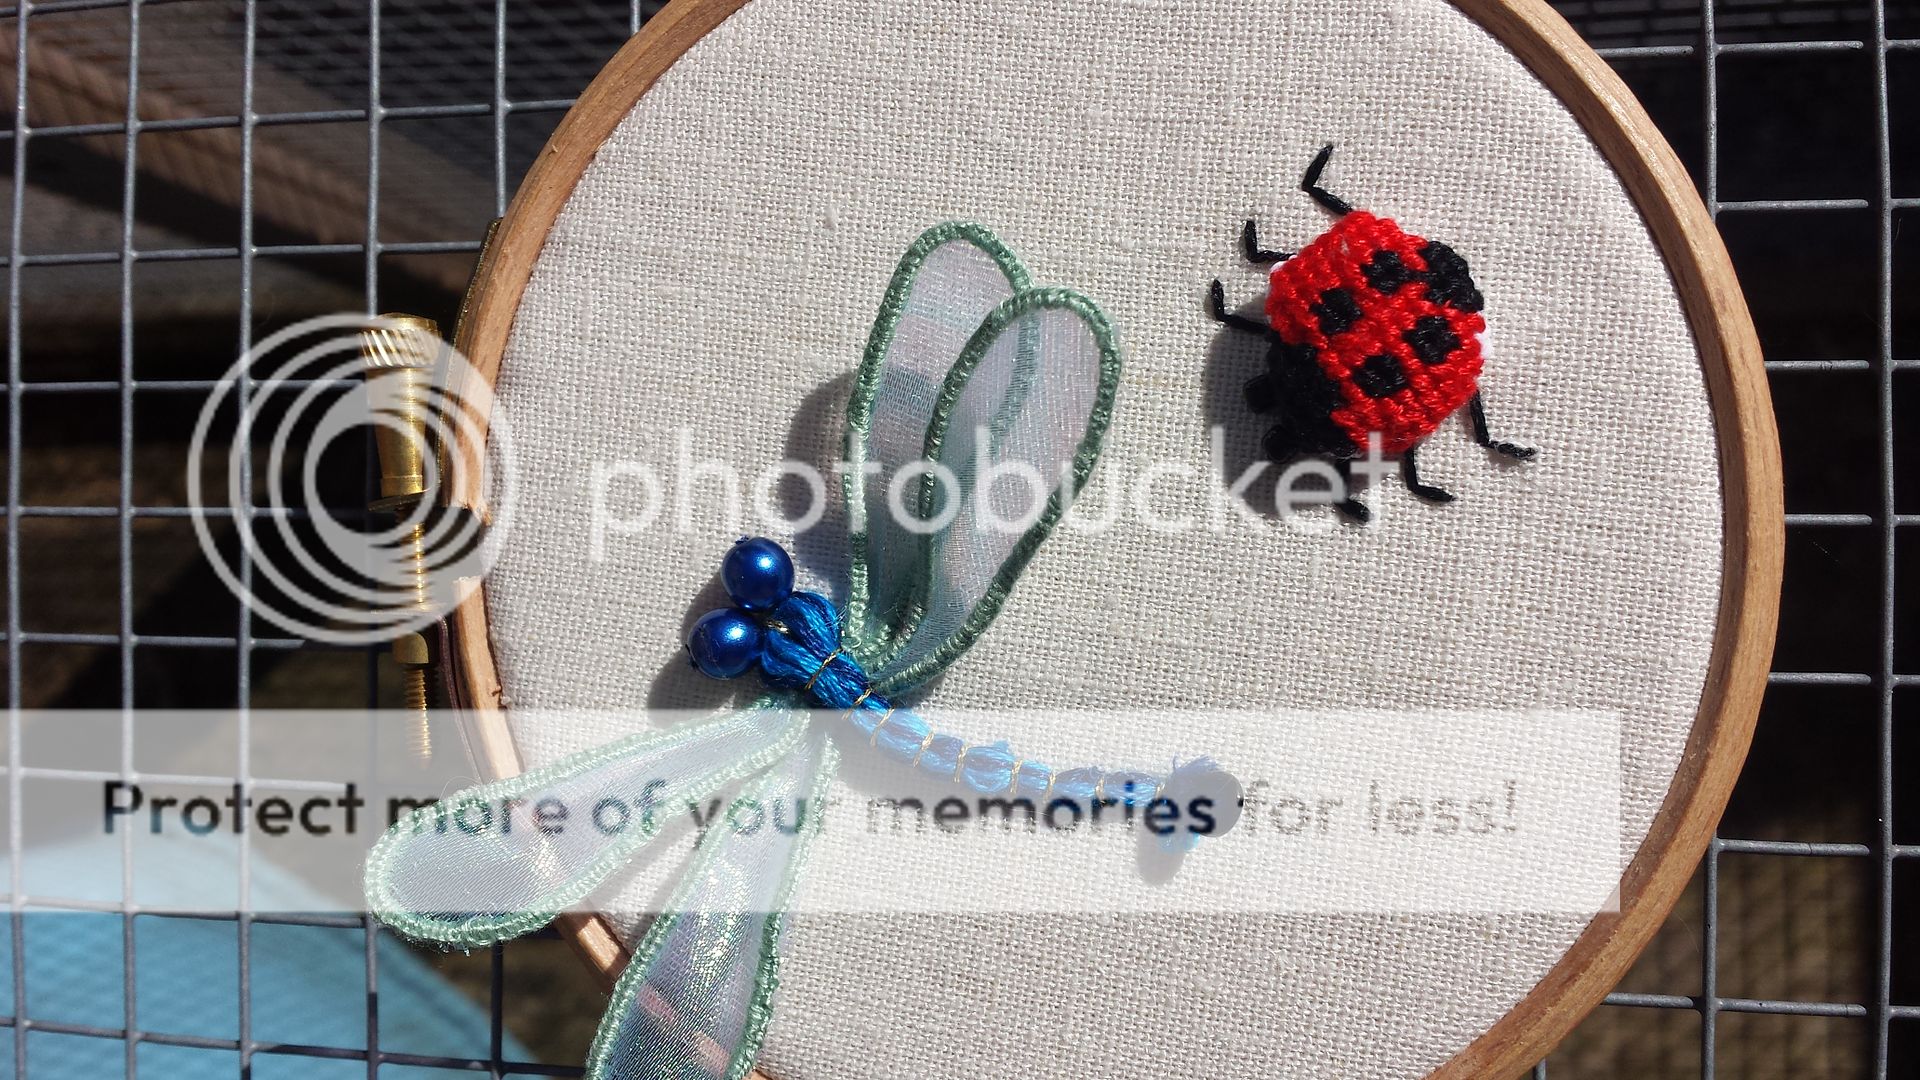
First up, remember I did some Stumpwork in a class?  Well I finished that.  First I had to finish the wings.  They were made separately to the main piece, using a piece of paper wrapped wire to form the outer edges and button hole stitched onto a lovely organza fabric.


The picture above shows them cut out.  I cut them out, then realised I was supposed to coat the back of the wire in glue!  Ooops... as long as people don't poke the piece, it should be OK!


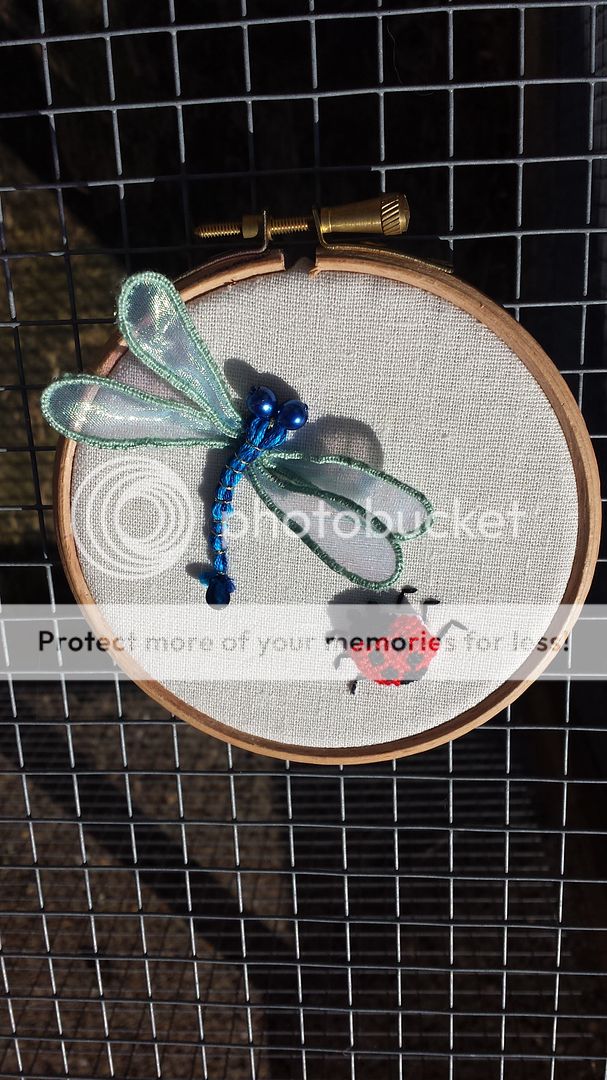
And here it is all finished and mounted in a hoop as it's for my hoop gallery.


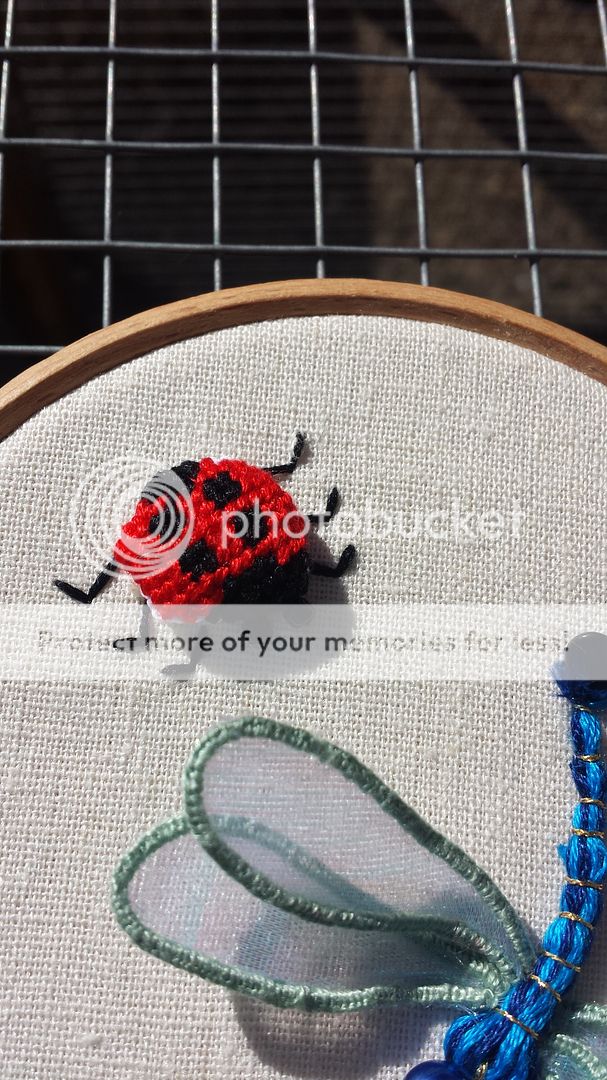
I made the ladybird by using a running stitch, then gathering it up tight to pull the edges round the back.  I stuffed it and sewed it closed.  I didn't do a great job with this, but it was hard!  It was stitched on Aida which isn't exactly a giving fabric.  I might have been better making it into a covered button!


The wires for the wings were poked through the fabric and tacked down on the back.  I'm really pleased with the final piece!  The wings are so lovely and shimmery in real life.

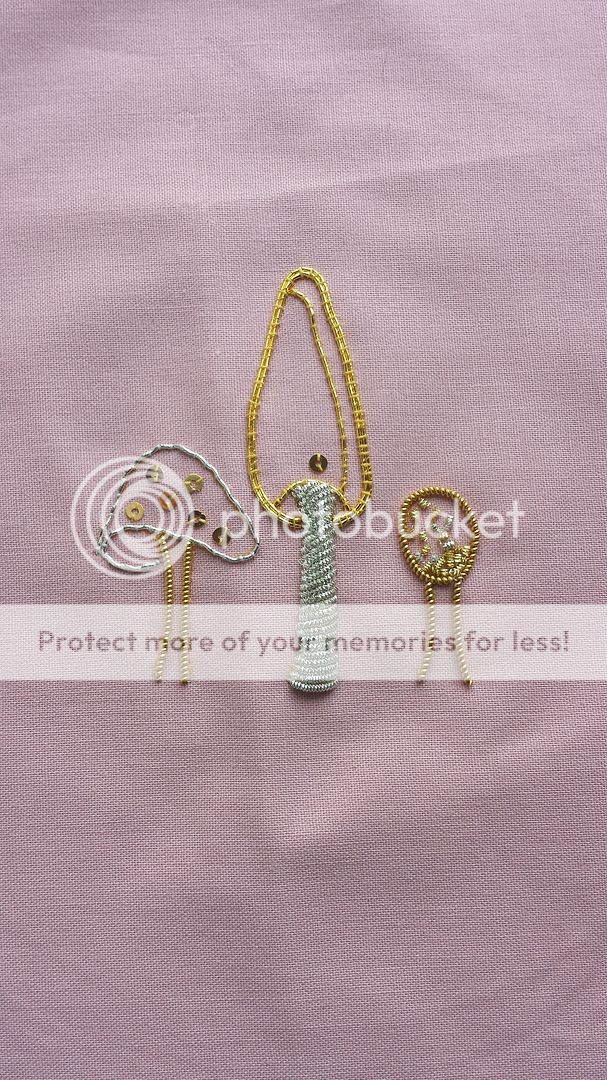
I also finished the goldwork that I started at a class.  There wasn't that much to do here.  The left mushroom was stitch with rococco, for which there were no instructions!  I guessed and couched it down.  I added the spankles and the pearl purl for the stem.


This isn't hooped up yet as I needed a 4" hoop and only have 3" or 5" ones!  I've now ordered some and will probably bind it with a gold or silver ribbon.

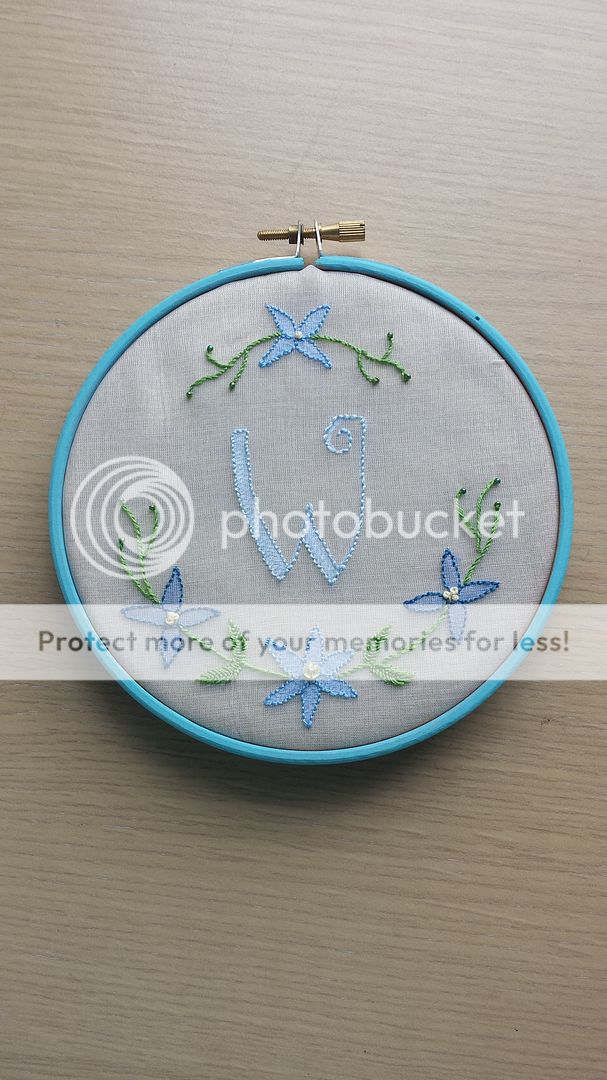
I had already finished my shadow work piece, but it's now mounted in its hoop.  There is a piece of green organza behind it which looks nice.


That was really hard to photograph and I don't think I was very successful!  So, just one more to hoop up and that's all 3 WIPs from embroidery classes done!

Thursday, 21 July 2016

Birdie embroidery

Eagle-memoried viewers may remember a little birdie embroidery kit I wrote about back in February.  I got three little kits from Nancy Nicholson for Christmas.  Nancy didn't buy them for me (she didn't buy me anything, can you believe that??), they were from Mr CA and wonderful parents.

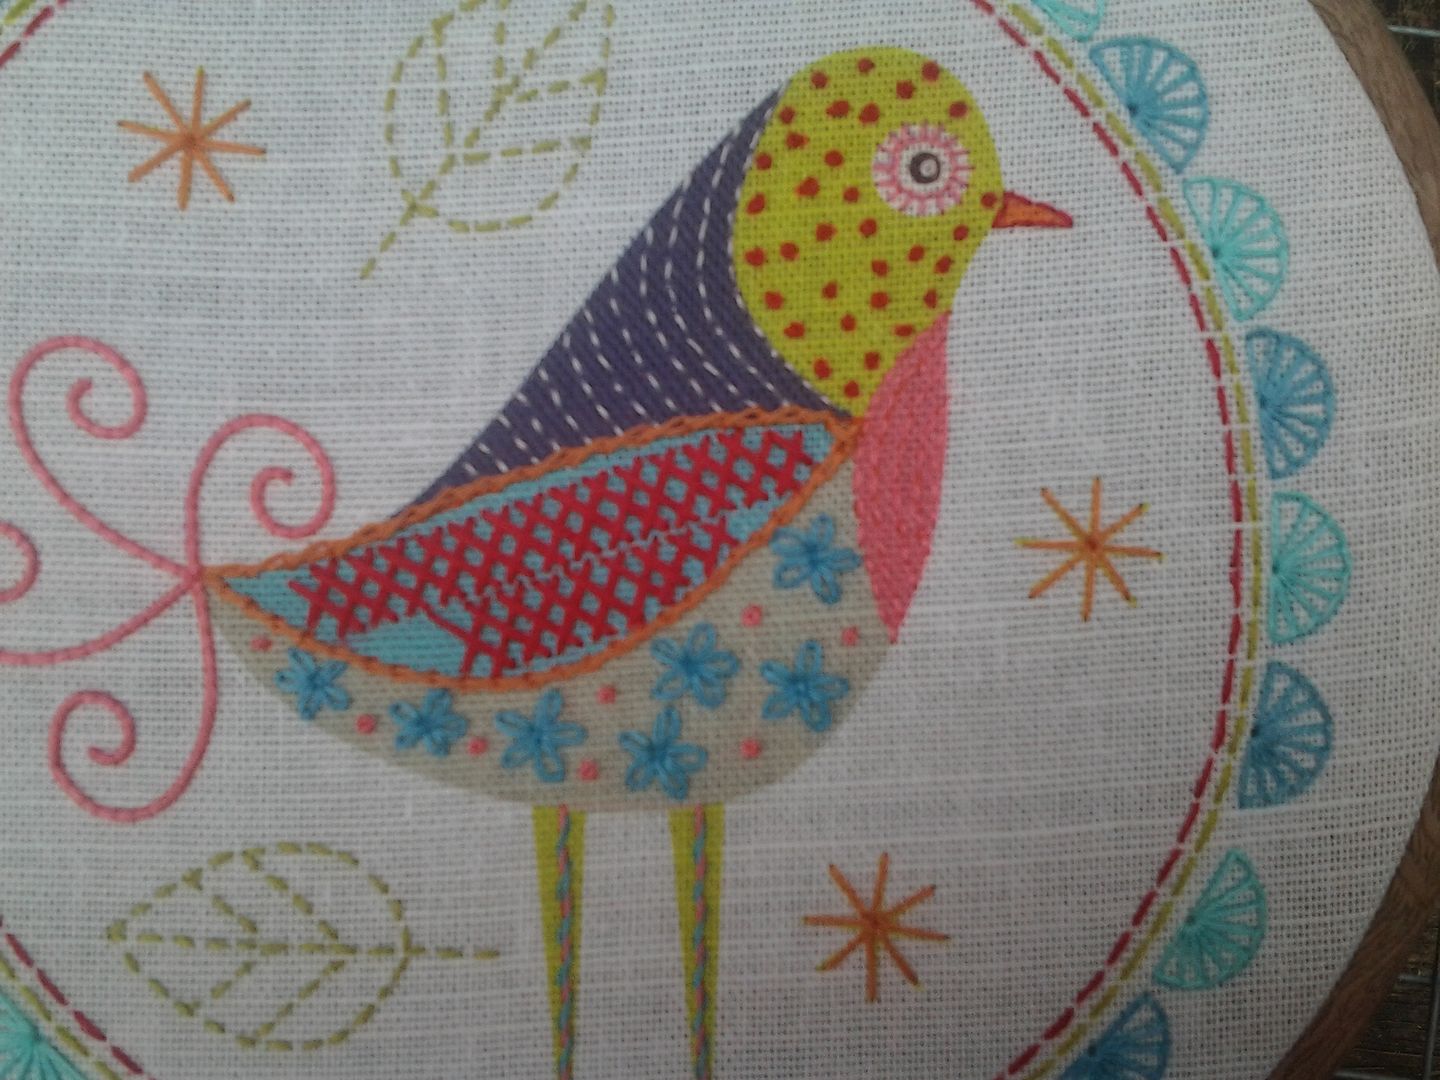
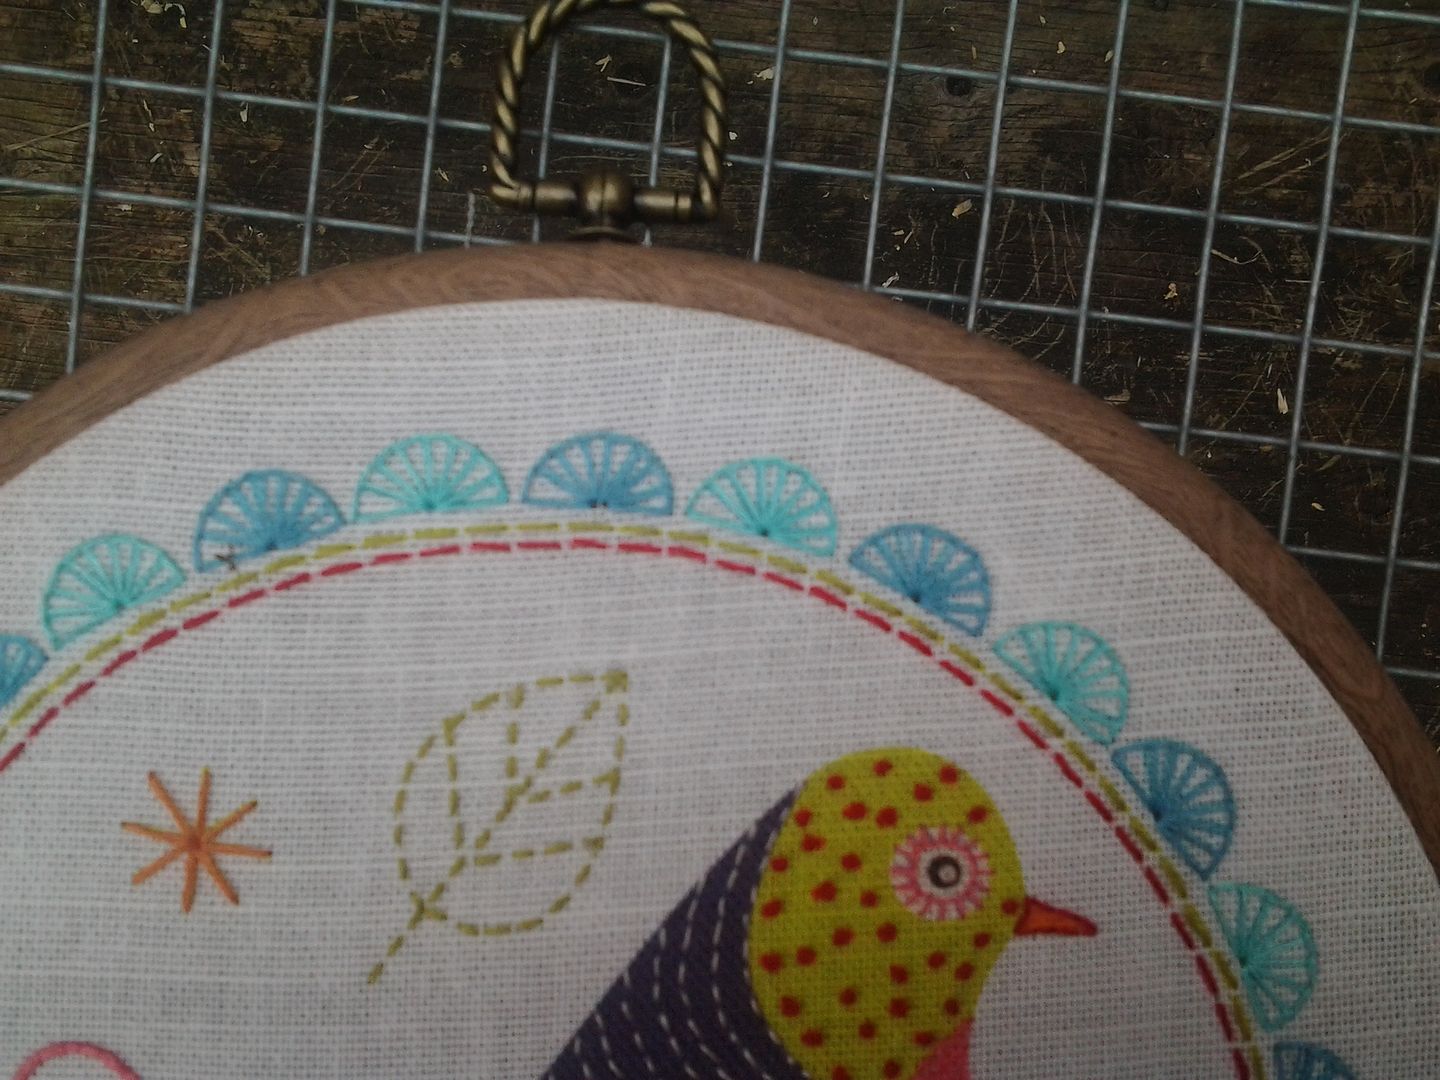
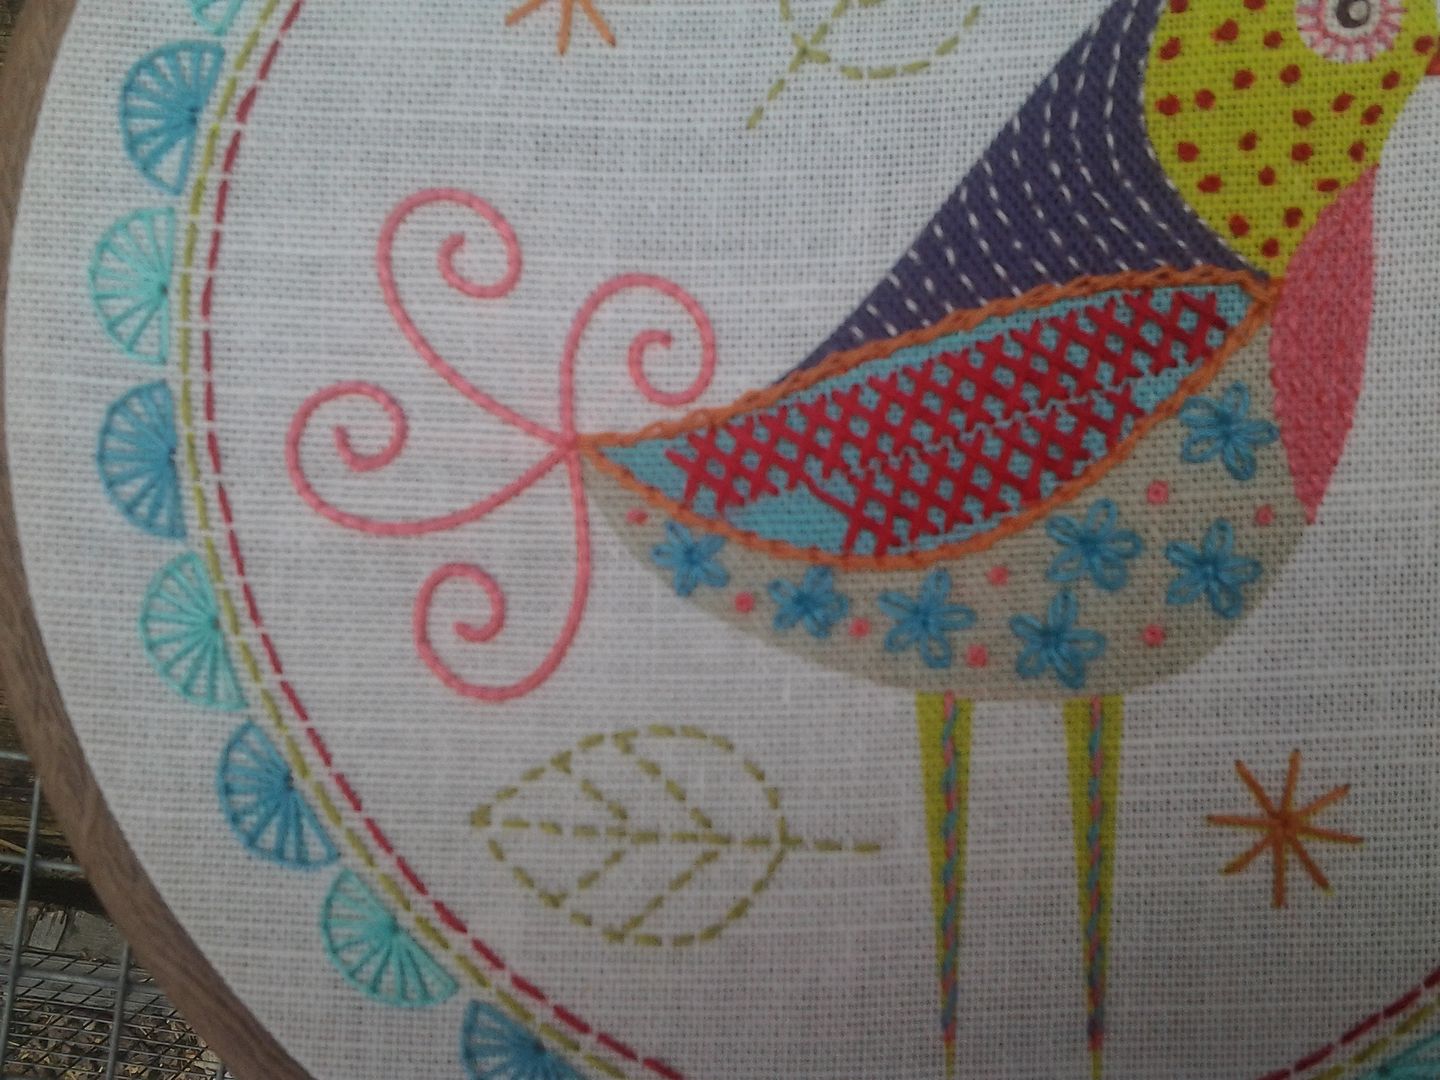
I finally finished another one.


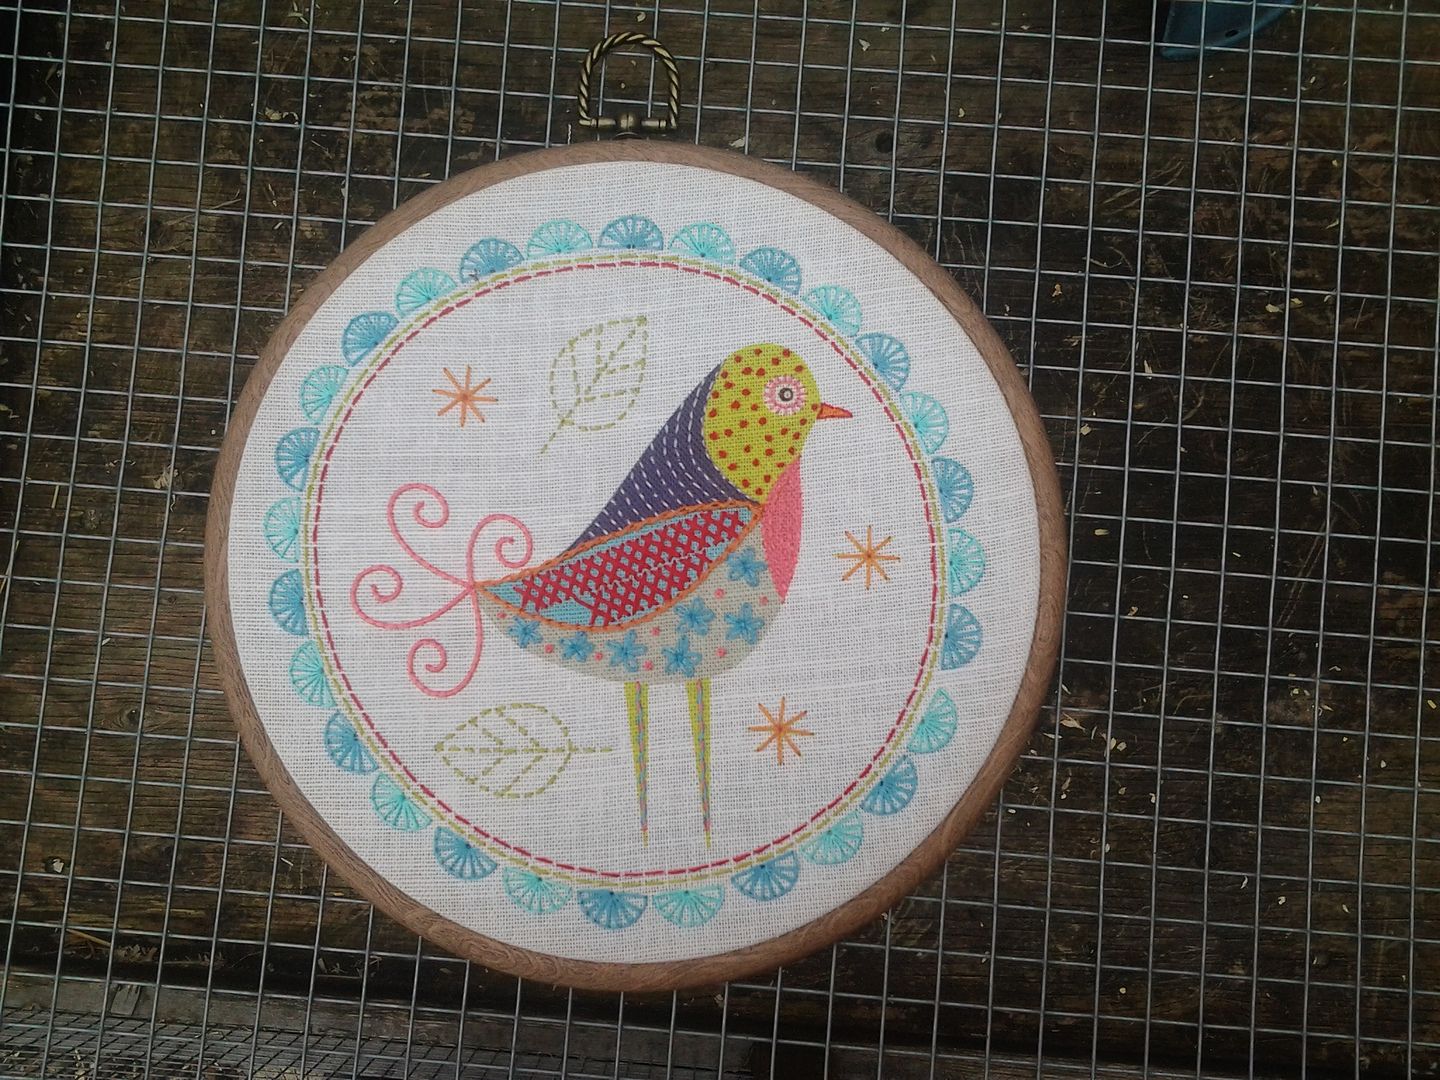
I actually stitched it in just a few evenings, but it took me a while to get started.  The kit contains a piece of cotton with the bird printed on in colour.  You get some embroidery floss and a stitch guide, but of course you can go it alone and do whatever you like.


Oh - I meant to put a little yellow french knot in the middle of those blue flowers, I'd completely forgotten!  The tail is a six-strand of floss couched down.  I haven't really done couching before and I was thinking of lots of possibilities for this technique as I was stitching it.


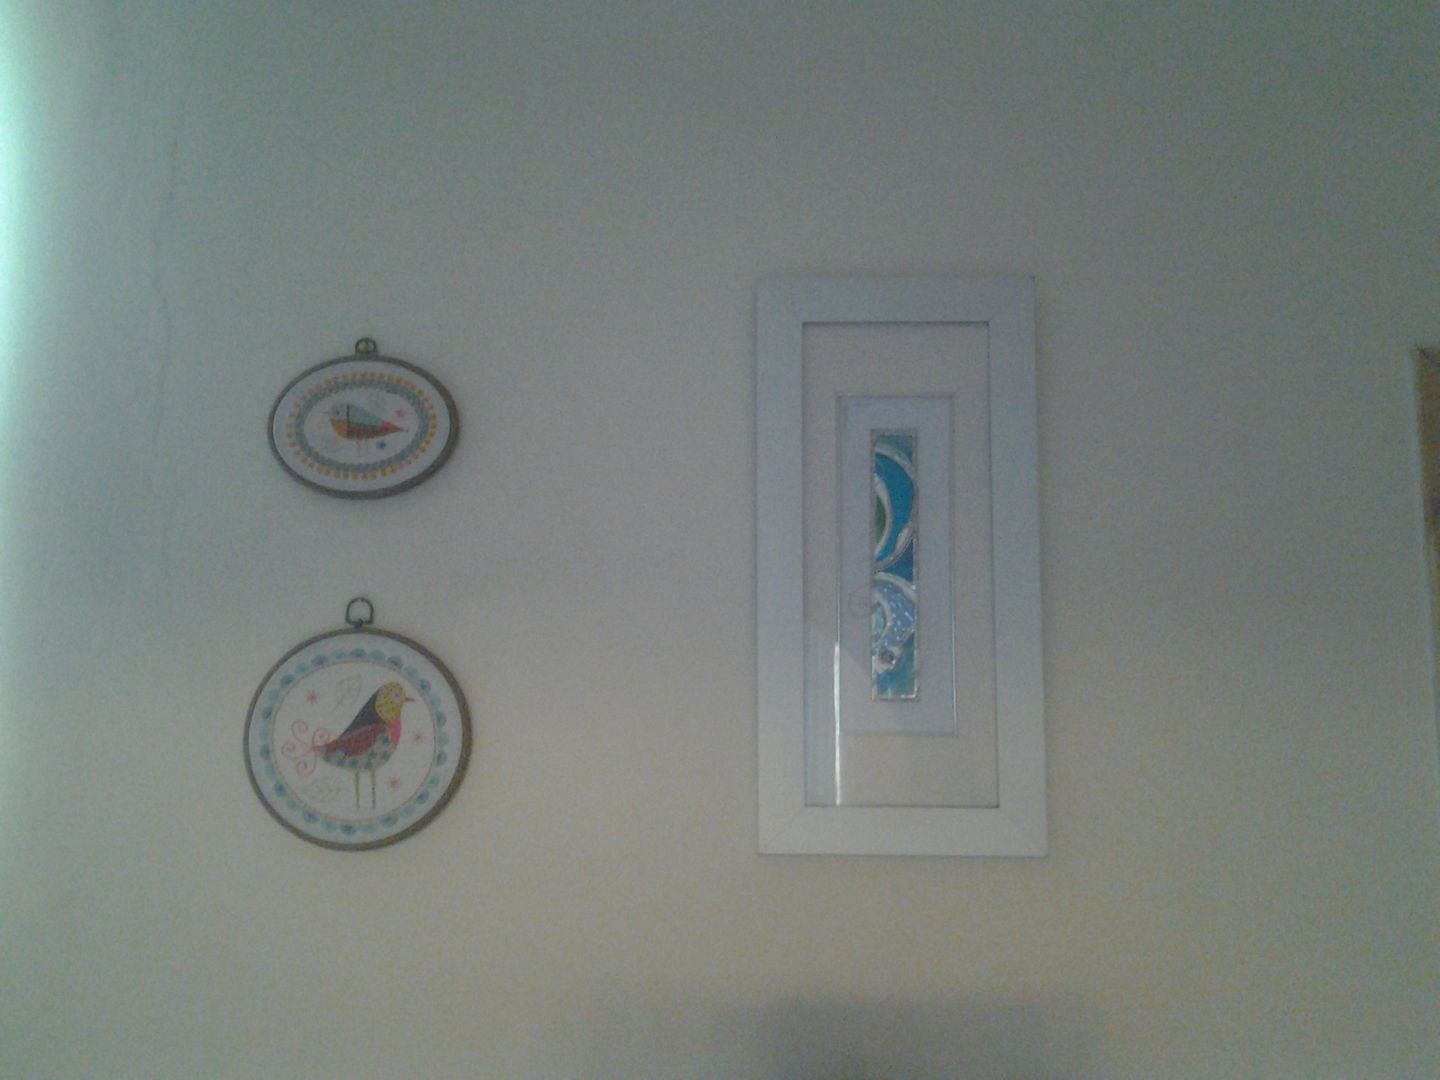
It's mounted in a plastic hoop.  The reason being that the first kit I did was oval shaped.  I assumed they were all oval shaped so went on line to find an oval hoop.  The wooden ones are the wrong proportions/ratio, only the plastic ones came in the right size.  When I then discovered some of the embroideries are circular, I had to buy matching frames.


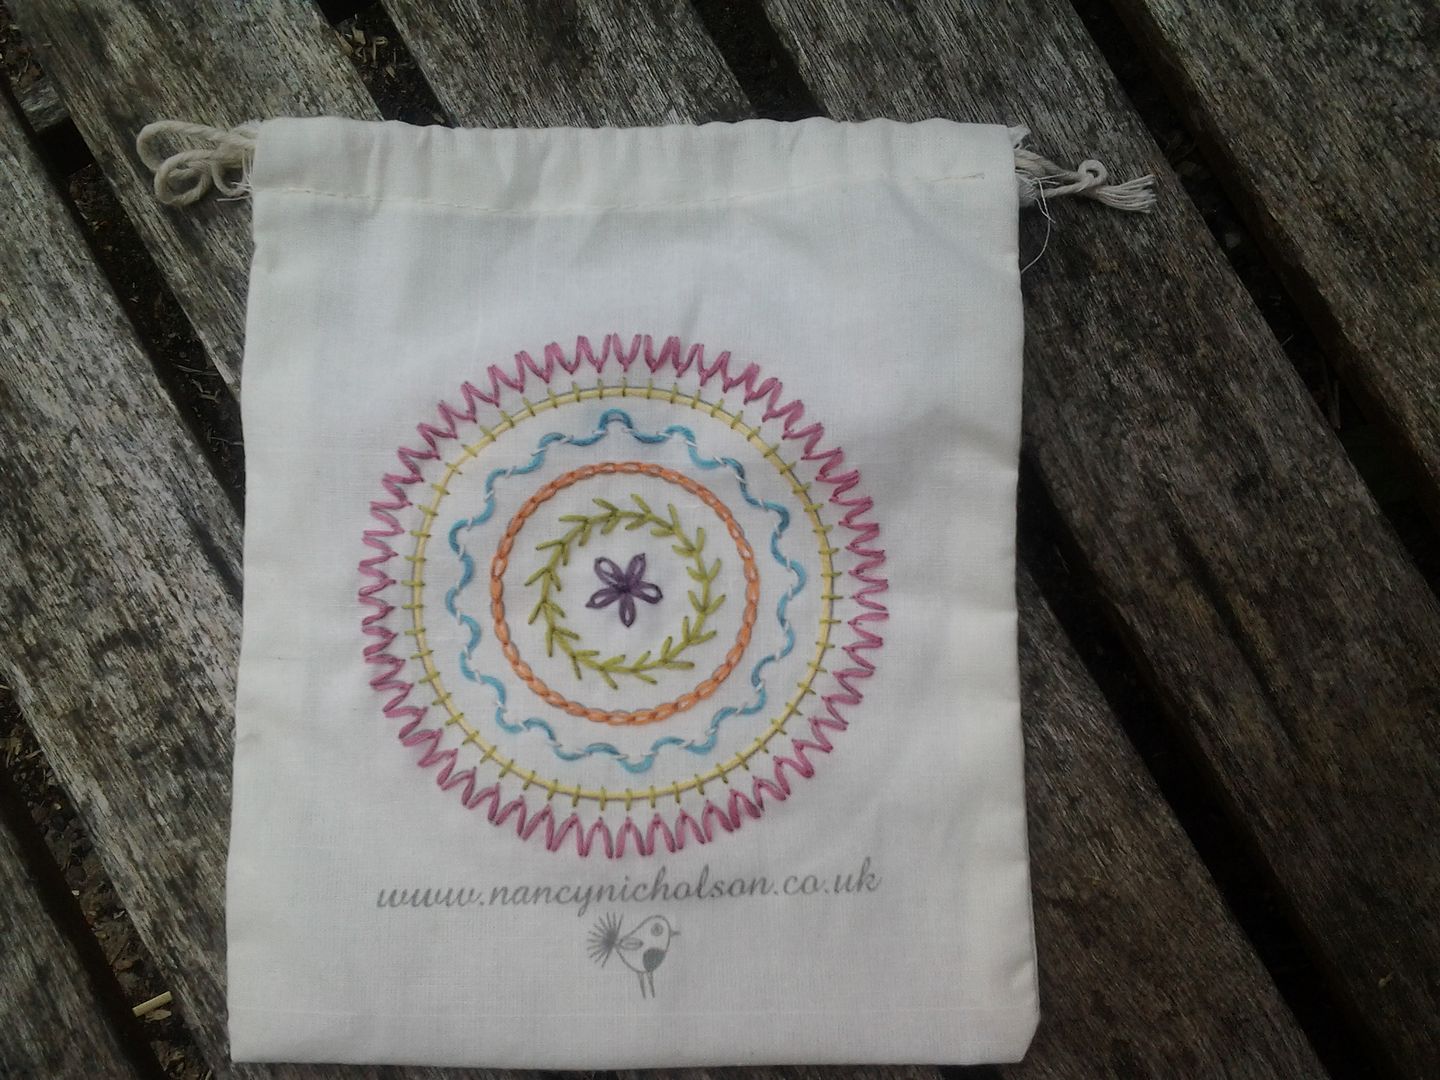
The kits come in a little bag with a design printed on the front.  I embroidered this one.  I can't find the last one but when I do I will embroider that too, oh and I have another kit too!


When I showed you my Silk Ribbon, I promised to show you a shot of my "gallery".  These embroideries aren't in the gallery, they're on the opposite dining room wall along side my beautiful glass piece that the wonderful parents bought me for my birthday one year.


I might have to rearrange a bit when the third one is done, especially as I can't remember if it's round or oval!

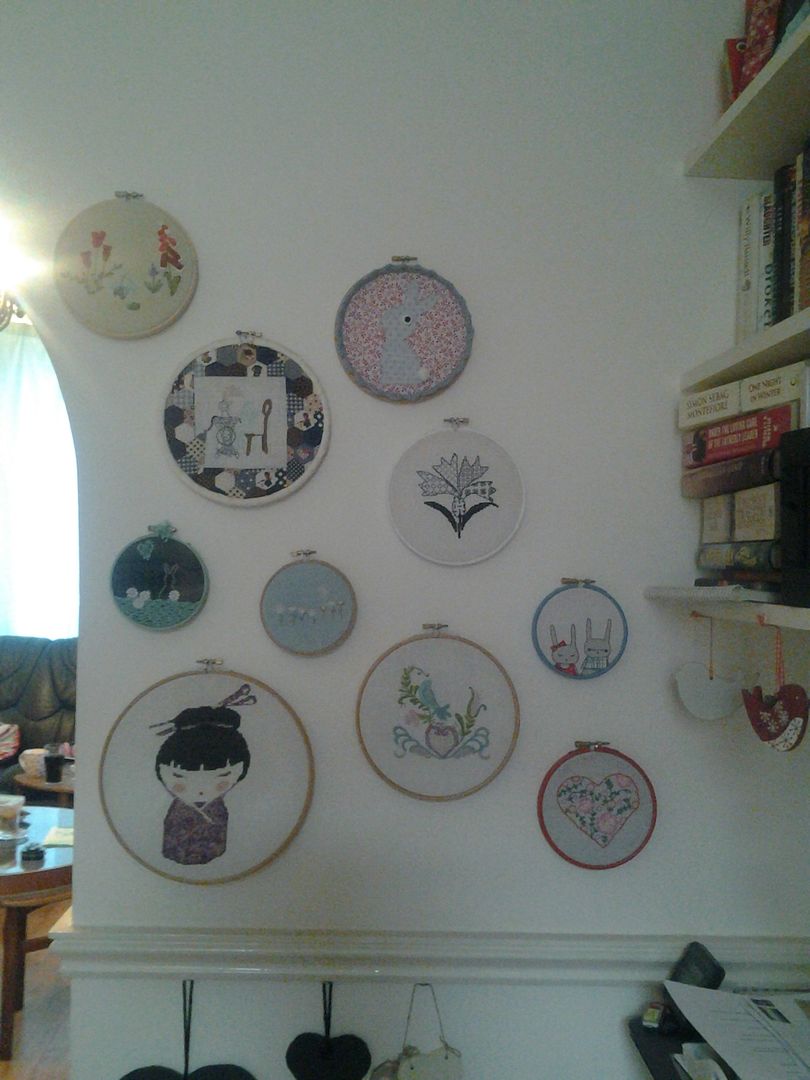
On the opposite wall, where there is an arch through to my living room, is my gallery and here it is.


You can just see my printer in the bottom right hand corner, this is where I'm sitting to blog right now.  I'm putting loads of different embroidered hoops on this wall.  Square or rectangular "art" (hahahaha, I just said art.  About the crap I make!) is hanging on the stairs.  One day I will show you a shot of that too, but it's a bit sparse at the minute.  I need to get my finger out, get hanging and get embroidering.  

I haven't been very consistent with my blog post tags, so I can't link to all of the posts on these individual hoops, but you can find some of them here and here, if you're interested.

Saturday, 7 December 2013

Hoopla.... again

Yep, I've had Hoop-la! 100 Things to do with Embroidery Hoops by Kirsty Neale out again!  This time I tackled the applique bunny.  I say tackled but it was really easy.  The hardest part was choosing the fabrics.


I went for blue on red as they're my favourite colours.  I realised after I'd finished that I'd made a mistake.  One of the ears is supposed to flop forward, but I'd taken the pattern upstairs to cut out the bunny and fuse him to the background fabric without reading the instructions.  That'll teach me!


I LOVE the way Kirsty adds crochet to her hoops so I followed her pattern.  I made my foundation stitches too small which meant I couldn't get the right size hook through and couldn't get two stitches in each as the pattern required.  As I'd already laced the bunny into the hoop at this point, it was too late to pick out the stitches and start again.  So I persevered.


See how the edge sticks straight up rather than out?


So I blocked it.  I pinned each scallop outwards and soaked it with water (a bit too much water!) and they lay correctly.


It's sitting on my table waiting to be added to my gallery, but each day the scallops lift up a little more!

Tuesday, 3 December 2013

Hoopla

After admiring the book Hoop-la! 100 Things to do with Embroidery Hoops by Kirsty Neale each time I saw a blog review, I finally splashed out and bought it.  It is a lovely book, full of ideas.  It also features 2 bunny projects.  This one is called Hipster bunnies and I was disappointed to find out it's not a pattern, but a photo printed onto fabric.  That wasn't going to stop me though, I just traced it!


I painted a hoop in blue to frame it, when I came to do the framing, I discovered I'd painted the wrong hoop!


This is the right hoop!  It's 3" x 3".  The bunnies are appliqued and then outlined in 1 strand of black embroidery floss.  I love them.


I think it must be Colin and Ellis in this picture.  Ellis is a pretty lady and Colin... well Colin is my lovely Colin!


I laced the back but decided I couldn't be bothered to sew on a circle of felt, after all, this is for me and will be on the wall so no-one will ever see the back.

I've got another hoop bunny project in the works, then I just need one more to make my four bunnies...