Showing posts with label earrings. Show all posts

Friday, 9 August 2013

WARNING - appalling photography...

I have thoroughly outdone myself.  You've seen atrocious photography here on my blog, this ladies, this takes the biscuit.  Is that a real saying or did I just make that up?


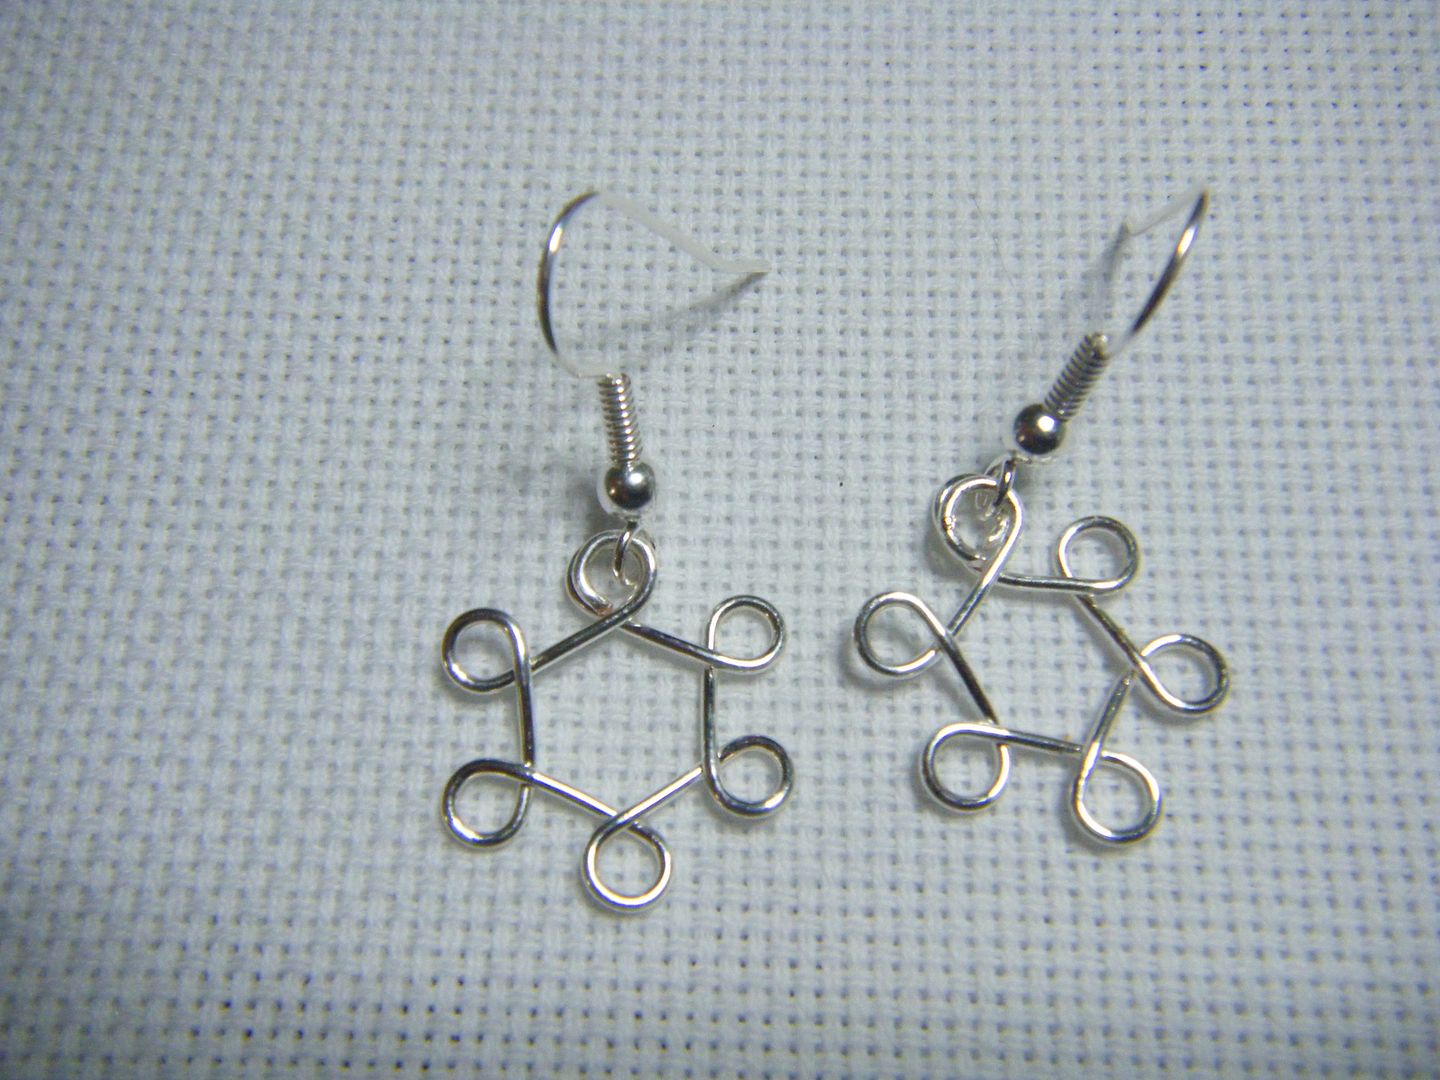
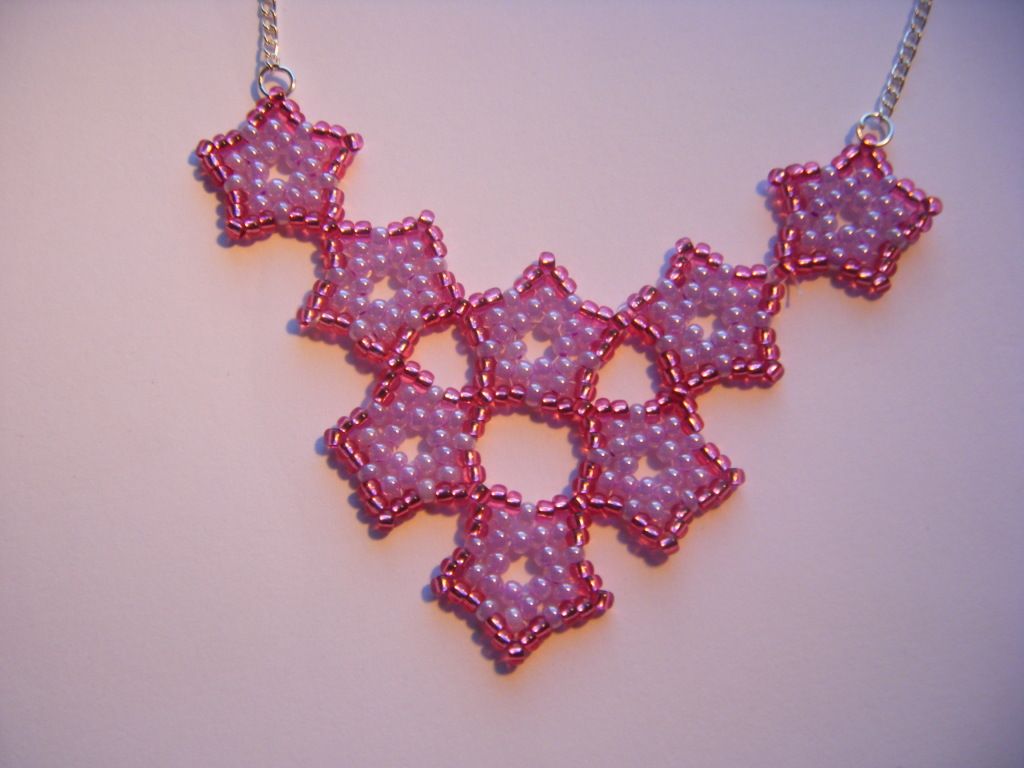
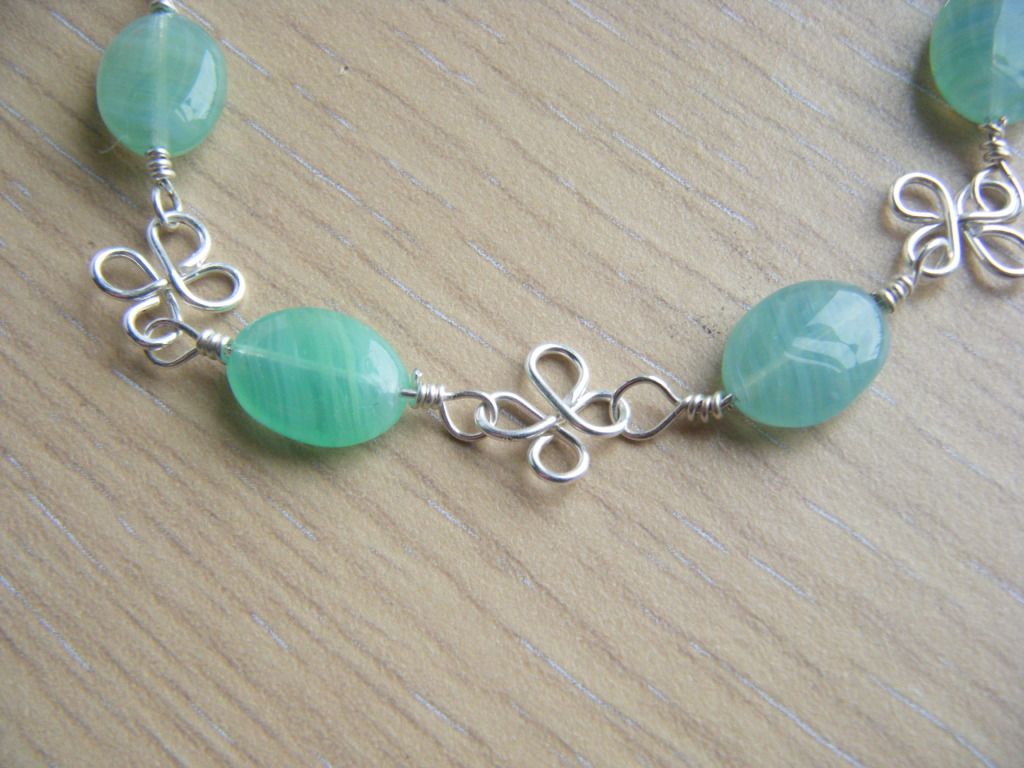
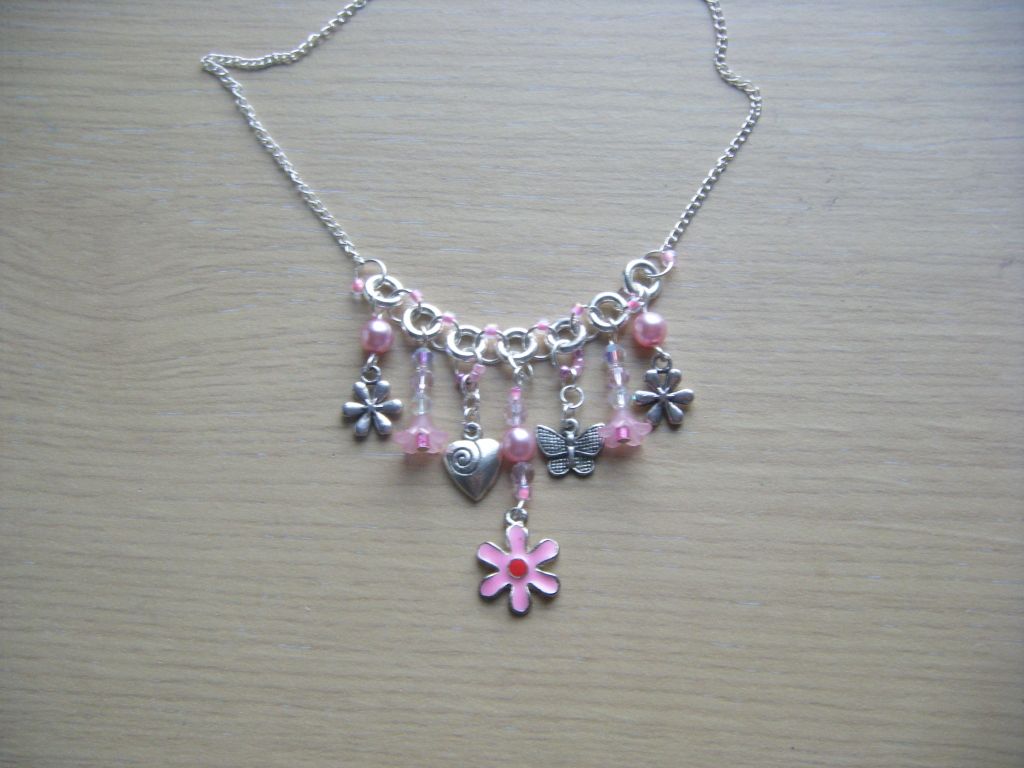
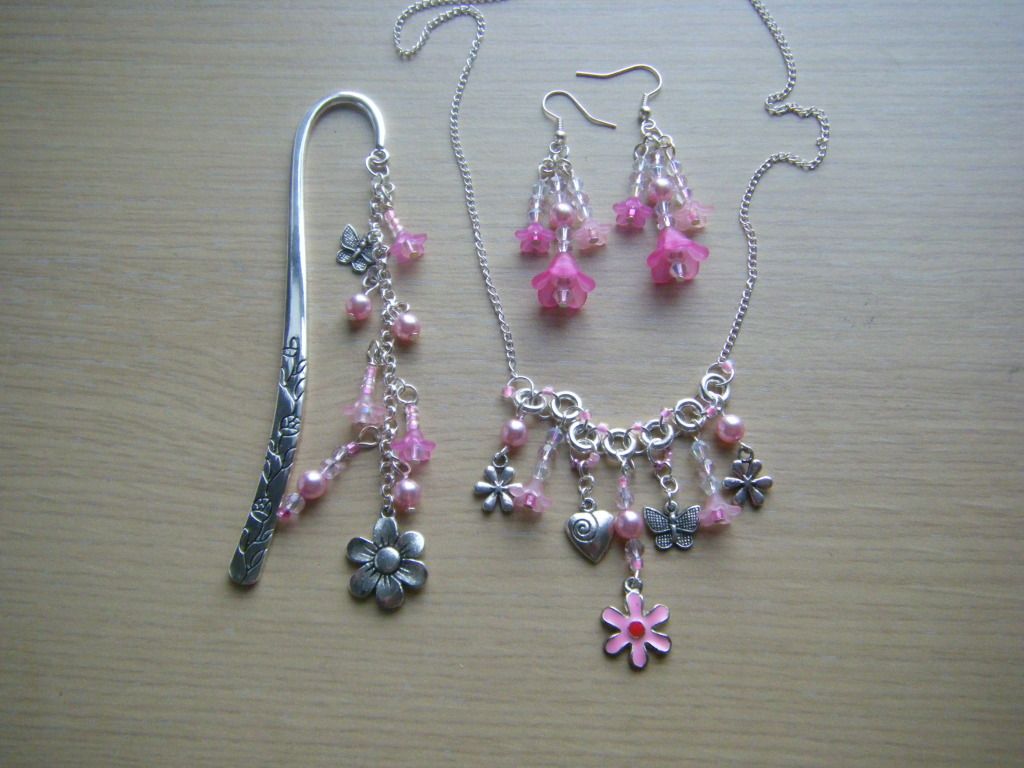
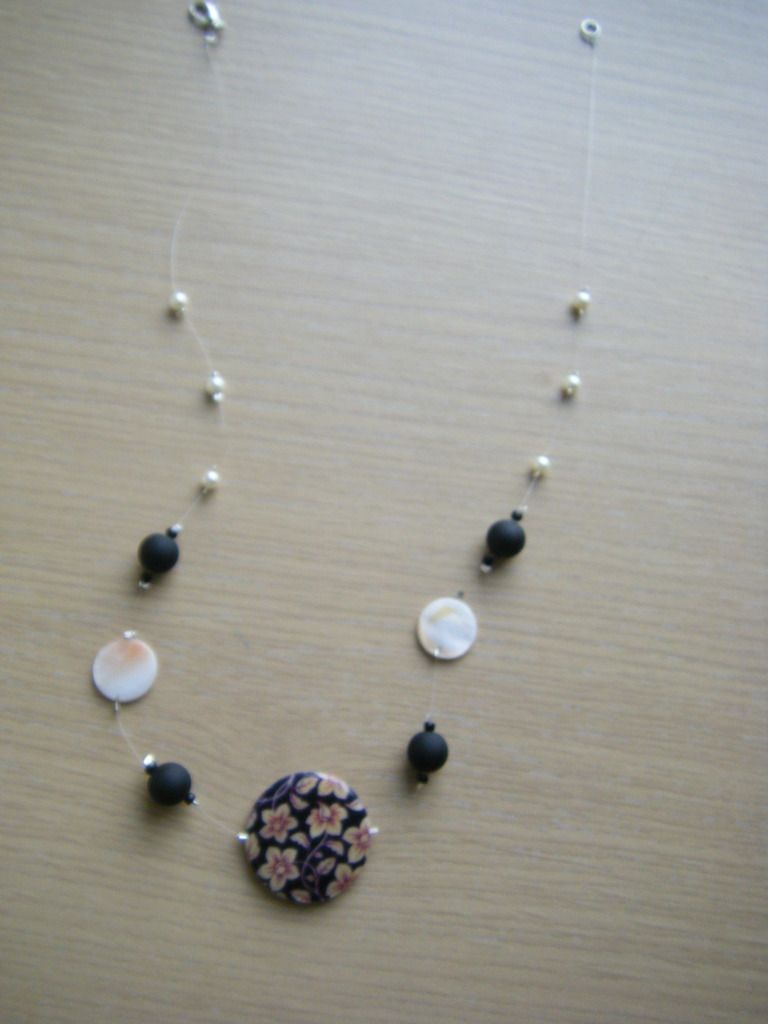
A colleague spotted me wearing the necklace I made in the wig jig class I took and asked me where I'd bought it.  He said he wanted one for his wife's anniversary present.  I said I'd made it so he commissioned a necklace and a pair of earrings!


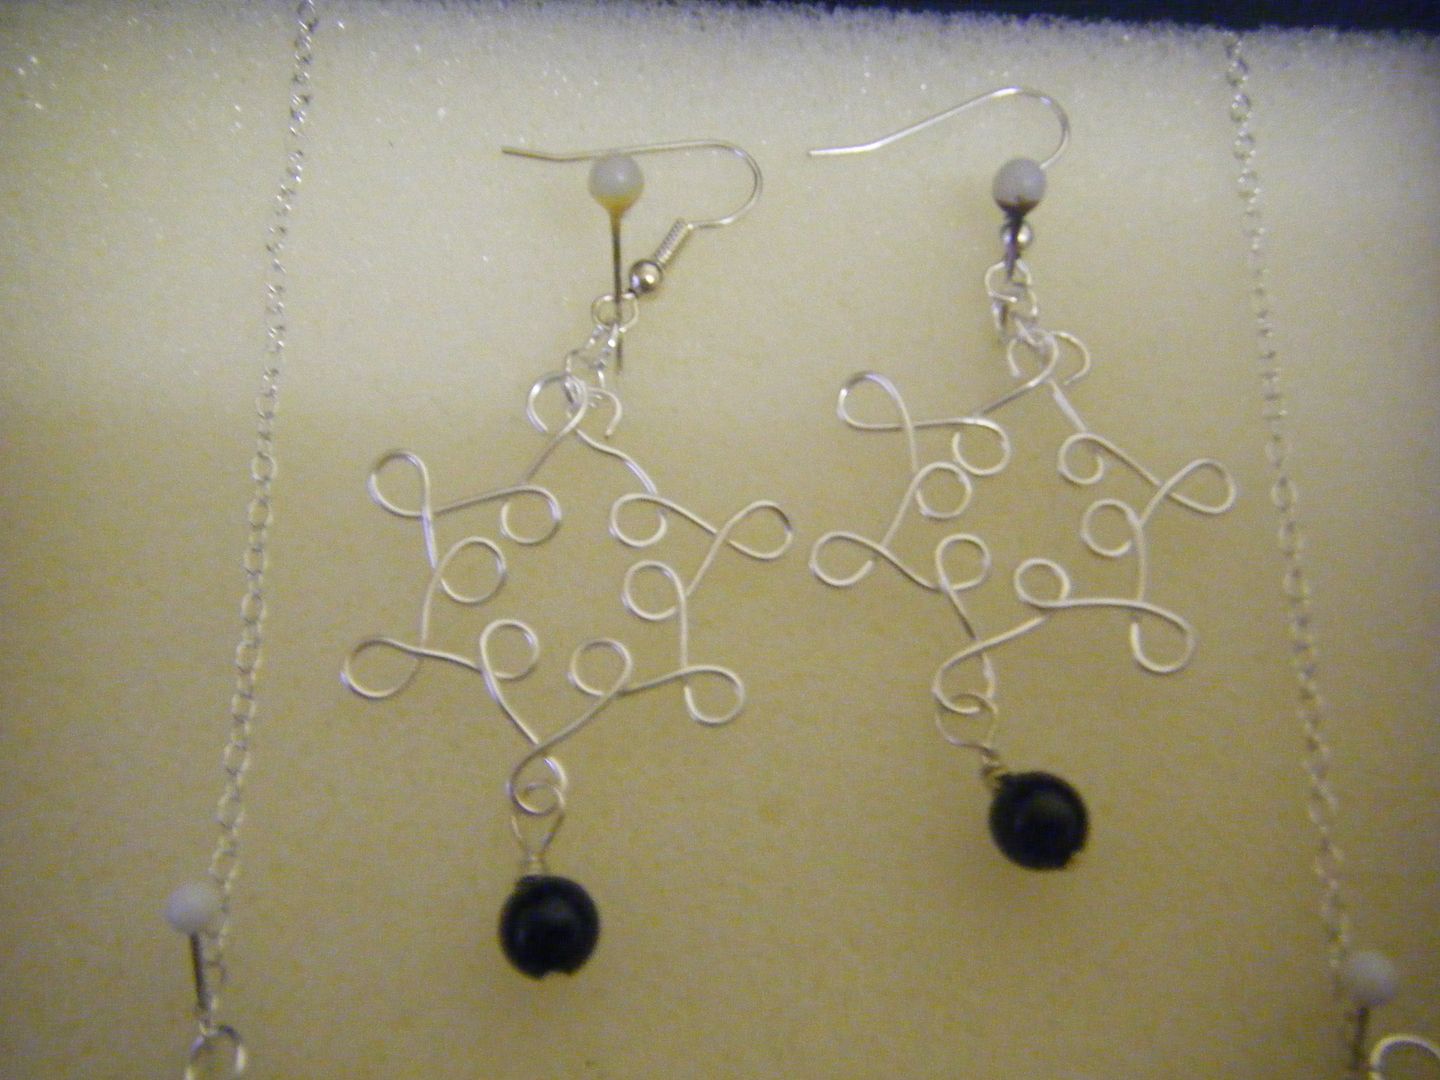
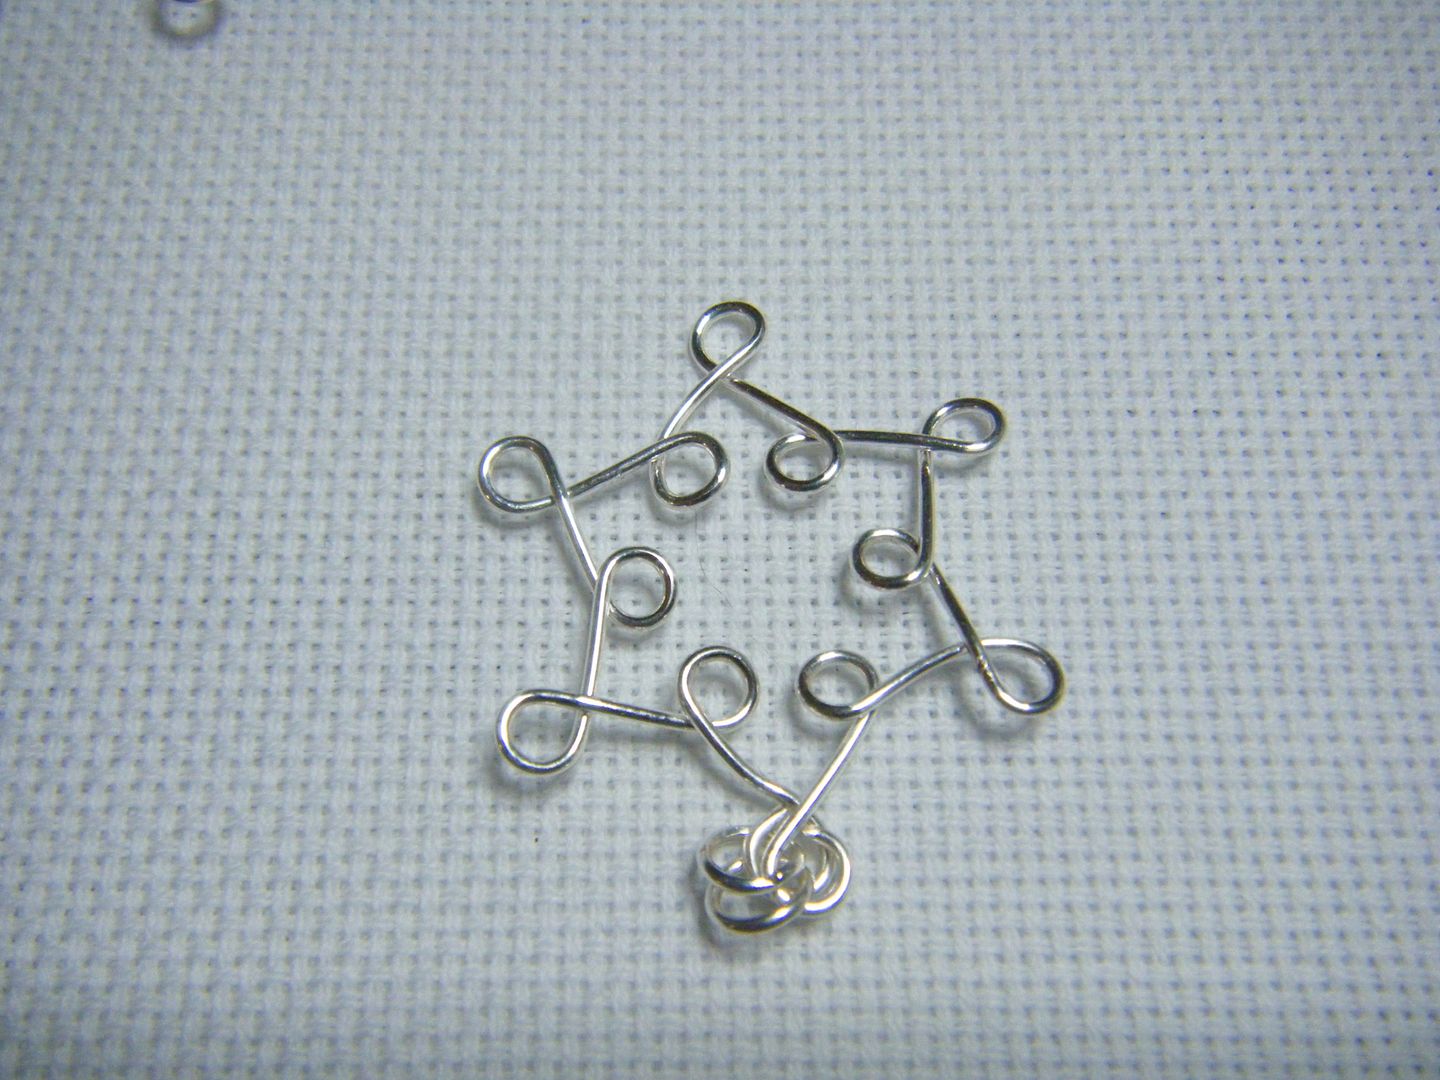
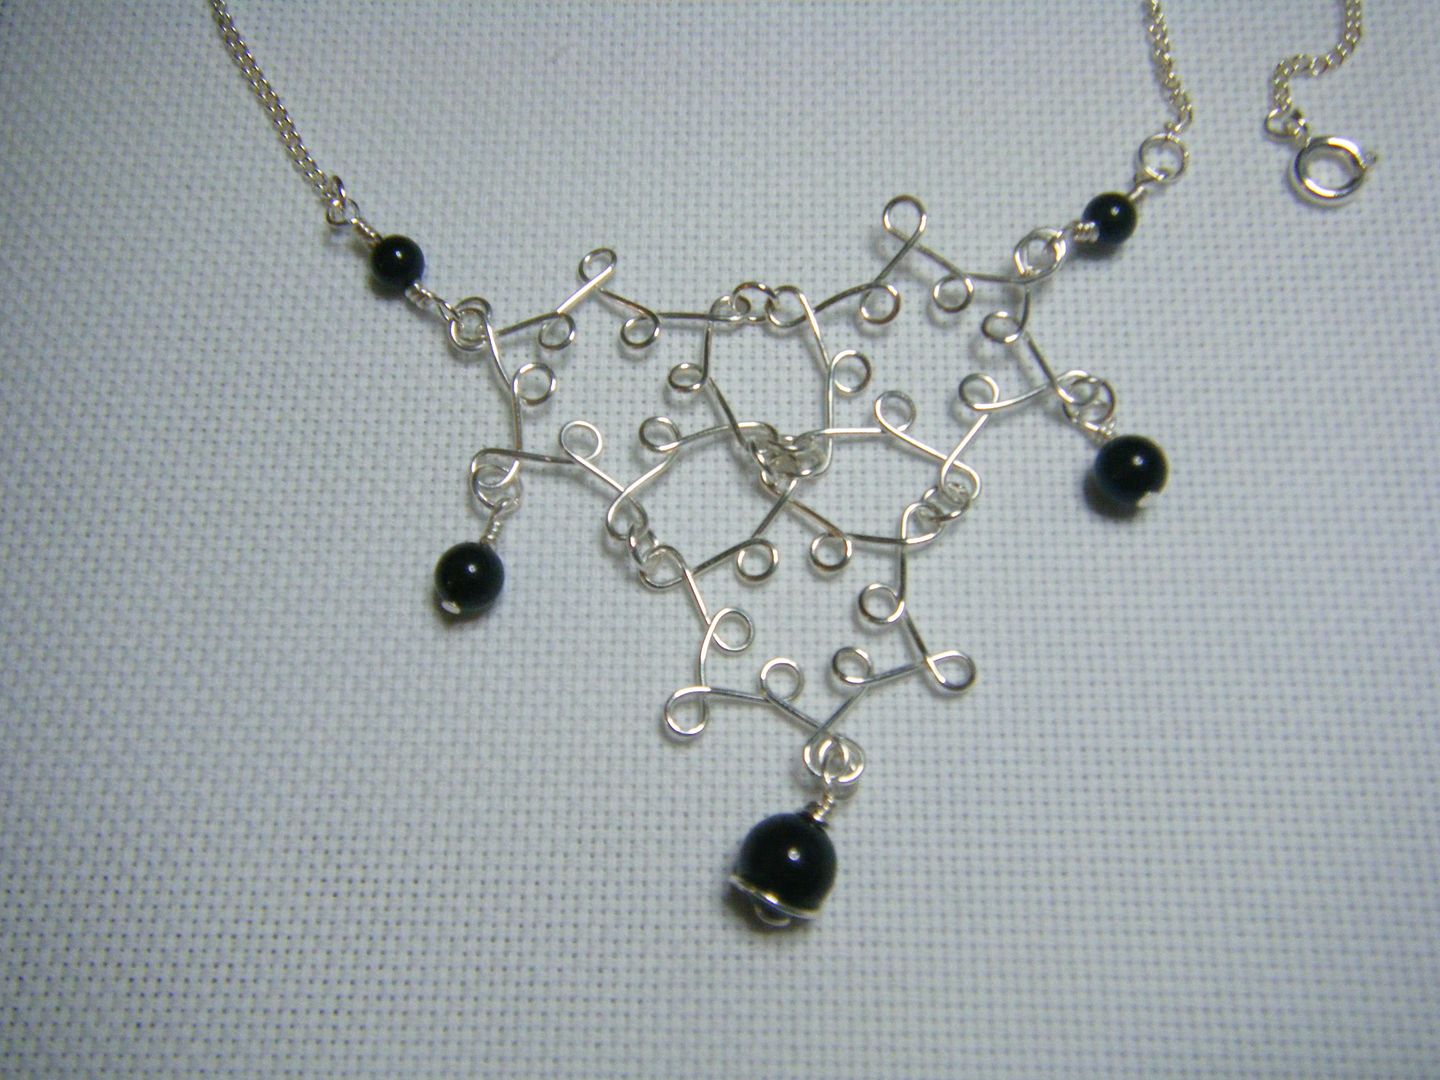
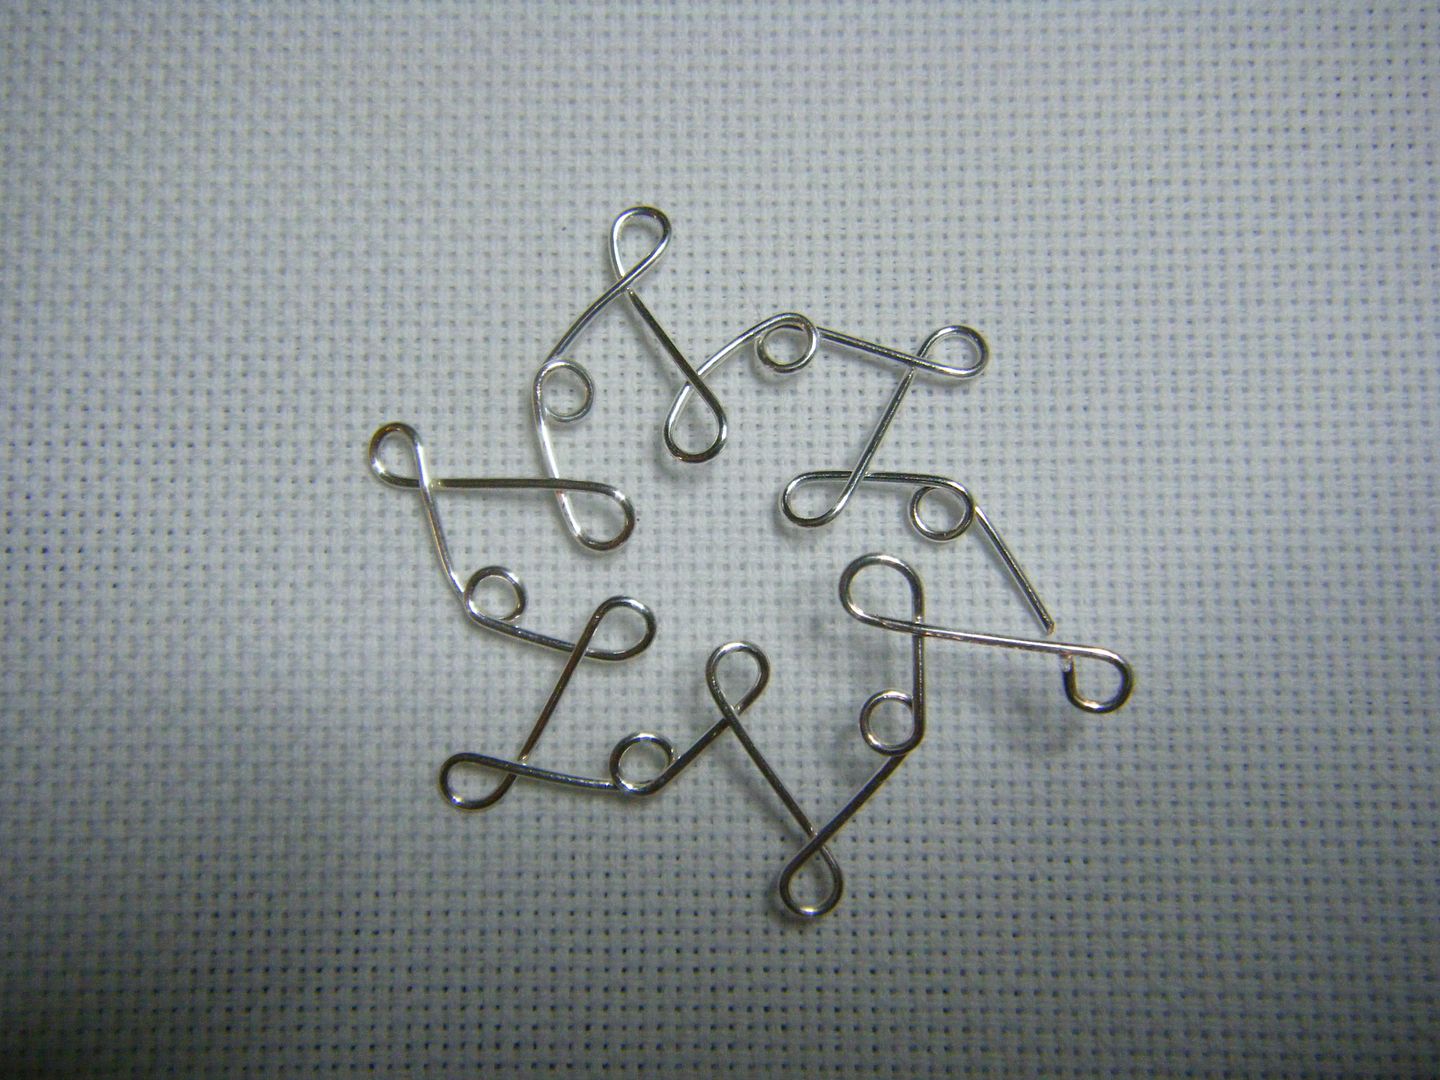
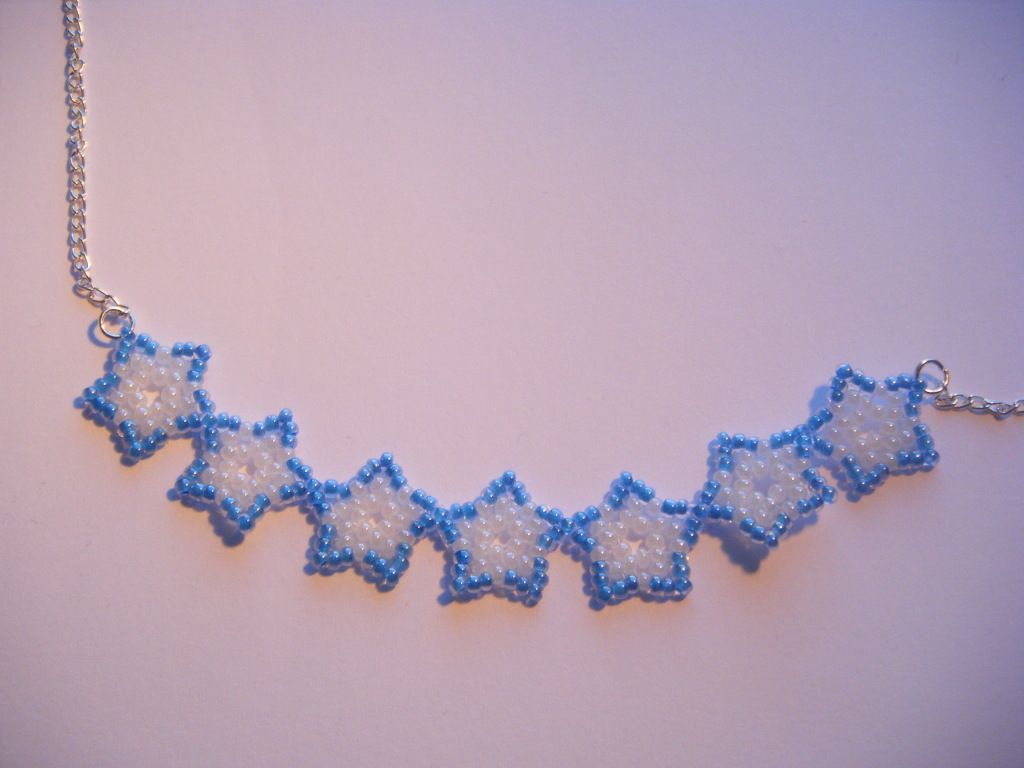
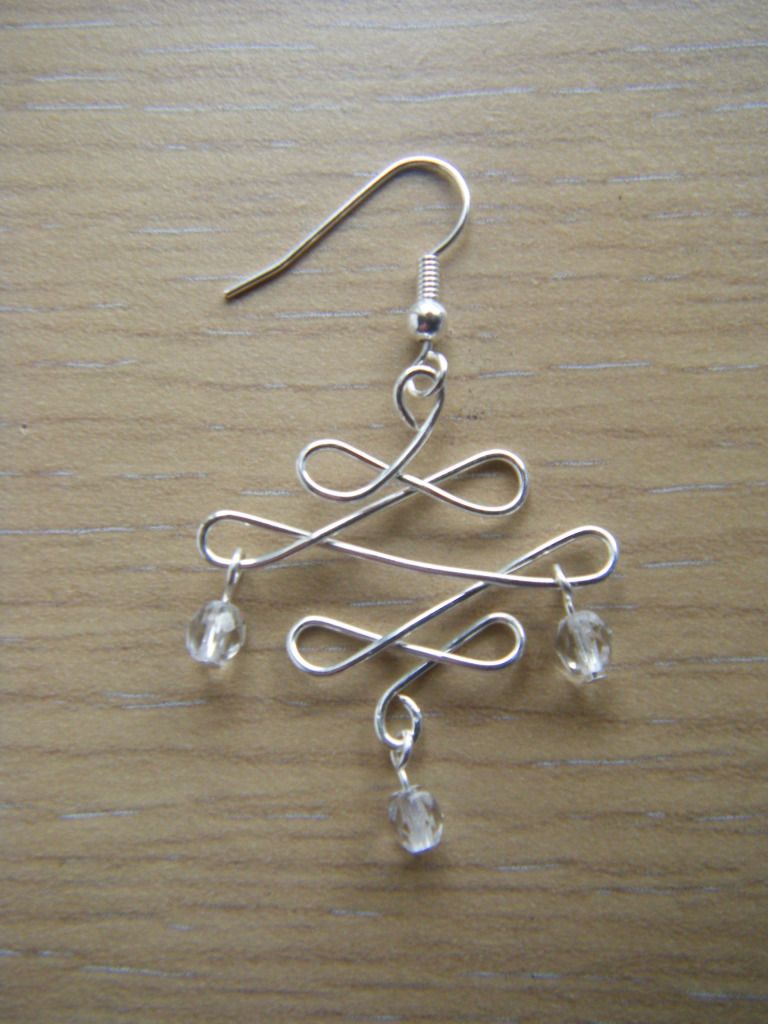
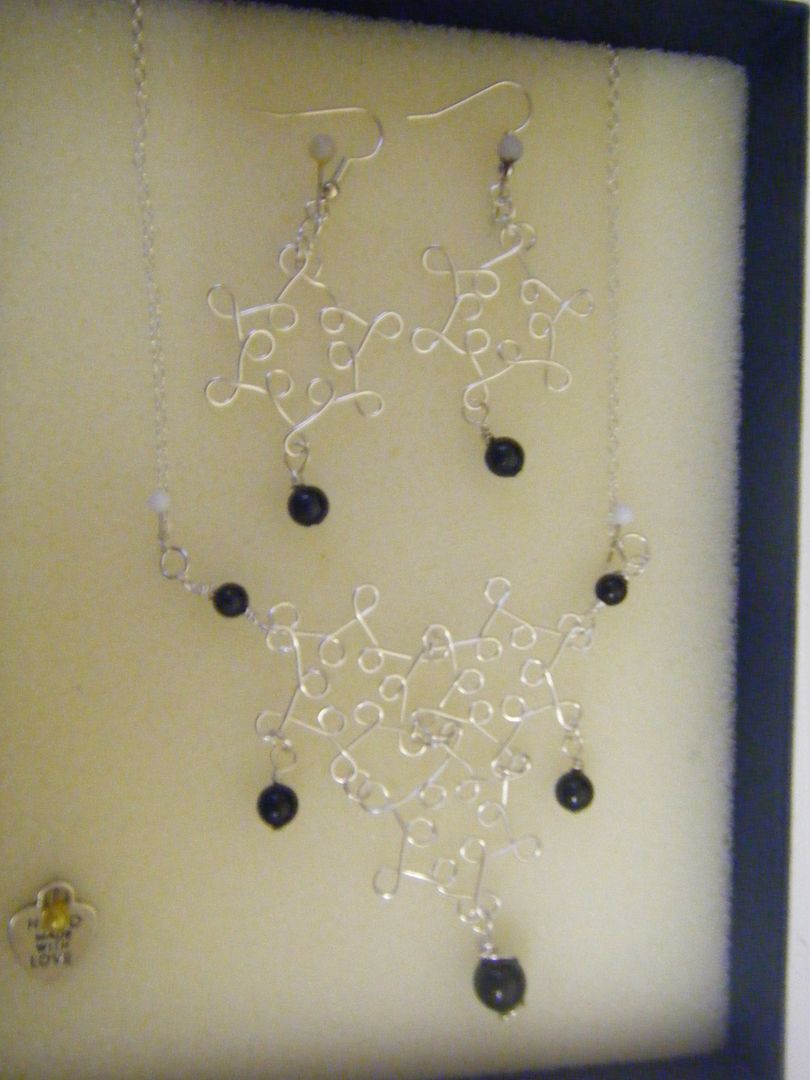
Mine was made with bog-standard silver-plated craft wire, but for this, as it was a special present, I bought some sterling silver wire, chain and ear wires.  The pearls are Swarovski.  I didn't have the special round jig we used in the class and at £40 it was a bit out of my price range.  So I made do with an ordinary jig and the original stars as a pattern.


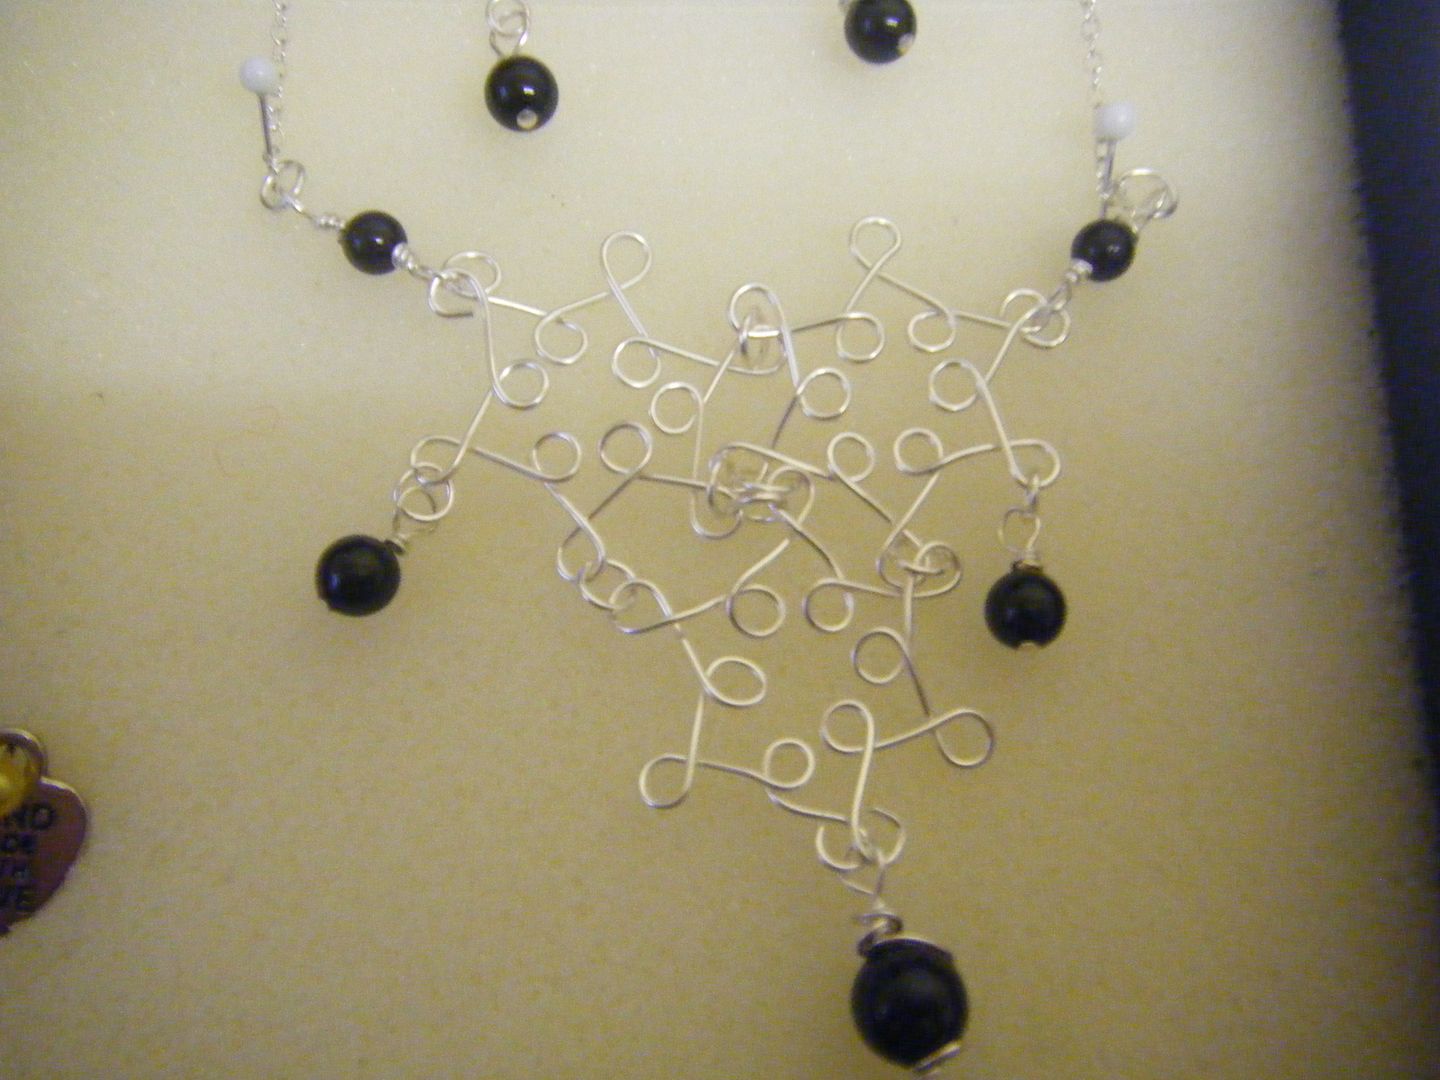
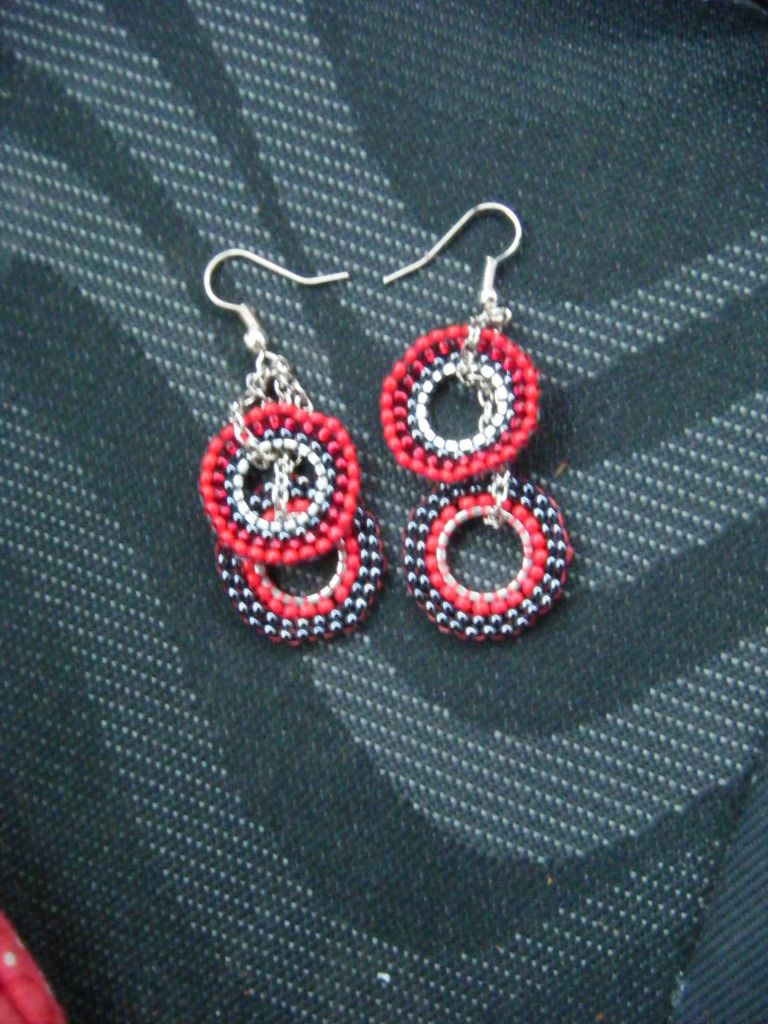
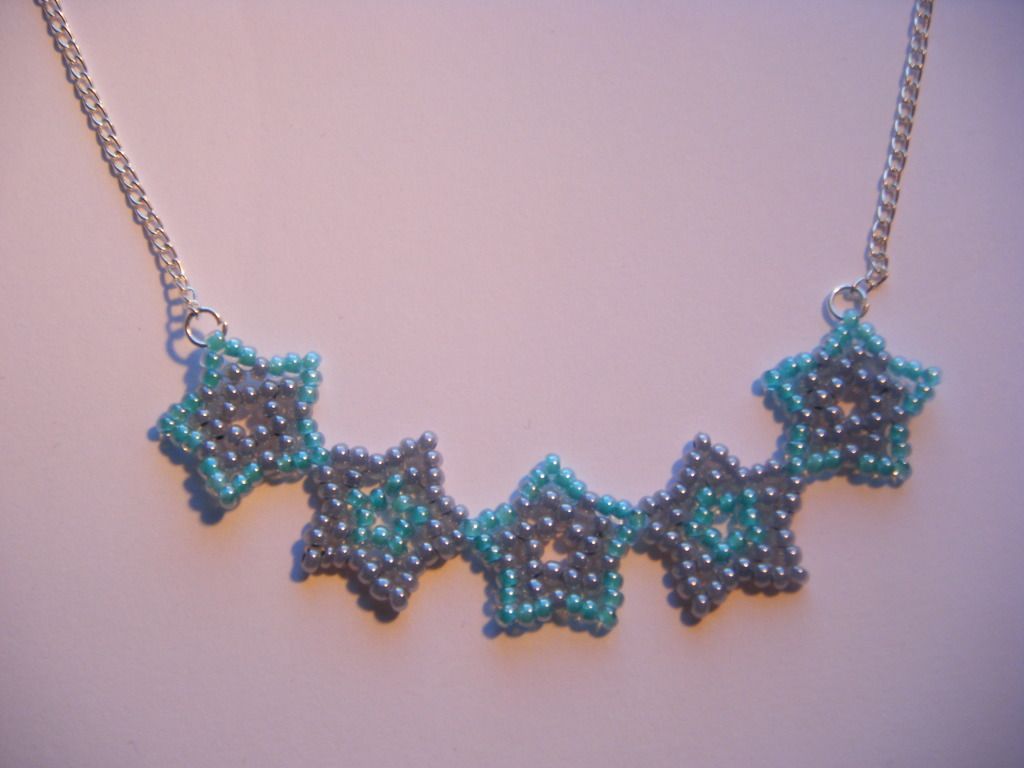
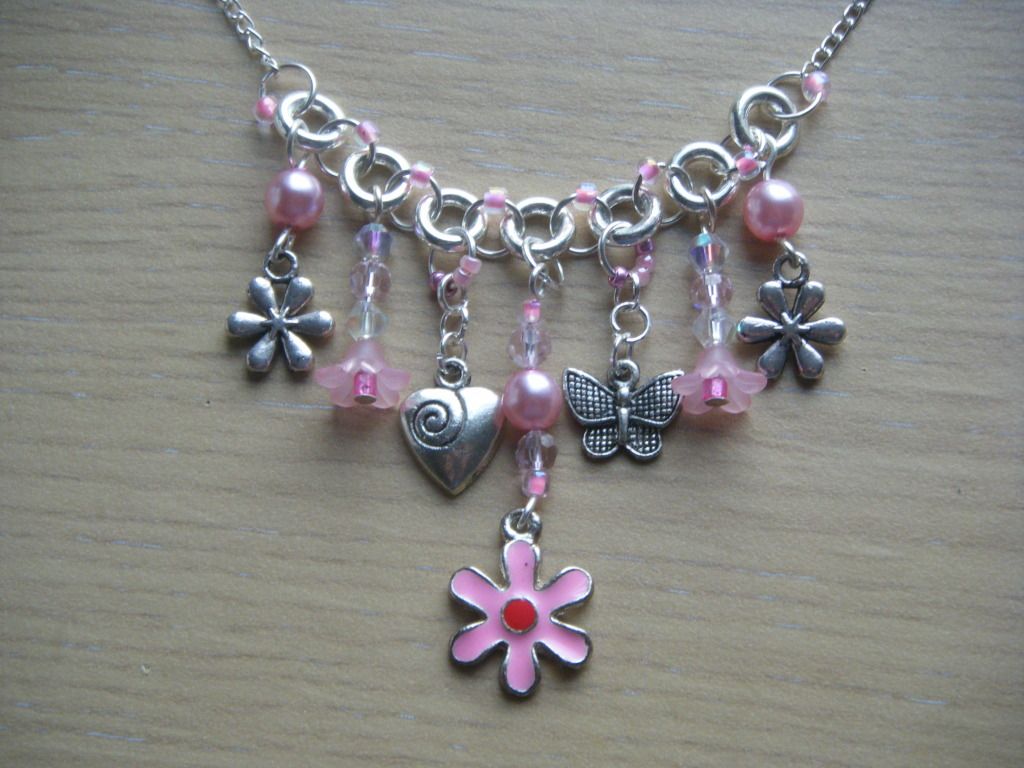
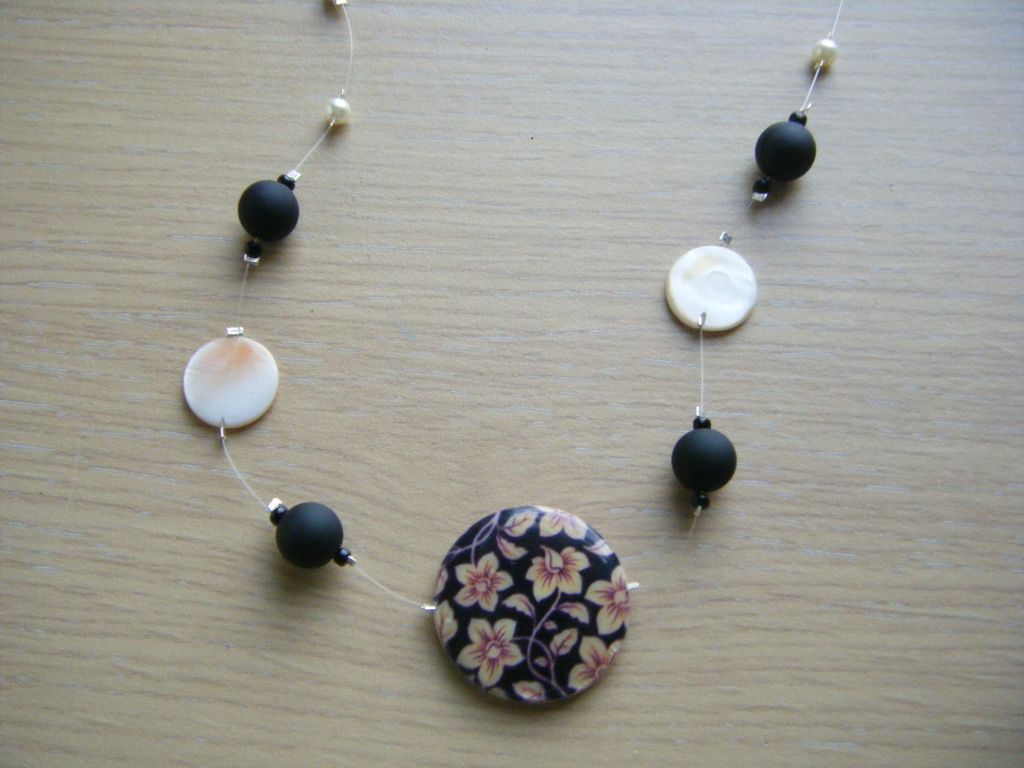
The reason for the crappy photos is that I forgot to take photos of it until about 2 minutes before I left for work on Monday, the day I'd promised him he'd have it.  Ah well, you get the gist!


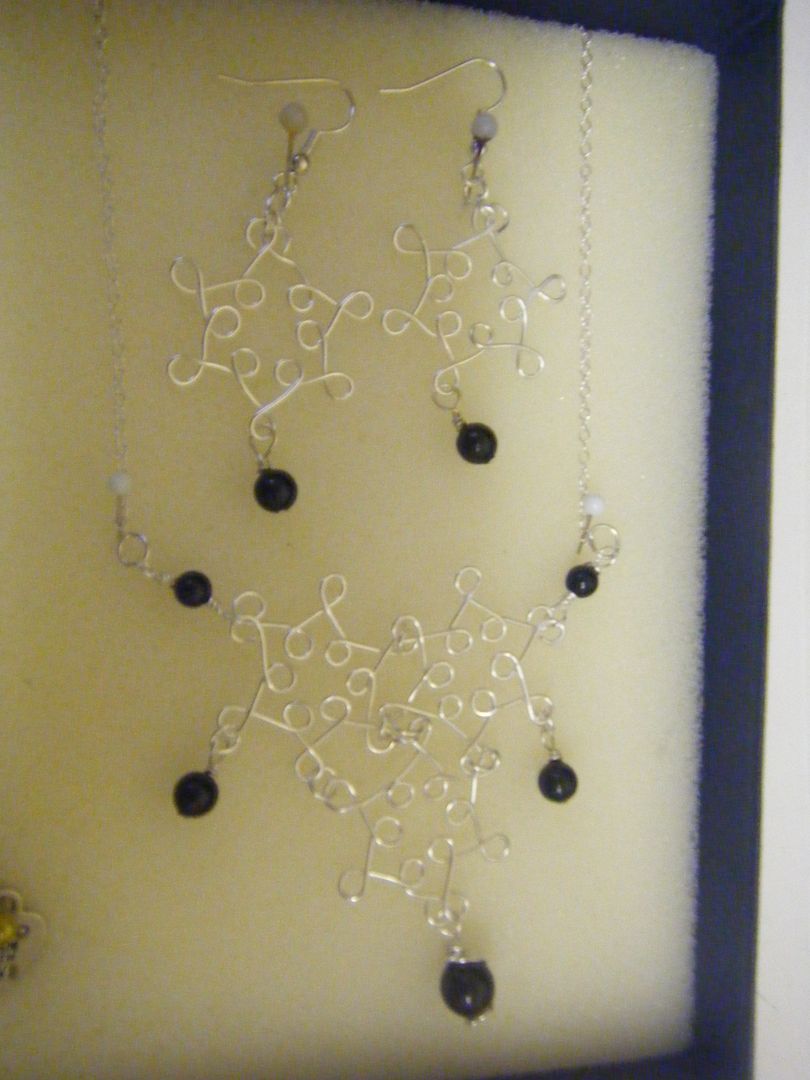
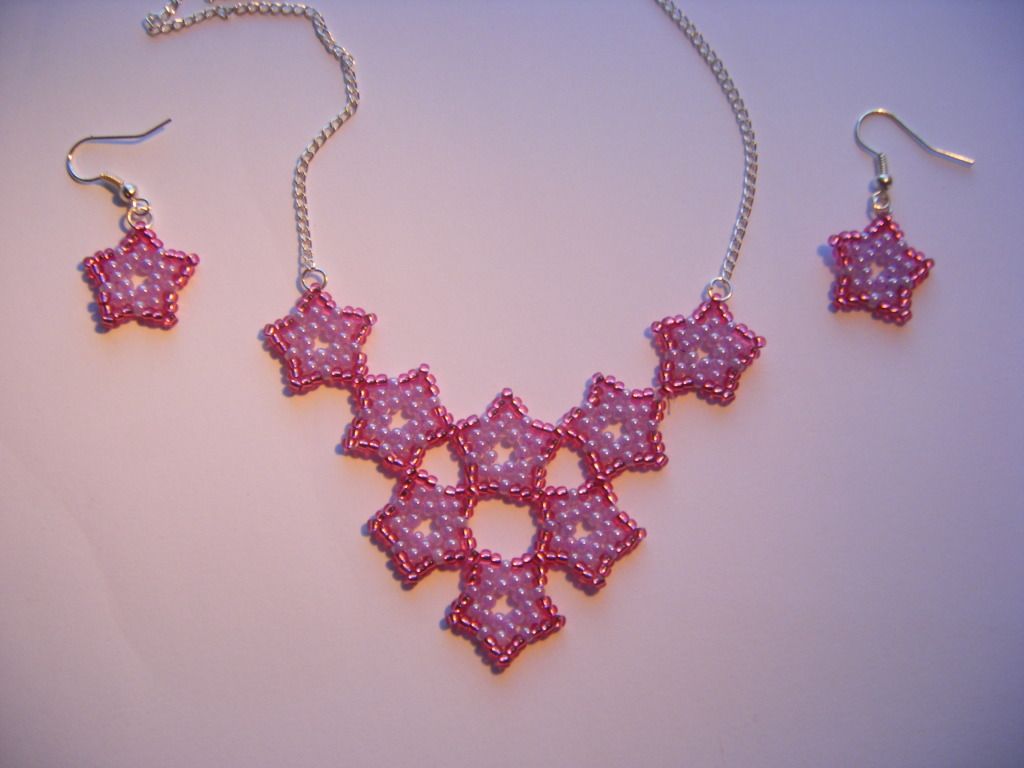
Which is worse, this one or the top one?  Well, crappy photos or not, he was delighted and over paid me for it!  I spent the money he gave me on salad for the bunnies*.  Such a loving mother I am.


*disclaimer: not all the money.  That would have been a lot of salad even for four bunnies, one of them being the greediest bunny since Peter Rabbit.

Monday, 15 April 2013

wig jig

Morning ladies. So, it's Sunday and I'm writing a week's worth of blog posts.  It makes me feel a bit odd and out of time...  Does it feel odd to you?

Last Saturday saw me and mum making another trip to The Bead Shop, Nottingham for another jewellery making class.  This class was advanced Wigjig.  We did the Wigjig class in November last year and I really enjoyed it.

This time we used the Wigjig Electra which is a round jig.  It's such a shame they're so expensive, no way can I afford £40 for one of these!  We started off making a simple shape which we made into earrings.  I managed to hold my bile down!  The class examples had beads hanging off them but we didn't do that in class, I think I might if I can decide who to gift them too.


Next we moved on to making a star.  It was great fun, but because I had to use quite a long length of straightened wire, things were going flying off the table left, right and centre!  It's a bit dangerous, this wigjigging lark.


I'm going to wire wrap the centre of this pendent and add some seed beads.


I made another three stars and attached them together with jump rings.  Adding in the jump rings was the most difficult part as I kept twisting the components!  It's finished off with some Swarovski pearls.  The bottom one looks a bit strange in this picture, I didn't use a headpin, I spiral wrapped it but it turned for the photo.


Finally I had a go at the advanced star.  We didn't have a diagram for this, I followed the photo they'd provided.  I was so chuffed with it, until I cut off the loop that will hold it together!  Damn!

Friday, 21 December 2012

The world's worst photos

My apologies.  I have two terrible photos for you today.  I am only including them for posterity!

One of my colleagues asked to borrow my red brick stitch necklace for the work Christmas party and asked if I had earrings to go with it.  Now, I think I've mentioned my aversion to earrings before.  Despite once sporting quite a few holes in my ears, I also had one in my belly button and 2 in my nose.  No more!  They make me feel sick.  But... she offered to pay so I decided to make some.

I only remember to take a photo in my car on the way to work the day I had to give them to her.  So I took a photo on the passenger seat of Norbert, in the rain on a cold, dark, dull morning.


Pretty bad picture, but the earrings are actually pretty cool.  I made two rings and hung them individually with chain from the ear wires so they dangle below each other.  She's now asked me to make her a matching necklace.

The other terrible photo is more chicken scratch lavender hearts.  The day after the craft fair my best friend asked if she could have them for her Nana's Christmas present, I said yes, then someone ordered them from my Folksy shop.  I said I'd whip some more up, and whip them up I did.  Once you've done the pattern a couple of times, these are so easy to make.  I finished them on Wednesday night and needed to give them to her the next day.  I put them in a box and had to take the photo inside, on a rainy, dull, dark evening.  Oh the joys of living in England.


If you'd like to see better photos of hearts just like these, try over here.  The photos are better, but not great as it was still me who took them!

I'll be back soon to show you the Christmas cards for my close family (if I get them finished!).  I forgot to take photos of the Christmas cards I sent to family and friends!

Wednesday, 24 October 2012

Peyote Stitch Stars part 2


Morning ladies!  I'm feeling a bit better than my last post.  I've had headaches, but no migraines so far.  For those that have never had a migraine, it really isn't a headache, it's so much worse than that.  The problem is, I don't seem to be able to get the doctor to understand that!  I have an appointment on Friday so keep your fingers crossed I can persuade him to refer me to the hospital where there is a migraine specialist.

Boring health stuff over, do you remember my peyote stitch stars?  What do you mean "no"?  Are you trying to tell me you don't memorise my posts as well as printing them out to read in bed at night??  Go to the back of the class!

After the class, I went home, got out my bead stash and started making stars.  I could not stop.  They are so quick to make when you have the hang of it.  I decided to try a little cascade design in size 9 beads.


I had a different idea of how I was going to put them together, but it didn't work out.  I'm pretty happy with the final arrangement though.  I added some simple earrings.  I was going to do three stars hanging underneath each other, but wasn't sure if they'd be too much.  Not wearing earrings myself, I never really know!


Next came size 10 beads with white centres and blue outlines, I used 7 stars in a row.


That got me thinking... how would a rainbow look?  FAB!  If I do say so myself...


Last, but not least, I decided to play with the colour arrangement.  The ones with the grey centres and teal outlines are the same as all those above (in size 10 beads), the grey-outlined ones are a bit different.  I changed colour a couple of rows early, I quite like them!


This will all be stock for the bead fair, so I hope someone besides me loves them!

Tuesday, 18 September 2012

Wig Jig class

Bonjour!  I am in Tunisia.  I arrived last night and I was so disappointed.   Not one bad thing happened to me.  I know that's supposed to be good, but being the eternal optimist, I was hoping for a whole host of disasters so I could put them into a post for your entertainment.  Unfortunately, not even dinner was funny.  There was the late night disco at the hotel, playing the likes of Agado and Music Man.  Non-UK readers, I'm not sure if you get those references.  Google it.

I took some pictures from the workshop me and my mum went to last Thursday at the Bead Shop Nottingham.   This class was on the wig jig.  I can't see the pictures in this post - I imported them before I came away.  Please let me know if you can or can't see them, it might just be me!  I've been into Photobucket and can't see any photos... hoping it's just me.


Right, so now I get to try to remember what's in the pictures to write about them!  I believe the picture above is of a bracelet.  We used the wigjig and 0.8mm wire to create the 4-leaf clover shape.  This was then just used as an ordinary component.


One of these photos shows the components next to a ruler, they're really quite diddy, but it wasn't that fiddly at all.


I've also taken photos of a pair of earrings with a green bead attached.  This was the first item we made and a variation on the 4 leaf clover.


The other pair of earrings uses a celtic design to create the lovely pattern.  After creating the patterns by wrapping them round pegs on the jig, we had to squeeze them with nylon jawed pliers.  Clearly I'm very heavy handed as I broke more than a few!


I really enjoyed this technique and think there is no end to the possibilities.  Unfortunately, the wig jig itself isn't cheap.  I've put it on my wish list!


Right, I'm going to read some blogs and then try and find some food.  Not sure whether to brave one of the hotel restaurants or not.  I don't like the idea of going out for food alone as this place is absolutely teeming with tourists.  I much prefer it when I have the place to myself in the off-season.  The service is much better then too.  If you think I'm crazy for not being outside, it's been scorching all day and I've been in a hot building, I came back to the hotel and it's decidedly chilly out there!  I was going to go for a swim... don't fancy the idea of going outside in my cossie!


Friday, 3 August 2012

Jumping out of that comfort zone

Good morning ladies.  A few posts ago I mentioned that looking in my shop, everything is blue.  At least I think I mentioned it.  If I didn't then I DID think it, but forgot to type it. 
Well anyway, I decided that had to change.  I started with using green on the linen pouch I made, and at the weekend I went for pink.  I'm not a massive pink fan but I do buy pink supplies, I'm not sure why.  I thought I had a load of pink beads but it turns out I don't have that many.  I did have enough to make a set of jewellery though.


OK, so technically that's not jewellery, it's a book mark.  But you could hang it on a chain round your neck or have it poking out of a shirt pocket if you wanted.  I had intended to sew at the weekend, but Mr CA and the girls came home from a trip to Hobbycraft and wanted to make stuff.  The girls did some decopatch, then I let them loose on my beads and they made simple elasticated bracelets.  Mr CA spent most of the time fixing Miss CA's phone, then he made a shamballa bracelet.  There was no way I was missing out on family crafting round the table so the beads came out for me too.


I love the lucite flowers on these earrings.  I think I bought them from a stall on a day out somewhere, I just can't remember where and I wish I'd bought more.  I'm sure I'll find some on line.  Ready for the obligatory glass shot?

I have every intention of improving my photography.  I've bought a book - Photography for Crafters, the one with the really cute felted panda on the cover, and a big flat white sheet.  Now I just have to get a photography "studio" set up and take some pictures.  I've only got a digital camera, but I hope I can improve at least a bit.  The only problem is that the best place to take photos, light-wise, is my craft desk so I have to clear it off to take photos, I'd rather have somewhere permanently set up but it's tough!

The charm necklace is made with some charms I had all mixed up in a big bowl.  They're one of those craft supplies that I often buy with the intention to use them for jewellery, cards, zip pulls, and then completely forget about so it was nice to use some here.


After the girls went home, I started making another necklace and became frustrated that my beads are all just randomly placed in those little clear compartment boxes.  I then spent the next 3 hours putting them in boxes according to colour.  I think OCD took over for a while.


I have some sewing planned for the weekend, wonder if it'll happen this time?


Sunday, 22 July 2012

manic jewellery making


The jewellery classes that I've been going to have totally inspired me.  After getting back from the mixed media class last week, I got my beads out and sat down to make.  I wanted to make a present for my friend's birthday and I thought a necklace would be a good idea.

I got out some white plastic flowers I've had a while and some beads and made this.


The red bead in the middle of the large flower is a kind of rubber material, very shiny, the smaller flowers have glass millefiori beads inside which you totally can't see in my rubbish photos!  I loved this necklace so much, I made one for myself.


As I'd already made two, I thought I might as well make another 3 to put in my shop.  I've set up a new Dewanda shop, but haven't done the listings yet, I'll share the link when I do. 


A blue one, a red one and a black one for my shop.  The photo below sort of shows the millefiori beads.


But I didn't stop there, oh no, I'd been bitten by the necklace bug and had the urge to try something different.  I wanted to try out the crimping pliers I'd got for Christmas which had been languishing in my plier holder.


There is a slight problem with this necklace.  I started with the big flat bead and added matching black rubber beads and mother of pearl flats.  When I'd finished, I realised the big flat bead was navy.  Oh dear.  Am I colour blind?


I was starting to doubt myself by this time and wasn't sure my friend would like the red flowre necklace.  A blue necklace was in order!

I found it hard to send this one off to her as I really like it.  I'm not sure why I didn't make another for myself. It's that heart shaped connector I love.


Even though the thought of earrings makes me feel nauseous, I made a matching pair of earrings for her! 


Artistic shot needed?


Hmmm, should have emptied the glass first...


P.S. my clay beads have been featured on To Sew With Love.  Please go and vote for them to be make of the month!


Don't forget to enter my Something Old, Something New competition.  The deadline is 31st July and there is a prize!


something old something new button