Showing posts with label kitchen stuff. Show all posts

Wednesday, 24 June 2015

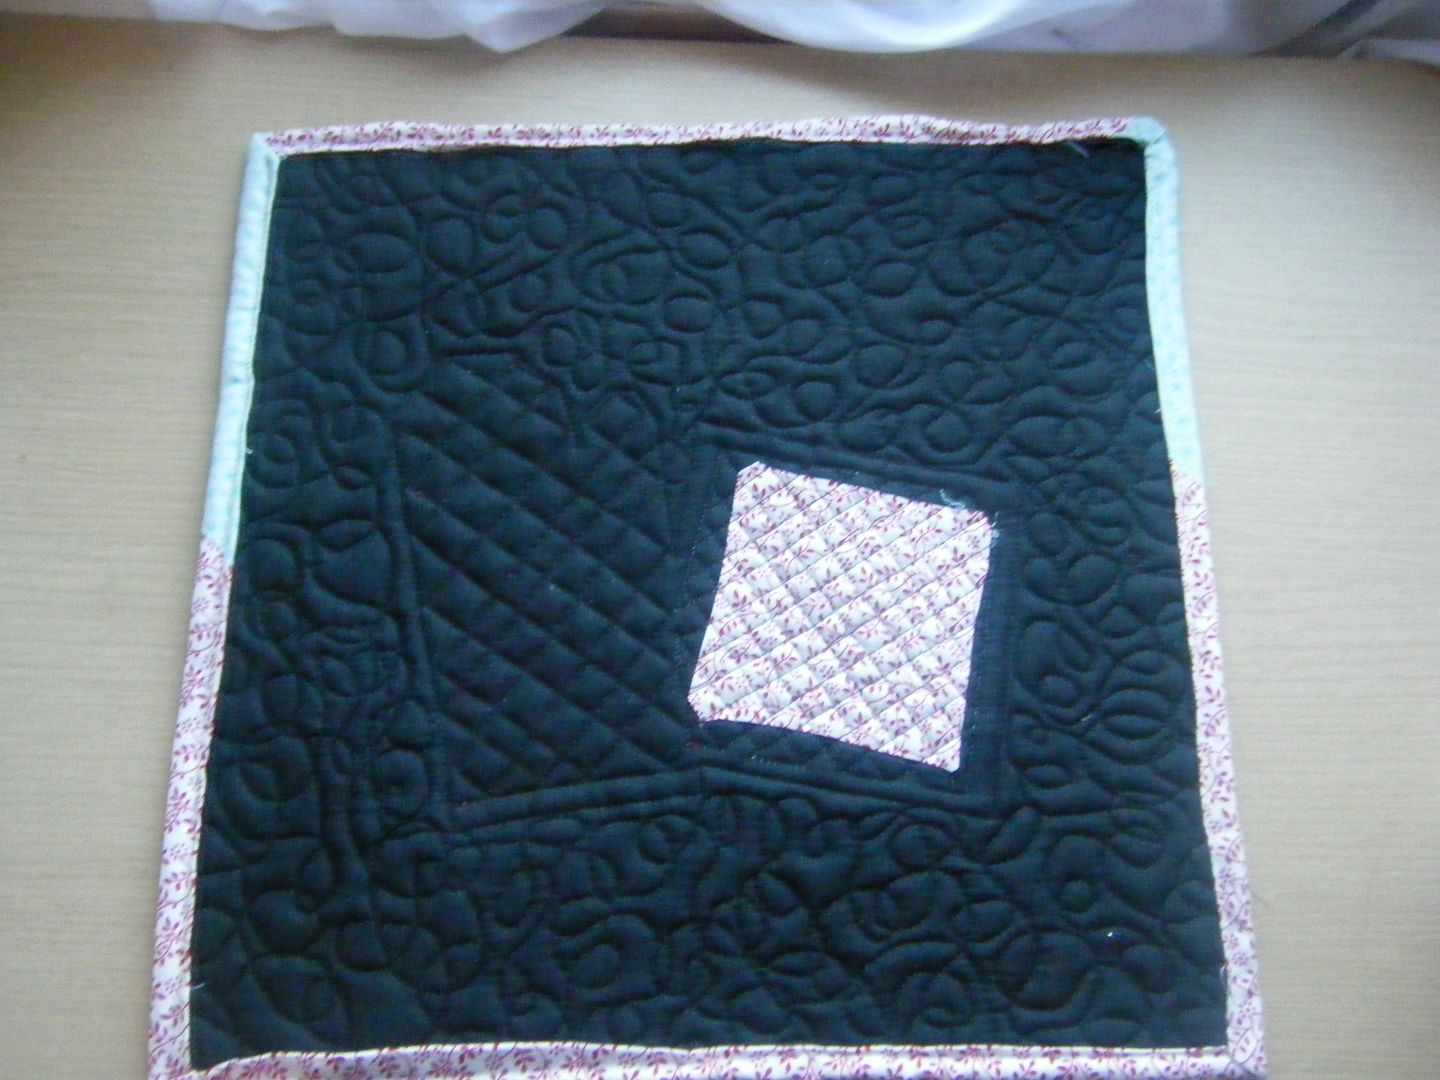
Circle of geese - soon to be covered in sauce

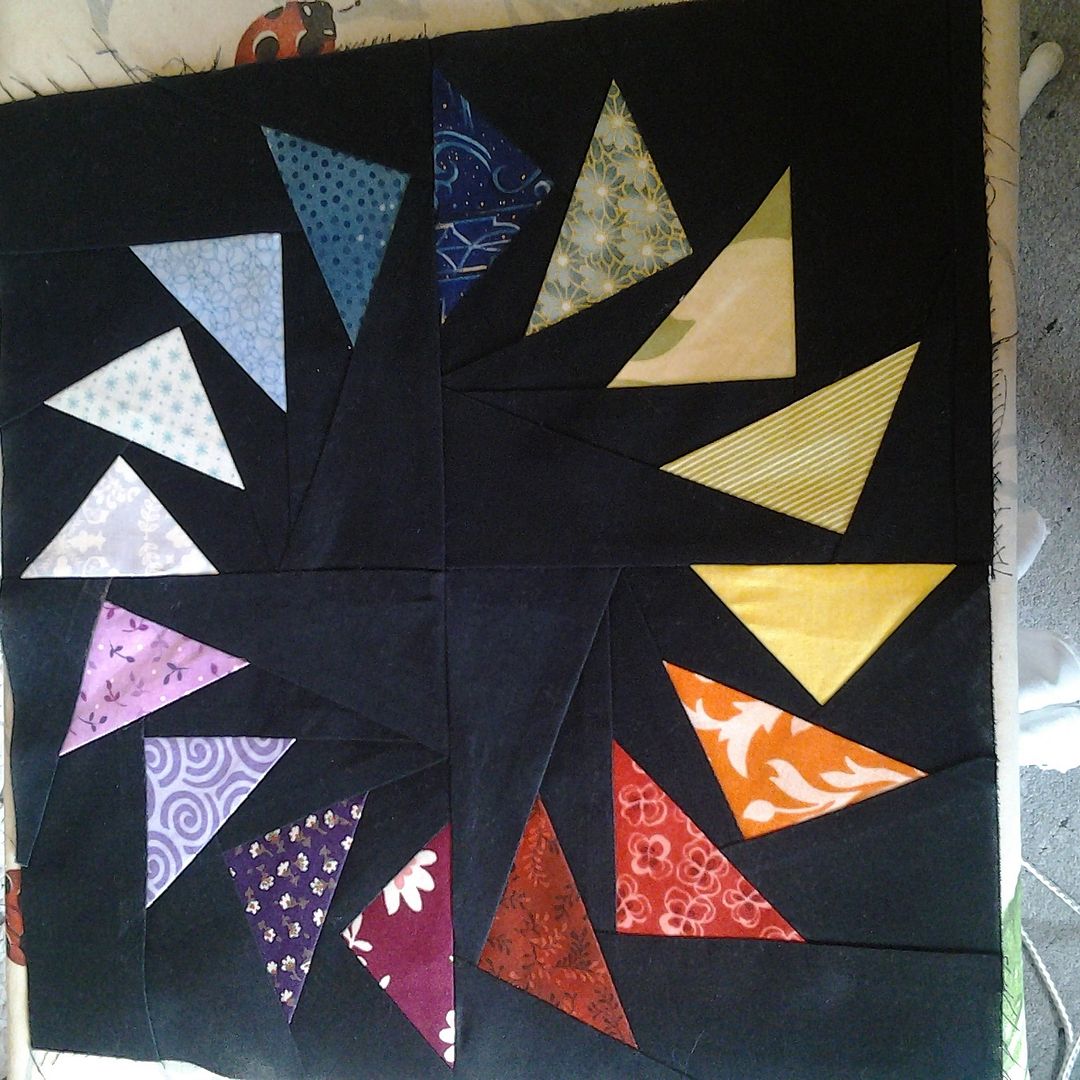
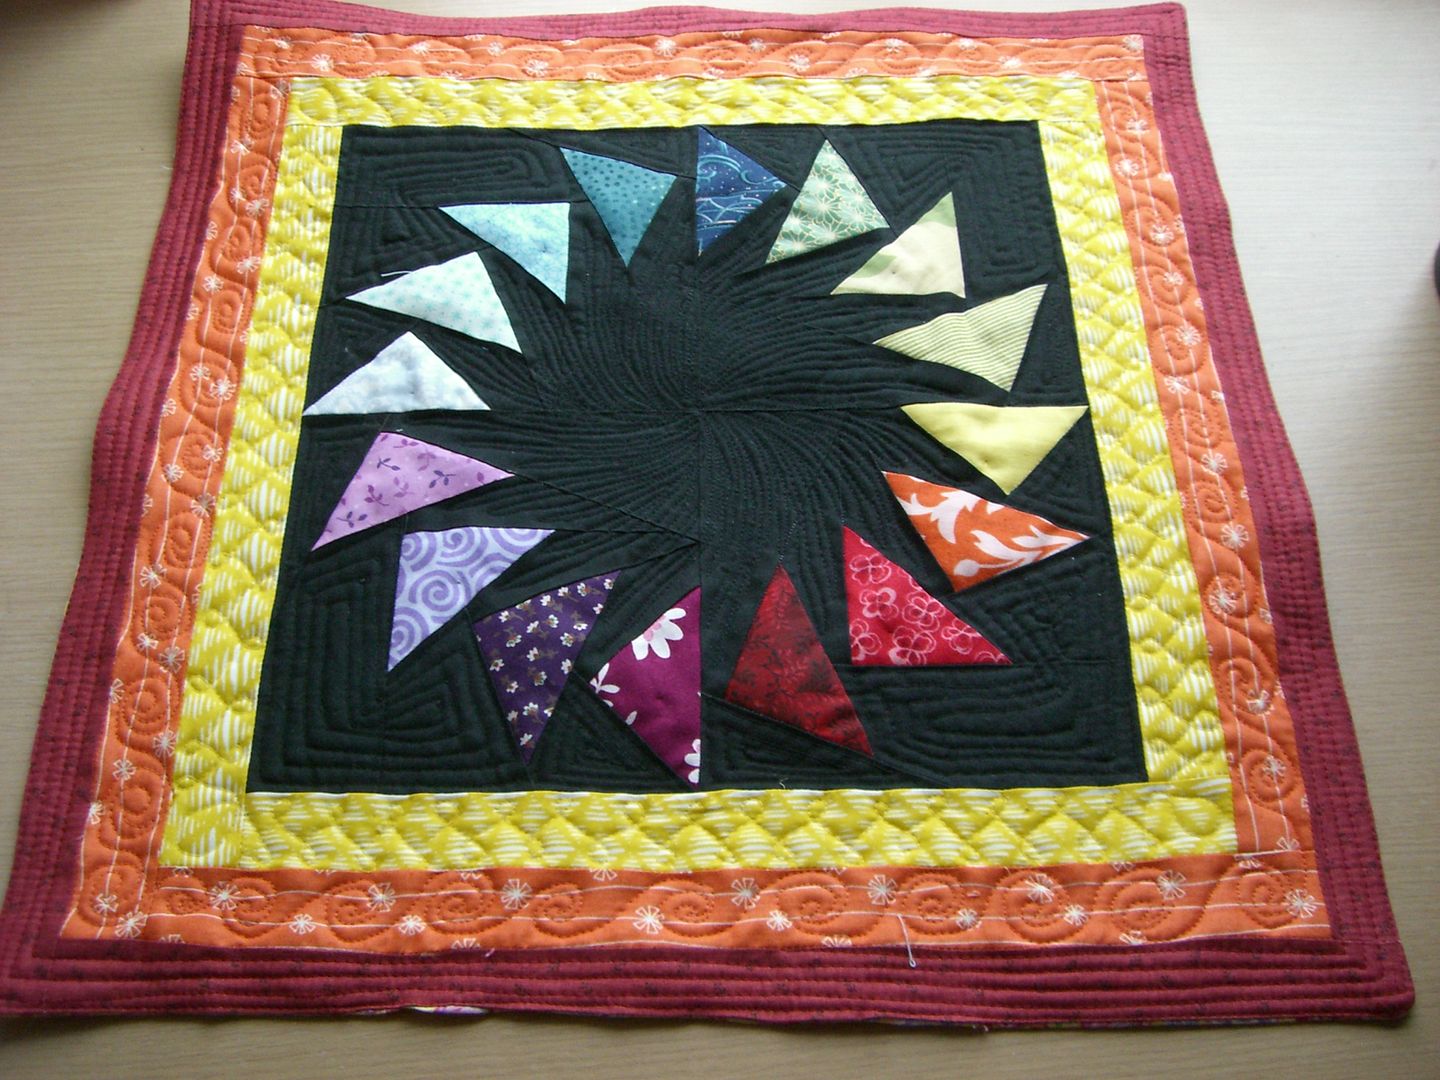
It really will be covered in sauce soon, it's a trivet.  I've been working on this one for ages.  It all started with this circle of geese which I made sometime last year, before the non-making set in.  I think it's a pattern by Jeliquilts, but I've forgotten, if anyone knows I'll update this.


I attempted to do a rainbow and thought a patterned black fabric would set it off nicely.  Alas, I didn't have any patterned black fabric so a solid had to do.
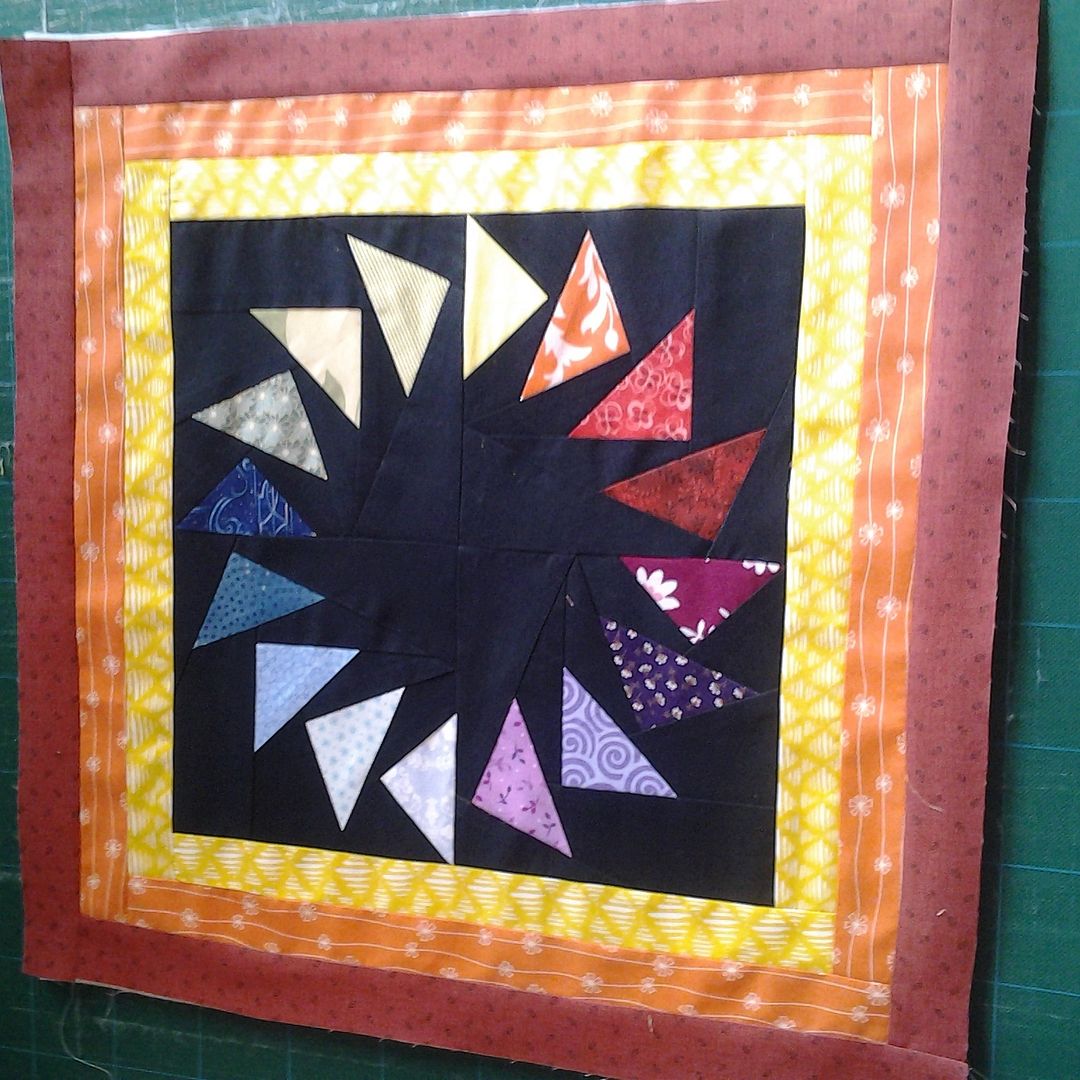


Last month I added some 2" borders of yellow, orange and red.  The red is from Petit Ecole, I'm not sure what the other two fabrics are.  I sewed it right sides together with the backing and turned it through, leaving the Insulbrite on the inside this time!  Then I quilted.
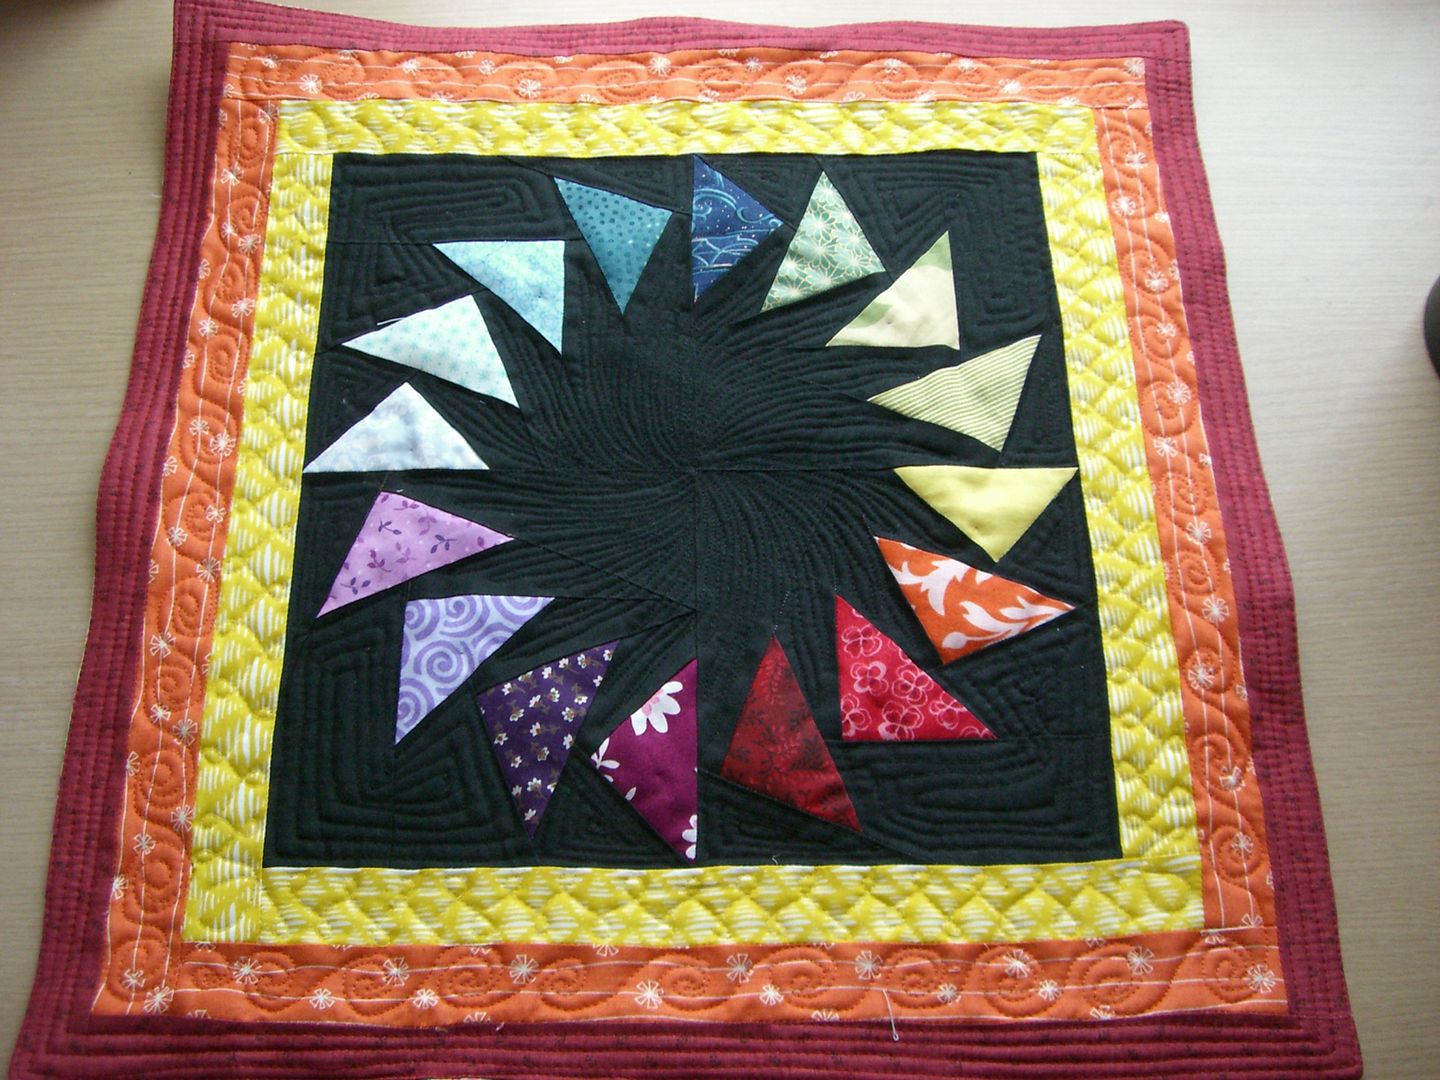

I got a bit fancy with my FMQ this time.  I know it's a bit over the top for a trivet, but I wanted to practice and I might as well practice on a functional item as on a scrap sandwich.


All the quilting patterns I used are from Leah Day's book 365 Quilting Patterns, also available on her website.  The centre is Day 221 Maelstrom and I'm really chuffed with how it turned out.  It's black thread, Guttermanns if you're even slightly interested in the brand!
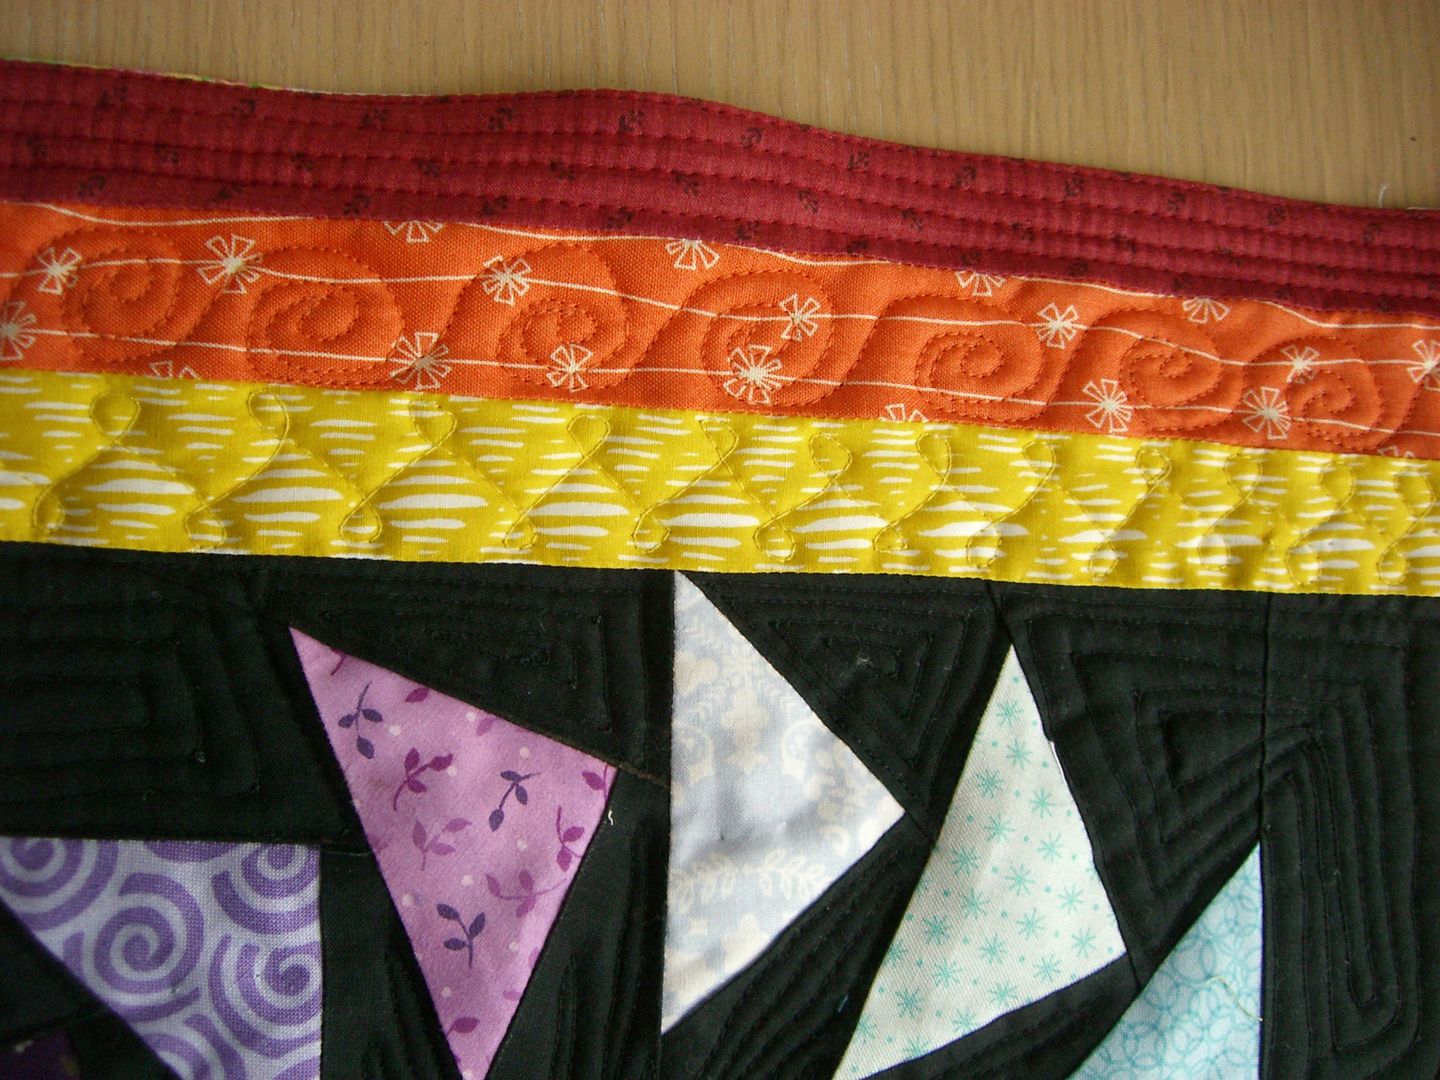


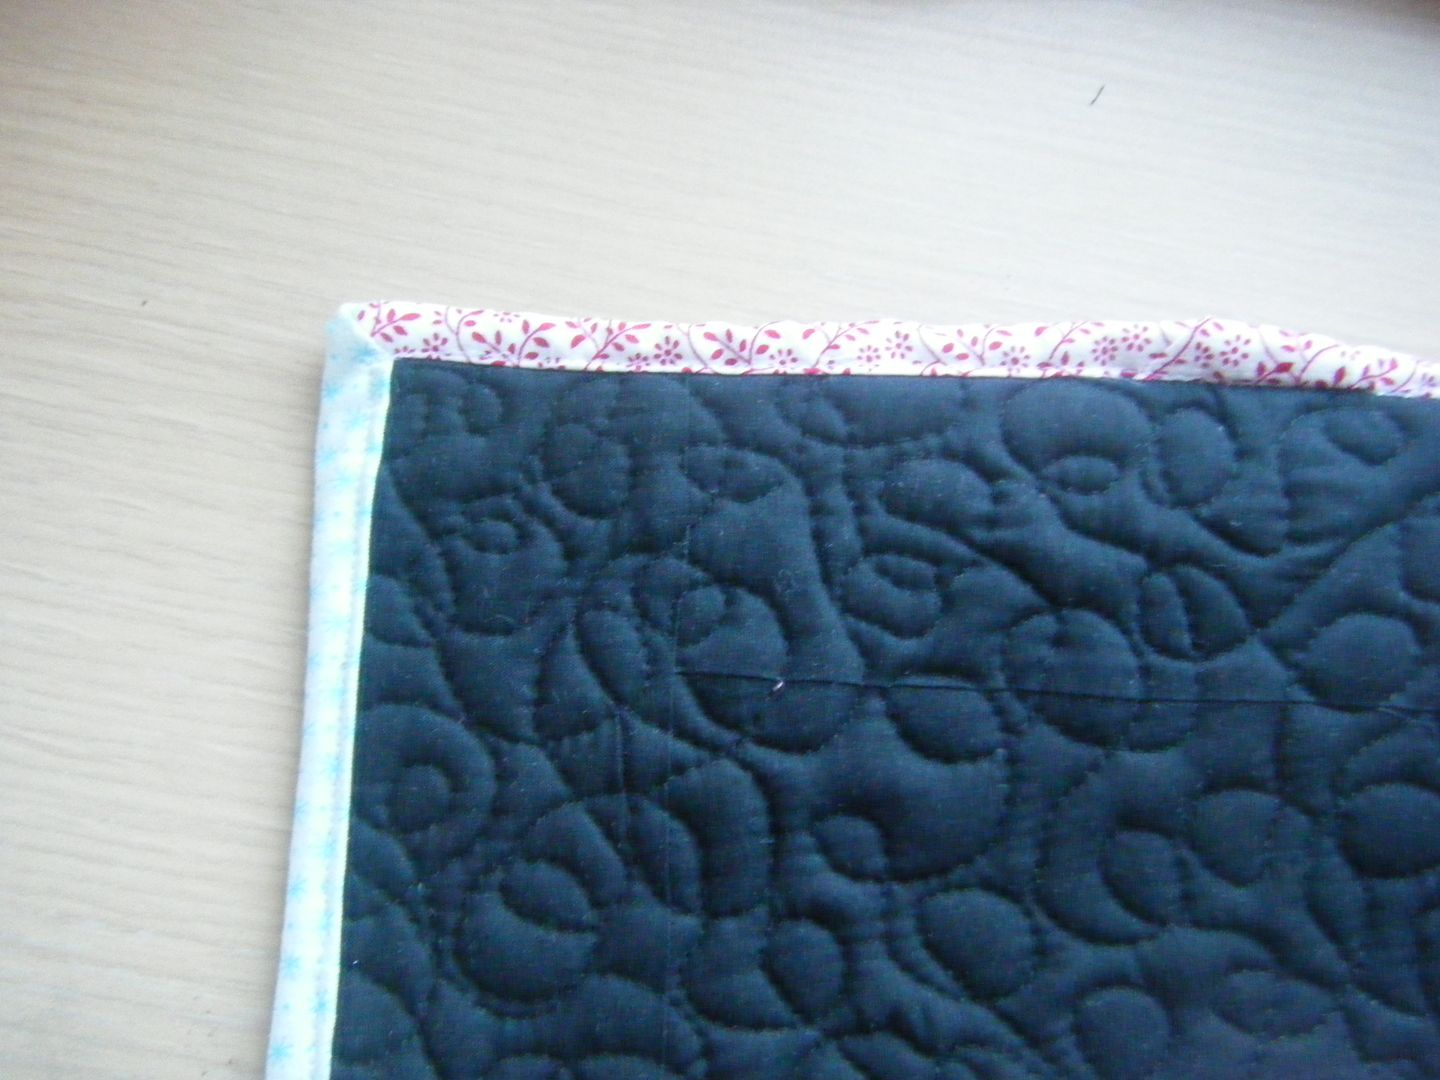
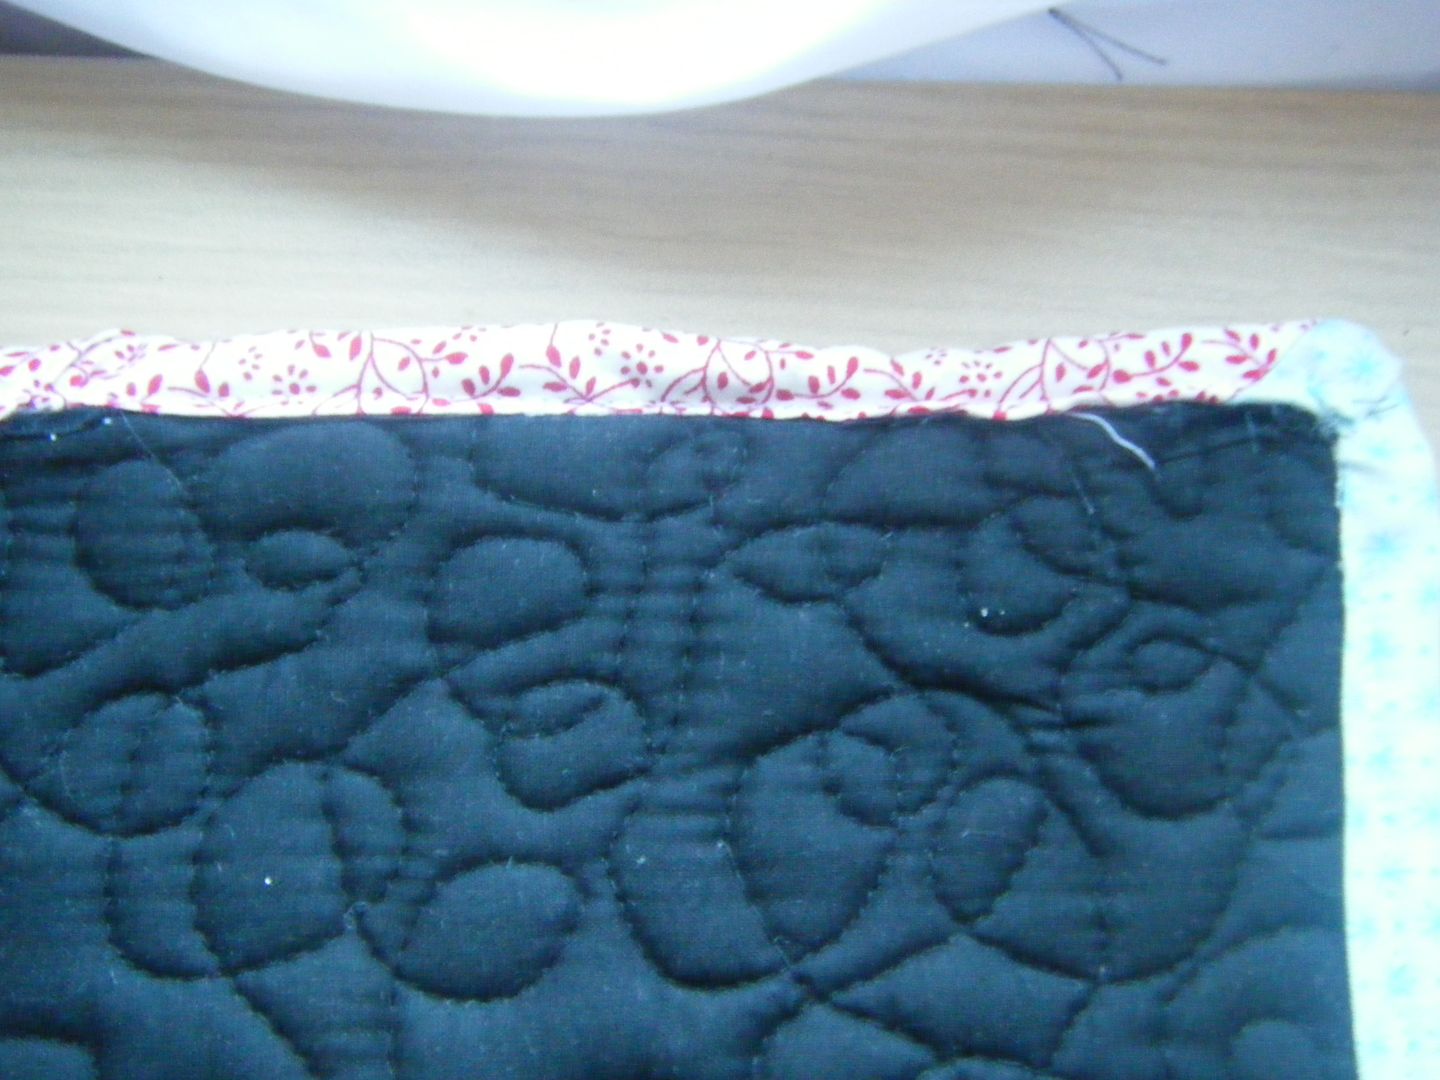
The black bits between the geese got an echo of the shape, I went all over the place with this one!  I didn't backtack over my stitches to start and end each thread, I sewed those babies in!  The yellow border is Day 9 Cursive Fs in yellow and I loved this pattern, I could do that on a whole quilt.  The orange border is Day 18 Spiral Chain and the red border is just matchstick quilting.  The most matchstick quilting I'll ever do!
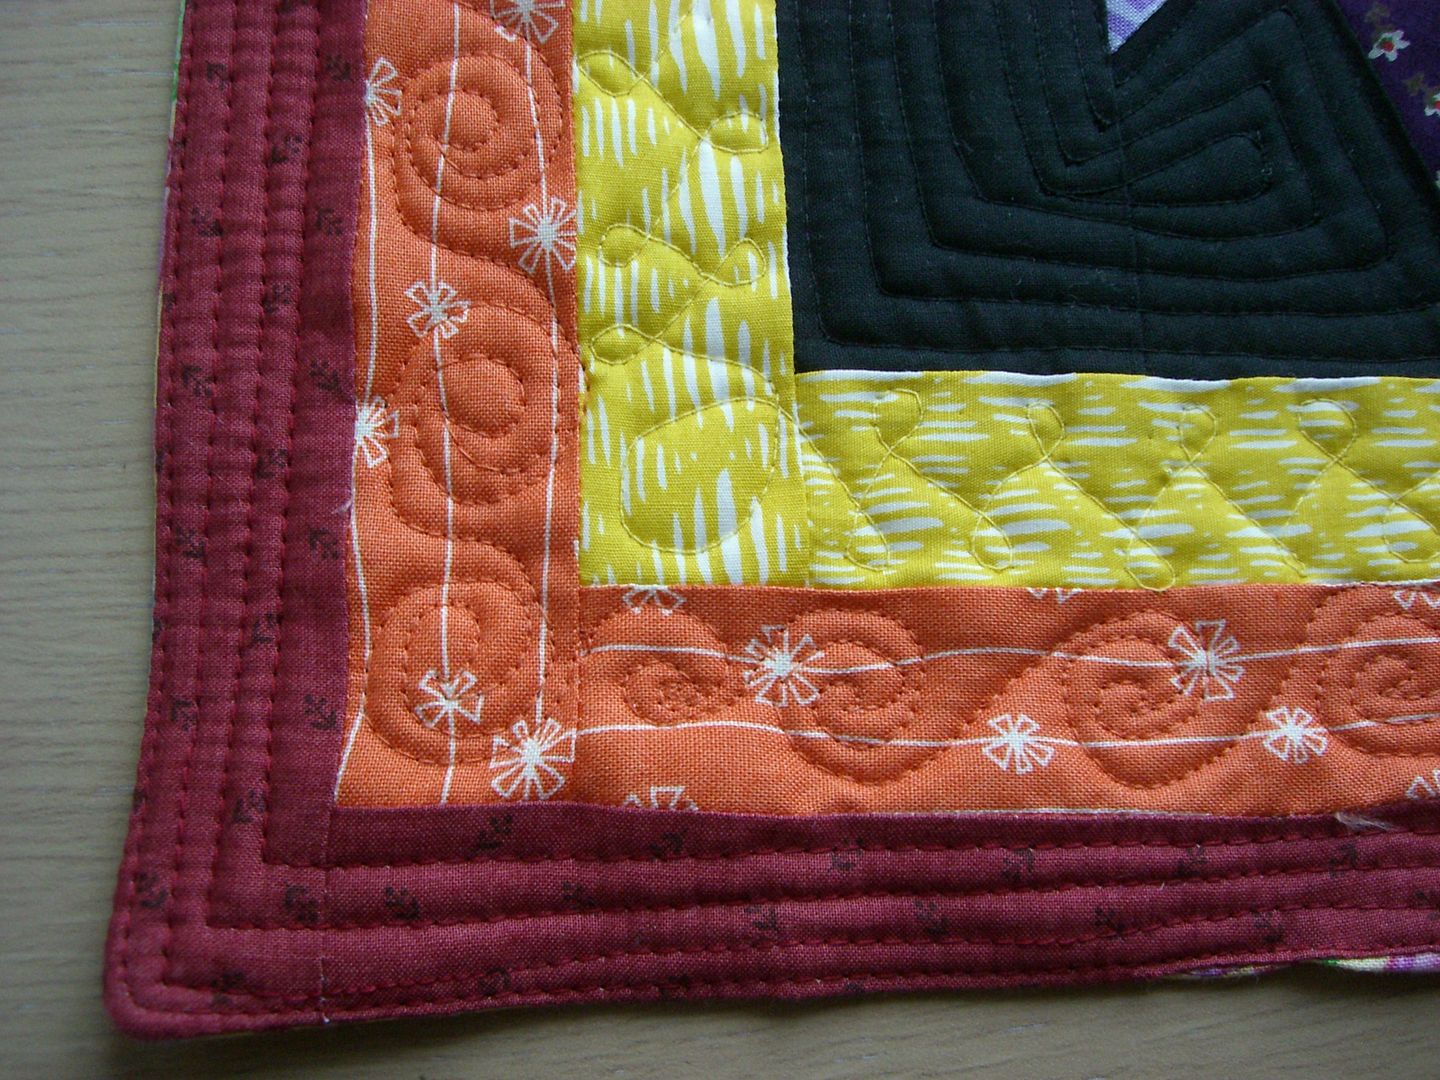

Getting a motif in the corners was tricky!
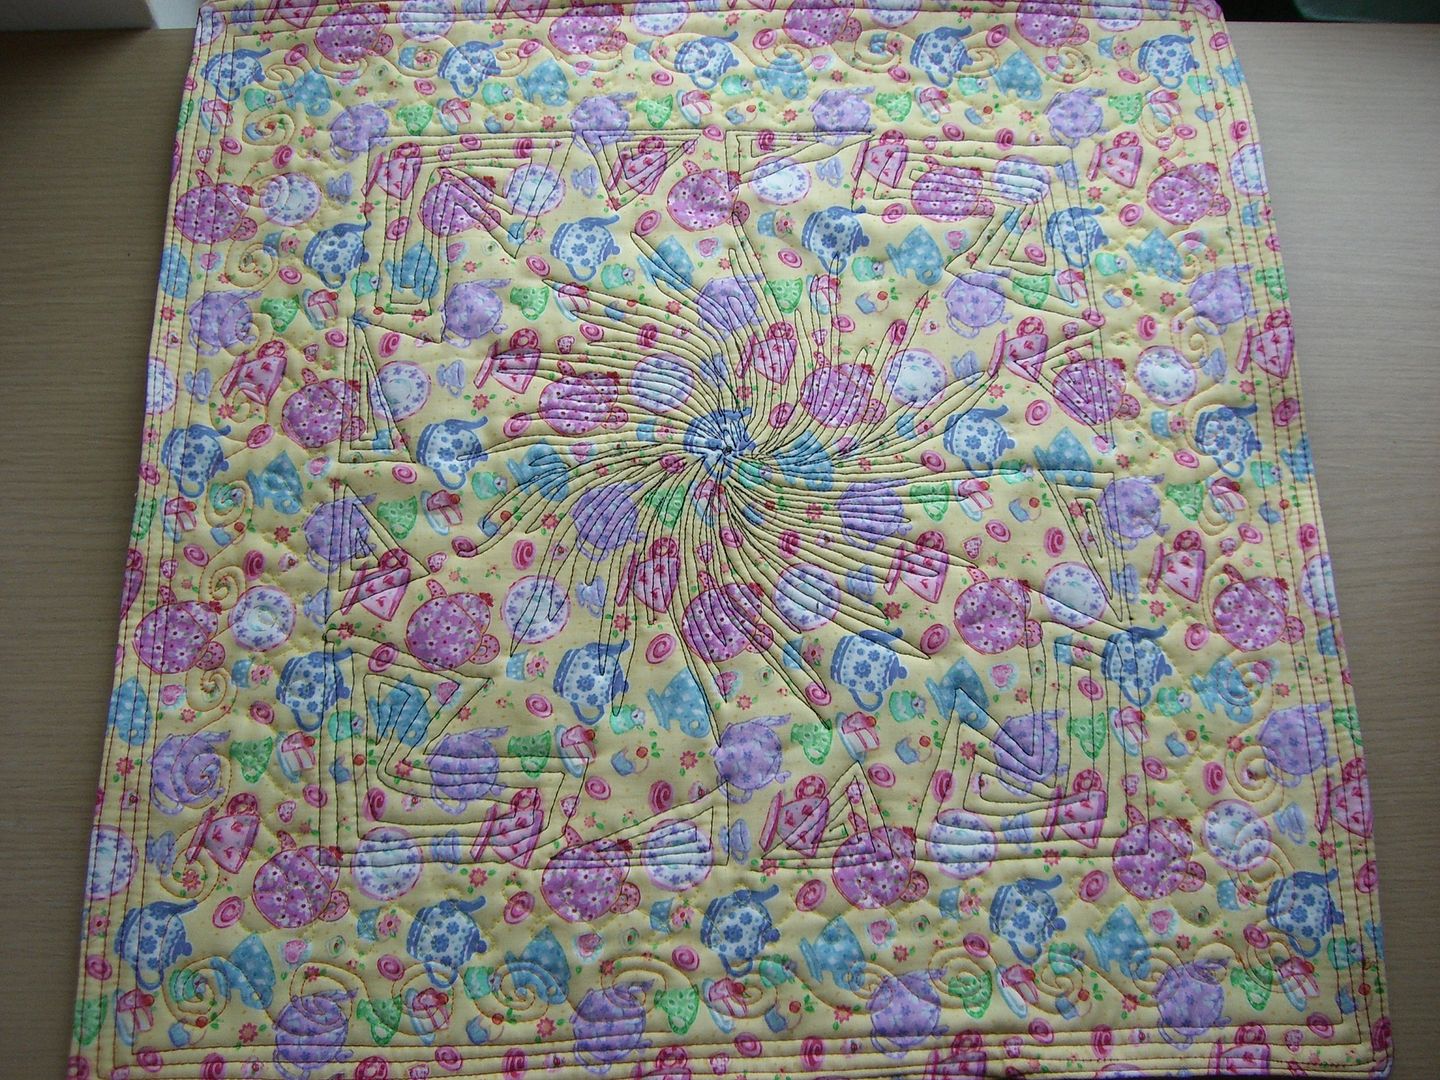


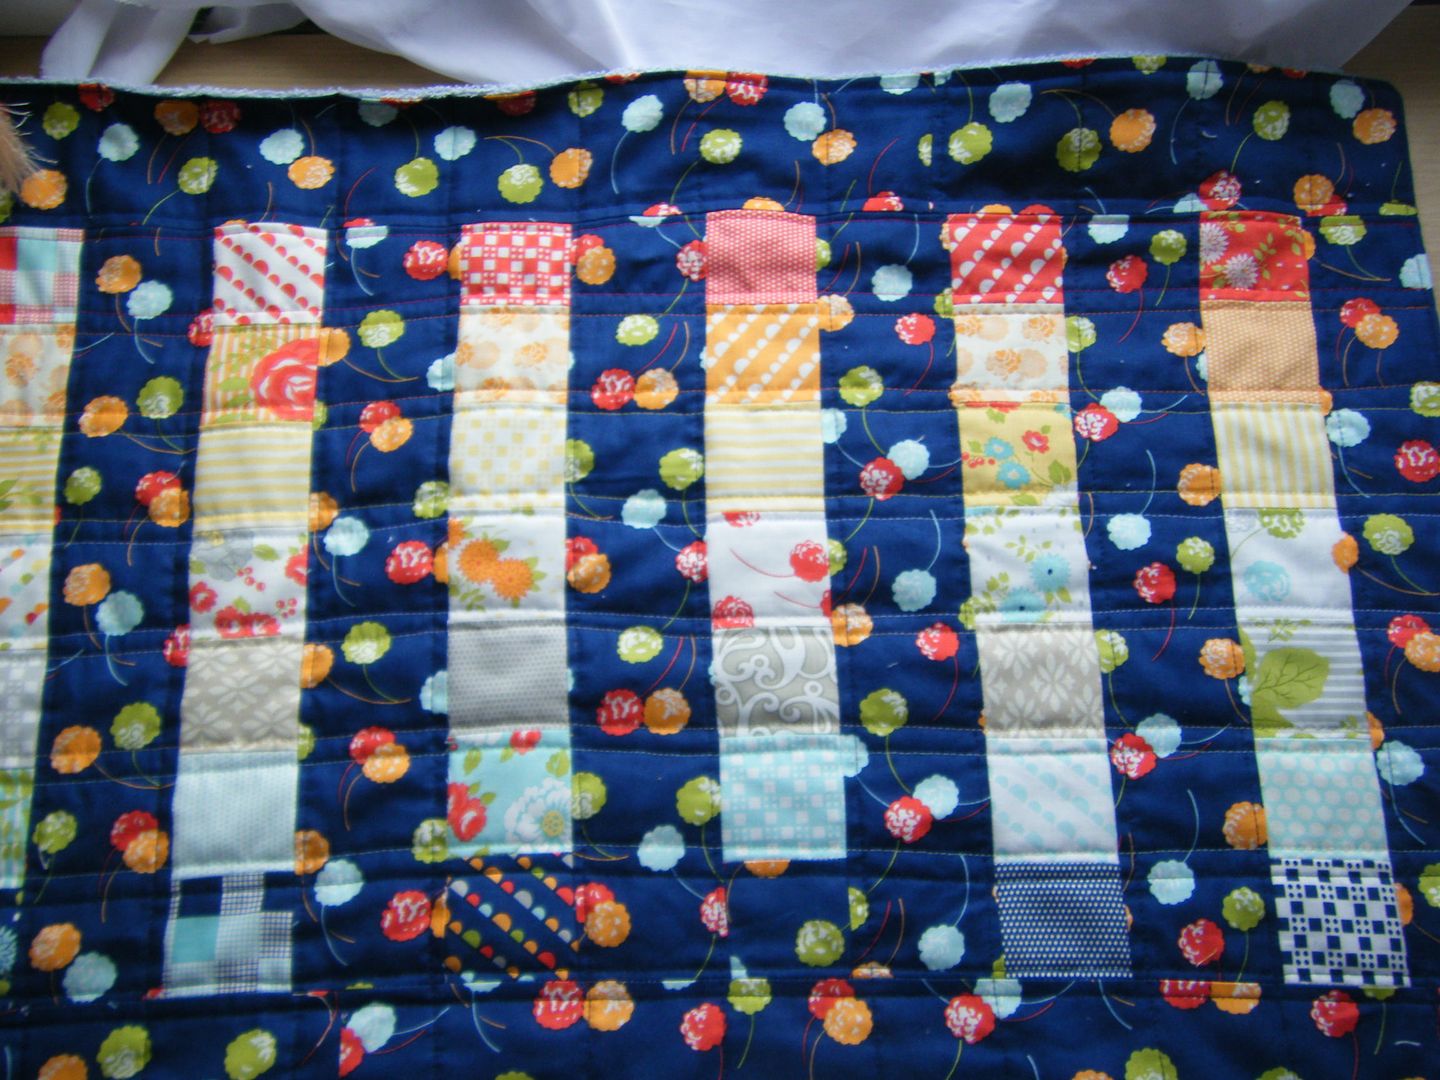
Here it is from the back, it's easy enough to see the black quilting and even the orange and red, the yellow is lost though.

So what do you think?  Am I mad to custom quilt a trivet?


Linking up to the 2015 FAL Q2.  My original post is here.


2015 FAL at On the Windy Side

Thursday, 4 June 2015

mixing bubbles

2015 FAL at On the Windy Side

You're not going to believe this, but I've finished something from my 2015 FAL Q2 list!  OK, so it was the smallest item on the list, but it's done so it counts.My original post is here.
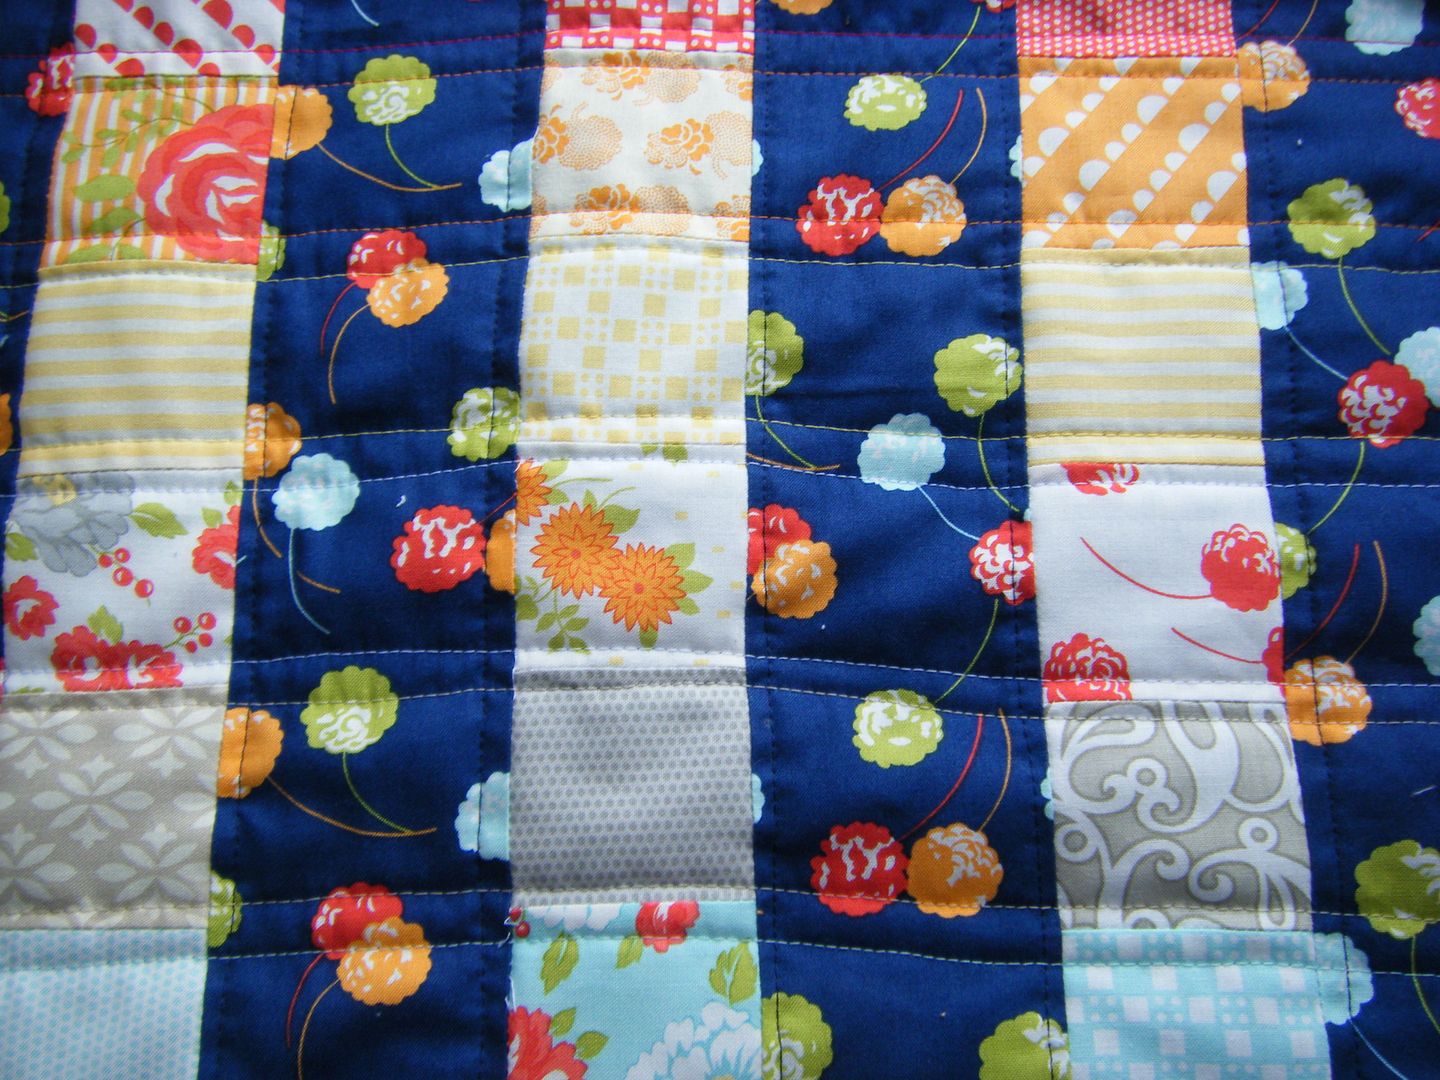
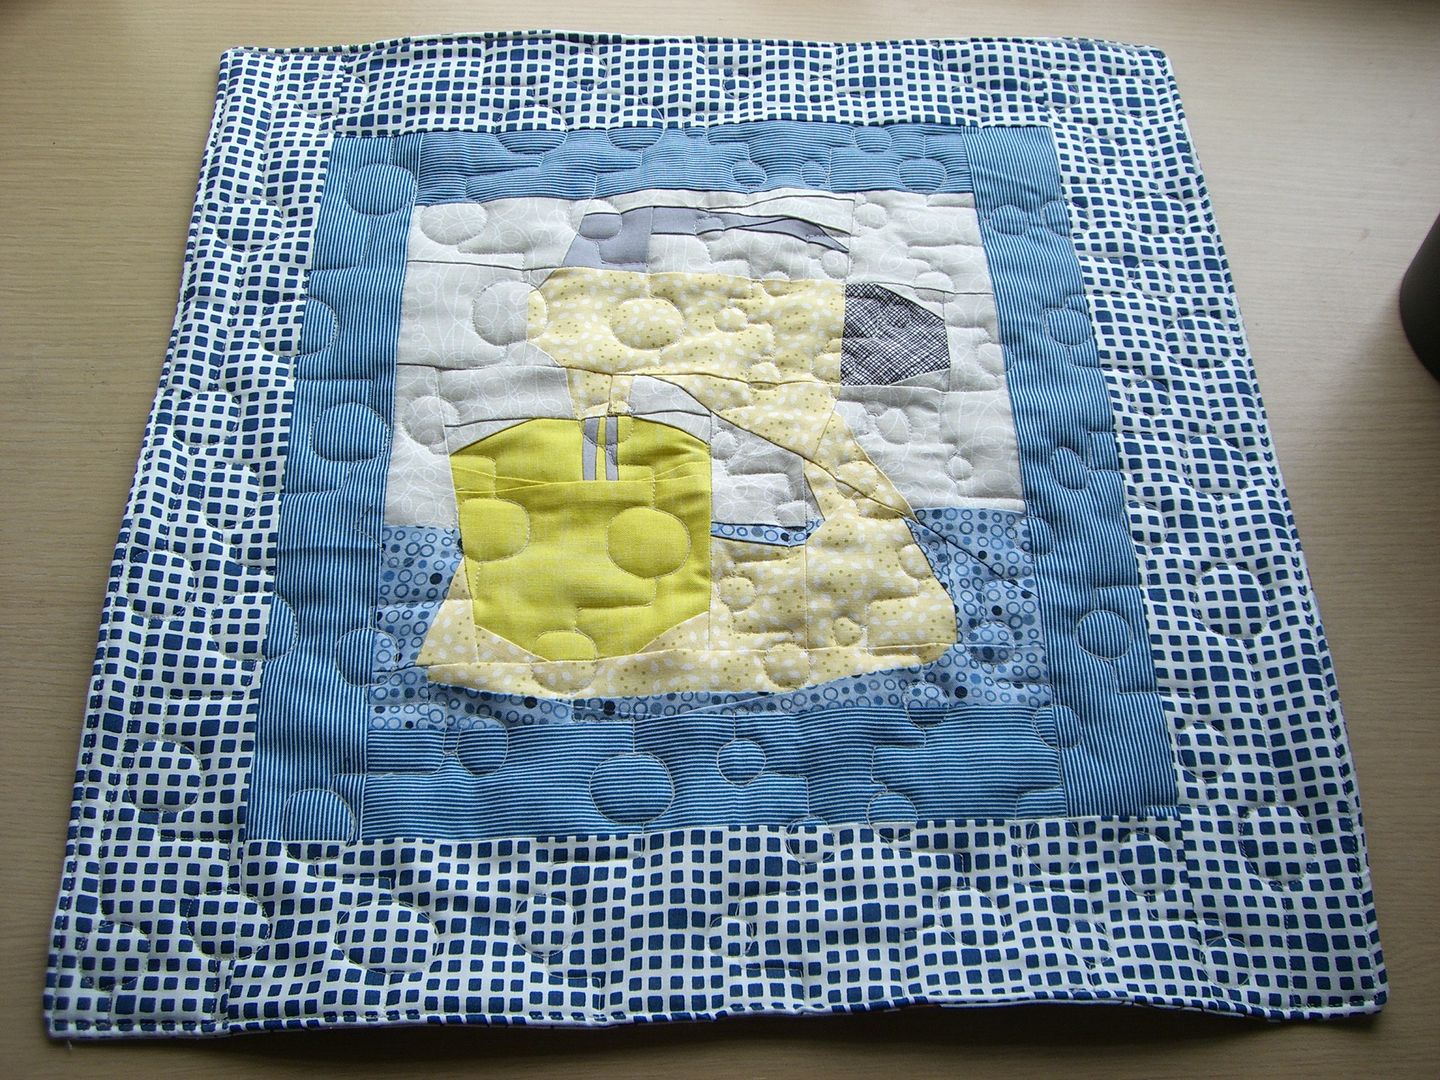
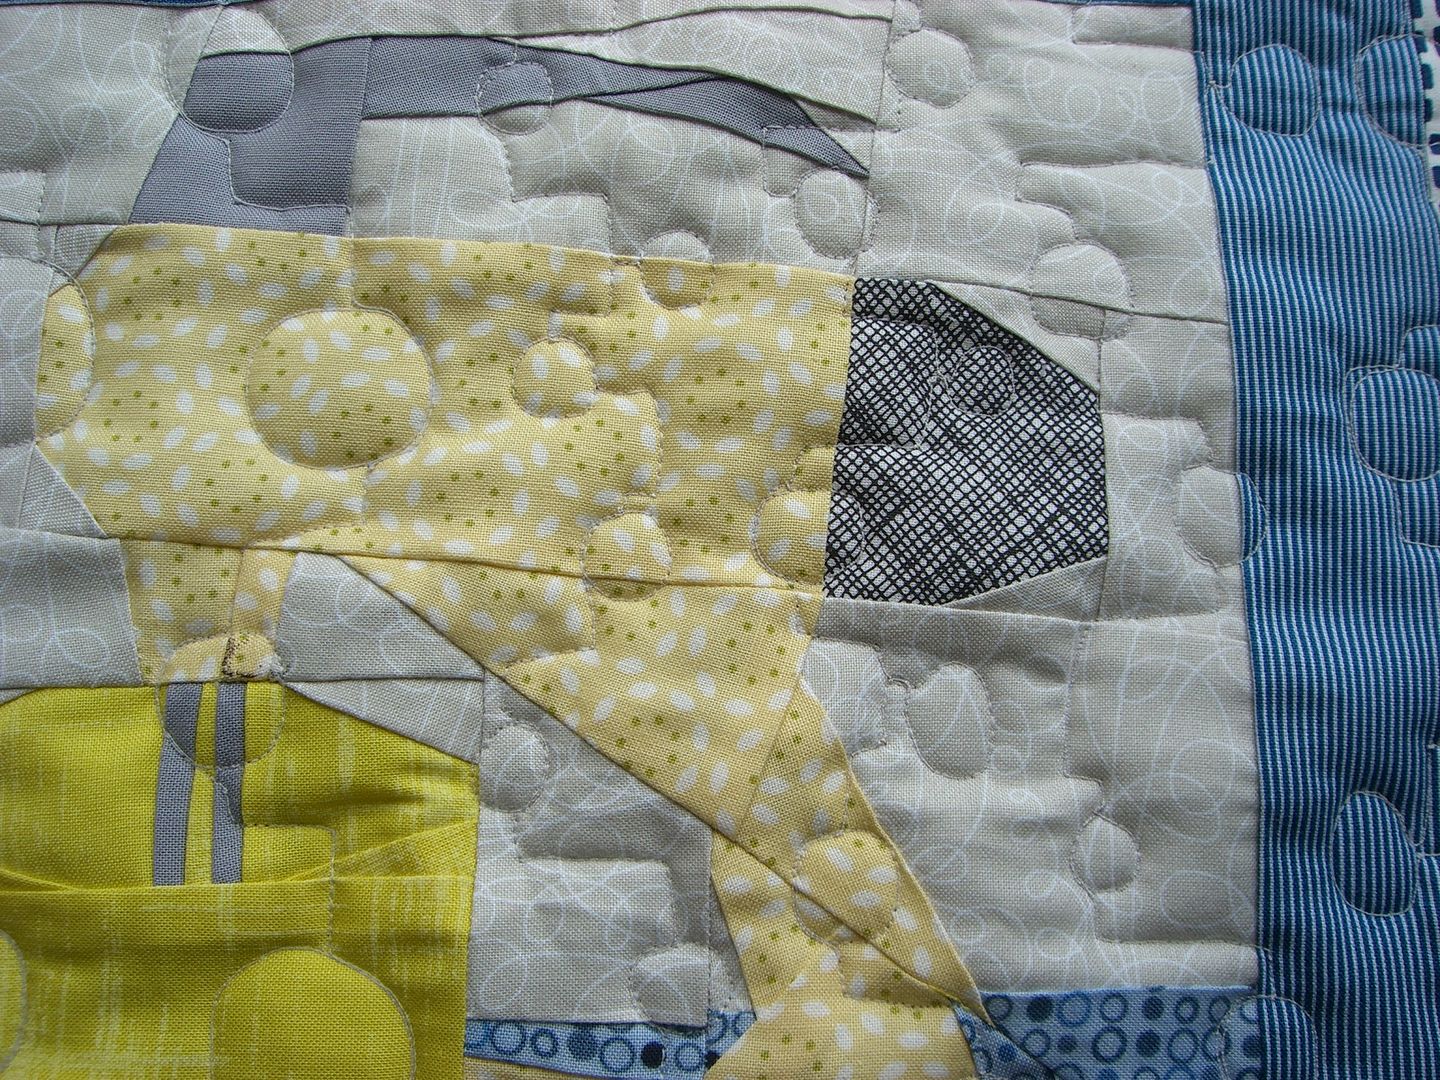
This trivet is about 17" square.  I started with a mixer block.  This is a paper pieced block and was designed by Kristy from Quiet Play for her Sew Kitschy BOM last year.  I framed it with a round of blue fabric and a round of navy fabric.

Instead of quilting and binding, I sewed it right sides together, with a piece of Insulbrite inside, then turned through.  That's when I realised the Insulbrite was now on the outside, so I unpicked it and tried again.


Then I quilted it.  I wanted to practice the design I'm going to use on my Cuzco quilt which is Day 123 Angles and Circles from 365 Free Motion Quilting Designs by Leah Day, Mr CA bought me the book for our anniversary and I love it.  There are no instructions included, but they're not generally needed and if I do need them, I can find the video on her website.


The circles and angles to the right were too small, they were fine on this trivet, but would be much too small on the quilt and this was a practice piece, so I increased them.  Much better.  I then went on the quilt 4 columns of this design on Cuzco, I'll have to get some pictures to show you.


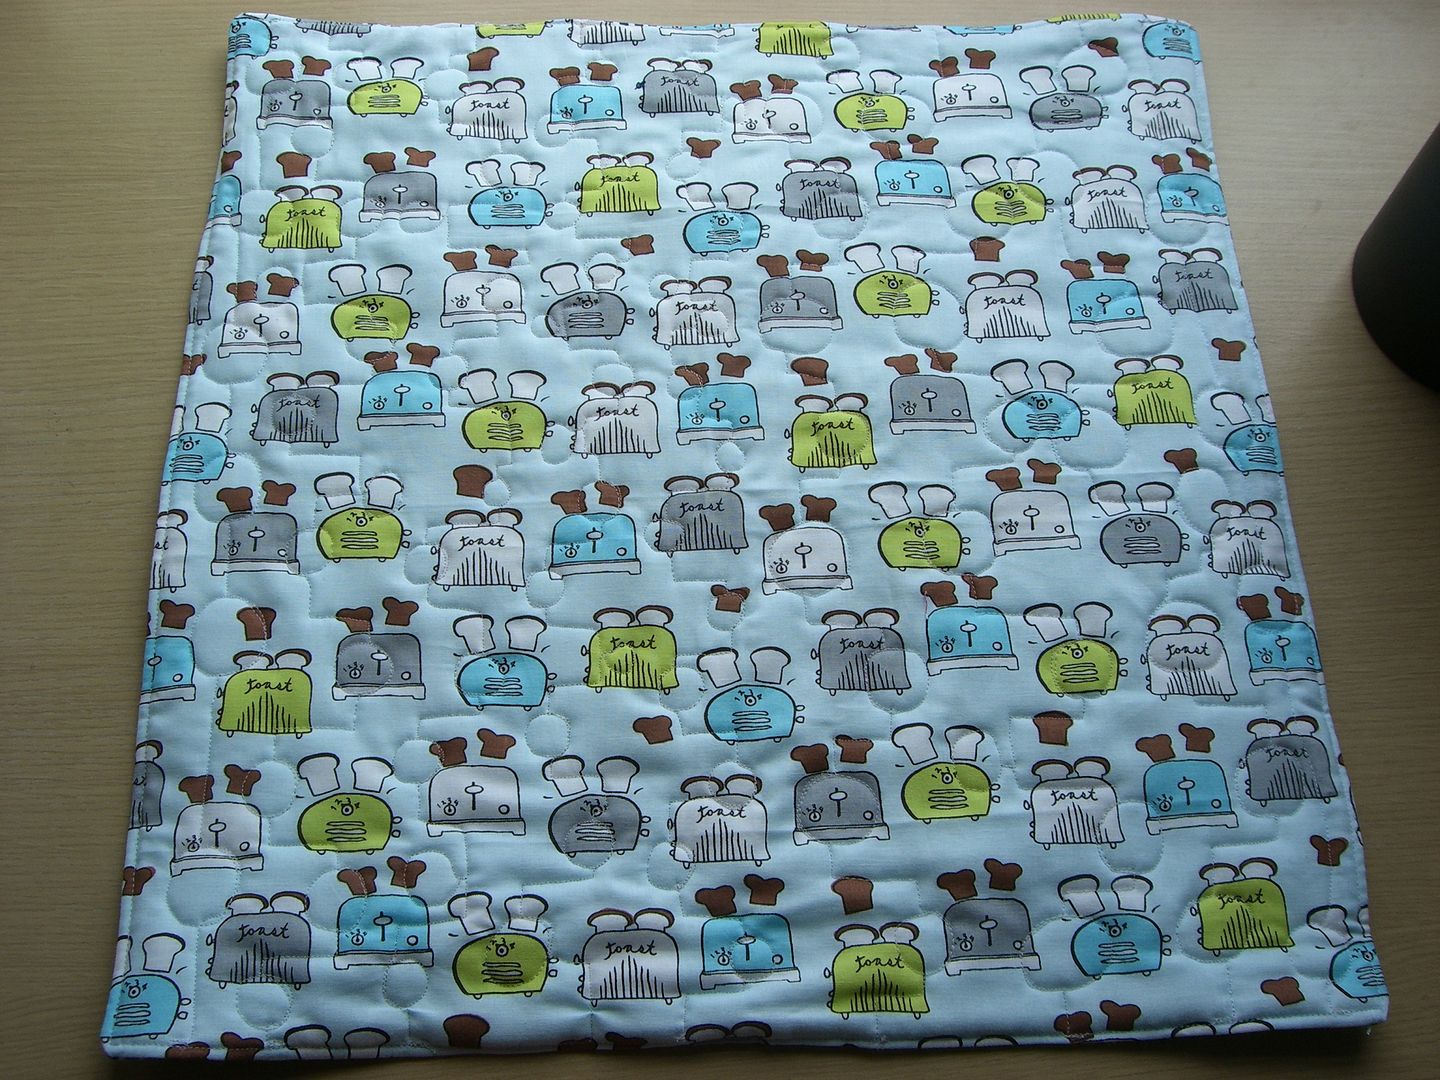
It's backed in this funky toaster print.  I love this print and it's perfect for my kitchen.

More trivets to come...

Friday, 2 May 2014

coffee matt

I actually made this coffee matt weeks ago.  I tend to take photos of whatever I've made or is in progress at the weekends when there is some natural light as I work full time.  I upload them to the computer and drop them into blank posts - you may have realised I tend to only blog about one thing at a time.  I find it easier to find things I've blogged about that way (after all this is an on-line making diary as much as anything) and I find other people's posts with multiple projects/subjects hard to digest sometimes.  I then schedule the posts, roughly 2 days apart, and then write them as and when I get a chance.  I'm not sure why I suddenly felt the need to share that with you, but I did!

Anyway, coffee mat.  My coffee machine has a little hole in the bottom of the tray.  There is another tray that fits inside but it means my little jug doesn't fit under the nozzle so I take it out.  Hence the need for a mat (I also stuff a j-cloth inside but it doesn't stop a bit of mess).  I made some a while ago, but they're all stained now so I'm replacing them.

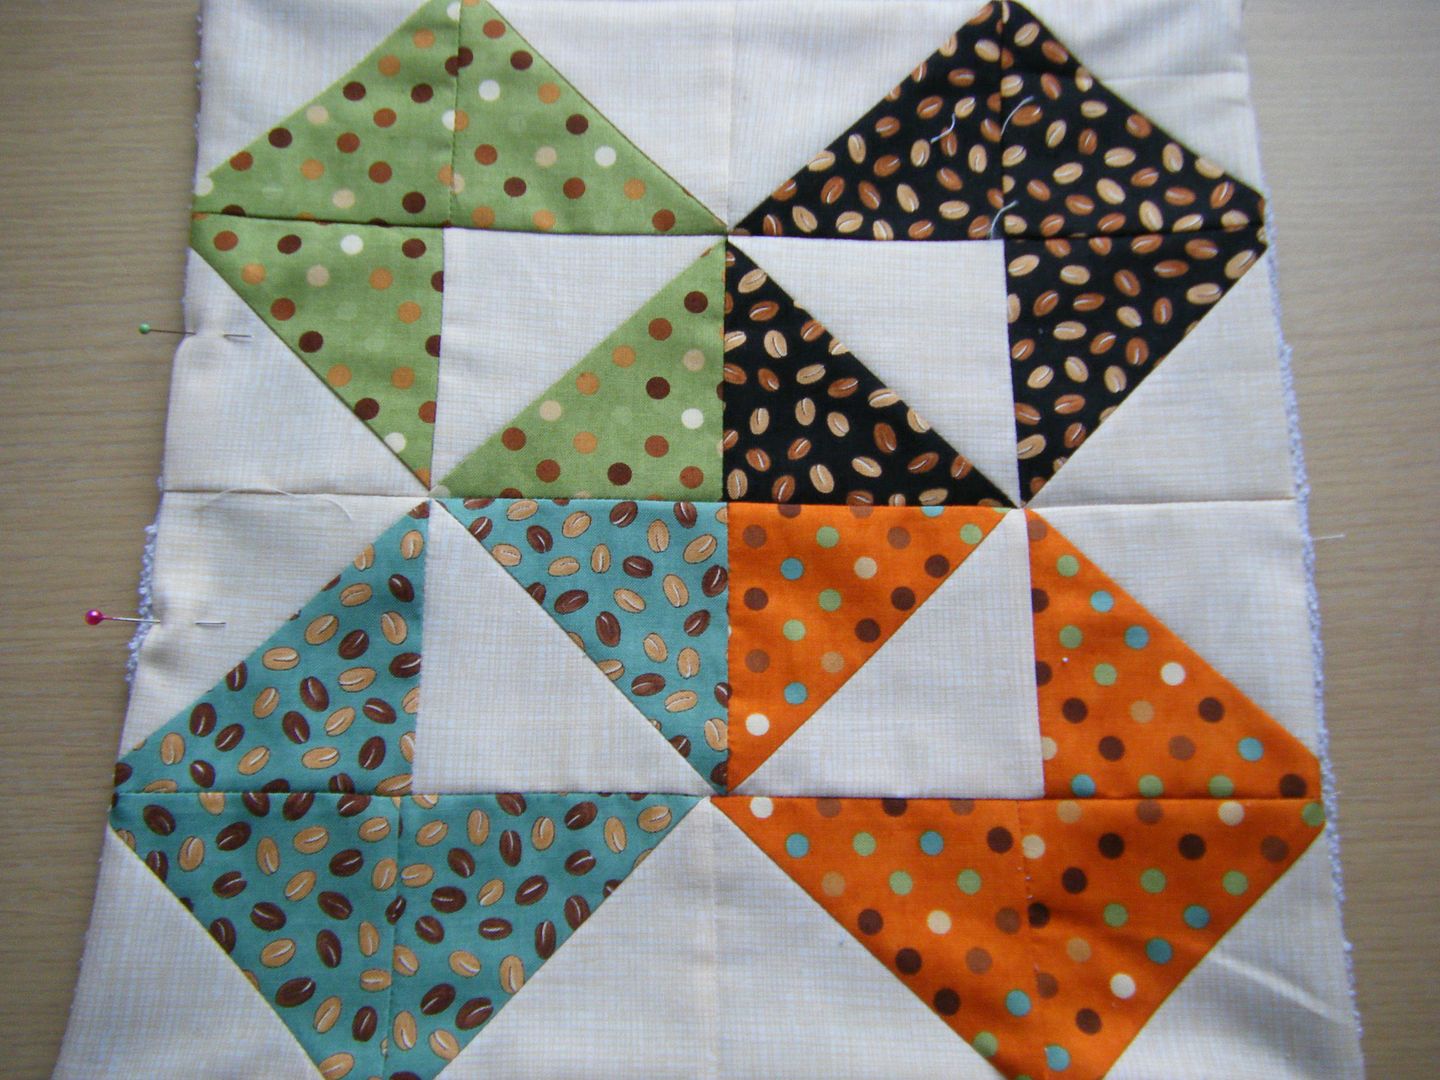
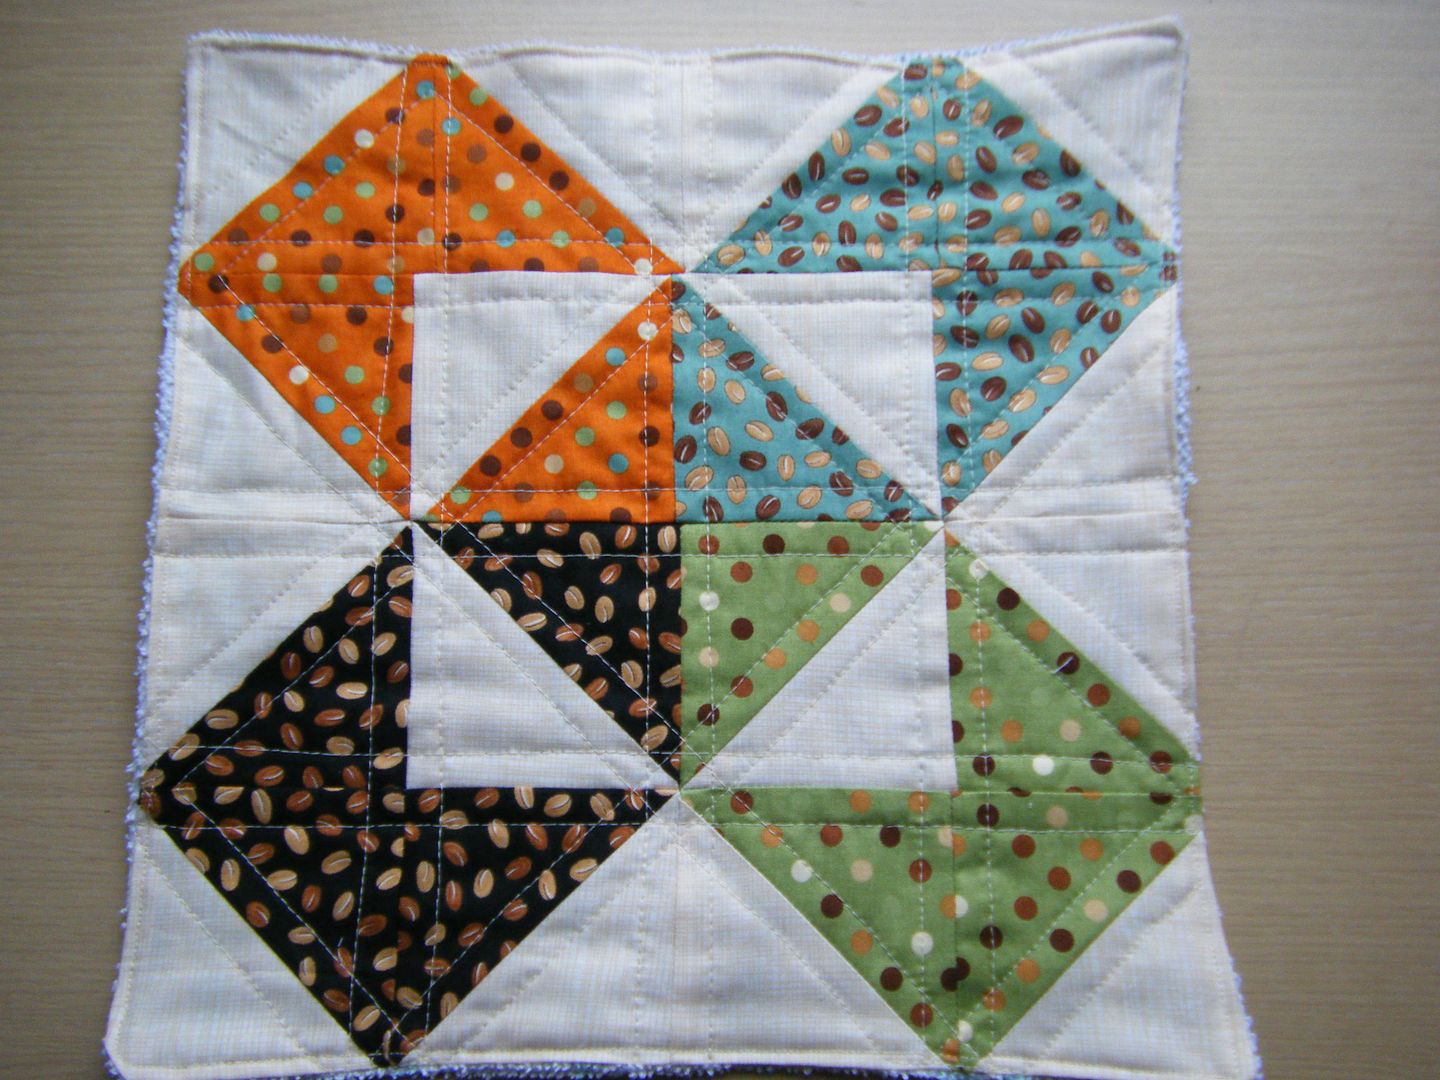
I found this block on Pinterest, I just had a look at my boards and can't find it, apologies if I've used your tutorial and not credited you, though I didn't use the tutorial, I could see how to make it from the picture.  I drew a quick sketch and coloured it  in to follow as I sewed.


I had a charm pack of Java, I've had it for years, since I first started sewing, and decided it was time to use it.  I like the little coffee bean print.


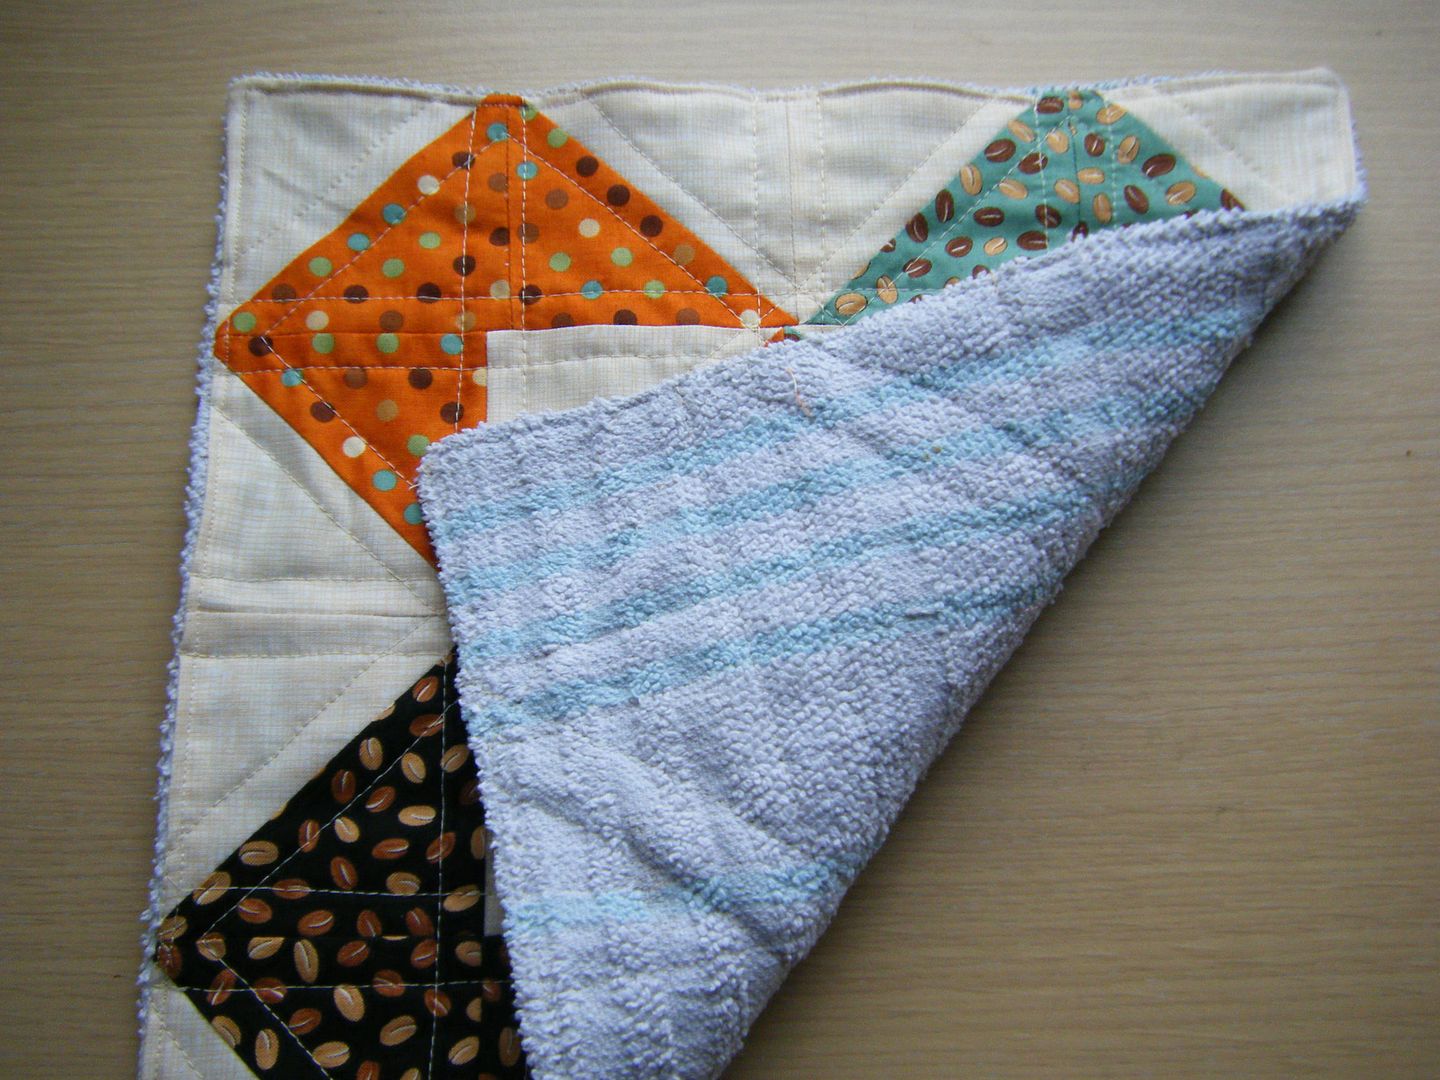
This was pretty easy to make and my points aren't too bad!  I sewed it right-sides together with a piece cut out of an old tea towel, then turned - no binding.  It's 12" square.


Some quick straight line quilting either side of the seams to keep the layers together.


And we're done!  Only problem...


...with the coffee machine on top, you can barely see my lovely piecing!


Friday, 18 April 2014

splash mat

I've been sewing up the chair cushions for our dining room, so I needed a leader and ender project.  If you haven't come across this method before, it's a way of wasting less thread.  Instead of cutting the thread after each set of chain piecing, you have a little pile of squares or HSTs that you can sew and then leave on the machine, ready for the next set of piecing.  Did that make any sense??  

Basically, whilst sewing some of the blocks for the chair cushions, I didn't want to get confused so sewed two pieces together for each block, cut them apart, pressed them and got the next piece ready.  When I'd finished the first set, instead of cutting my thread, I sewed together 2 mini charm squares and left them on the machine.  When I was ready for my next set of pieces, I just carried on sewing - no big lengths of thread left dangling.  


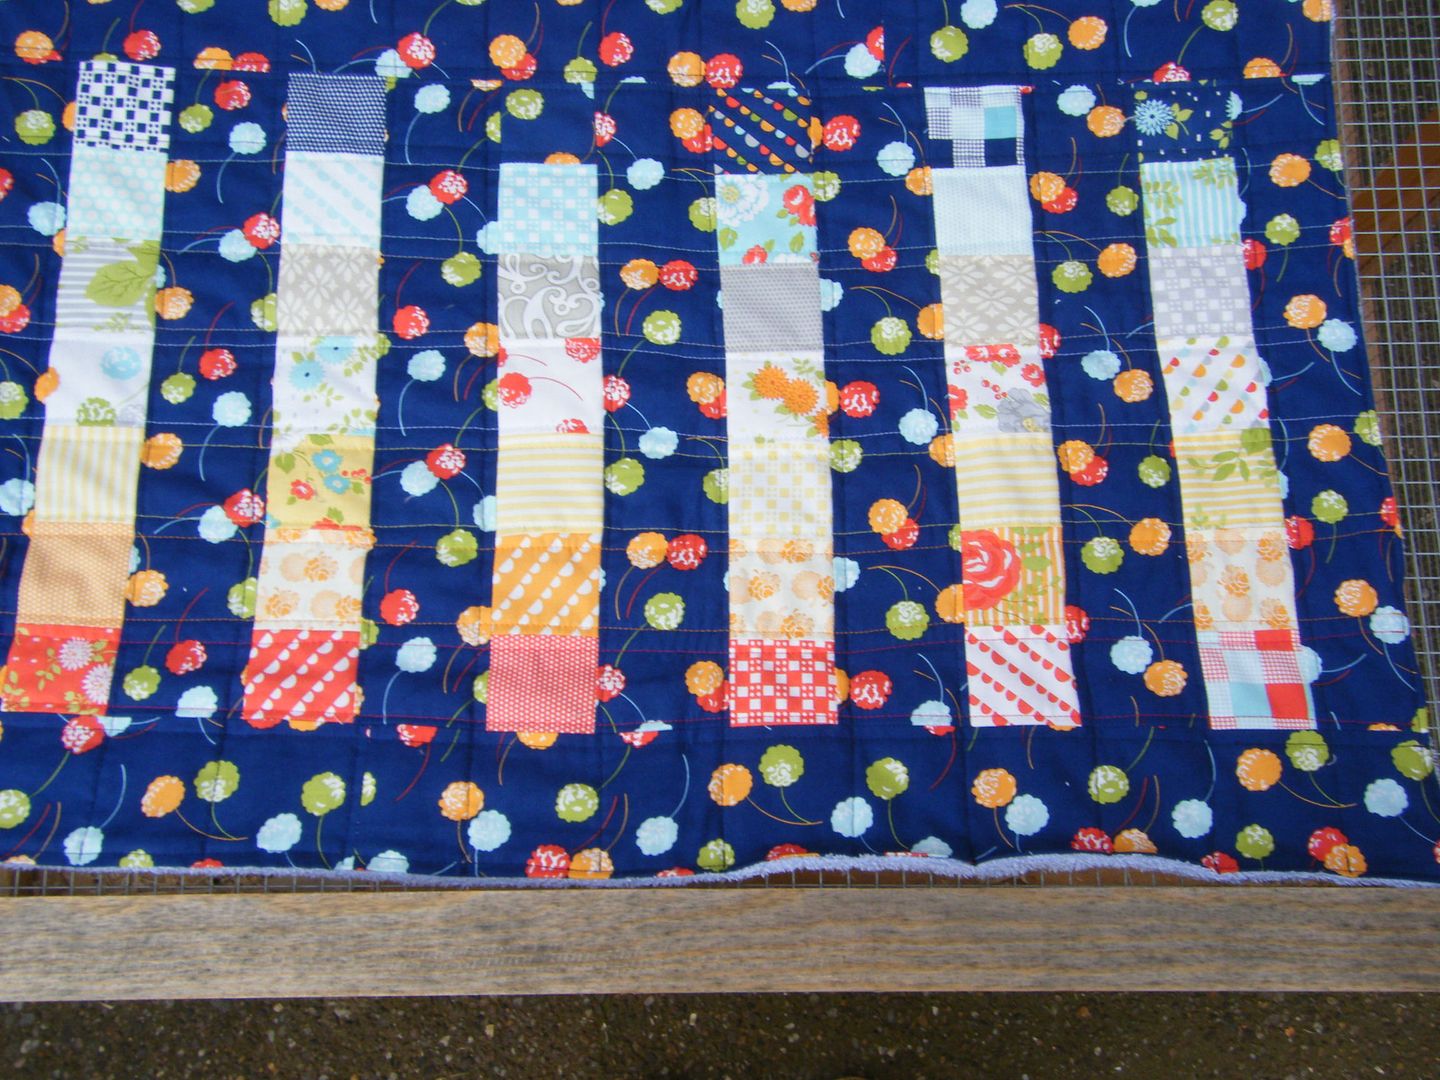
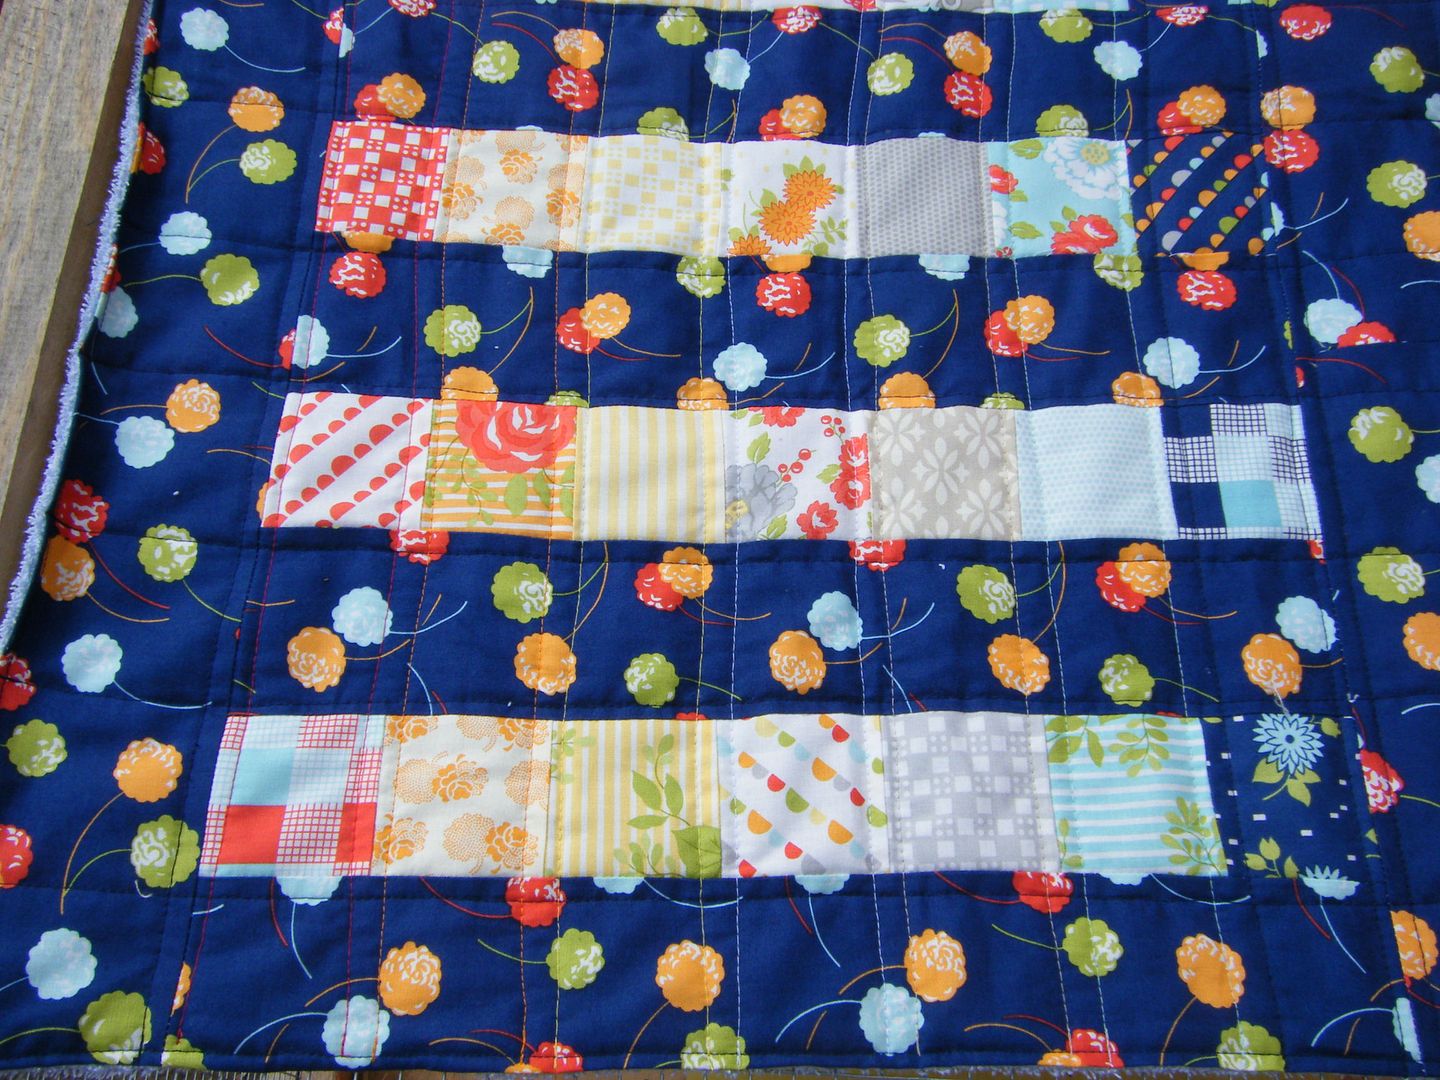
Very quickly those mini charm squares became this.  A very simple pattern, I used a Happy Go Lucky mini charm pack and an FQ of one of the prints.  I arranged the minis in colour order and sewed them into columns, each was then sewn to a strip of the FQ and finally a border of the same print was put on.


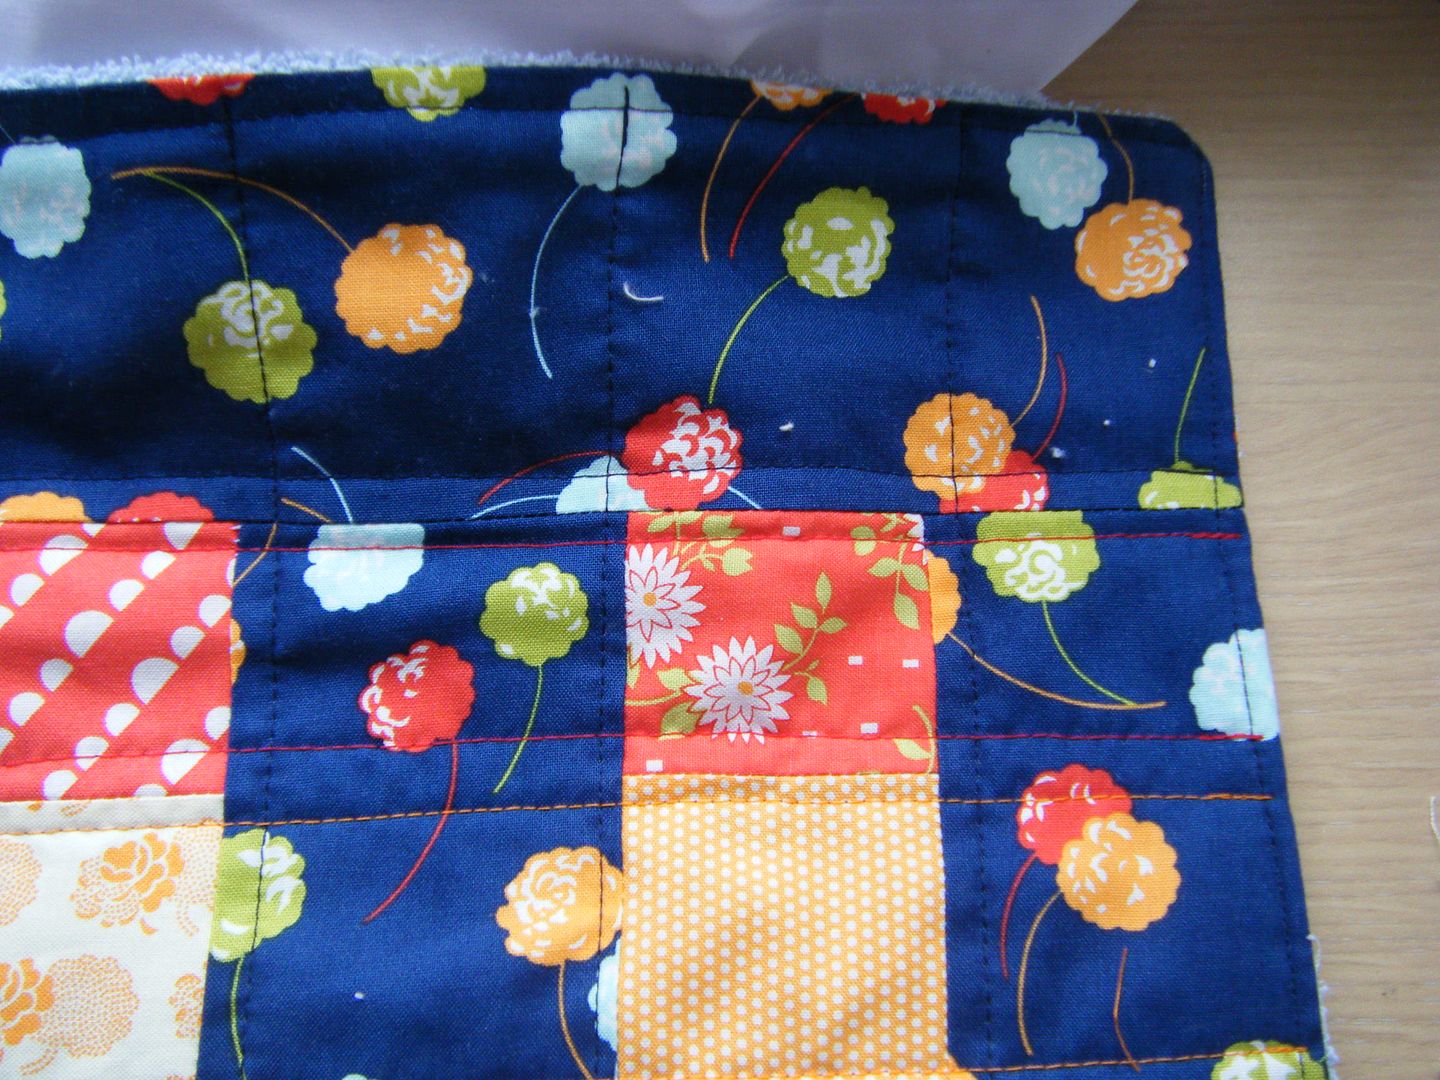
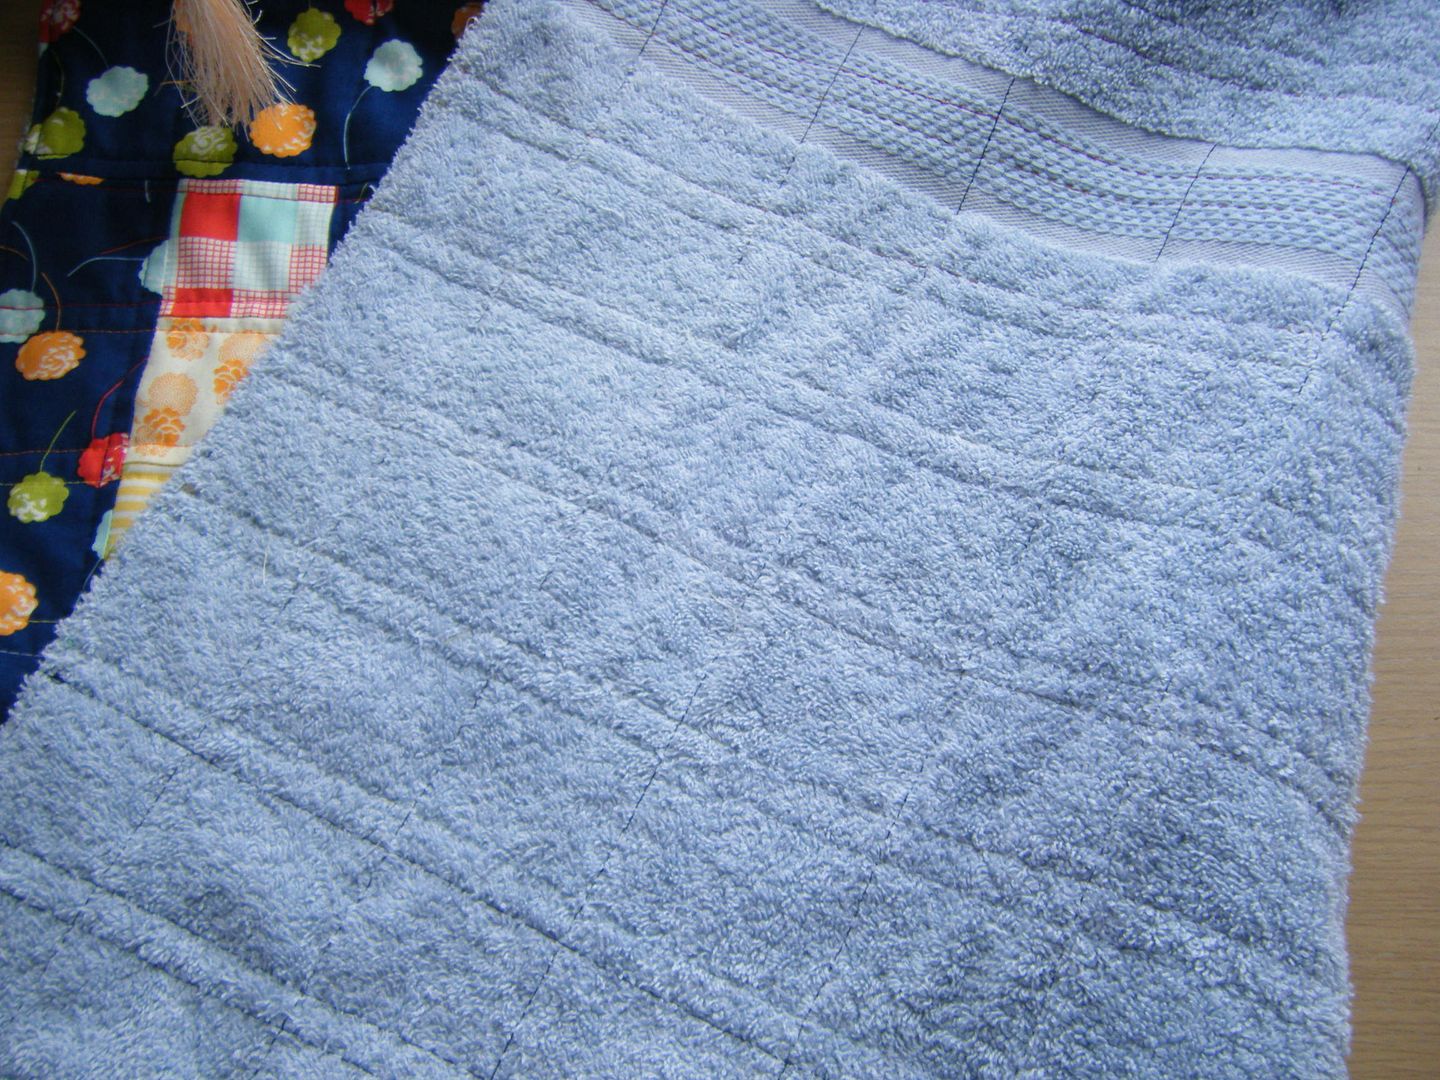
I sewed it right sides together with an old towel, turned through and top stitched.  I then quilted it using lines 1/4" from each seam, using the colour of the minis in each row.


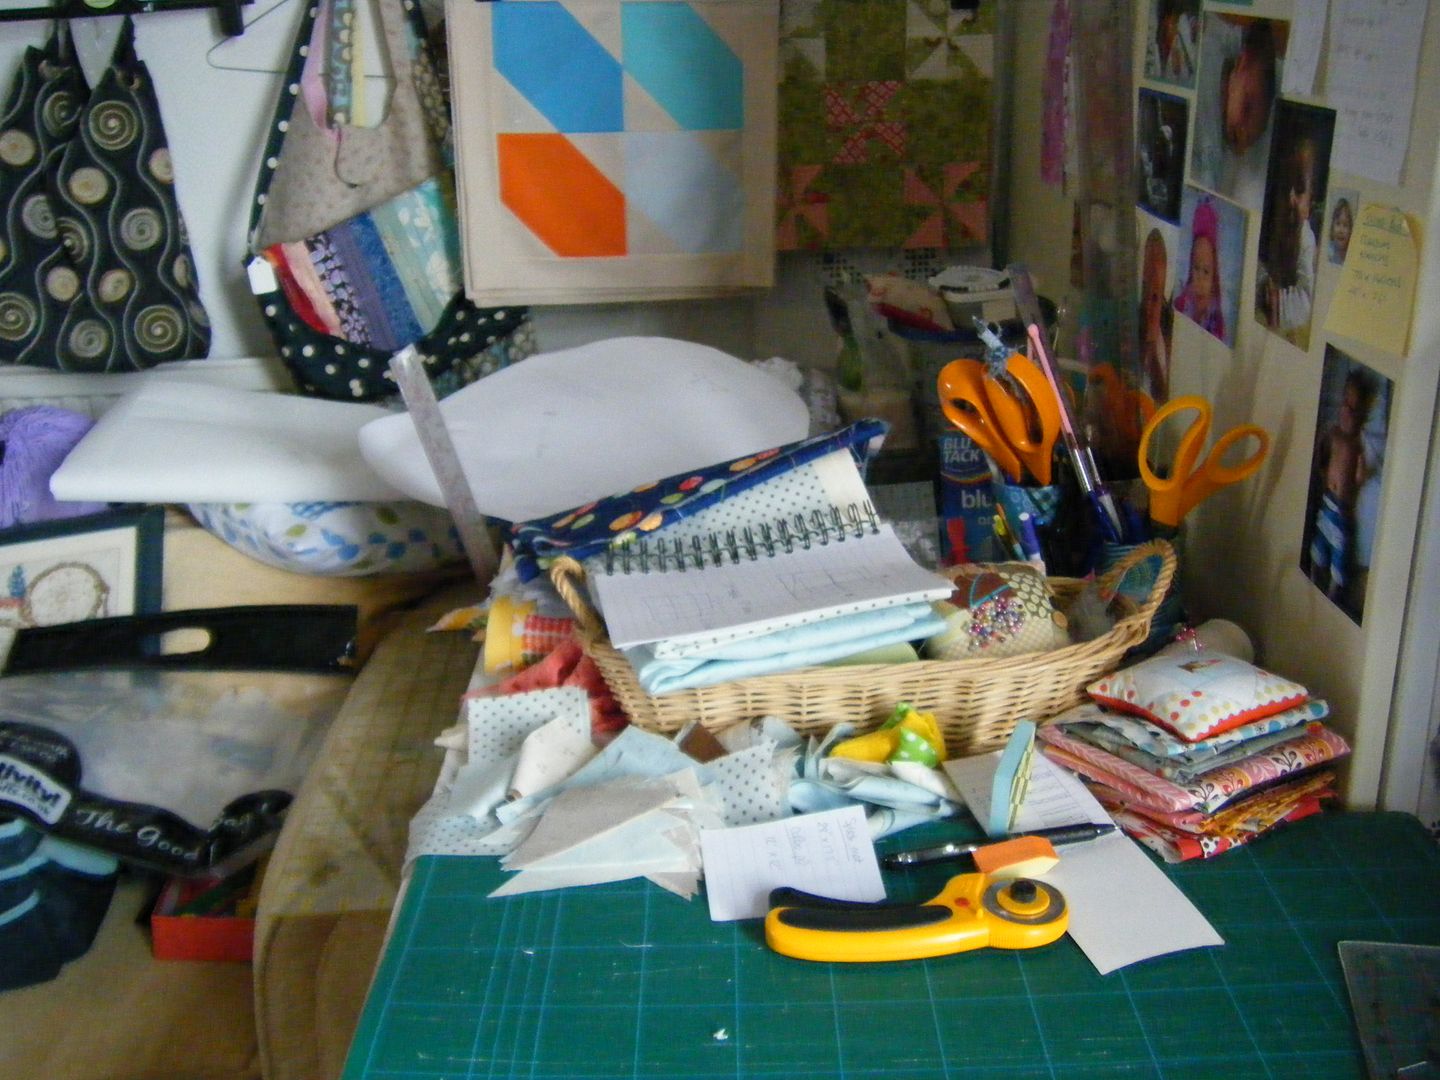
This was a progress shot - does anyone else have a cutting table that looks like this??


Because of the right sides together and turn method, no binding!  Hurray!


The pattern I chose meant I didn't have to match up loads of seams, especially difficult with precuts I find, but my rows were wonkier than I thought, see the way the quilting curves?


I couldn't get a decent shot of the different colours of quilting, especially as the towel I backed it with is blue.


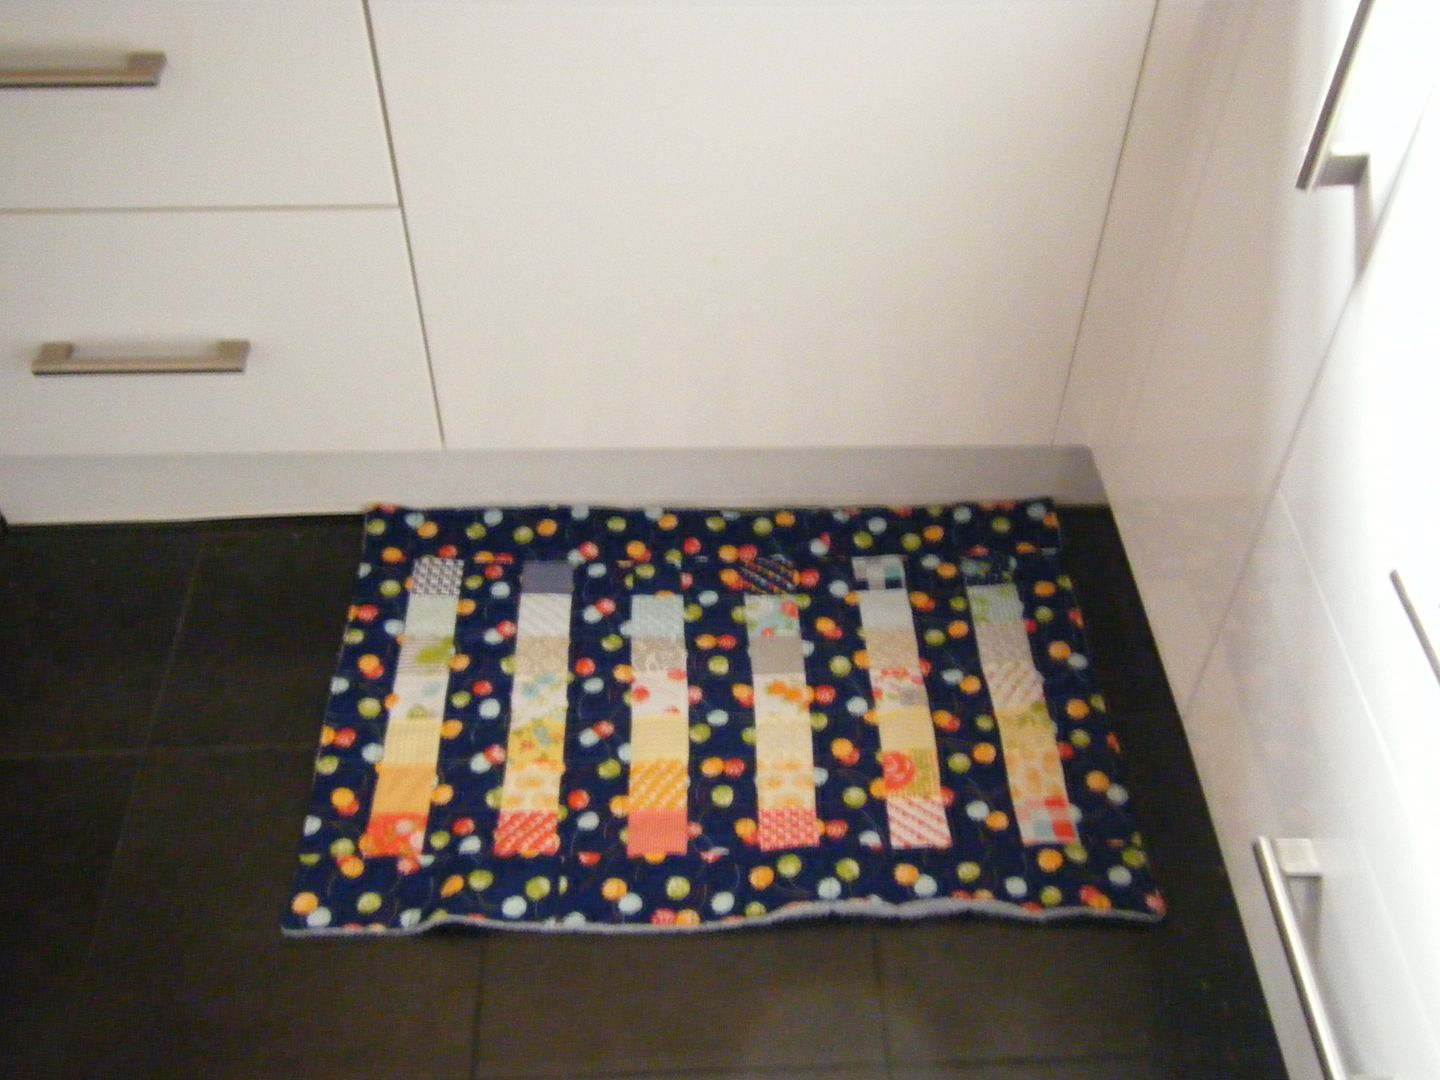
I love the finished product, shown here on top of the bunnies' run as there isn't a great deal of light on the floor of my kitchen.


And it does it's job well.  The previous one used a lot of white fabric and gets dirty so quickly, this won't show the dirt so much and now I can always have a mat down when one is being washed.


See, told you there's not much light on the kitchen floor. 


Wednesday, 26 March 2014

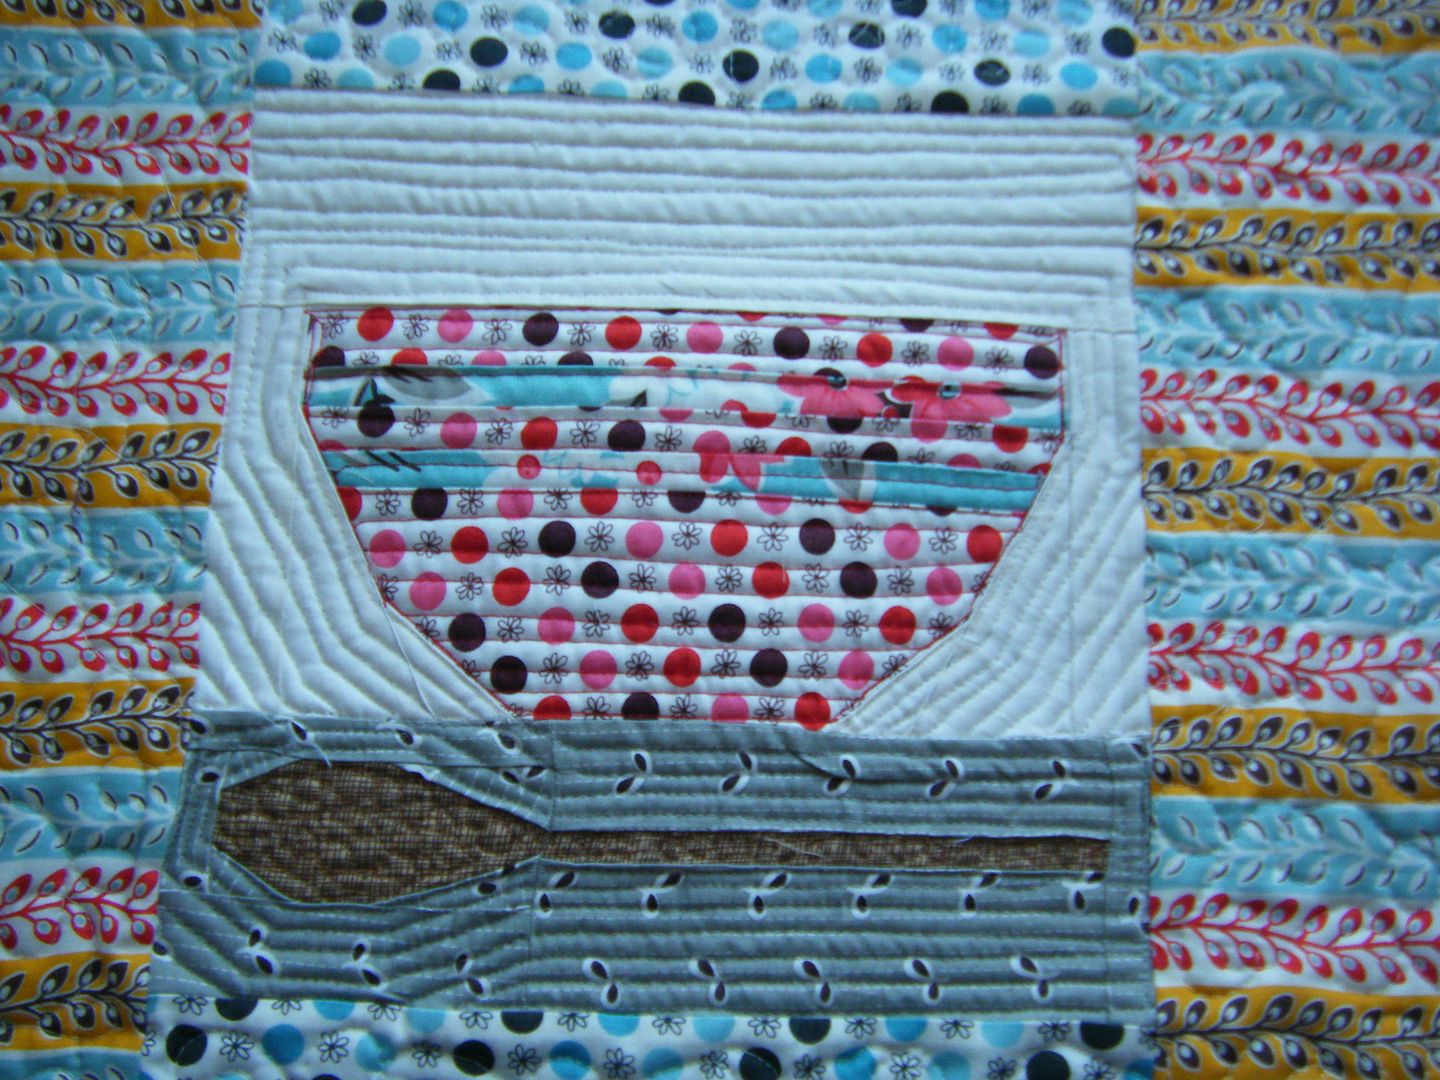
Sew Kitchsy - paper pieced bowl

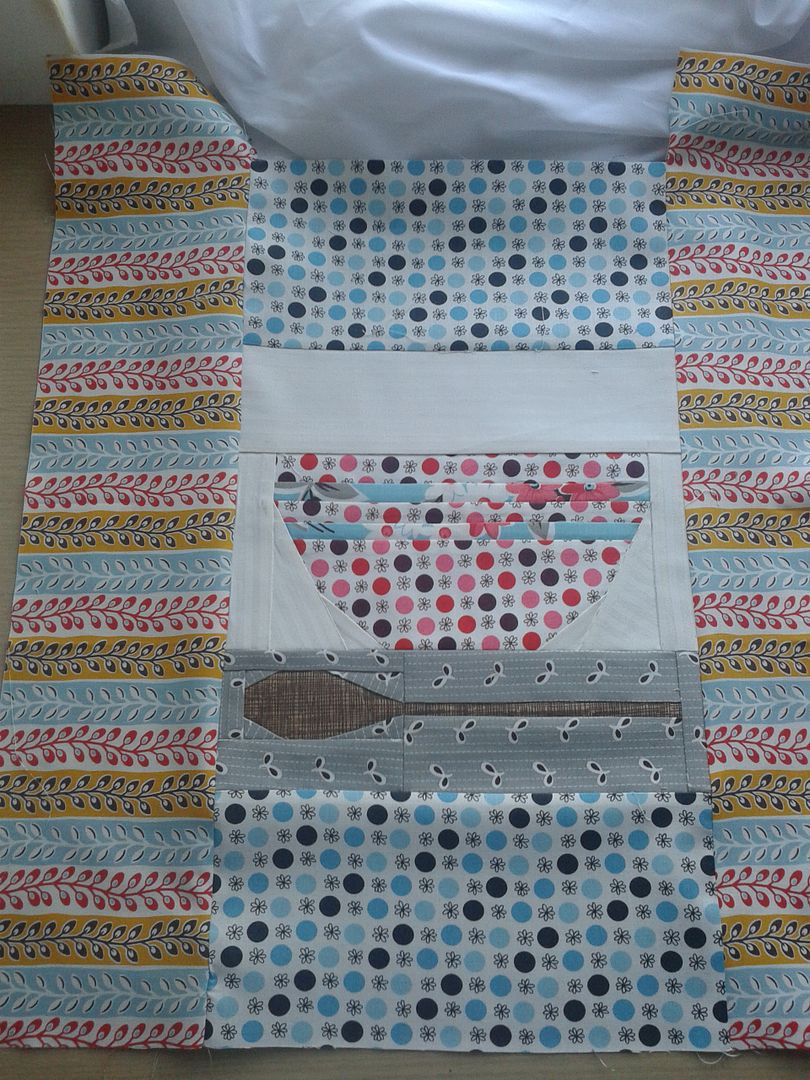
As I mentioned back in January Kristy at Quiet Play is running another one of her fabulous paper piecing BOMs. The theme is Sew Kitschy and it is retro kitchen items.  I don't have space for a wall hanging in my little kitchen, so I'm making the blocks and turning them into practical items. What we needed most were trivets for putting hot dishes down on.


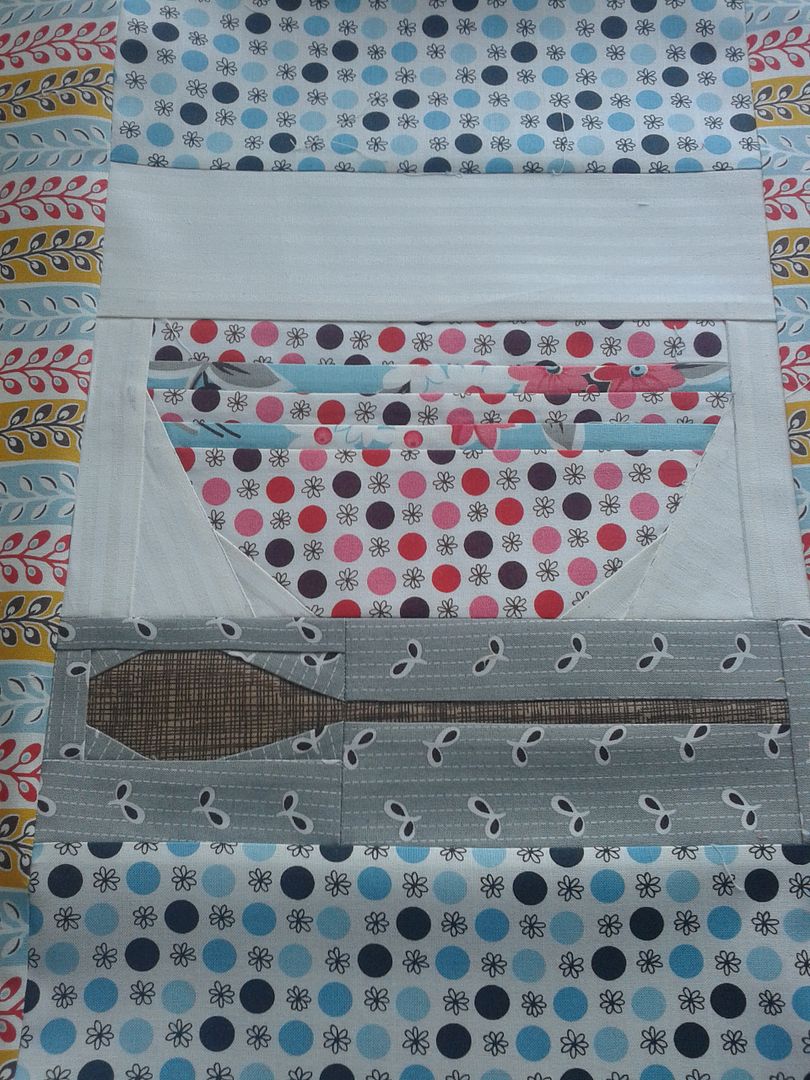
I made a bad choice for the stripes on the bowl, they're not obvious enough.  Speaking of which, I tend to point out mistakes I've made and things I could have done better in my posts.  There are a few reasons for this and I've been pulled up about it so many times in the comments recently that I thought I'd say something here.


I am not showing you the mistakes so you can say "don't be daft, it's brilliant".  This is a log of the things I've made, warts and all.  Don't you get bored reading blog post after blog post saying "ta-dah!  Look what I've made, it's perfect!".  OK, that's how other bloggers want to write, but I'm not playing.  The stuff I make has faults. Sometimes it's just stupidity on my part, other times I can learn from it.  Why not share?  I'm sorry that it bothers some of you, but I'm really not being down on myself.  Yes, I cocked up.  So what?  I don't care so you shouldn't either.


As you can see, most of the fabrics are Flea Market Fancy.  I'd cracked them out for the appliqued cushion and so thought I might as well use them.  Our kitchen has white units with black tops, and the tiles are multi-coloured, all colours except pink and purple, so anything goes.  I used Sketch for the spoon, it was the perfect choice.  So, I basted this bad boy up- I put on borders after making the block, I've just realised I was waffling about be being crap publicly and forgot to talk about what I made! - I started FMQing and...


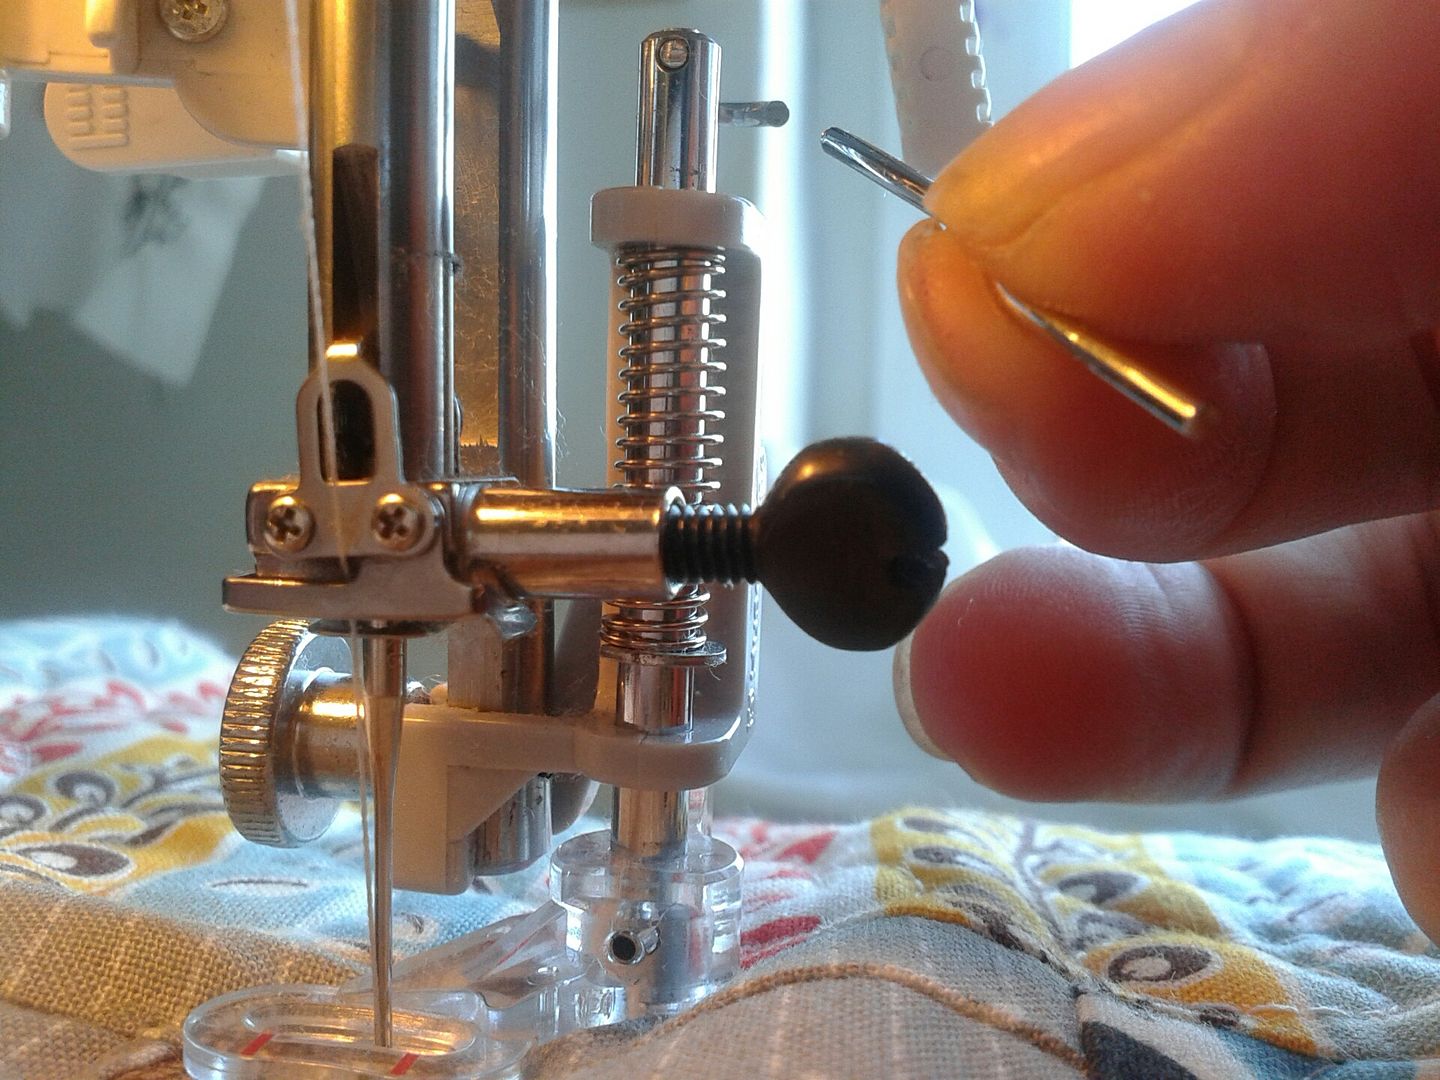
What the??  How flimsy must that bit of metal have been?  I thought I'd broken the needle the sound it made, then I saw the needle and was a bit confused until I found this in my lap.  Well, no more FMQing for me... Jacob's quilt definitely won't be done this month now!


Scrappy binding and it was done.  I wanted a go at echo quilting, it's something I've never tried.  Yep, should have done that with a walking foot, not a darning foot!


It's OK though for something that lives on a kitchen counter and gets chucked in the wash with dirty socks every week!


The bar thing broke when I was doing the curlies in the spoon, I just kind of carried on, I was so near the end.


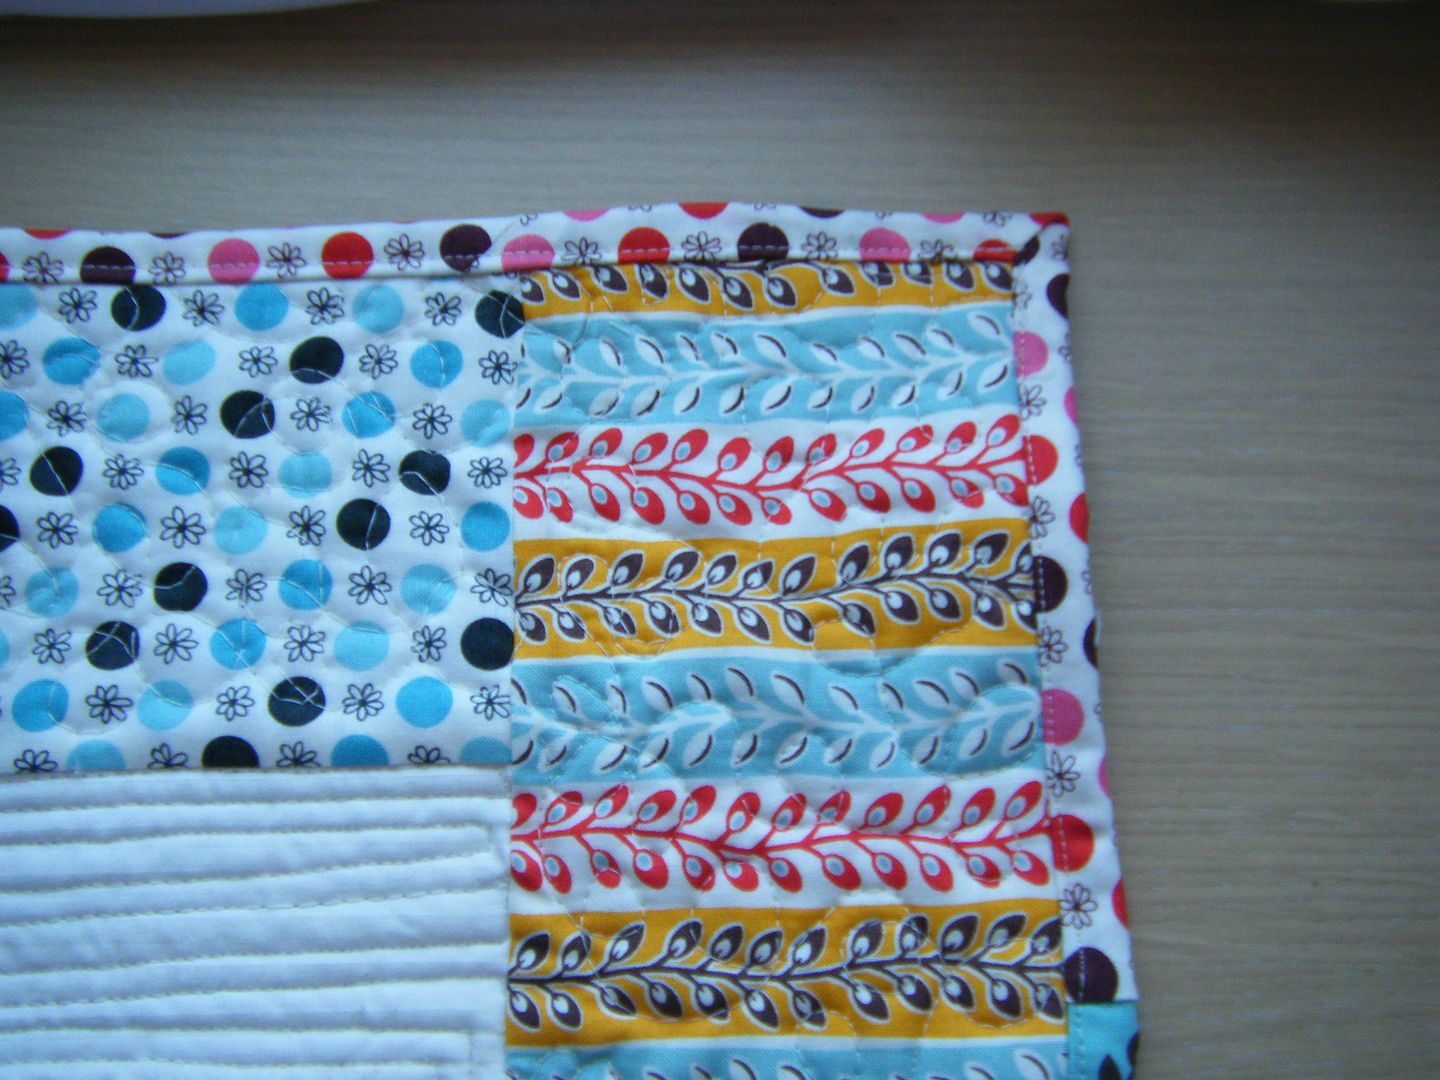
I have completely ran out of things to say about this trivet...  Oh, I don't much like the way I did the borders.  I didn't have enough of one print to do them all, so I should have mitred them.


It's bloody huge.  The bowl section is 10", I added far too much of a border and it's loads bigger than the other one.  I think that's an old pillow case on the back.  I'm not wasting expensive designer fabric on the back of a trivet.


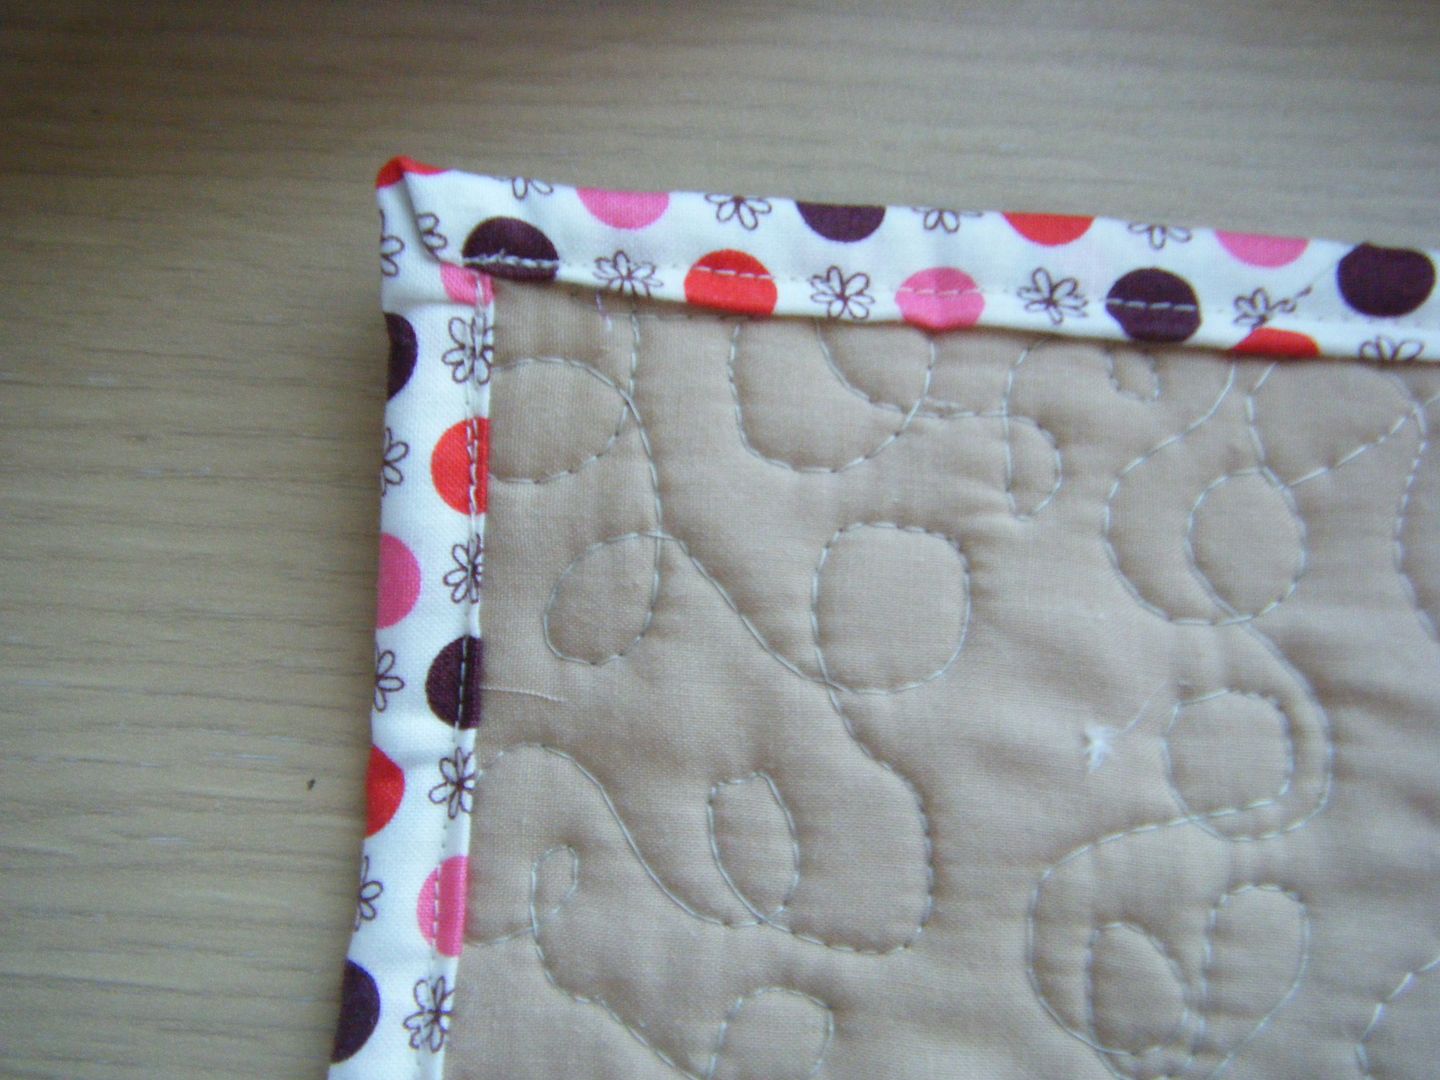
The binding went OK.  I did it by machine as I really couldn't be arsed hand binding it.  It's not perfect, but it does the job and doesn't look as bad as it sometimes does!


Is this post over yet?  I'm boring myself...


Related posts

January - oven gloves

Wednesday, 29 January 2014

Sew Kitschy

After completing the And Sew On BOM last year, I knew I would also join in with Kristy's BOM this year, Sew Kitschy.  Then January came and pretty much went as fast as it had arrived.  I didn't think it was going to happen.  Then, out of the blue, I just did it.  It's quite a simple pattern, perfect for beginner but I wanted to add something more to it.


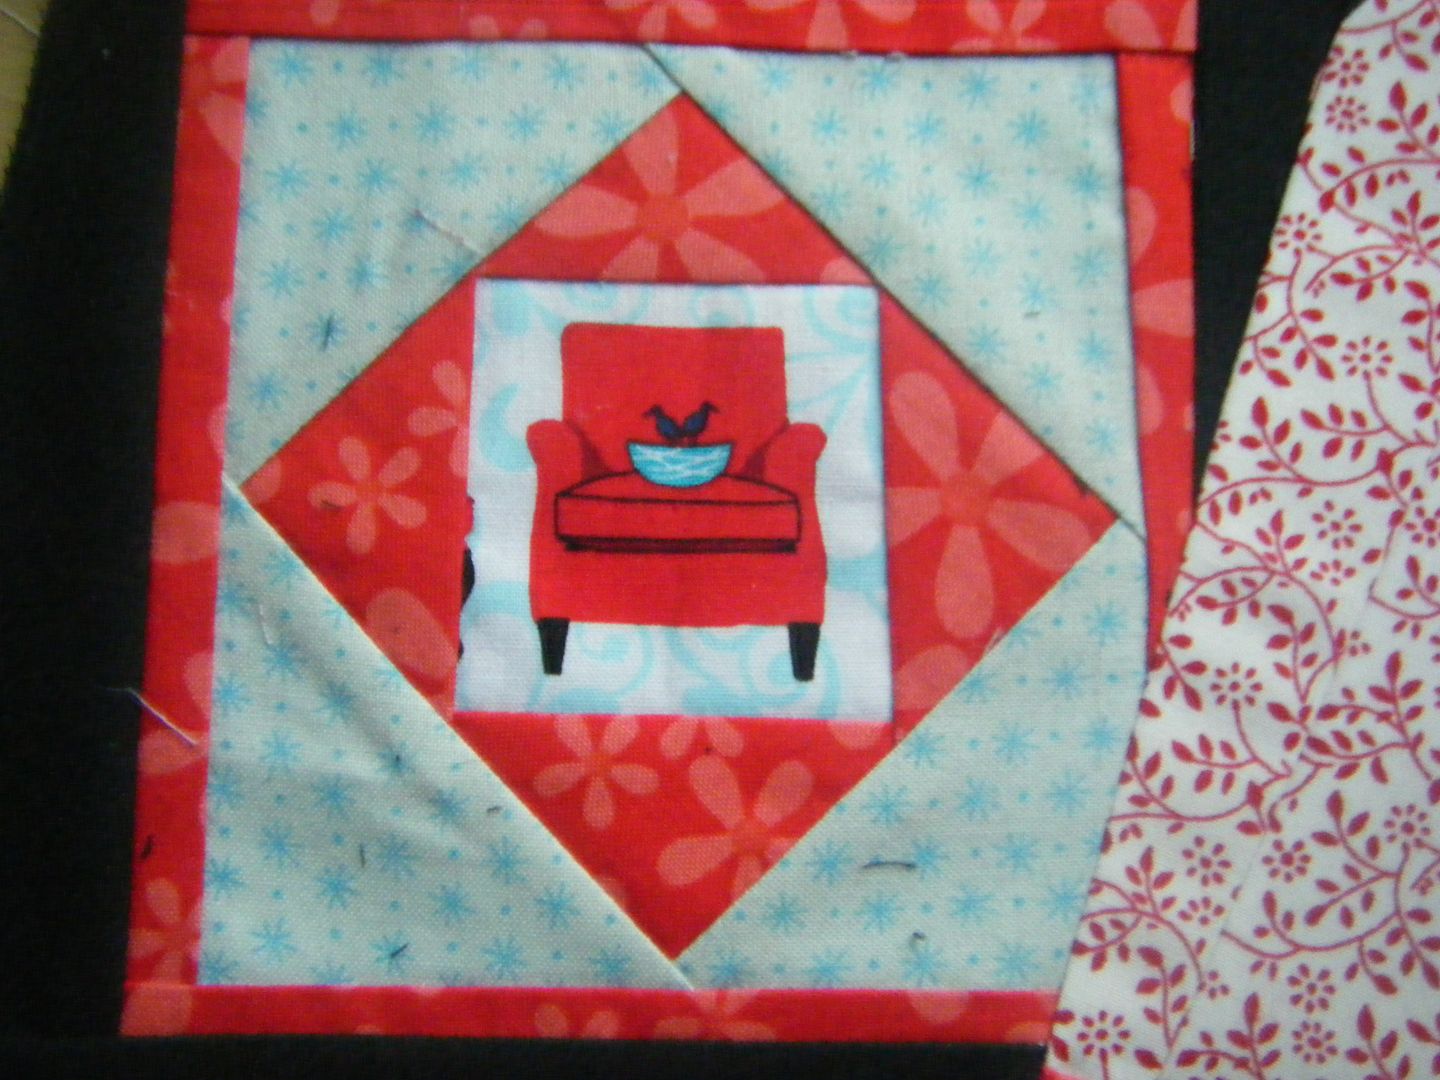
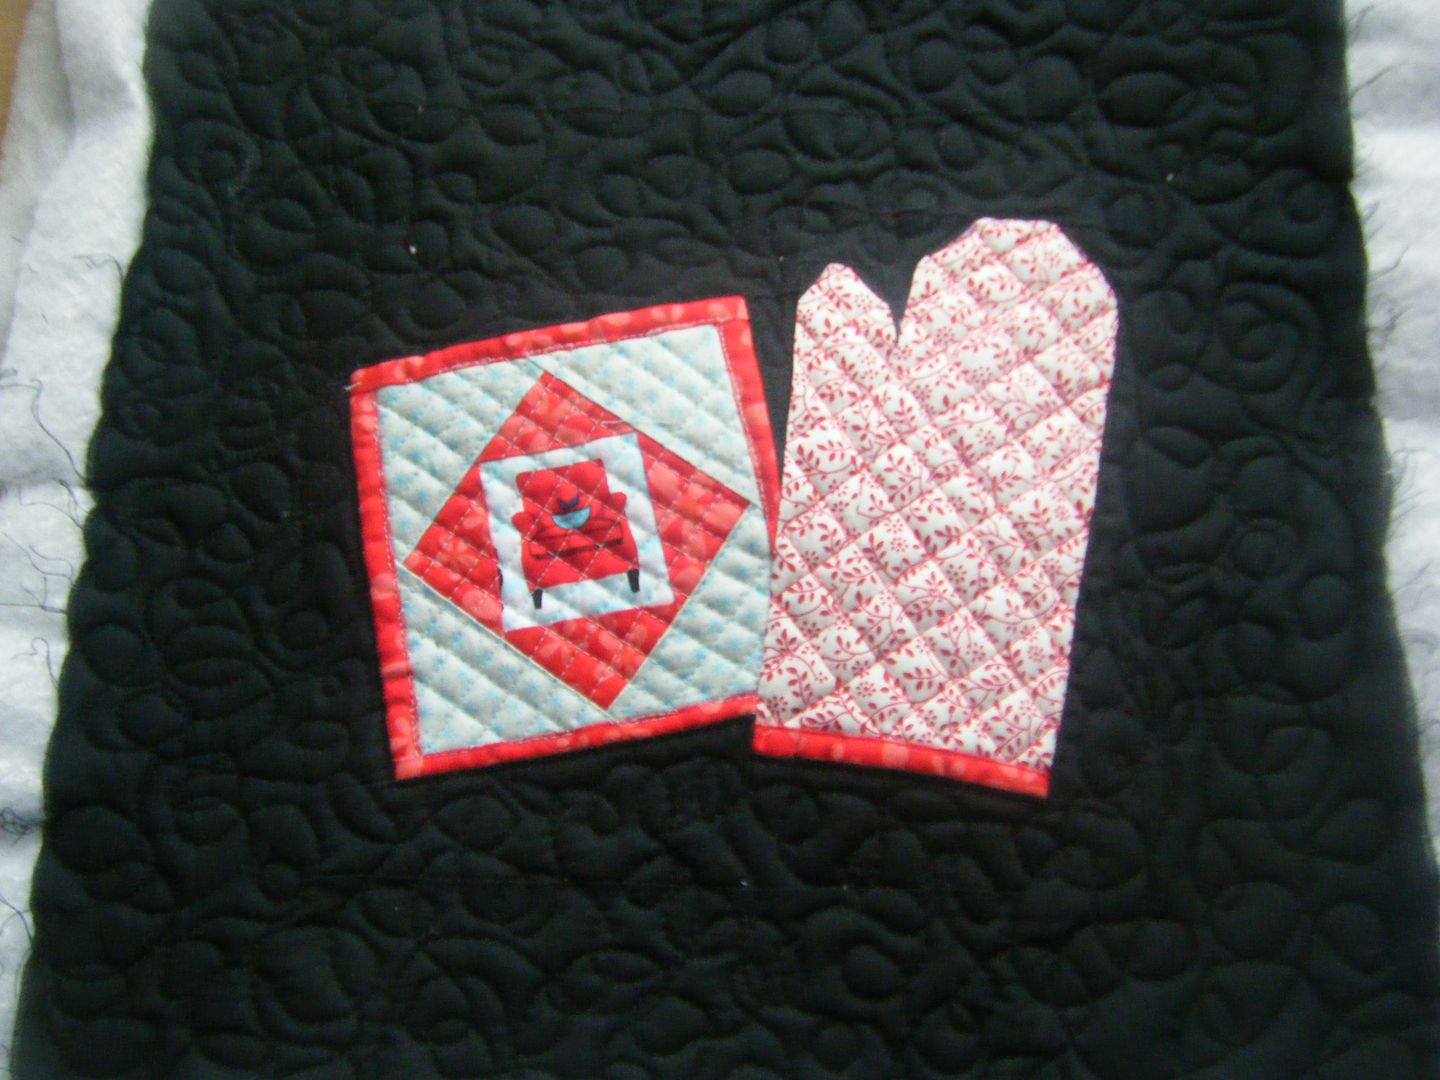
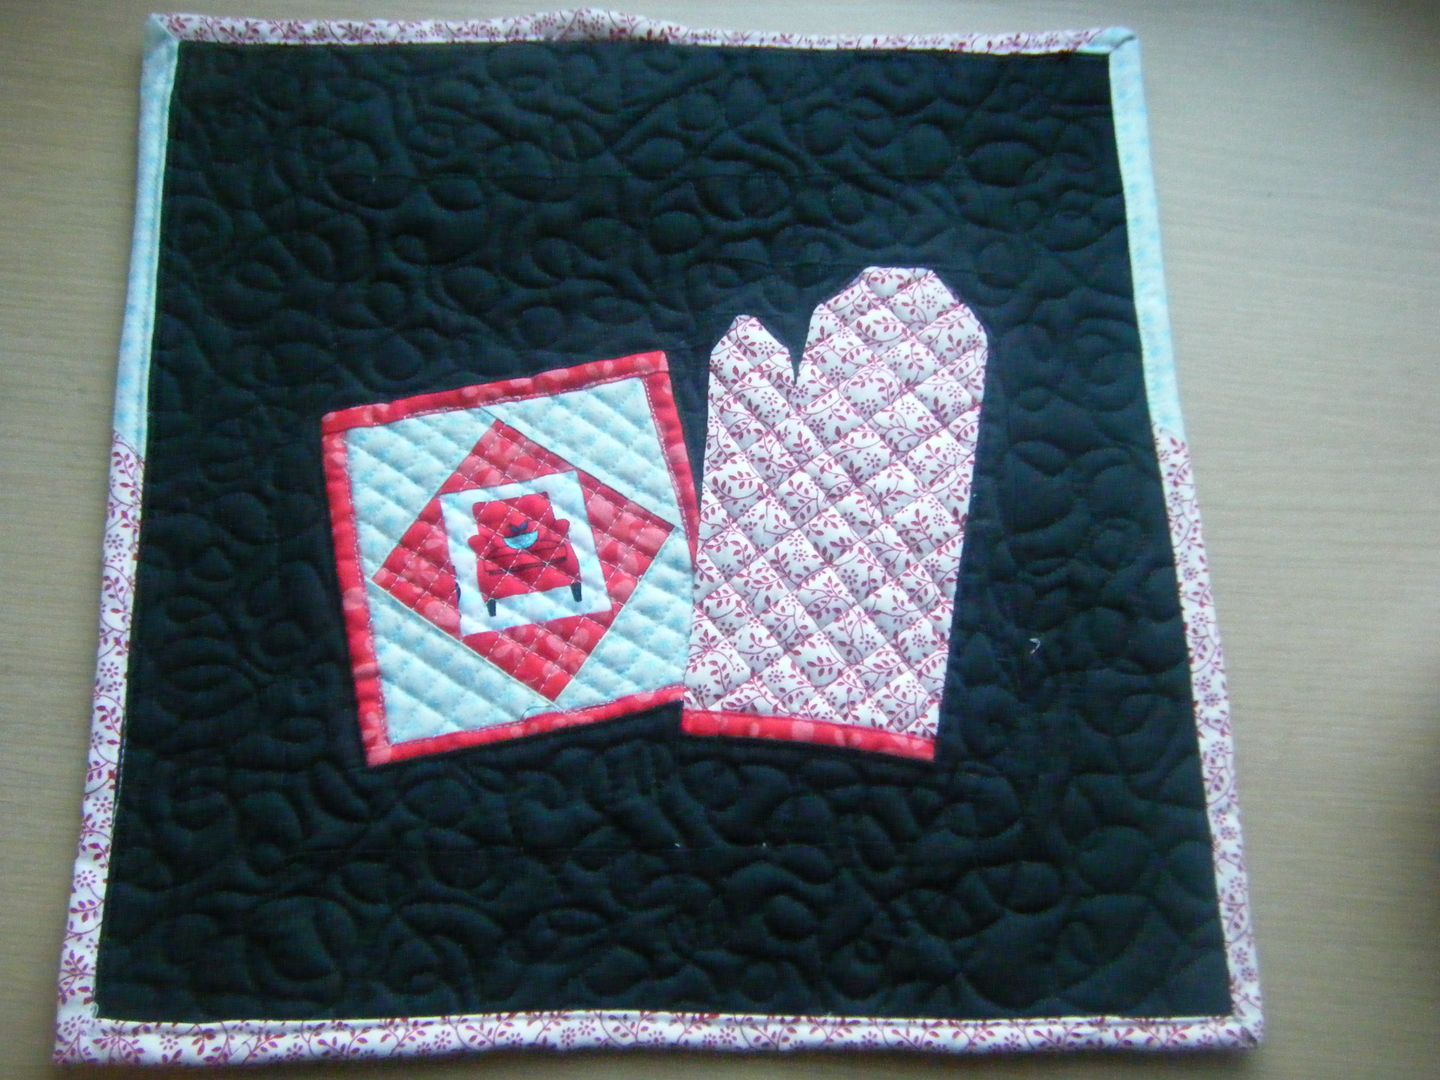
So I made an economy block for the potholder!  Yep, just the one economy block.  And it has a little birdy sitting on an arm chair.  


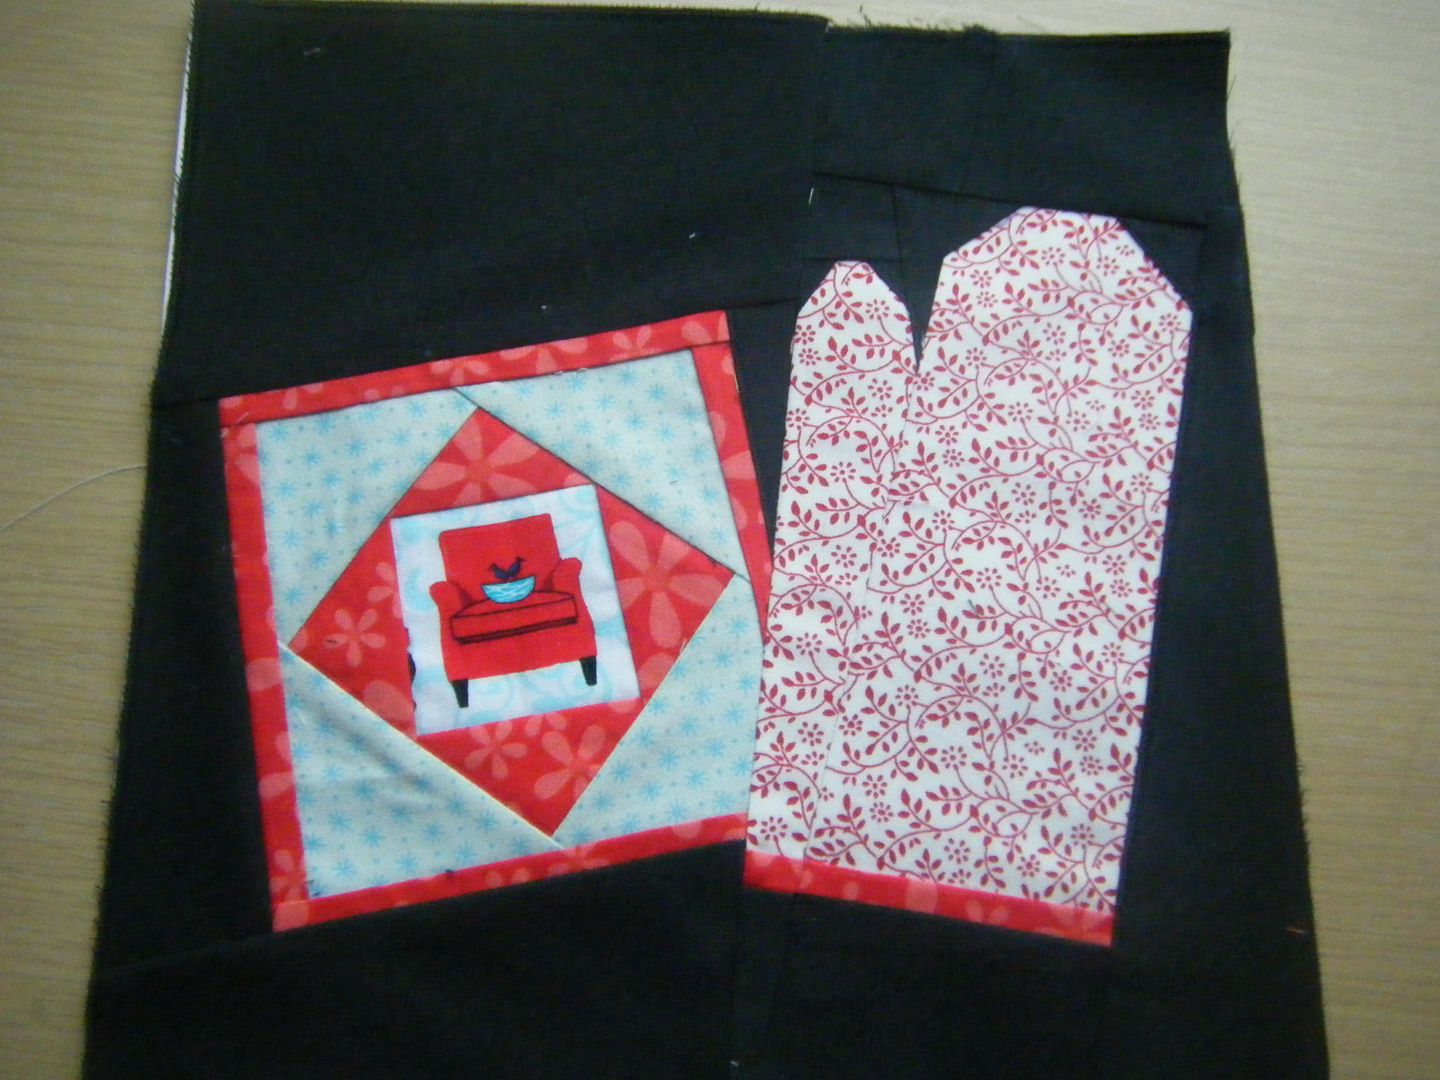
And here's my finished block.  Our kitchen has black counters and hob and a black floor, the cabinets are all white and the walls will be when we paint them.  The tiles are multi-coloured so any colour scheme goes, though I'm drawn towards red.  I bought some new oven gloves in Tesco last week which are red gingham with little birdies.  I wanted to piece the oven glove in red gingham but the only one I had was too dark, so I went with this pretty print.  The back ground fabric is black to represent our kitchen counters.

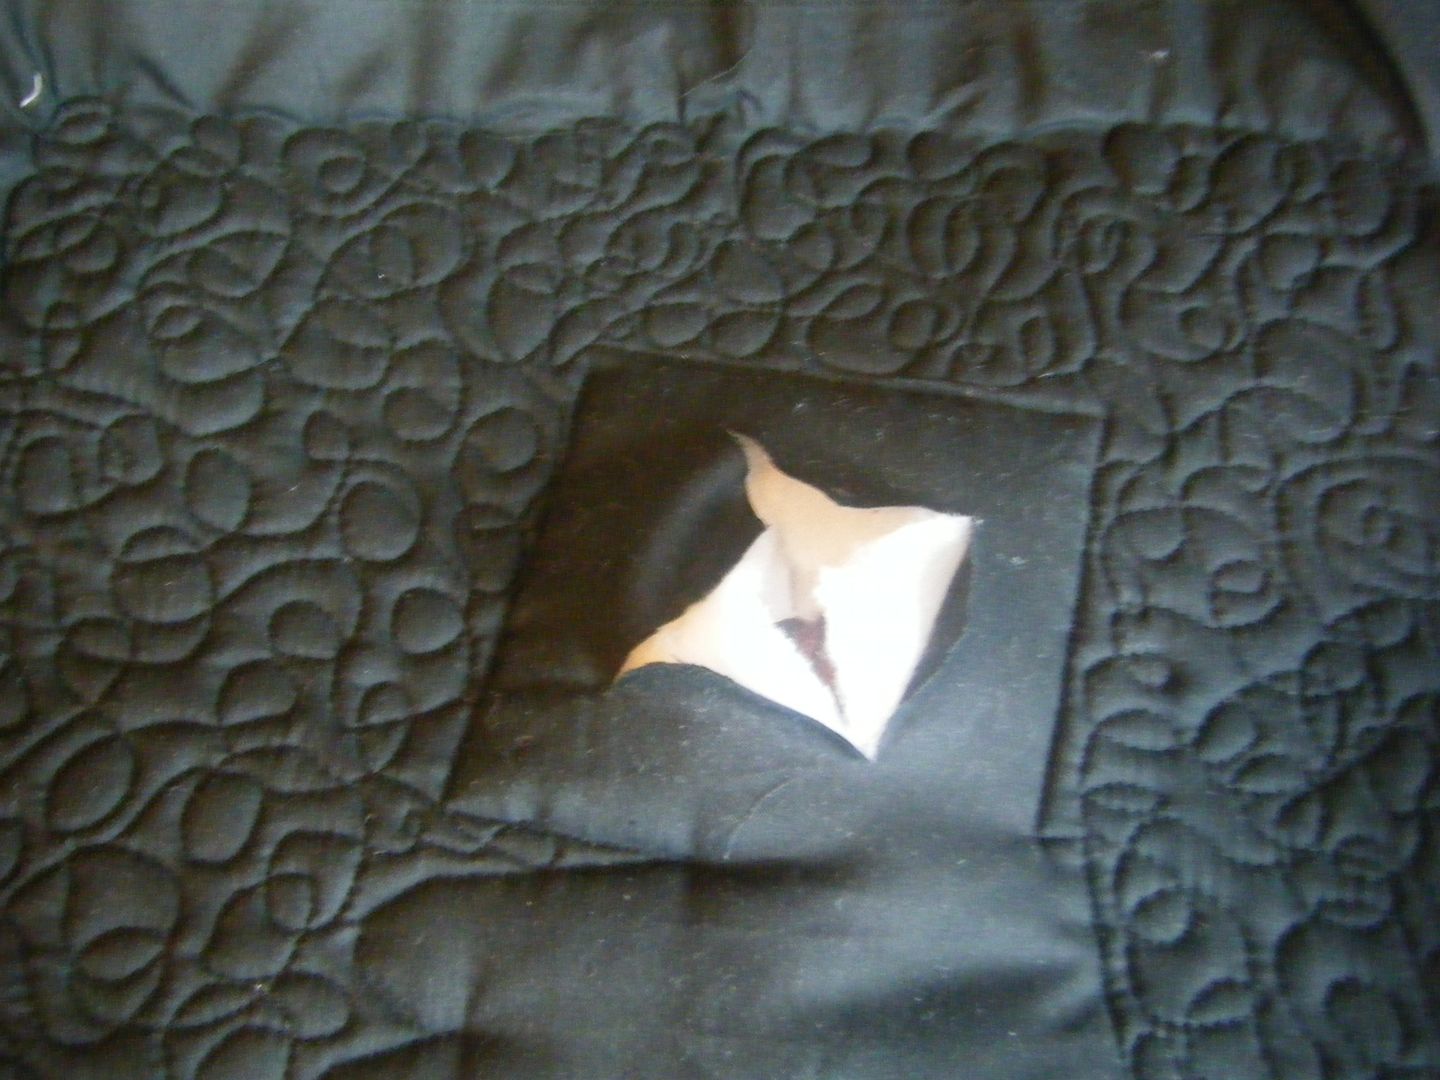
Now I had an issue.  Not the FMQ issue (which I'll come to later), this was when I came to quilt the potholder.  It just wouldn't work, I couldn't sew it.  Then I realised why.  I'd forgotten to remove the paper!! Just from that square.  Surgery was required.


I'd already quilted the background so I couldn't just undo it!  I cut a hole in the back and wrangled the paper out.


So what do you think of the quilting?  I took Trudi's advice and FMQ'd random swirly loops.  I'm sure it looks like a dog's dinner to all your accomplished quilters, but I'm quite chuffed with it.  I had an issue 3/4 of the way through.  I'd just finished quilting, turned it over and it was loop and nest city on the back!  You know what I'd done?  I'd forgotten to put my presser foot down!  I made sure to keep checking after that.  


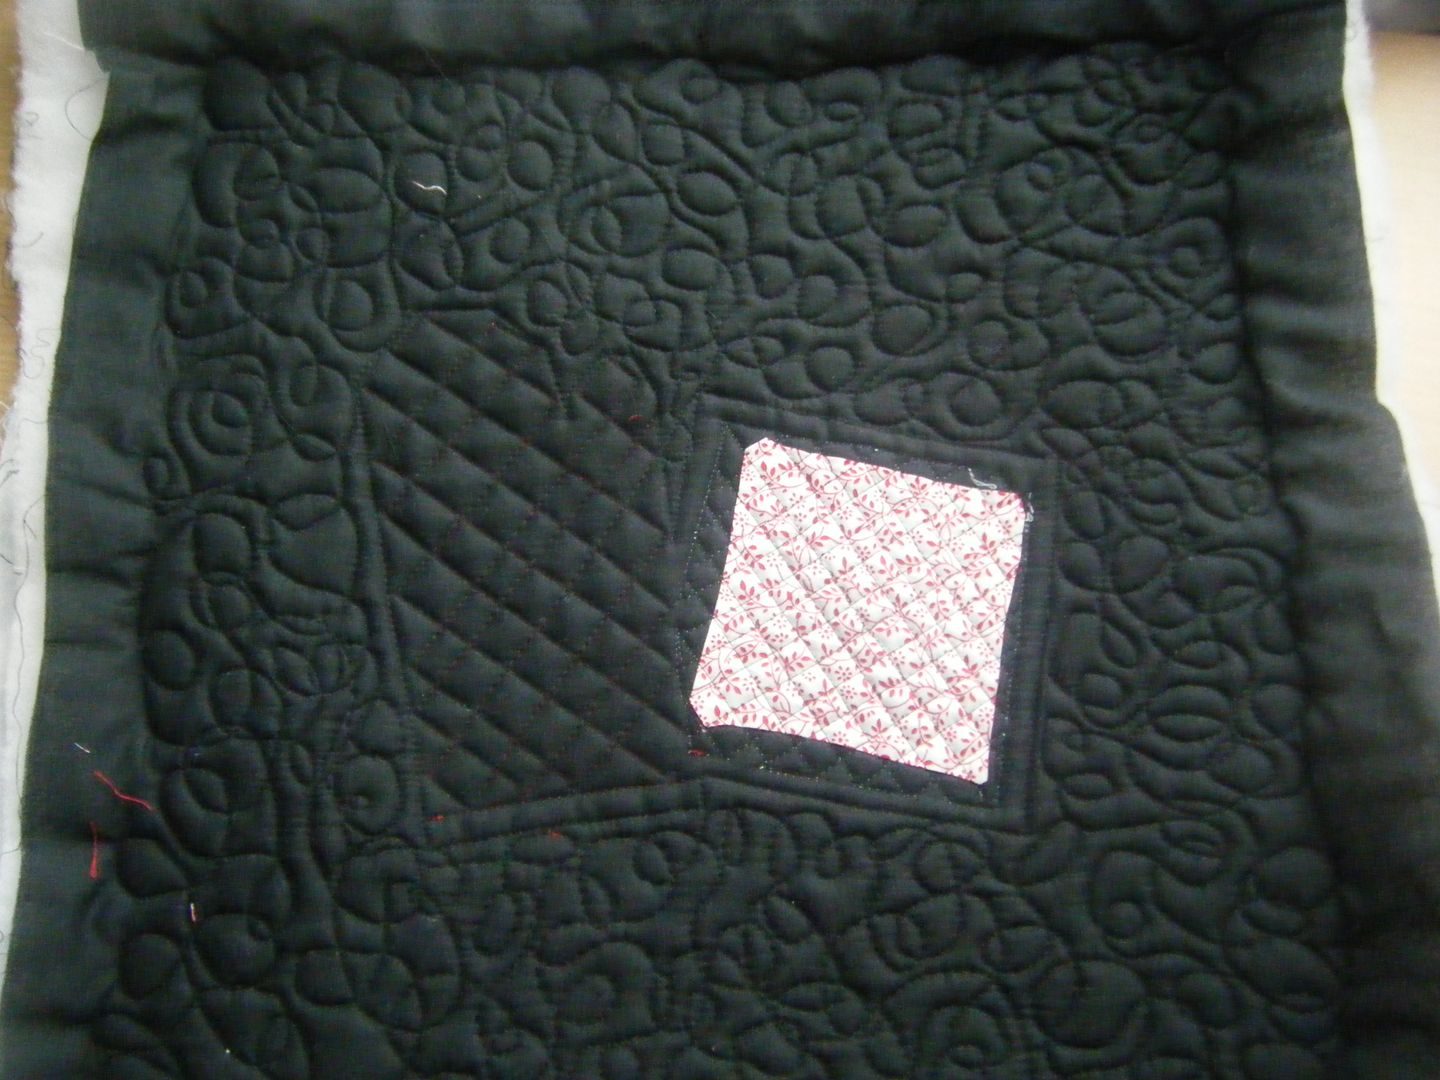
The potholder and glove are done in straight lines in a grid, just like my real oven gloves.  And that hole I cut in the back?  (not sure why Blogger is forcing me to have this bit of text centred)


I used a small square of fabric and glued hems around the edges, then glued it in place and quilted over it!  It is the back!


I think you can see I have slight tension issues, along with wibbly stitching, but my tension wheel doesn't seem to do anything at all.  I'm convinced it's just there for decoration!


I used what little there was left of the oven glove print for binding, but it was nowhere near enough, so I added in some of the blue star from the economy block.  My binding is a mess.  There was no way I was doing this by hand, my evening sewing is my crewel work at the minute and this is a trivet, so I did it on the machine.

And ripped half of it out as it hadn't caught the binding on the back, and redid it.

And it still looks a mess.  It's staying a mess.   After all, this is a trivet"


This is sitting on our ceramic hob, the perfect place to put hot dishes taken out of the oven.  I asked Mr CA if he knew what it was.  He said "yes, it's to put hot dishes on", so I explained that I wanted to know if he knew what the picture was.  He said "yes, it's a bird or something on a chair."  Oh dear...


Saturday, 5 October 2013

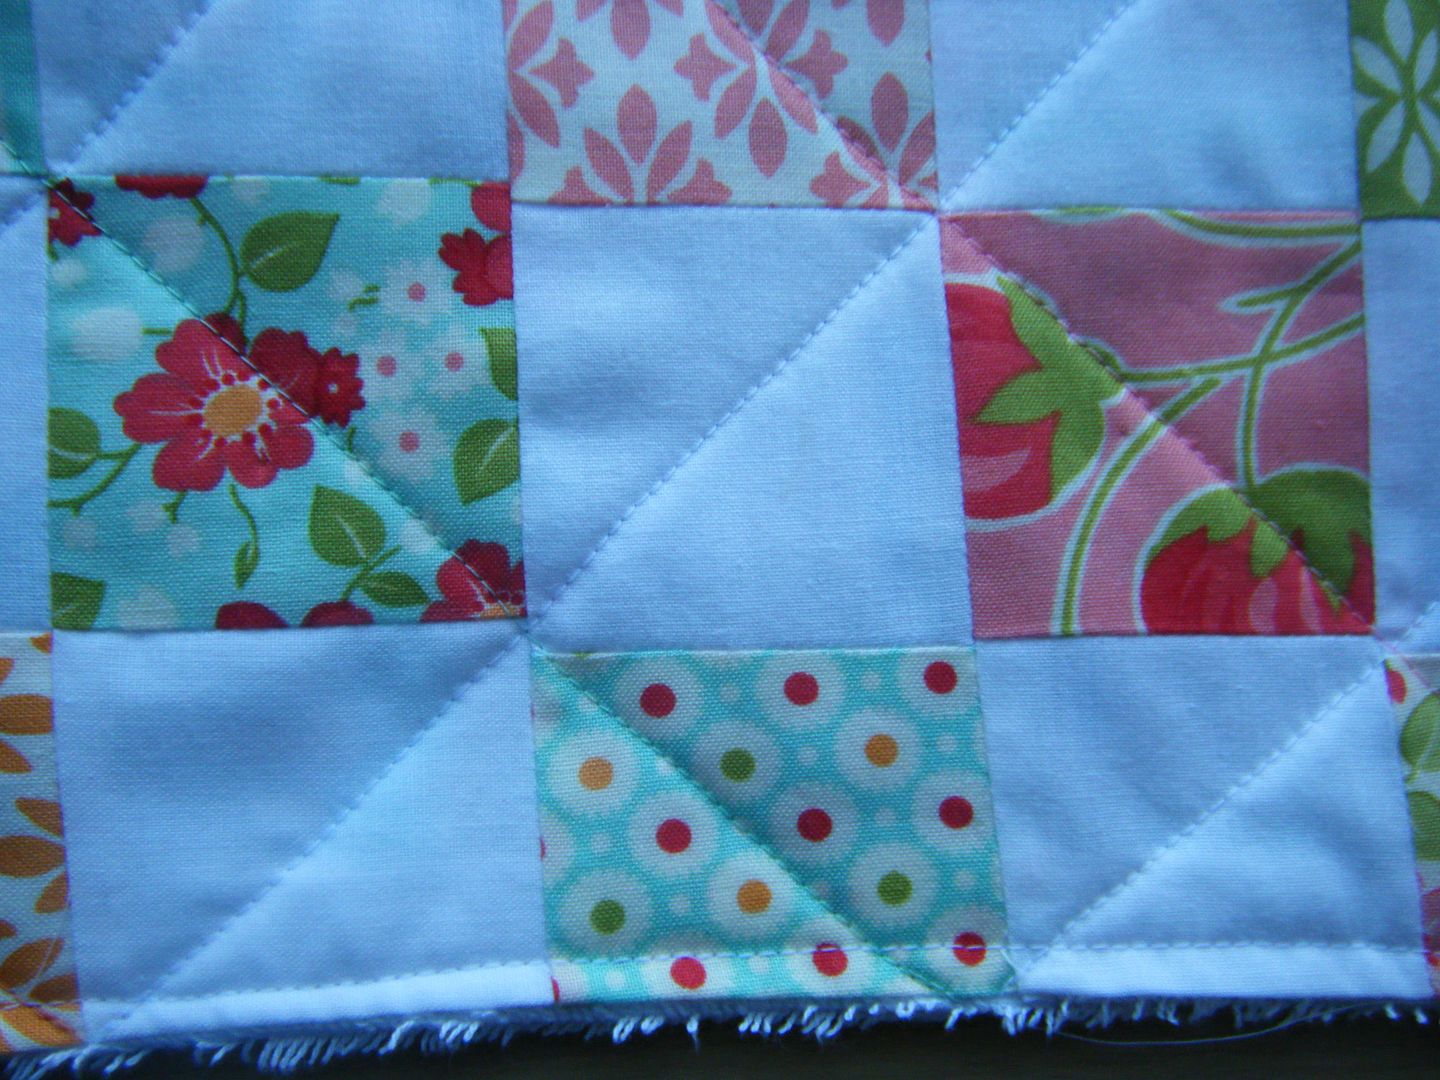
Splash mat

I haven't shown you a kitchen update for a while and that's because it's nearly done!  We now have a working sink, fridge-freezer, oven and hob (possibly stove in North Americanish?) !  So exciting.  We are still waiting for one more worktop to be fitted and then it all needs tiling which is when I will show you, don't want to ruin the surprise. 

It wasn't until we got to this stage that I realised I hadn't made all the stuff I wanted to make for the new kitchen.  During the building work and prior to that, I was too depressed to even think about it.  But now I can and so I'm sewing up a storm.  I really hope to have lots of projects to show you for our new kitchen over the coming weeks.  


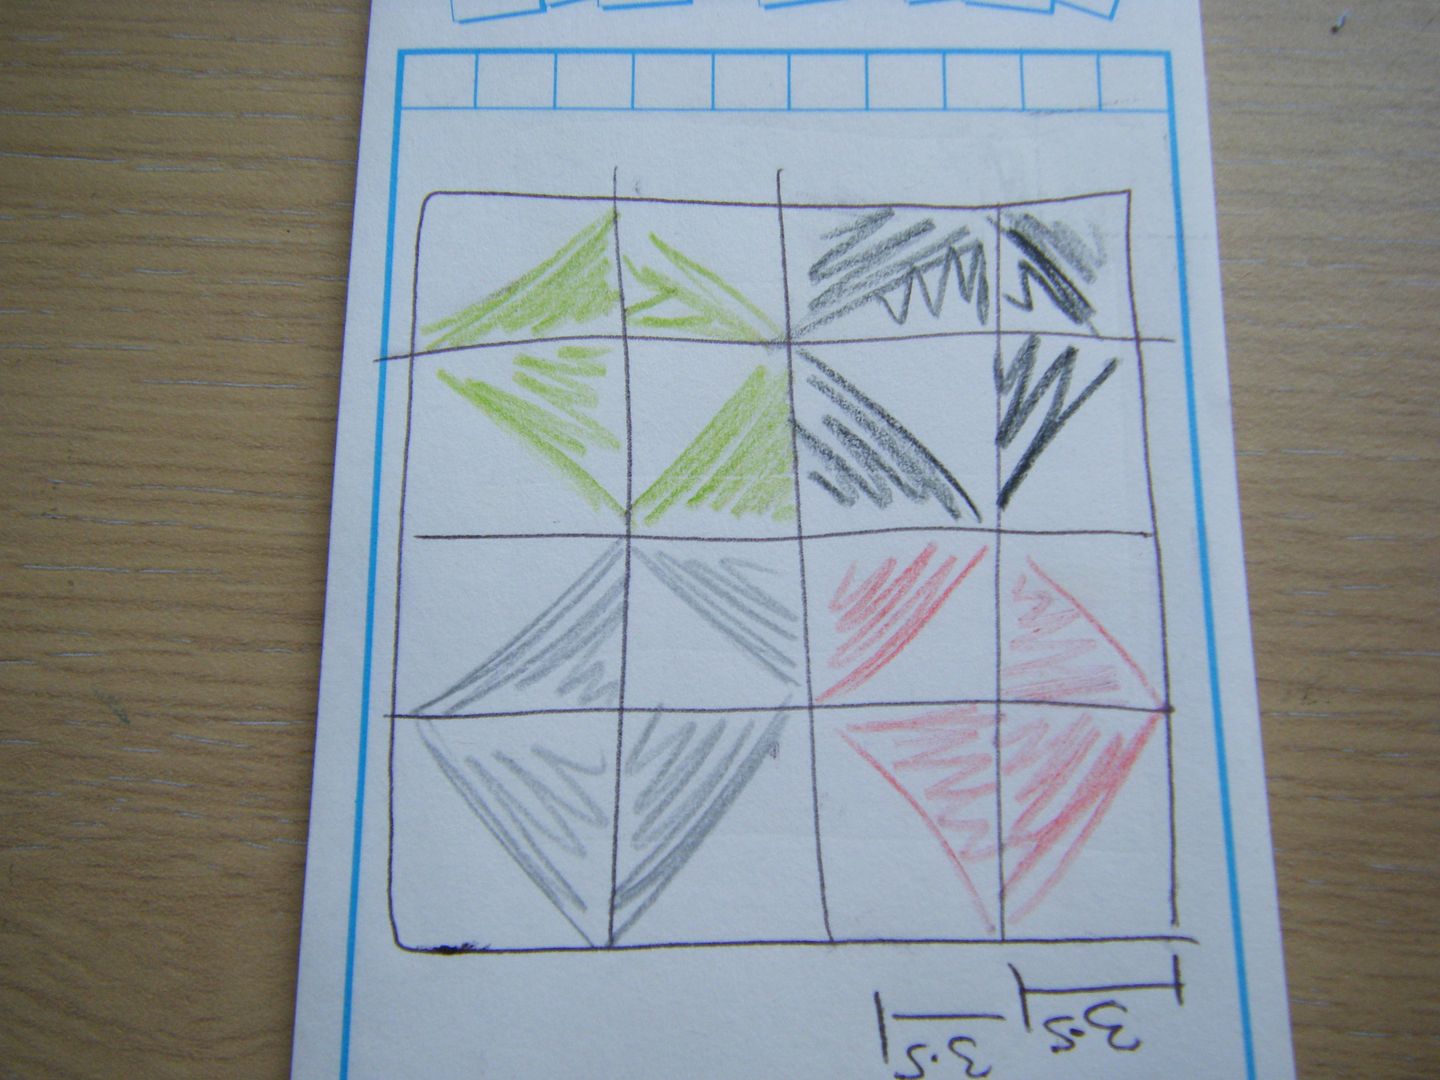
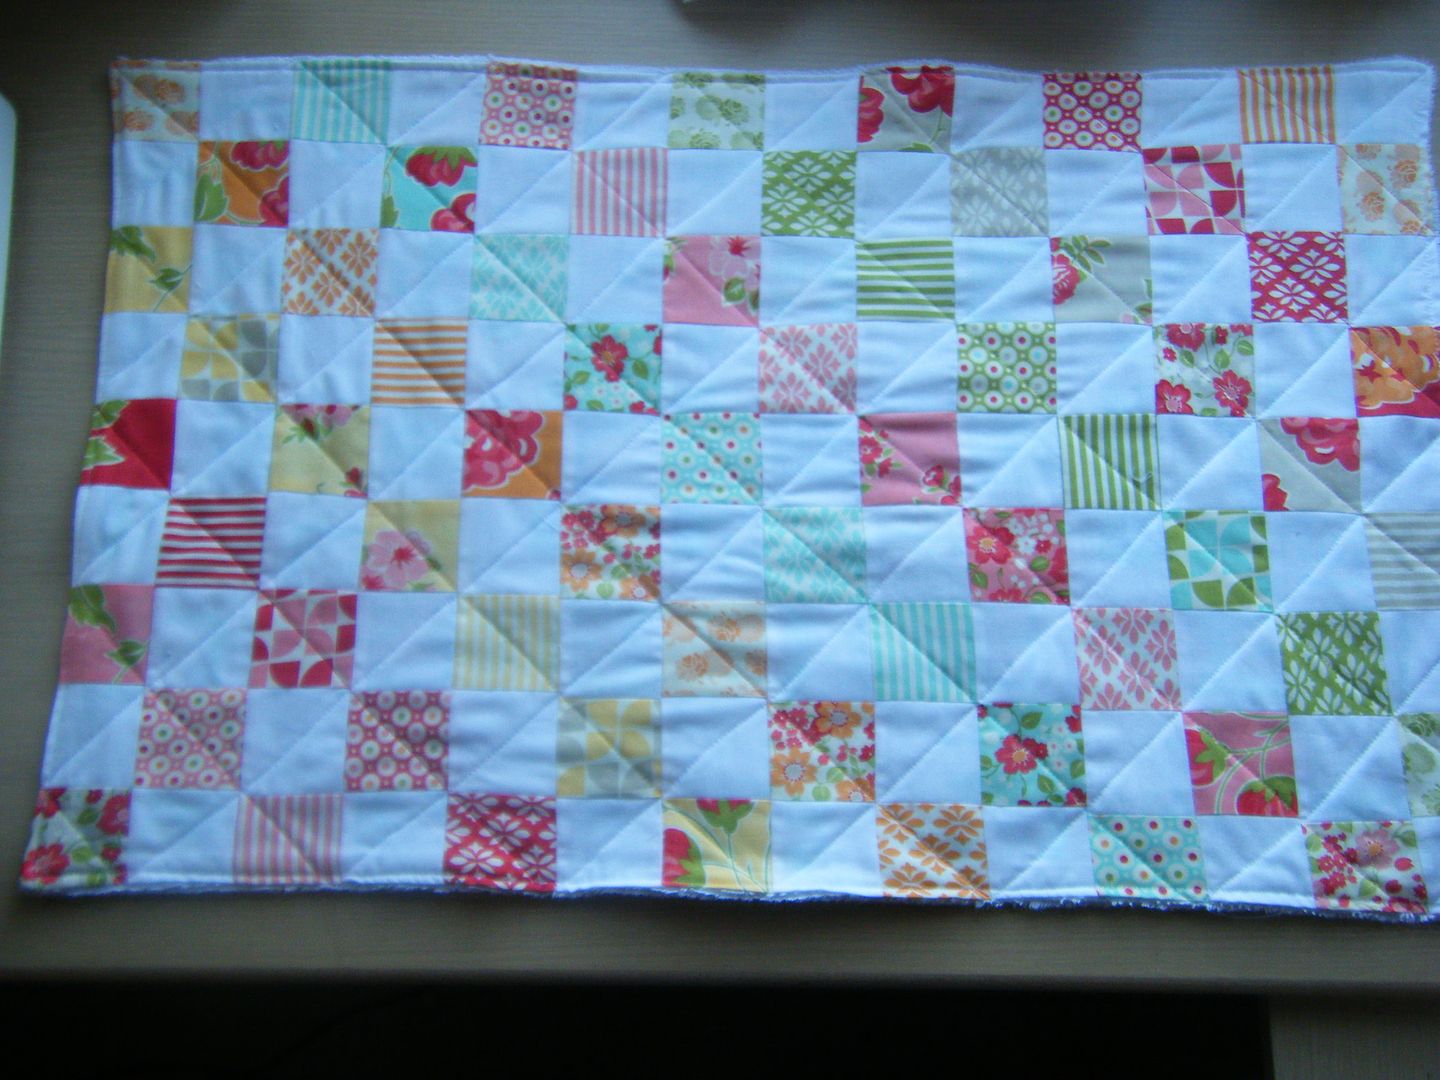
First up was the curtains.  Except I haven't made them yet.  Making curtains is boring.  So first up became a splash mat to use in front of the sink.  Can't have that lovely new floor (that hasn't even been chosen and bought, let alone laid yet!) getting wet. I knew exactly what I wanted to use.  Nancy very kindly sent me two mini charm packs of Marmalade yonks ago and I was waiting for the right project.  This was it. I decided to go for alternate patterned and white squares, all starting at 2.5" and finishing at 2".  The picture above shows how I kept track of what went where whilst chain piecing.


I didn't go random, I went for diagonal lines of each colour.  


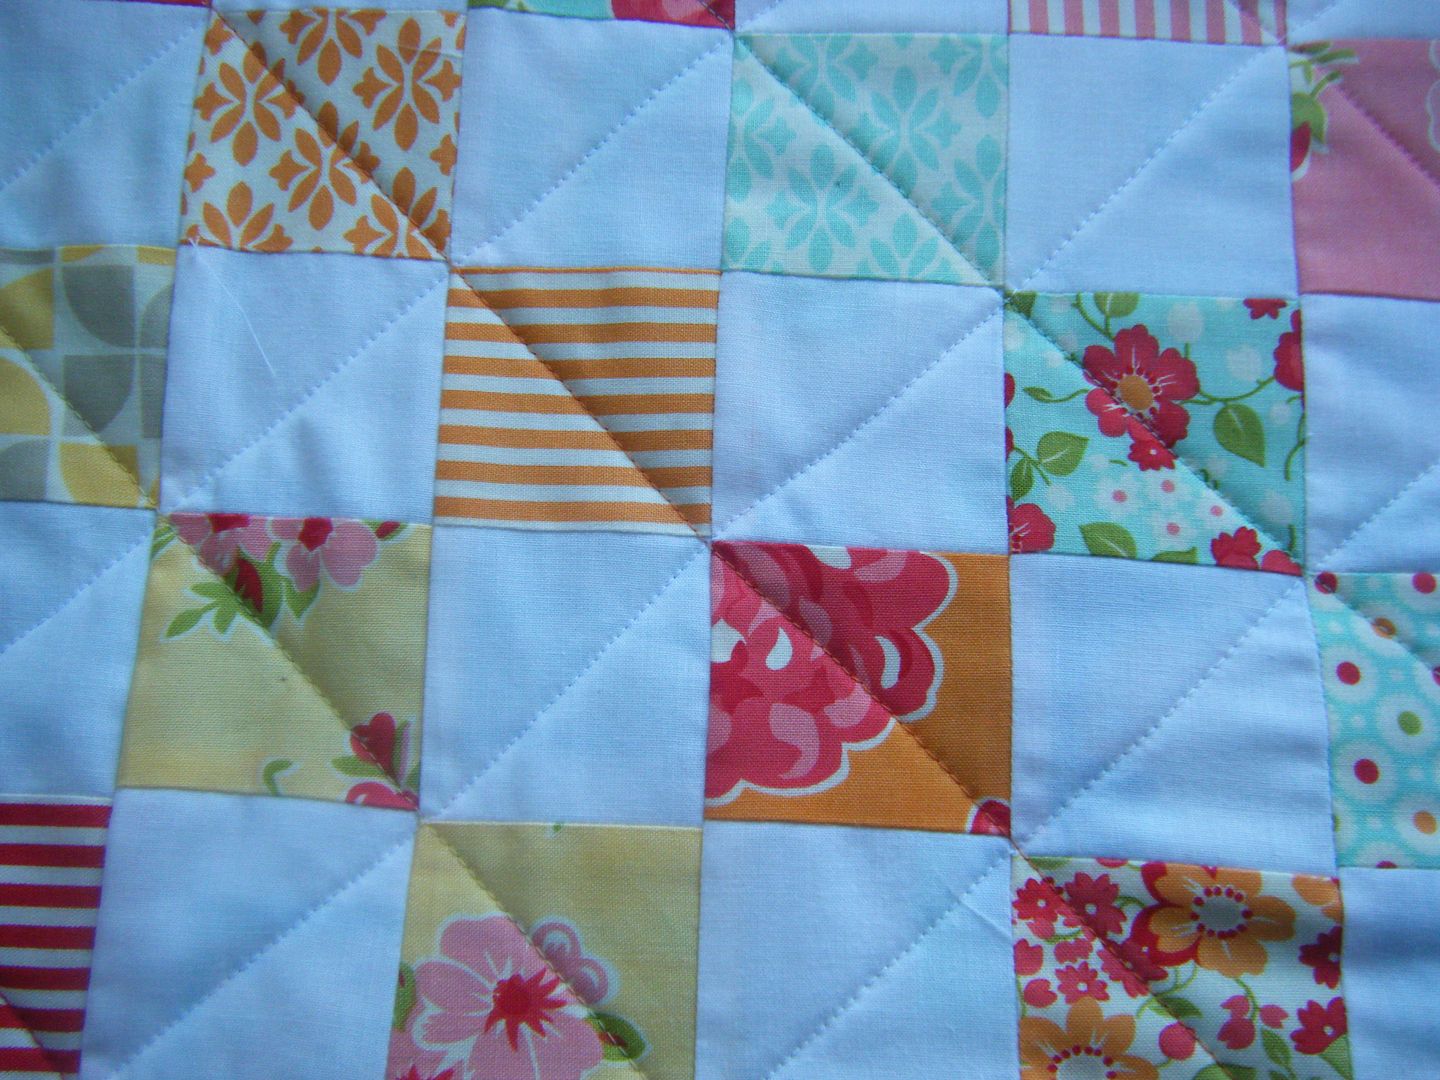
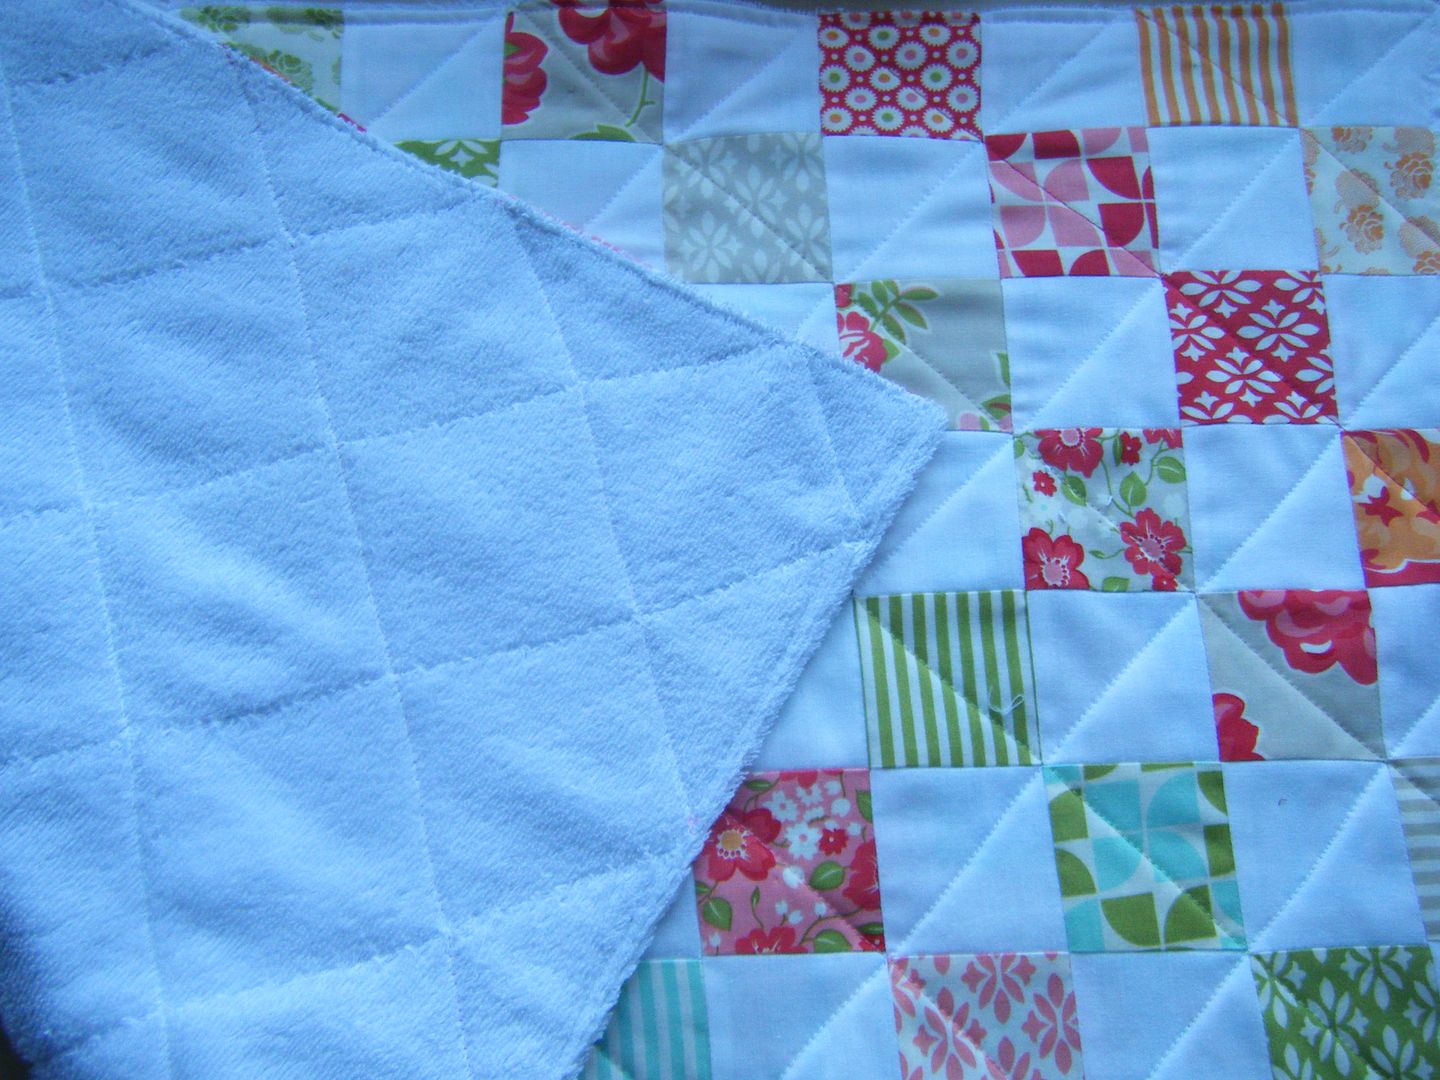
I then straight line quilted it.  I used white thread to go diagonally through all the white squares, then used matching thread for each colour diagonal.  I kept white in the bobbin as the back is white.


I don't think my points were too bad, quite a lot of them match.


Not all of them of course!


The back is an old bath towel.  I didn't want to use a new one as they shrink and I don't want this ruined when I wash it, which I will have to do often as it is white!  I was worried that the coloured side of the bath towel would show through the patchwork, but it doesn't so I'm happy!

1 kitchen project down, 96 more to go (more or less)... I feel a list coming on...