Showing posts with label pottery. Show all posts

Friday, 20 July 2018

Craft class - Pottery throwing

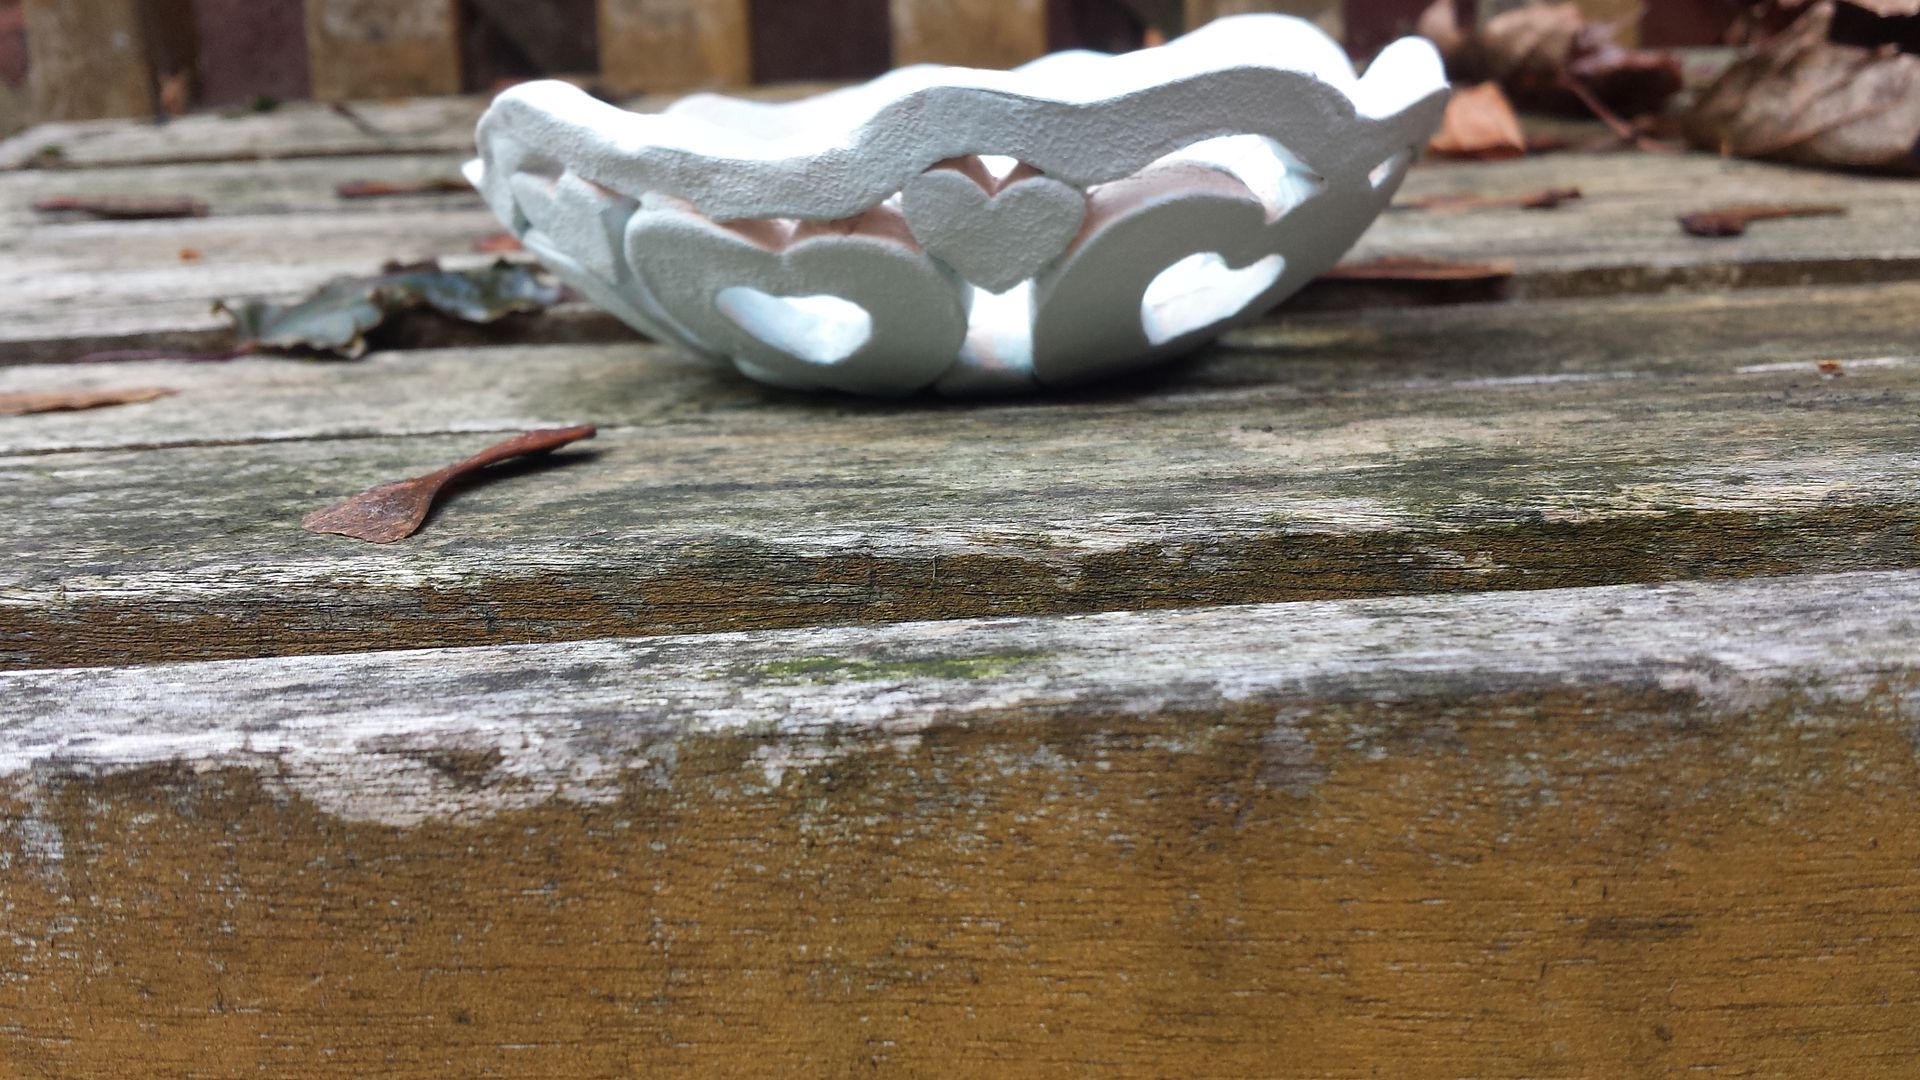
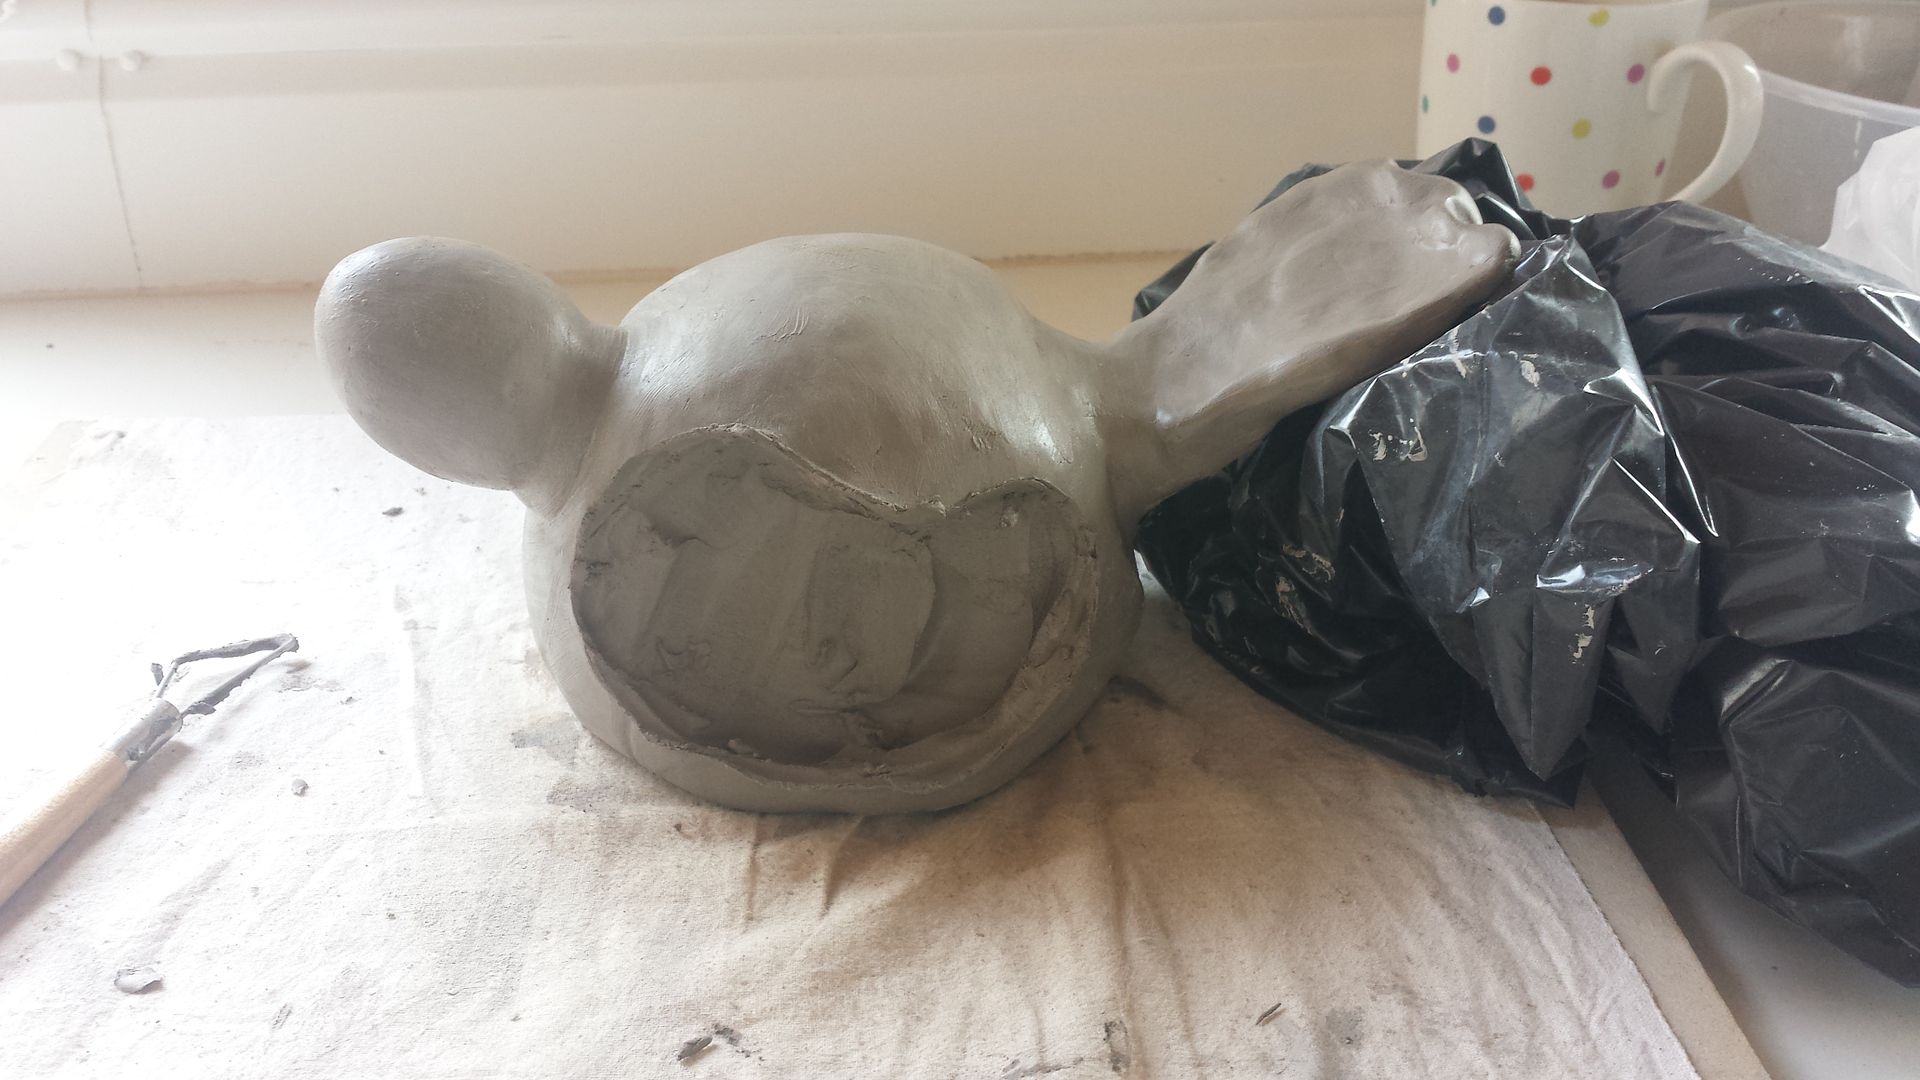
A very photo-light post today as it's about the pottery throwing class I went on, and being covered in clay is not conducive to handling your phone!

I threw a pot at the Manor House Hotel back in 2014 when I had a fab week there with my mum.  Since then, I've wanted to try it again, but could never find a class.  There is a regular class near to where I live, but it's at the same time as silversmithing so I'd never made it.  Then I noticed you could book a one-off class on a Sunday.  So I did.

10 of us gathered round a table and learnt how to wedge clay.  At this point, I was already a bit mistrustful of the teacher as she seemed rather rude.  As it turns out, it did not bode well.  Clay wedged, we went through to the throwing room where the teacher gave us a 10 minute demonstration covering everything from centering the clay to bringing it up, taking it back down, making the hole and drawing it up, then cleaning it up and cutting it off.  Then we were let loose.  Great, my favourite way to learn.


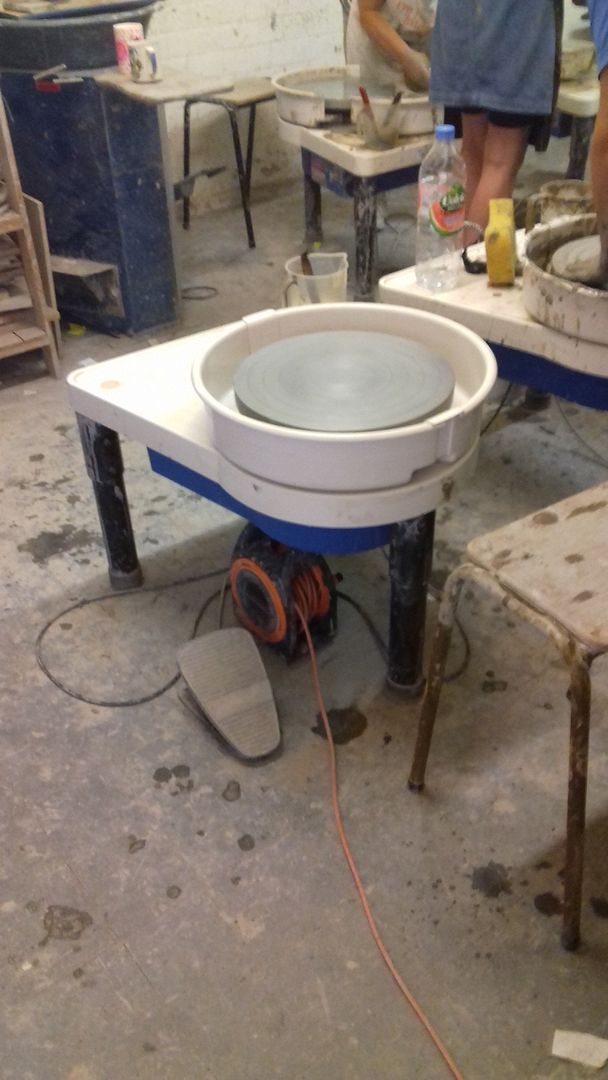
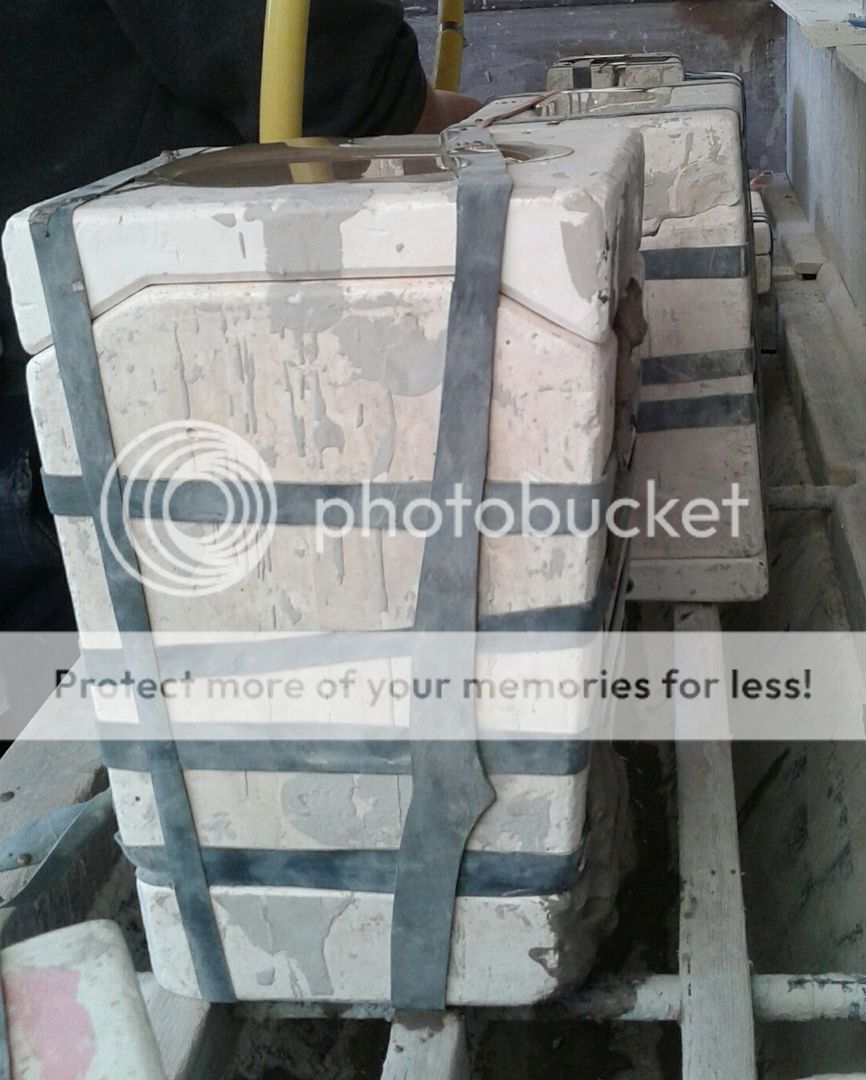
This was my workstation.  An electric wheel and a stool.  My first fight was to switch the machine to left handed.  The teacher had asked if anyone was left handed, just me, then told me I would try to throw right handed.  Having watched the demonstration, I knew I couldn't.  I just don't have any control with my non-dominant hand.  She was very pissed off with me.  Turned out that throwing left handed involves nothing more than pressing a switch on the side to change the direction of the wheel and moving the foot pedal to the left (which I did myself) which she also fought against me doing!  Years of sewing on a sewing machine meant that I KNOW I can't control speed with my right foot.  But what do I know?

So we began. At first there was much laughter, but then things started to go wrong.  No problem.  We were a room full of beginners, of course things would go wrong.  When they did, the teacher said, very aggressively I might add, "that's not how you do it!  Do it how I showed you!".  Hmmmm....  After being yelled at a few times, people stopped asking...

I was having trouble making my hole.  I could centre the clay and draw it up, but as soon as I put that hole in the top (to make a pot), it went off centre.  She refused to believe me.  Said the problem was it wasn't centred at the start.  So I showed her it was... then she'd walk off and not watch the bit I was having trouble with!


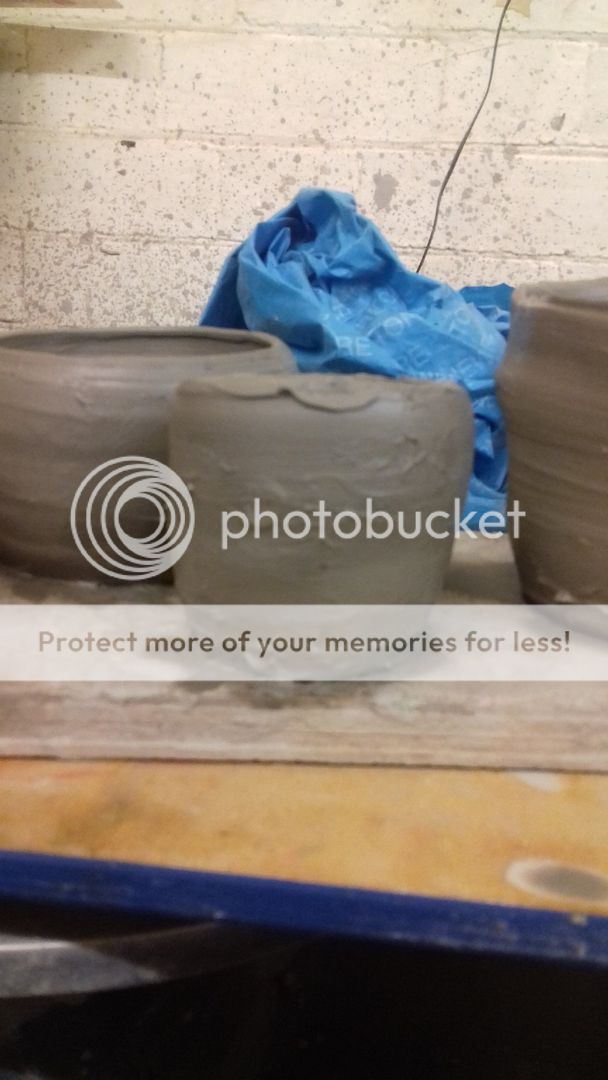
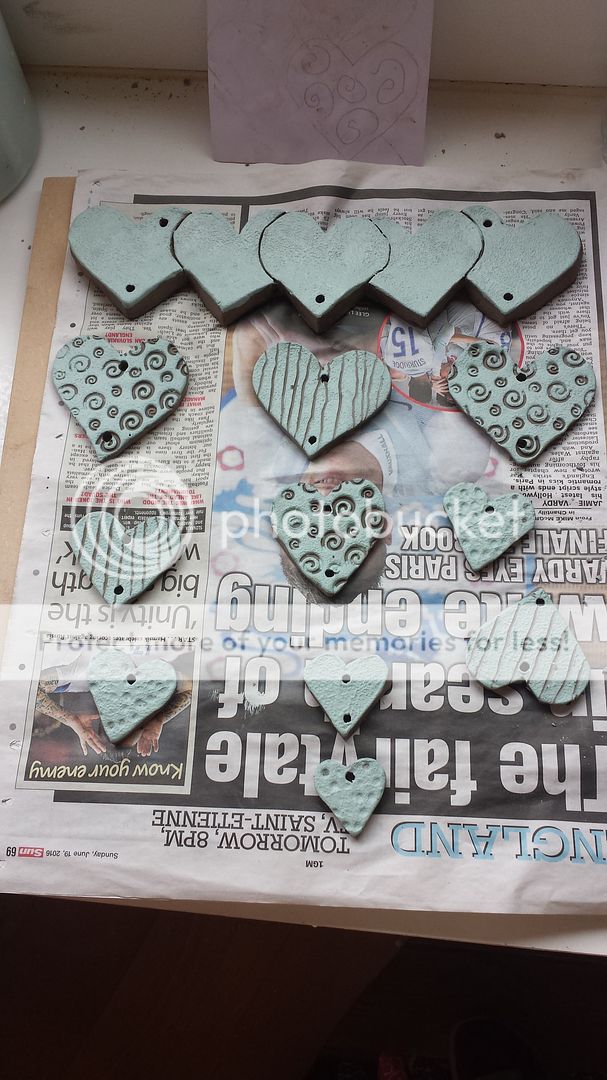
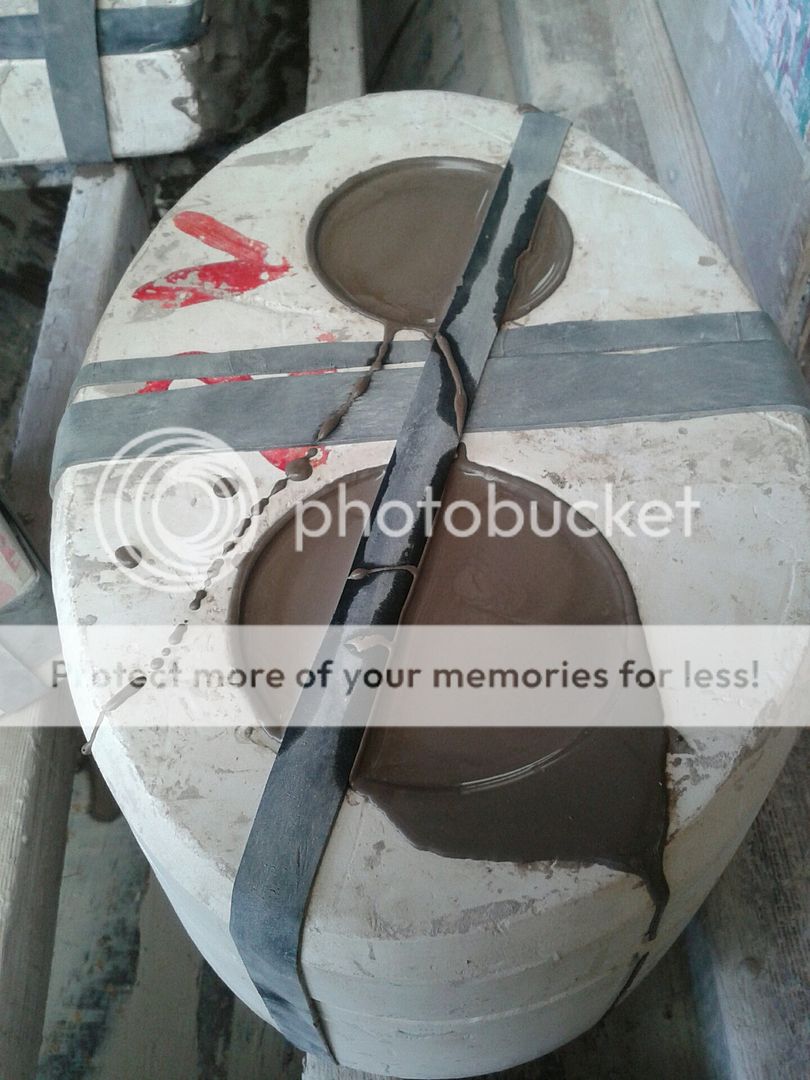
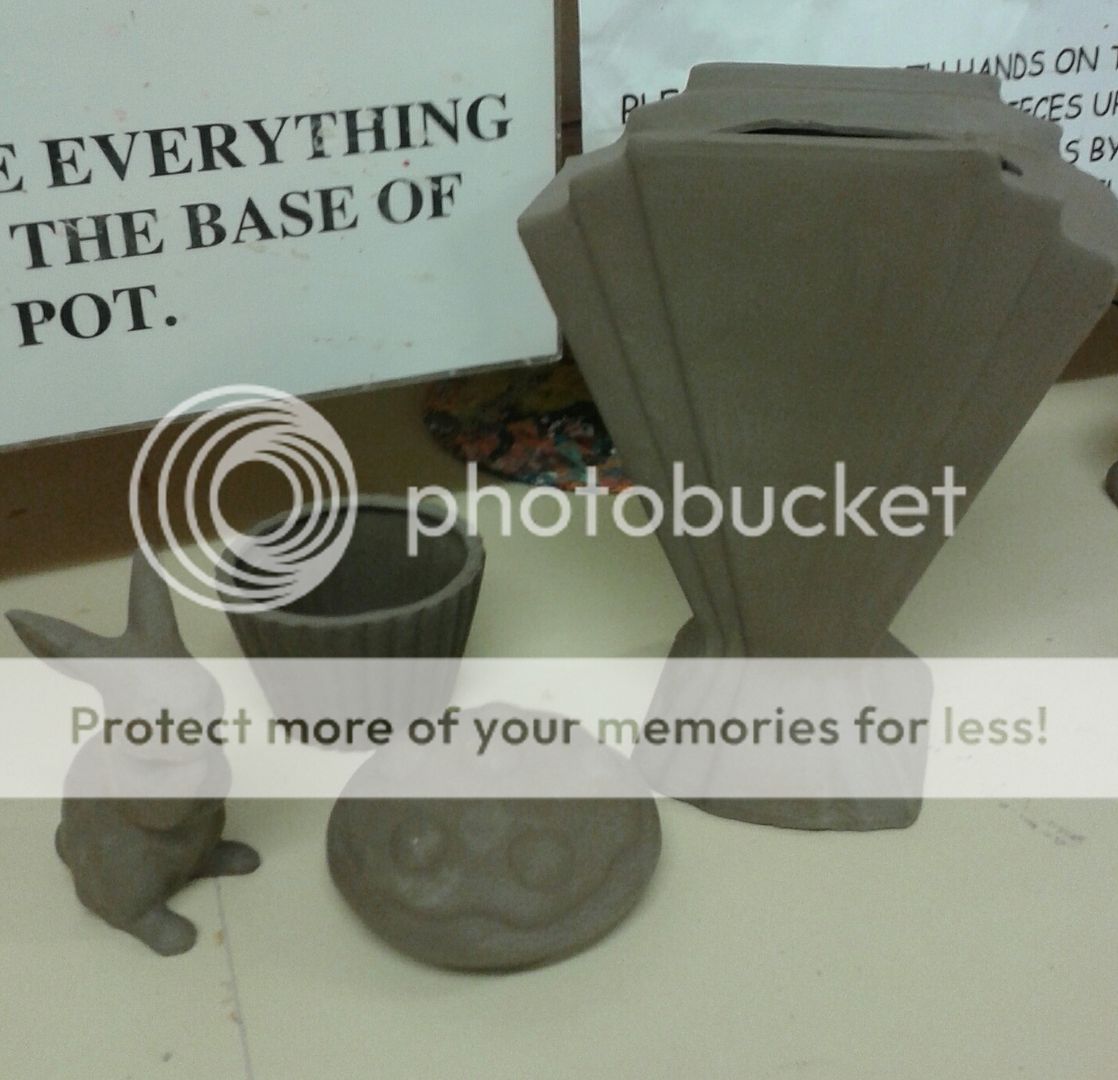
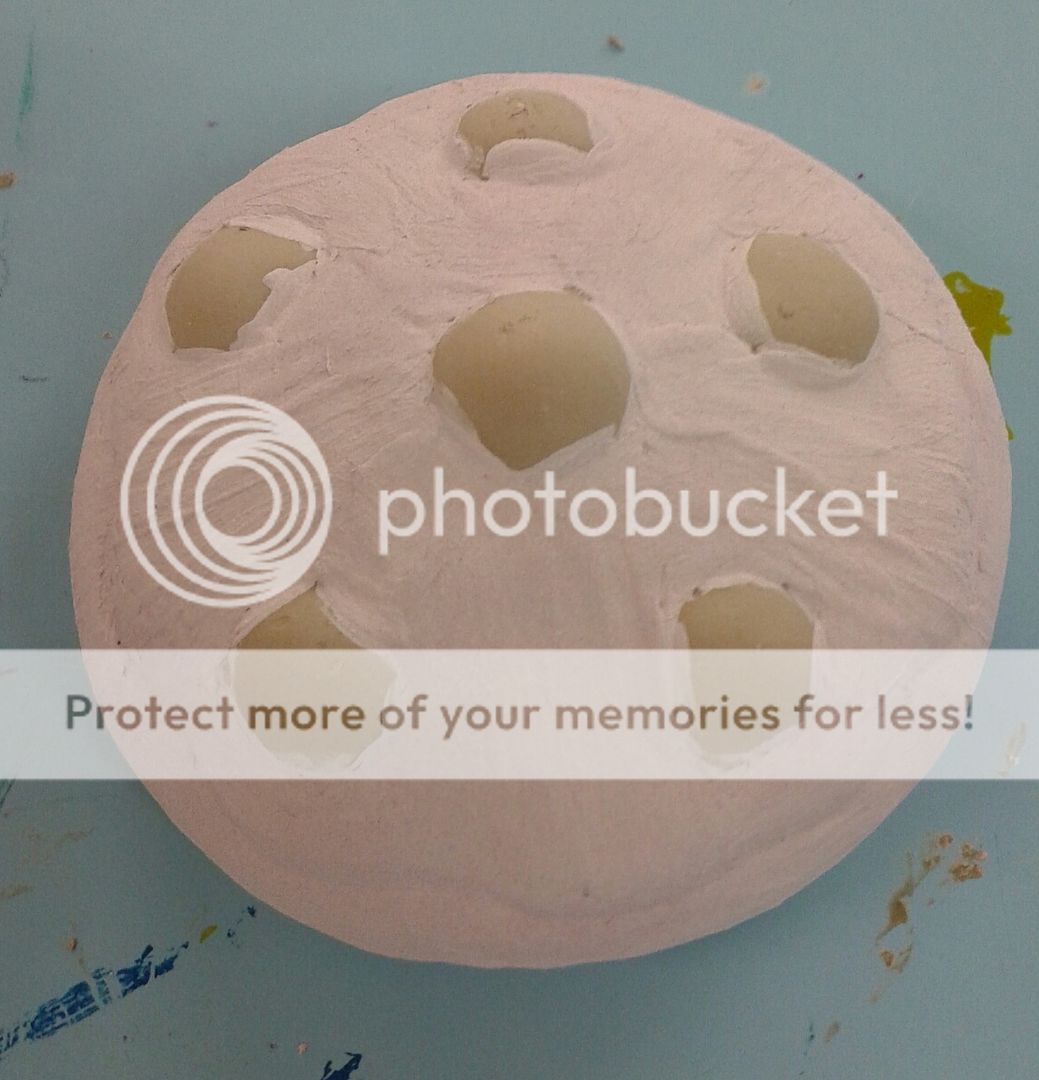
I threw 10 pots.  9 of which collapsed.  The survivor (which is crap!) is in the middle of the photo above.  At that point, I went home!  She said I could throw some more, but what's the point?  I was unable to solve my de-centering problem myself and she just gave me abuse if I asked for help...


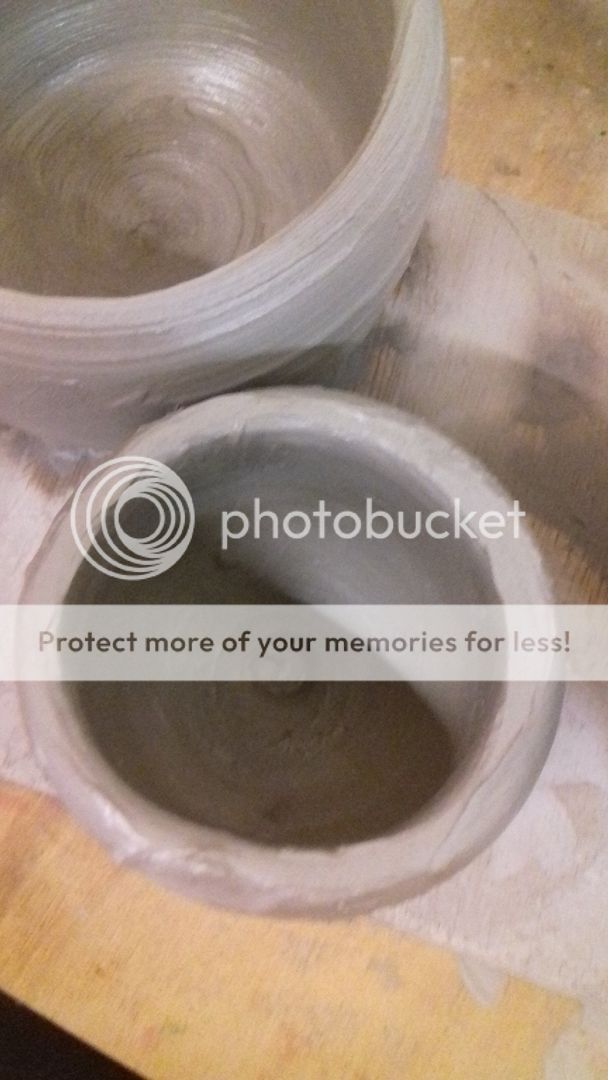
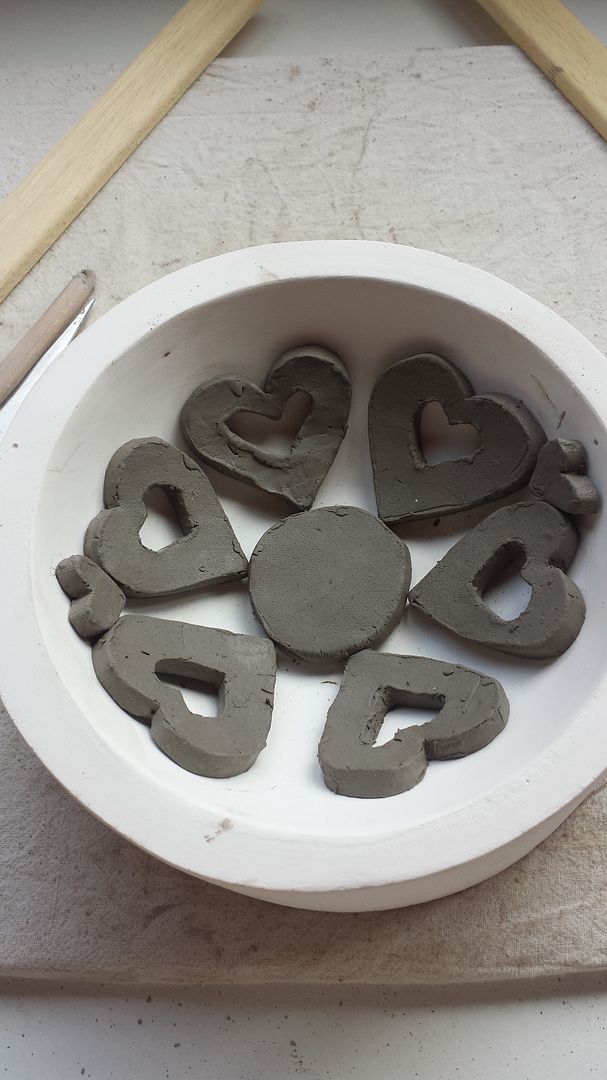
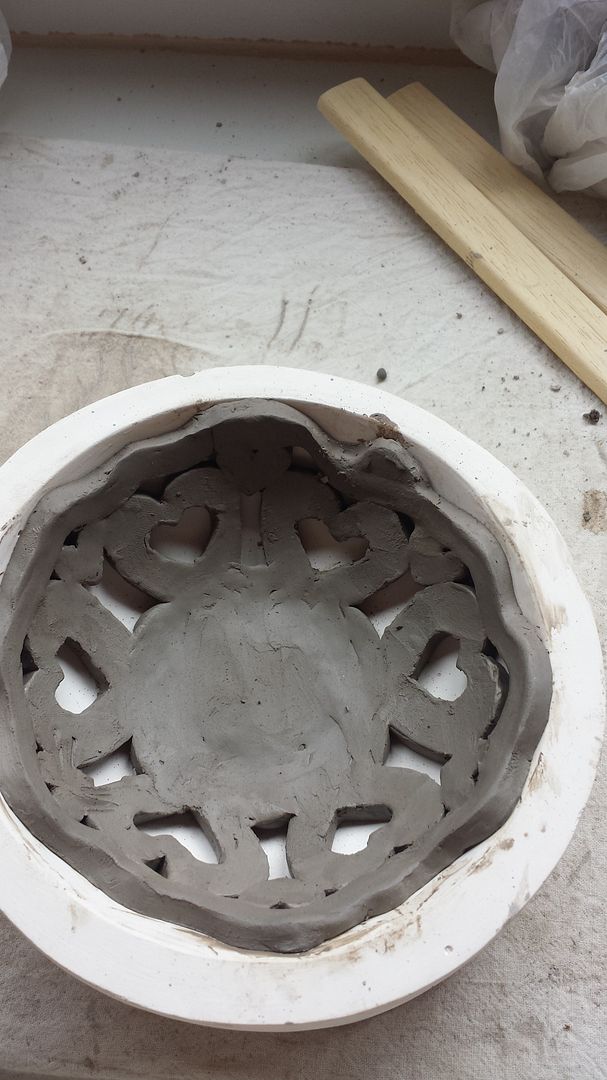
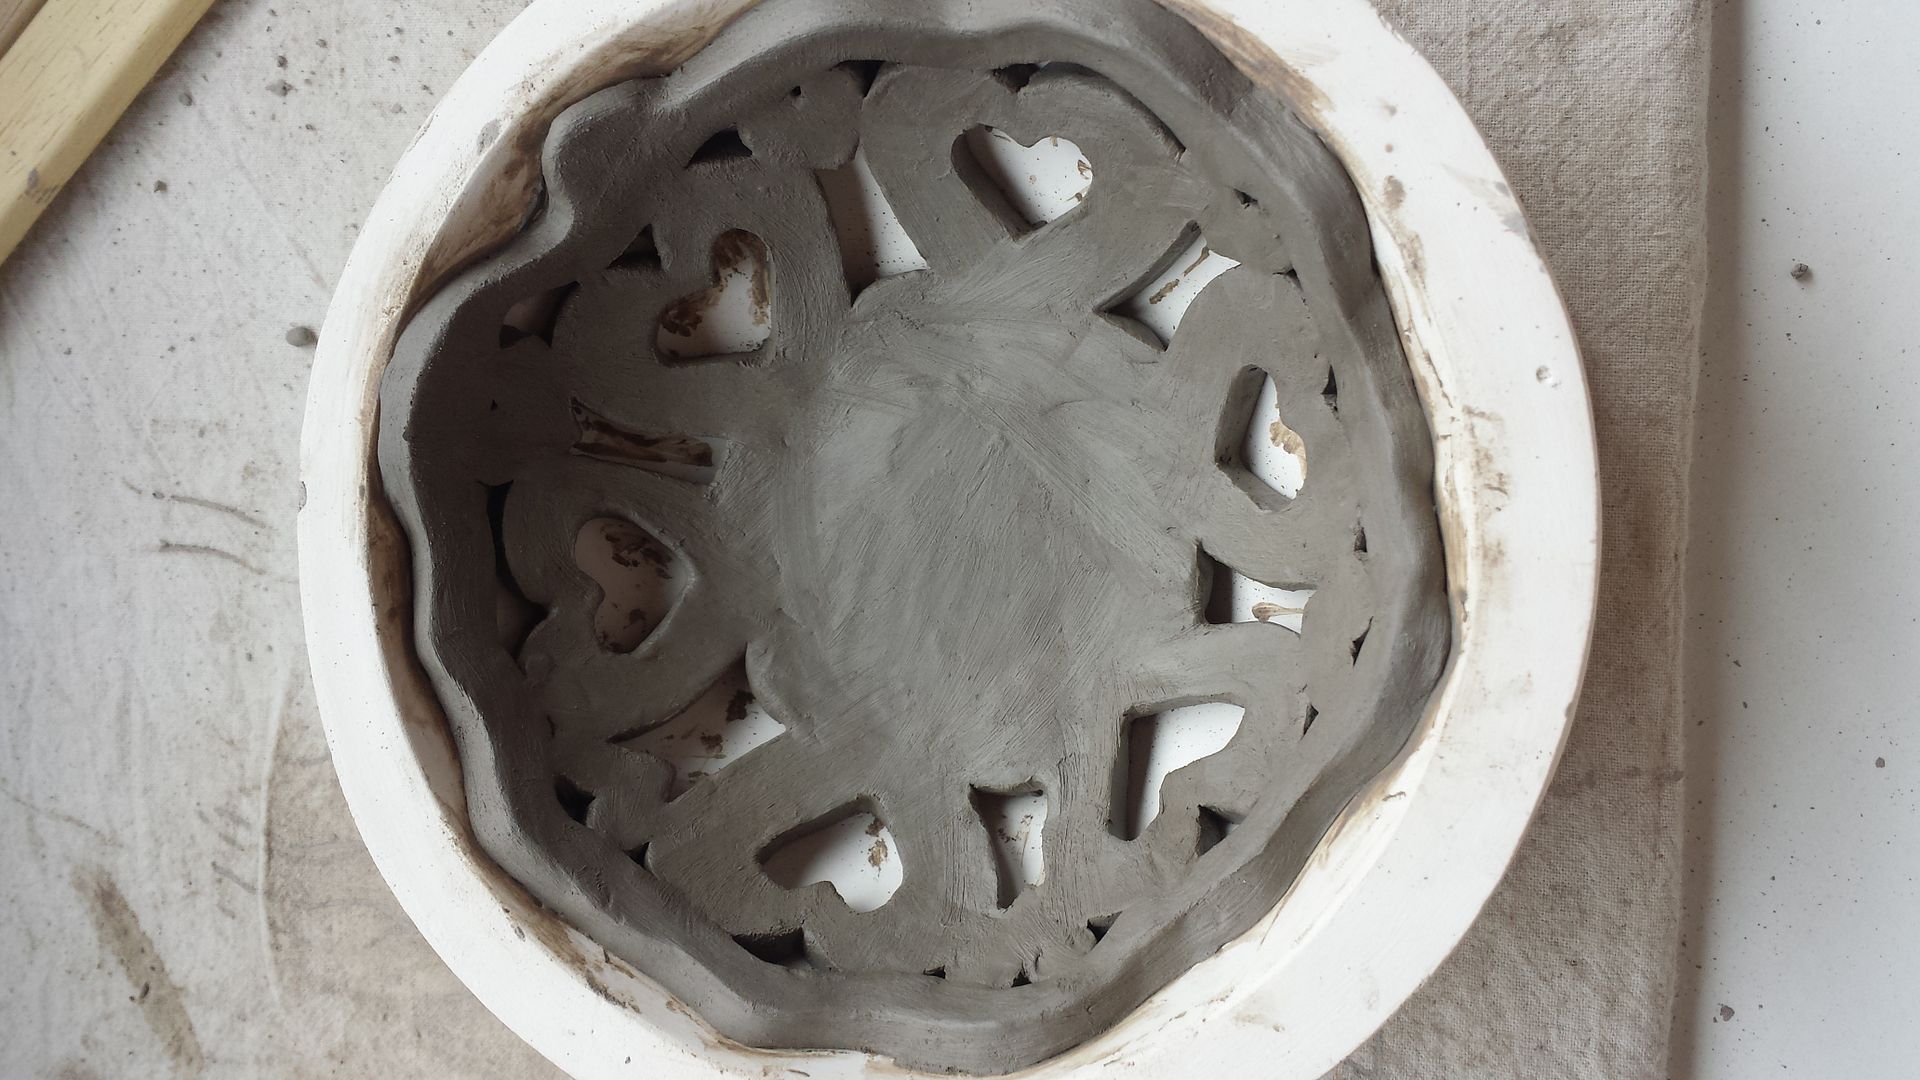
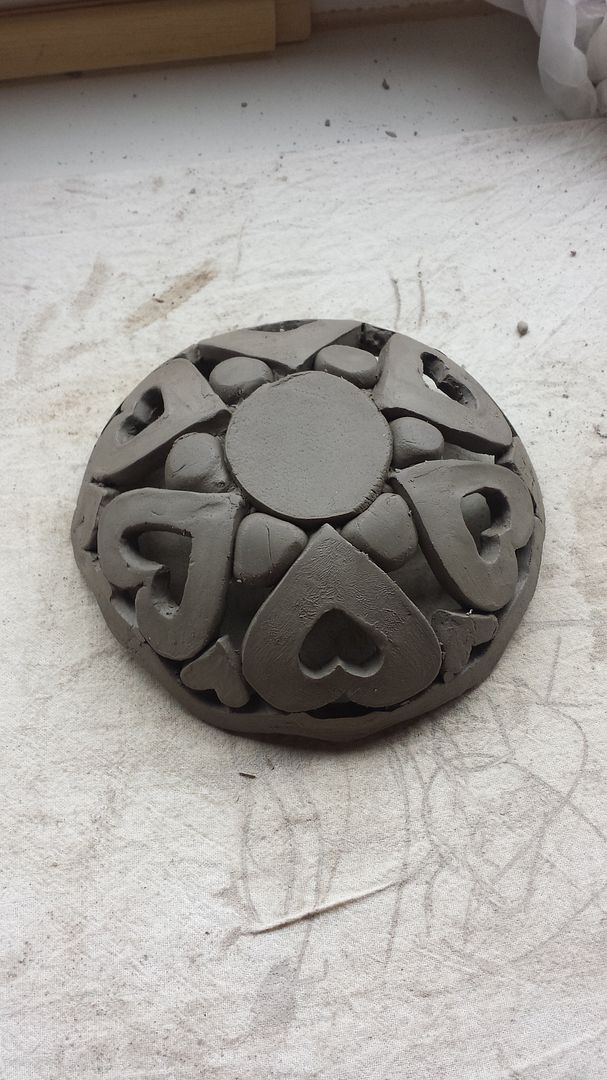
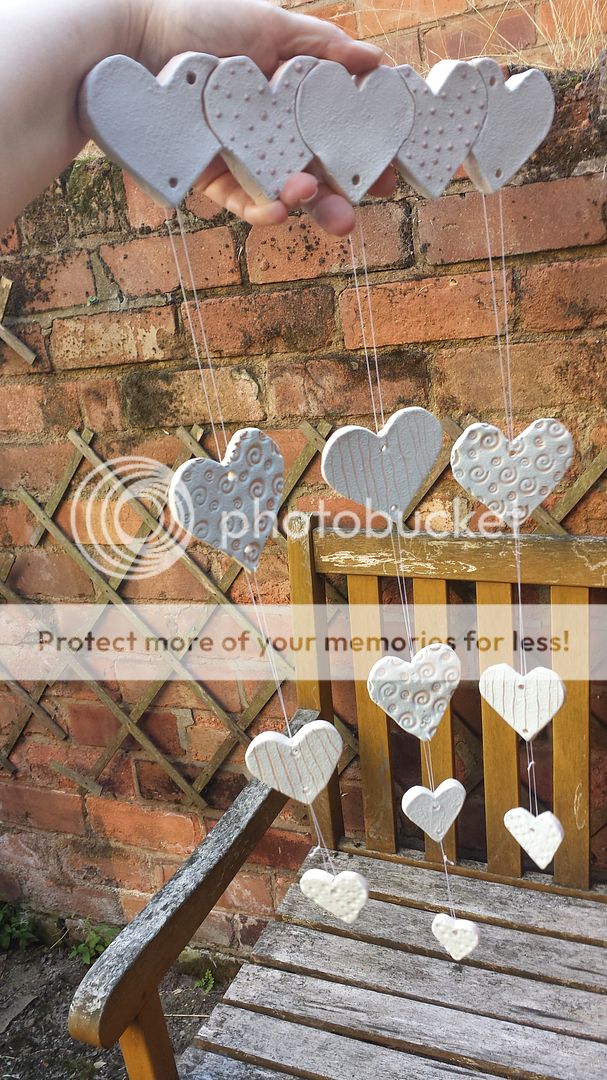
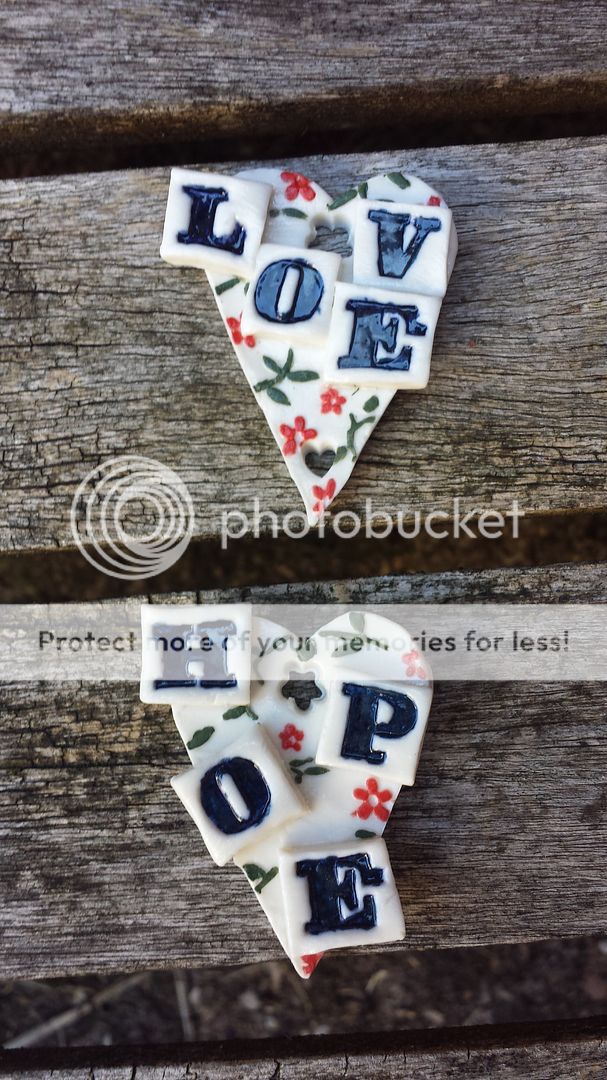
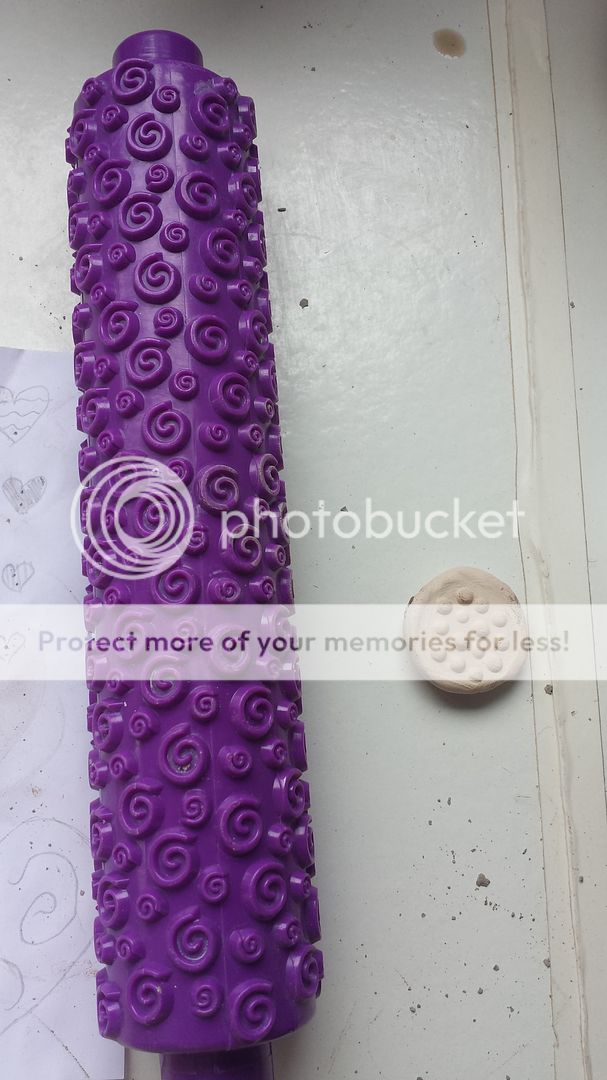
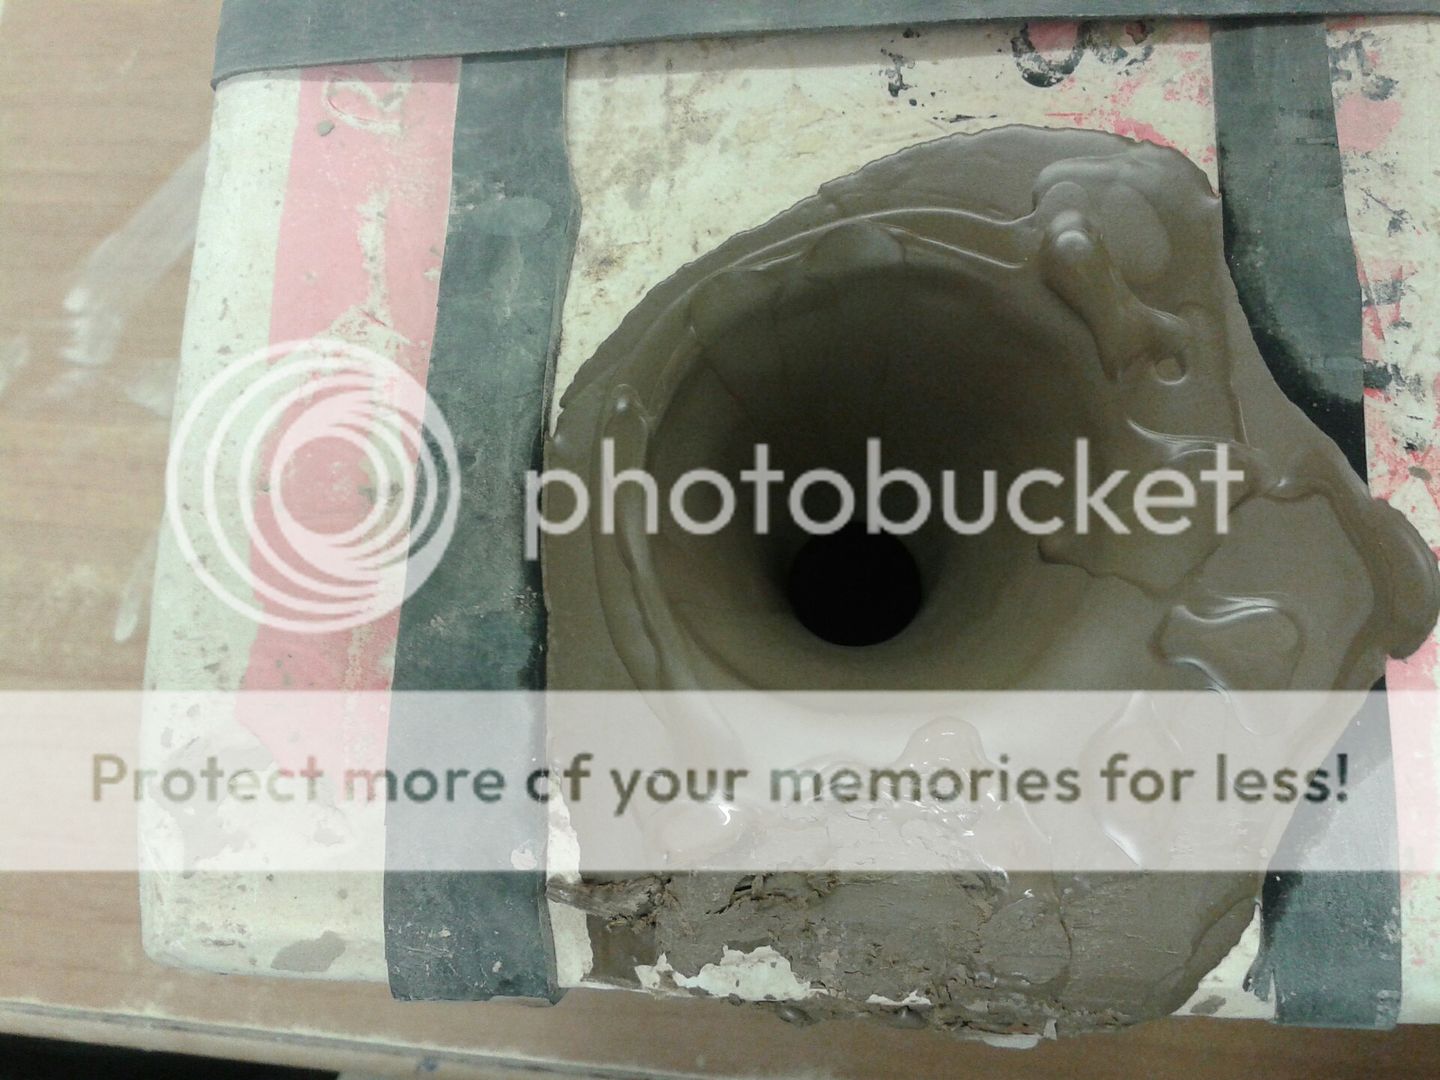
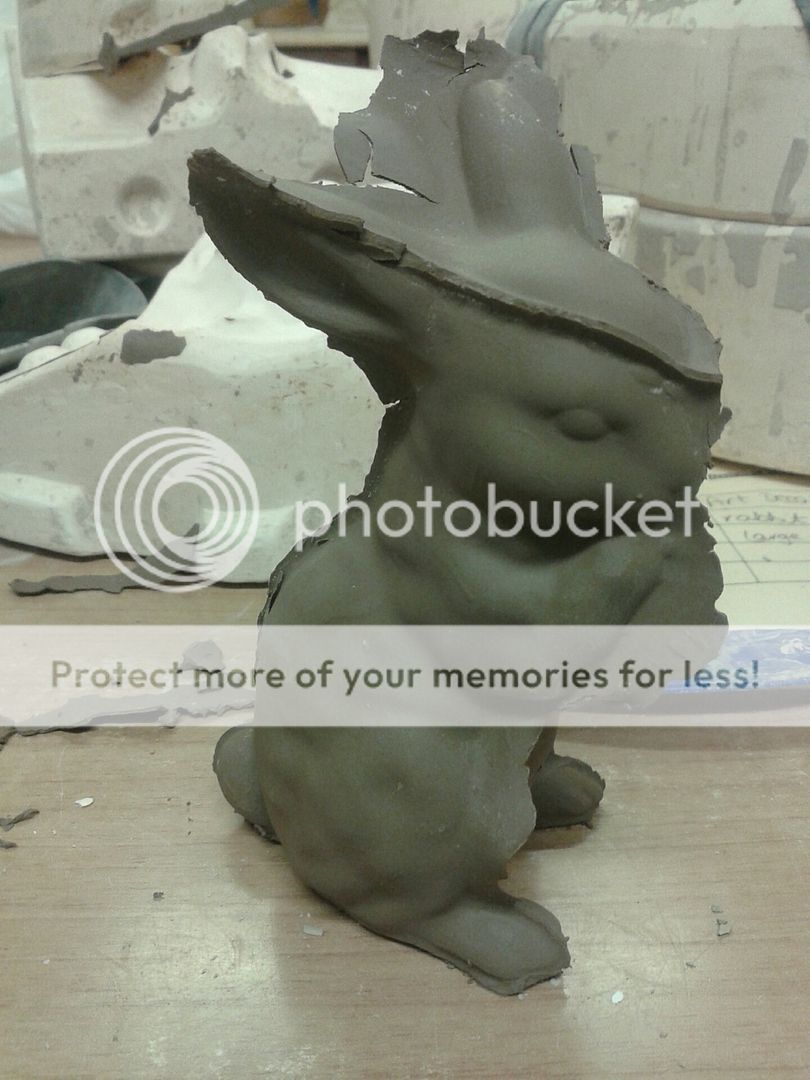
(Mine is the one at the bottom).  NOT a good class.  I will NOT be going back.  I don't think pottery is my "thing", but I do think I could do better than this.  Maybe I'll try again with another teacher, if I can find one.

I have chosen not to name the teacher or the place I went to learn as I realise this is a very scathing post.

If my pot survives the kiln (which I doubt!) I will come back and show you the pot.  Oh, another thing!  She said they'd be ready in about 3 weeks.  I asked if she'd email us and she said she doesn't have time to email us and we have to email her to ask if it's ready.  So she doesn't have time to send one group email, but does have time to answer 10 people asking if the pots are ready (and if they're not, these 10 people will email again)... customer service??

Tuesday, 25 October 2016

coiled bowl which isn't coiled

In the summer, mum and I went to a workshop with Katherine Fortnum.  I still wasn't very well but managed to do OK that day.  We were the only people in the class!  We were to learn a coiling technique to make a decorative bowl.  I couldn't roll the required sausages.  I tried and I tried but then I realised if I carried on, I would start to get upset and frustrated so asked if I could do mine by rolling the clay flat and cutting out shapes.  Katherine, very kindly, said yes and helped me to build a bowl in that way.  

I'm not sure that clay is for me, but if it is, I'd rather use the porcelain clay that we use with Katie Almond as I find it so much easier to work.


We used moulds to build our bowls in.  I cut some hearts and began to build it up.  I've just realised that I didn't take a photo of mum's bowl - I would have been able to show you what a coiled bowl looks like (it's not just one long "sausage" that coils round, it's small coils stuck together). 


As each part was built in, It was important to ensure the inside joins were all nicely blended in, to give the bowl some strength.


I added in some smaller hearts, I think I'd cut them out of the middles of the bigger ones, but I don't quite remember.


Turning the bowl out of the mould was nerve wracking!  It could have easily have collapsed...


A bit of painting - we couldn't do much as we weren't able to dry it out between coats, it would have cracked.  This is what I find off-putting about this kind of clay.  It's actually really fragile.


I painted my heart bowl in the same bluey-green I used for my heart windchimes - very predictable!


And here it is all fired!  It's about 6" in diameter, and maybe 3" high.


I can't really think of much more to say about it, but I have some more photos, so you'll just have to look at them!


Are you still looking?


Friday, 16 September 2016

Silencing the windchimes

I seem to have been writing about clay rather a lot recently, it just happens sometimes that classes come in waves, and over the summer we did several clay workshops.  Back in July wonderful mum and I went to a workshop at Katherine Fortnum ceramics to make windchimes.  You can see this post to see the unfinished item.


I made a flat style of windchime to hang against a wall.  I wouldn't dare leave something like this outside as it would be likely to get smashed by some of the less desirable people that live in the area.  (I know that sounds really snobby, but we have been burgled and someone set fire to our garden gate, right next to our rabbits, one night, also you should see the amount of rubbish in the streets and young or drunk people hanging around)


This is the hanging bar.  I had to carve out the back so that the clay was all roughly the same thickness otherwise there'd be problems with it drying and in the kiln.  I painted the whole thing in the same blue/minty green shade.


I varied the patterns on the hearts so that the outside ones were the same, but the middle one was different.  All the hearts get smaller as they get towards the bottom.


The middle string has one extra heart on it, just for a bit of interest.  It's all strung together with Fireline, a jewellery making material that's similar to fishing line.


The hearts are only painted and engraved on the front, so the backs are a boring brown colour, but that's up against the wall and doesn't really matter.


I hung it on the first floor landing.  It's all alone on that wall, but maybe one day I'll fill it with quilts and embroideries and other made pieces.  The rate I'm going I'll fill the whole house!  I don't think Mr CA has noticed it yet...


Hmmm.... maybe I should have measured that Fireline so they were hanging symmetrically! 

Thursday, 1 September 2016

Hanging hearts

I have some bunny news to start with.  A few weeks ago we lost Kate, our newest bunny.  She had been paired with Harry, who is now on his own again.  She wasn't ill so I can only think that she had a heart attack, she was a very nervous girl.  It's a shame that I only got to spend a few months with her, but at least she had found her forever home and was, I hope, happy with Harry.  Harry has had an eye infection this week, I took him to the vet on Tuesday and discovered that he has cataracts and is most probably blind!  It does explain why I'd been finding it so easy to catch him, apparently I'd been sneaking up on him, poor fella.

Totally unrelated to bunnies, today I wanted to show you the results of a workshop at Debbie Bryan with the very talented Katie Almond.  It was to make a hanging plaque, or a series of hanging plaques.  I went in with an idea of what I was going to make.... and made something completely different!


The photo above shows the pieces just as I was starting to paint them, prior to firing.  We used Katie's usual techniques of cutting shapes, adding texture with lace or stamps or rollers, adding cut out pieces and then painting to highlight.  This is my best job yet with the paint, I think I'm finally starting to get the hang of it!


I'd used a textured roller and I highlighted the flowers only.  Painting does take a long time and so I didn't get time to do as much painting as I wanted on the largest heart. 


But I'm really happy with the results!  The picture above and those below are of the fired items.  Katie uses porcelain clay which has such a different finish to the earthenwear clay we've been using on workshops with Katherine Fortnum.  


I punched holes top and bottom (except on one) using a heart punch and a flower punch, just for something a bit different.


I strung them together using Fireline which is a jewellery making material which is very similar to fishing line.  If you're thinking it's very invisible, it's because I didn't string them until I'd taken these pictures!


I didn't know where I was going to hang these, I've got a large collection of hanging hearts, some made by me, some by other individuals and some mass produced.  I decided to hang it in the kitchen.  I've been avoiding hanging anything in the kitchen as I STILL haven't finished painting (3 years after the kitchen was fitted...), but now it's time.


See that silicone on the wall??  That's why I've been avoiding finishing the decorating.  Anyone know how to get it off?  Mr CA said to just keep painting over it but that's not working!

Saturday, 30 July 2016

ceramic birds and wind chimes

Last month I told you about  a workshop we did at Katherine Fortnum Ceramics.  We went to another workshop a few weeks ago and so were able to collect the birds we'd made.


He is intact, if not quite as attractive as he could have been.  I only put one layer of underglaze on him so he's a slightly pinkish/brownish off-white!


Katherine did say that the inside would need a light sand as it was so hard to get it smooth during the making process, I was surprised how bumpy and knobbly it turned out.


He's on the kitchen window sill (indoors) at the moment until I decide where he can live and what he can hold.

At the last workshop we were making windchimes, or a hanging mobile of some sort.  I don't have many photos but I have a few.

I cut out a series of hearts getting progressively smaller.  I then textured some of them in different ways.


I used one of these fancy rulers to imprint some of the hearts.  The small round thing is a stamp, I used that on other hearts.


Next it was glazed, three coats, and I scratched some designs into the glaze to reveal the clay underneath.


They're going to be fired, then we'll collect them.  I think we've got another workshop later this month, I'm taking the Mother-in-law as well as mum so that should be good fun.

Wednesday, 29 June 2016

Ceramic bird feeder

A few weeks ago, wonderful mum and I went to a ceramic workshop at Katherine Fortnum Ceramics in Market Harborough, Leicestershire.  Her workspace was lovely, the other 3 participants were lovely, Katherine is lovely and a very good teacher, but I was ill.  I was having a really bad time of it and perhaps I shouldn't have gone, but I thought it might cheer me up.  Hmm.  When will I ever learn than depression can't be cheered up.


We were making a ceramic bird feeder in the shape of a bird.  Now, I only get pigeons in my garden and I don't want to feed them, so I thought I'd just use it as somewhere to put pretty things on display.  We were using earthenwear clay and started with a big ball, flattened on the bottom.  We added a tail.


And a head.  At this point, things started to go wrong as my tail kept sinking, I held it up with a plastic bag, but I should have made it smaller and thinner.


Next we started to carve out the wing shape using the tool you see in the photo above.  We had to go in from both sides and carve very carefully.


After this I have no more photos as at this point both my head and tail started to fall off and I got frustrated and upset with it.  I went outside to have a ciggie and Katherine fixed it the best she could.  When they were finished, we glazed them, but again, I have no photos.  

I think we collect them in a week or two so I'll show you the results then - I'm expecting my head and tail to have fallen off and possibly for the body to have collapsed...

Monday, 13 October 2014

Manor House pottery

Good morning ladies.  You may have noticed I haven't been commenting on your blogs or replying to your emails and that's because I've been on holiday, to a destination without Wifi!  Yes, such a place does exist and no, it wasn't Mongolia (where they do have the internet as I've emailed from Ulan Bataar).  Me and the lovely mum went for a week of craft at The Manor House Hotel.

It's a hotel near Okehampton in Devon which caters for lovers of golf, tennis, other sports and craft.  I guess it's a great family destination, but is also good for people who want to spend their holidays doing activities.  As it was term time, there were only 2 children there, a lot of older people and us.  The place was rammed.  You get three meals a day as I think most people stay within the grounds, most unusual for me and mum who are used to going to places where we stay self catering or B&B and spend our days exploring.

I'm going to do a series of posts this week, each one showcasing one of the activities we did, and some were a little unusual so I hope you enjoy!

We started with pottery.  This was two sessions, but I've put them into the same post.  We started with slip casting.  This involved choosing 3 moulds that we wanted to cast.  My choices were a cupcake trinket box (below right), and Art Deco vase (not pictured here) and a rabbit (below left).  As you can see, the moulds were massive.


We started by taking them apart and cleaning out dried on clay using a little plastic tool.  This is the Art Deco mould taken to pieces - 4 pieces in this case.


Once clean, we put the moulds back together and secured them with big elastic bands, making sure they were nice and tight.


Then we moved over to the slip casting area.  I couldn't get photos whilst I was doing this as it was rather messy.  The moulds sit above a trench for the waste slip and the slip comes out of a trigger gun to fill the moulds.  Slip is a mixture of clay and water (I think!), so it's sloppy, heavy and grey.  We filled the moulds to the top and left them for 20-35 minutes depending on the size of the mould.


My Art Deco vase was leaking as I was filling it so required shoring up with lots of clay, it took me ages to plug the gaps!


Here's my cupcake mould filled up and drying, the slip is turning a brown colour.  After the prescribed time, I had to empty it out and leave it to drain.  As the slip had started to dry, this leaves a cast round the edge of the mould.


Emptying the moulds was very messy!


And here it is all emptied.  At this point we had to leave them to dry a bit more, so we had a demonstration of using a potter's wheel.  I didn't get any photos of this I'm afraid.  We had a go on the wheels, but me and mum were on different wheels at the same time so neither of us have any shots of us trying it out.  I actually managed to make a pot, but didn't heed the tutor's advice to stop when you're happy and carried on a bit too long - the pot collapsed.  I really enjoyed working on the wheel and we're going to take some classes at a local potter's studio where they offer wheel work.


When the moulds are dry it's time to carefully take them apart and fish out the cast object.  They are very fragile and soft at this point.  The lines you see are the mould lines.


These excess bits of clay and lines had to be removed with a sharp knife, this is called fettling and is not easy on the soft clay!  All seam lines are then rubbed over gently with a damp sponge to blend the lines into the piece.  The cast objects were then left to dry on top of a kiln overnight.


The next day we went to the next session.  Our pieces were dry but very, very fragile.  We were to under glaze them, but I decided to leave the bunny un-coloured which meant that after dipping in glaze by the staff, he would be fired and turn out white.  I painted on a layer of wax to the bottom to stop the glaze from taking so he wouldn't get stuck to the kiln shelf.


When we collected them on the Wednesday, I discovered my pure white bunny had blobs of blue on him! No idea where they came from.  I also hadn't done as great a job of blending the seam lines as I thought, but never mind, he's my first piece of slip casted pottery and I like him!


I wanted to glaze the Art Deco vase in an Art Decoey way.


I used masking tape and carefully painted the middle section turquoise.  The colours of the glaze were not the same as the finished colours would be so this took some imagination.  You had to do three layers, as even as possible or streaks would show.  It was really hard as the glaze was all powdery and unpleasant to paint with.


I did the middle fans with black and left the rest white.  As you can see below, it didn't turn out great.  There were random black splodges on the sides and the turquoise bits and the paint was uneven.


If we'd realised how horrible the underglazes would be to work with, we'd have had them fired and then painted them with porcelain paints, but we didn't know how it would turn out.  I'm glad we tried it though.


I've bought a couple of pots of porcelain paint and I'm going to attempt to paint over the black and turquoise parts to touch it up.  I may then paint the white bits white, but I want to see how the paints feel first!  It is a fully-functioning, waterproof vase so it's not the end of the world, but I am a little disappointed.


My final piece was the cupcake trinket box.  I painted the top with the underglazes, this is actually purple!


Then I added the cherries in a mix of red and white and make pink.  They were so hard to paint evenly.


I had a go at the sponging technique on the inside using the purple and pink.  It looked so effective on the example pieces we were shown.  The brown rim is the wax that we used to stop the pieces sticking to the kiln shelves.


As you can see, the underglaze looks dreadful, this picture below was after three coats.  It really was unpleasant to paint with.  The whole thing (I painted the two items, mum also painted another vase) took us 4 hours!


And here's the finished piece.  Again, not brilliant, but it's for me to keep my bracelets in so it doesn't really matter.


The glaze chipped off one of the edges and there is a crack down one side - this can happen if you put more than four layers of glaze on, which I suspect I did by accident.  As you can see, the sponging technique did not work well!


Despite the dubious success of my pieces, I had a great time and loved pottery (with the exception of underglazes!!), I do intend to do some more pottery.

Wow, that was a long post!  I'll be back tomorrow with talk of enamelling (and a shorter post!).


Slip casting, painting with underglazes and wheel work are all new to me, so I'll be linking up with Something New for 2014


Celtic Thistle Stitches