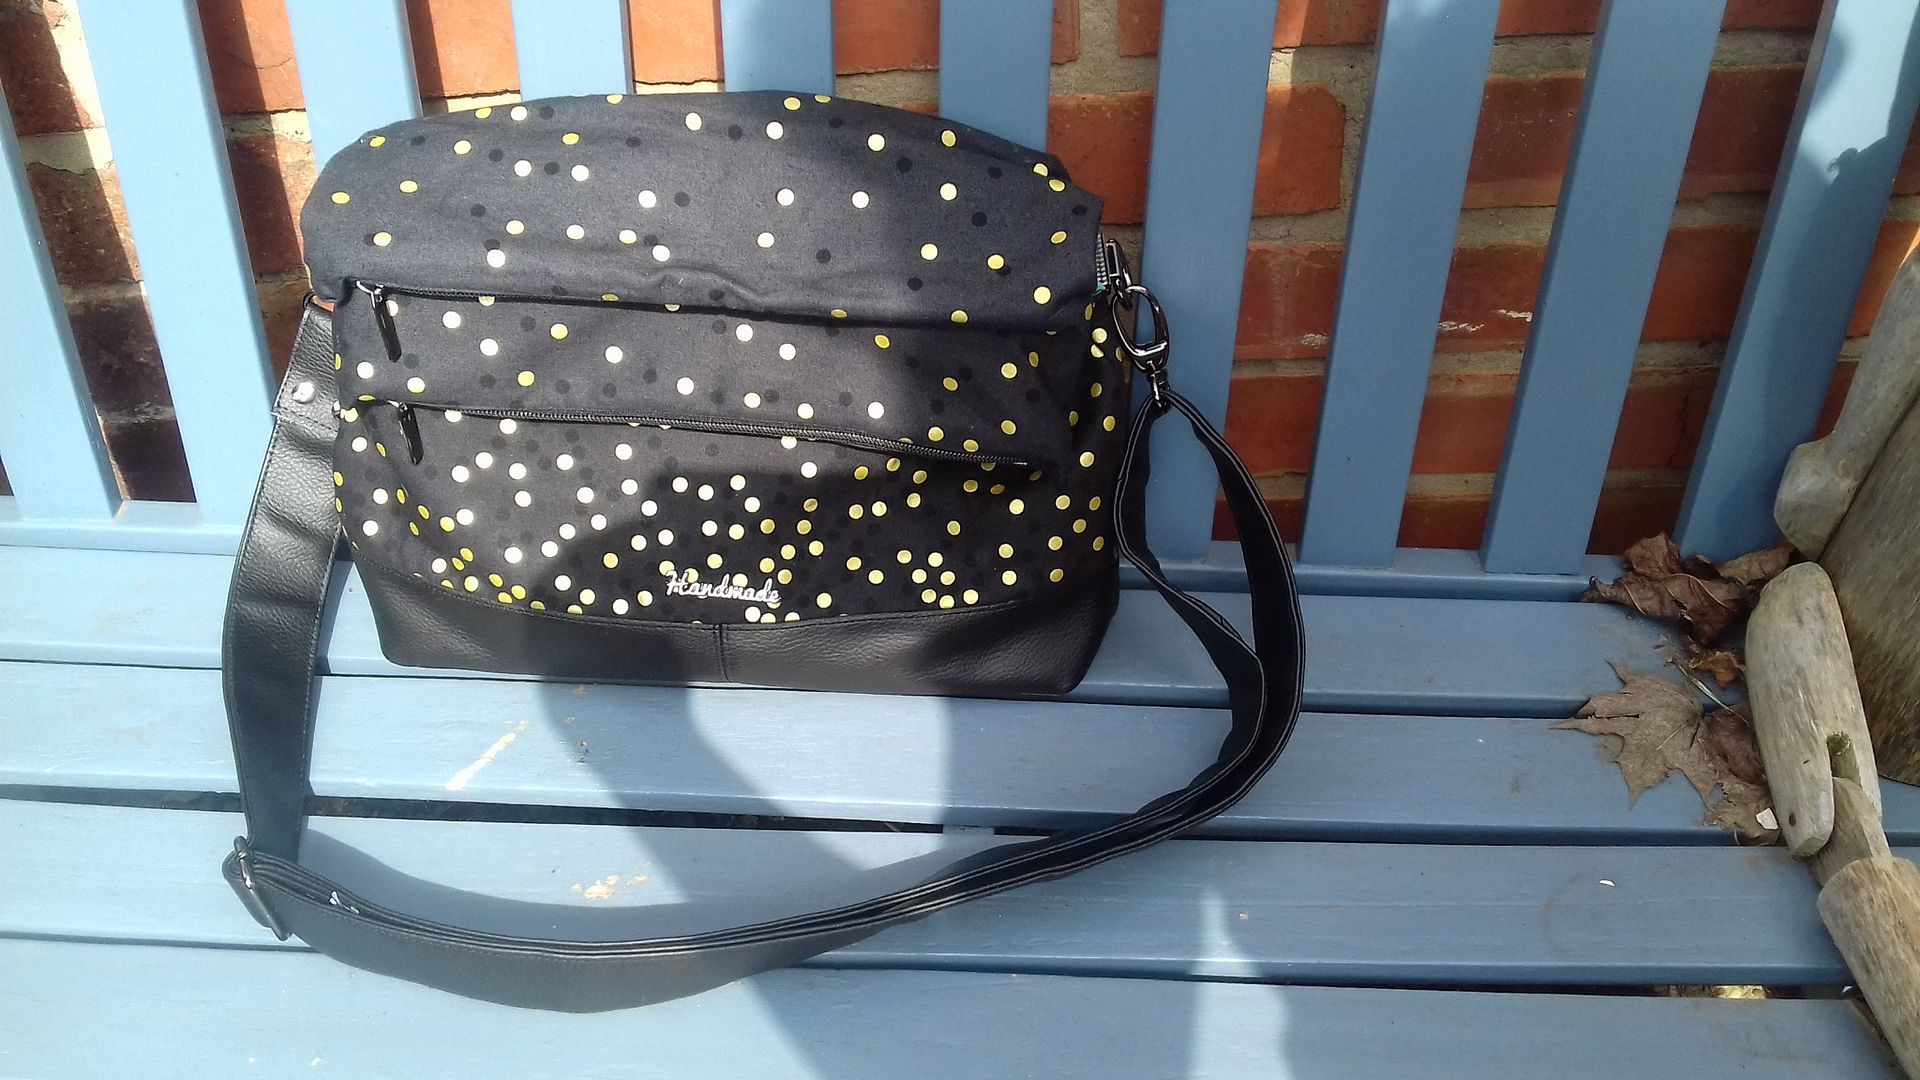
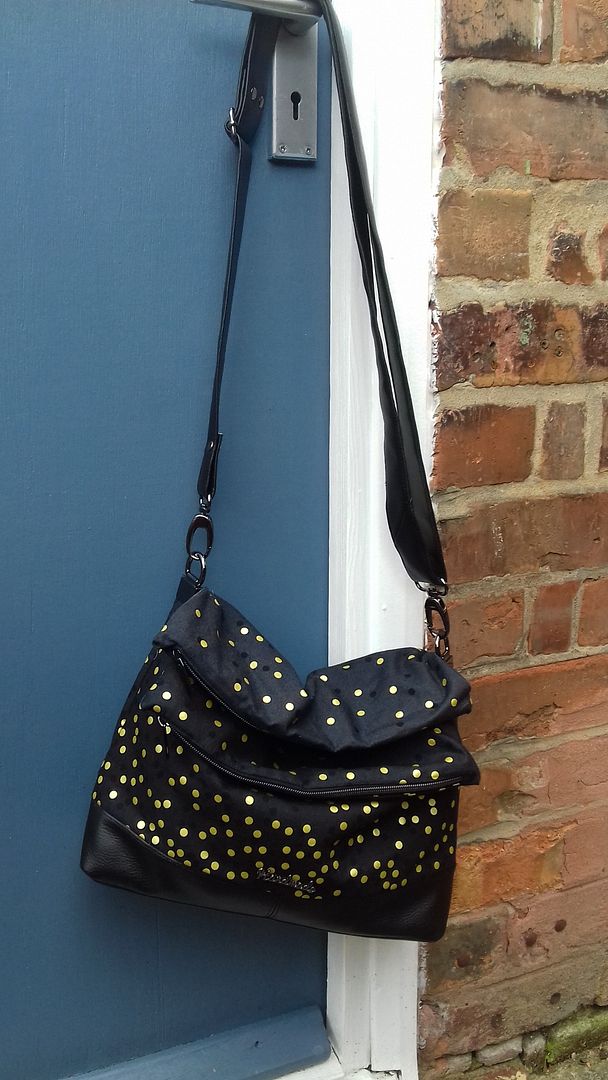
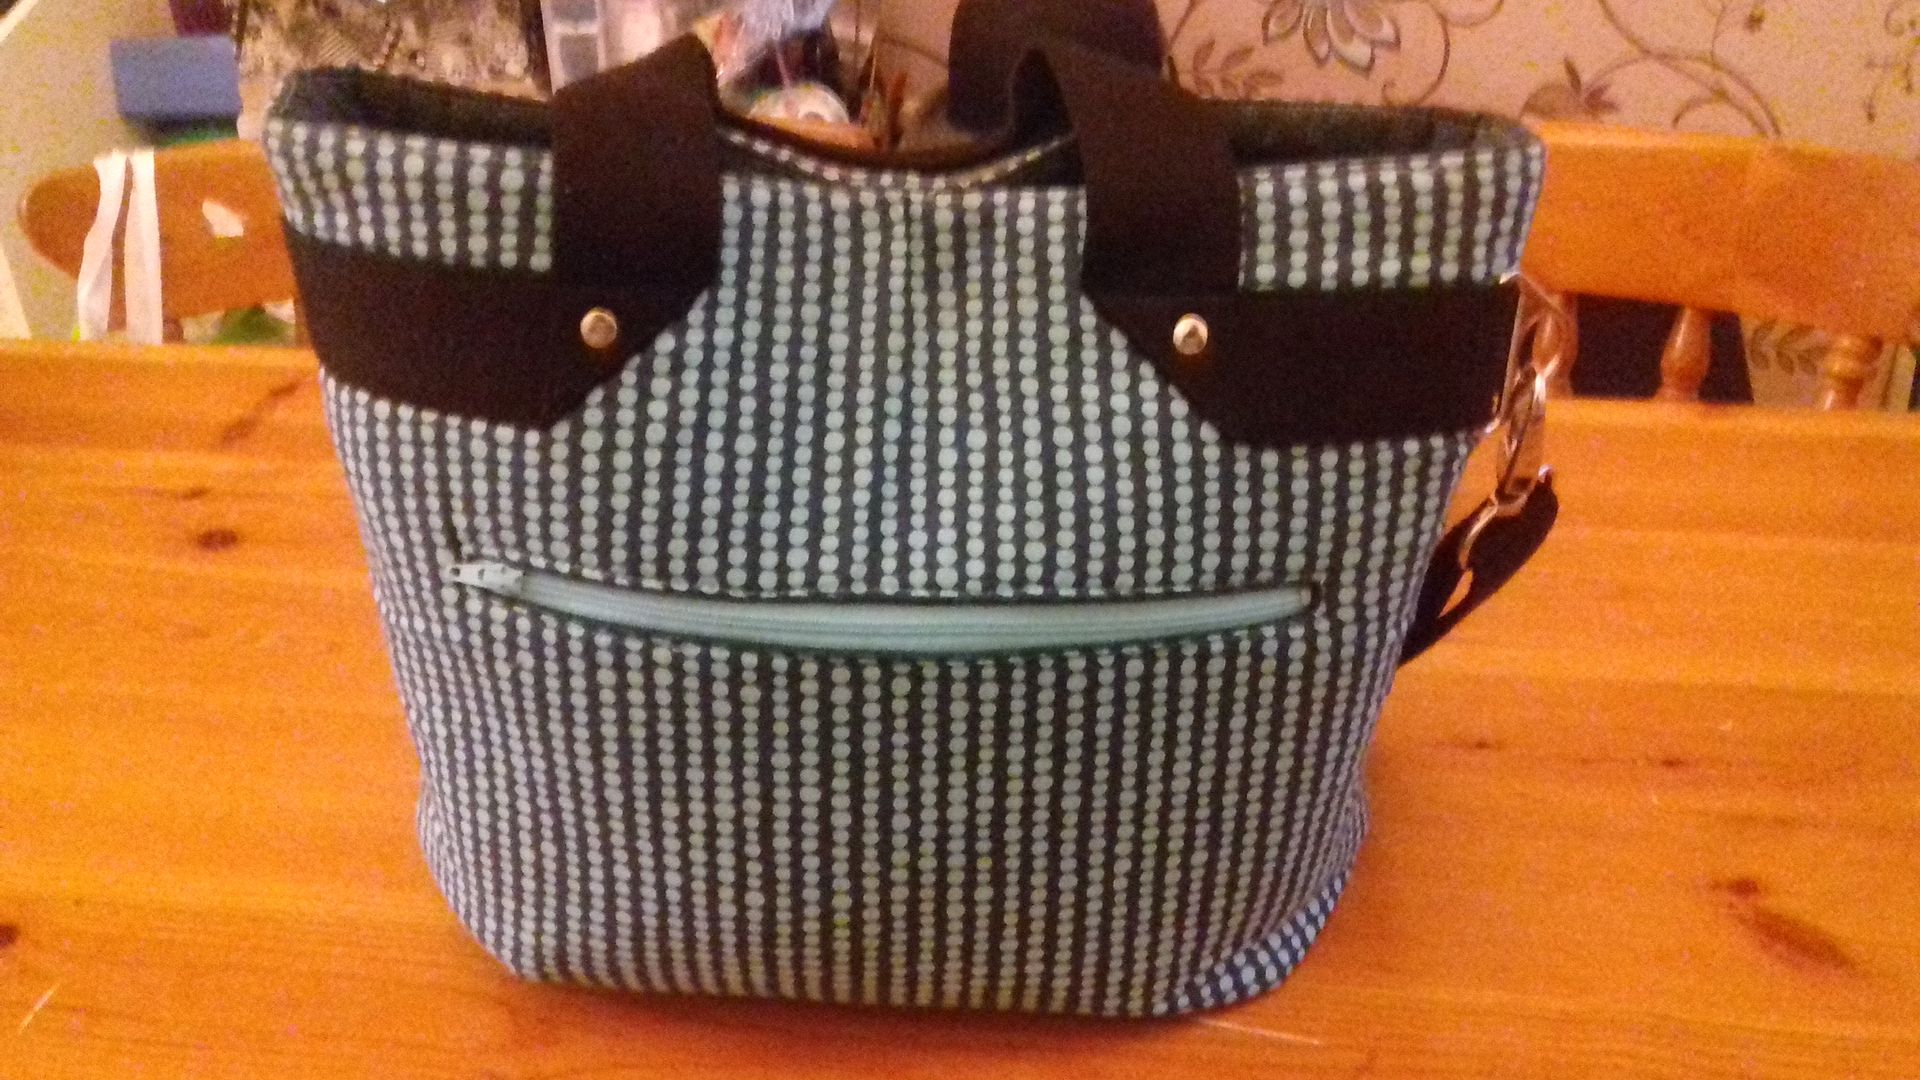
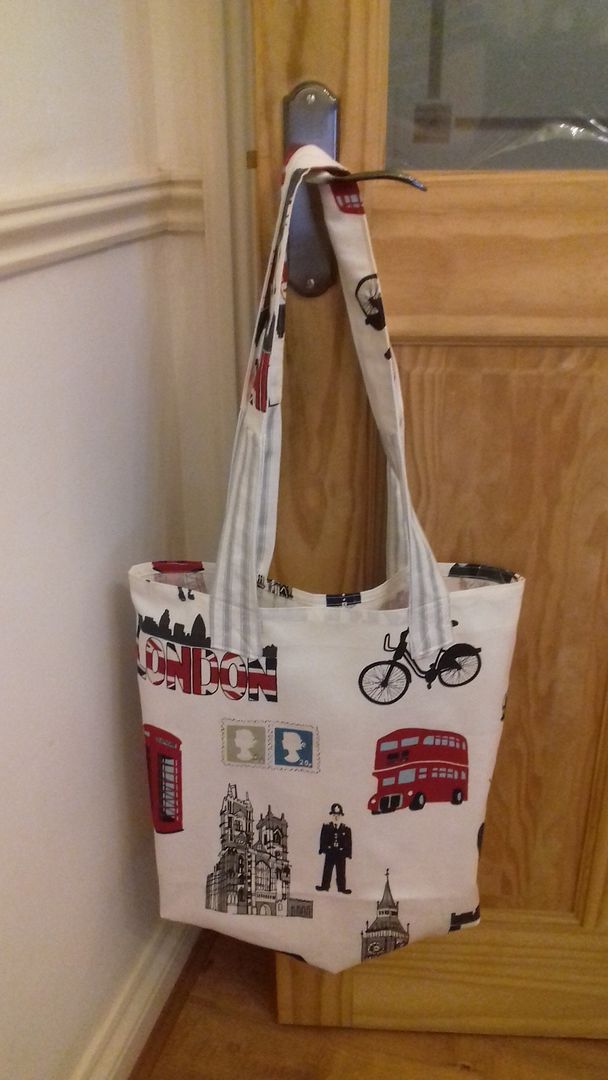
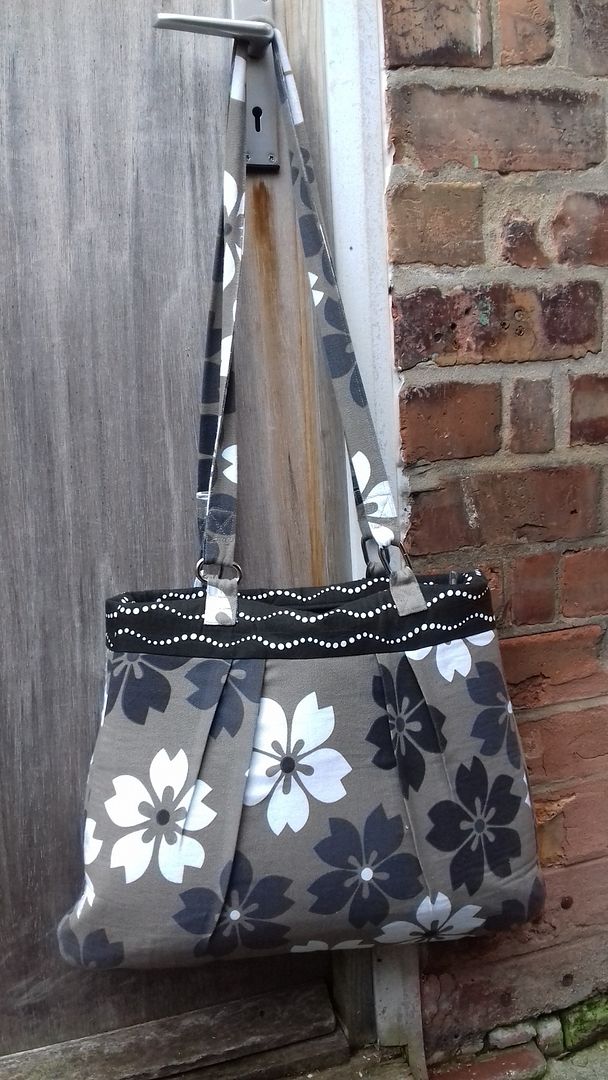
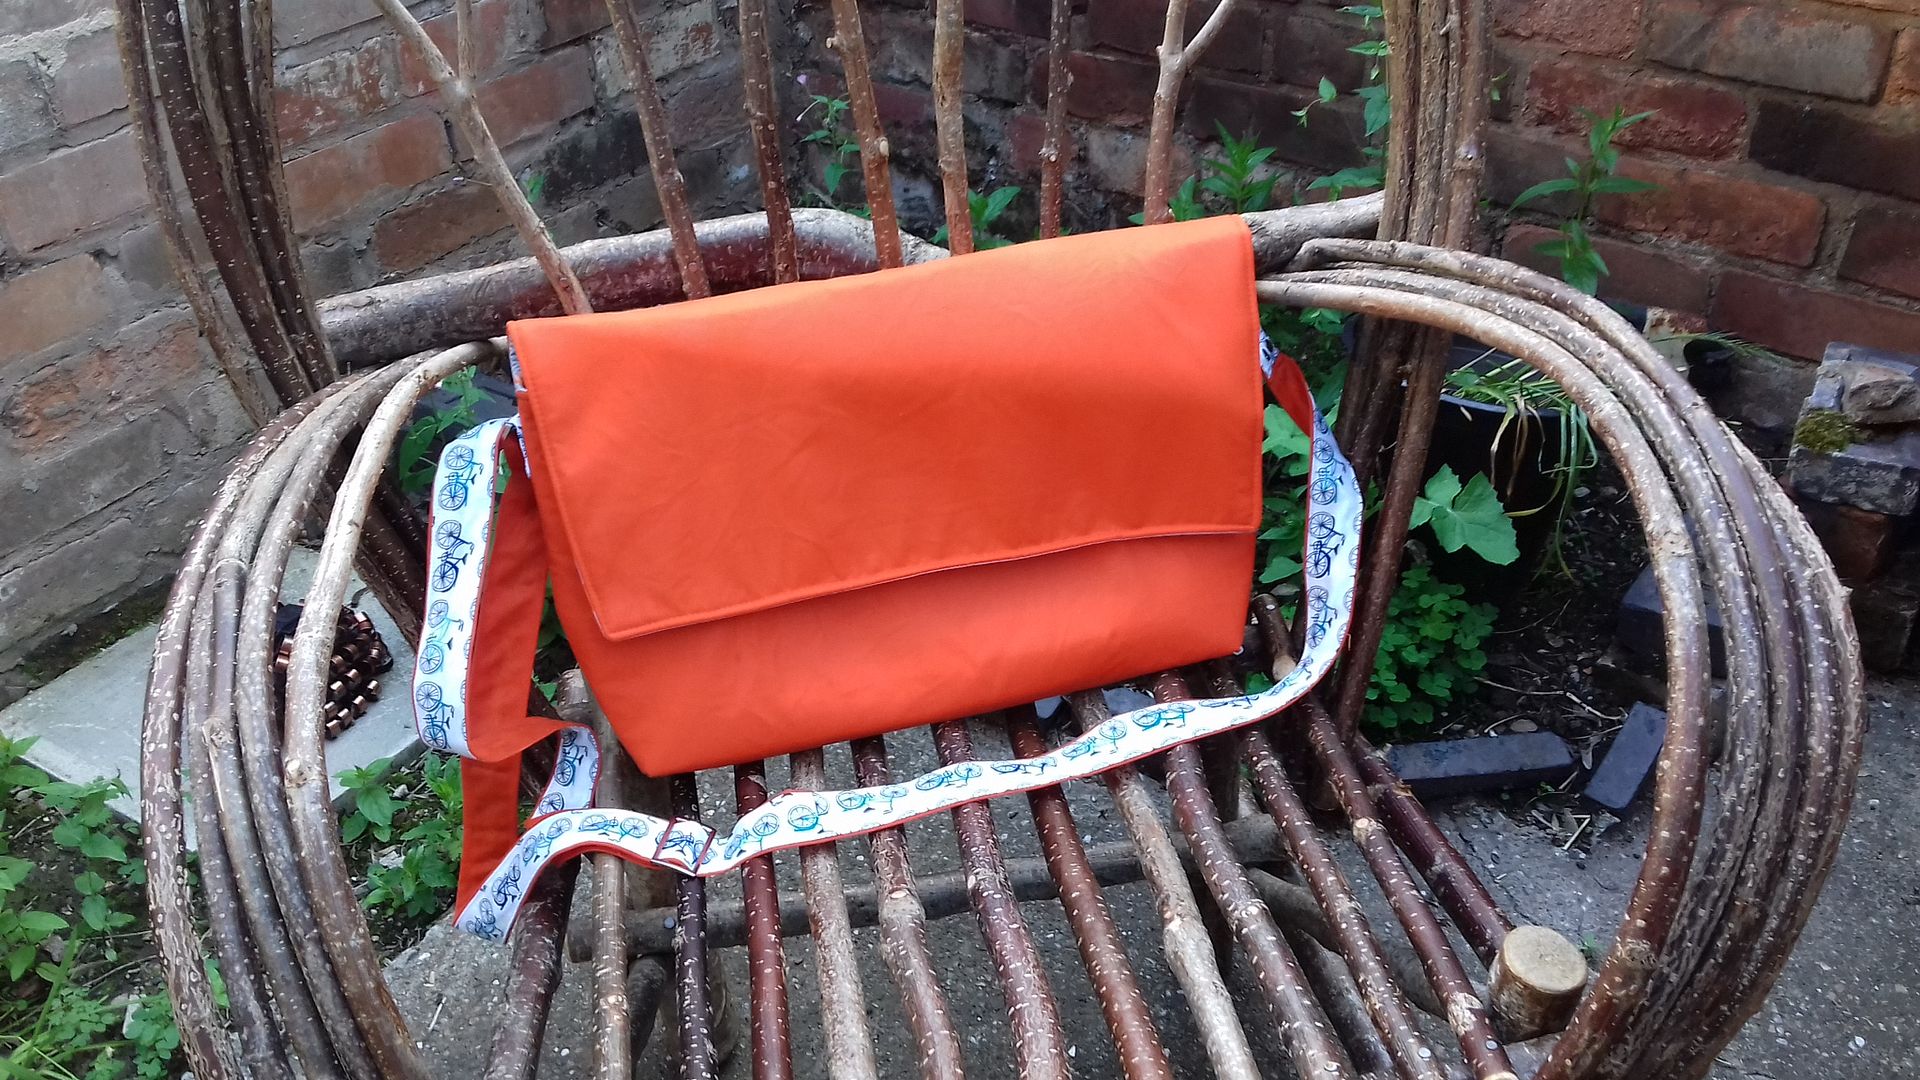
It was my boyfriend's birthday at the beginning of June. This is the first birthday we've celebrated together and so I had no idea what to buy him! He's very ethical and won't buy anything that's not fair-trade and ethically sourced, so I thought I'd make him something, that way the only slave labour is my own!
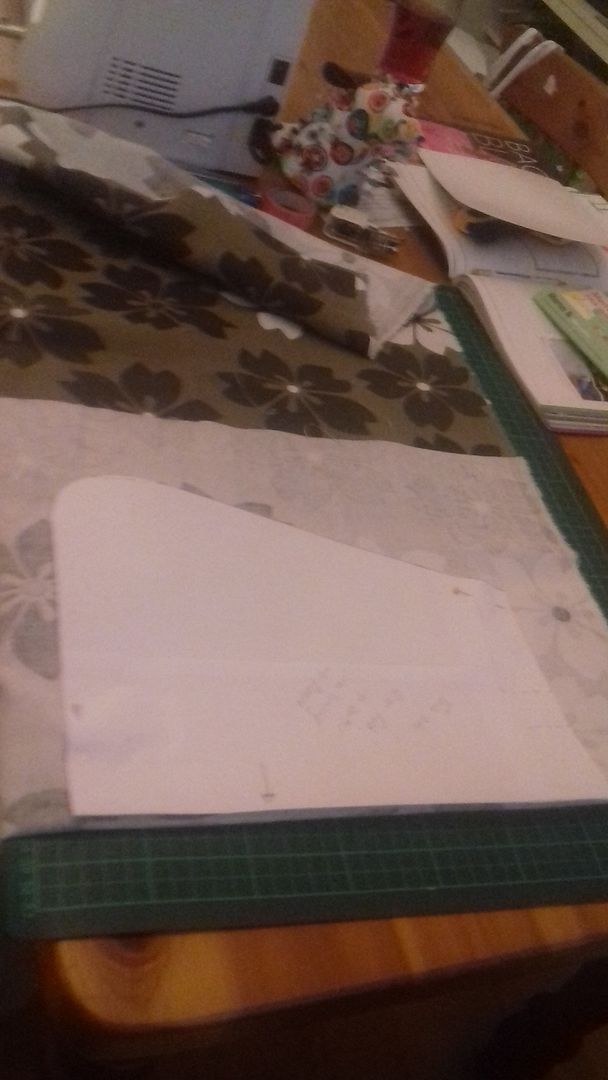
This is a free pattern from a blog. To my shame, I can't find the link. I was sure I'd put it in a "WIP" pinterest board, but I can't find one on my profile! It wasn't so much a pattern as a bit of a how-to. I changed the dimensions and the strap construction and added a zipper pocket inside. UPDATE! I found it Link to free how-to.
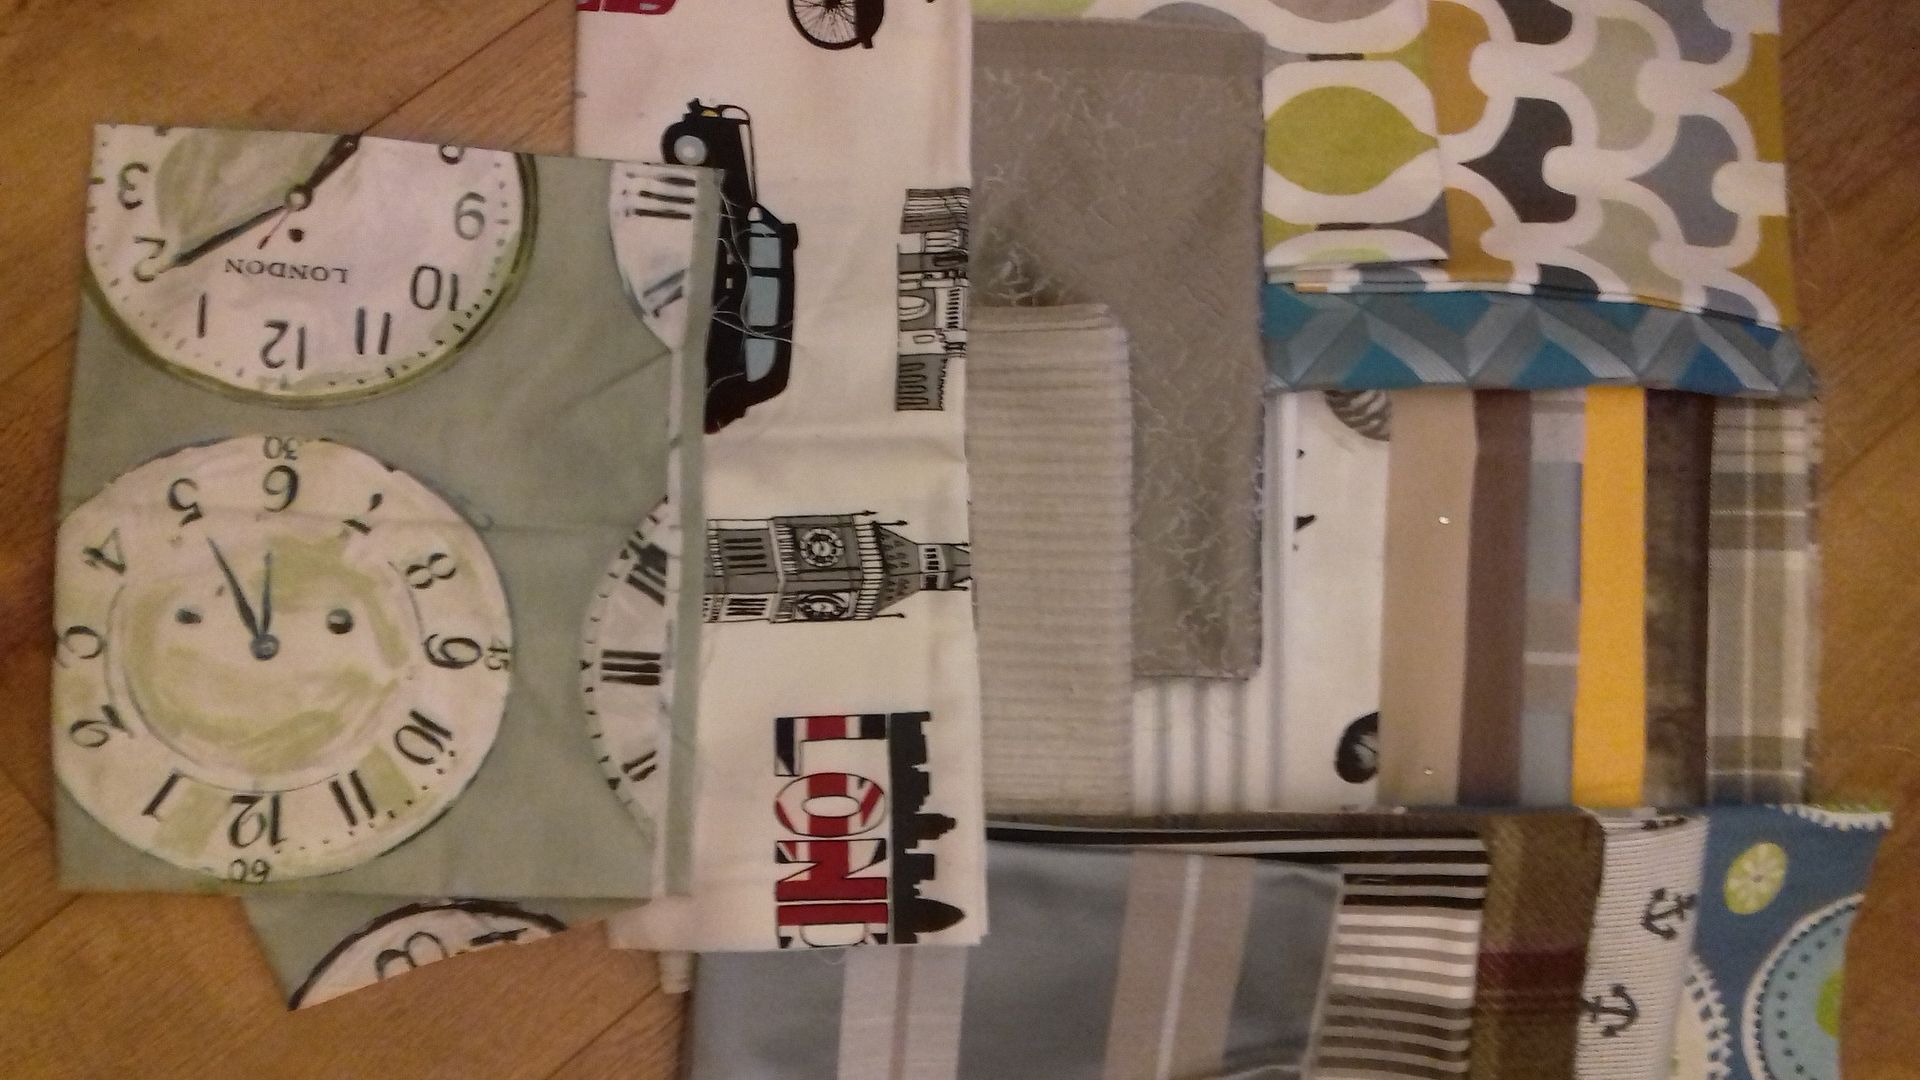
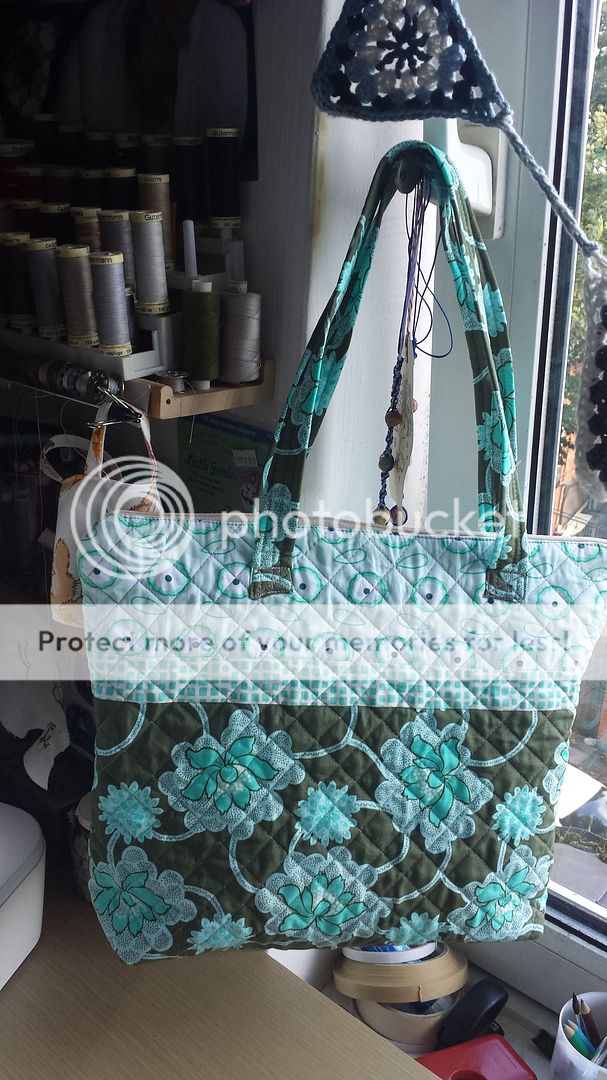
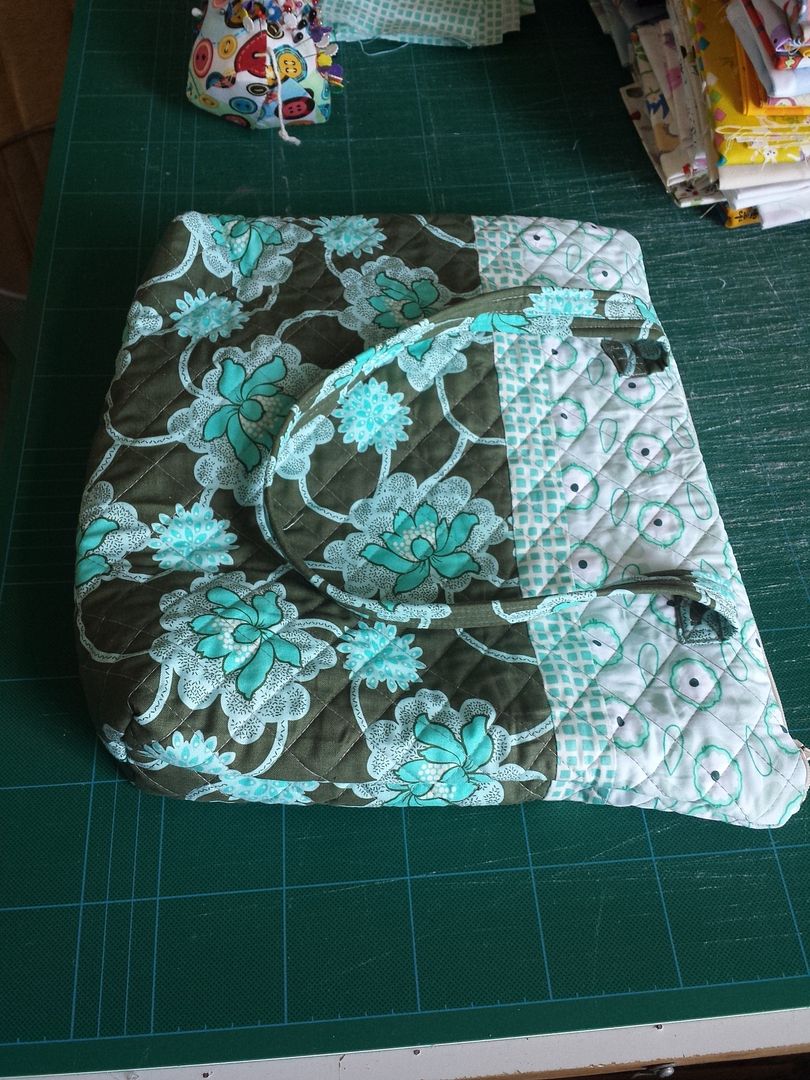
His favourite colour is orange, so I wanted orange fabric. I thought a waxed canvas would look nice and be fairly masculine (not that he cares about gender stereotypes like that, he's rather partial to pink). It was really hard to find and so I had to forgo looking for organic fabric (which he would usually chose - he's also a bit of an eco-warrier). The lining also isn't organic as I couldn't find any fox patterned organic fabric that I liked.
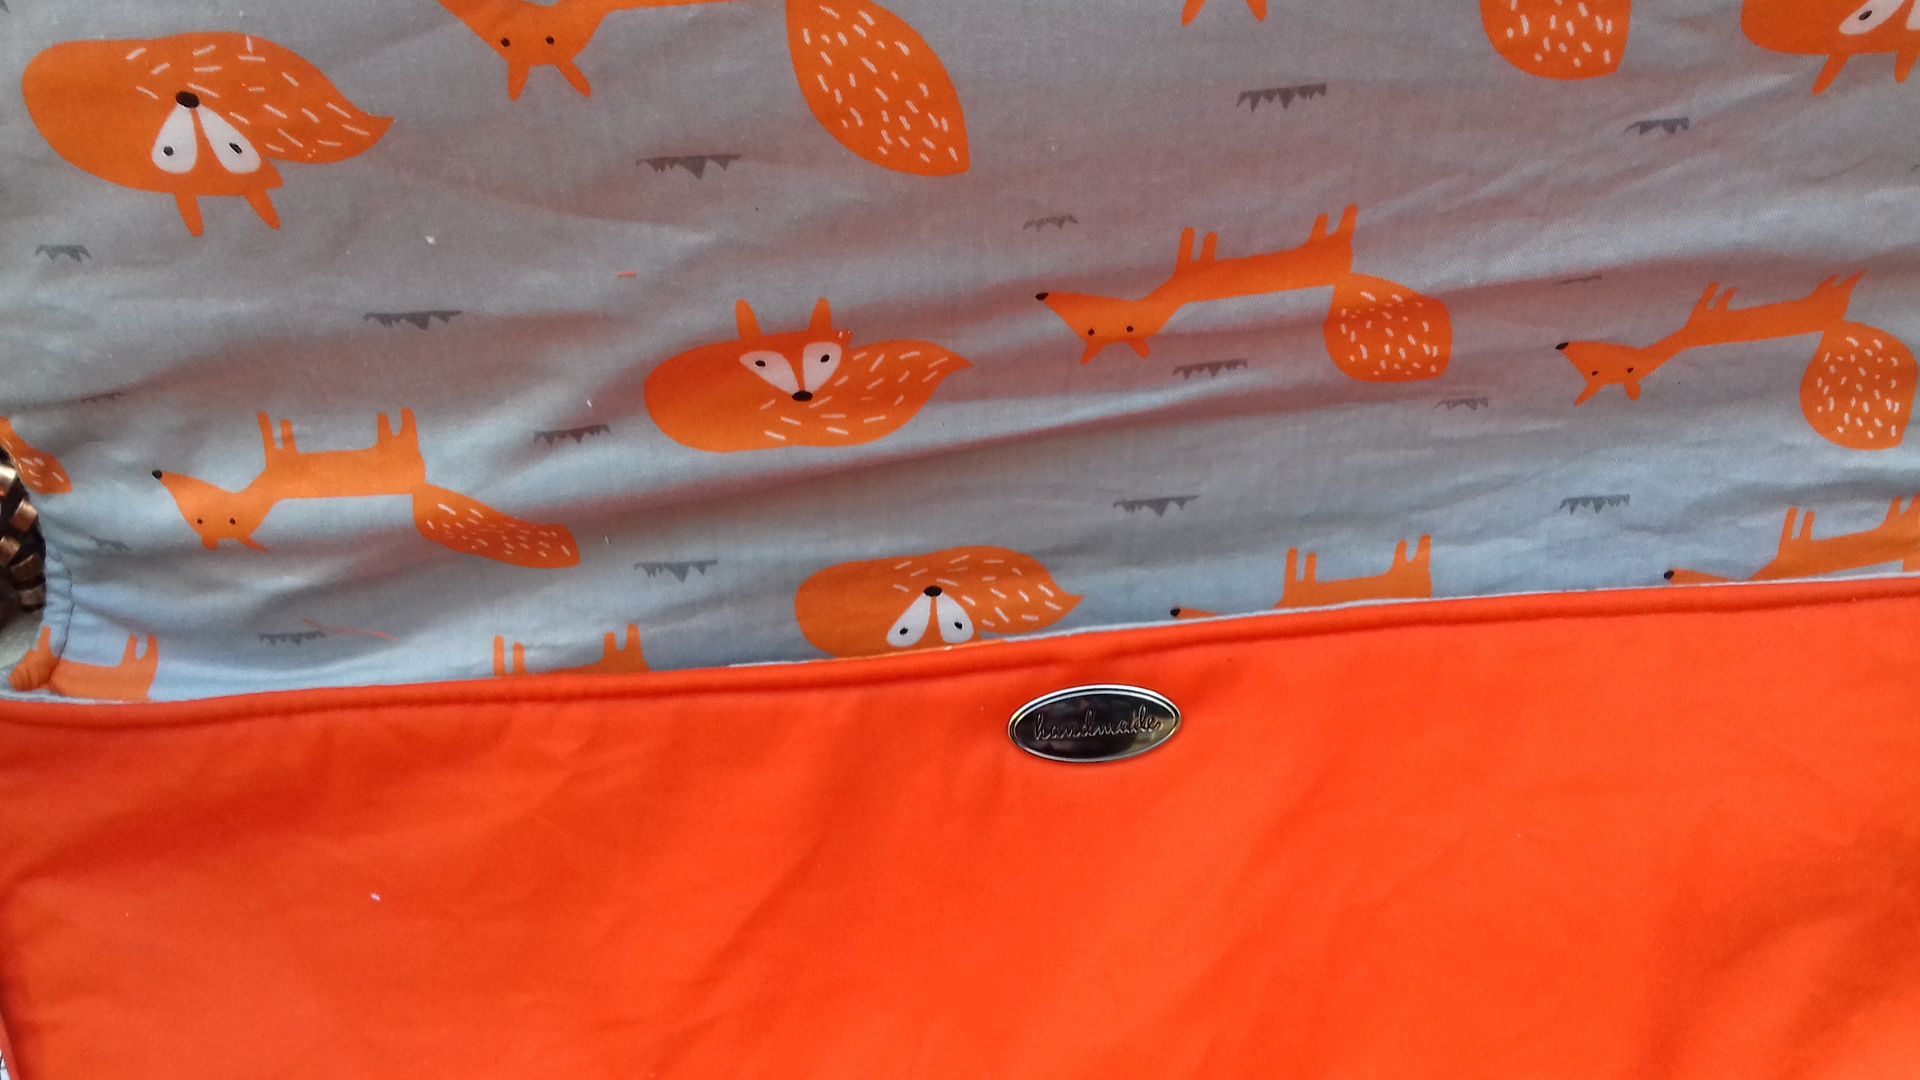
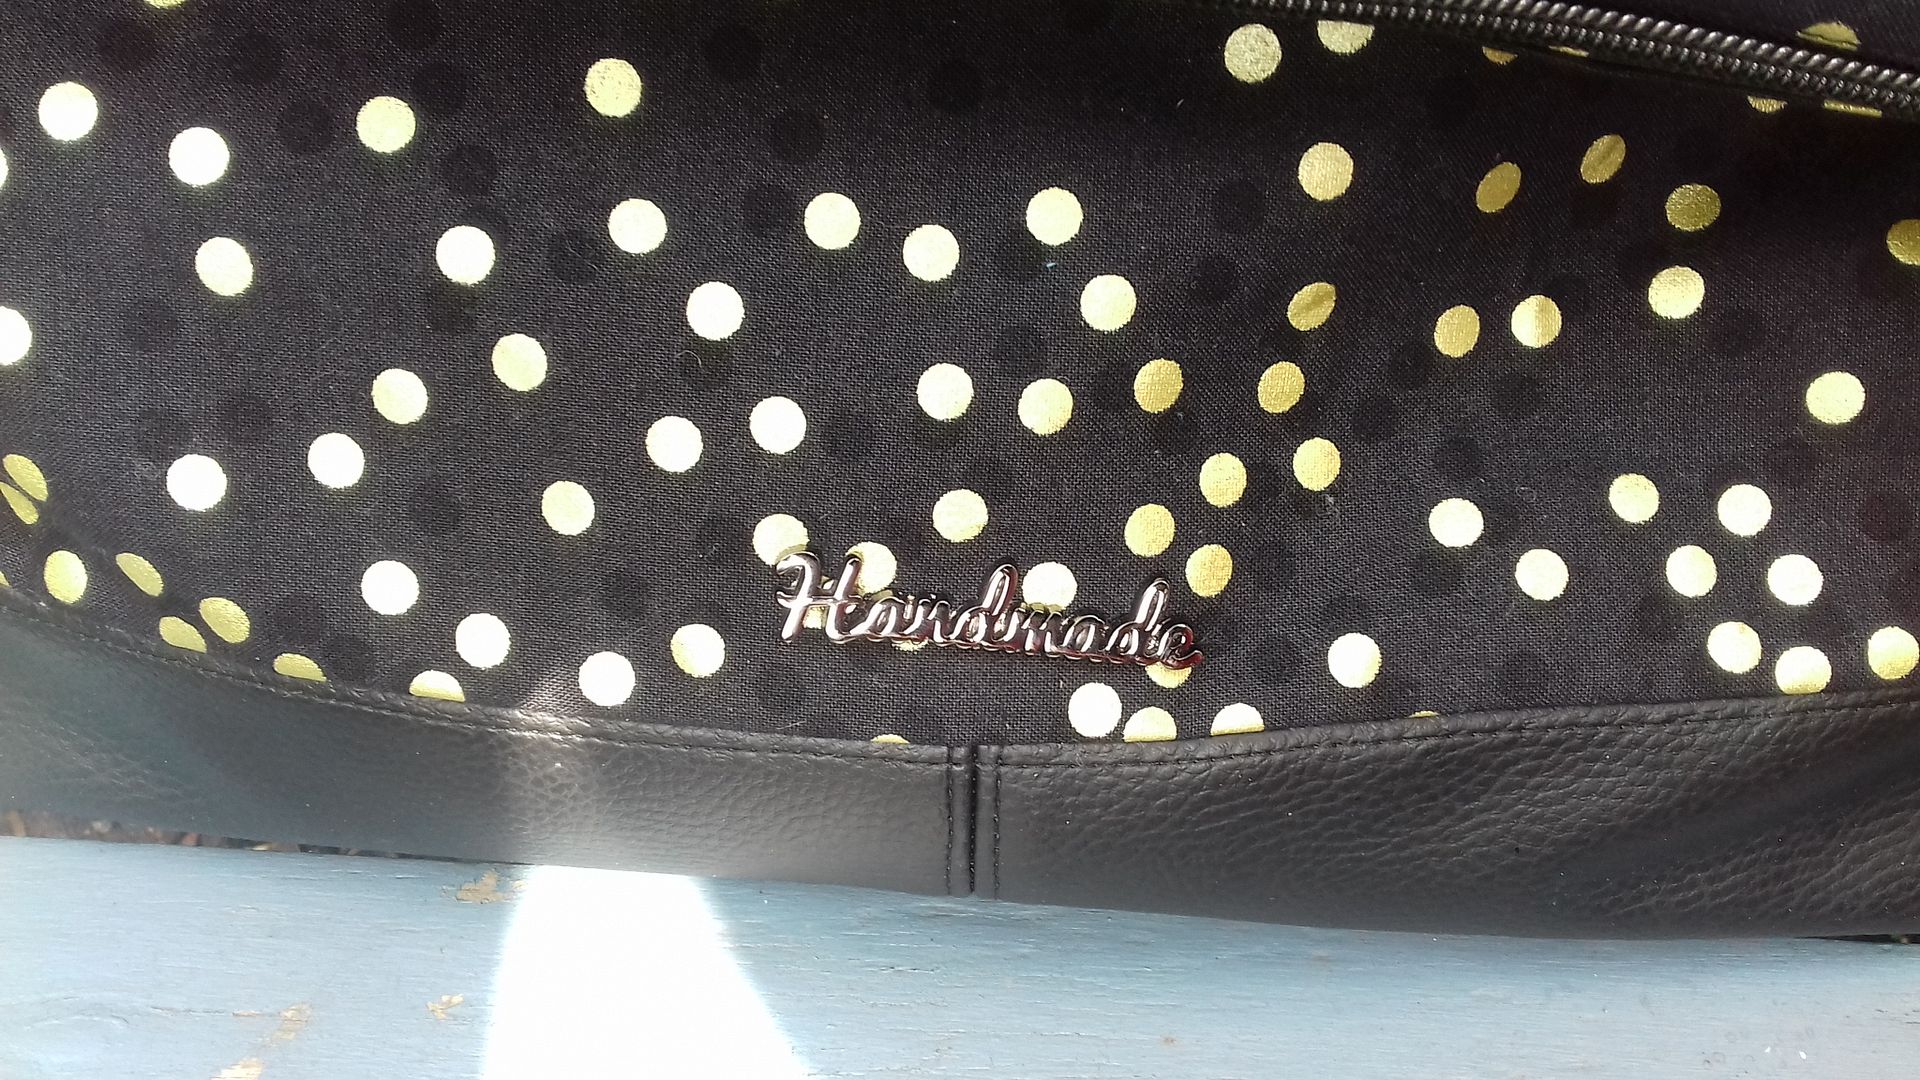
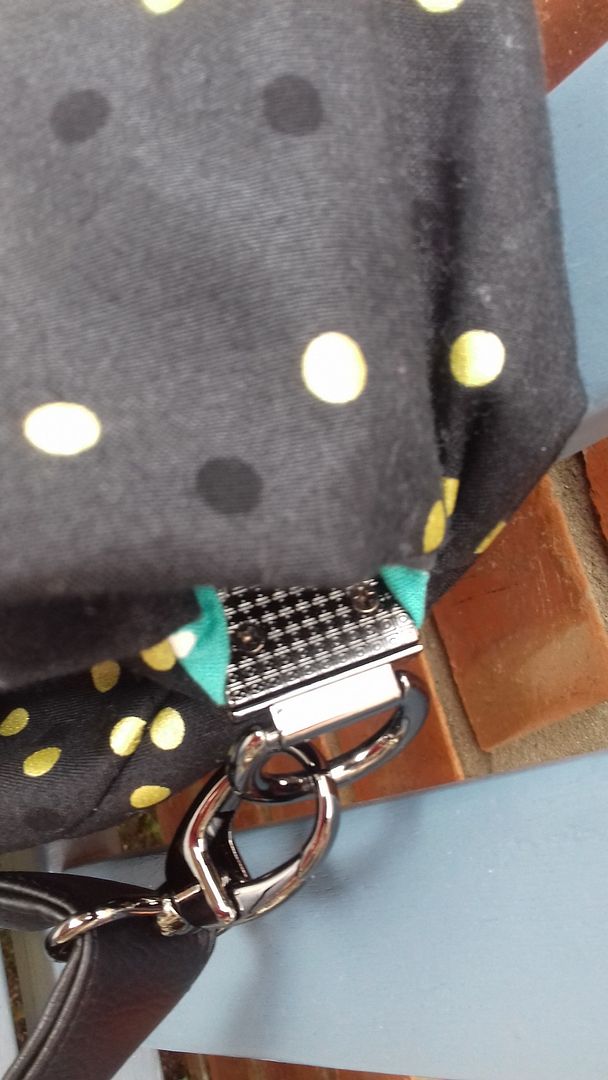
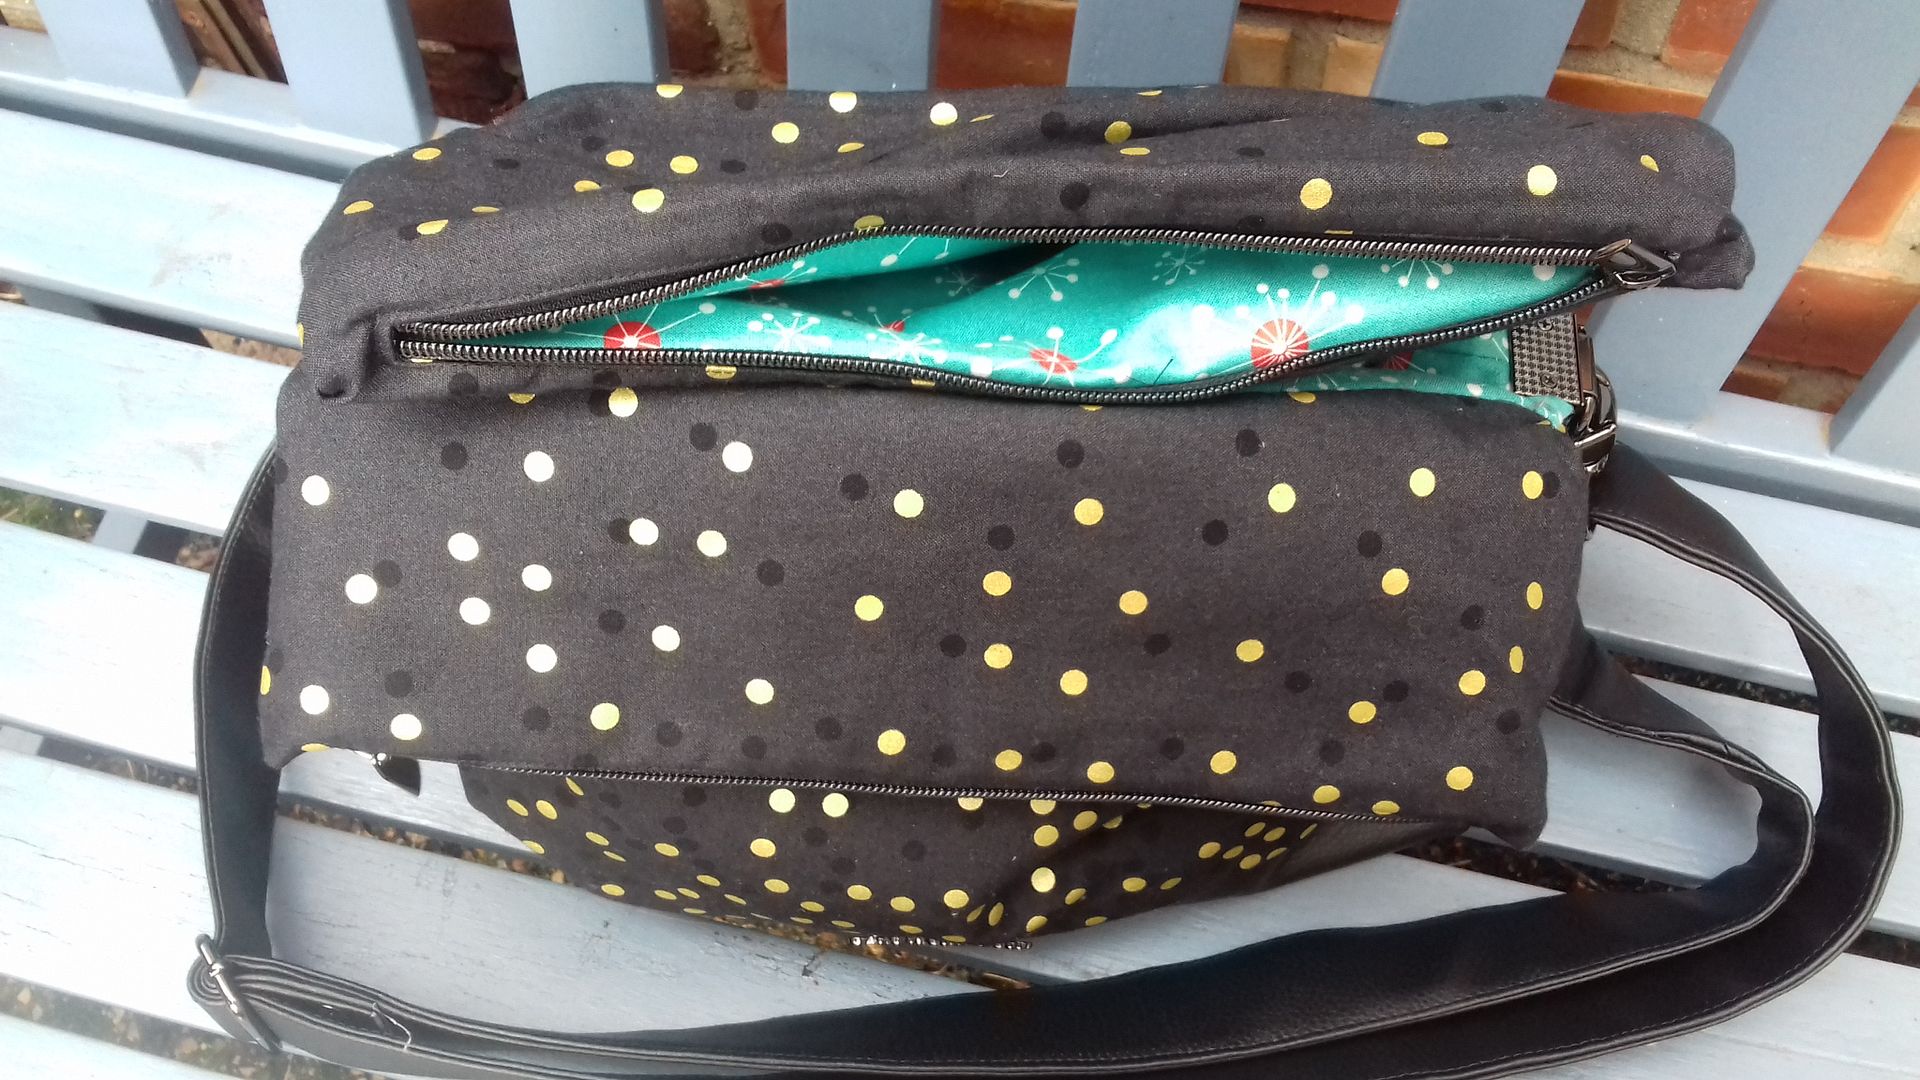
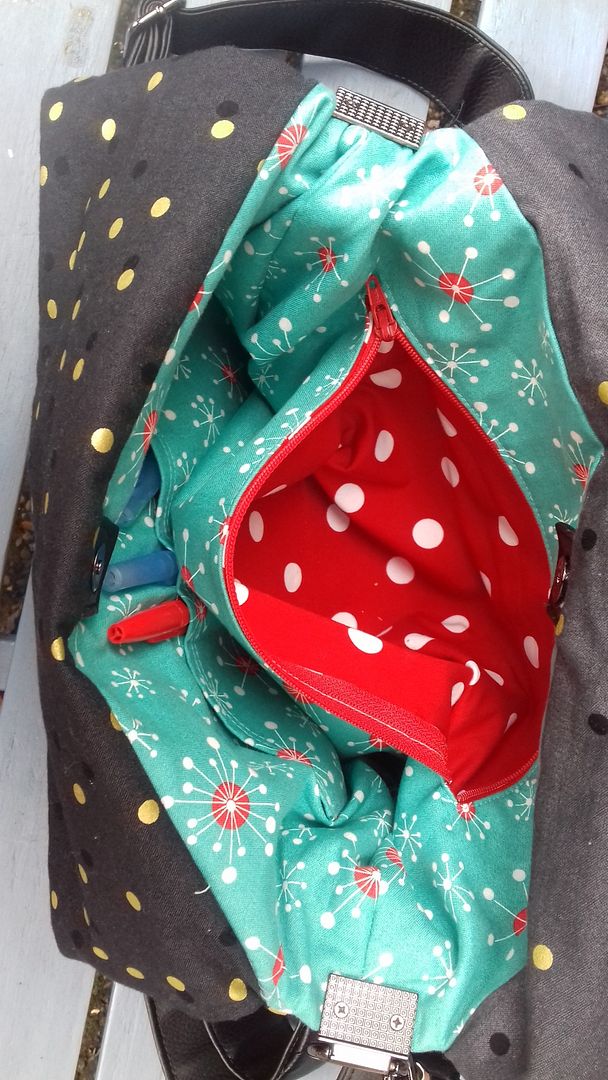
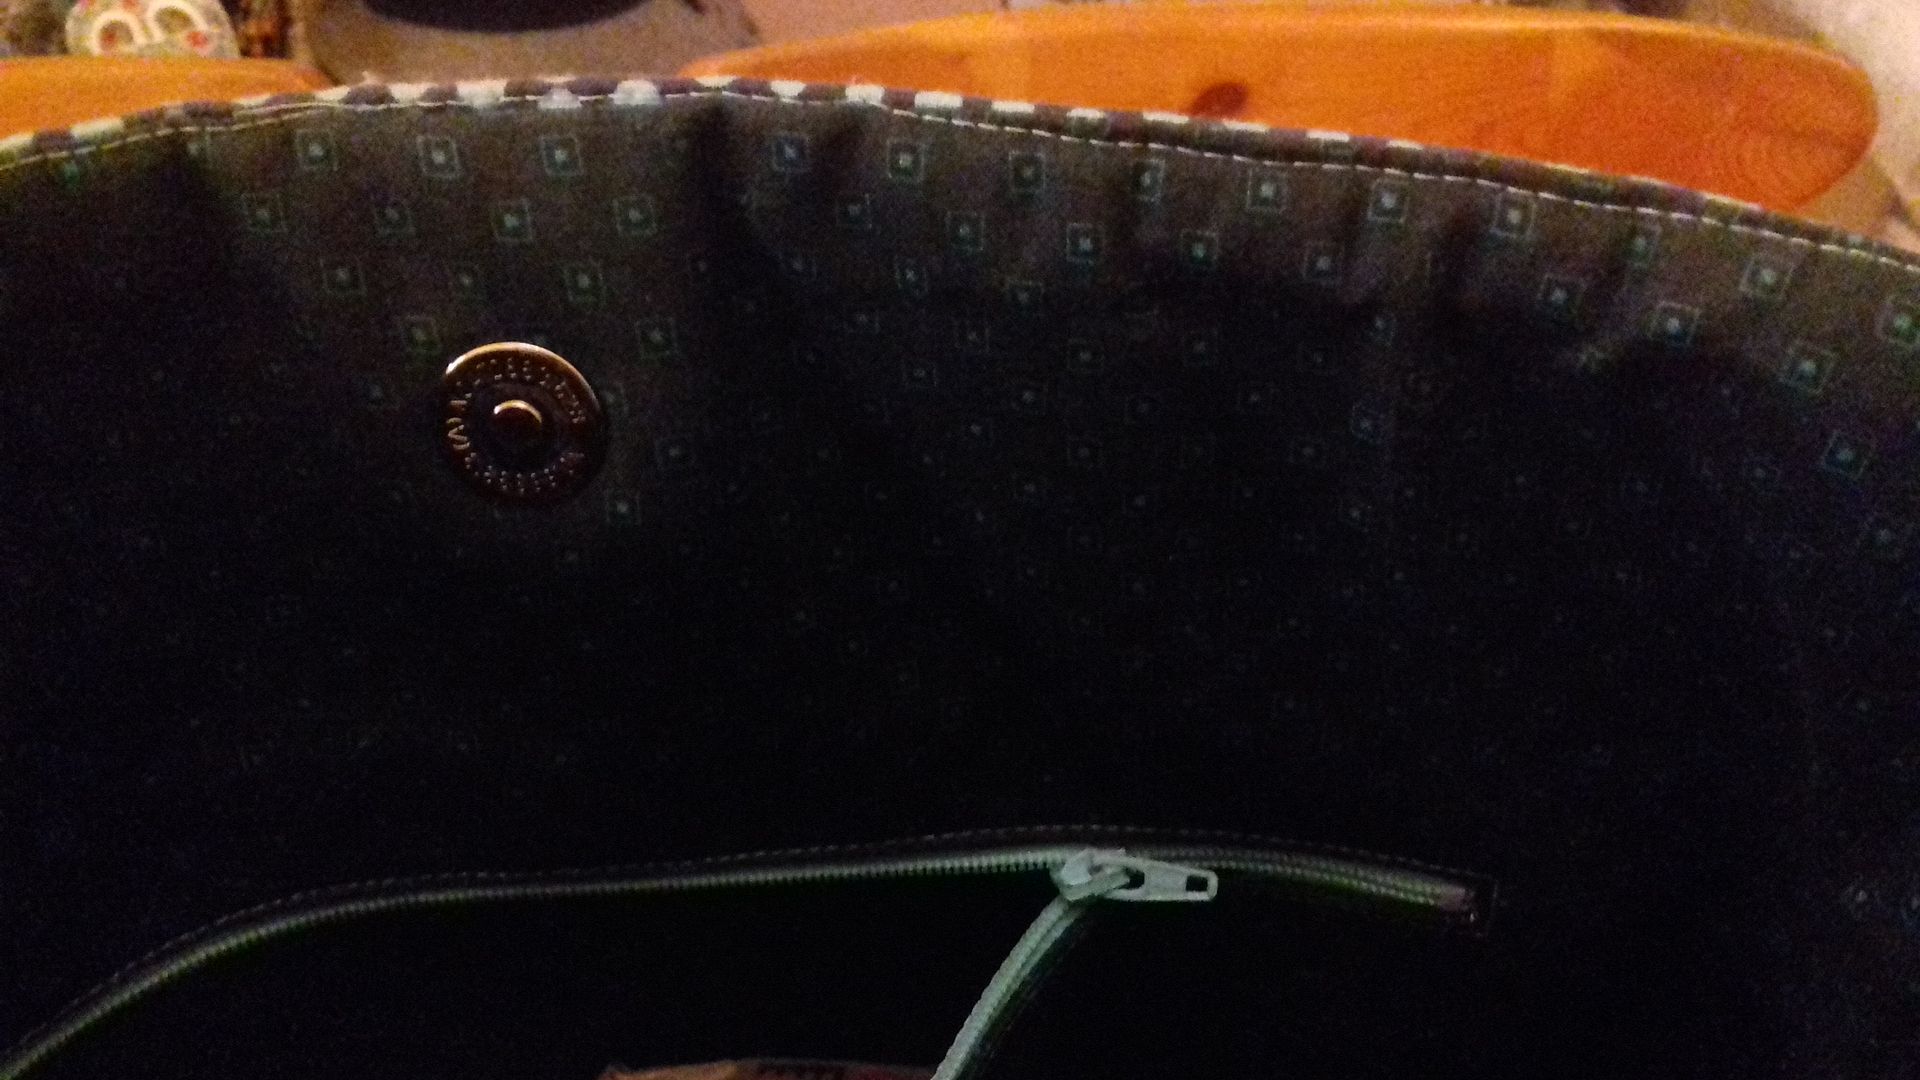
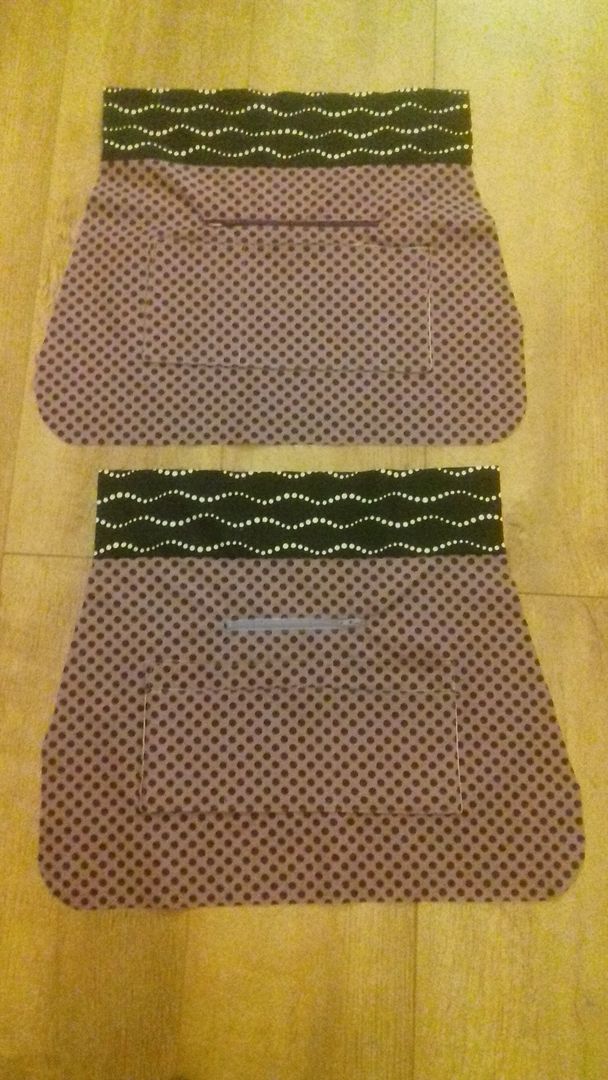
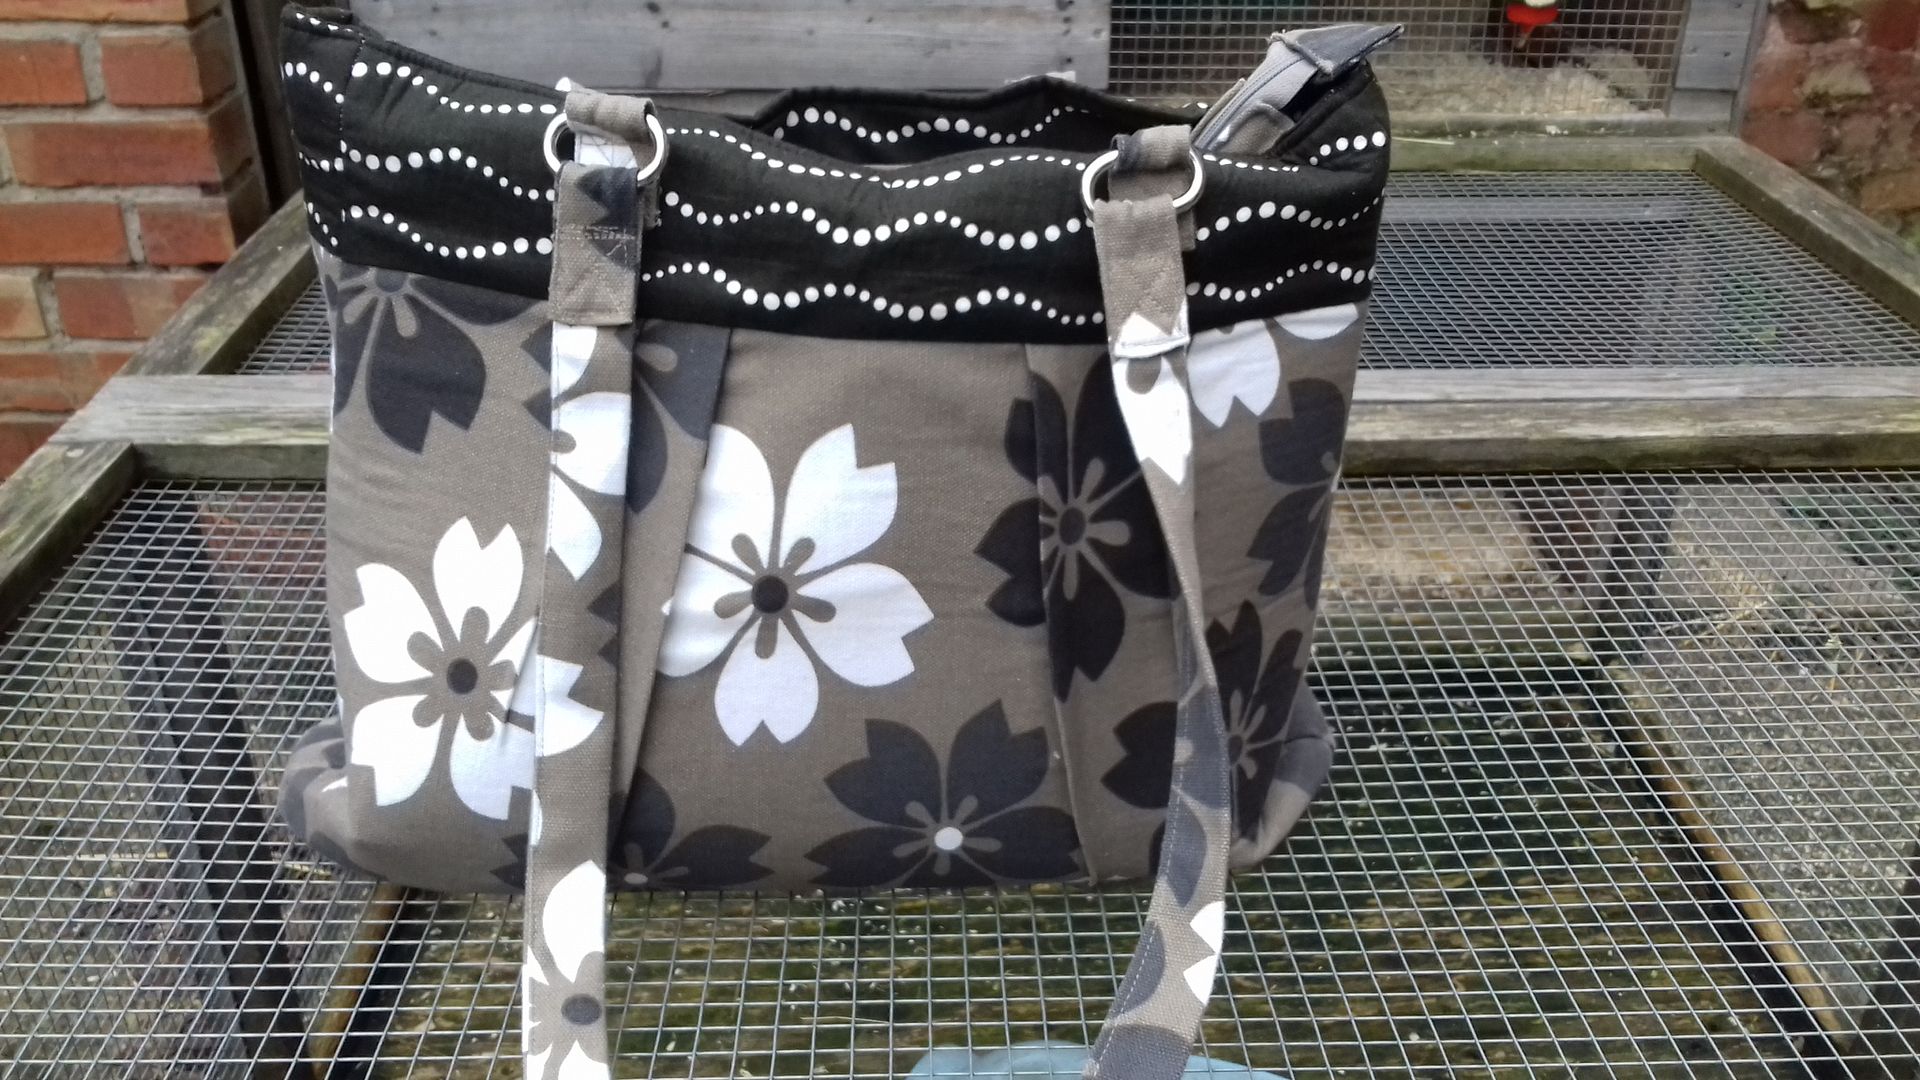
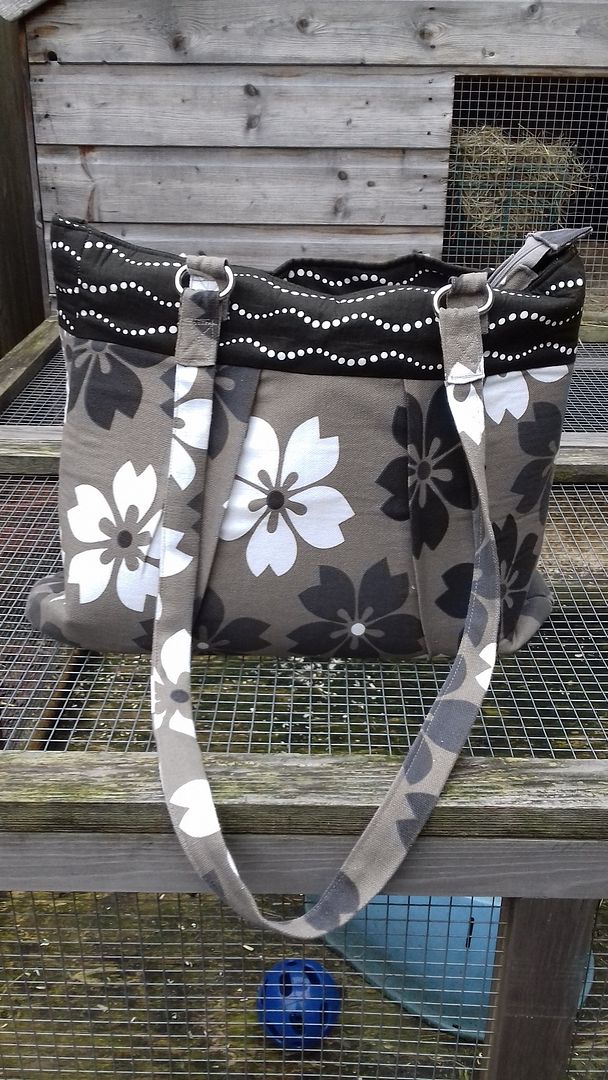
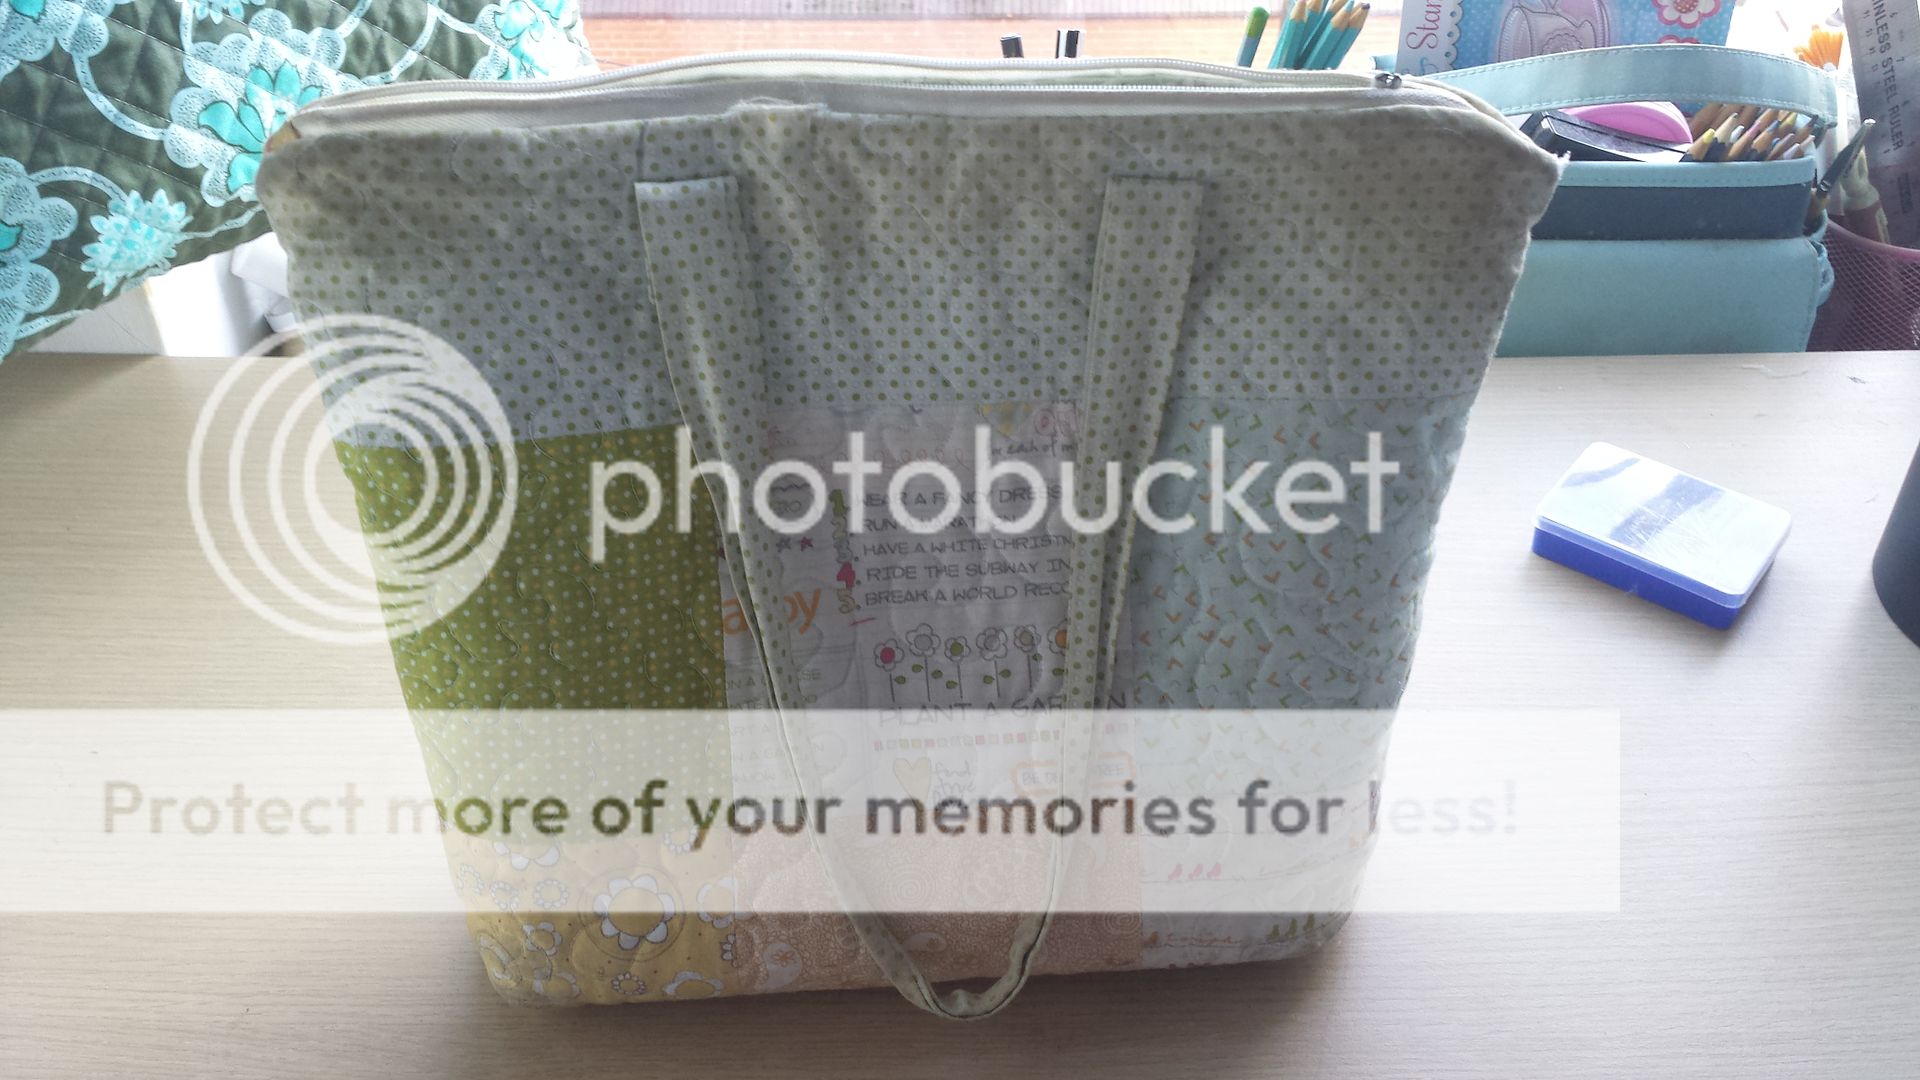
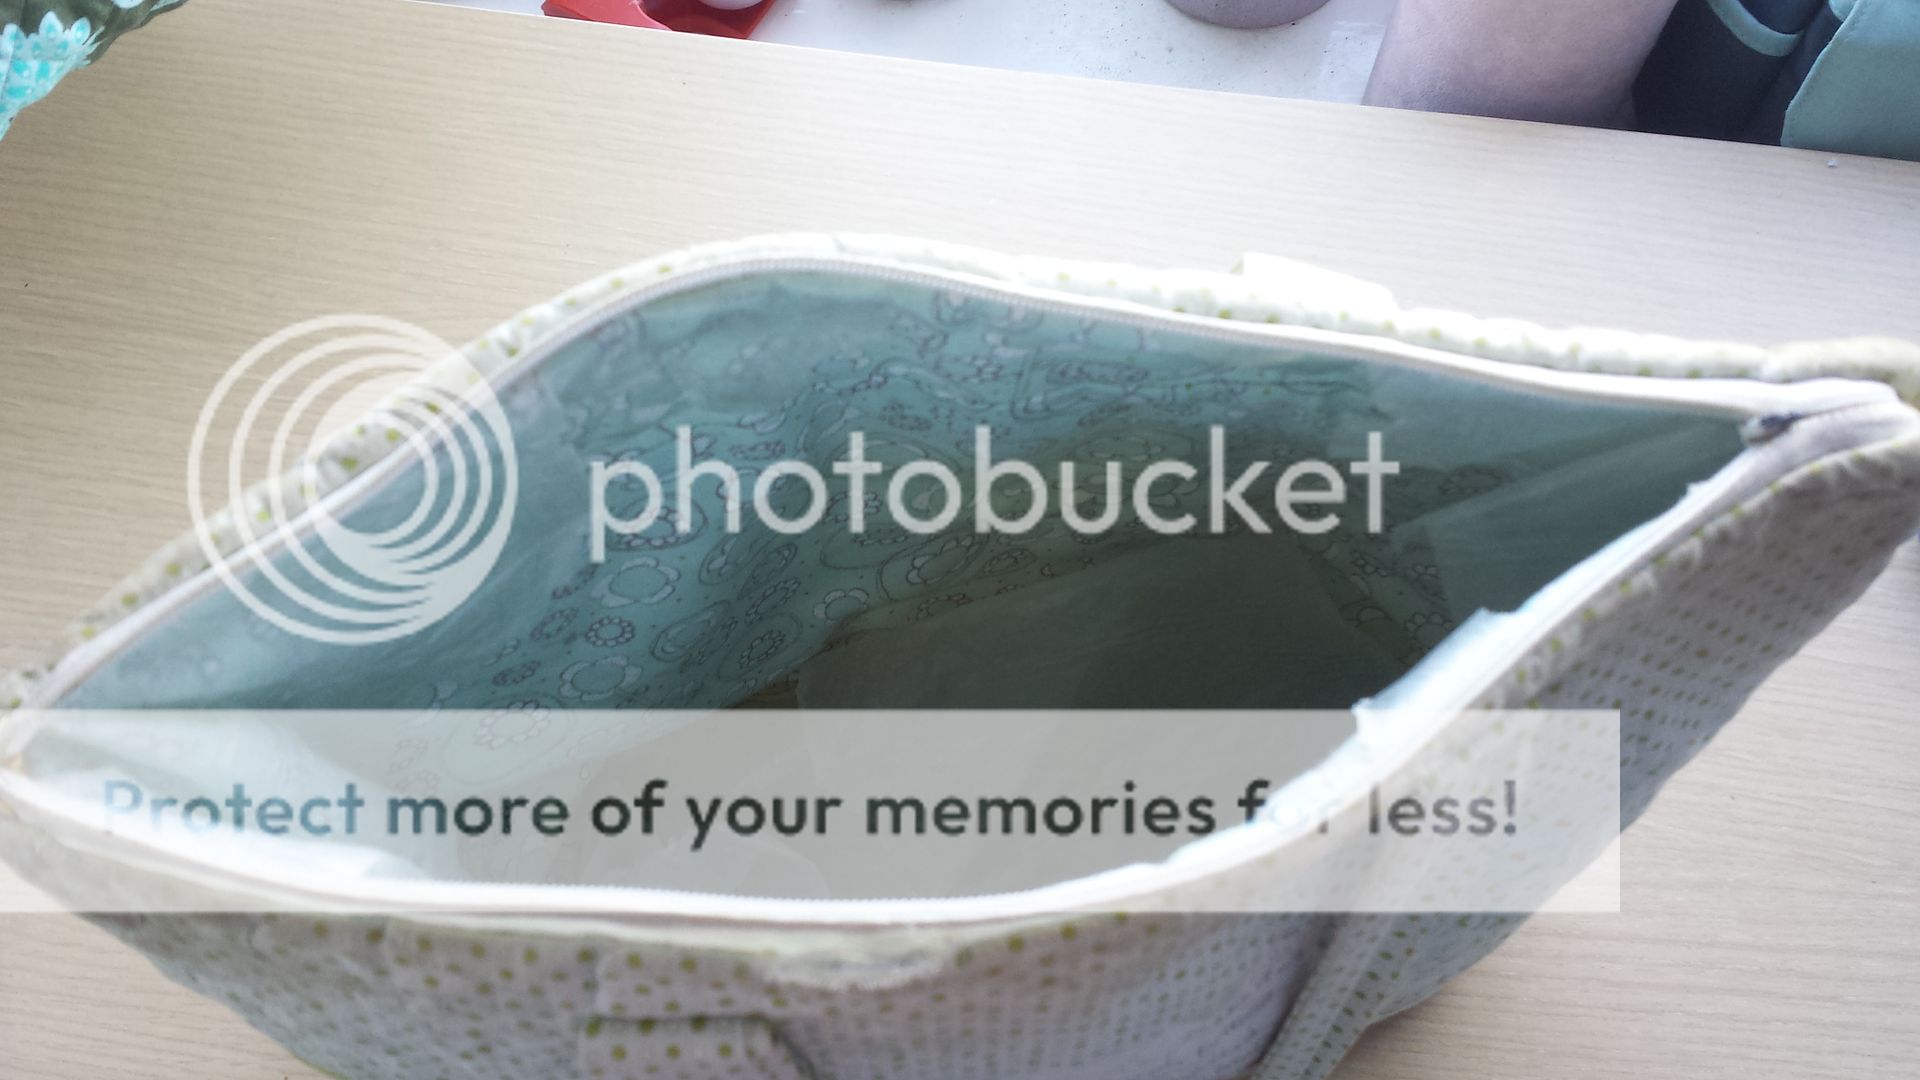
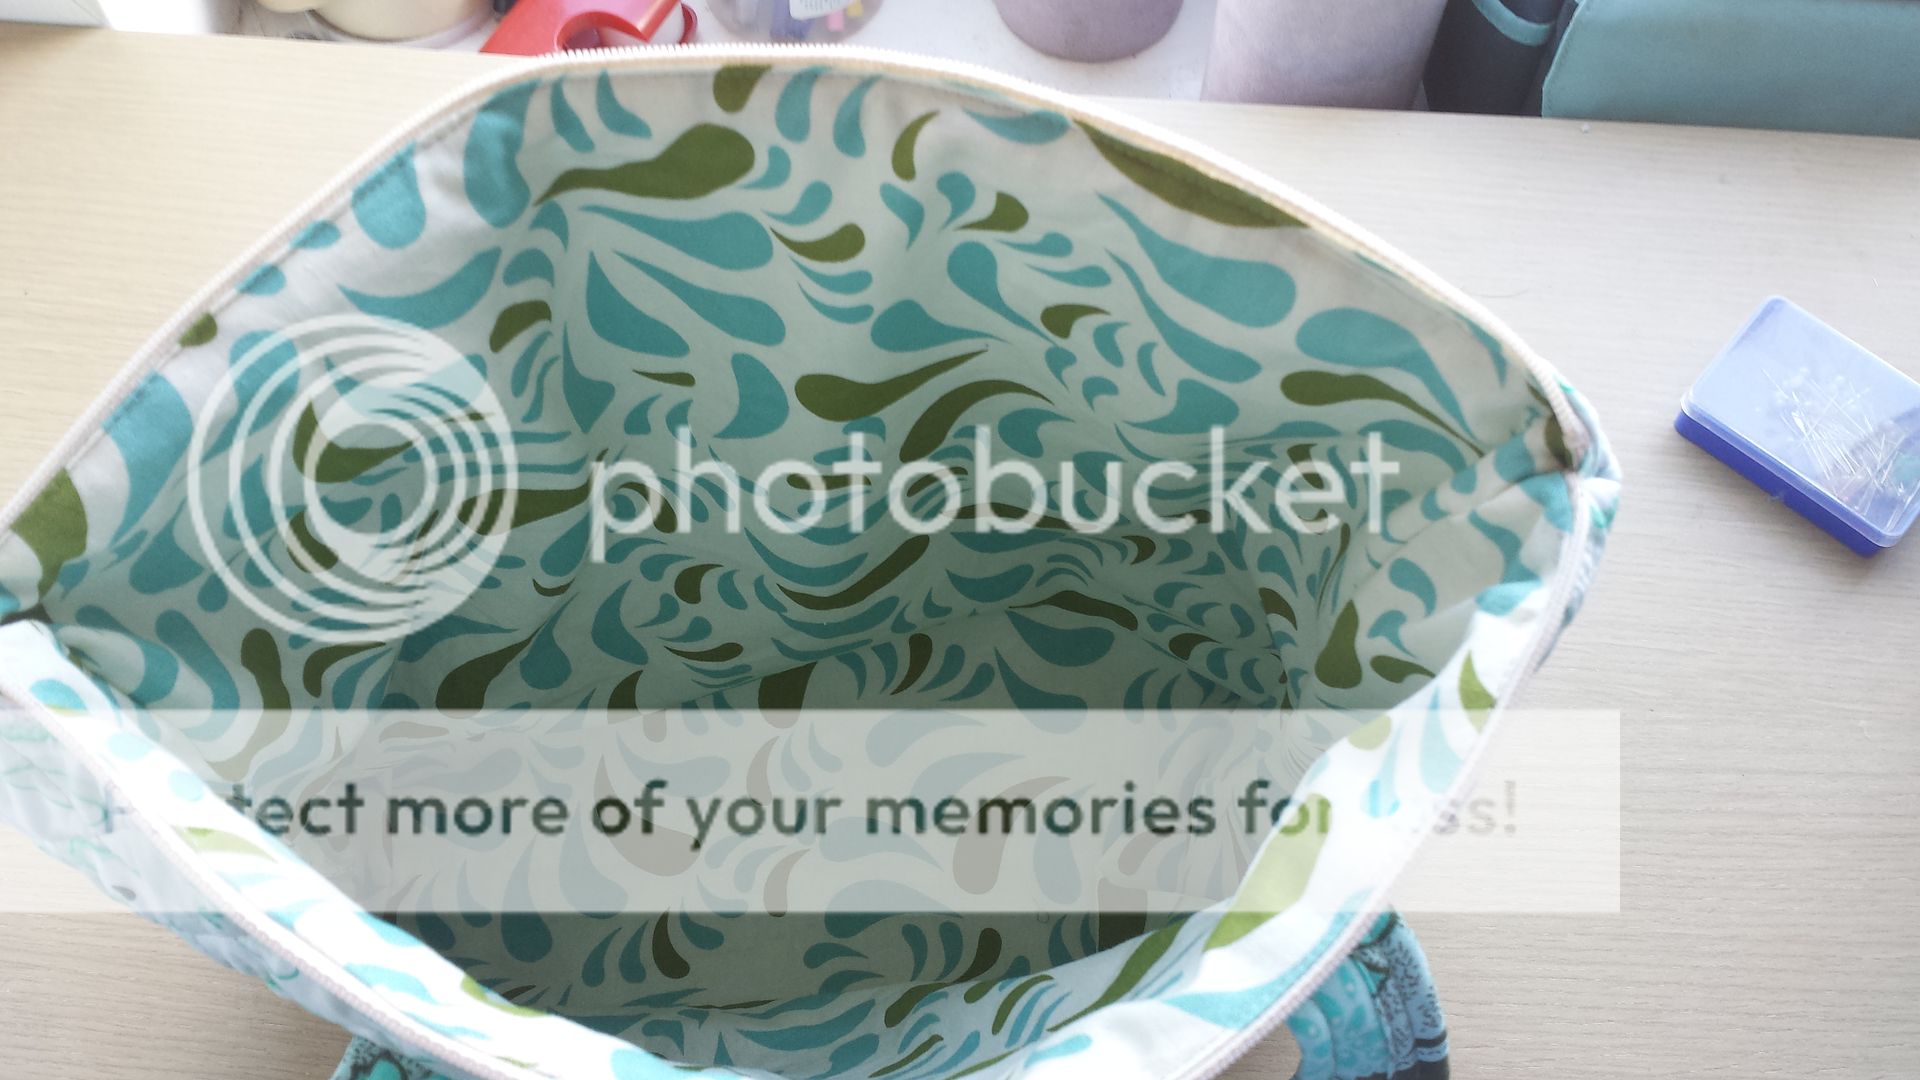
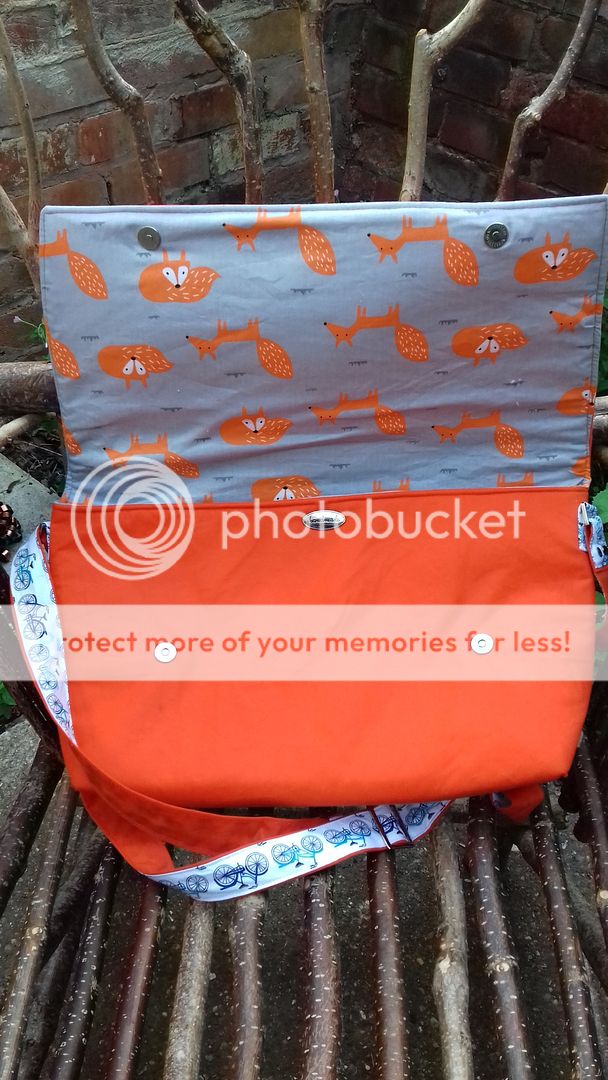
The 2 magnetic snaps and the handmade scroll were from Sew Hot at the Bag Retreat which is where I started sewing this. I also bought the zips there. I added a zip pocket in the lining, as you have to have a zip pocket.
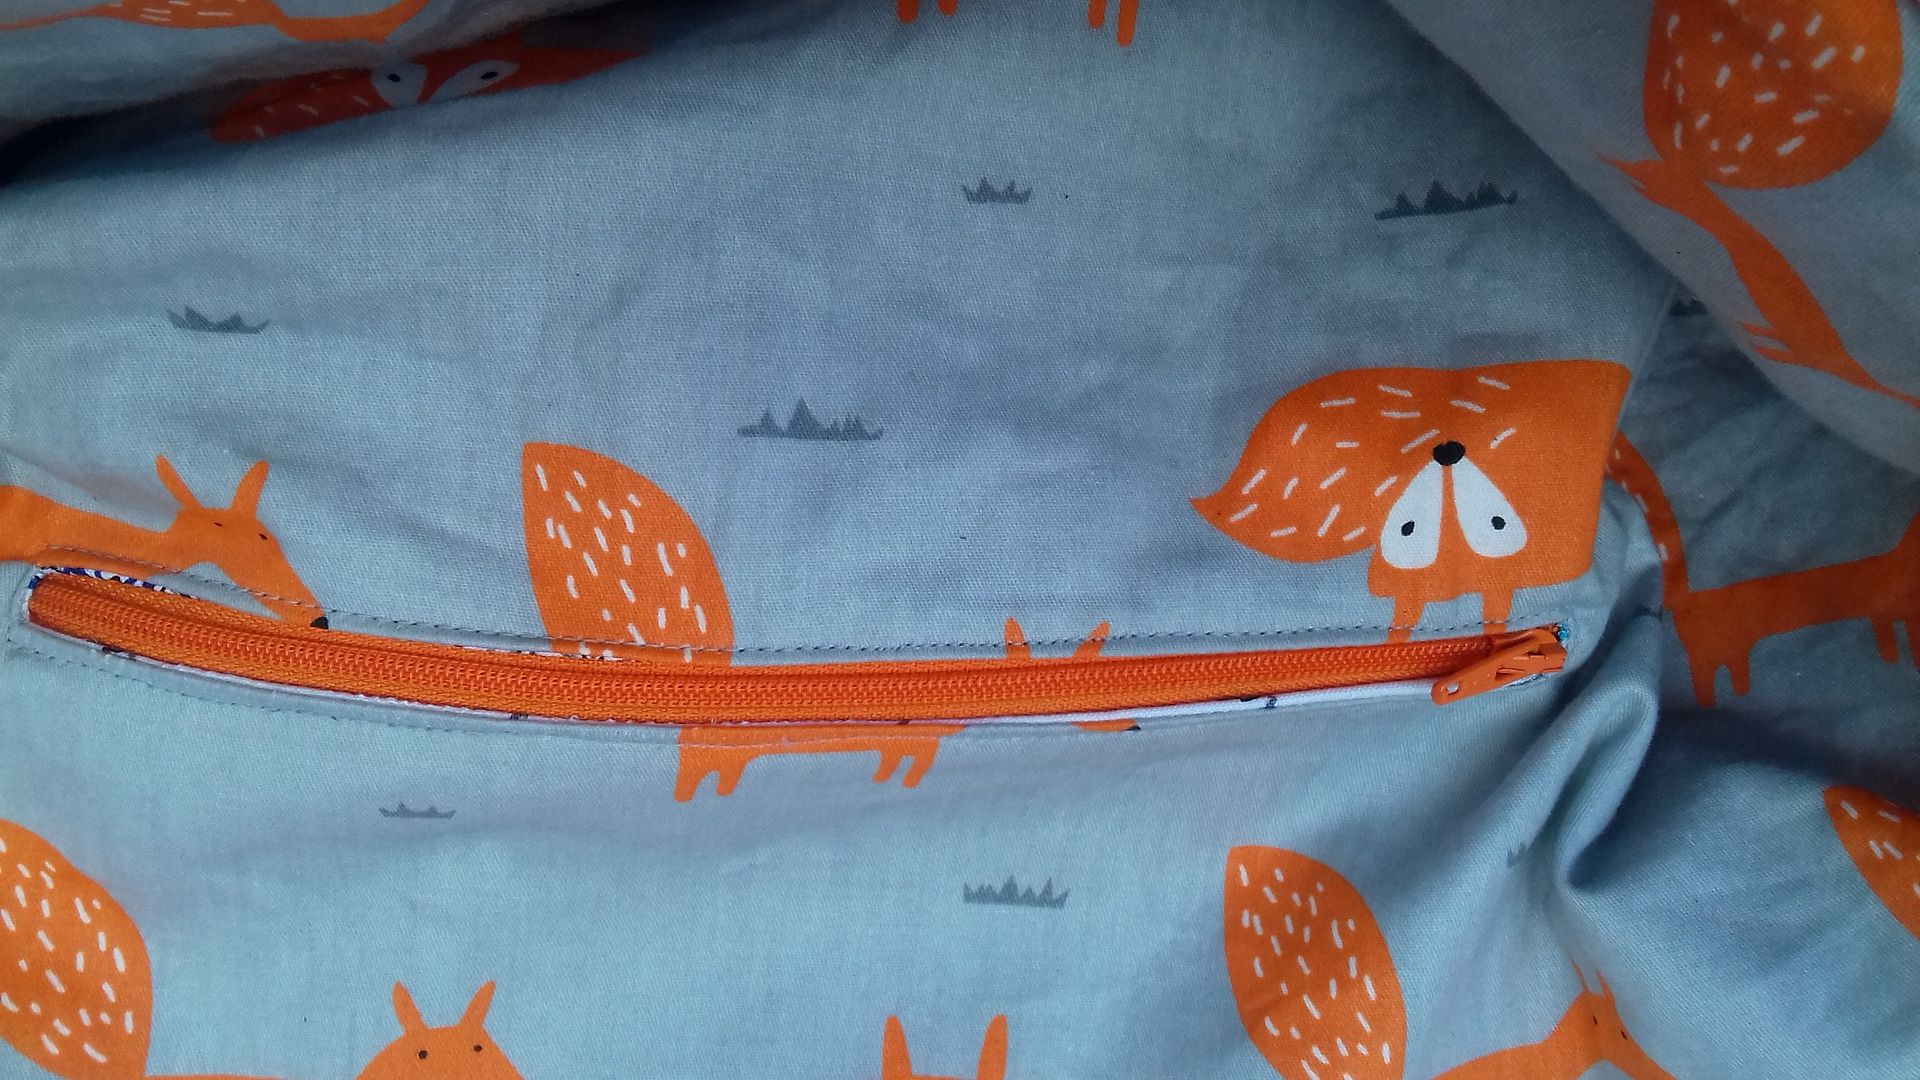
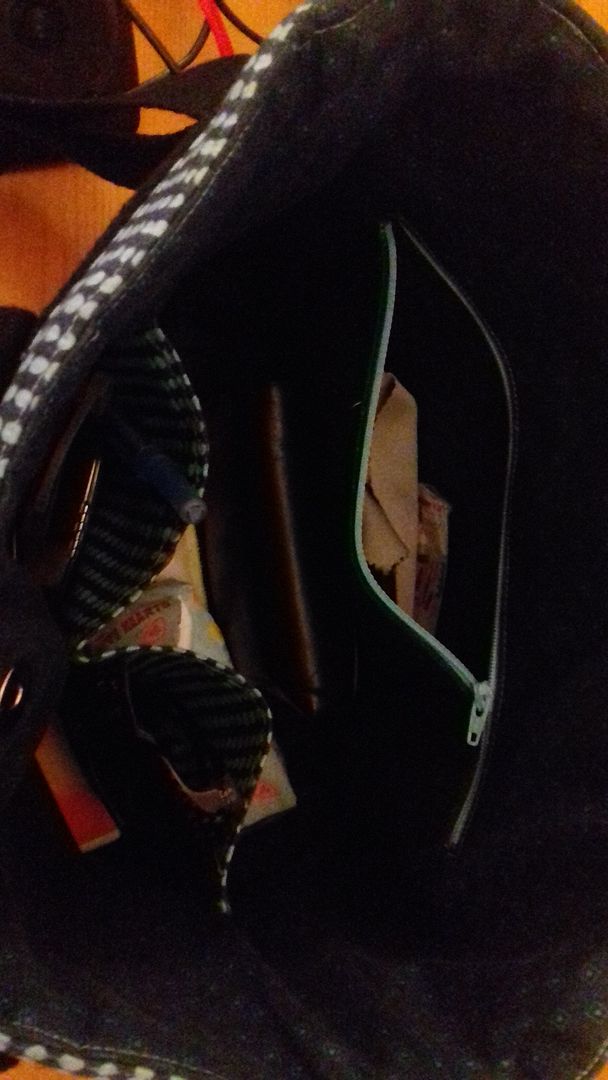
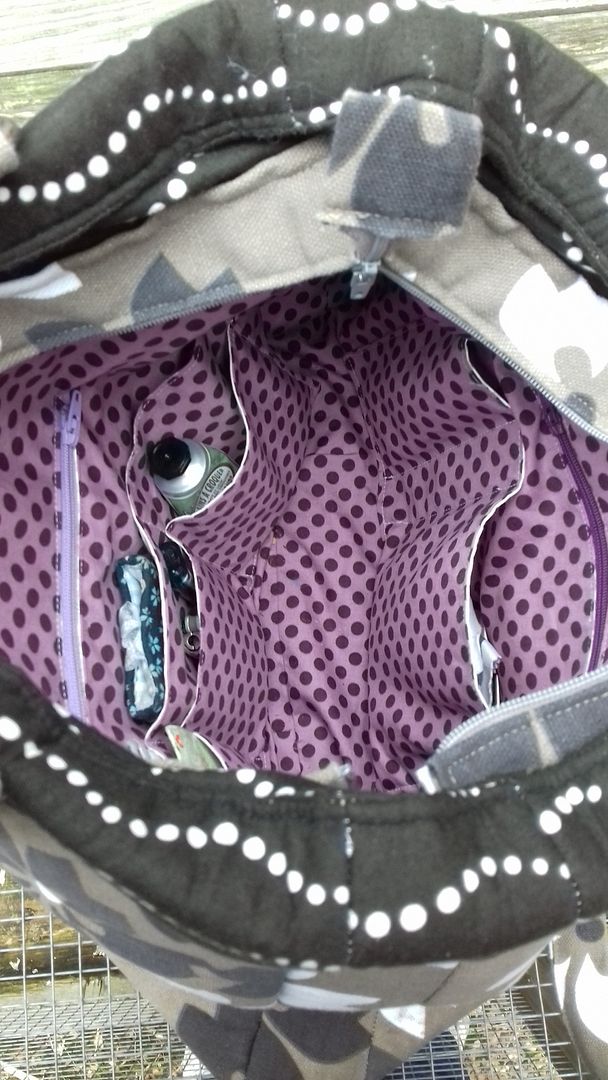
This is a very special zip pocket though... look...


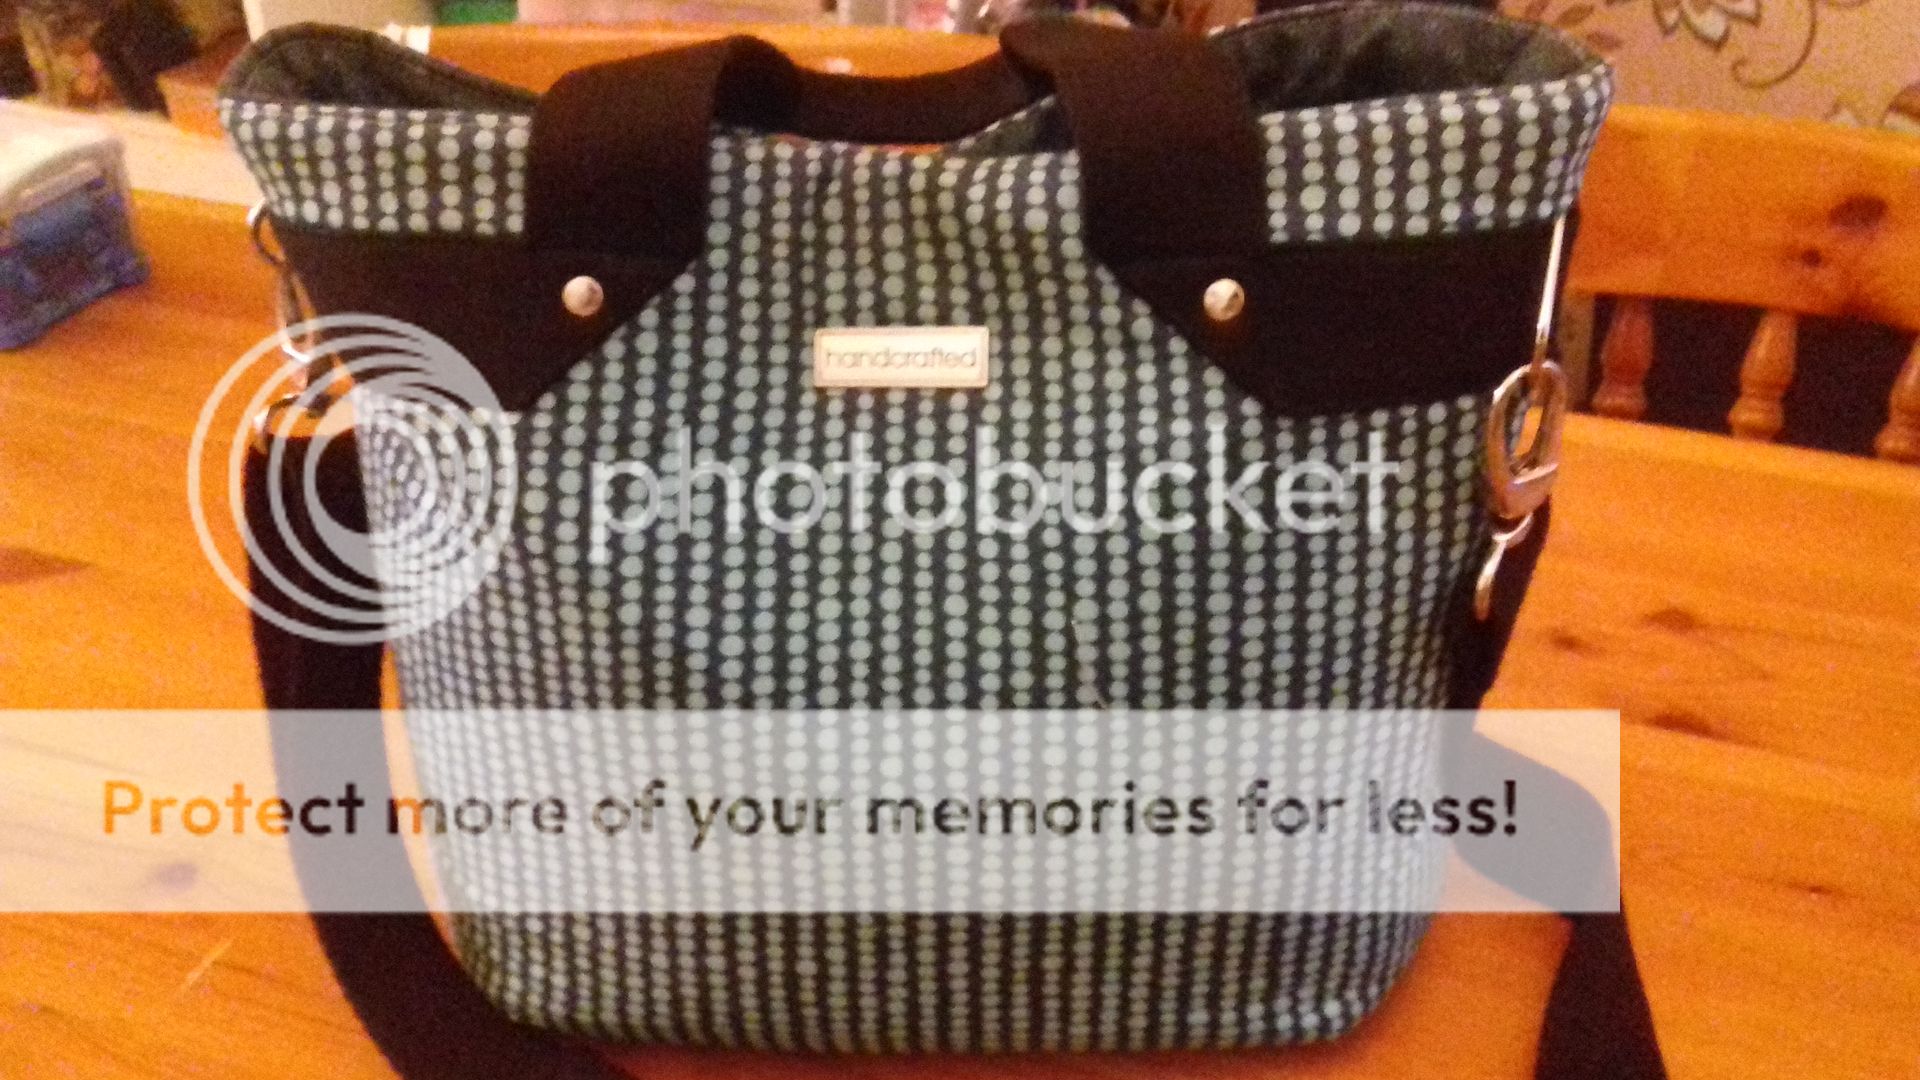
This is a free pattern from a blog. To my shame, I can't find the link. I was sure I'd put it in a "WIP" pinterest board, but I can't find one on my profile! It wasn't so much a pattern as a bit of a how-to. I changed the dimensions and the strap construction and added a zipper pocket inside. UPDATE! I found it Link to free how-to.

His favourite colour is orange, so I wanted orange fabric. I thought a waxed canvas would look nice and be fairly masculine (not that he cares about gender stereotypes like that, he's rather partial to pink). It was really hard to find and so I had to forgo looking for organic fabric (which he would usually chose - he's also a bit of an eco-warrier). The lining also isn't organic as I couldn't find any fox patterned organic fabric that I liked.

The 2 magnetic snaps and the handmade scroll were from Sew Hot at the Bag Retreat which is where I started sewing this. I also bought the zips there. I added a zip pocket in the lining, as you have to have a zip pocket.

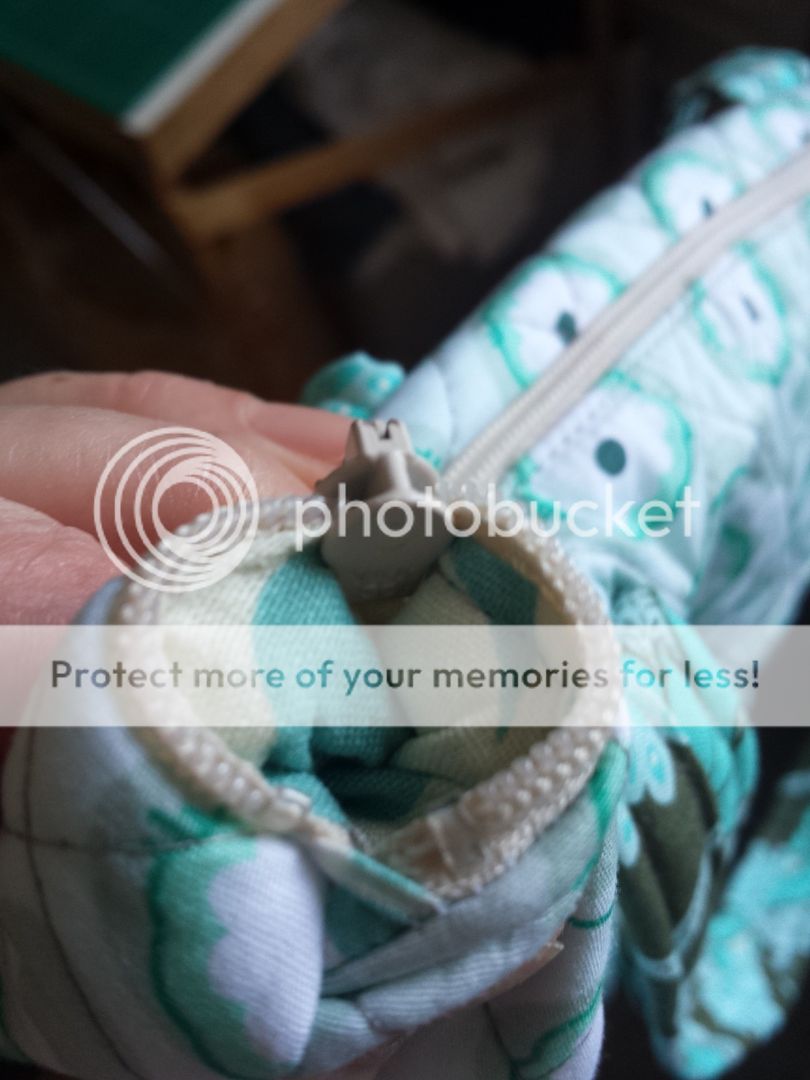
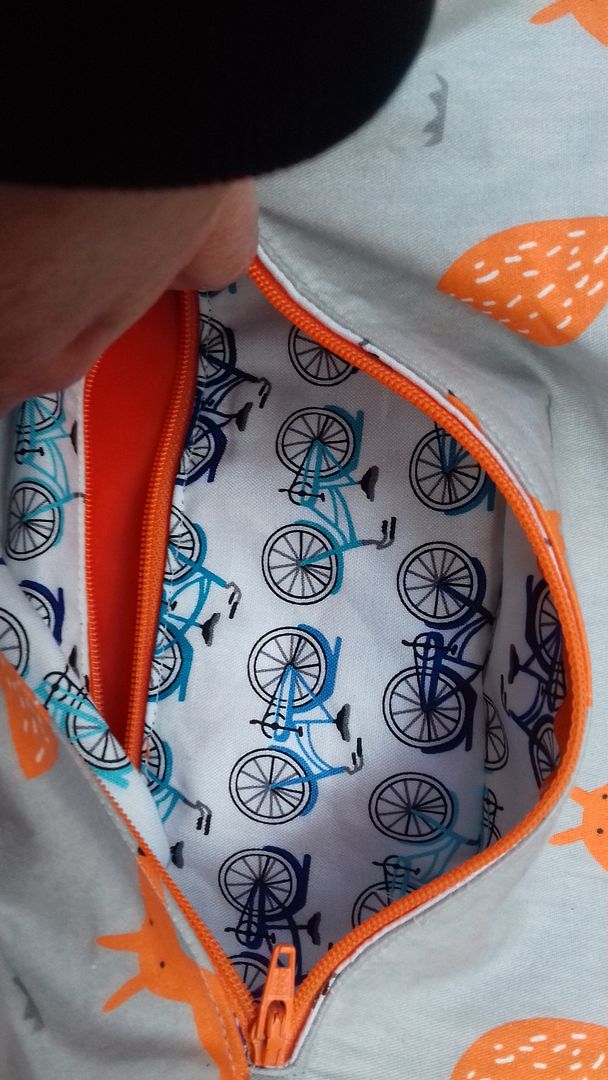
This is a very special zip pocket though... look...

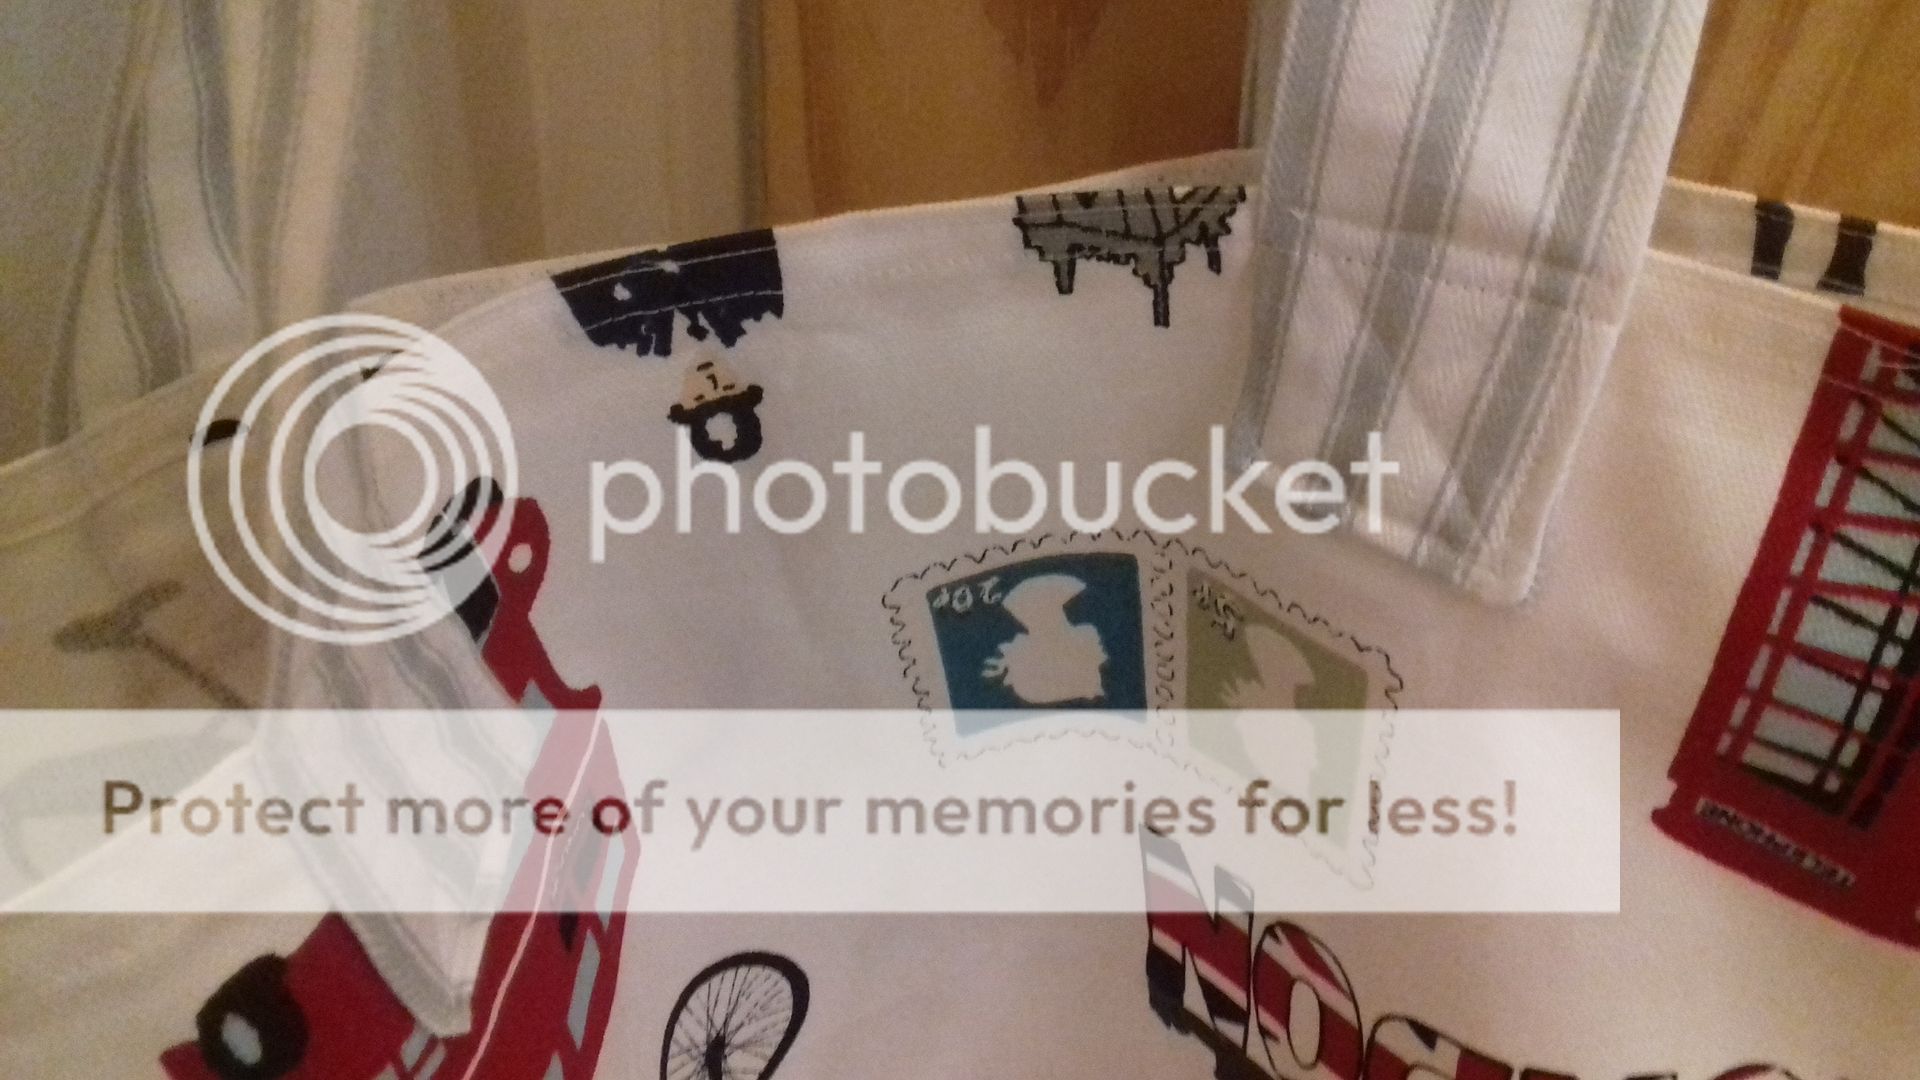
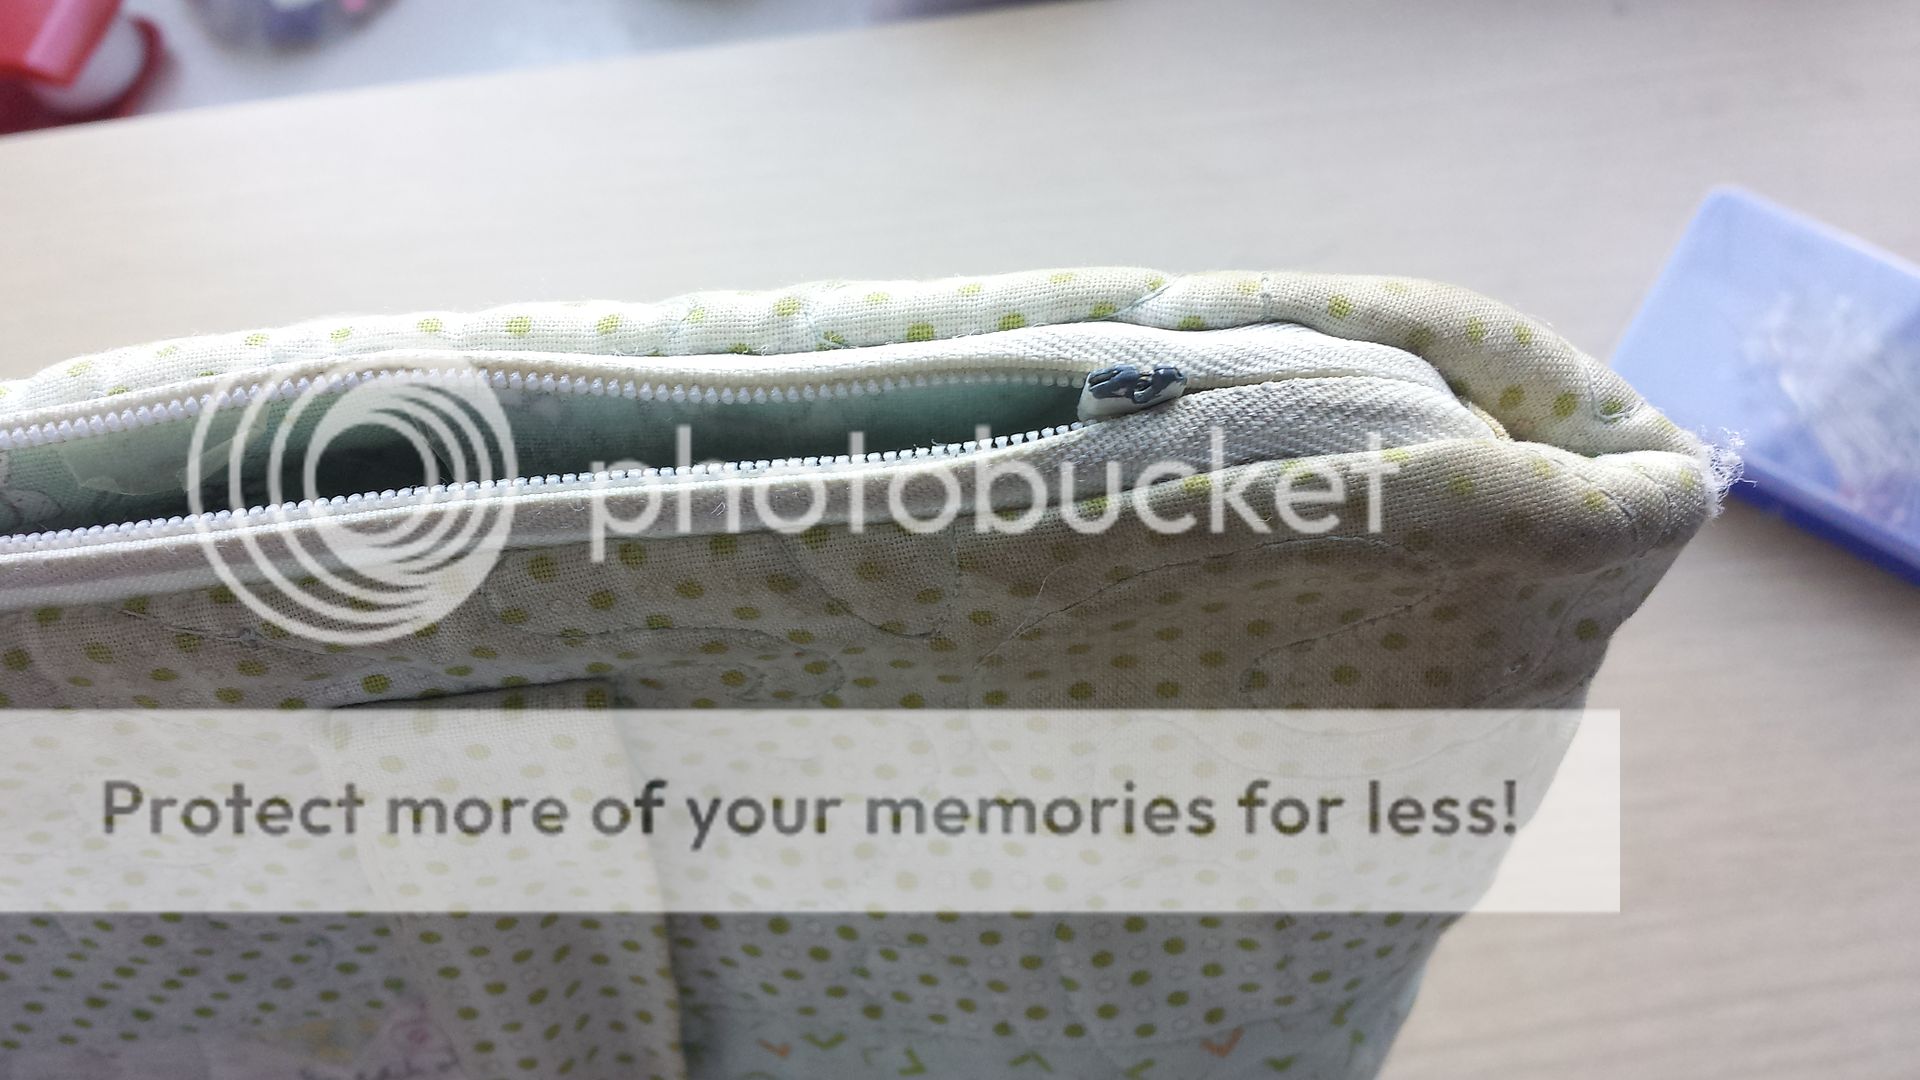
Bicycle fabric (yep, he's a cyclist, nope, he doesn't own any Lycra), and...

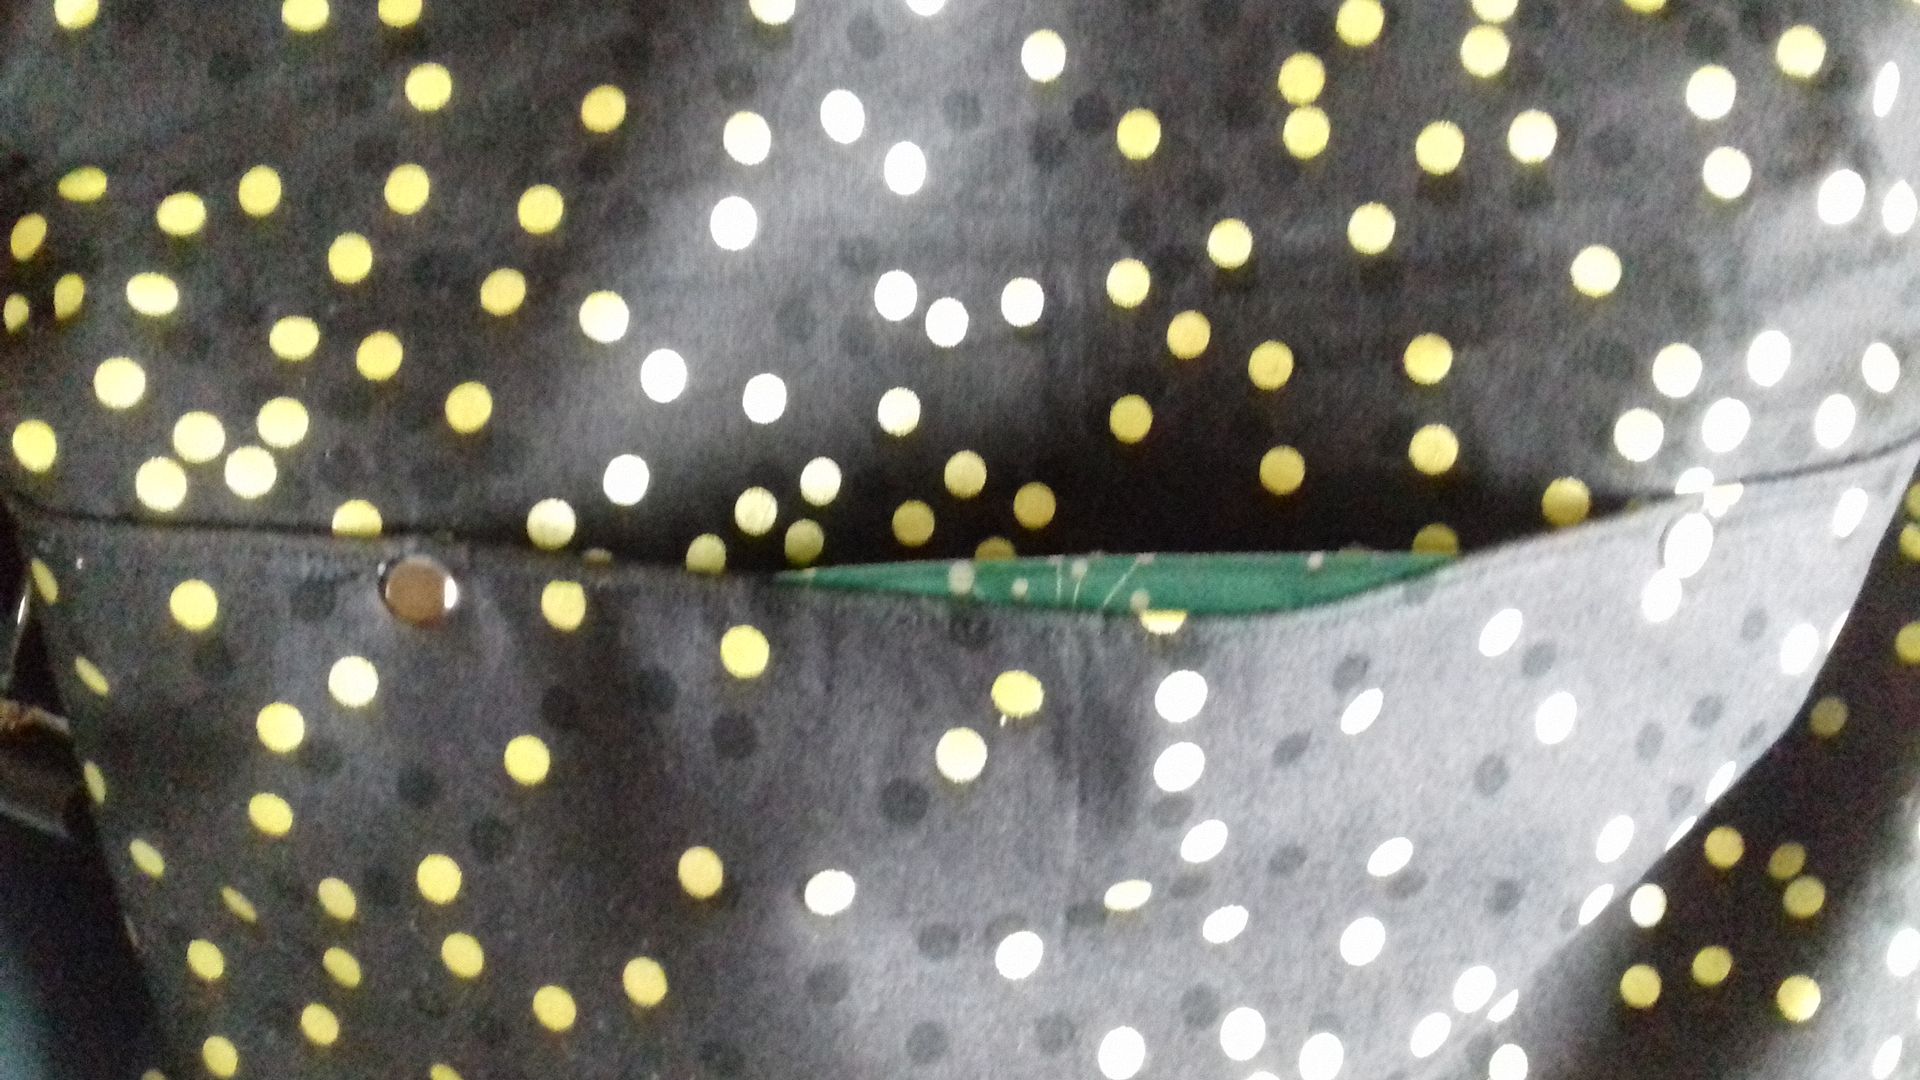
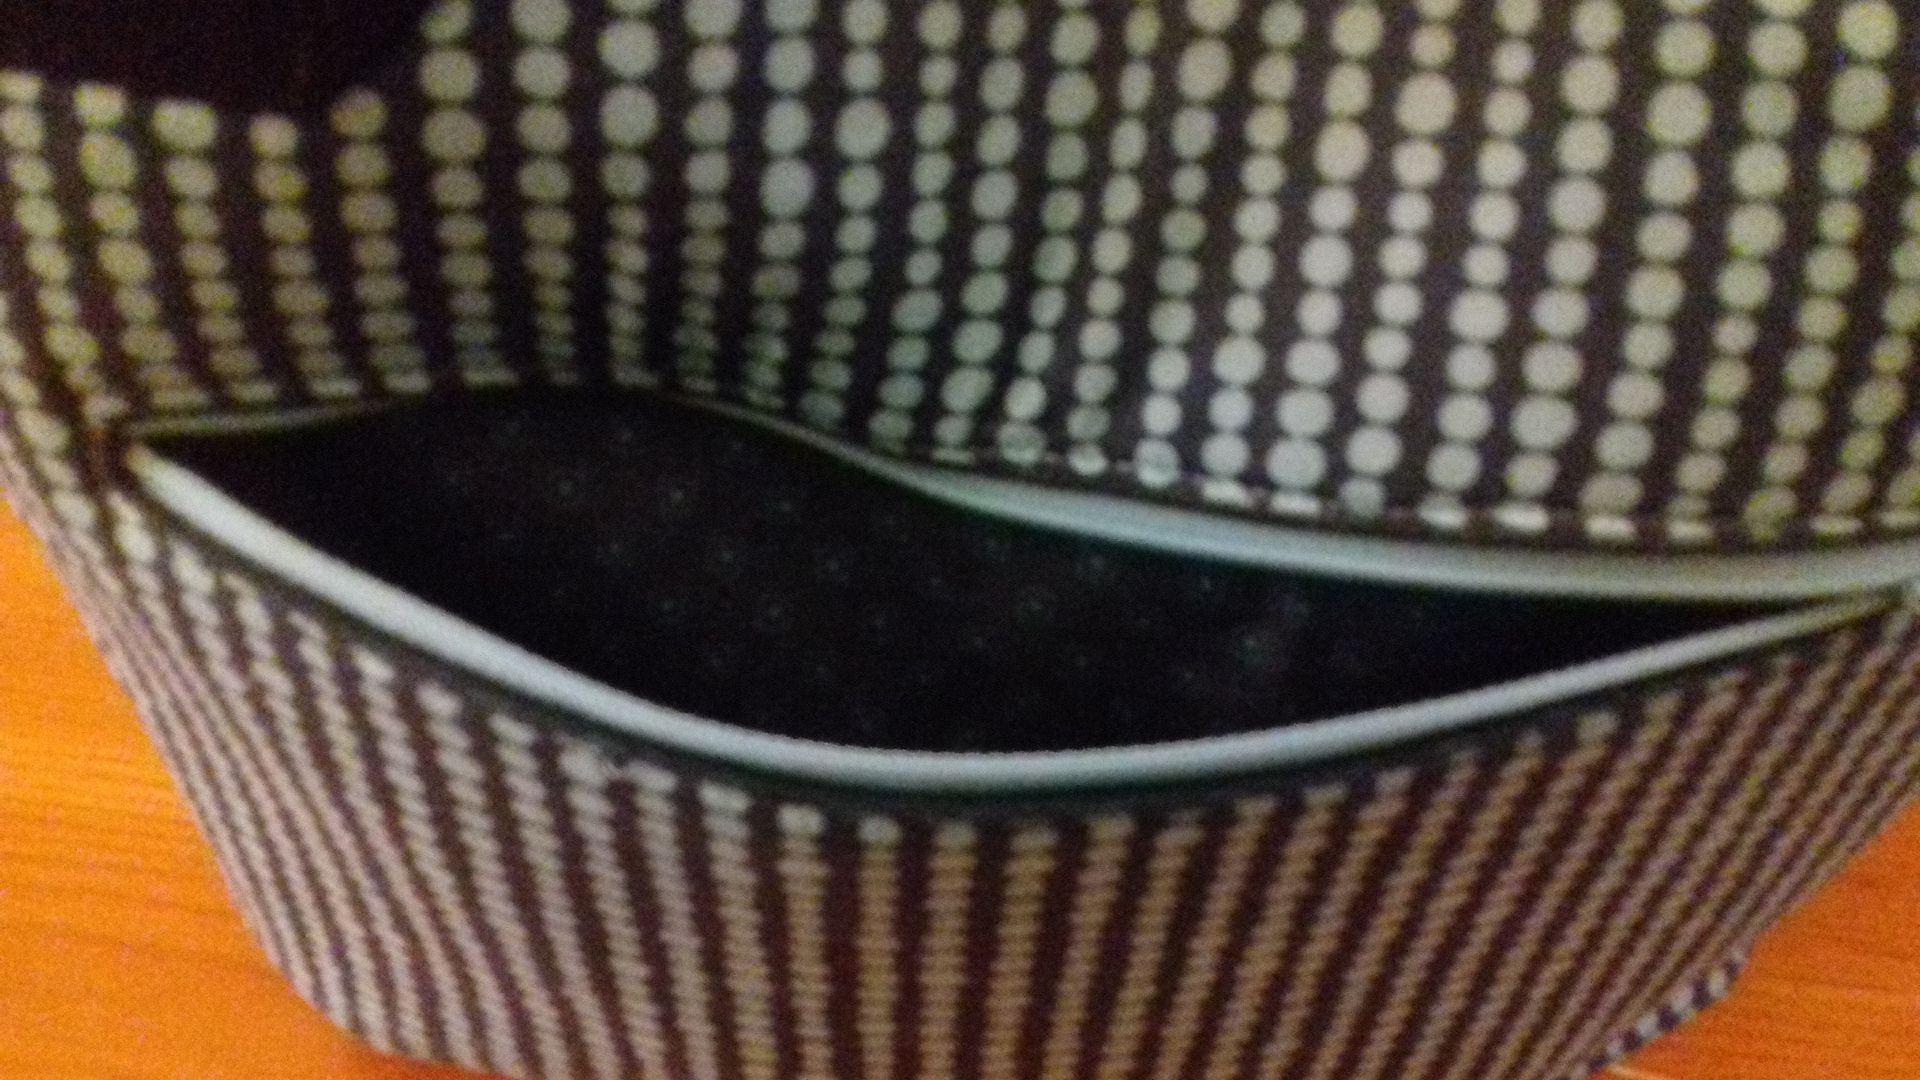
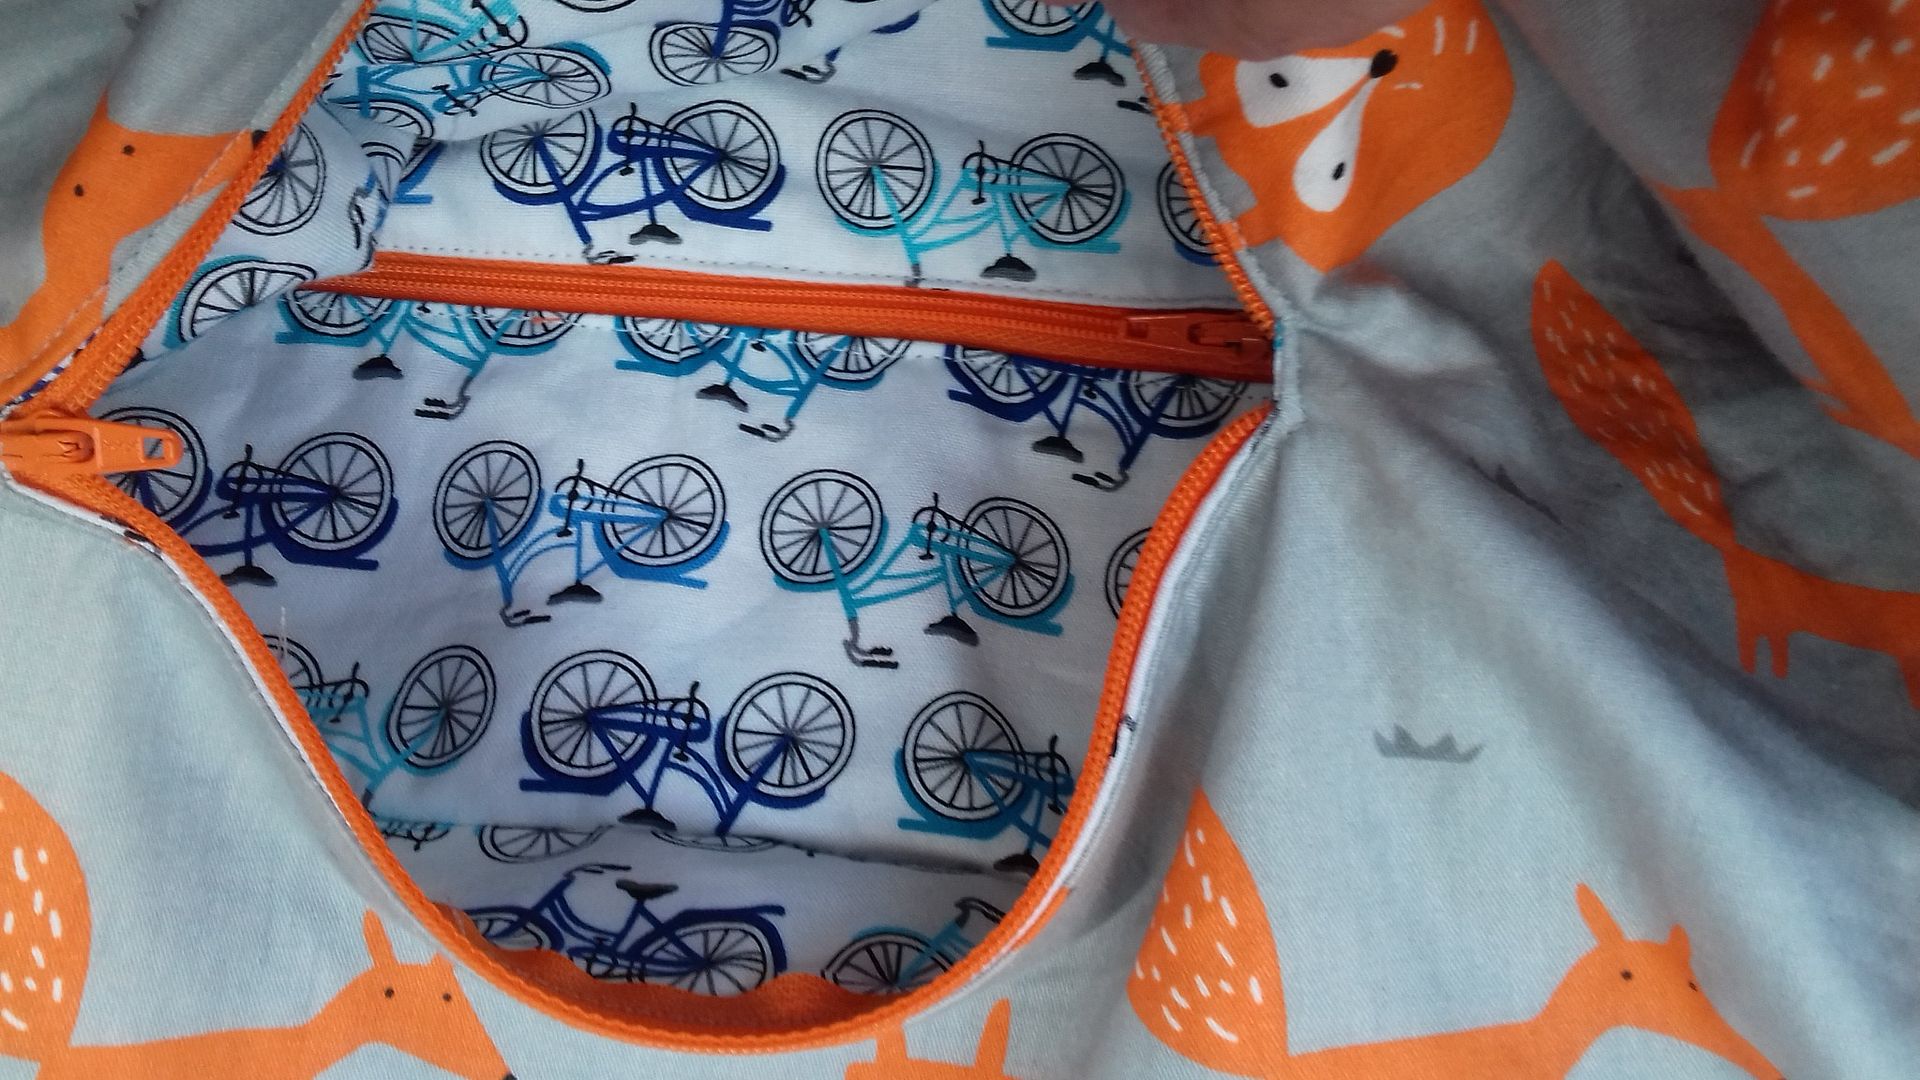
Another, hidden zip pocket! This time lined in the waxed canvas. No, that's not a person in a hat at the top of the photo, it's my hand and a blur!

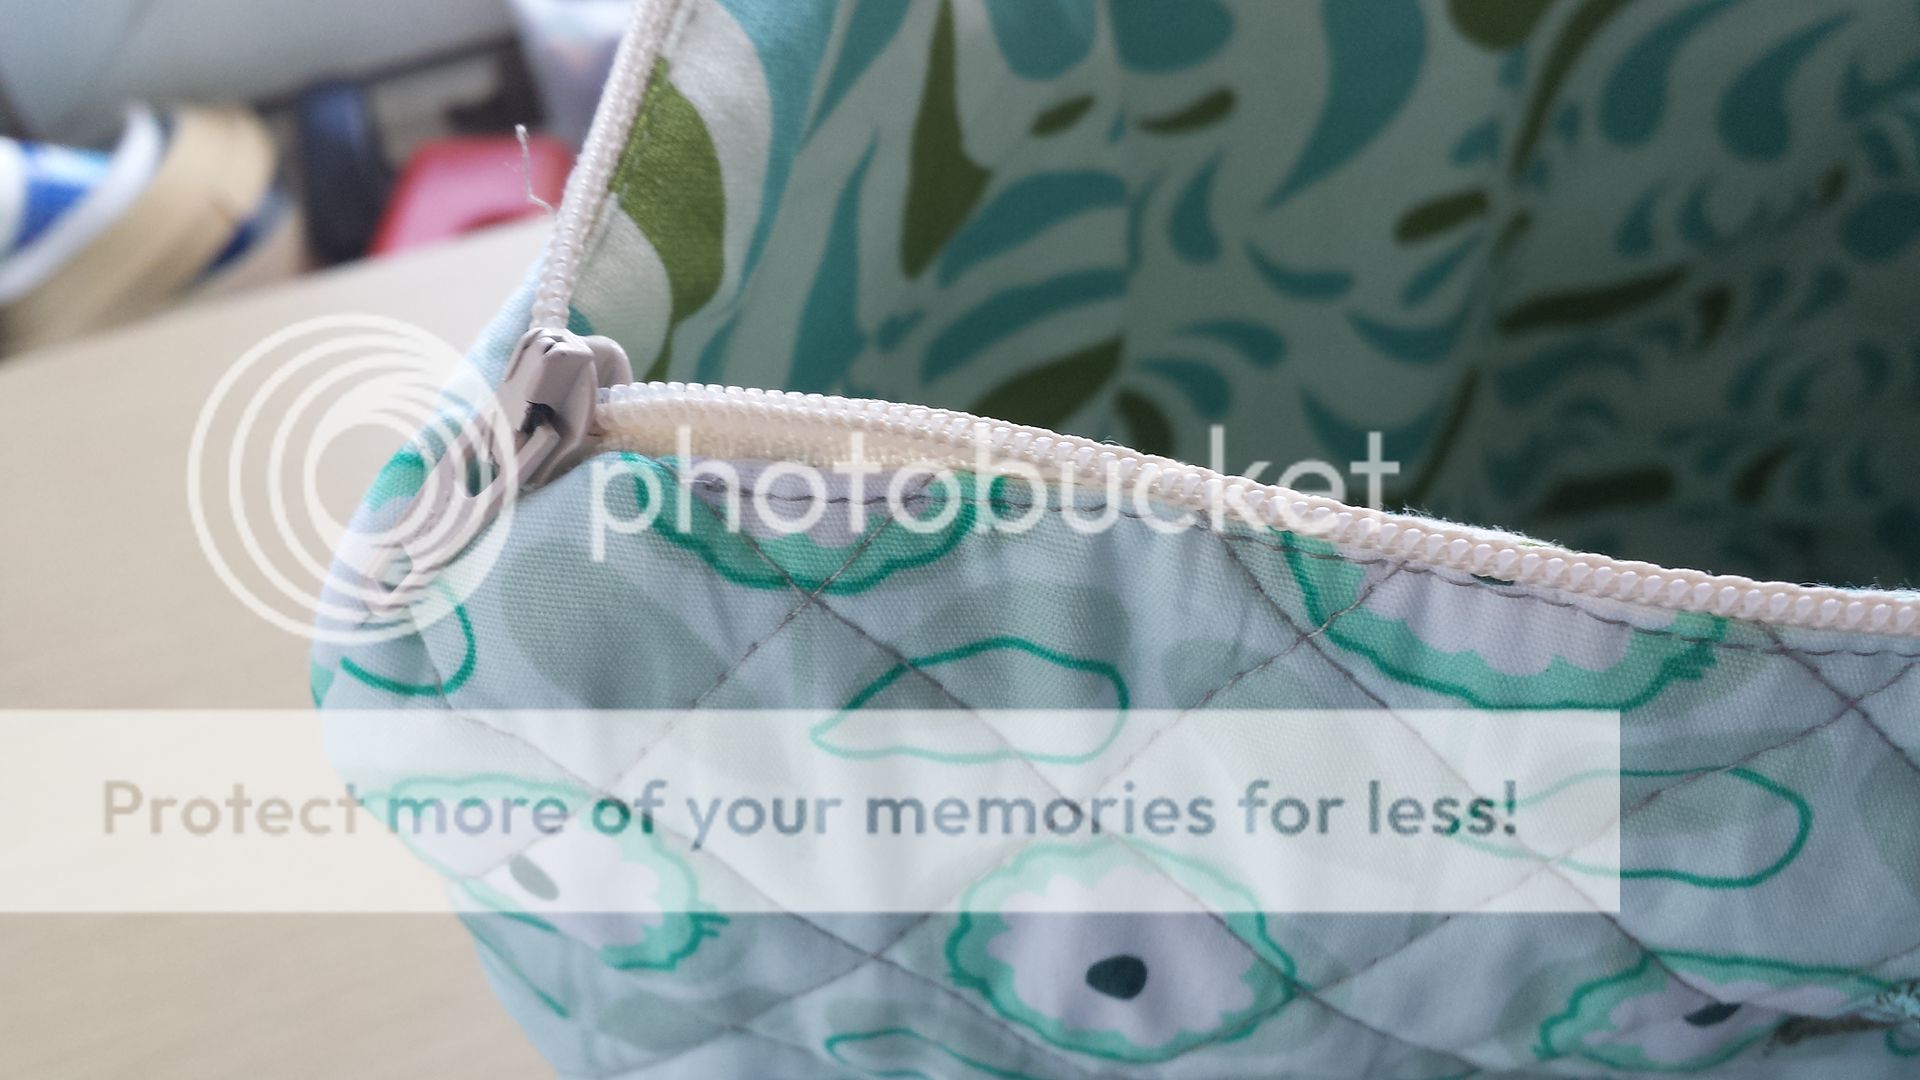
Apparently I thought you'd like a closer look at the pocket lining! No, the fabric isn't upside down, the photo is. Again, it was surprisingly hard to find bicycle fabric and impossible to find organic. The problem was that 99% of the bicycles had baskets on them! I didn't want a cutesy bicycle.

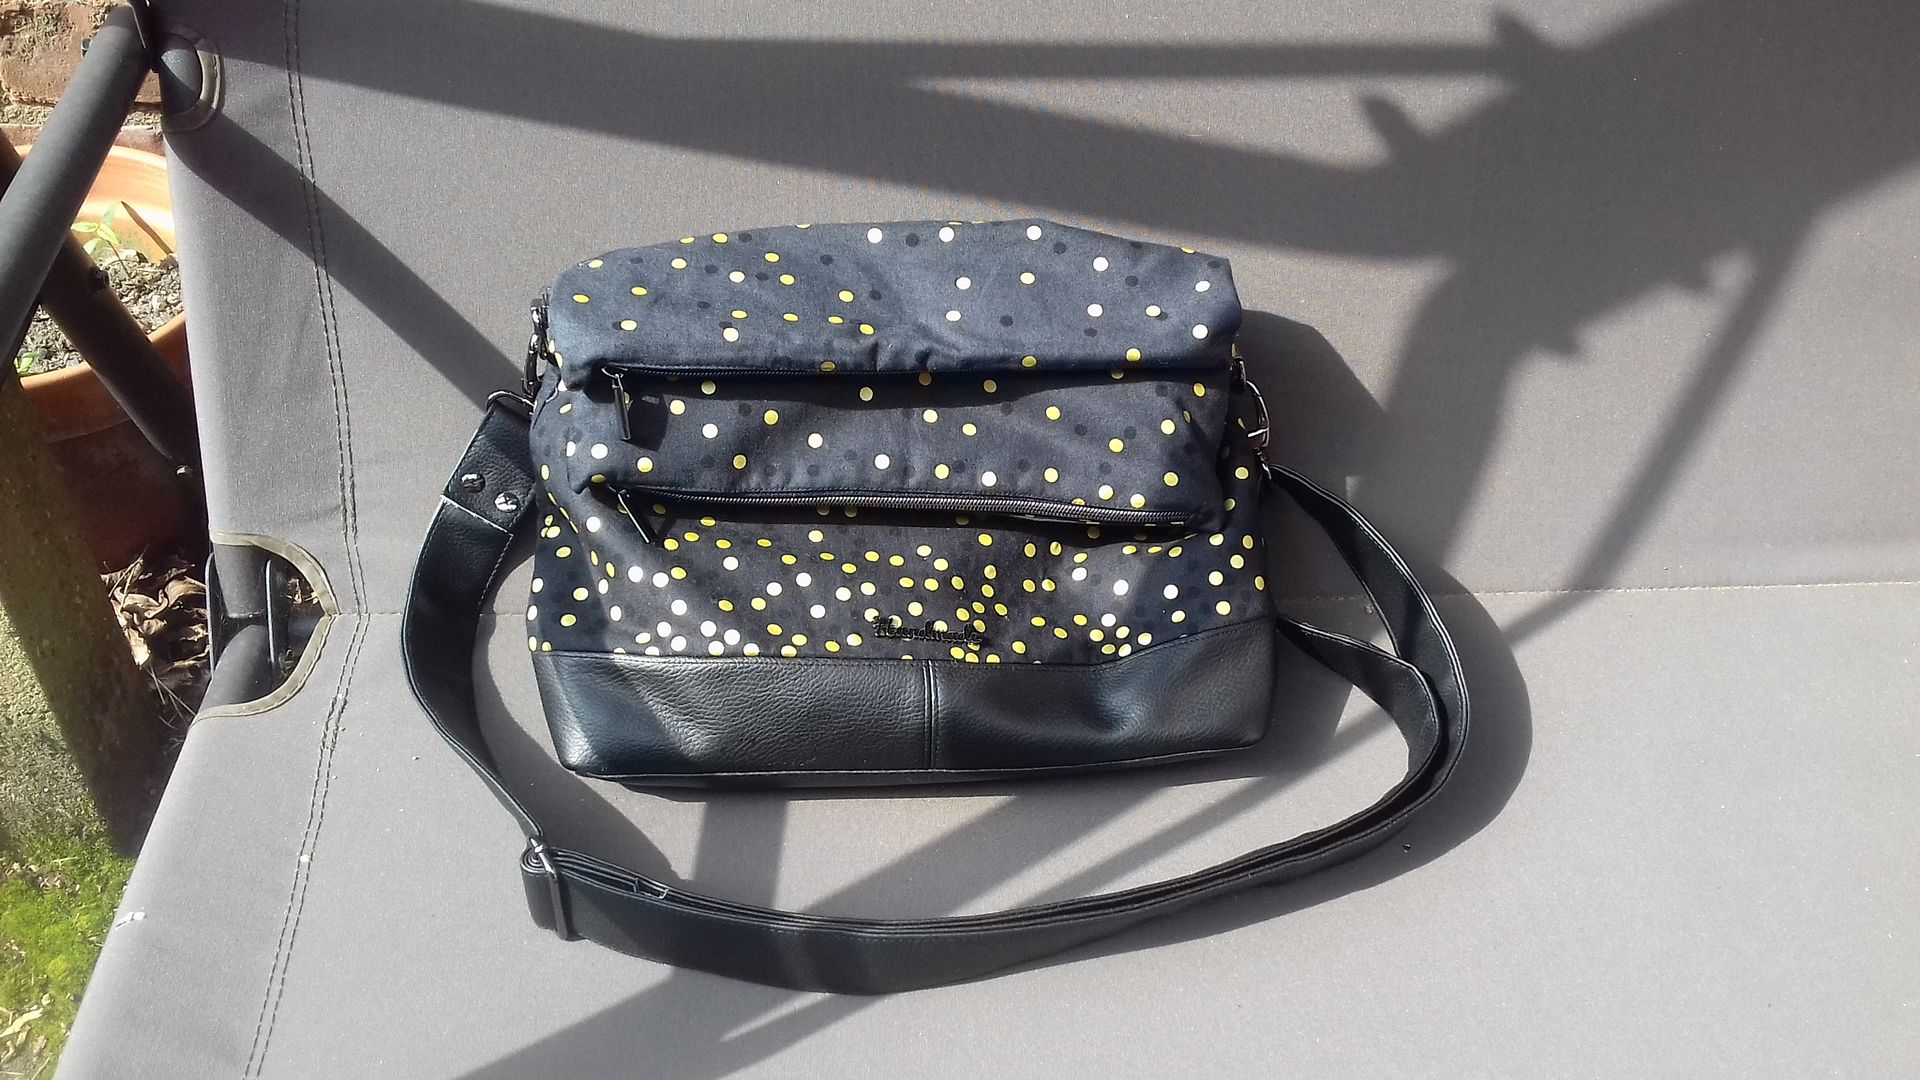
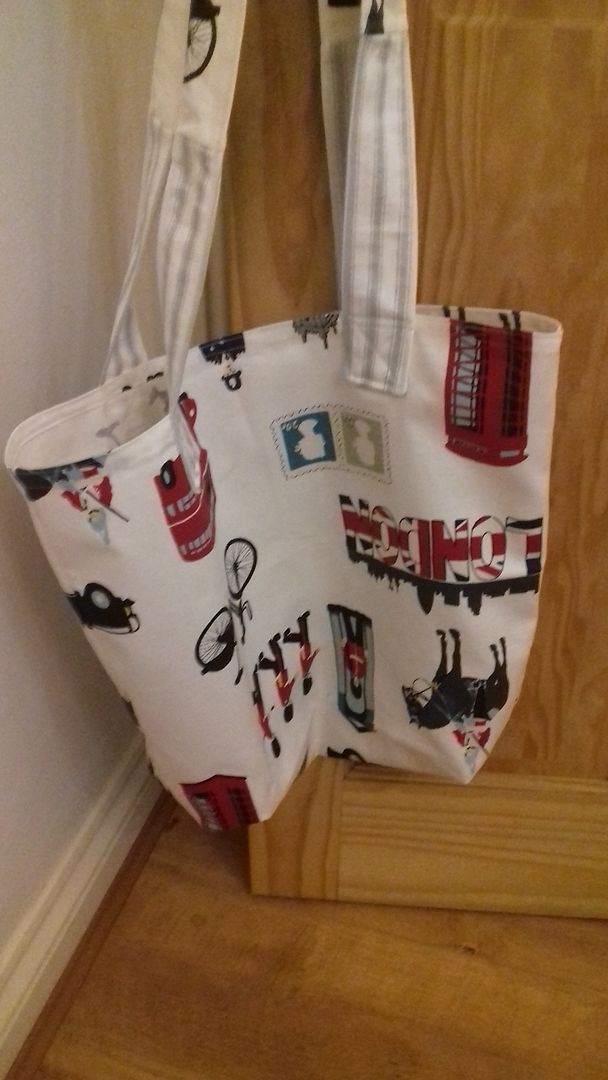
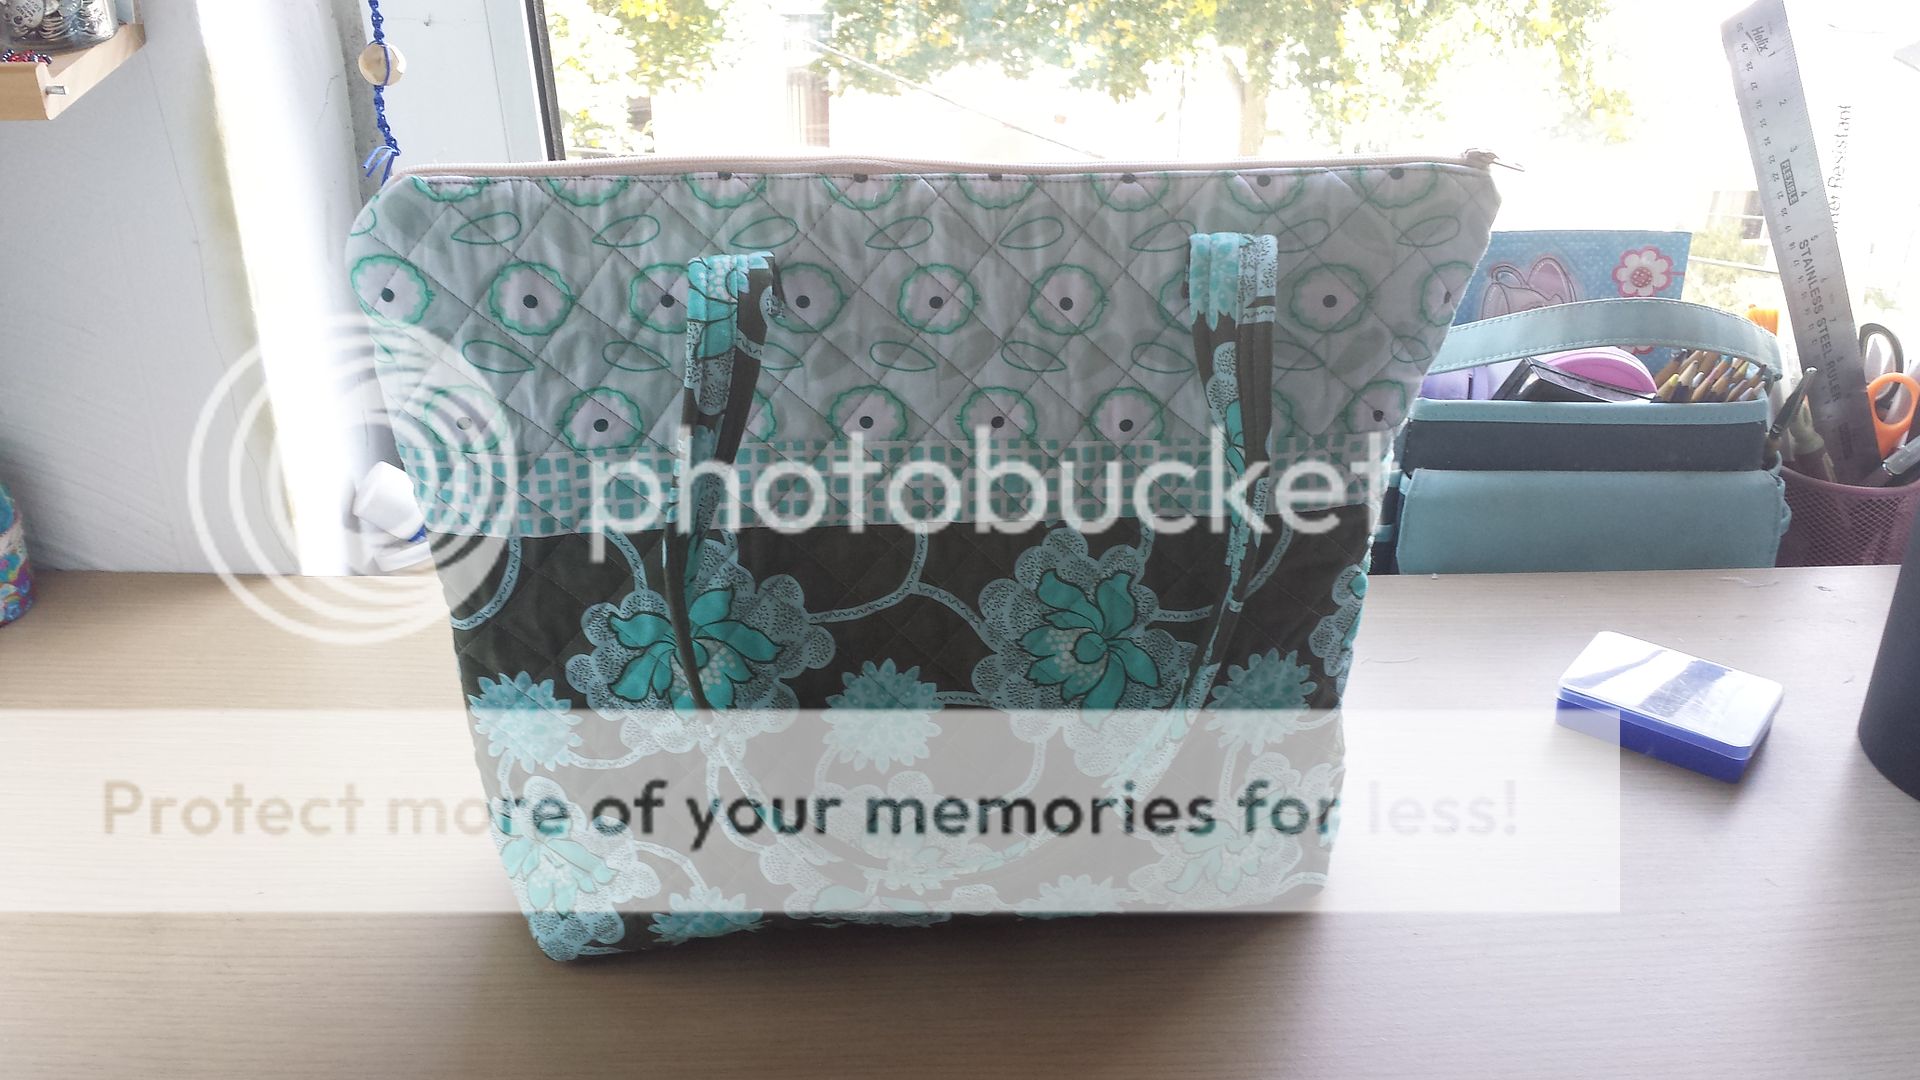
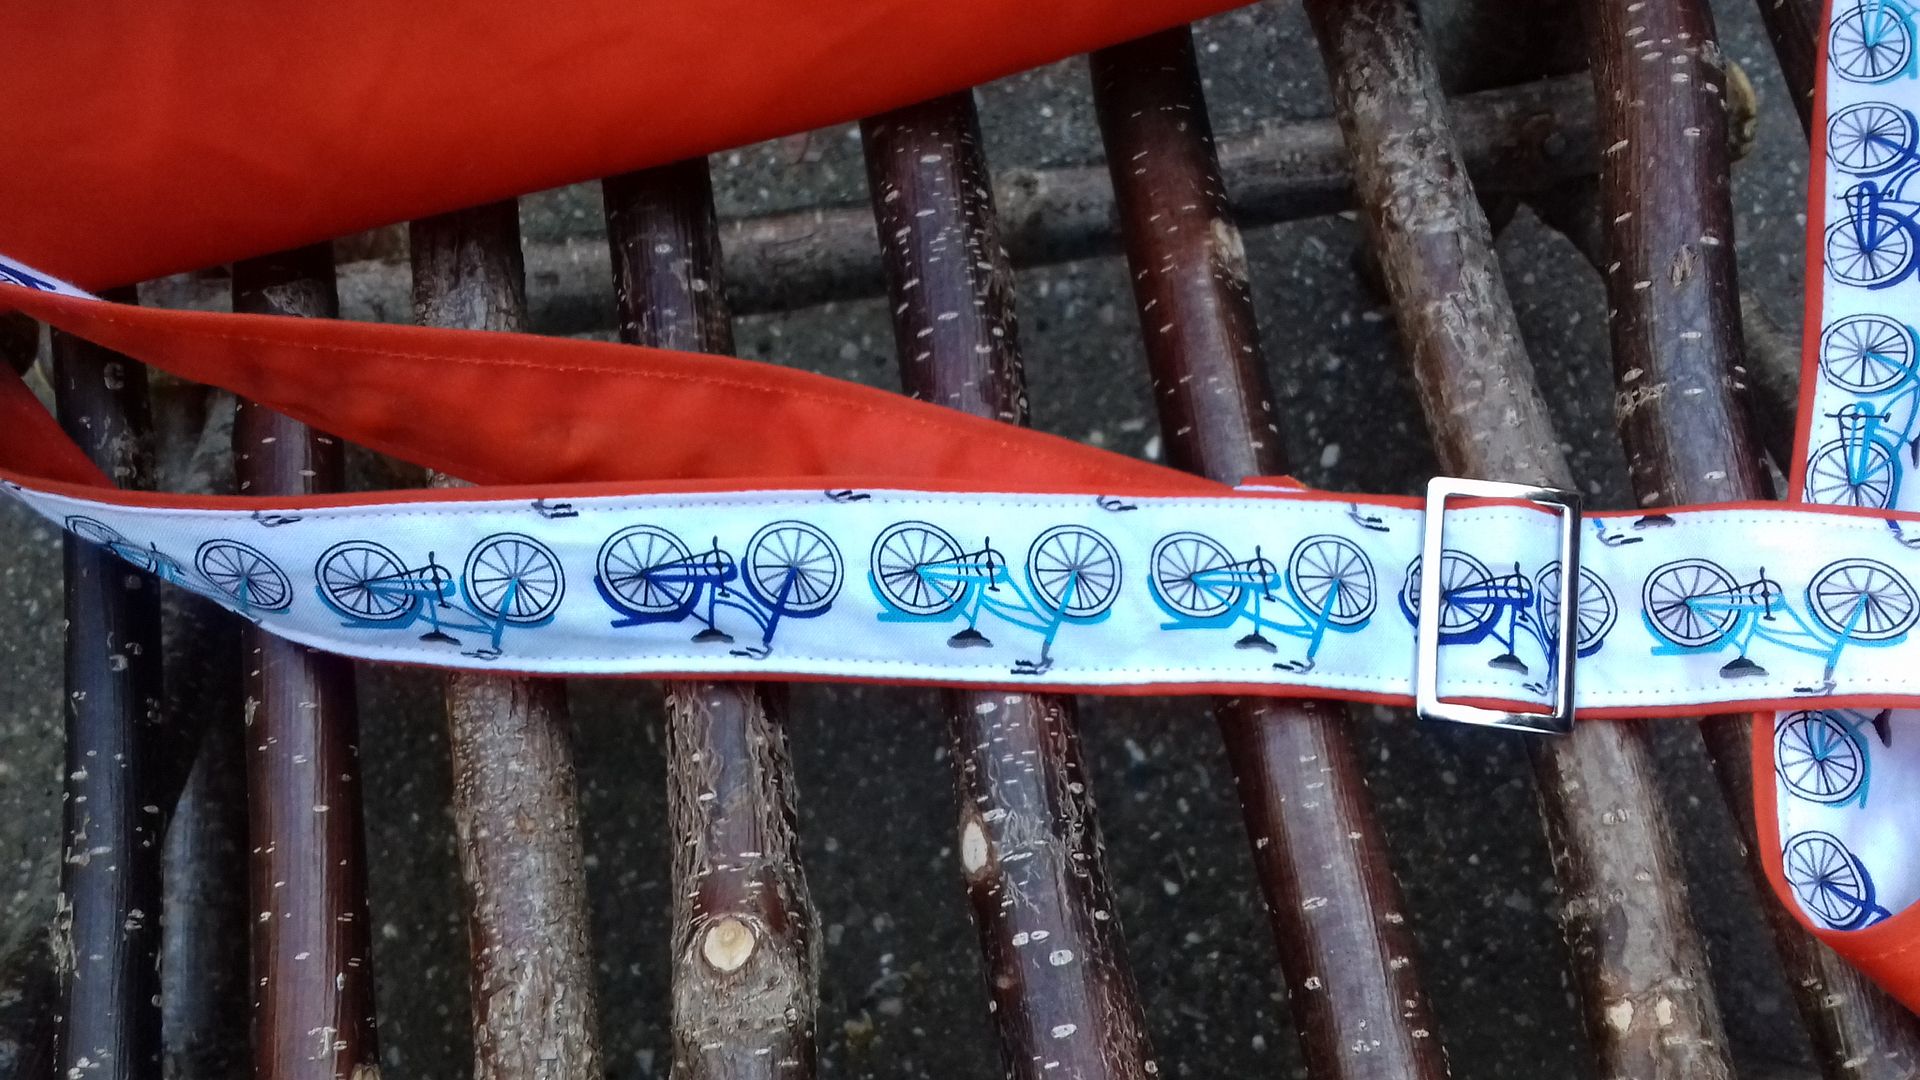
More Sew Hot hardware there. I messed up this strap. I like the way I did it - I folded over 1/2" on either long side of the waxed canvas, and slightly more on the bicycle fabric, then sewed one to the other. No turning! I hate the usual method of strap making and much preferred this. Problem? I forgot to interface and forgot to add fusible fleece! So the strap is very thin and a bit uncomfortable. I nearly didn't give him the bag because of this (obviously I'd left it til the last minute and didn't have time to make another), but in the end I did, with a promise to make him a new strap. I'll do that tomorrow at quilt guild.
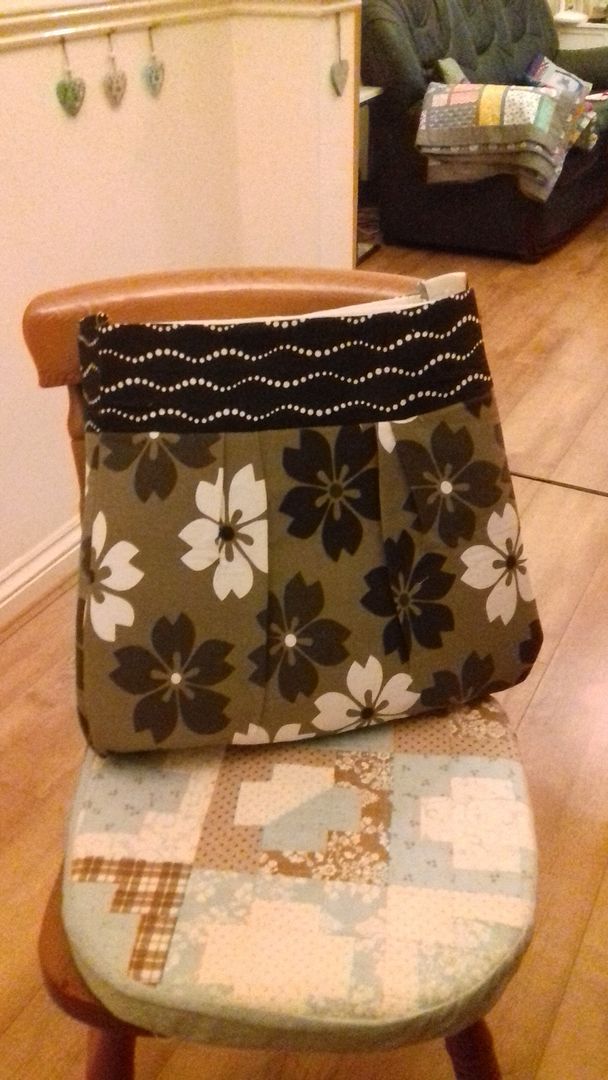
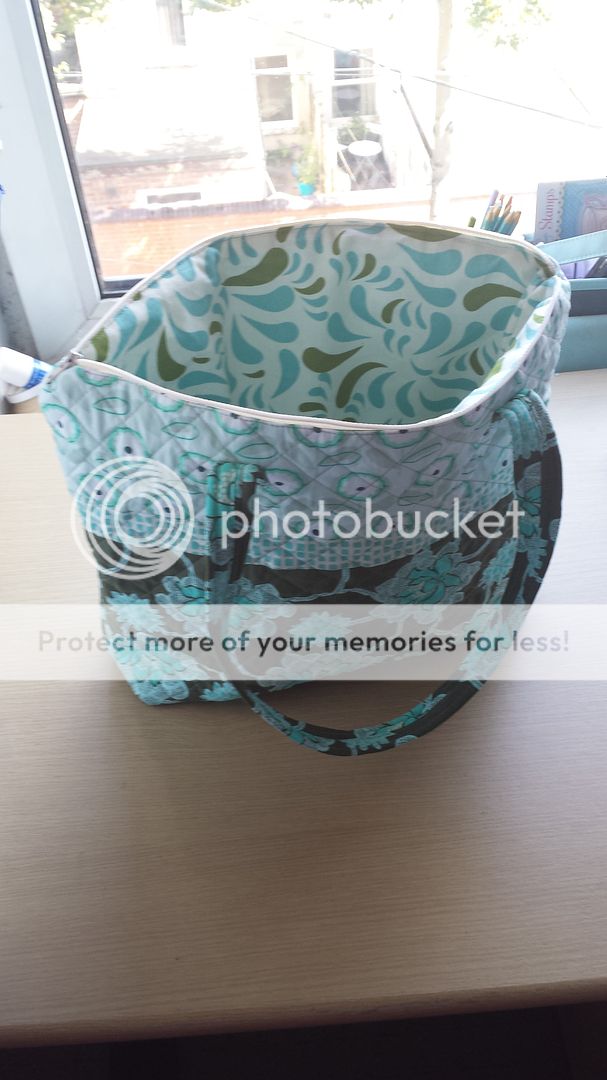
I put a few little treats in the bag for him and he seemed really pleased. I knew that he would appreciate hand made (he loved the crap sloth I crocheted him!) but have no idea if he's just being polite! He has been carrying it around so he can't be completely mortified by it!