A couple of years ago, I came across a blog post by Mrs H about her new studio floor that she and her husband had created. Then, last year, after the bag retreat, I had the pleasure of visiting Mrs H's home and seeing it in person. It stuck in my mind. I knew that one day, I too would create a floor like that.
So I am!
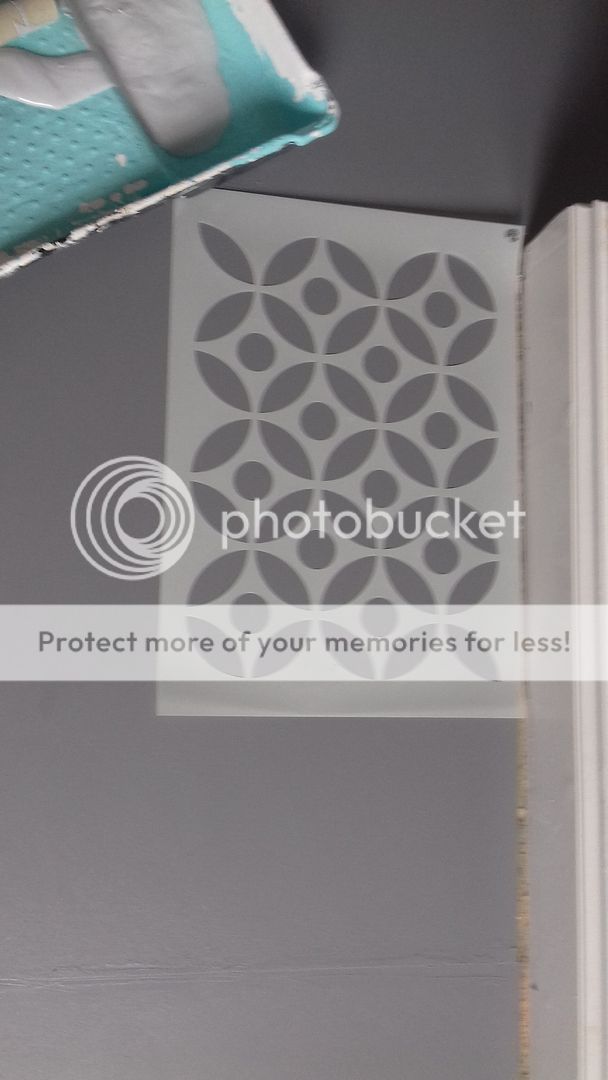
I read through the blog post, and Mrs H sent me some extra details to help me. I then bought some MDF, cut it to size, screwed it down, filled the seam lines and screw heads, sanded and painted 3 coats of dark grey paint. Then for the fun part. I procrastinated this for ages as I was sure I'd mess it up. Above is the stencil which I bought from Dizzy Duck Designs.
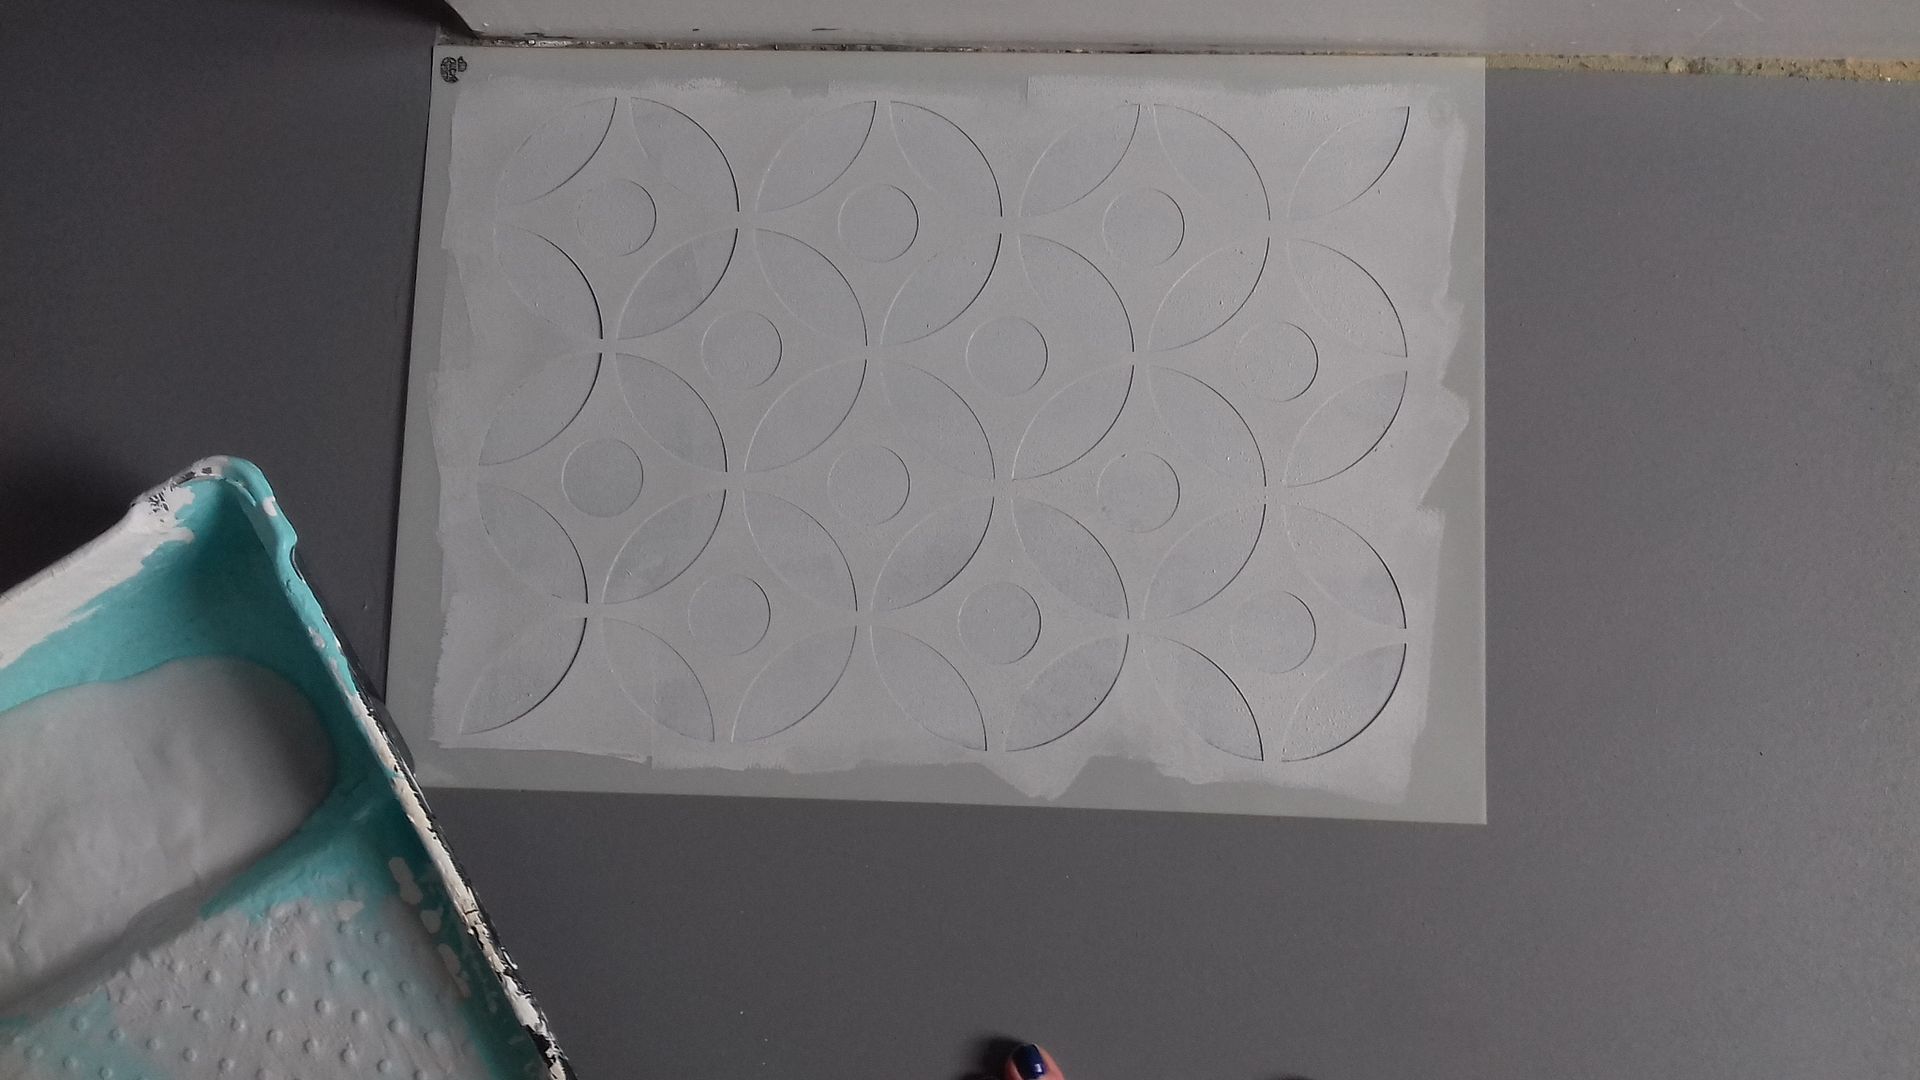
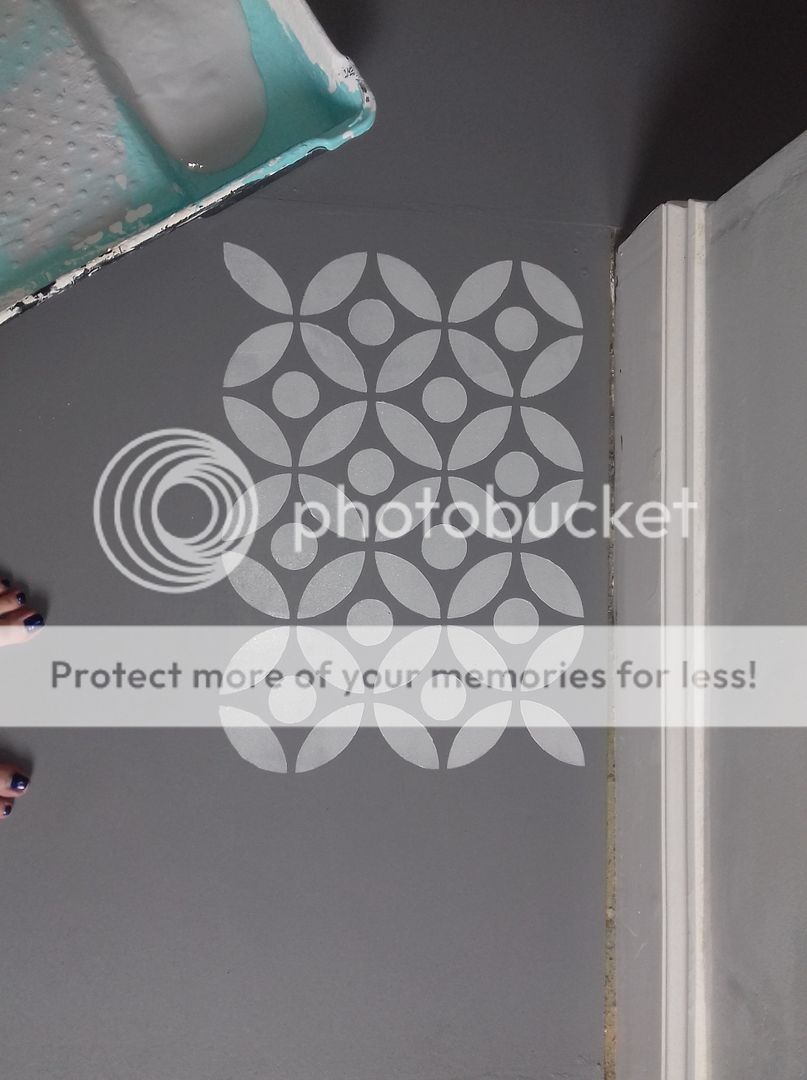
I painted over it using the same emulsion in pale grey I'd used for the walls in that room (it will be my new studio when I FINALLY finish it). Then I was scared... the moment of truth...
Yay!!! Go me!! Thanks Mrs H, thanks Dizzy Duck Designs, thanks Dulux! I was sooooo chuffed.
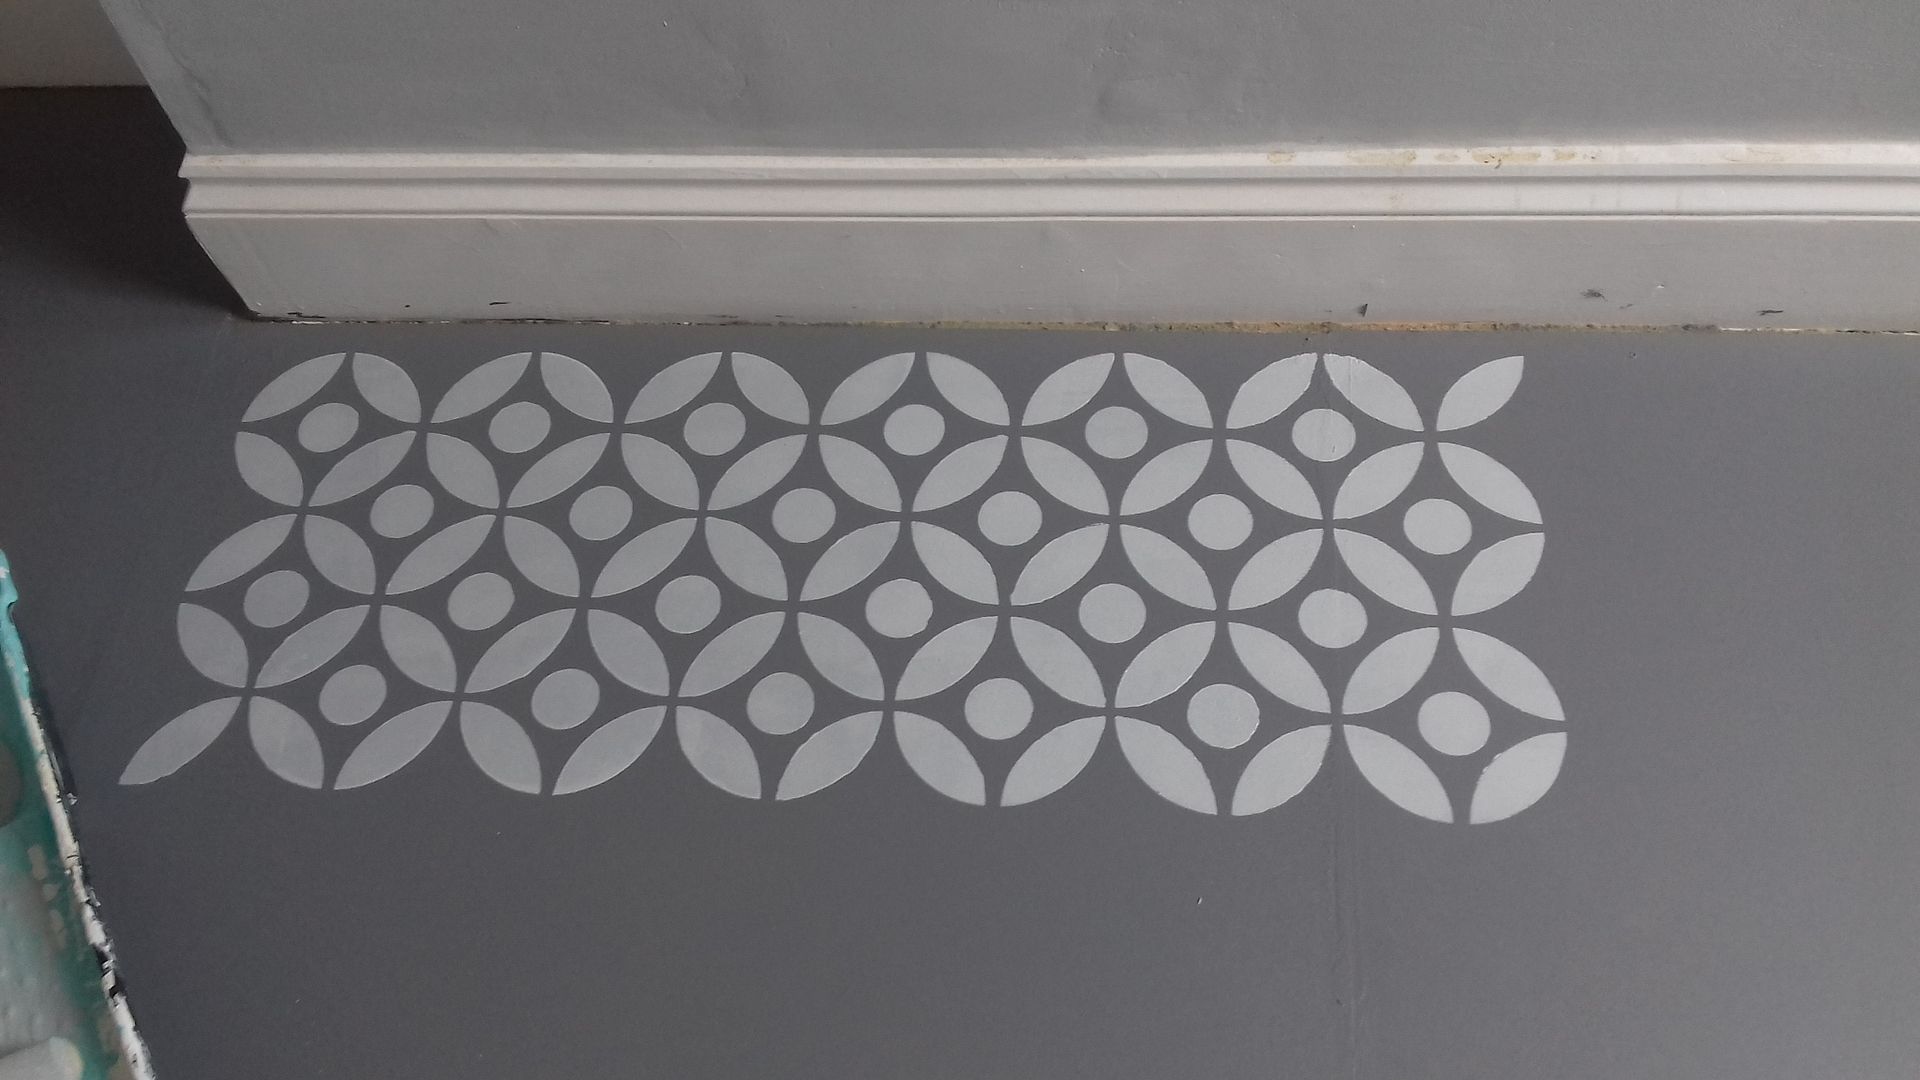
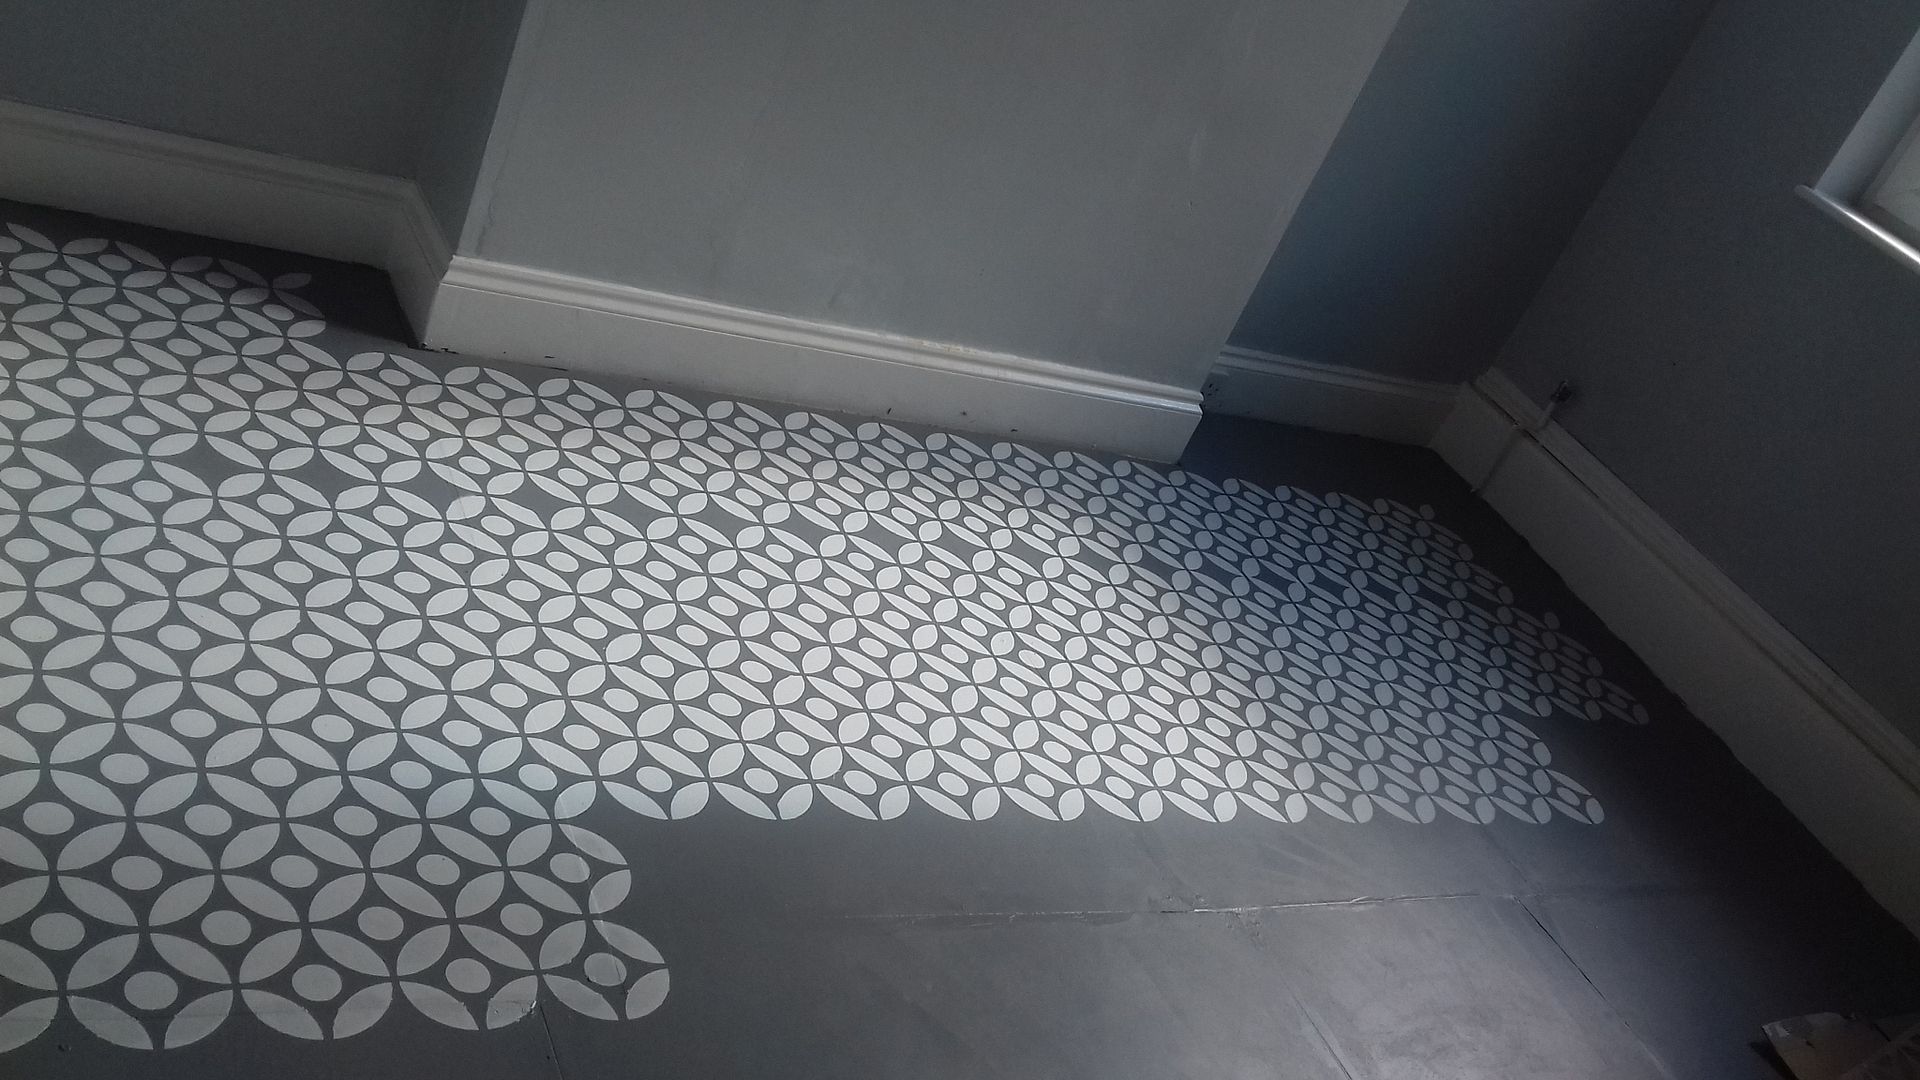
I carried on, overlapping the stencil each time to line it up correctly.
Except where I didn't! That line without dots was my mistake when doing the second row. I will go back and fill it with dots later. This is how far I got before I had to give up for the day. I'd already painted an airing cupboard and a ceiling and I was tired! It's quite slow going as it requires precision, also the stencil needs washing and thoroughly drying every 5 or 6 applications. Hopefully I'll be able to show you the finished room soon... Just got to finish stencilling, then varnish, then do the beading, then sort out the faulty window, get a radiator fitted, put up curtains, sort out the light fixtures, move my furniture in and set up my craft stuff... so... end of summer maybe??

