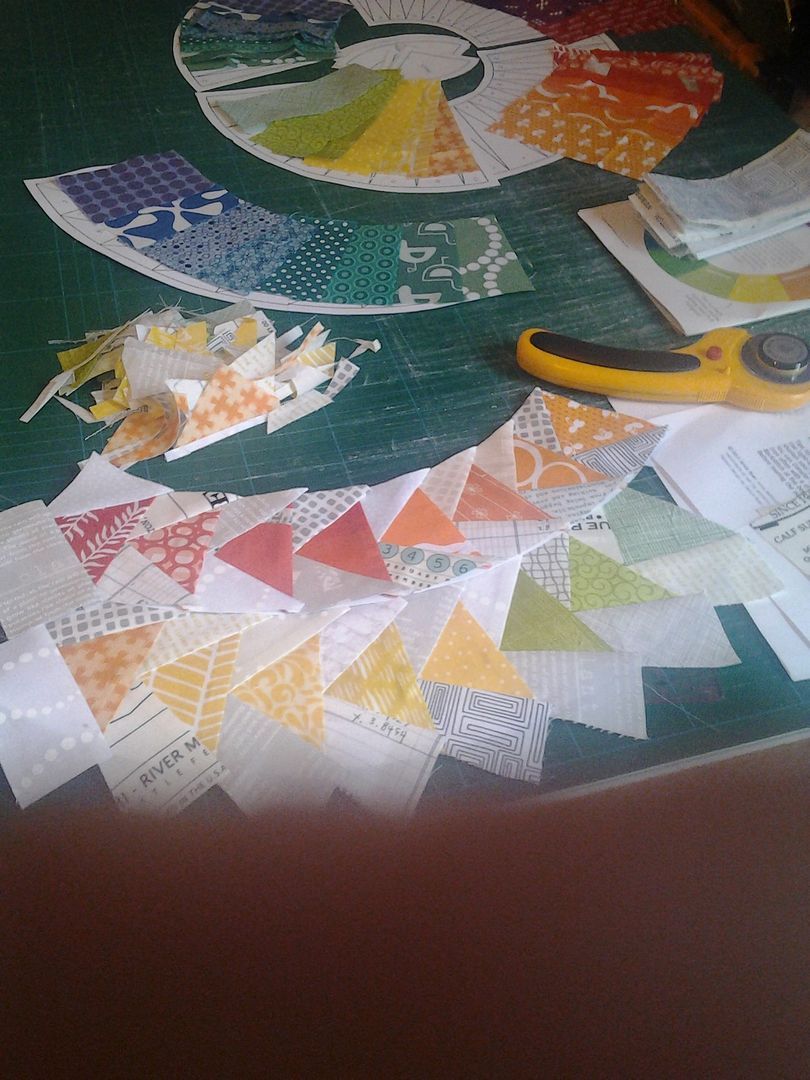
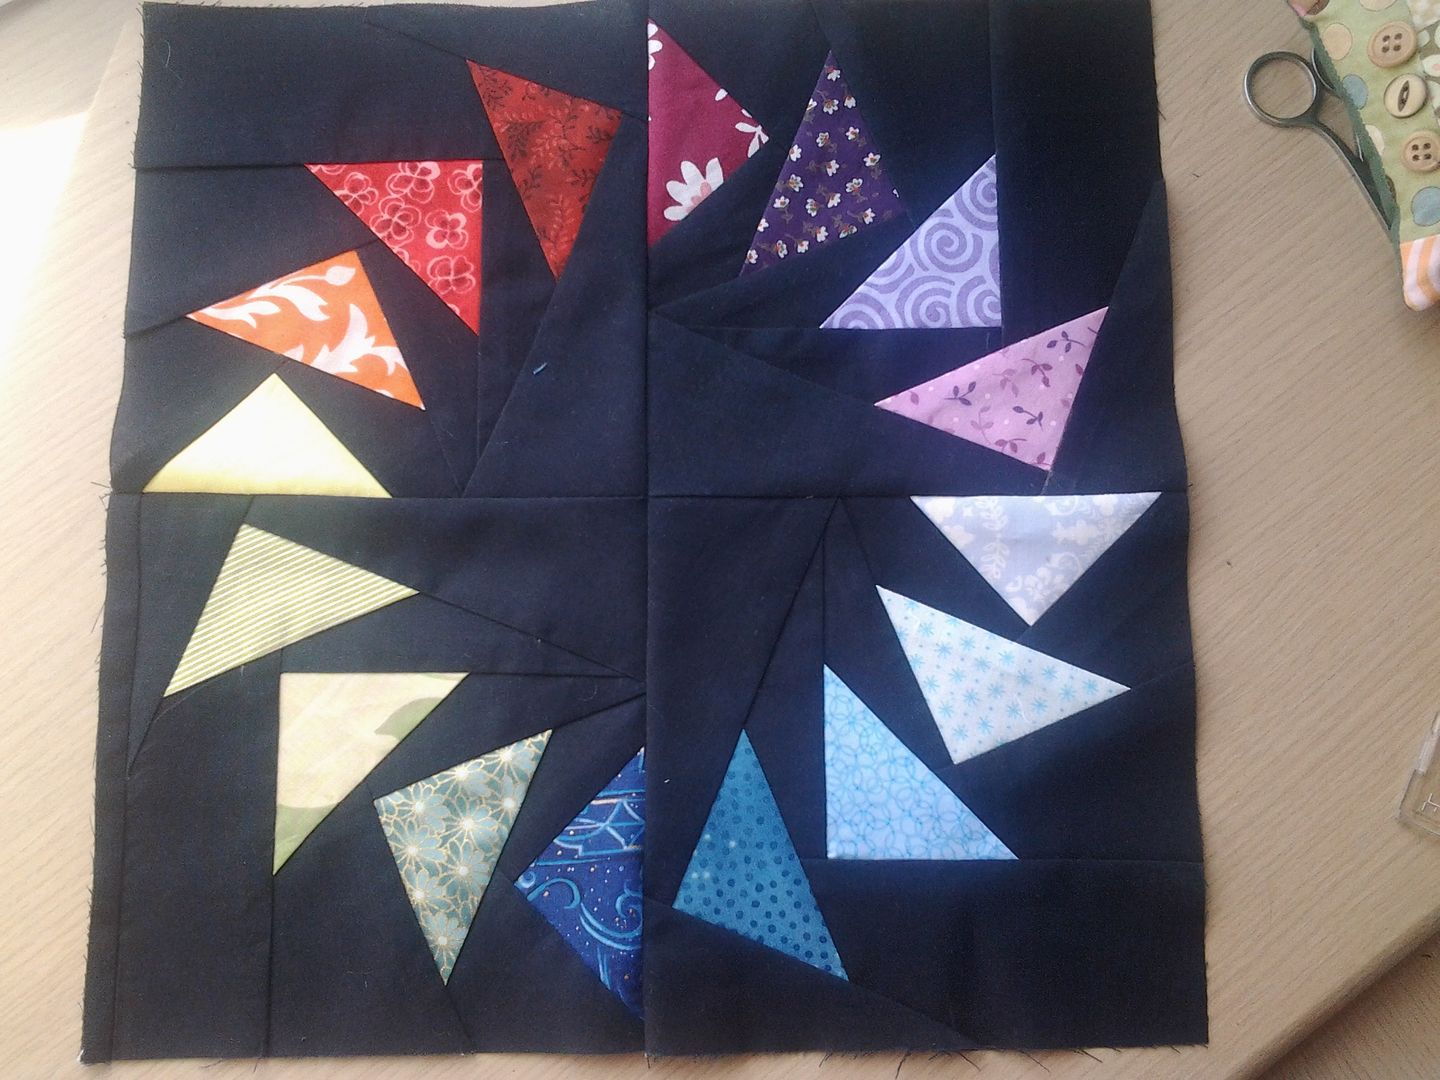
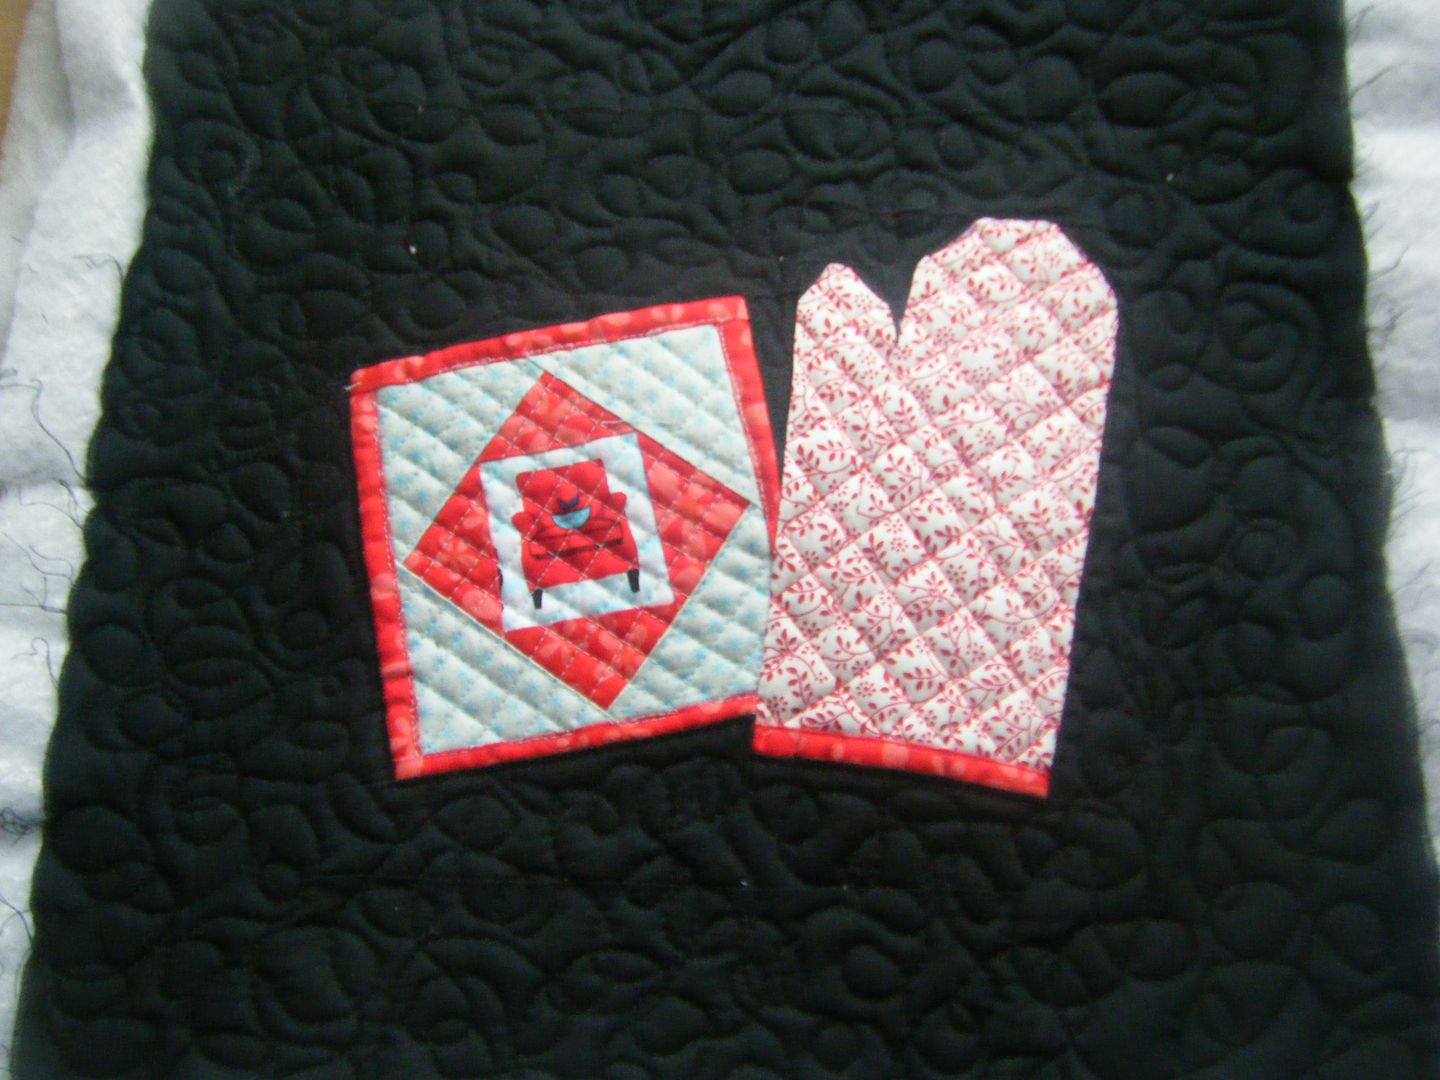
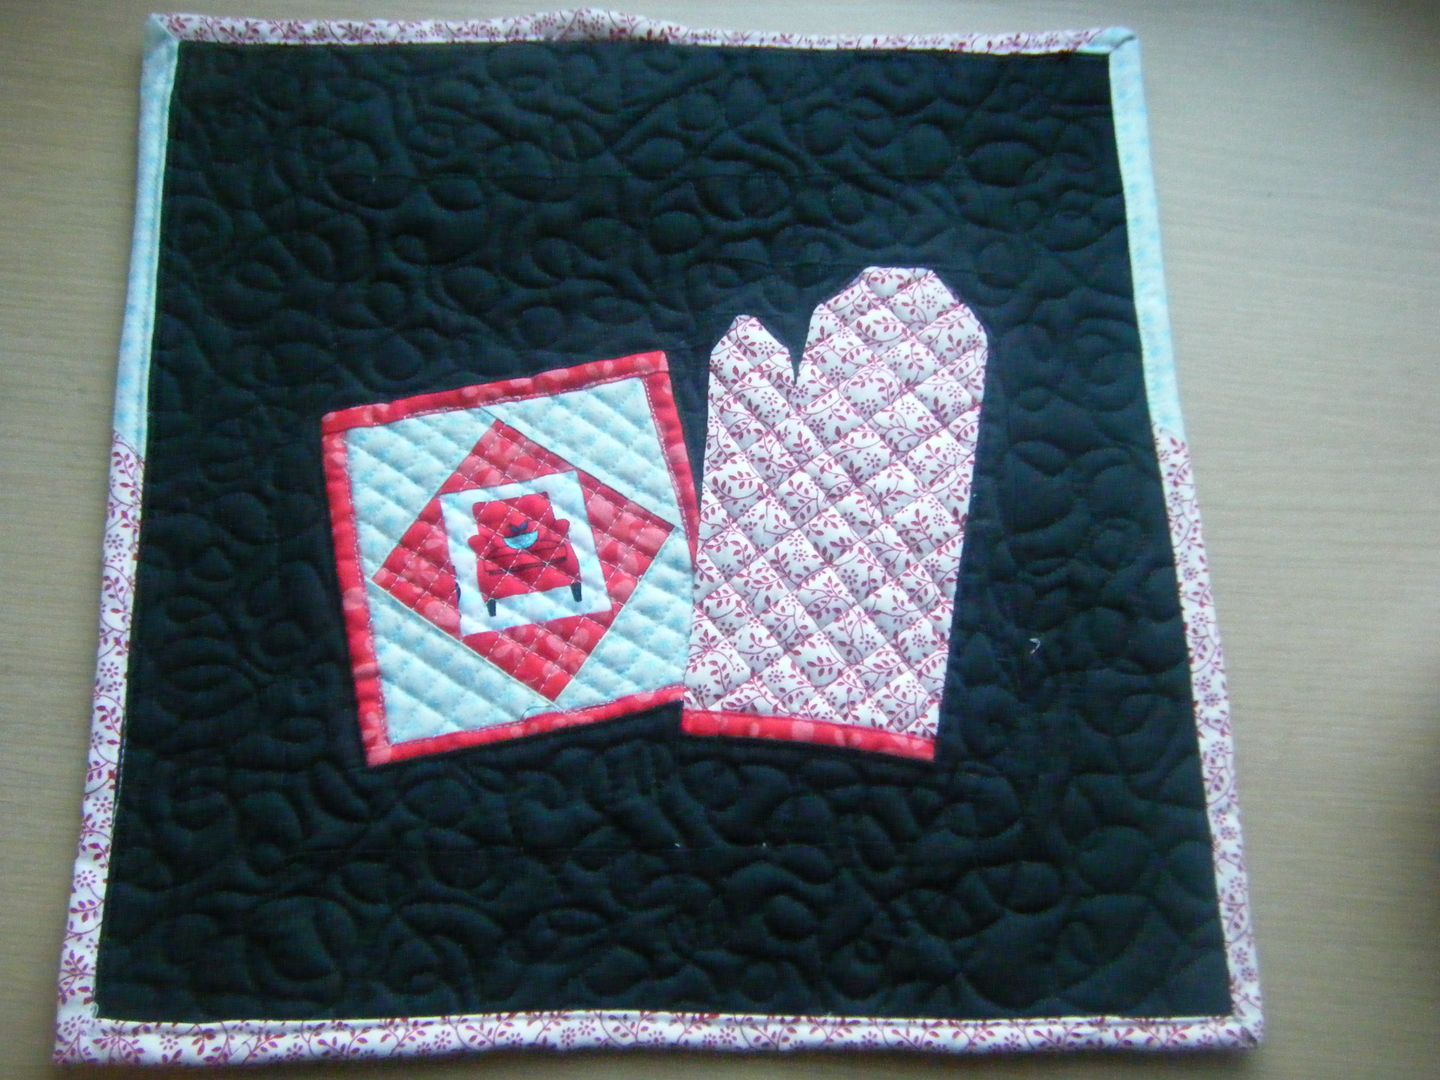
As I mentioned back in January Kristy at Quiet Play is running another one of her fabulous paper piecing BOMs. The theme is Sew Kitschy and it is retro kitchen items. I don't have space for a wall hanging in my little kitchen, so I'm making the blocks and turning them into practical items. What we needed most were trivets for putting hot dishes down on.
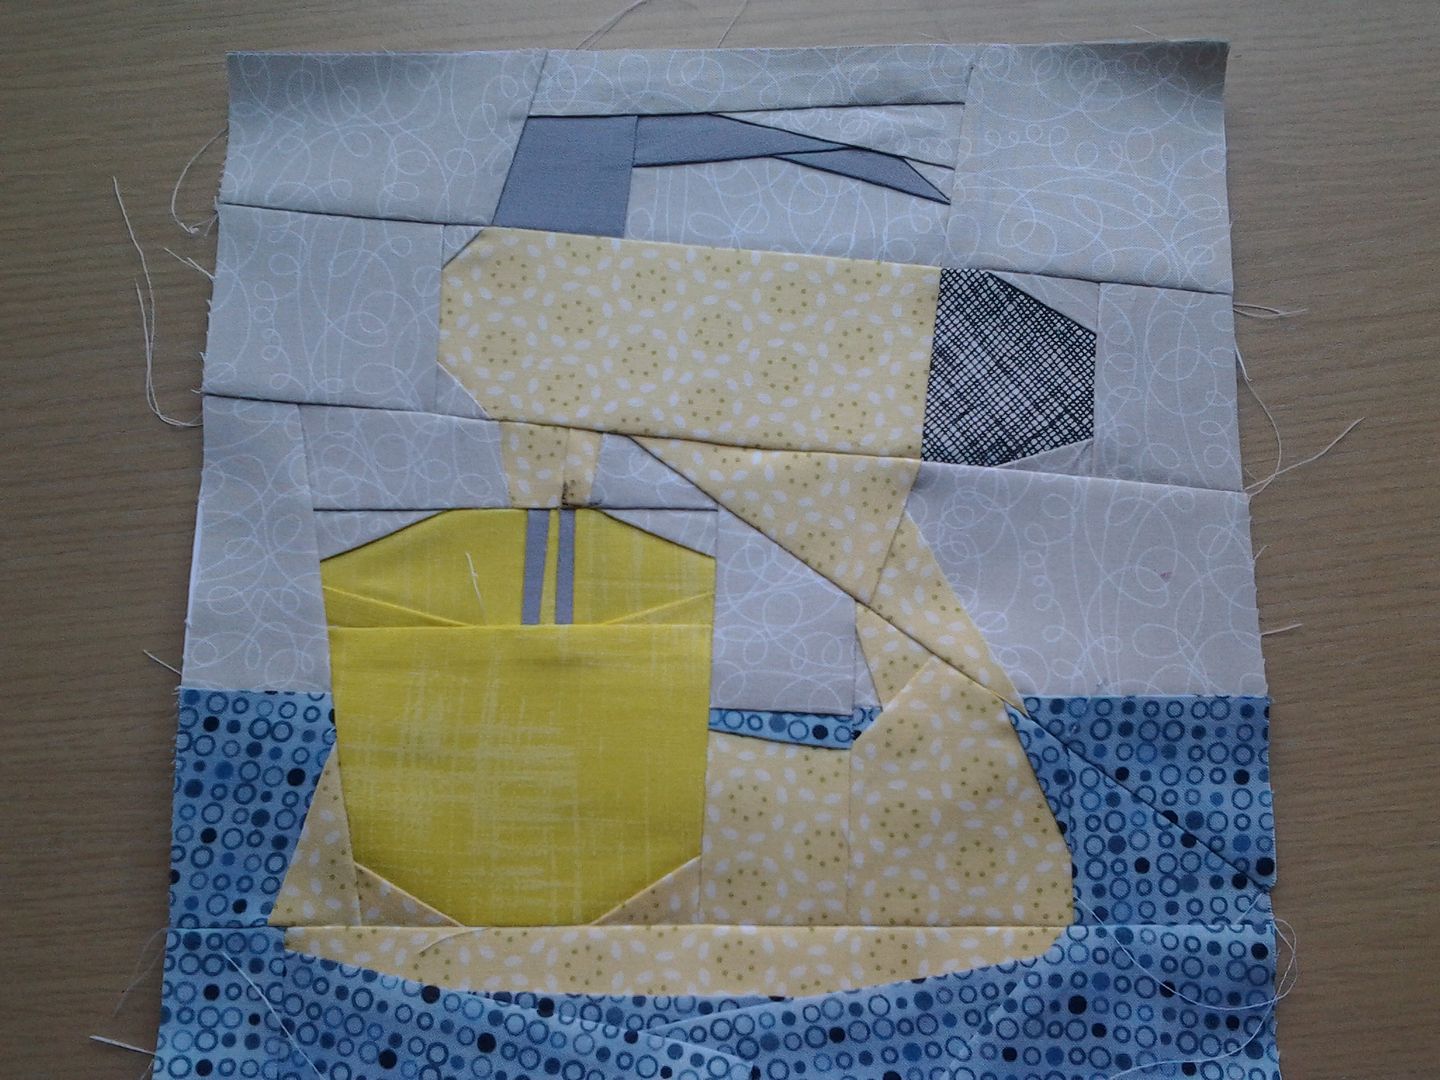
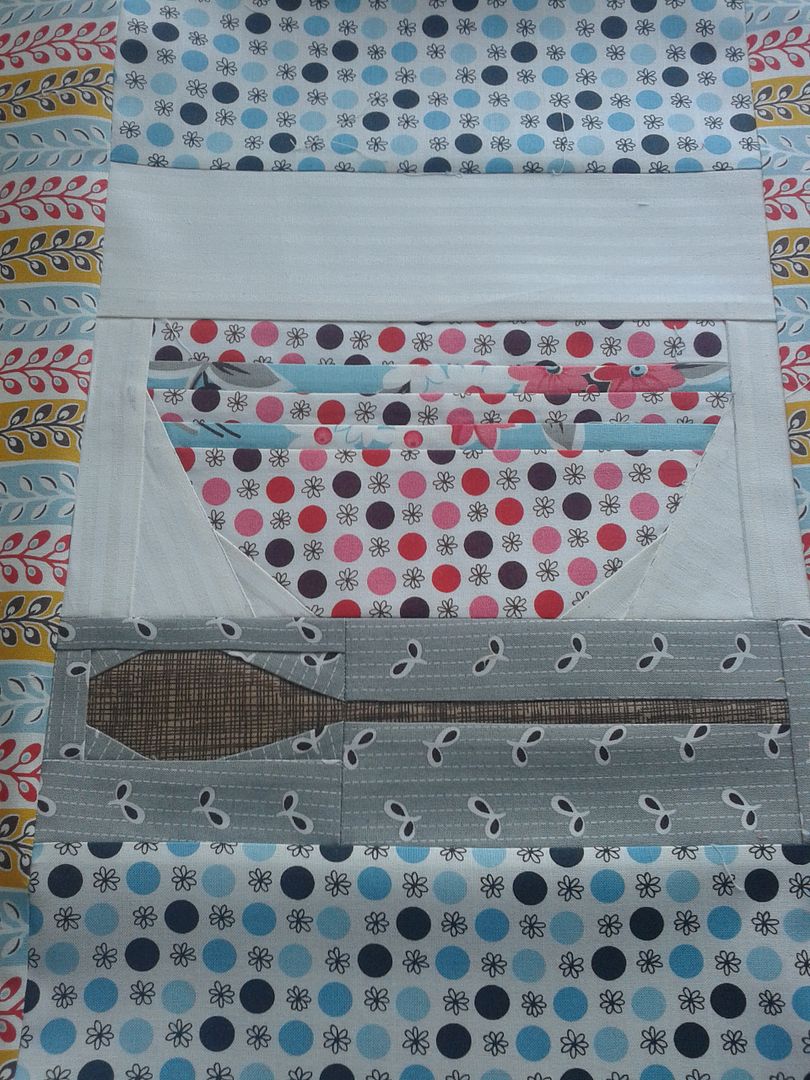
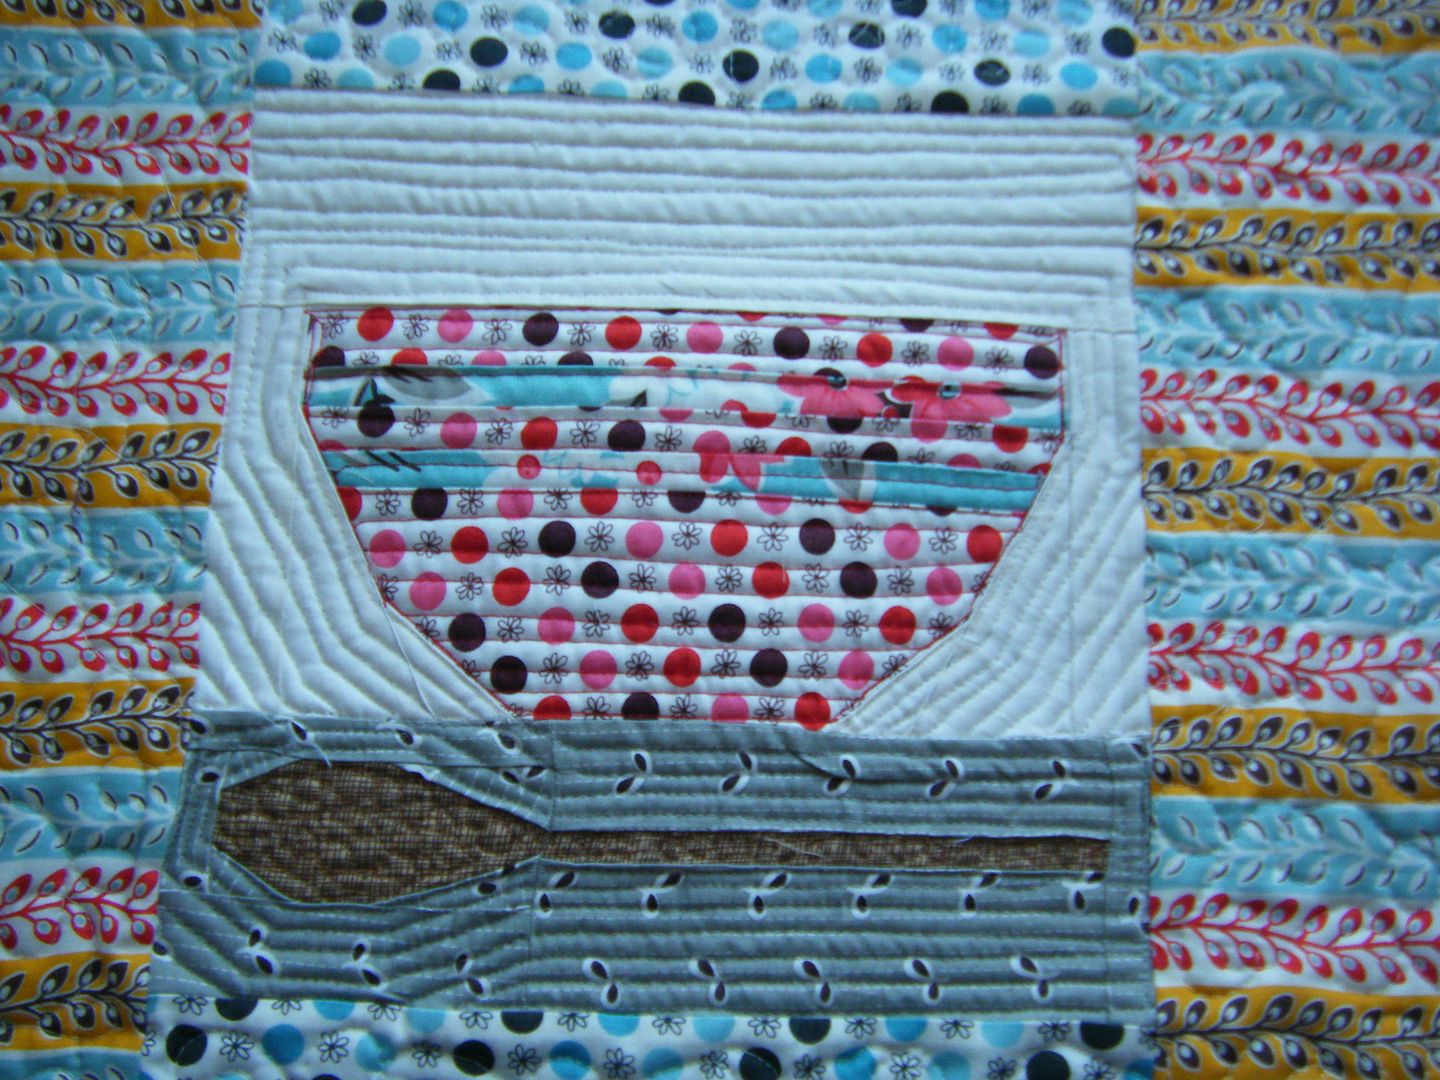
I made a bad choice for the stripes on the bowl, they're not obvious enough. Speaking of which, I tend to point out mistakes I've made and things I could have done better in my posts. There are a few reasons for this and I've been pulled up about it so many times in the comments recently that I thought I'd say something here.
I am not showing you the mistakes so you can say "don't be daft, it's brilliant". This is a log of the things I've made, warts and all. Don't you get bored reading blog post after blog post saying "ta-dah! Look what I've made, it's perfect!". OK, that's how other bloggers want to write, but I'm not playing. The stuff I make has faults. Sometimes it's just stupidity on my part, other times I can learn from it. Why not share? I'm sorry that it bothers some of you, but I'm really not being down on myself. Yes, I cocked up. So what? I don't care so you shouldn't either.

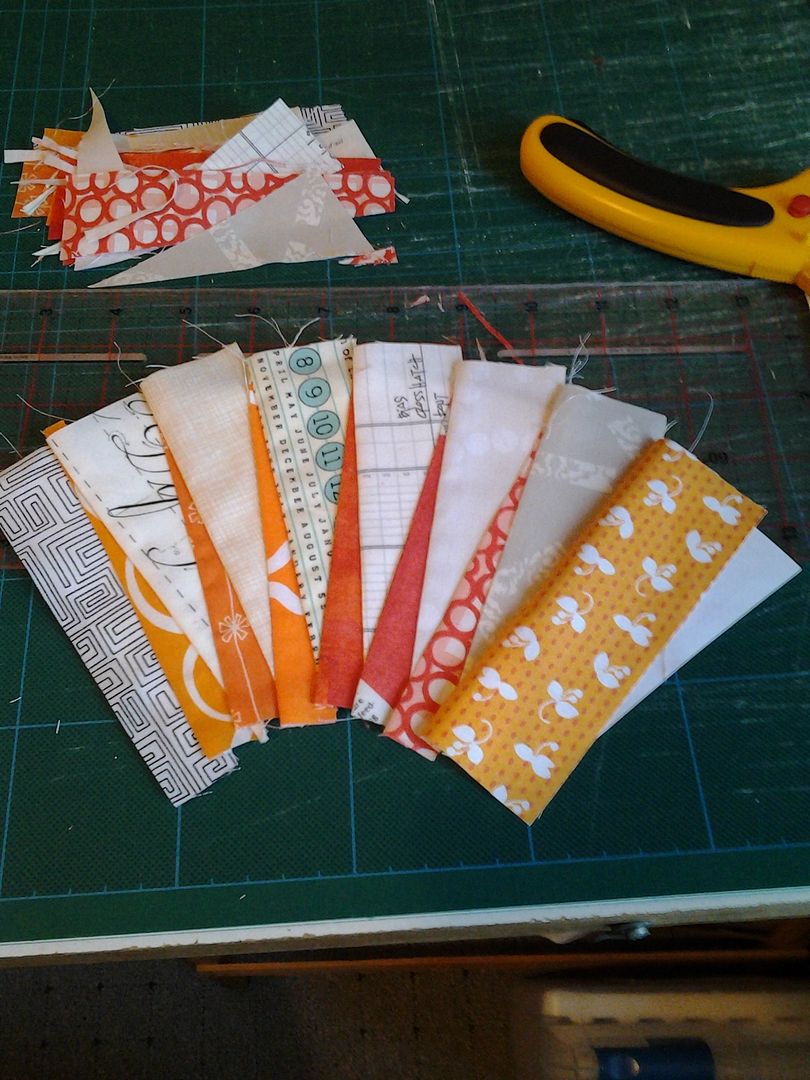
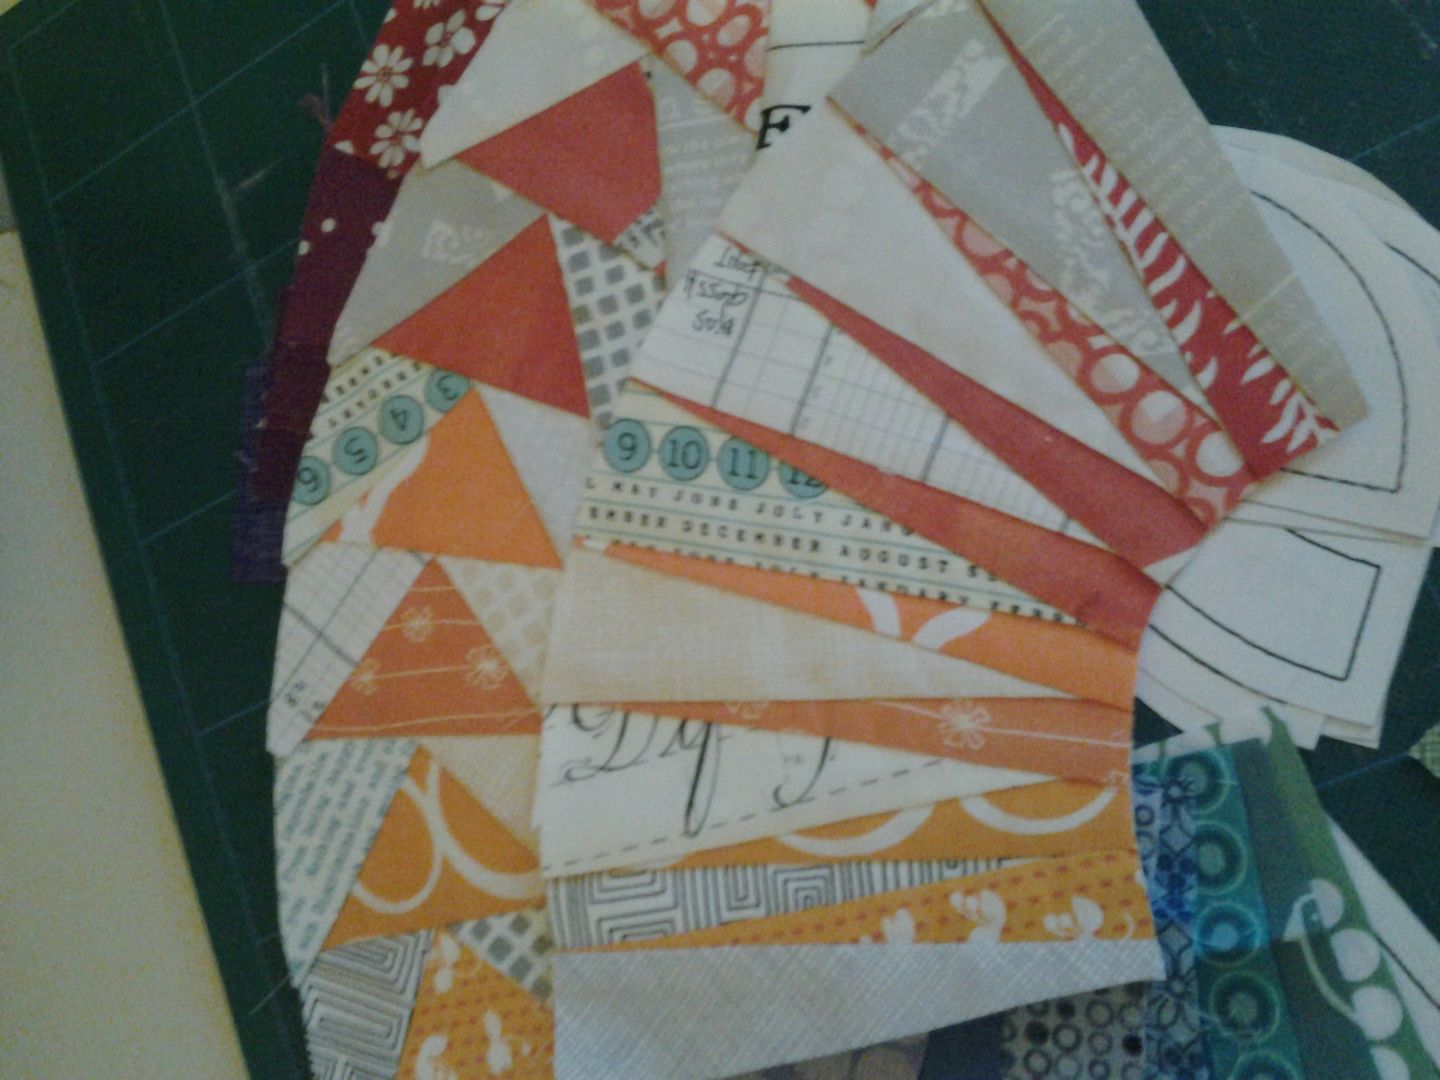
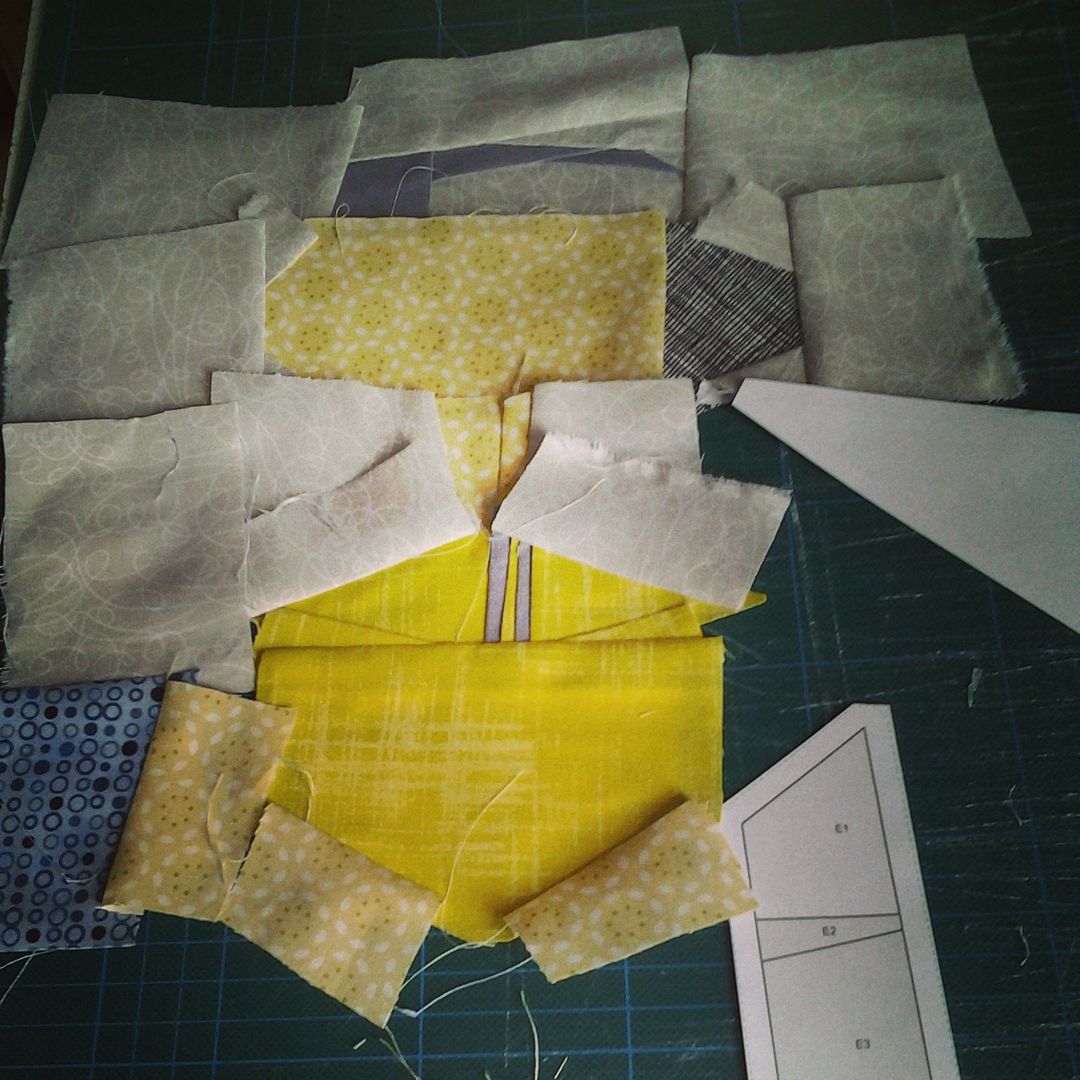
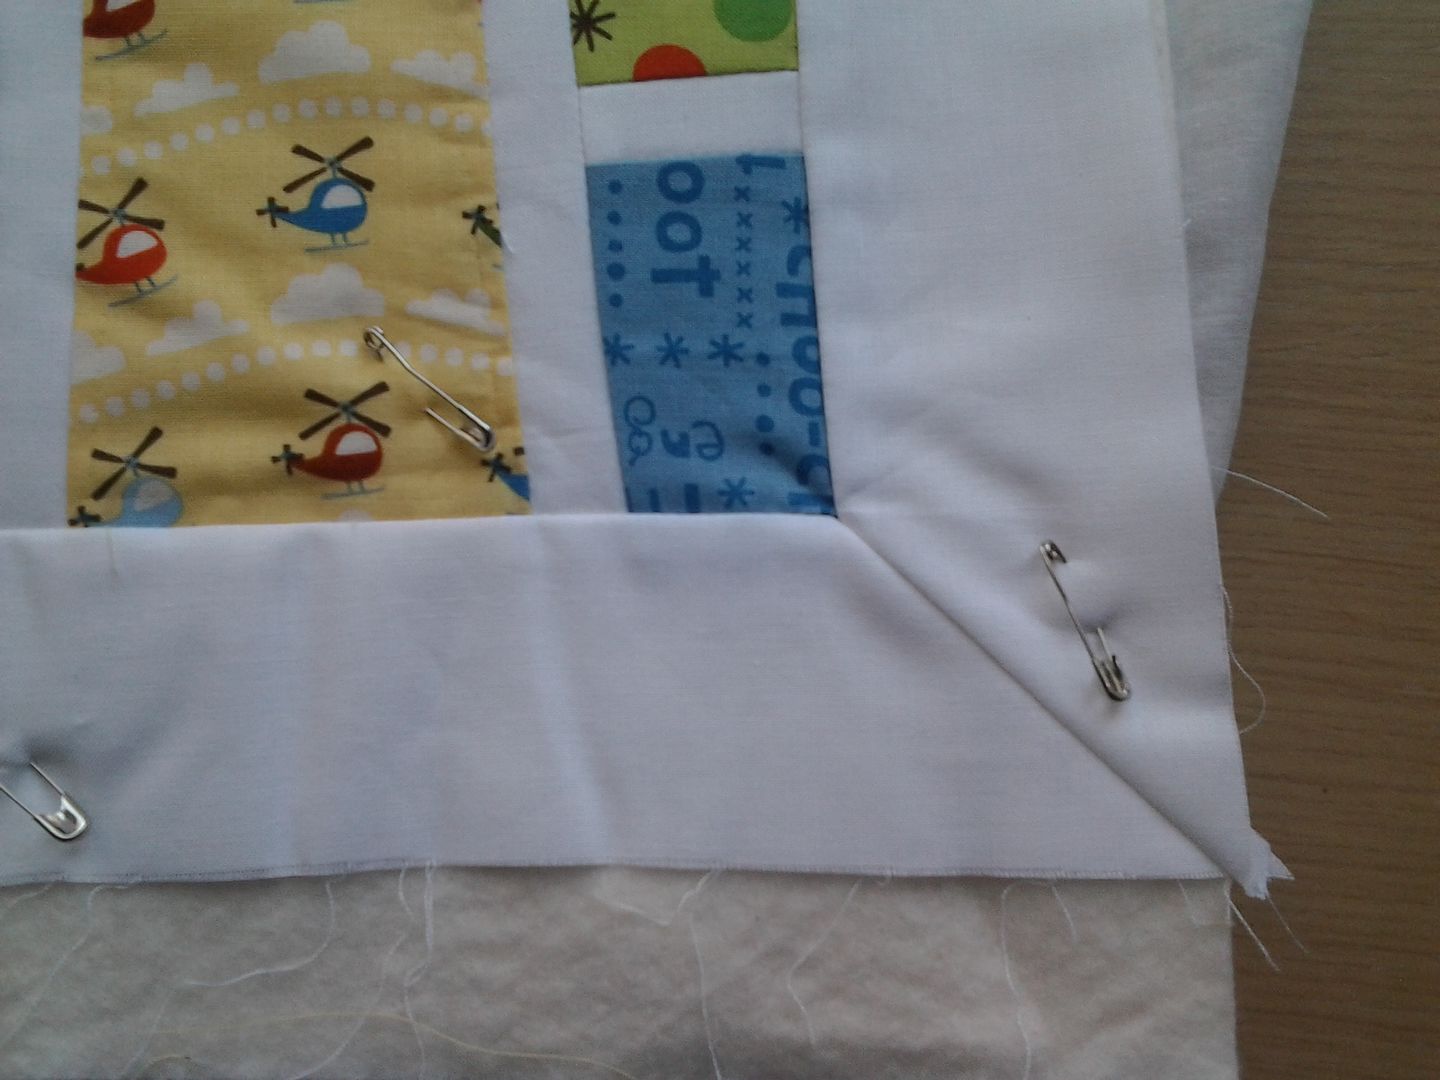
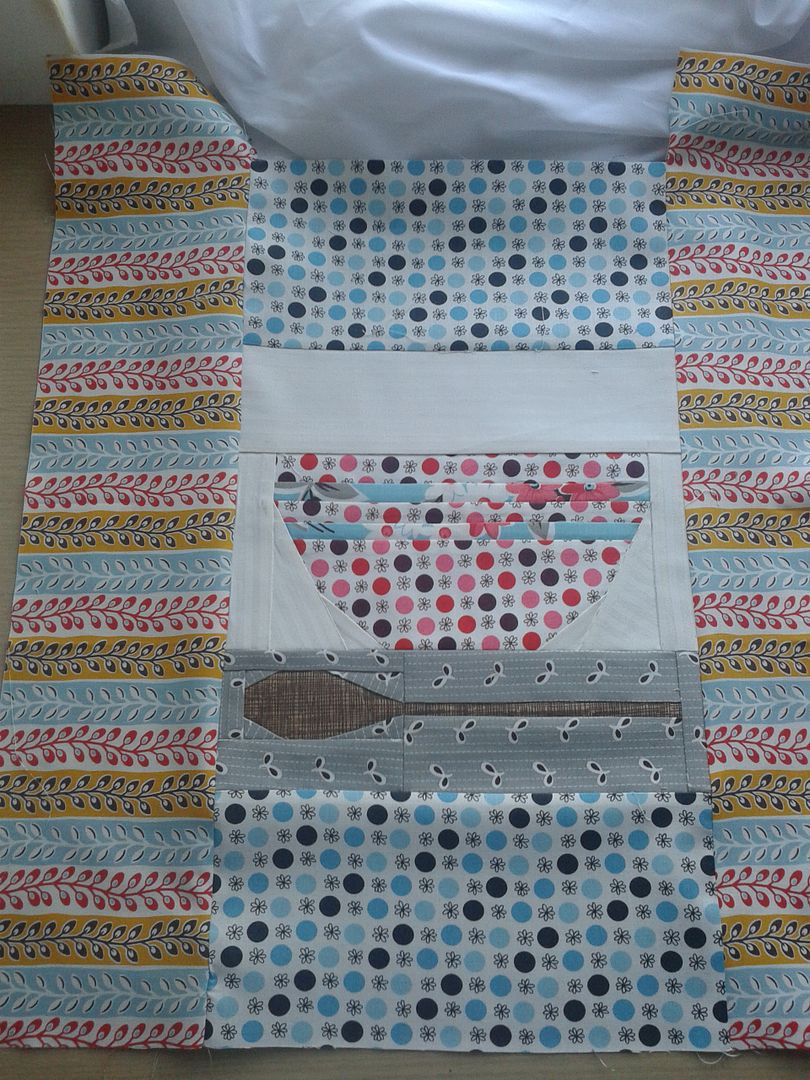
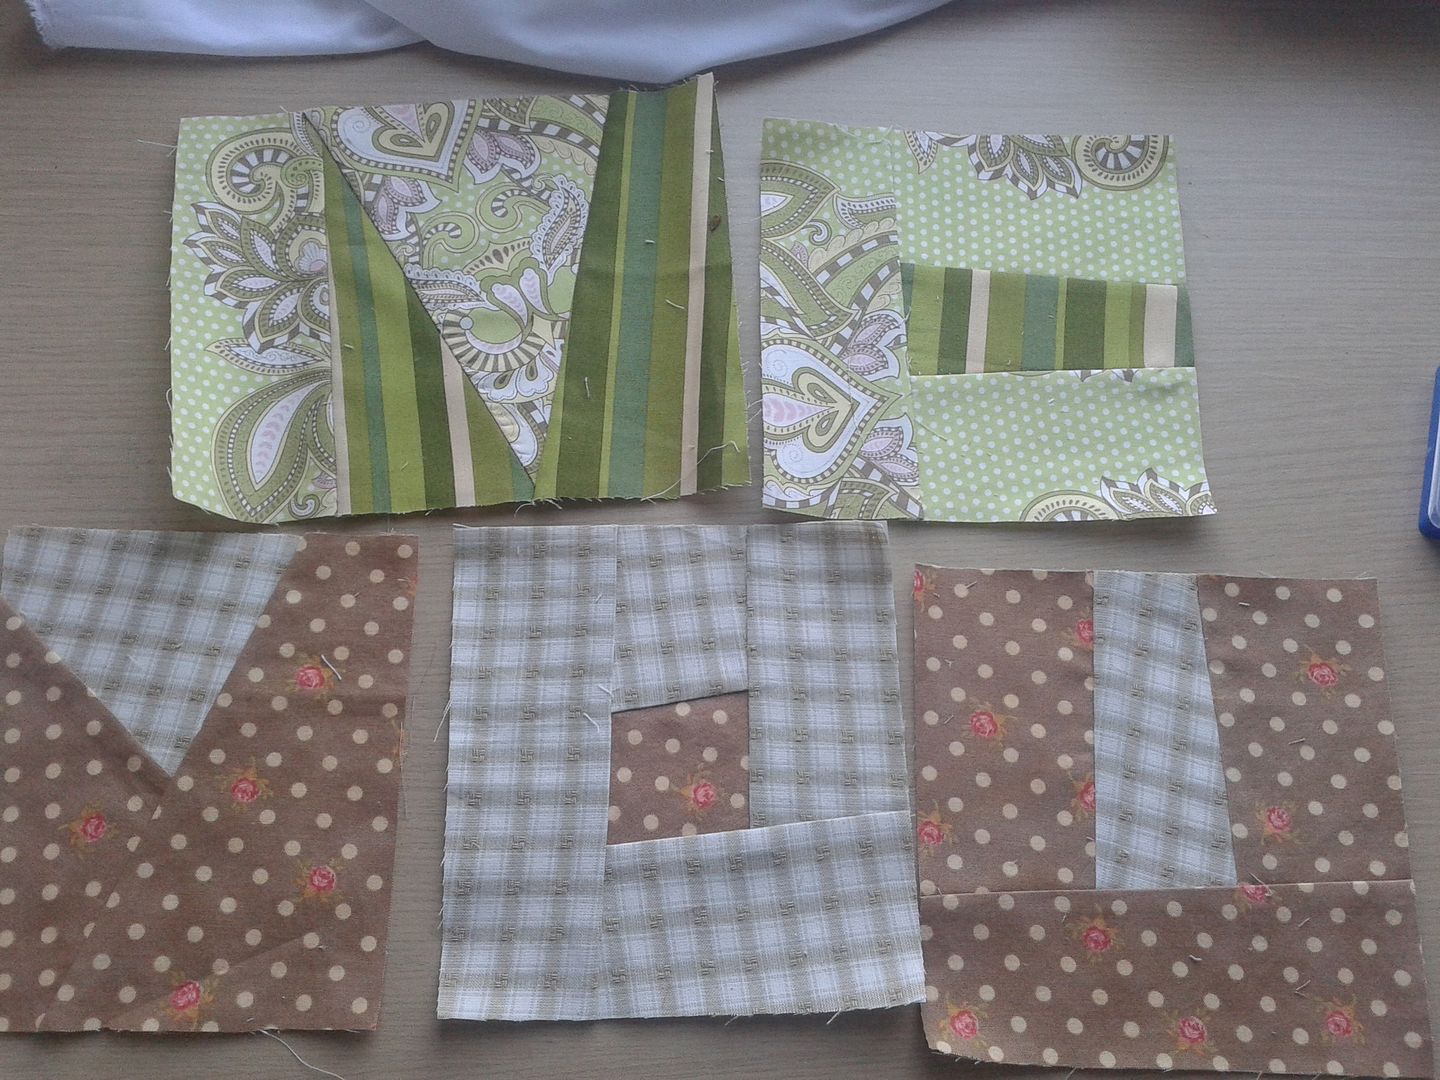
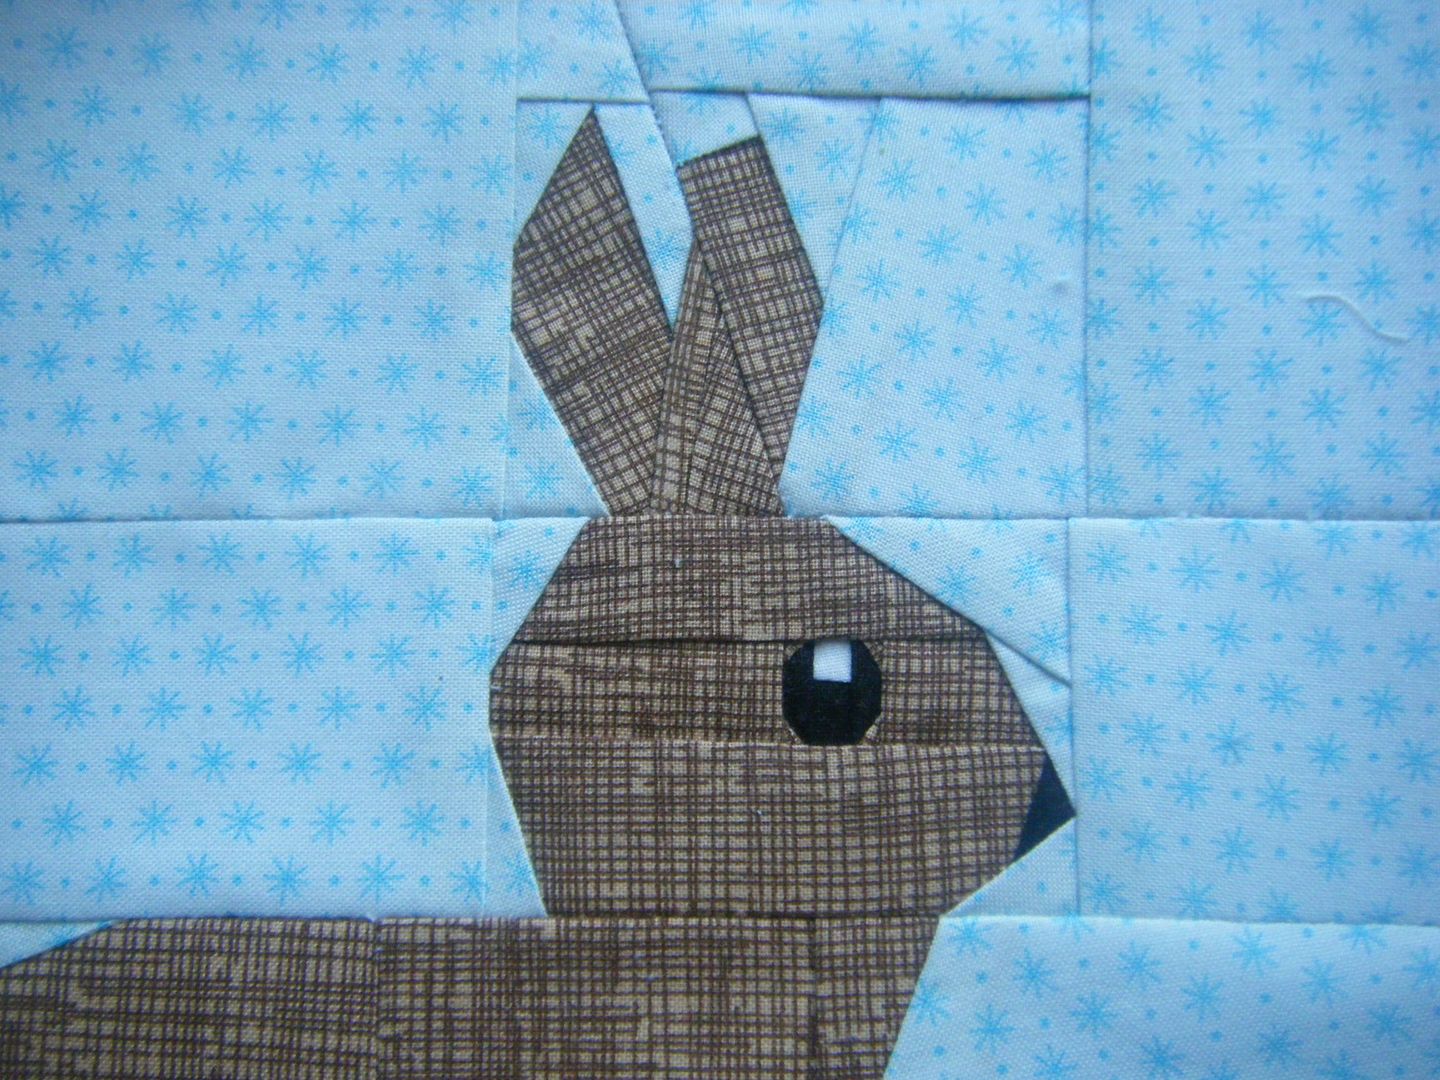
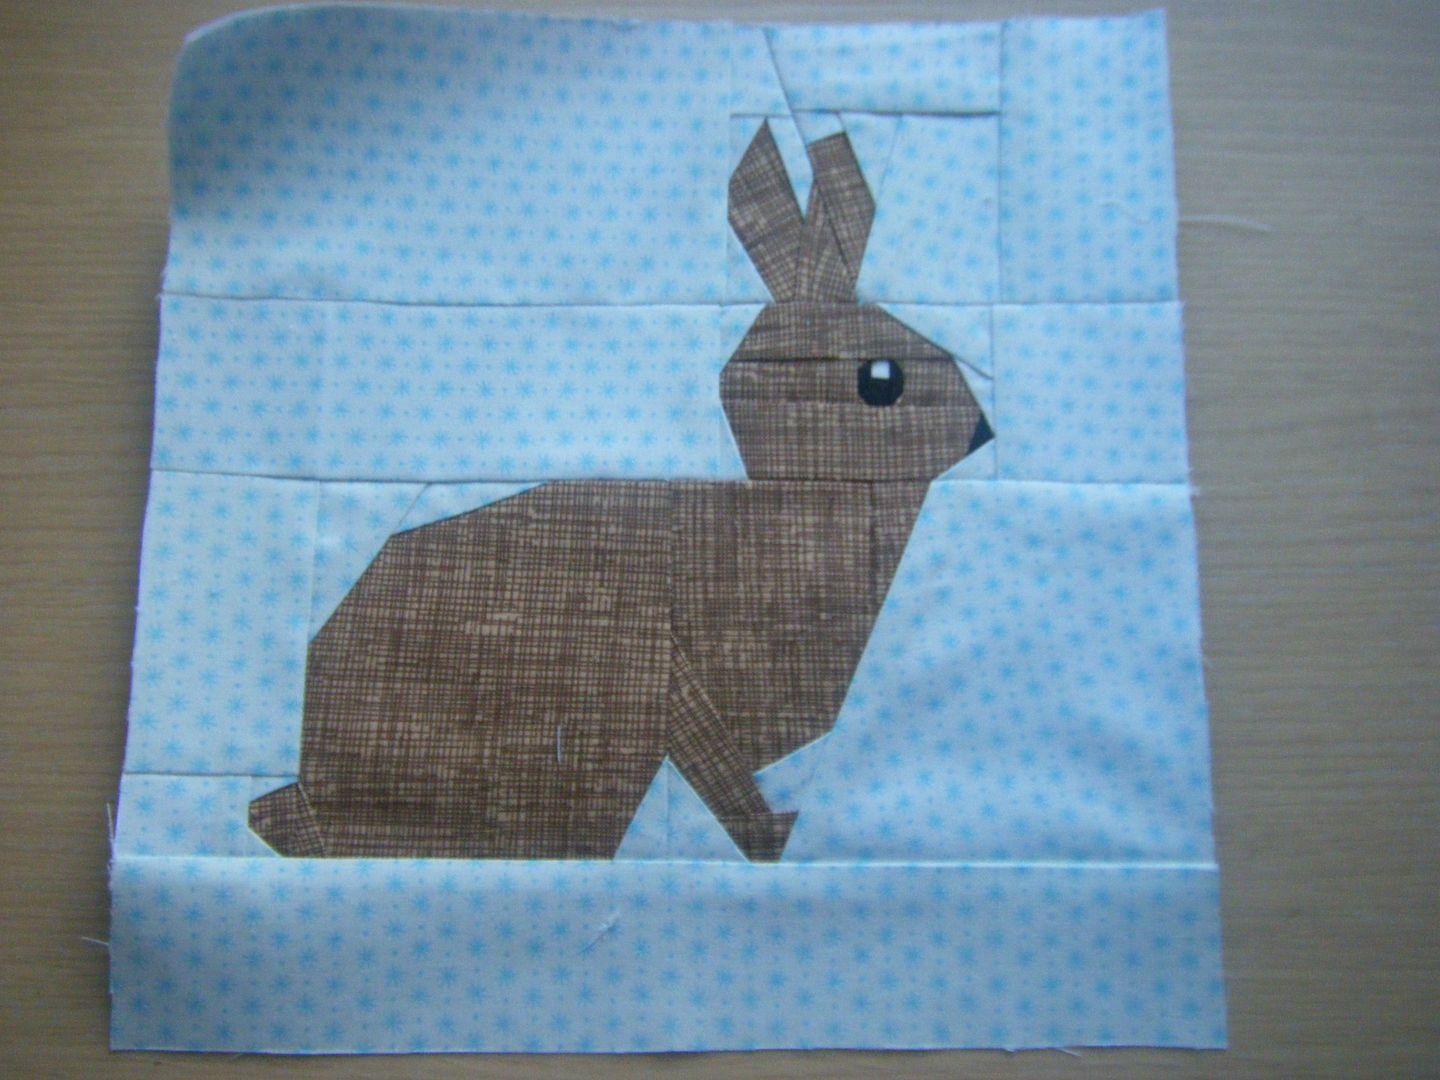
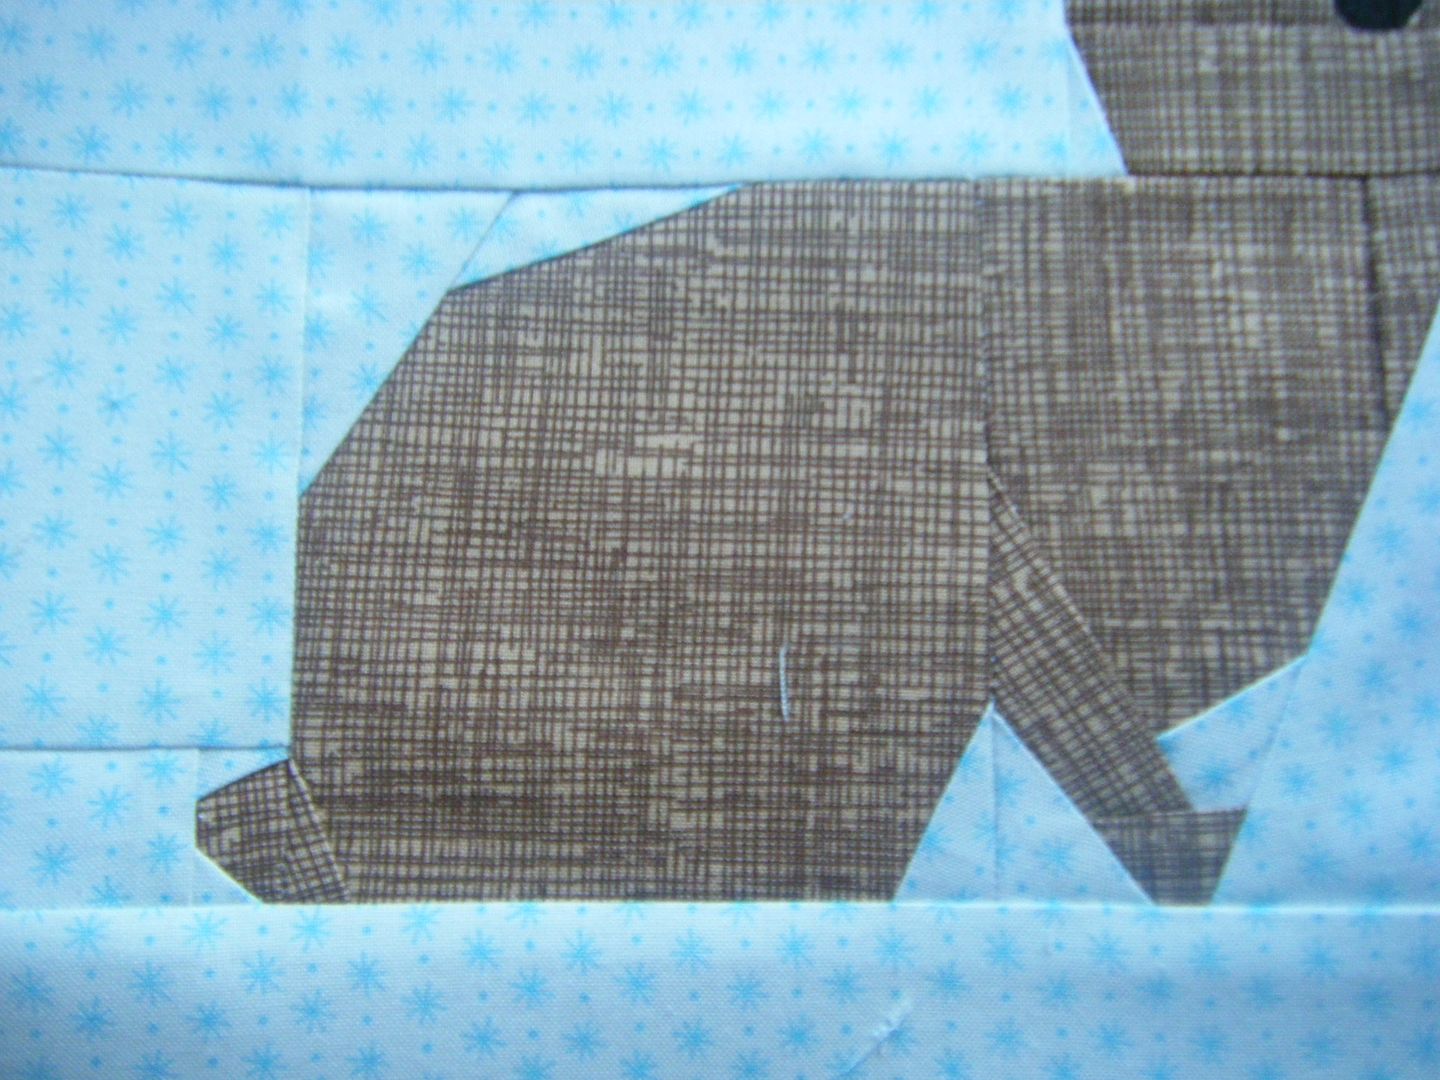
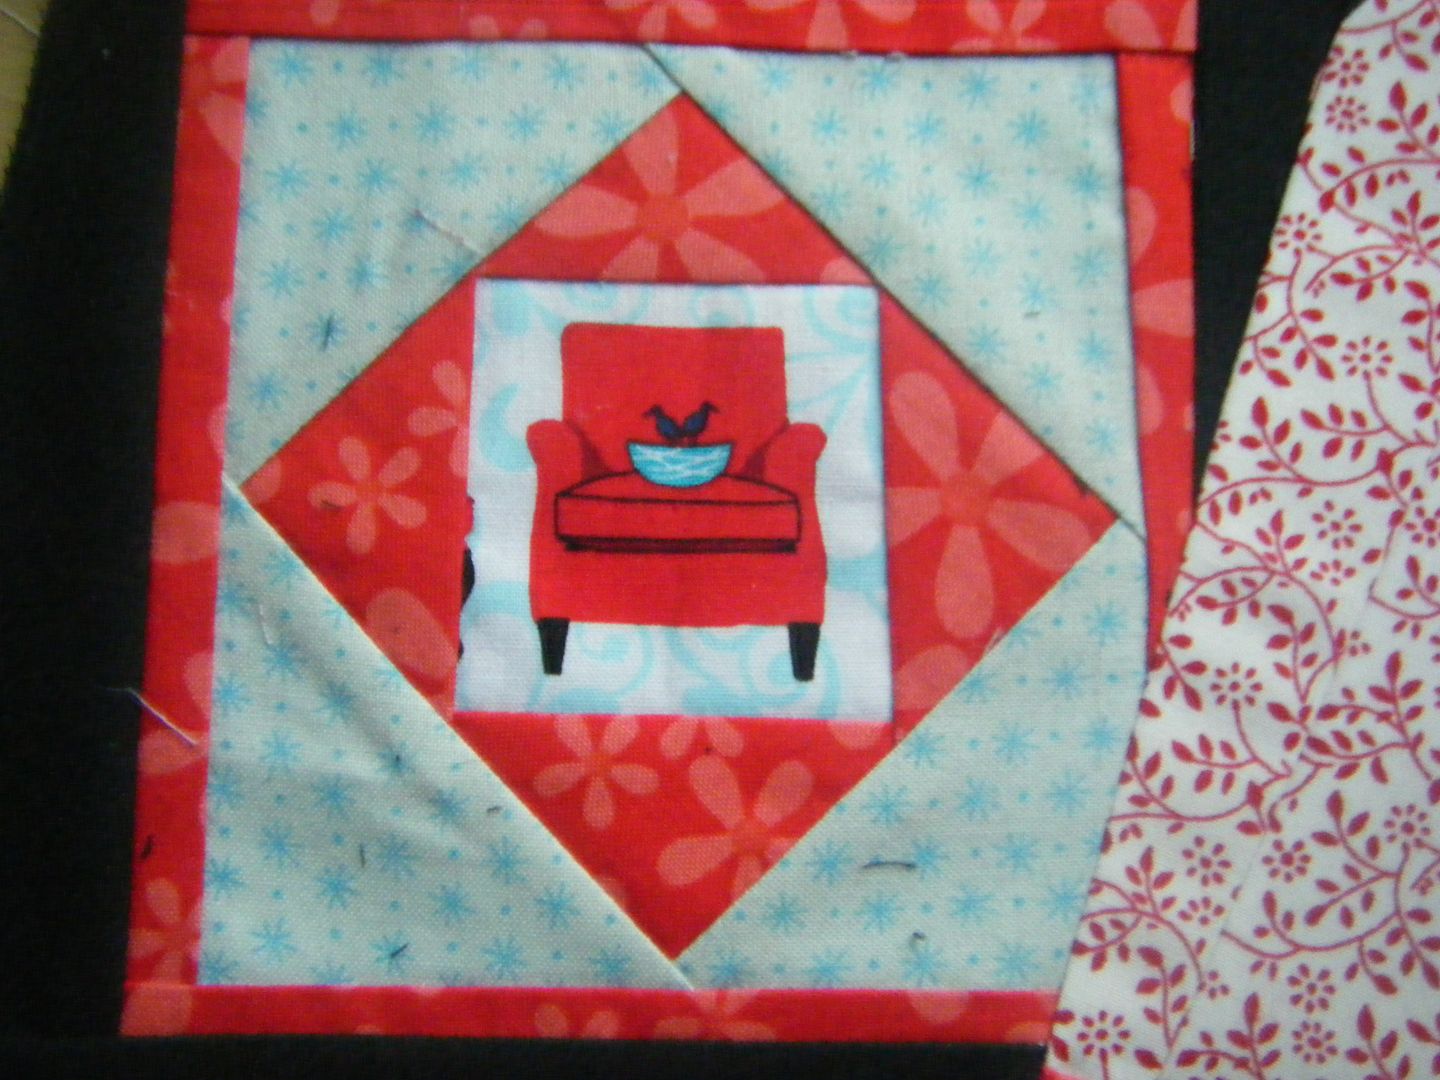
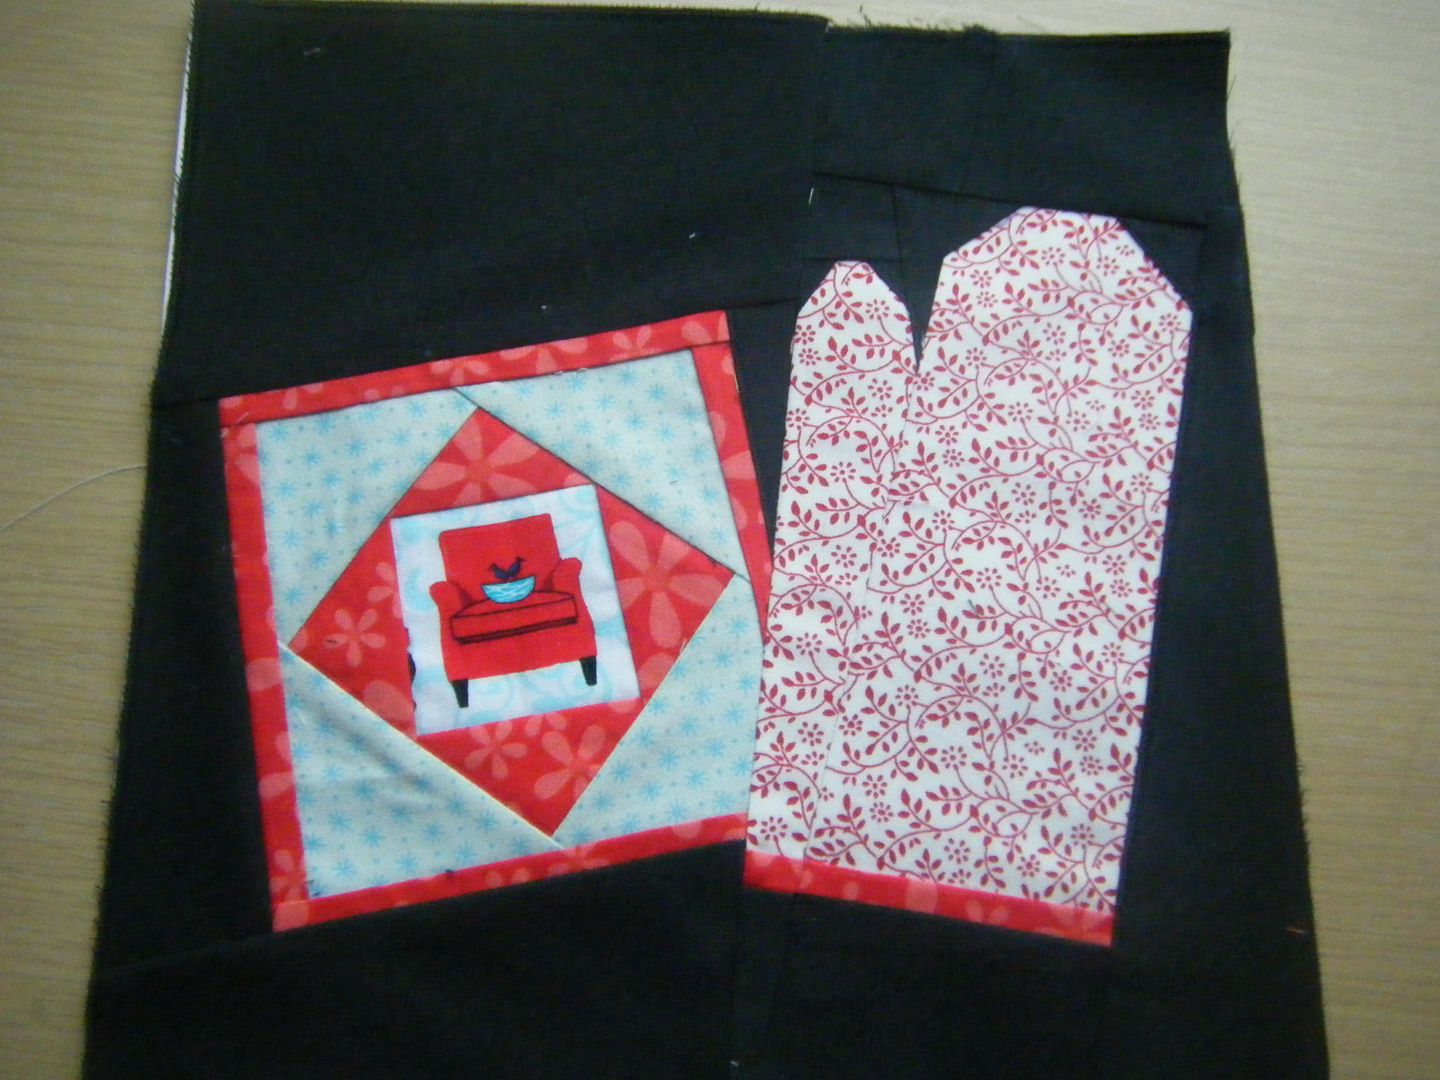
As you can see, most of the fabrics are Flea Market Fancy. I'd cracked them out for the appliqued cushion and so thought I might as well use them. Our kitchen has white units with black tops, and the tiles are multi-coloured, all colours except pink and purple, so anything goes. I used Sketch for the spoon, it was the perfect choice. So, I basted this bad boy up- I put on borders after making the block, I've just realised I was waffling about be being crap publicly and forgot to talk about what I made! - I started FMQing and...
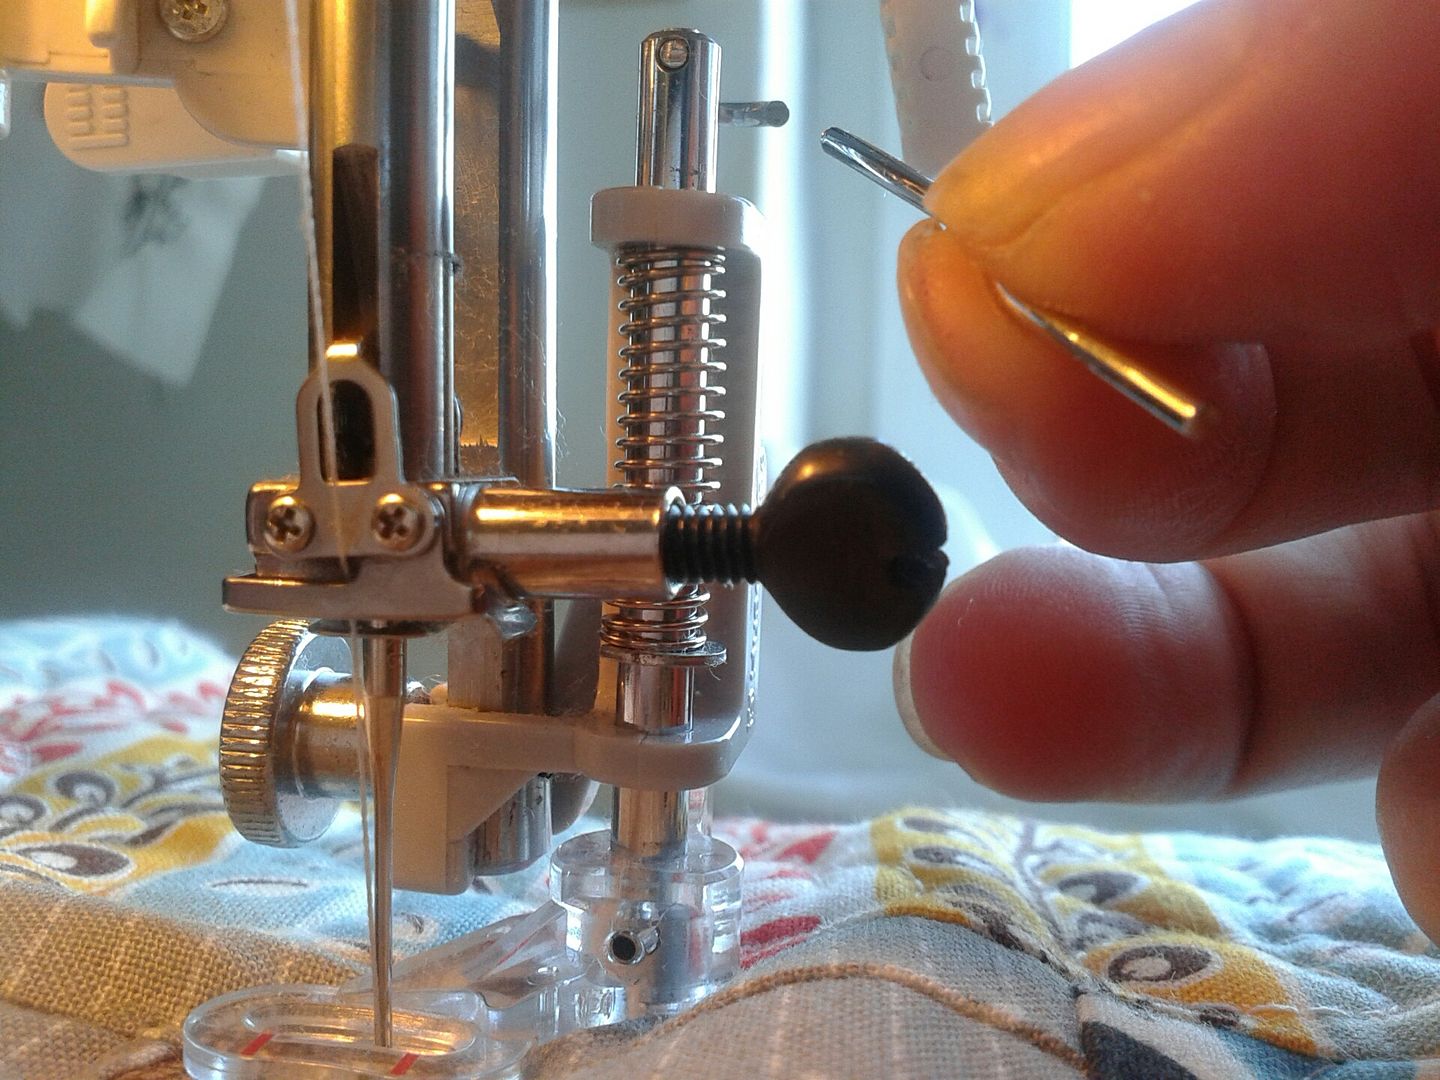
What the?? How flimsy must that bit of metal have been? I thought I'd broken the needle the sound it made, then I saw the needle and was a bit confused until I found this in my lap. Well, no more FMQing for me... Jacob's quilt definitely won't be done this month now!
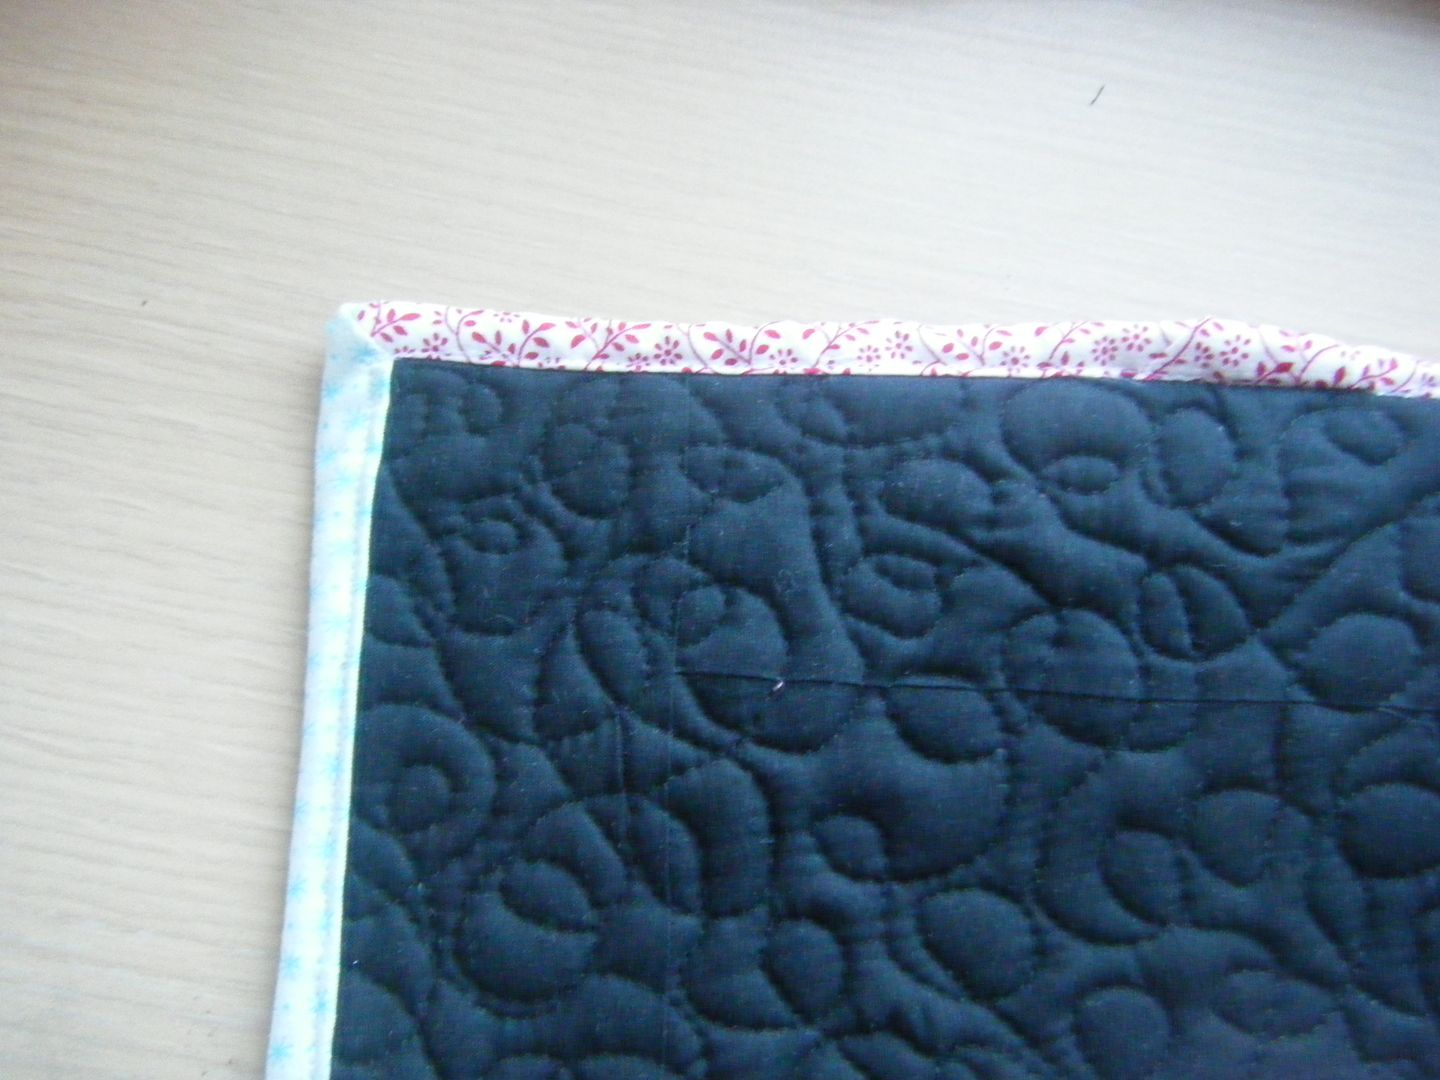
Scrappy binding and it was done. I wanted a go at echo quilting, it's something I've never tried. Yep, should have done that with a walking foot, not a darning foot!
It's OK though for something that lives on a kitchen counter and gets chucked in the wash with dirty socks every week!
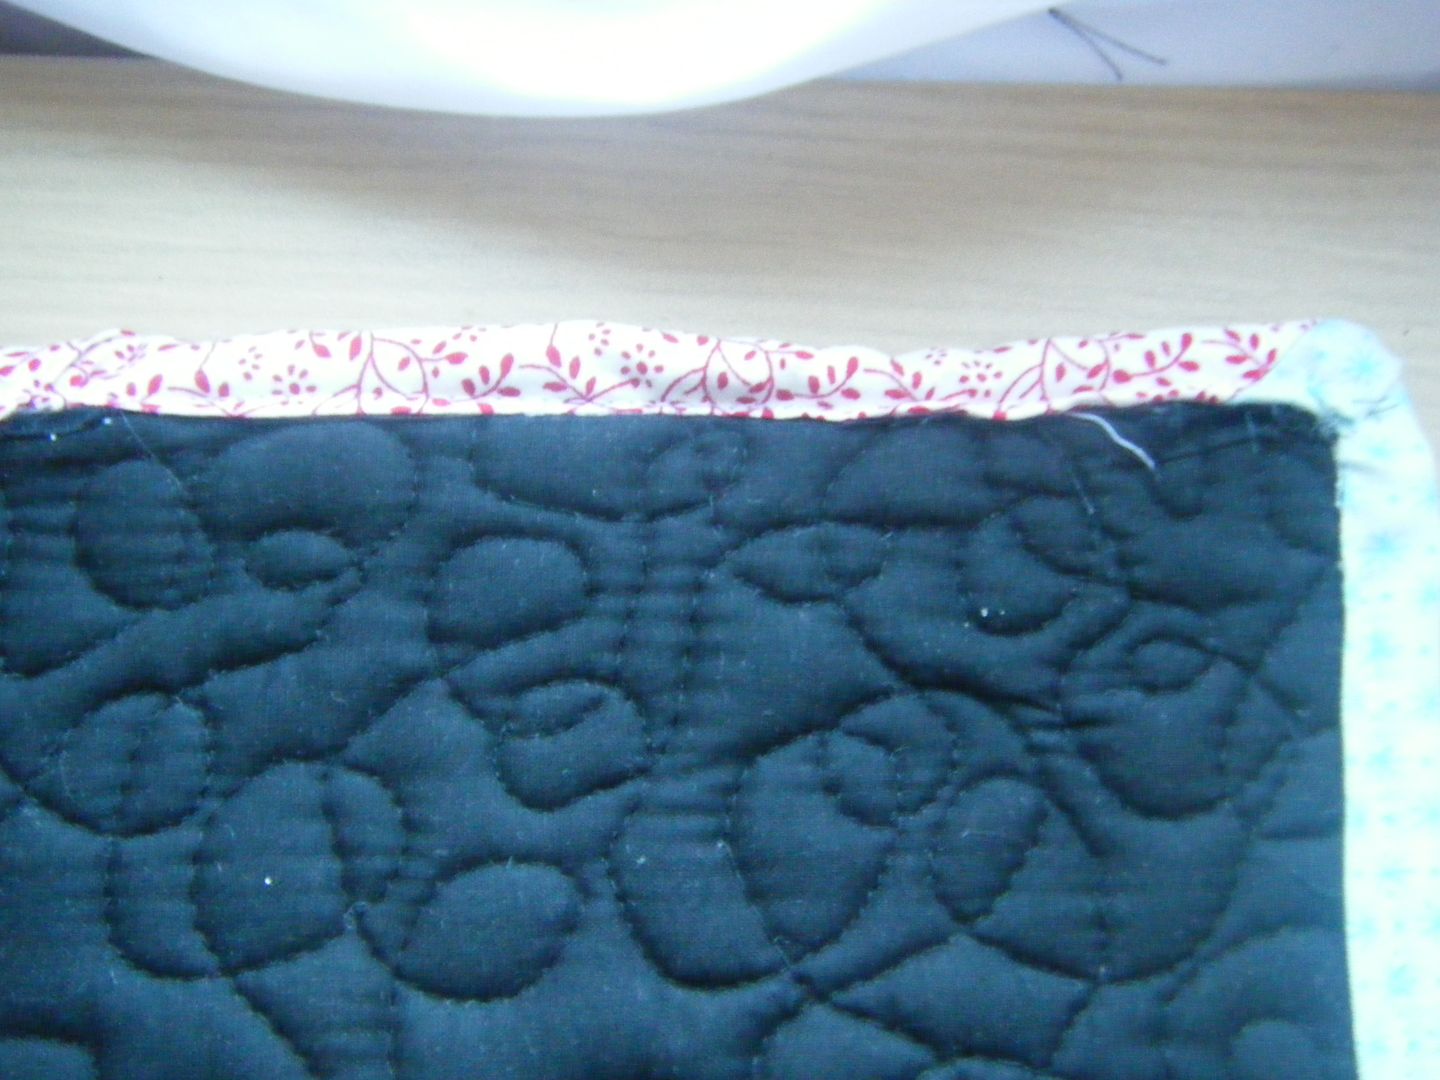
The bar thing broke when I was doing the curlies in the spoon, I just kind of carried on, I was so near the end.
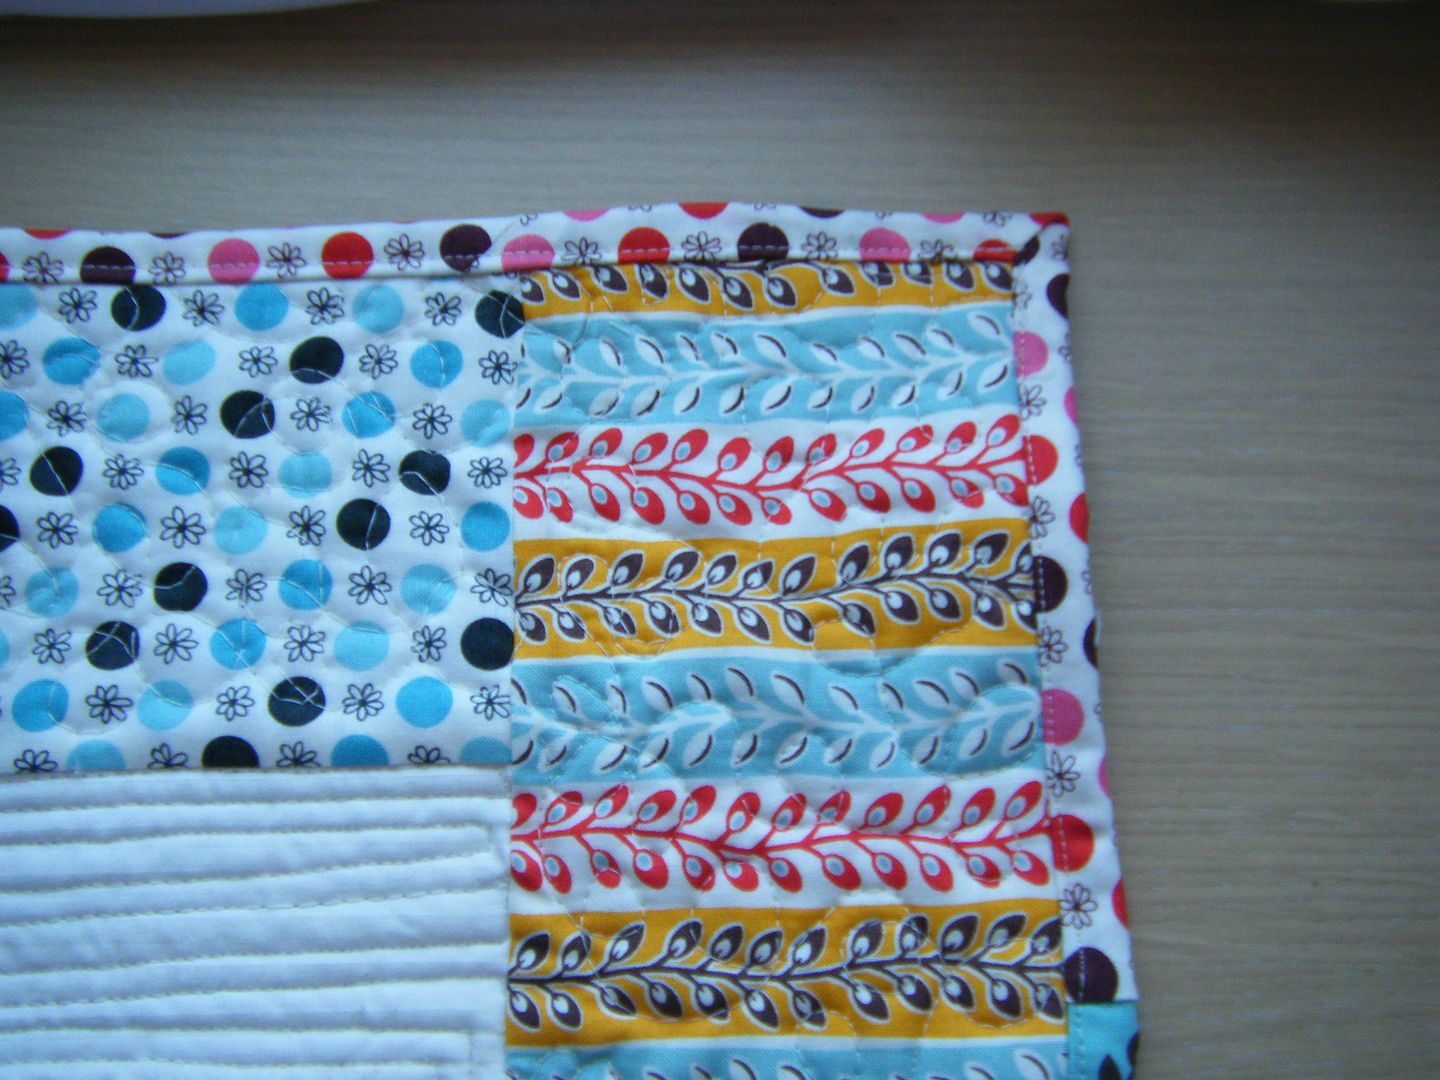
I have completely ran out of things to say about this trivet... Oh, I don't much like the way I did the borders. I didn't have enough of one print to do them all, so I should have mitred them.
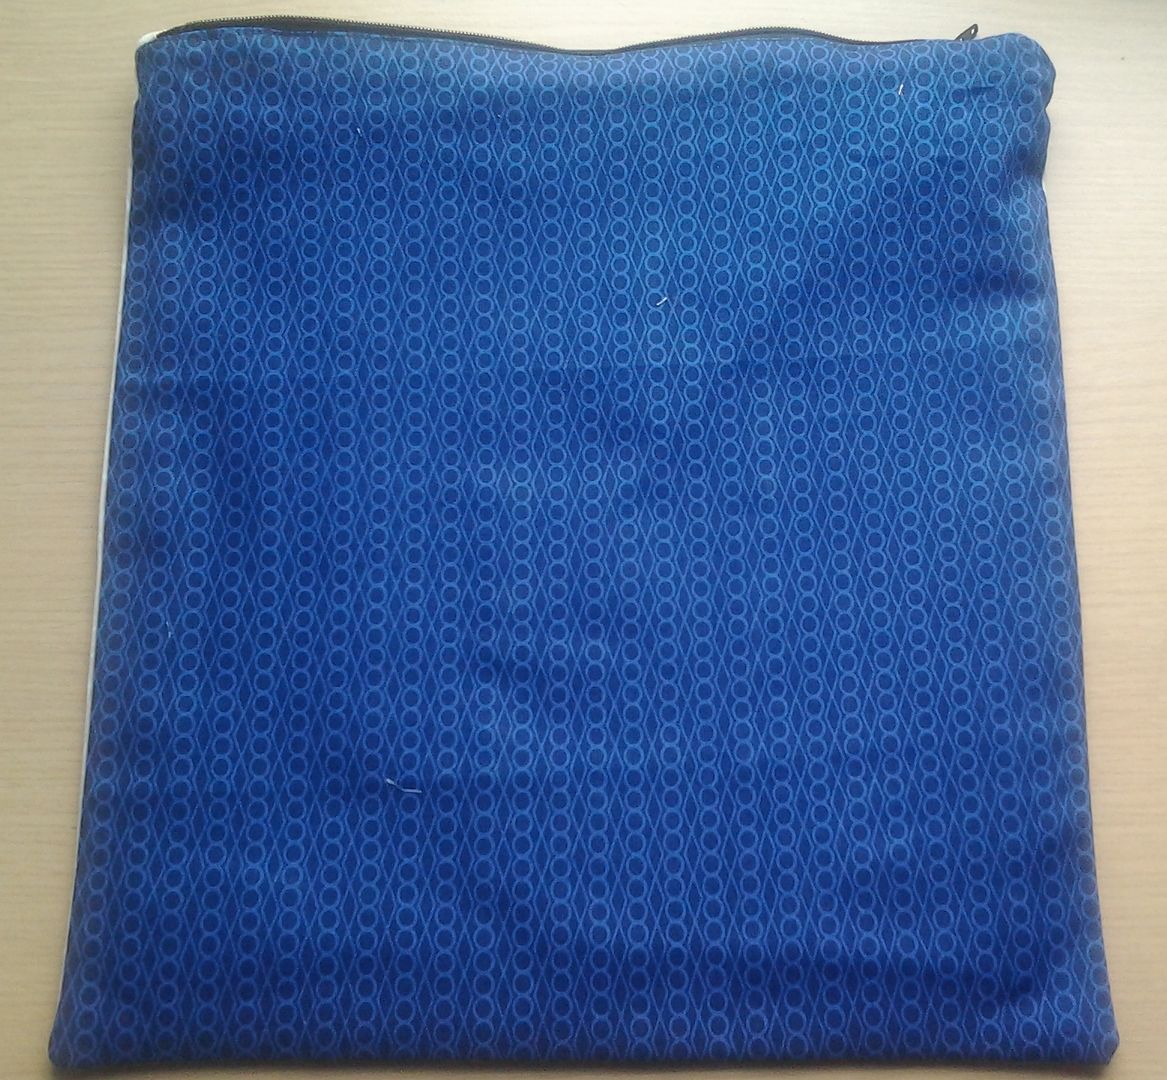
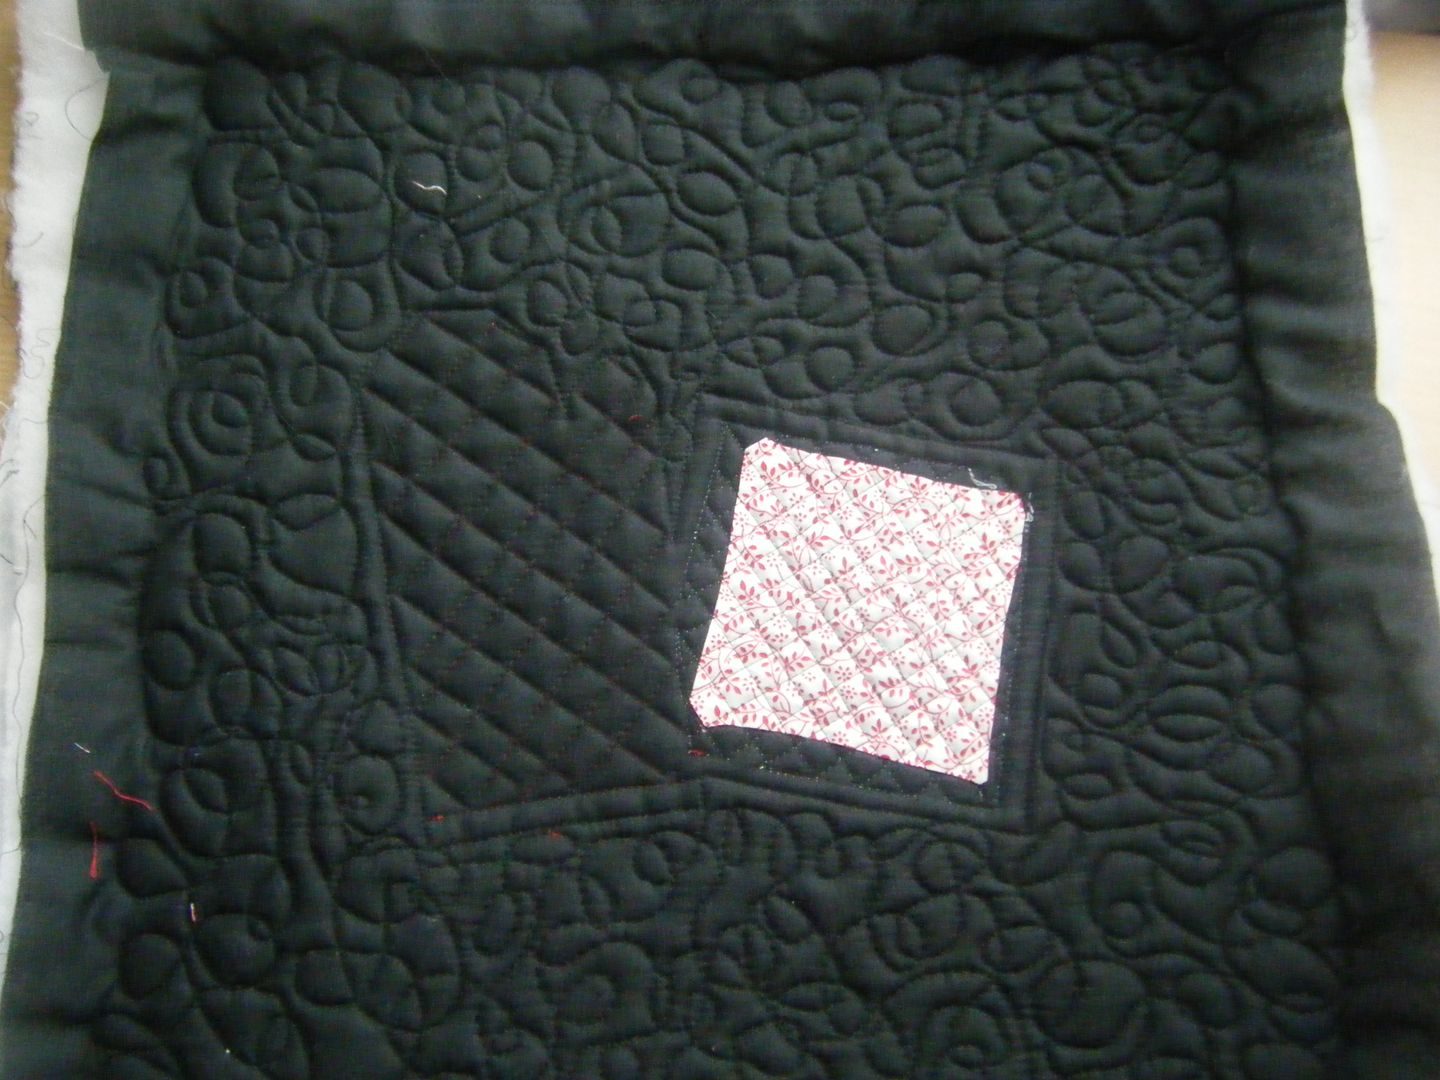
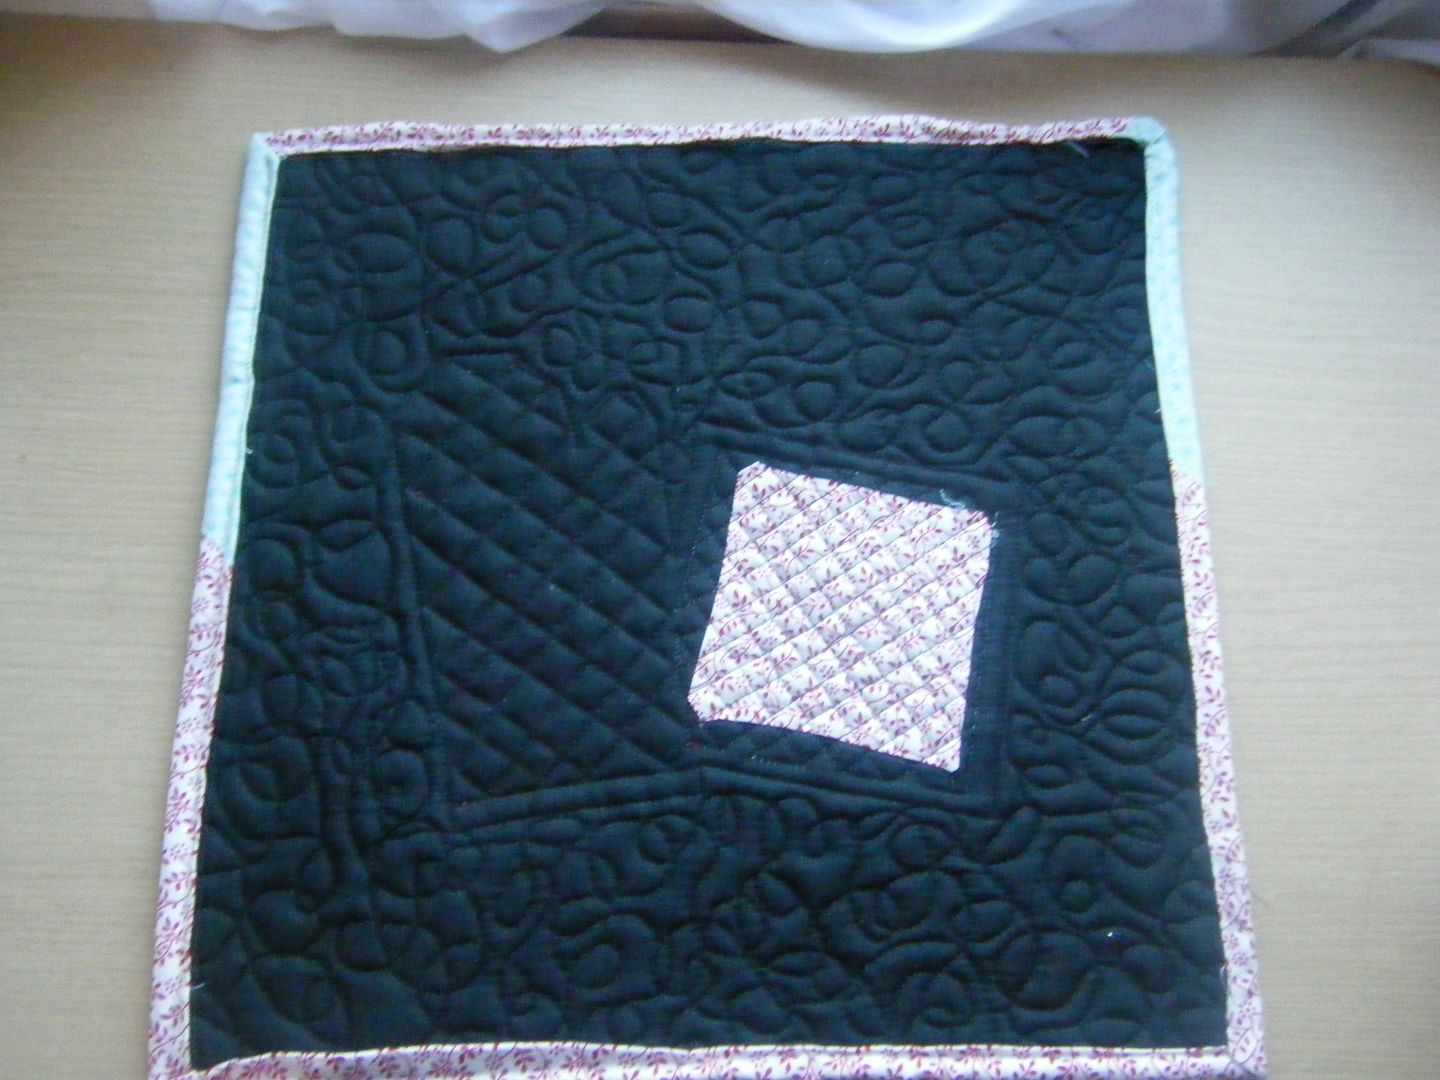
It's bloody huge. The bowl section is 10", I added far too much of a border and it's loads bigger than the other one. I think that's an old pillow case on the back. I'm not wasting expensive designer fabric on the back of a trivet.
The binding went OK. I did it by machine as I really couldn't be arsed hand binding it. It's not perfect, but it does the job and doesn't look as bad as it sometimes does!
Is this post over yet? I'm boring myself...
Related posts
January - oven gloves