Good afternoon ladies, I hope you've all had/are having/will have a lovely Sunday. I'm getting to the end of mine and wishing I didn't have to go to work tomorrow! I did manage to pack plenty in though.
The lovely folk at Cicada books agreed to let me do a couple of craft book reviews for them, and today I have the first one for you. I'll show you the book and then show you the project I made from it. The book was provided to me free of charge so that I'd share a review with you, but I was not told what to say, all opinions are 100% my own. The links are affiliate links, so if you click on them and then buy, I will get a few pence towards an Amazon voucher.
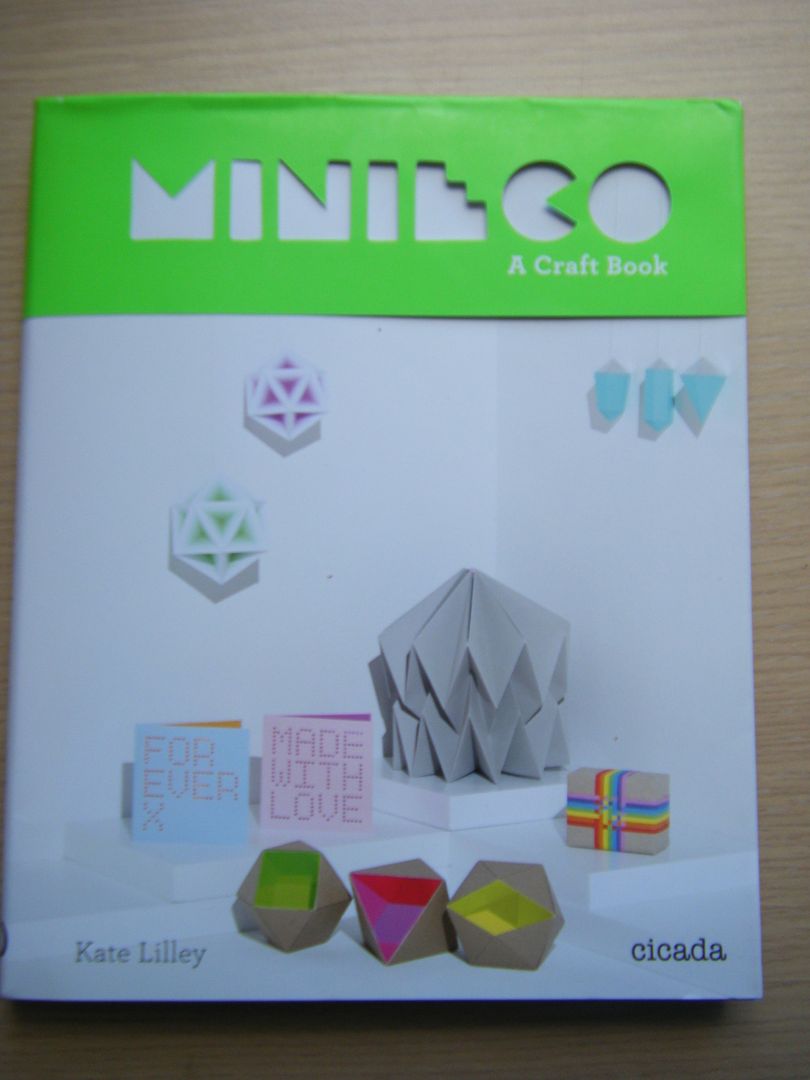
The book I'm going to review today is MiniEco: A Craft Book .
.
I was a bit worried when I got it. I don't want to completely trash a book, but I do want to be honest and I wasn't sure this was my cup of tea.... I was wrong!
Projects are over a variety of media. It opens with some paper projects including pop-up cards, origami and these fab fruit boxes.
image: Garry Maclennan
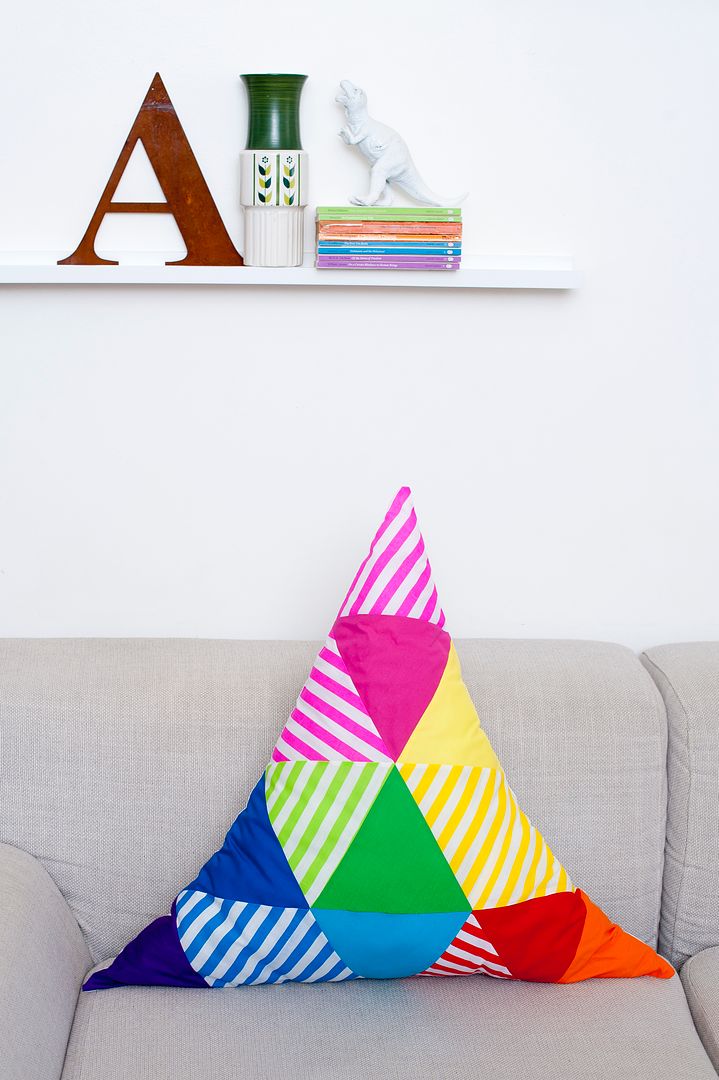
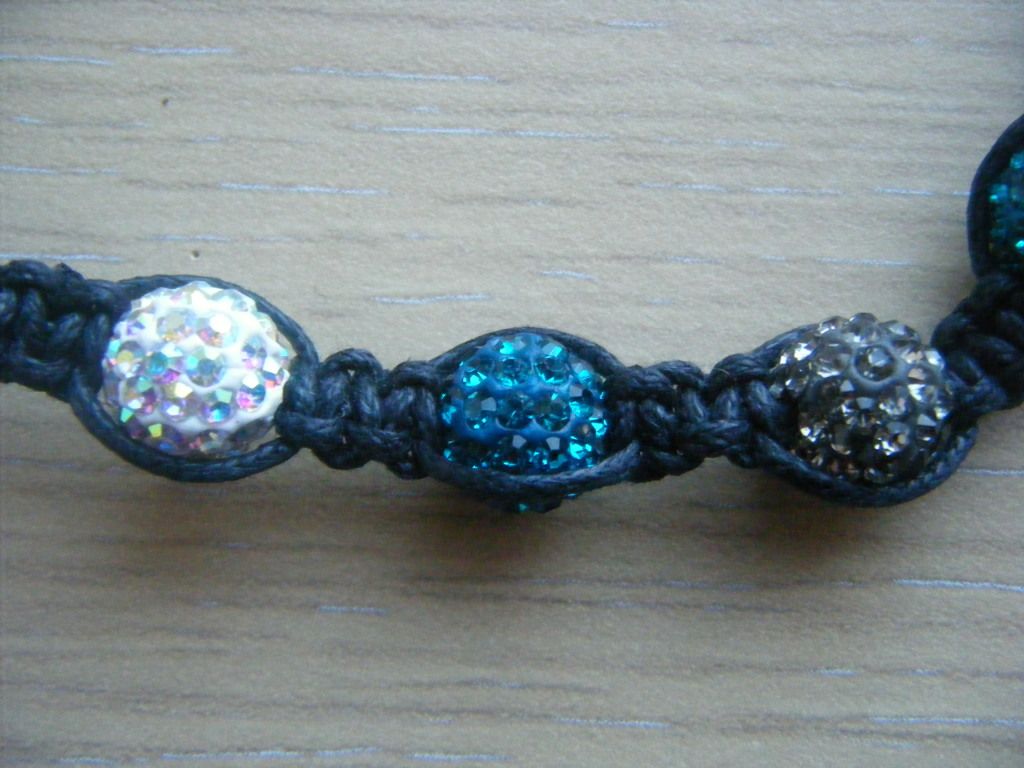
There are also sewing projects such as a funky triangular cushion and a toy snake.
image: Garry Maclennan
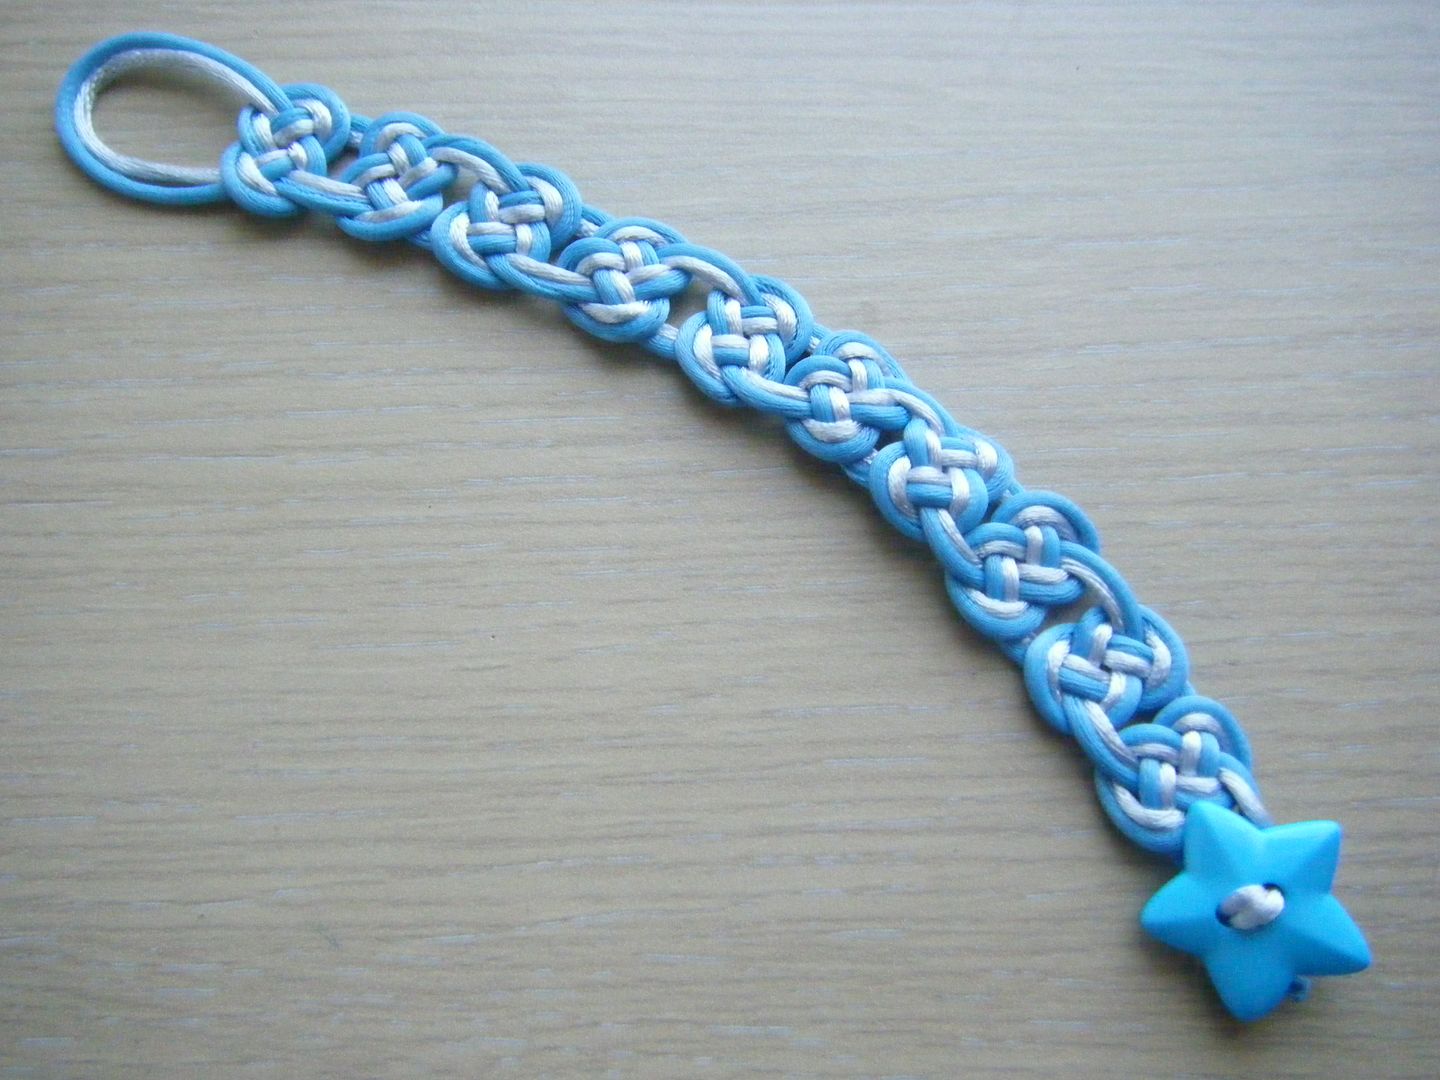
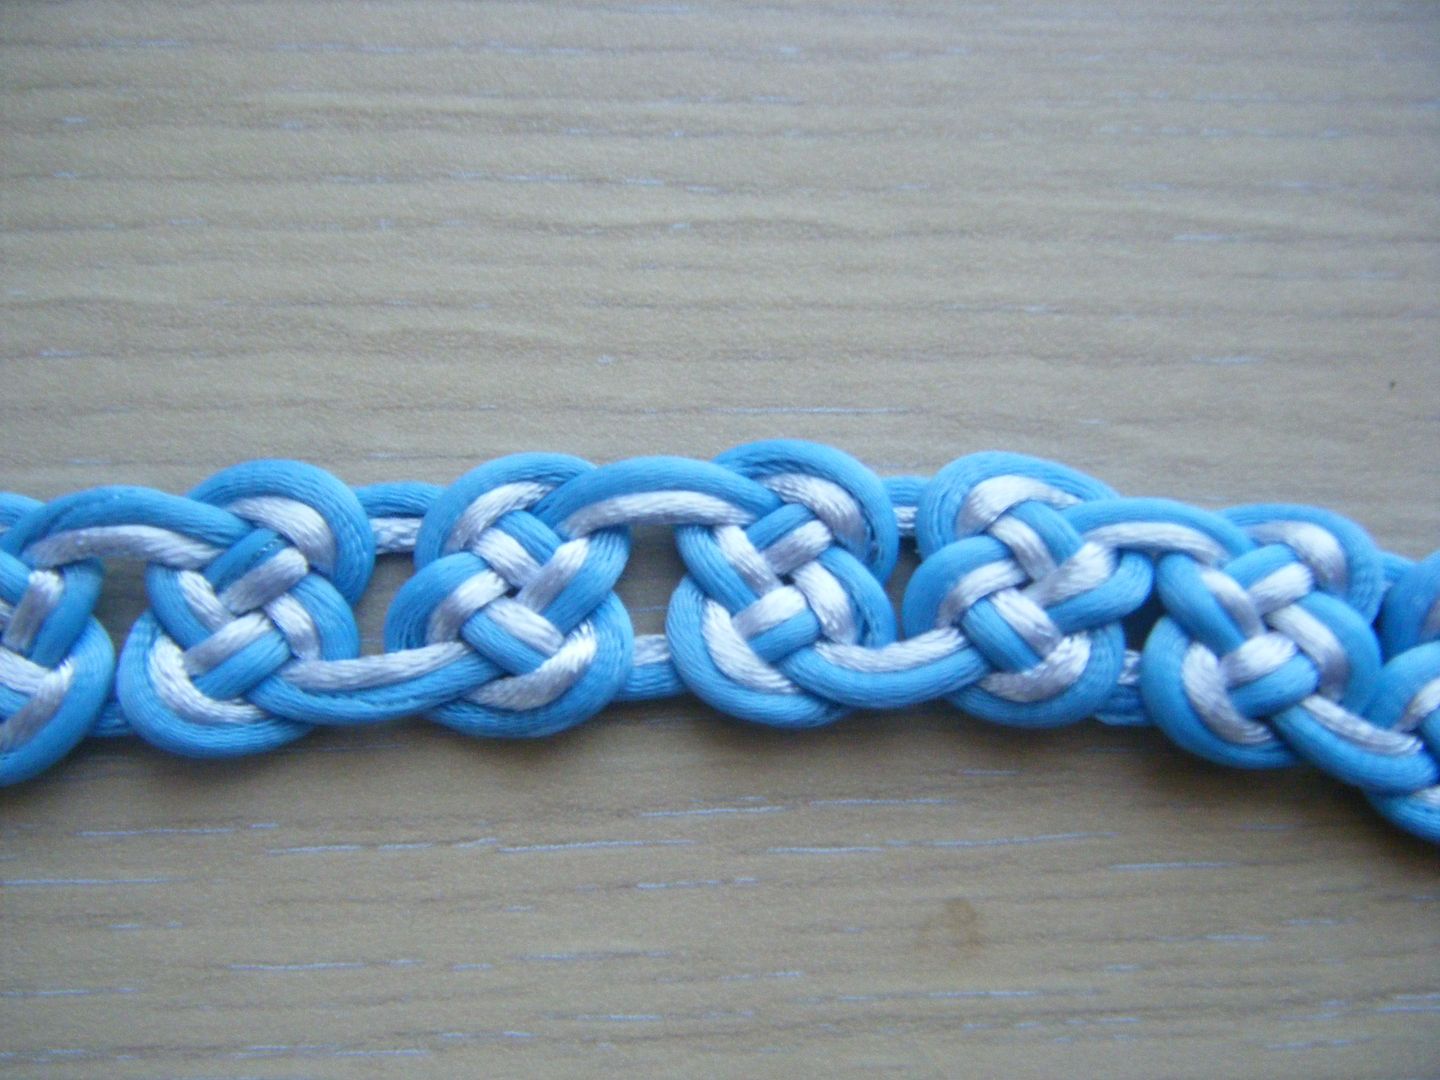
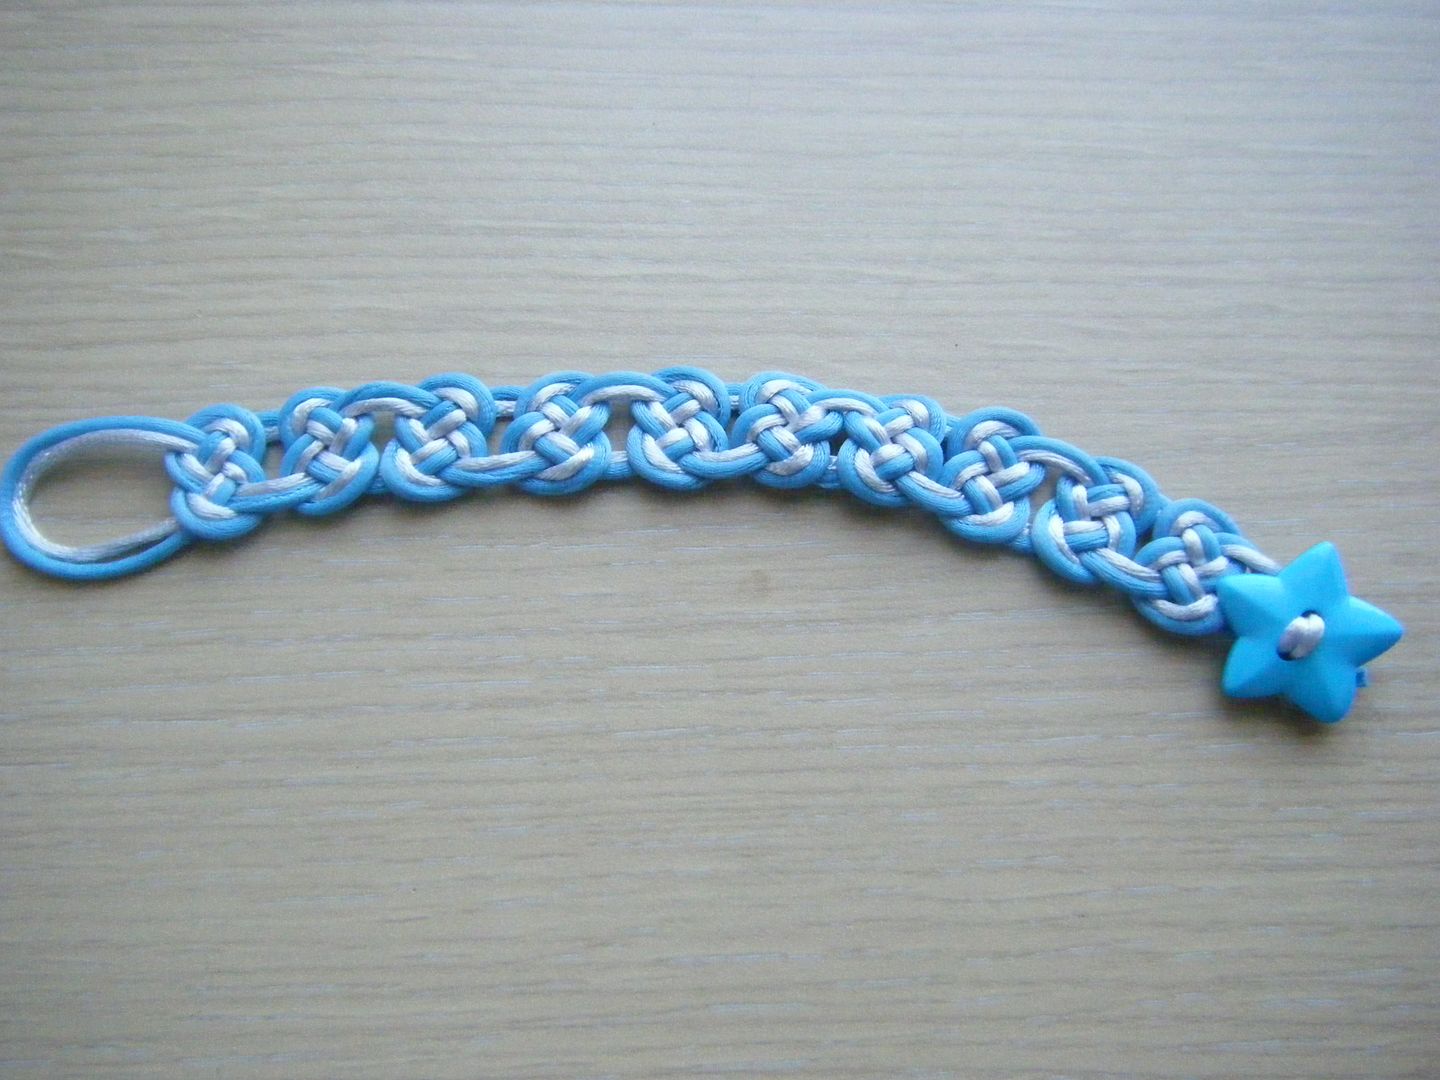
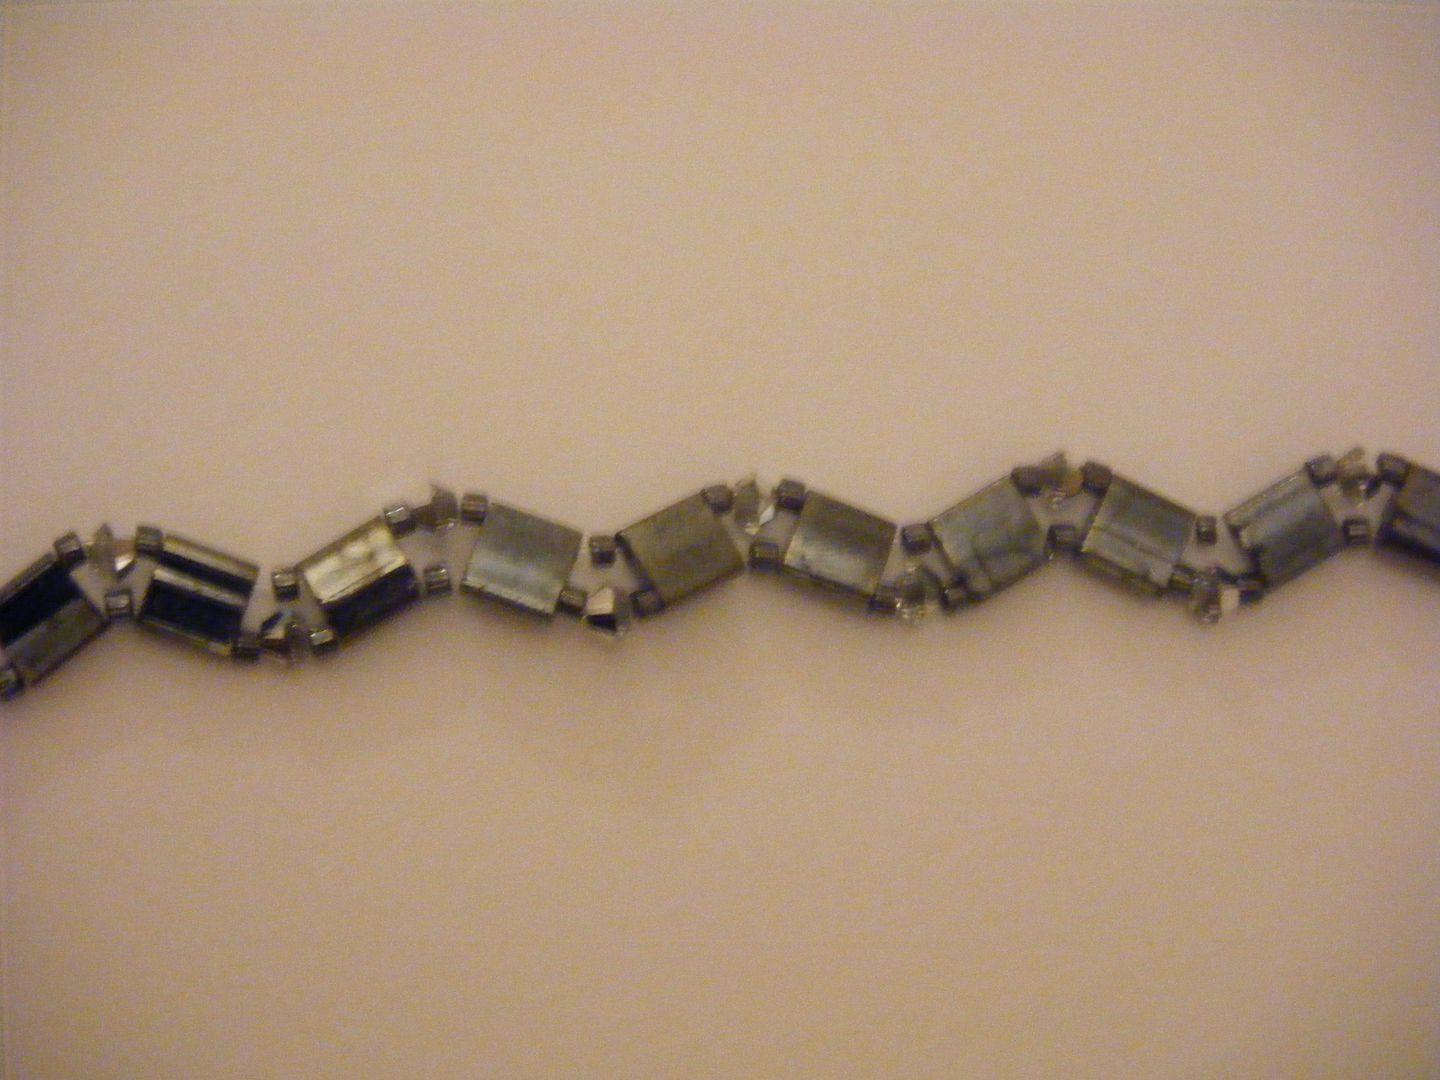
Other projects covered include signs made of Lego, a space invaders Pinata that no boy (or man) would sneer at, pots and earrings made from Hama beads and a section on macrame.
image: Garry Maclennan
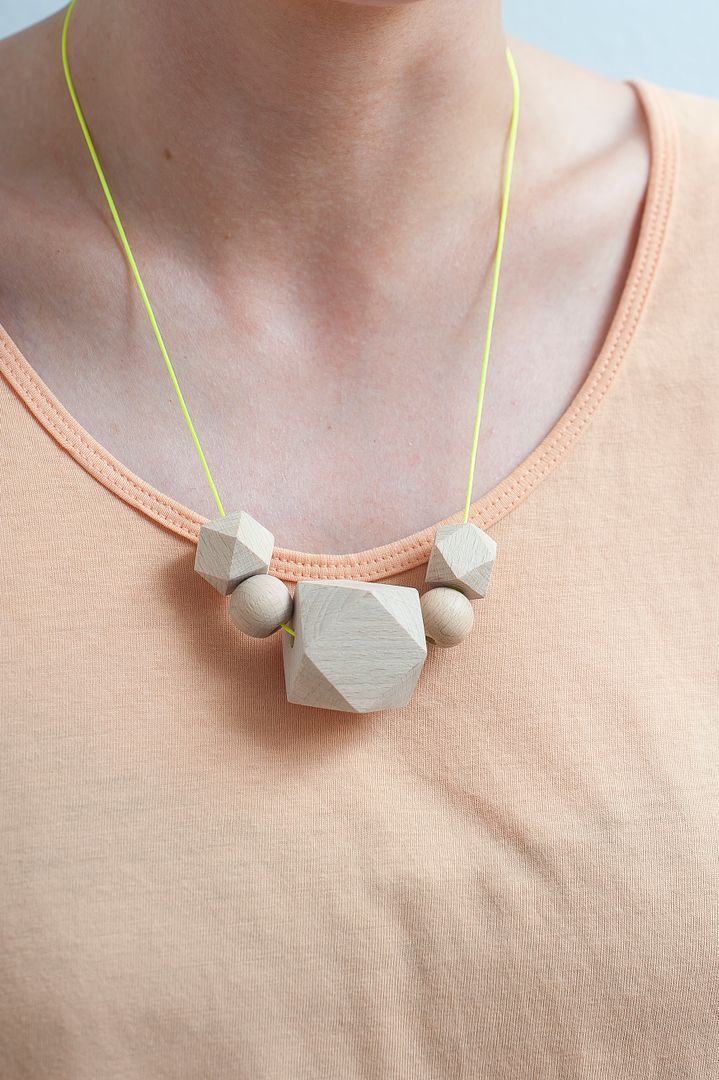
I decided to tackle the geometric beads first. This is what the project in the book looks like:
image: Garry Maclennan
Now, I couldn't find any wooden beads this big, nor did I correctly read the supplies list before buying some round wooden beads at the Bead Shop, I should have bought cubes. No matter, the project still works, it just has my own twist on it!
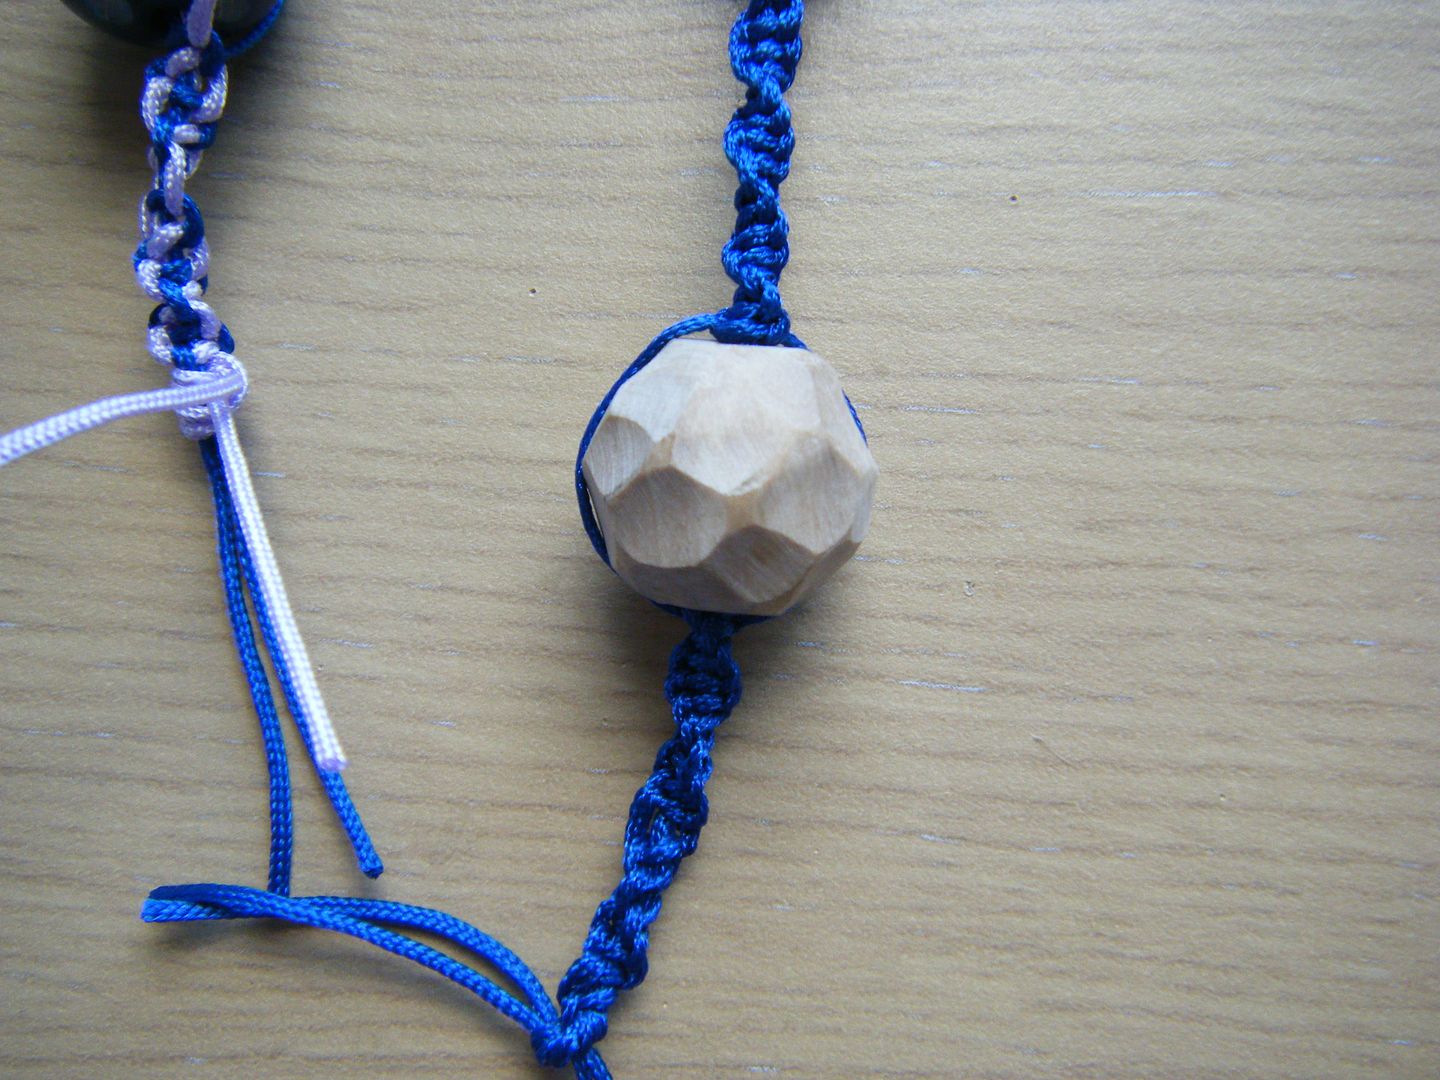
I started with the largest bead and attacked it with my Dremel and a sanding attachment. You could of course do this by hand, but it's so quick with a Dremel.
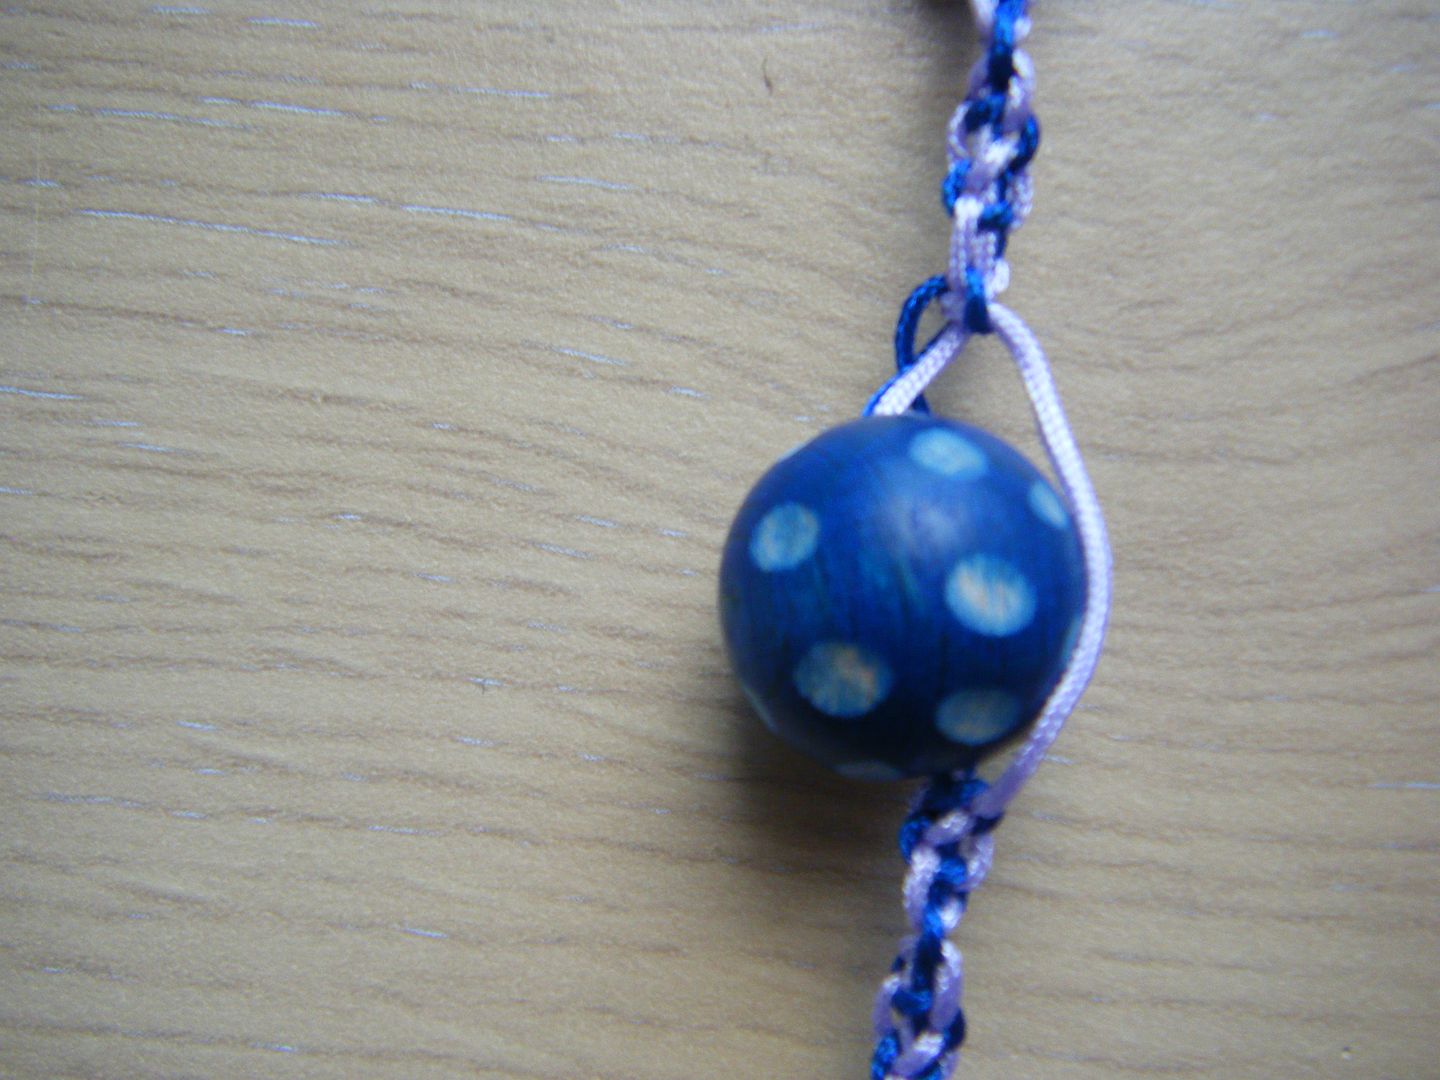
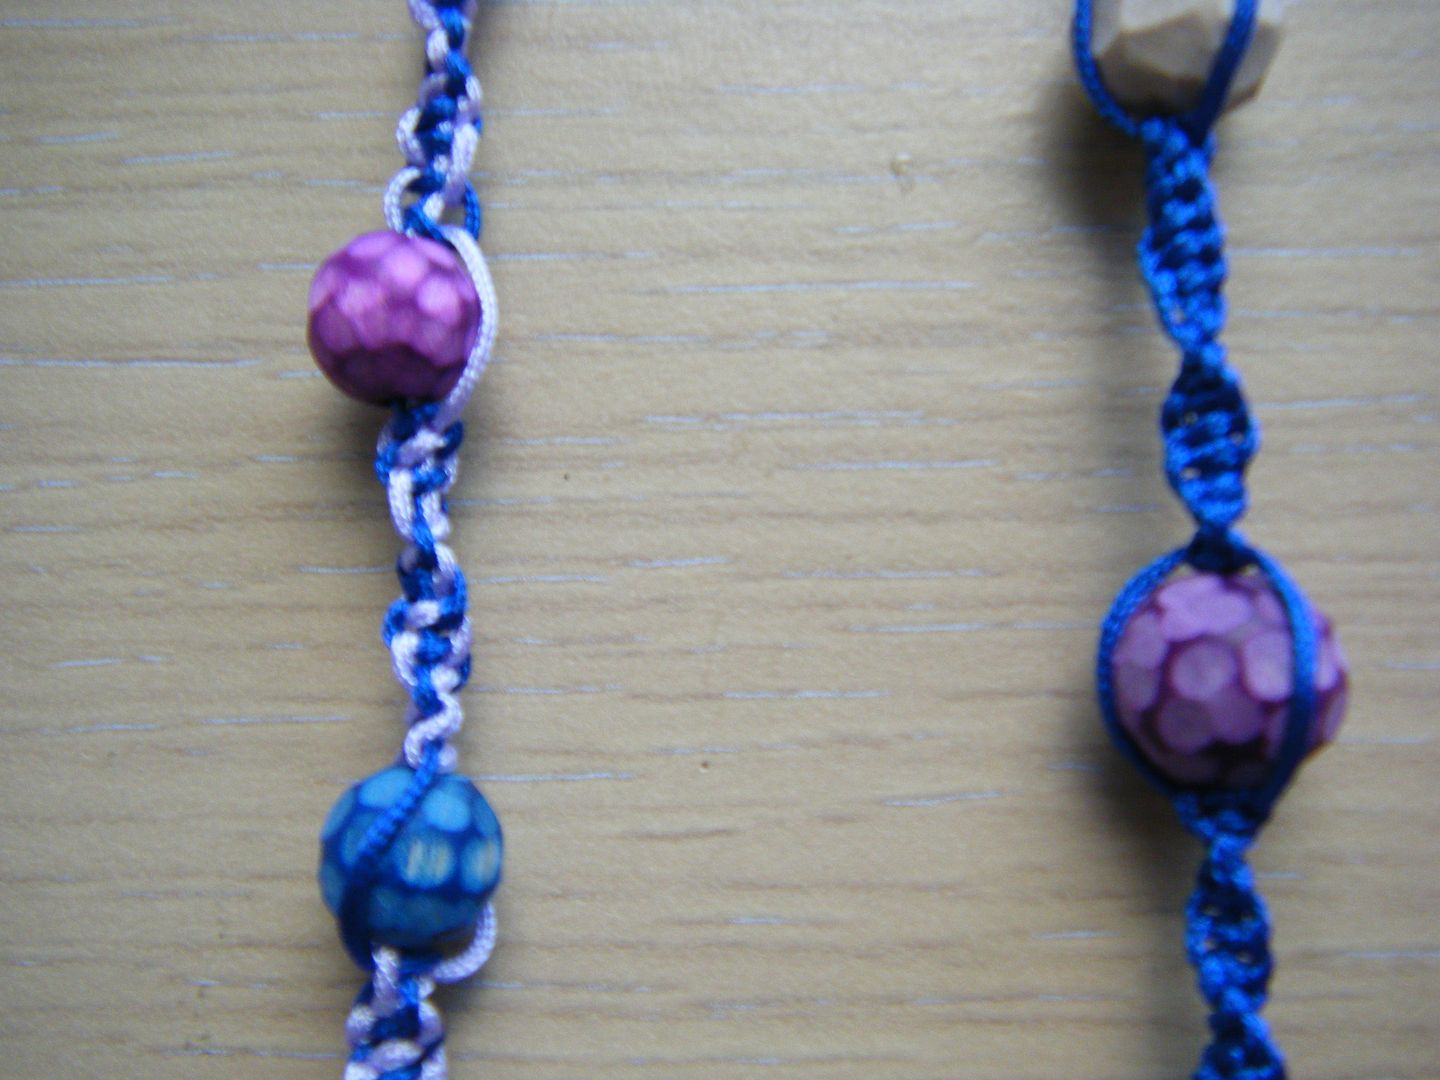
Not so much geometric as abstract, but I love the effect! I'd bought some coloured beads too. I knew they were either painted or dyed so I had to keep the sanding shallow. If I attempted something like the bead above, I'd lose all the colour.
The dye on the purple beads seemed to be a lot thickr than on the blue beads. As you can see, I was able to sand bigger areas and the colour still showed, albeit lighter. With the blue ones, it was easy to go down to the wood.
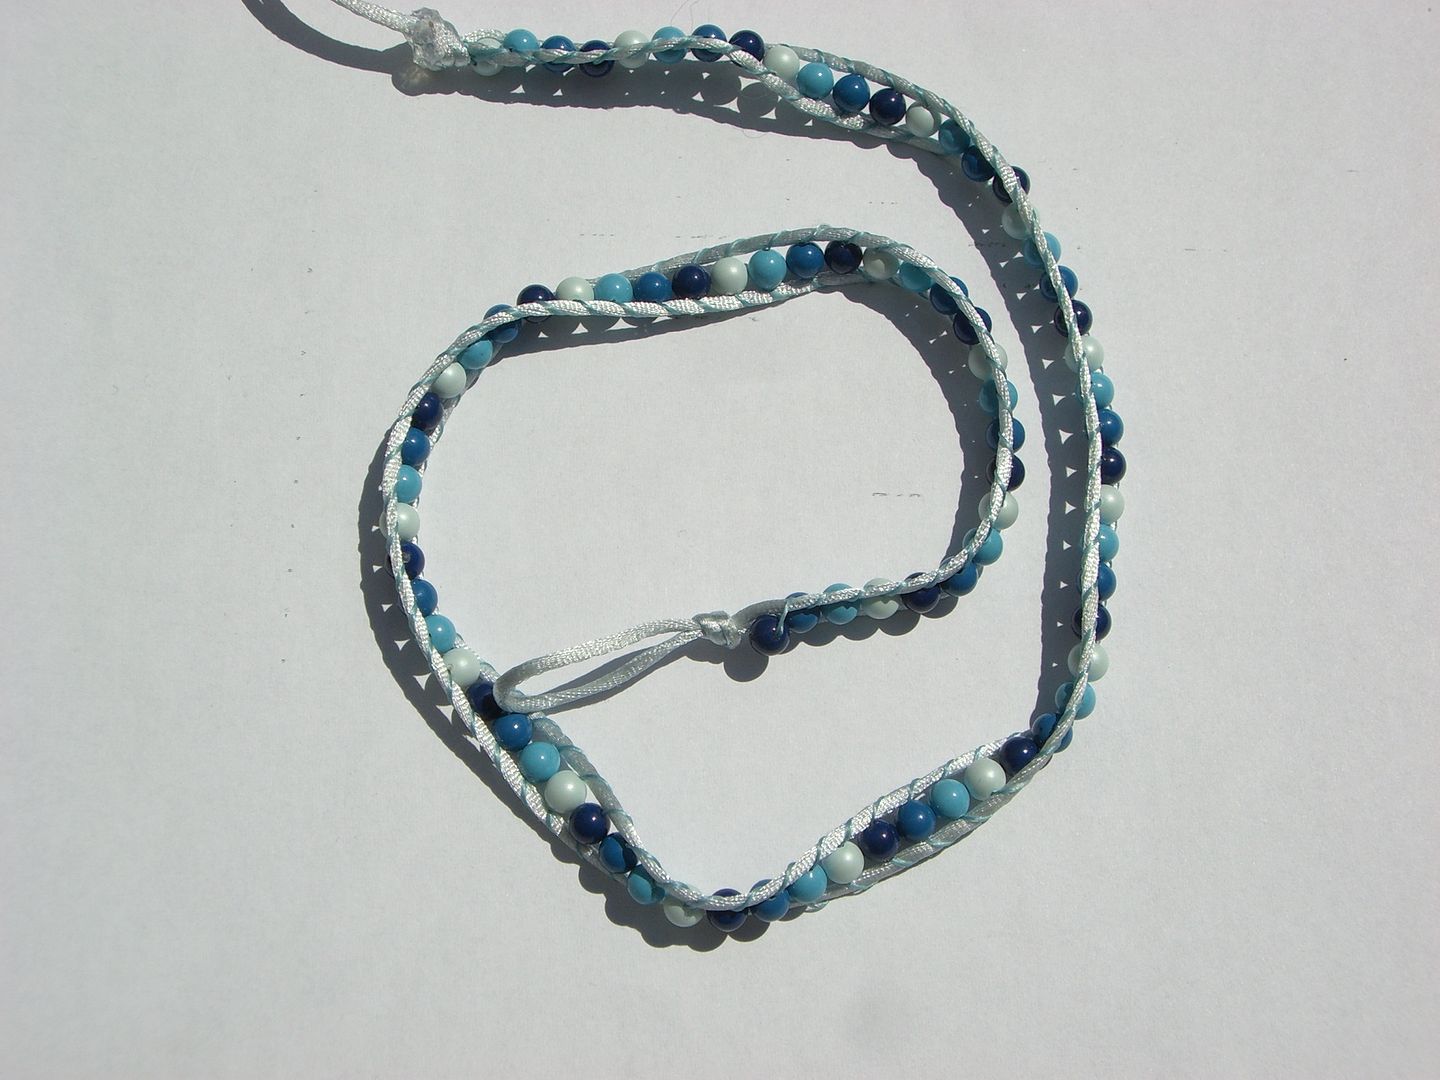
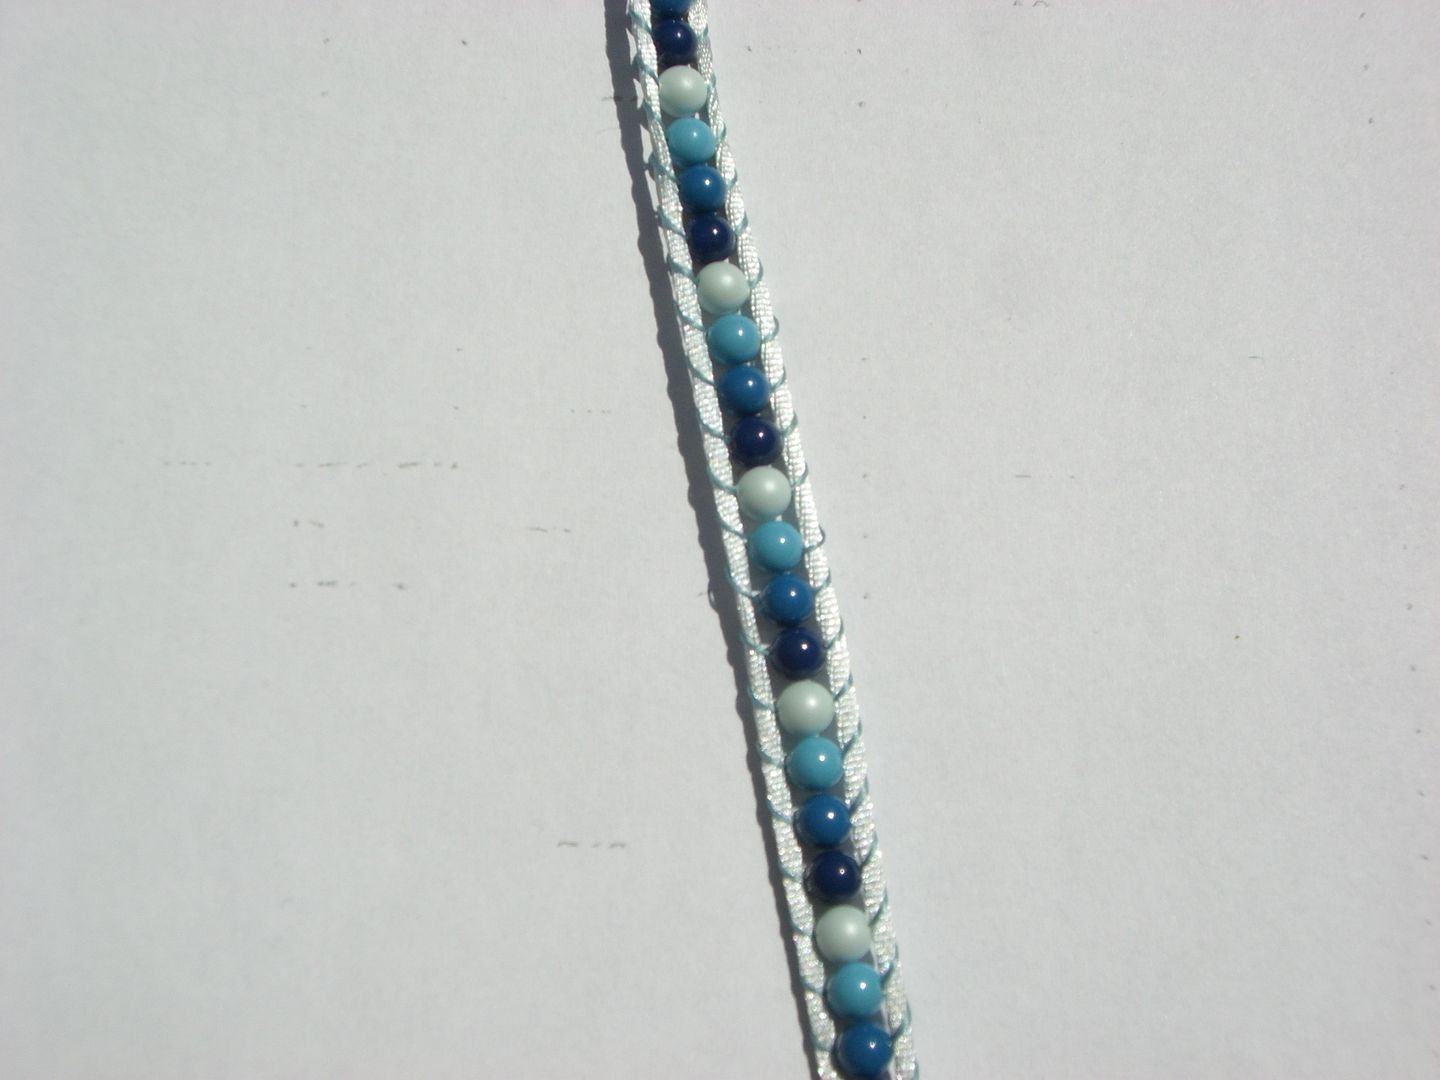
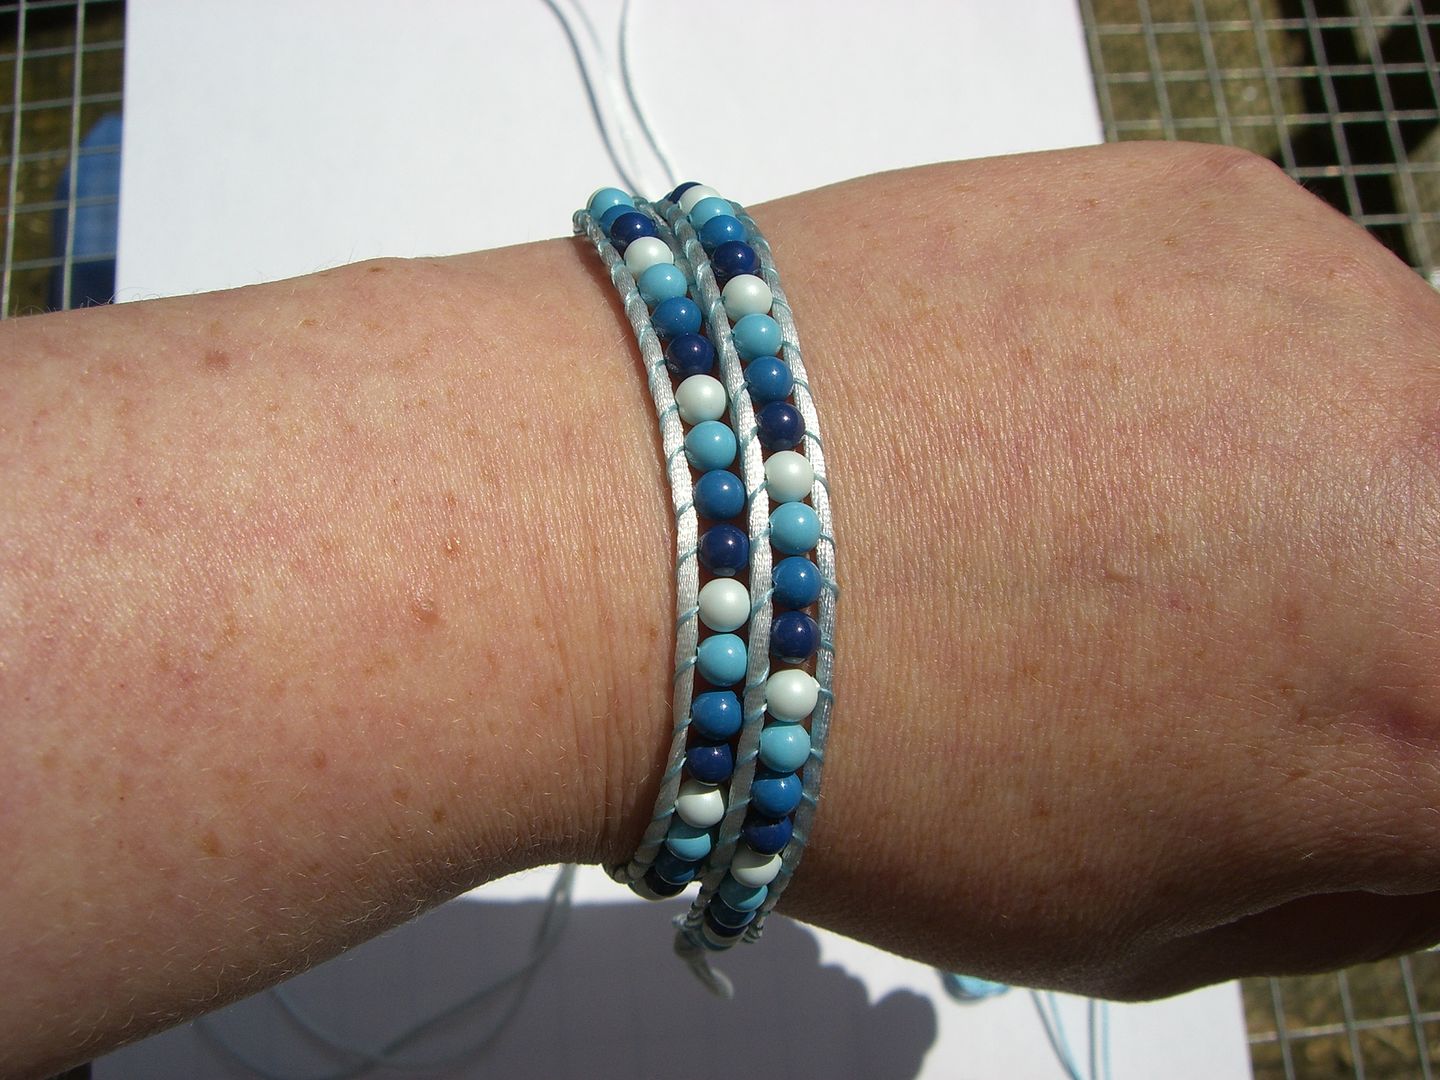
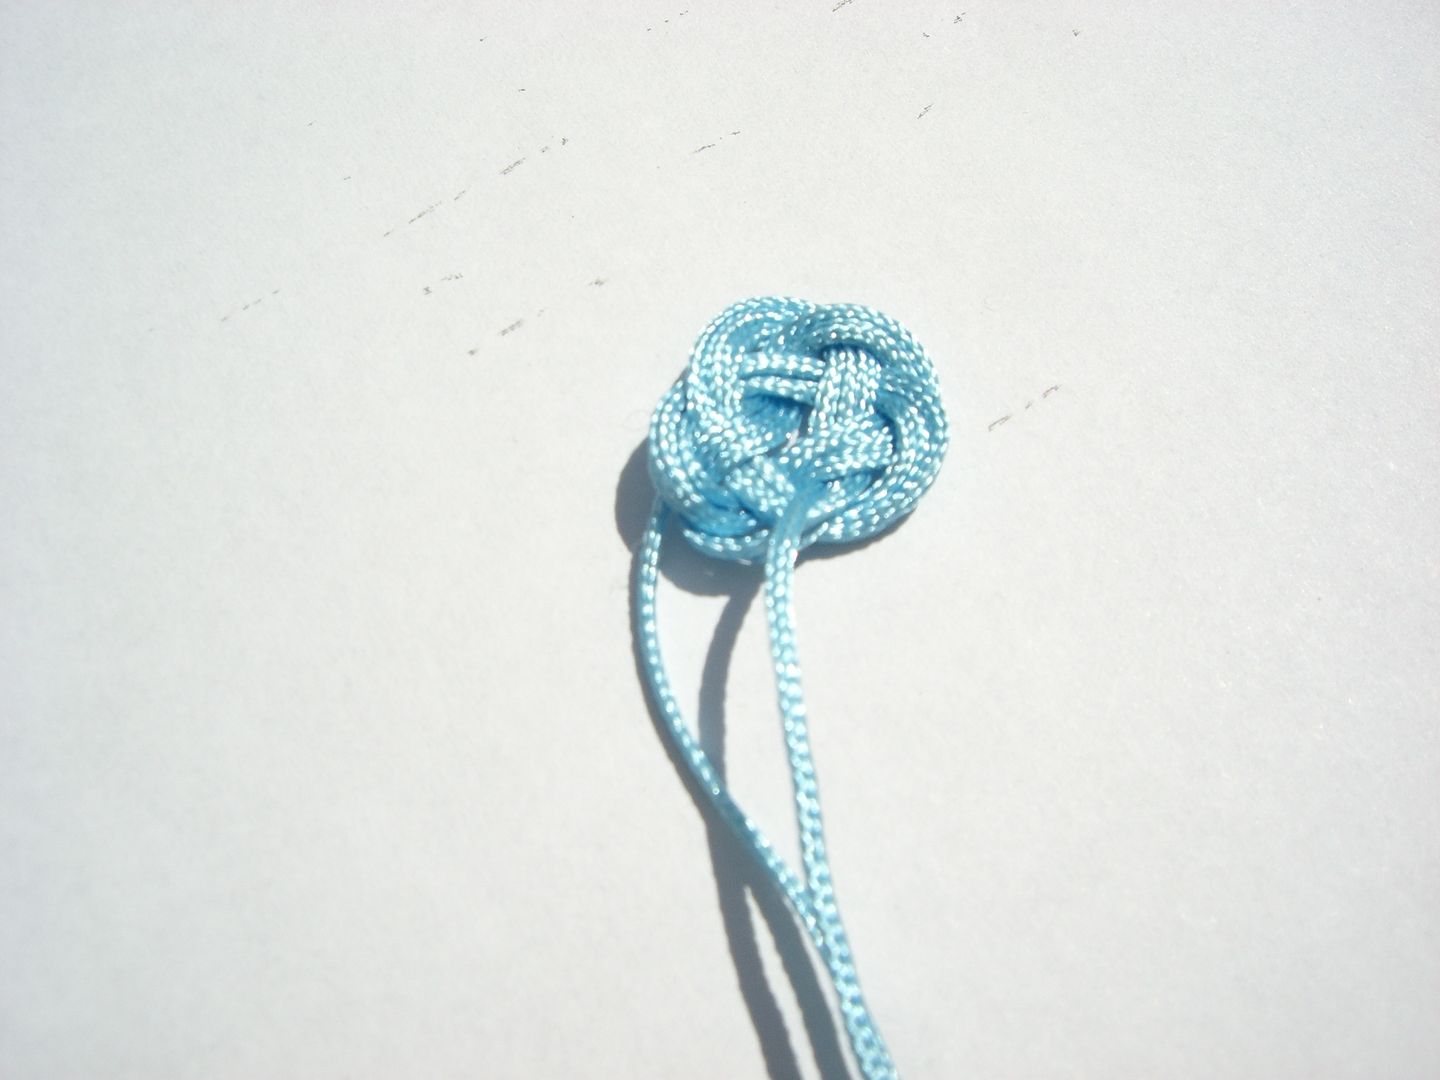
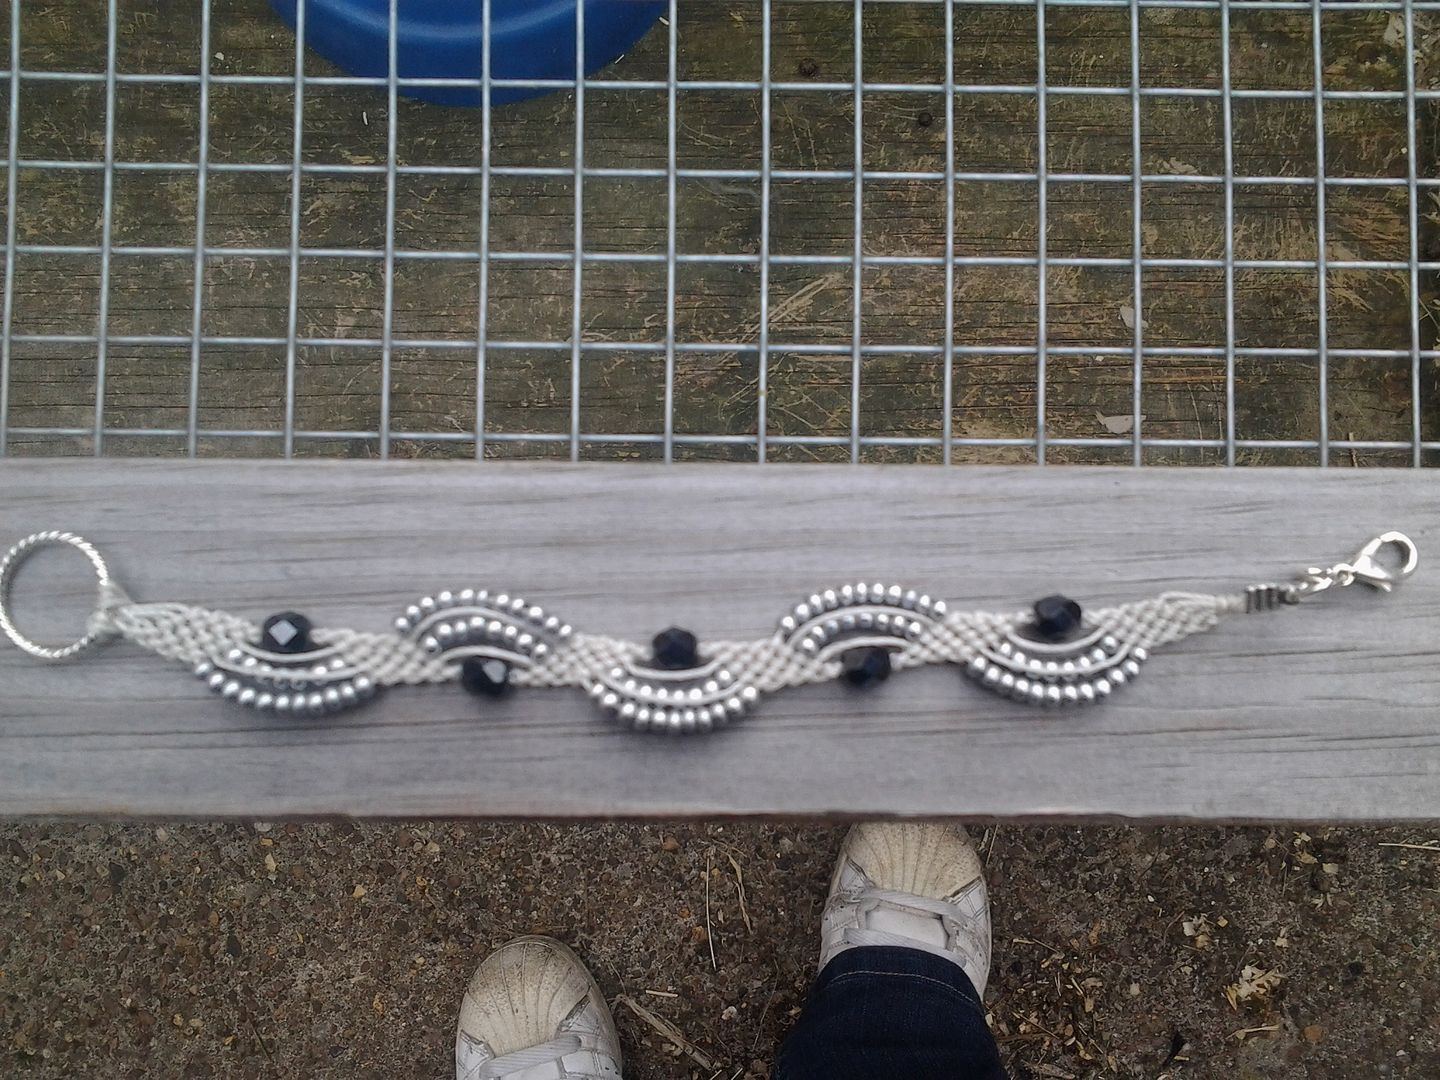
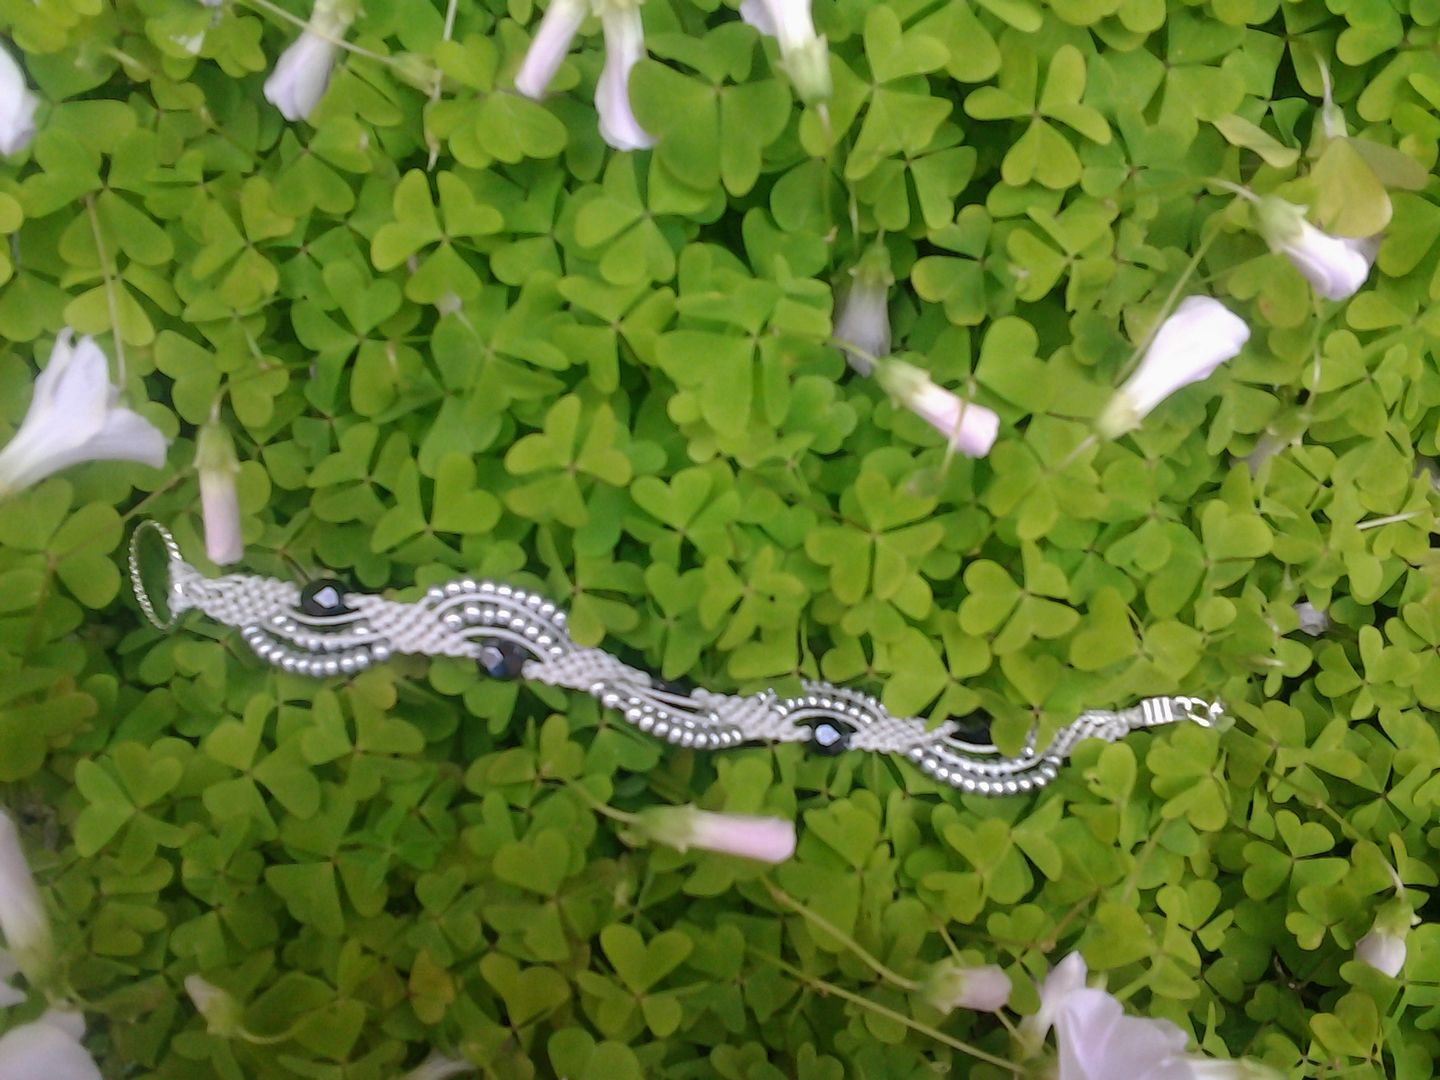
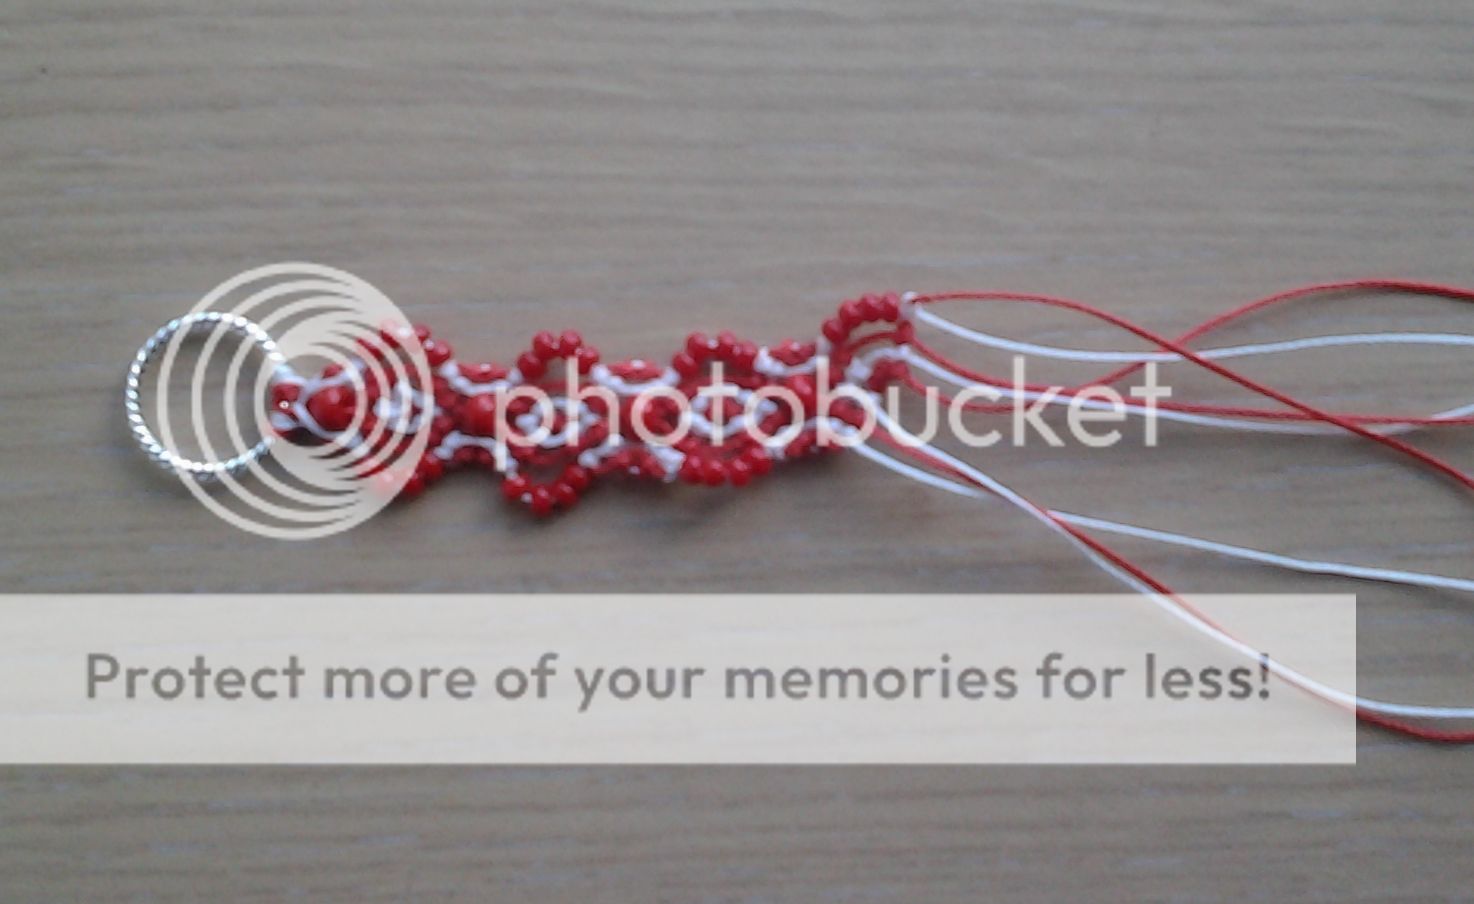
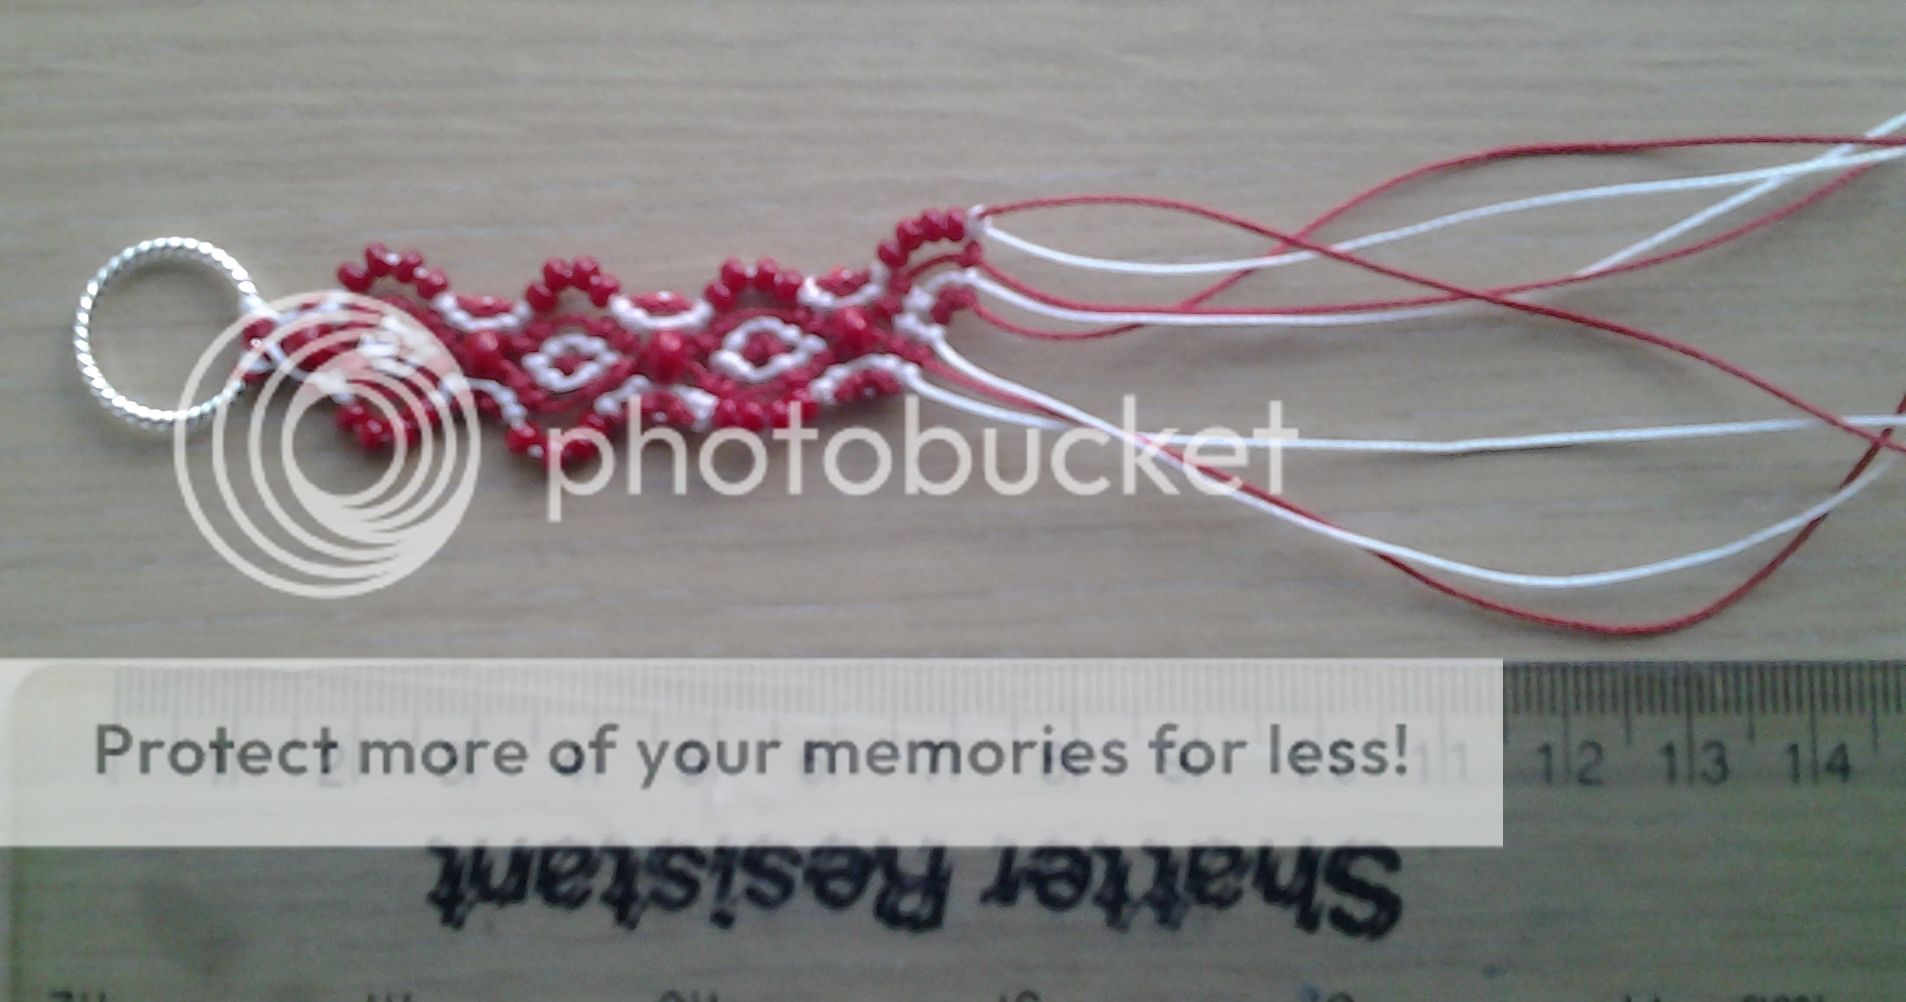
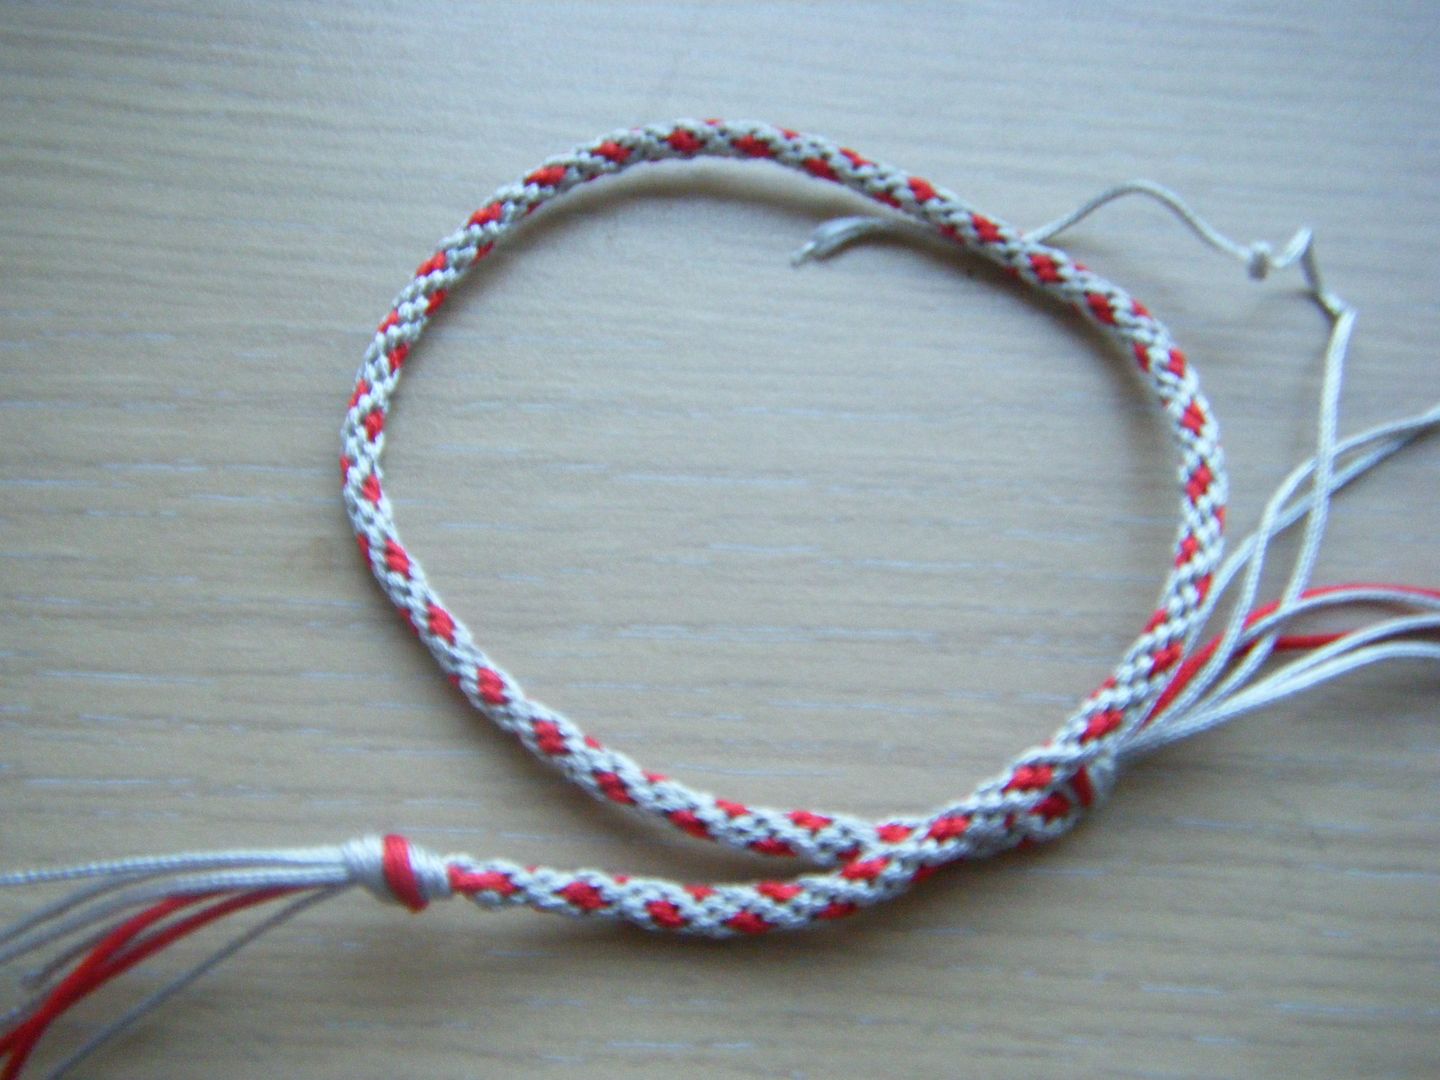
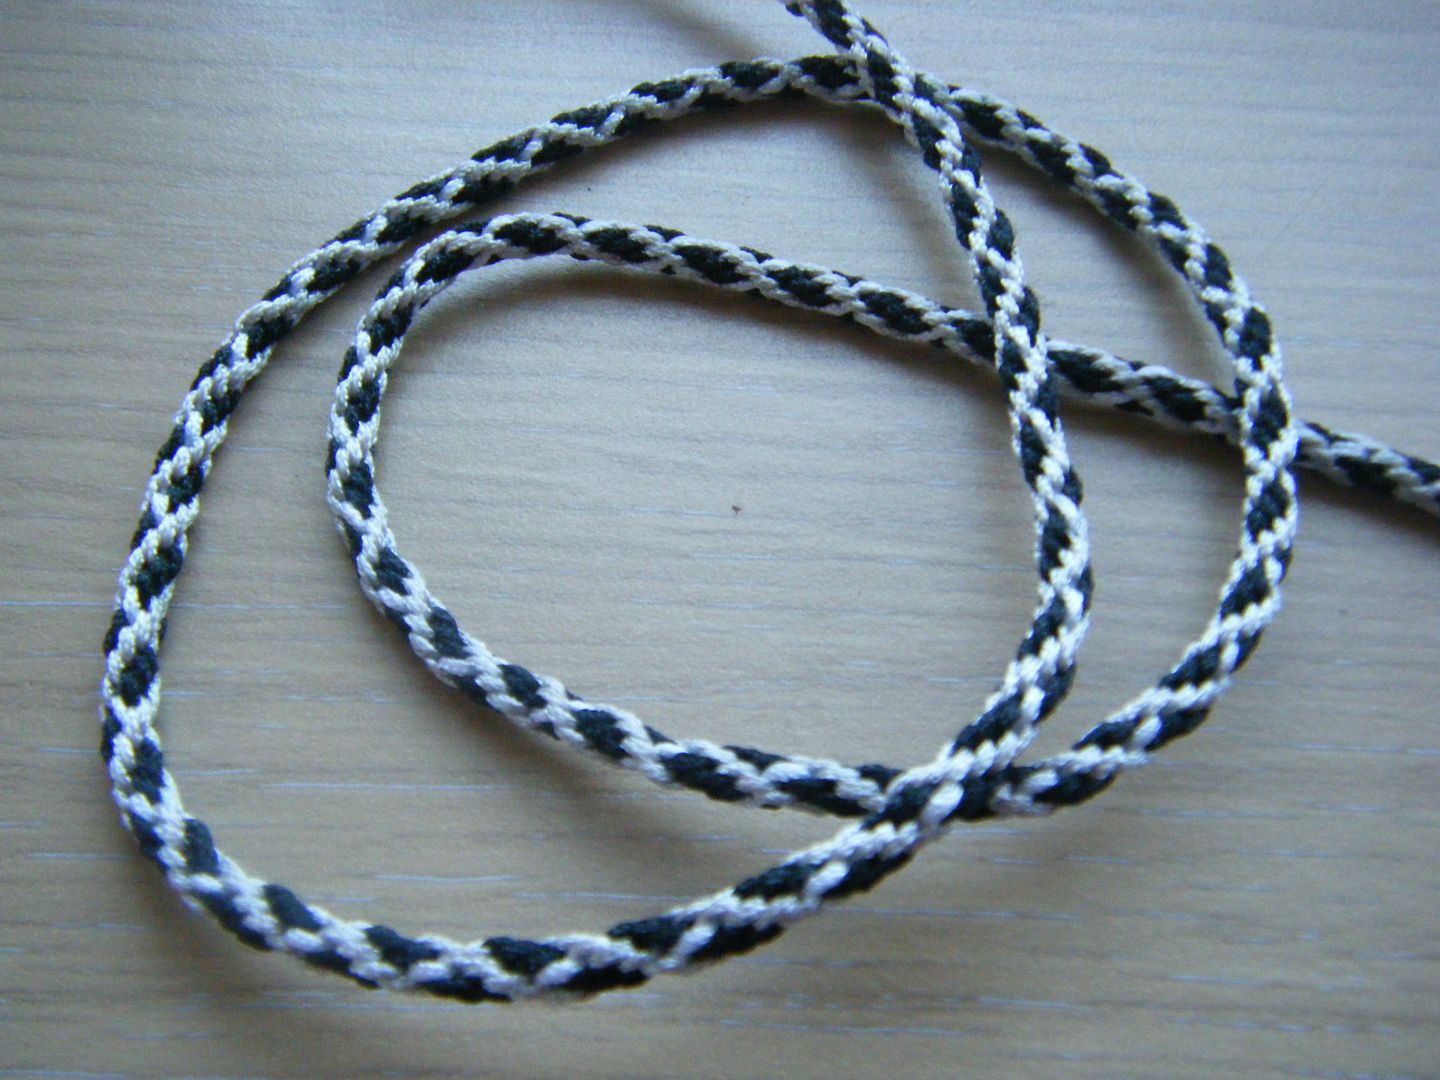
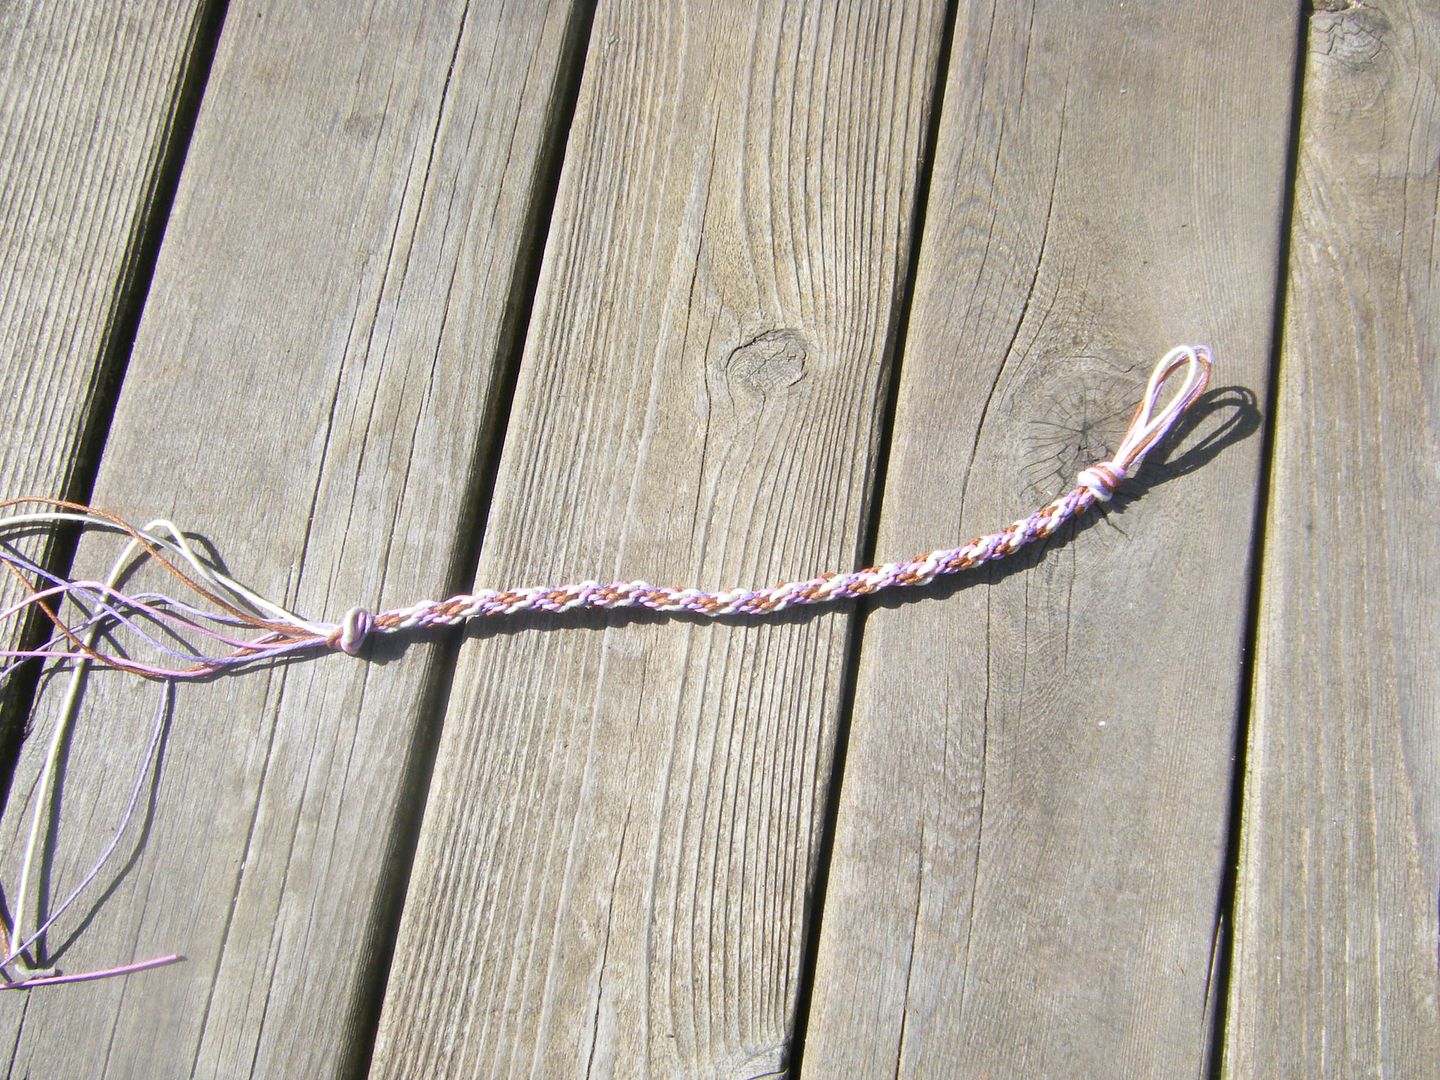
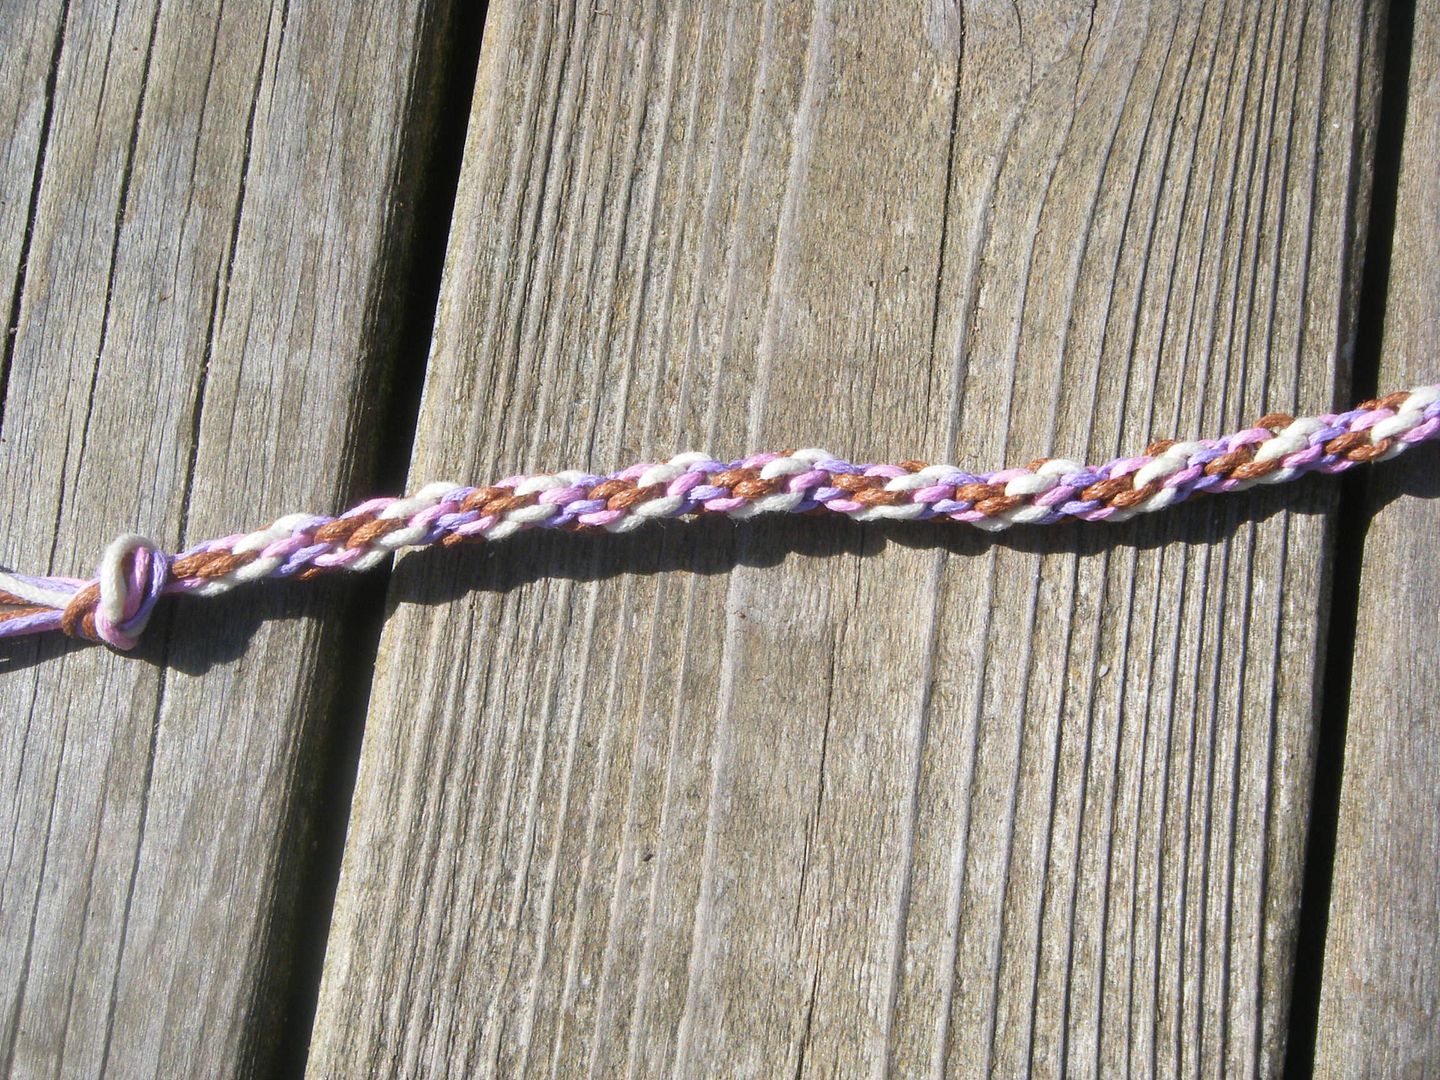
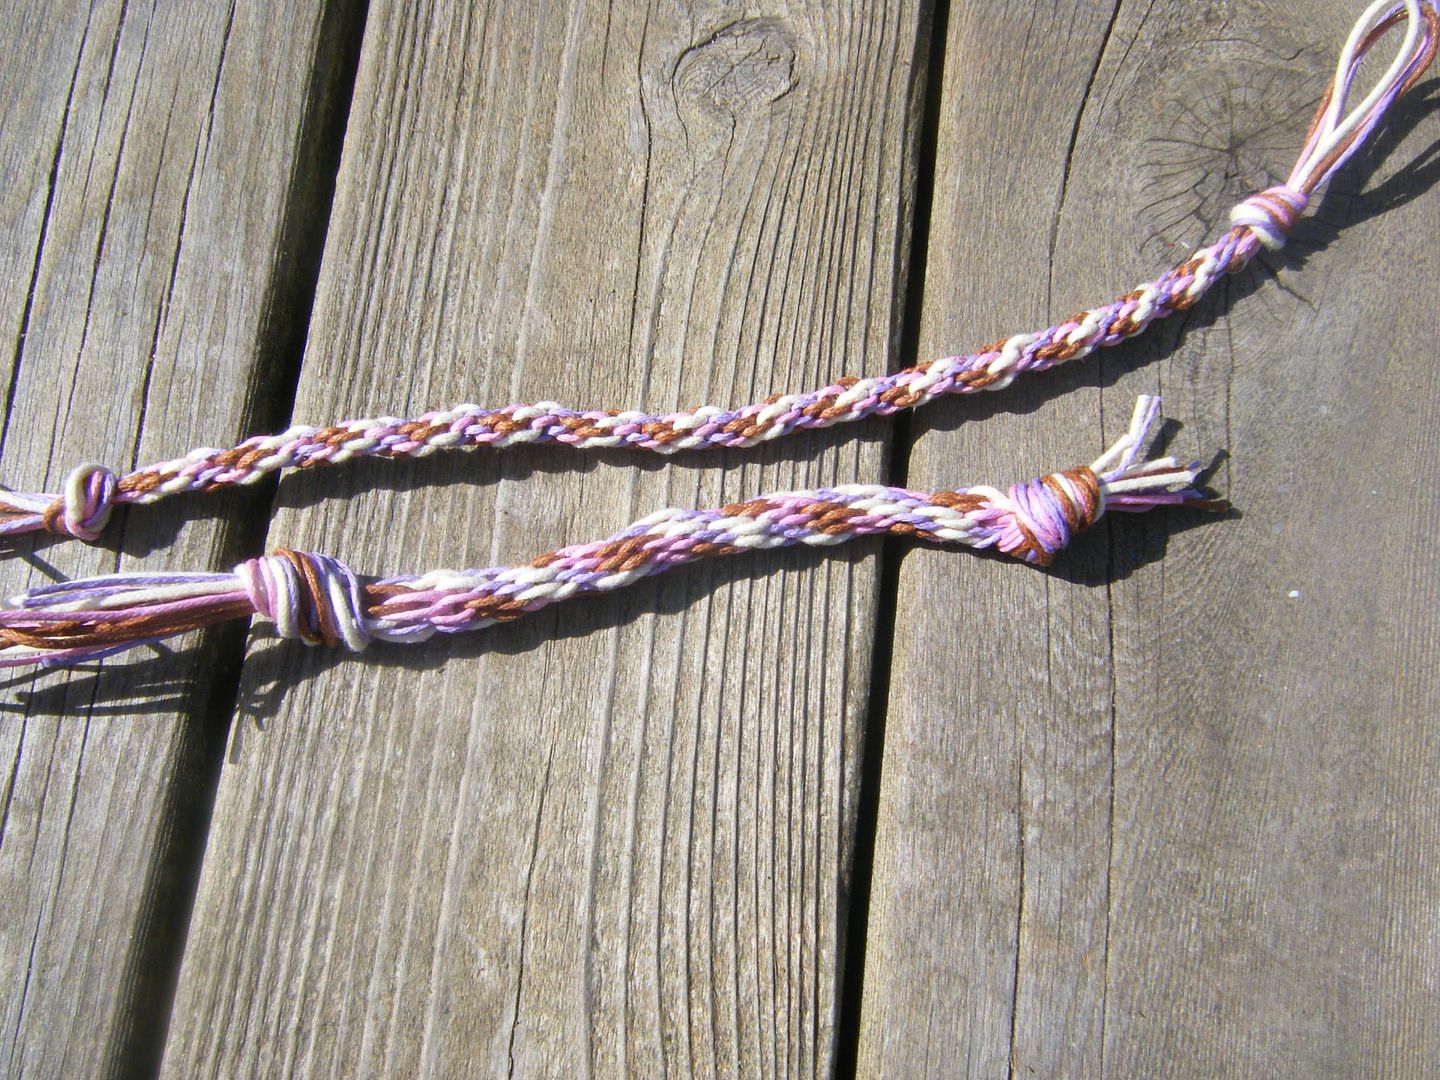
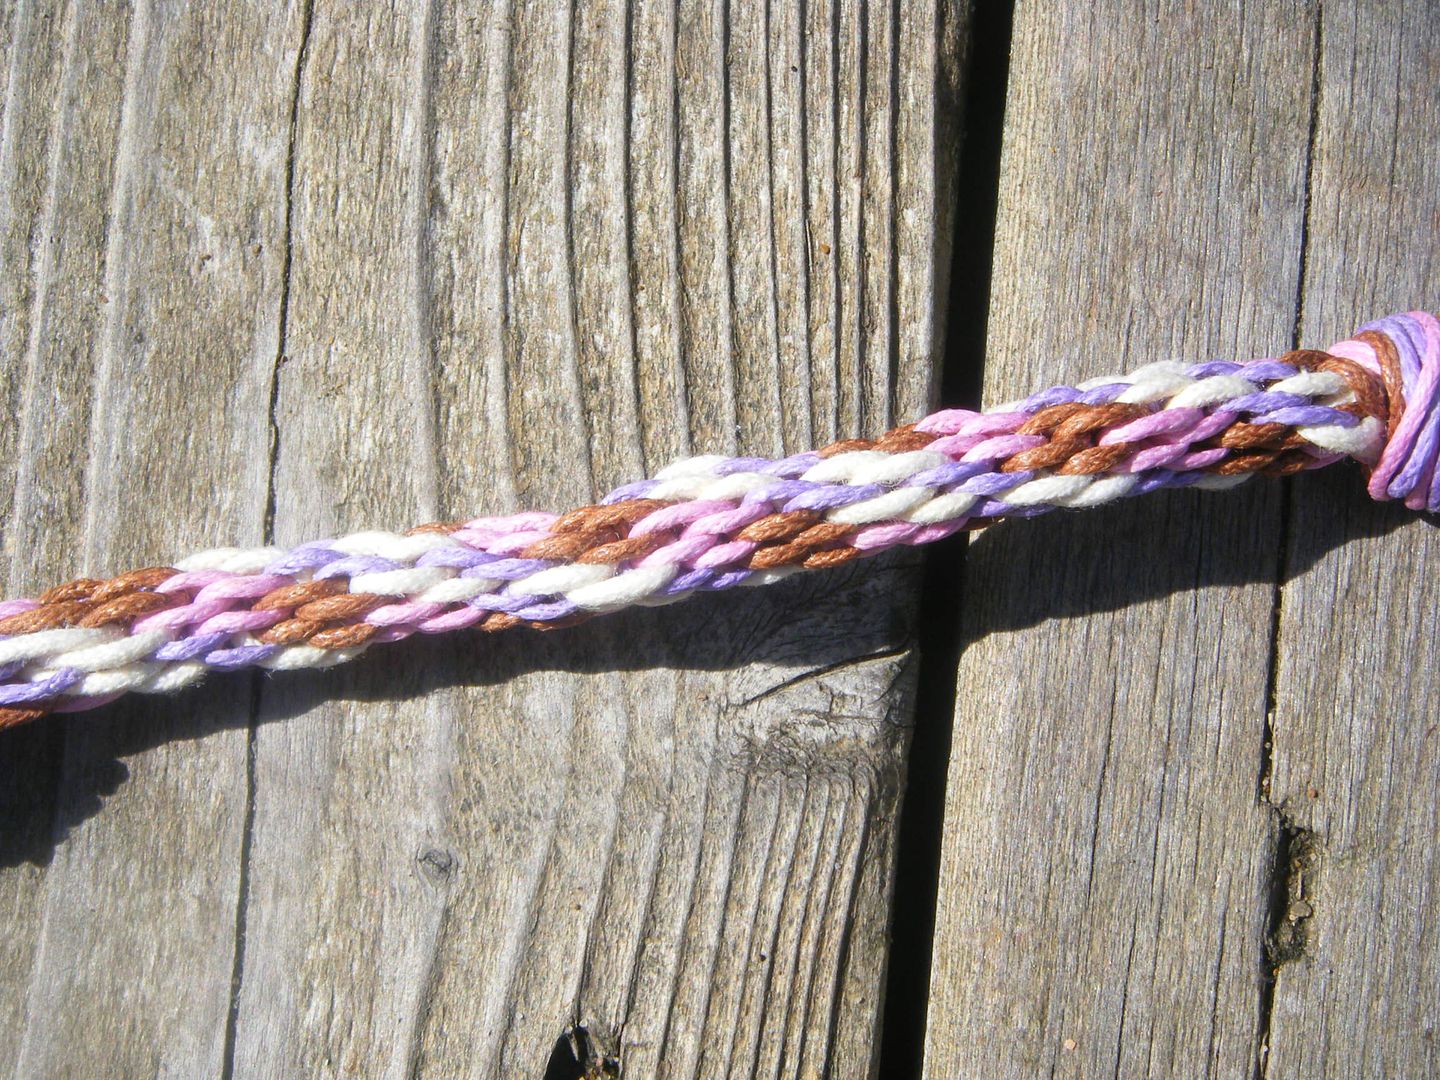
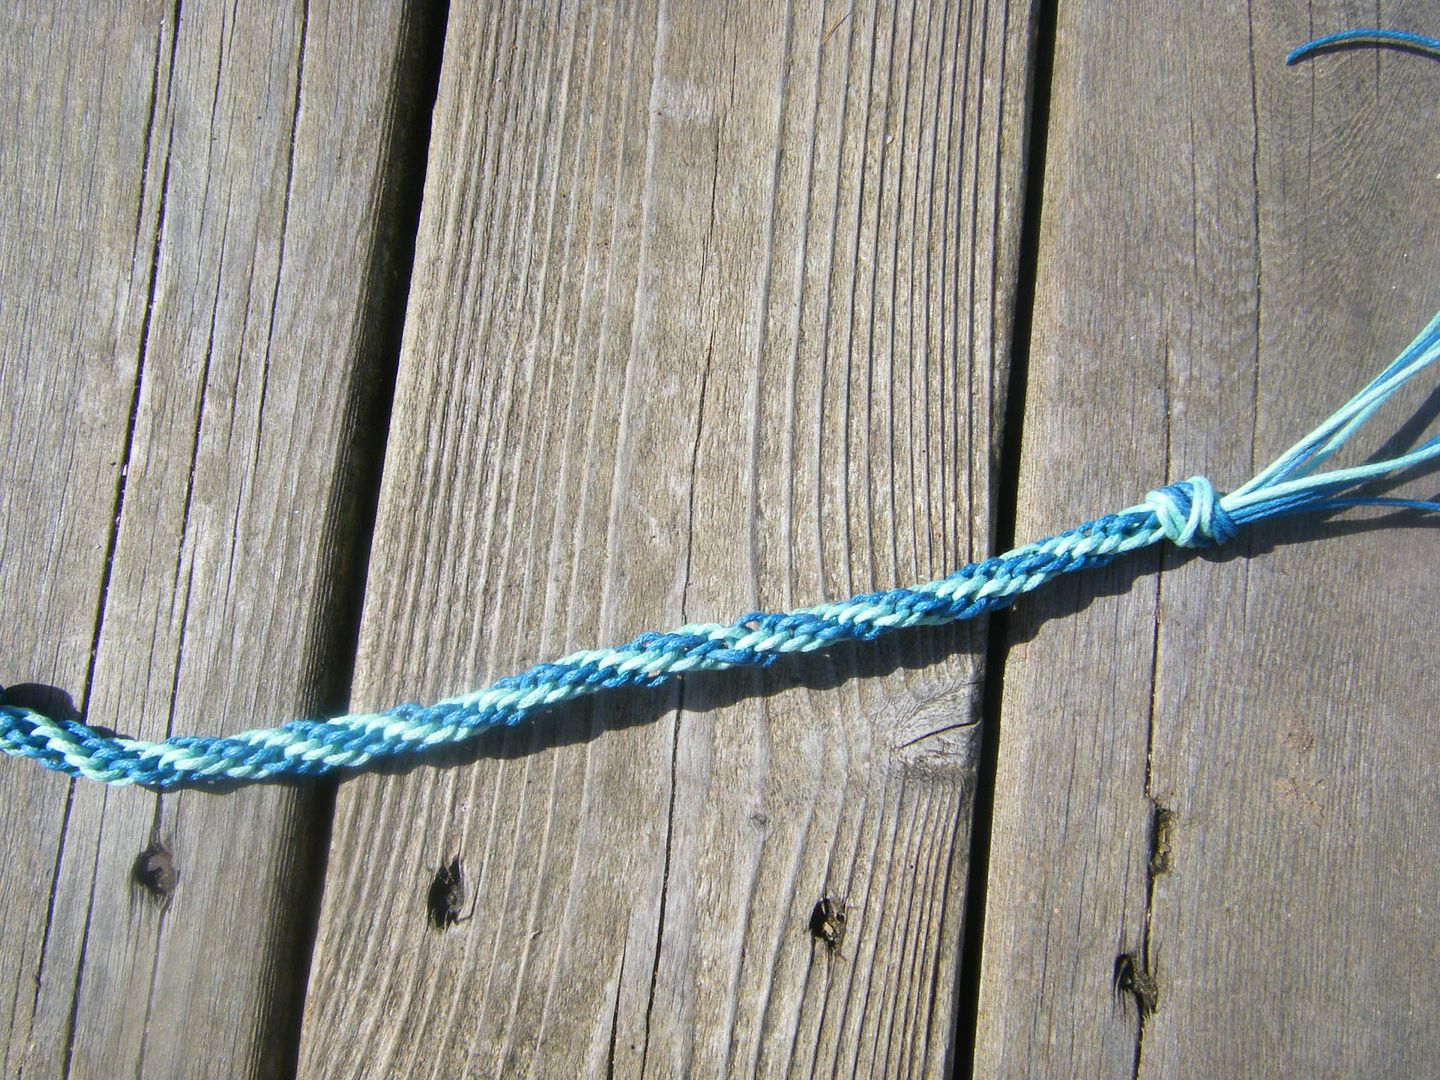
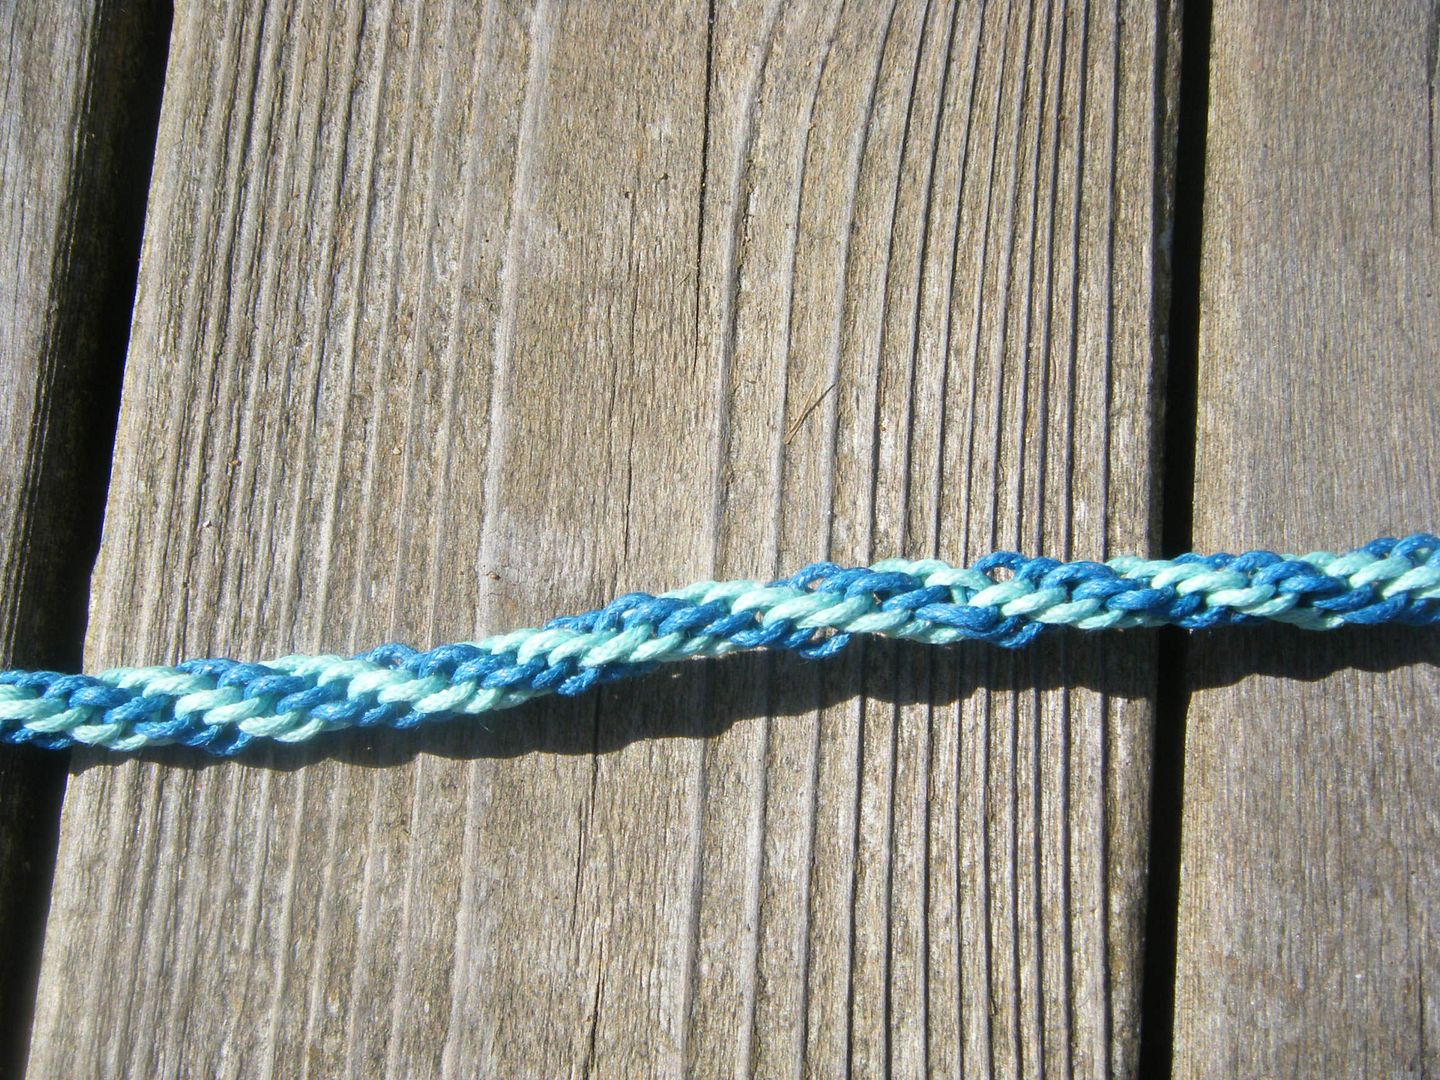
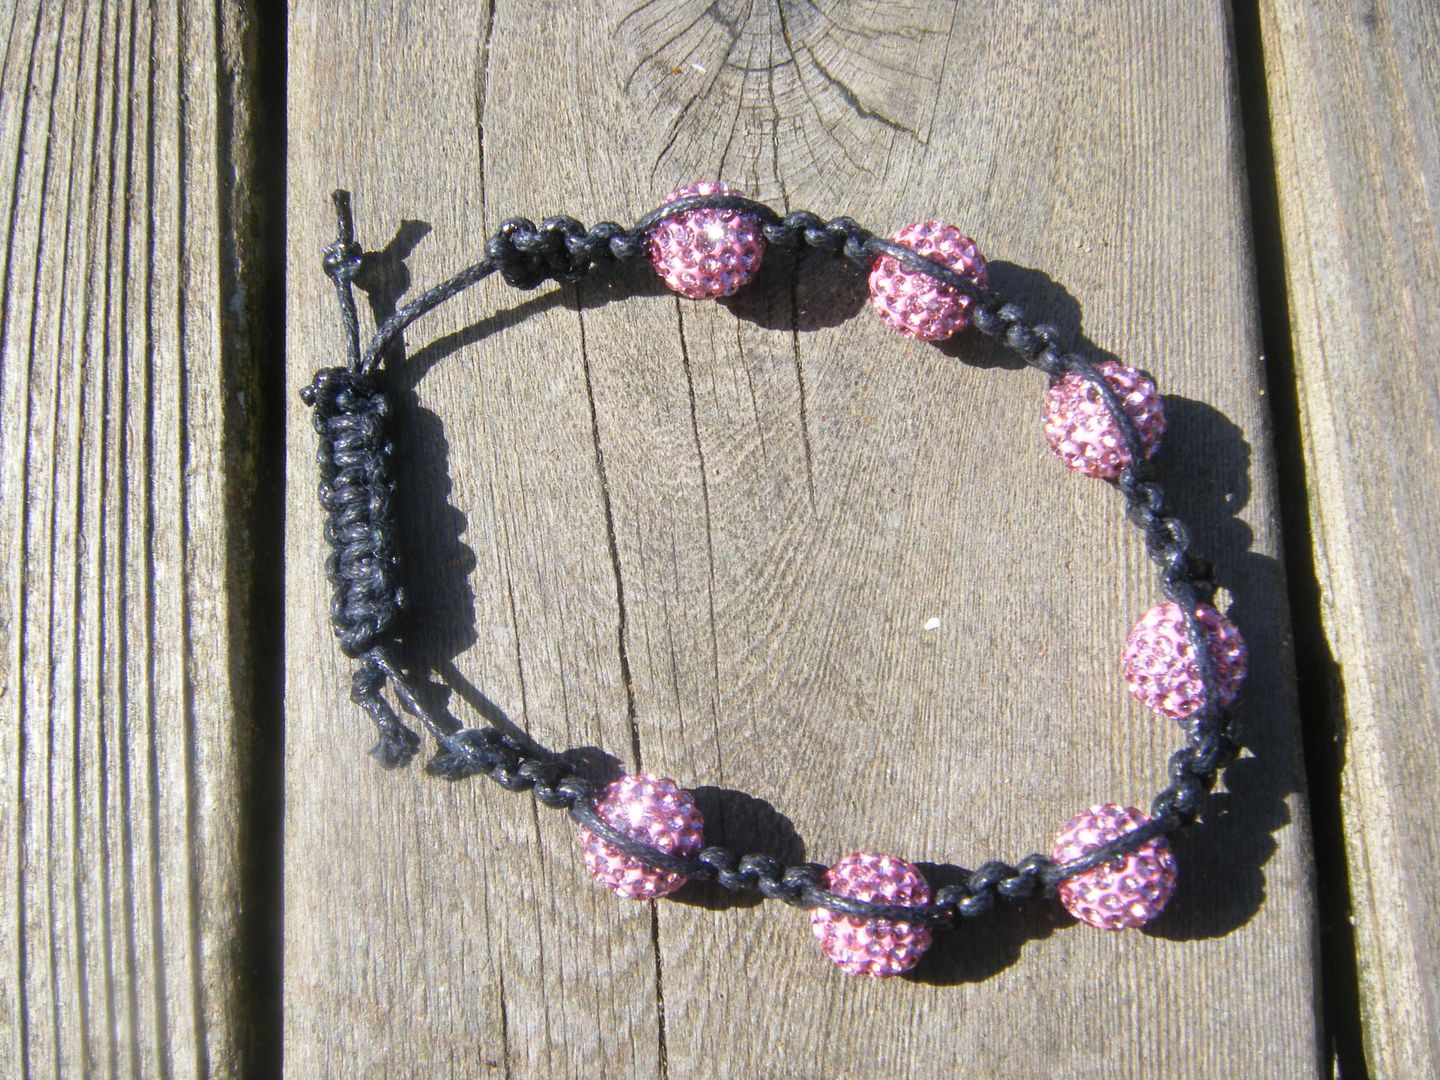
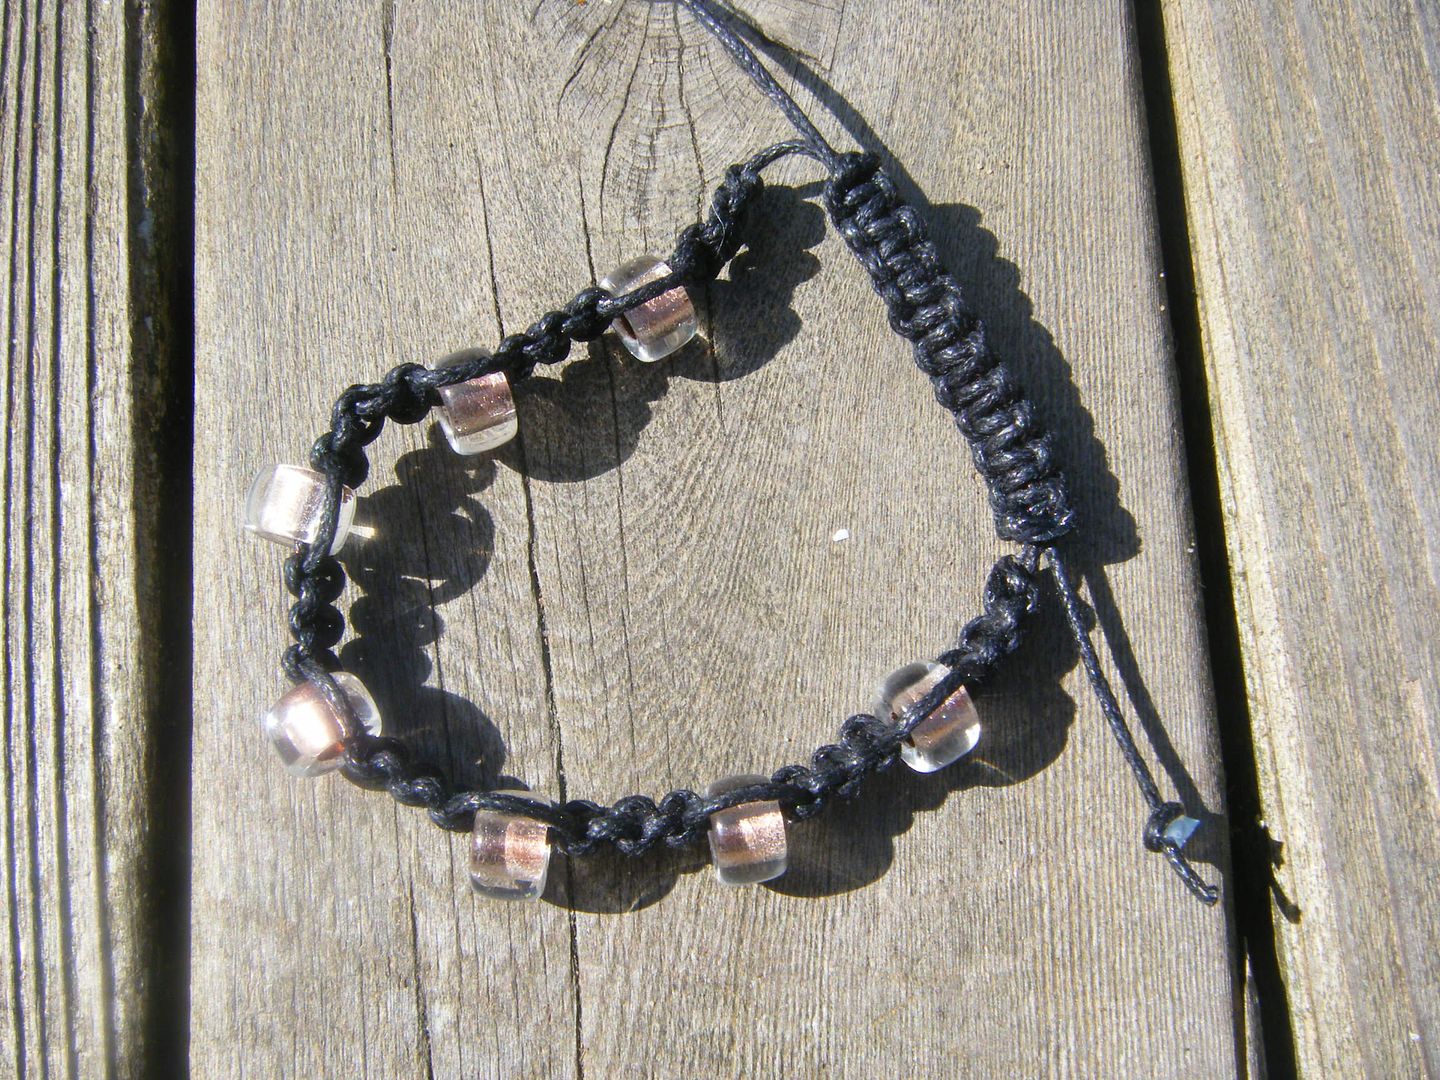
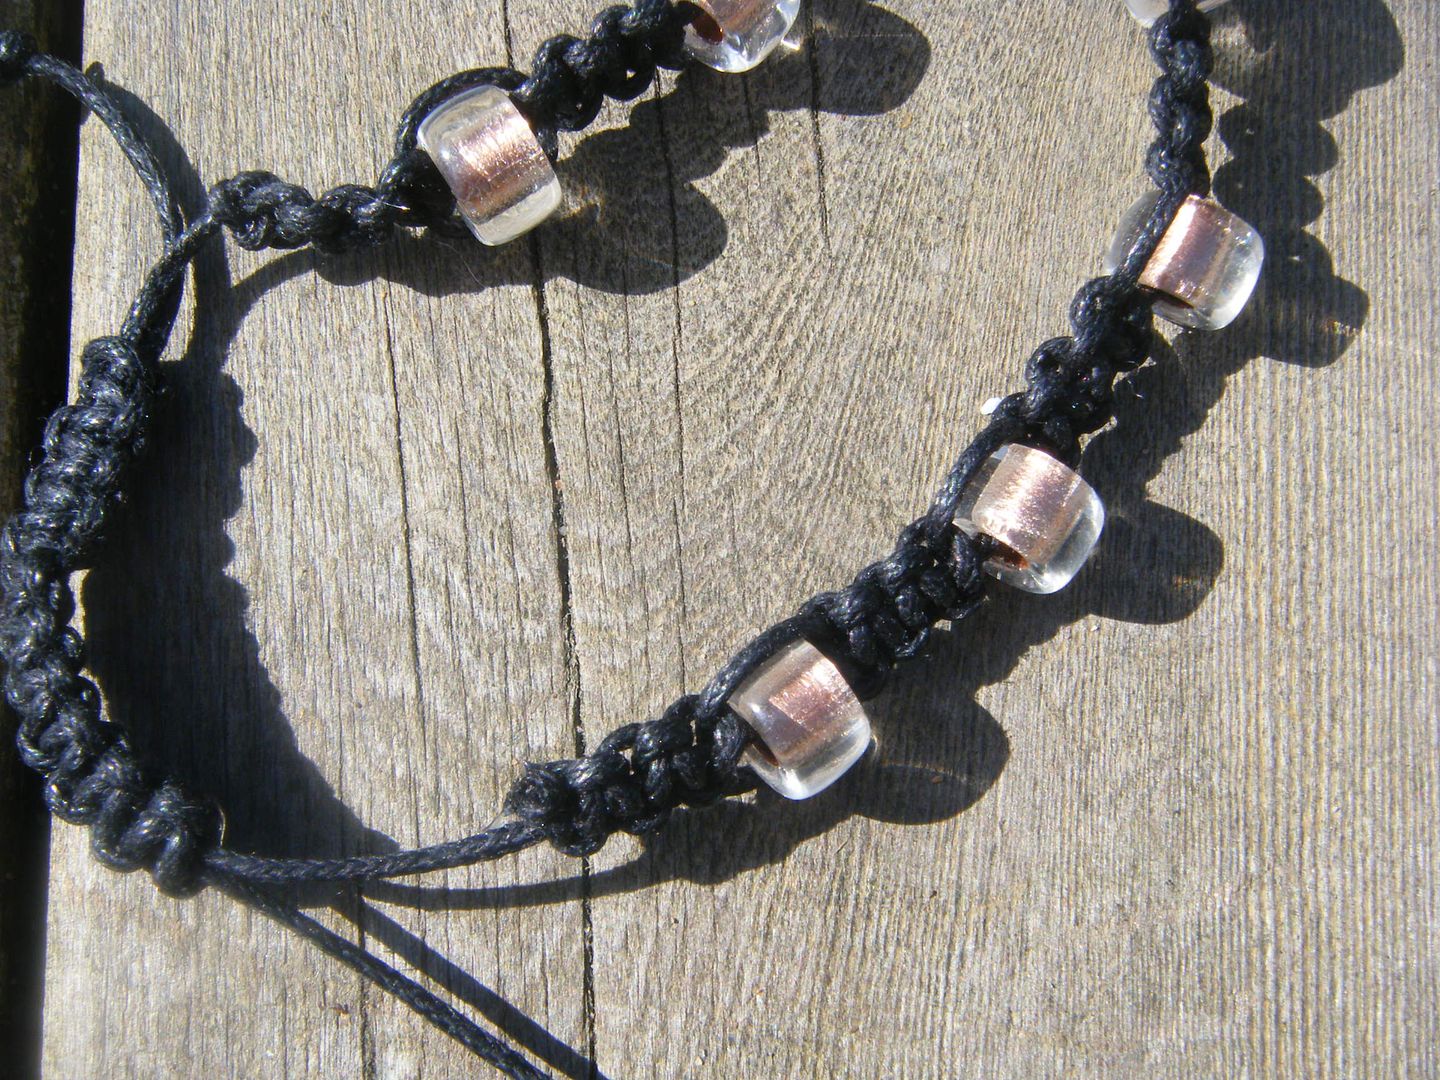
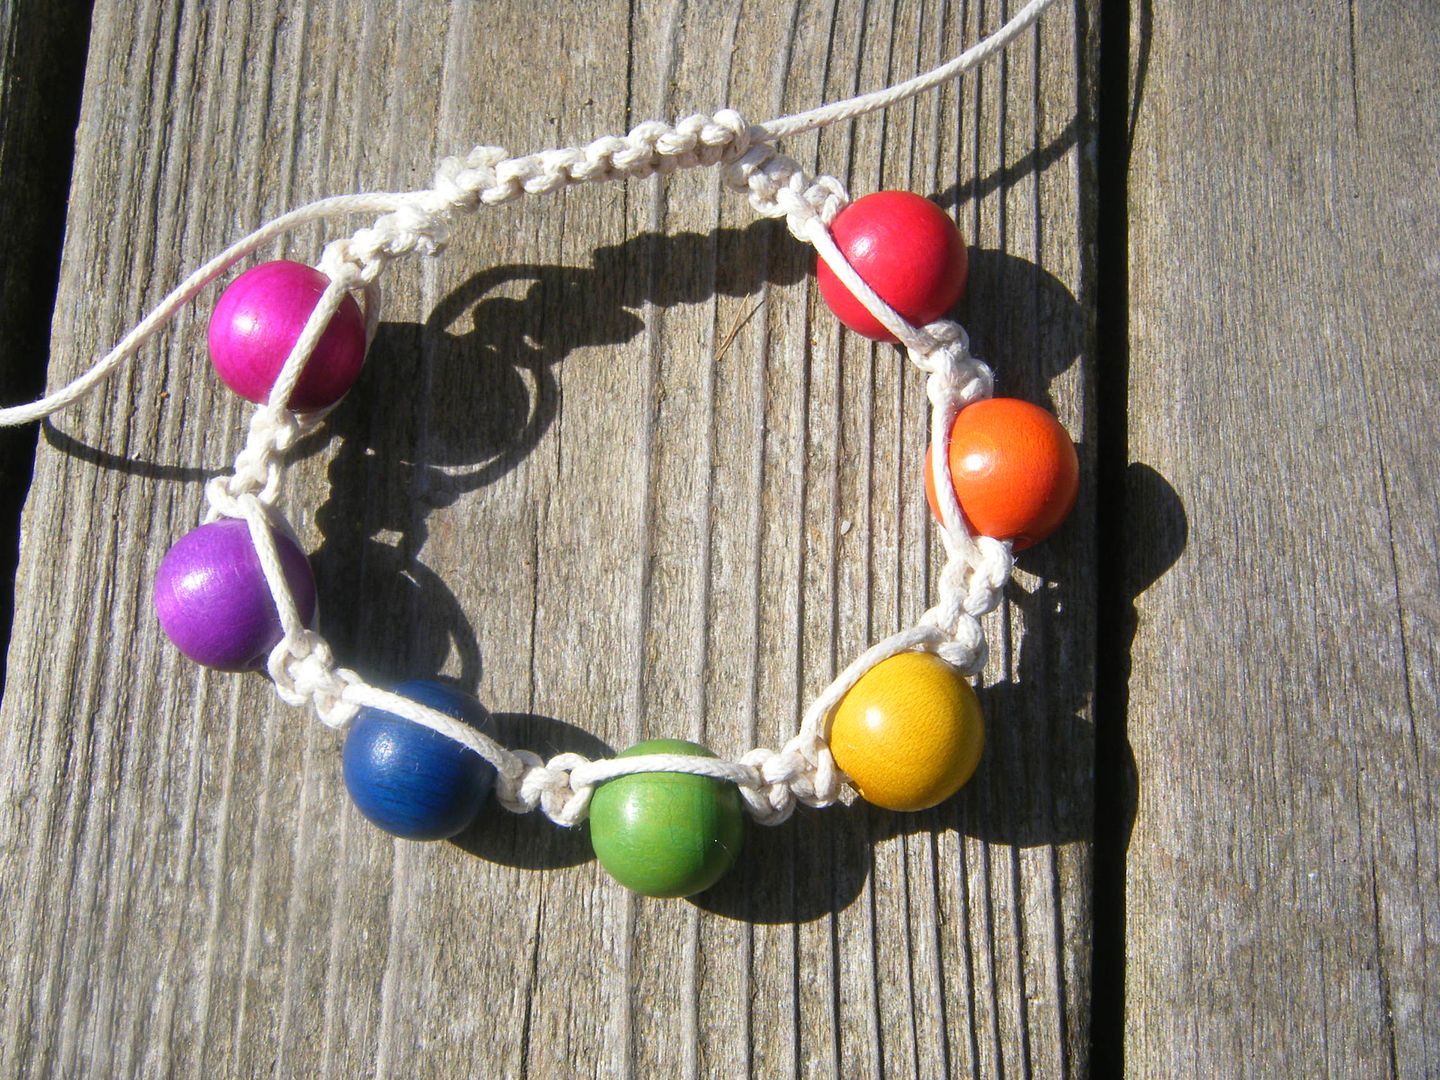
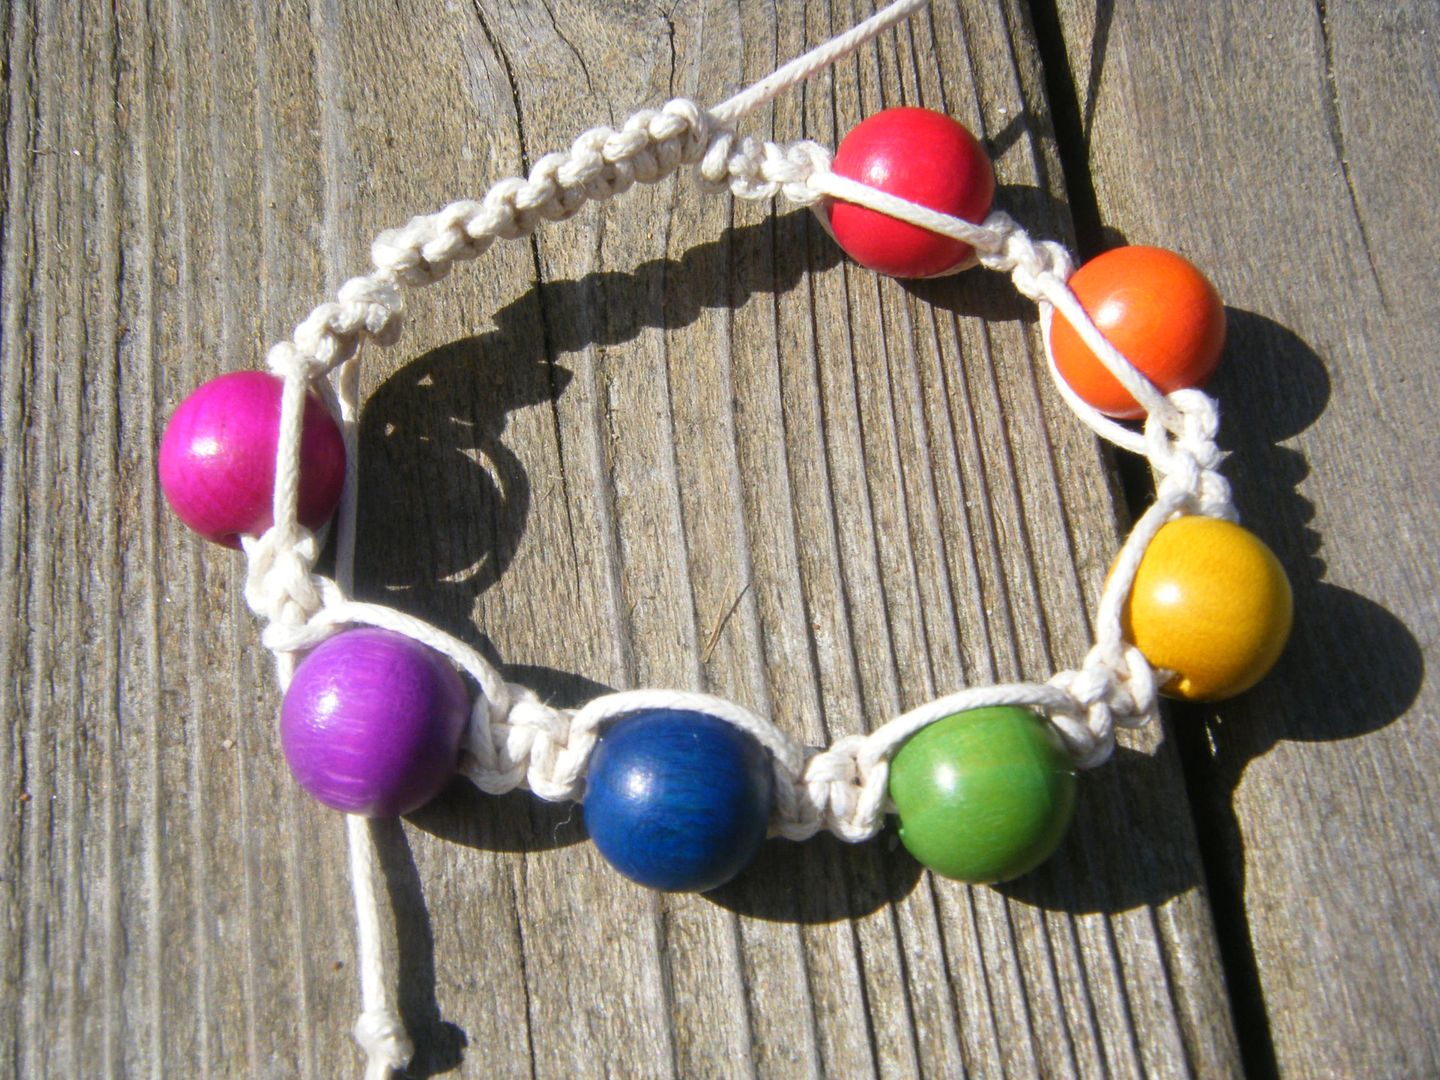
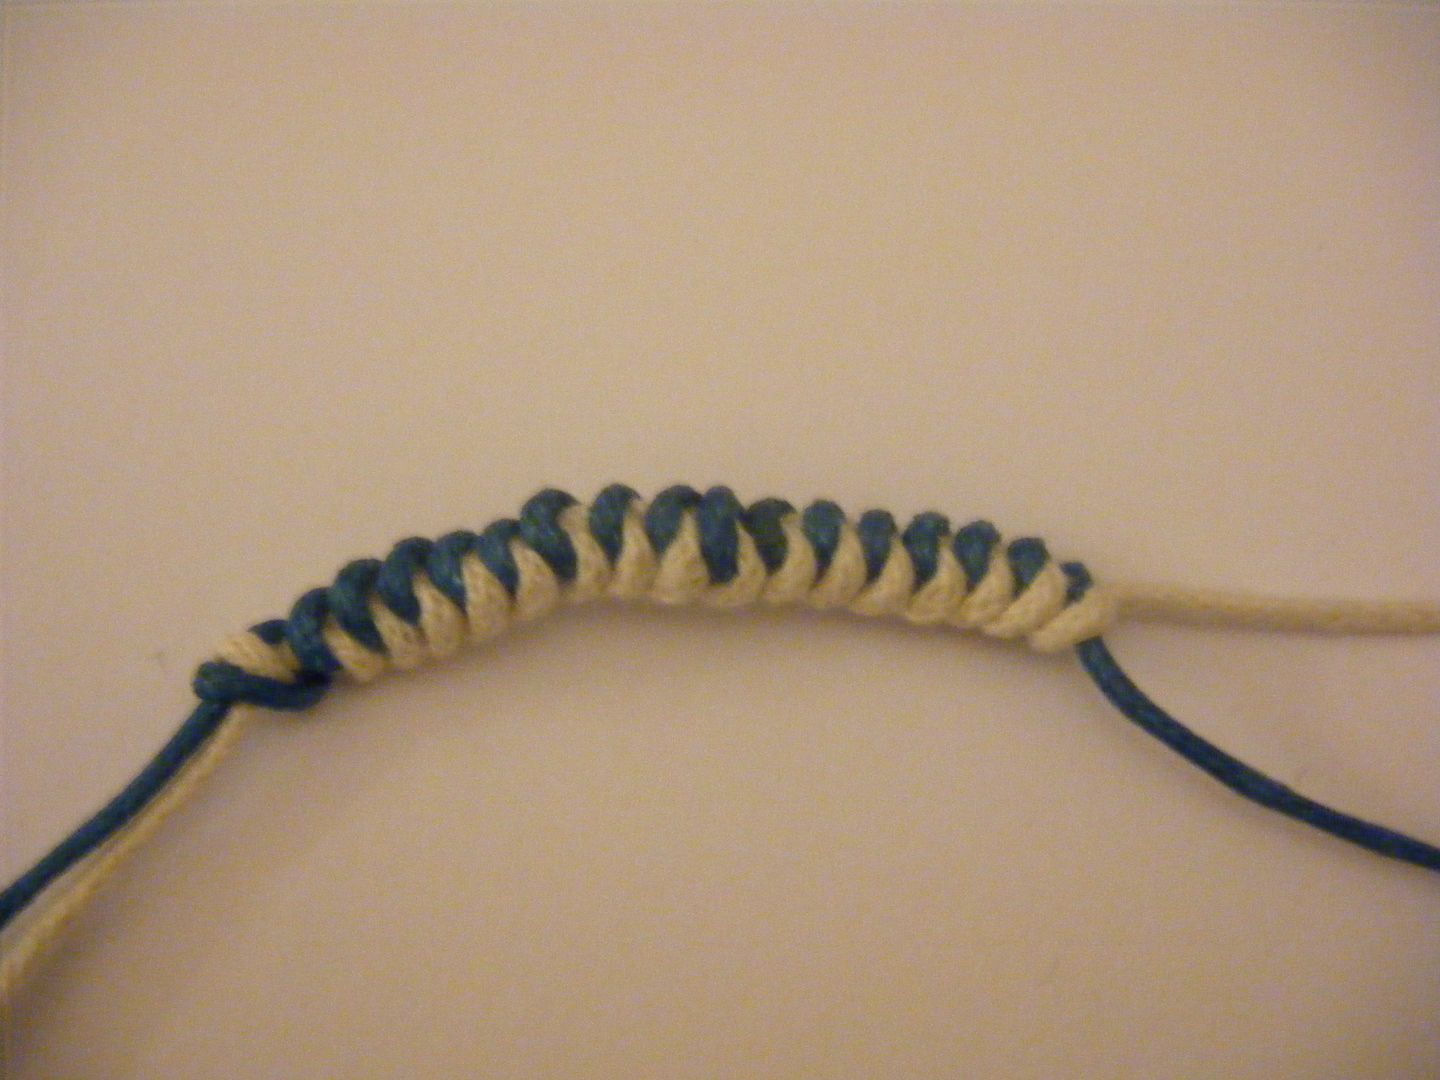
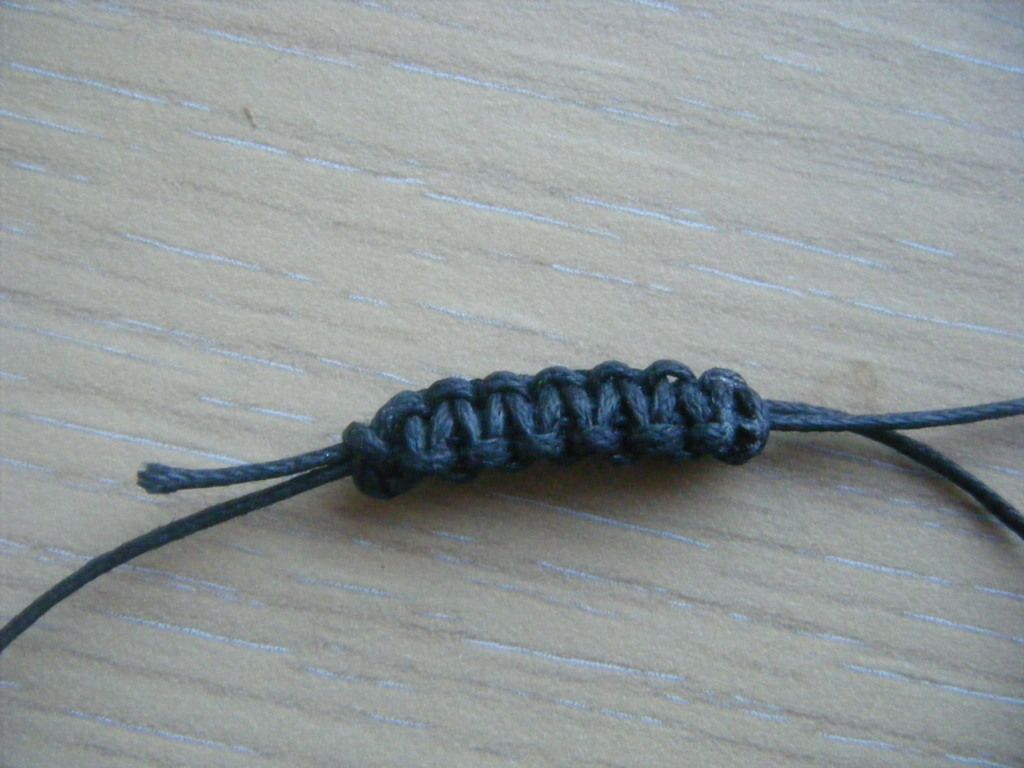
Wondering what's going on between the beads? I also had a go at the macrame section in the book, I tried the twisted square stitch and it works great. I used my macrame board and my Kumihimo bobbins - great investments, both of them.
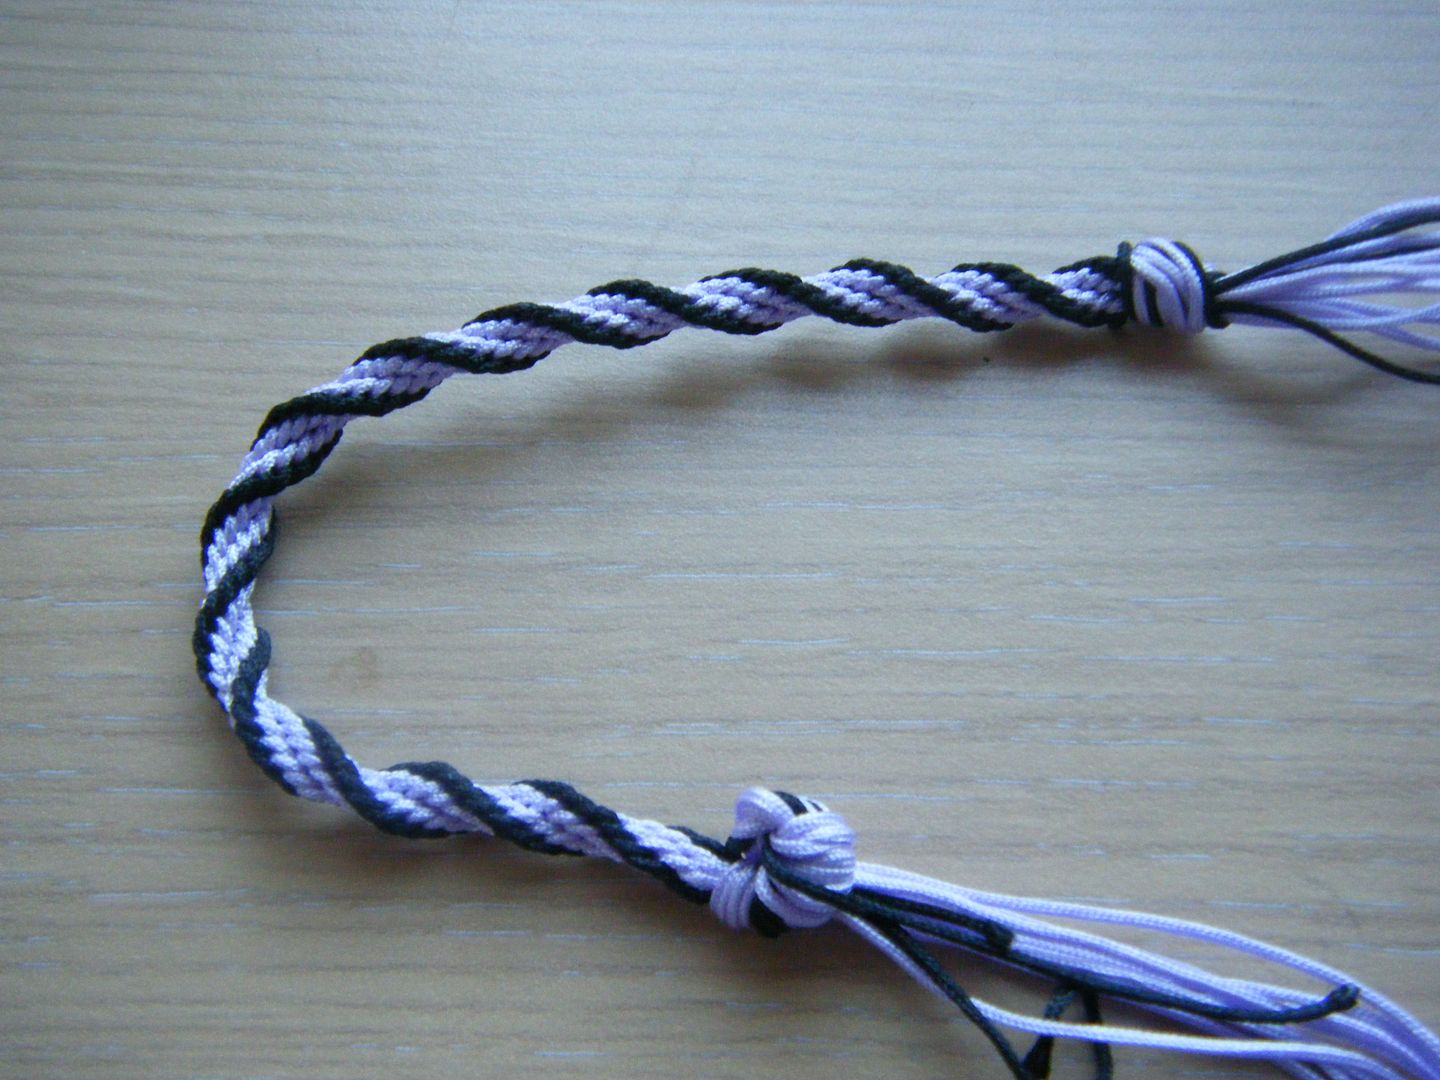
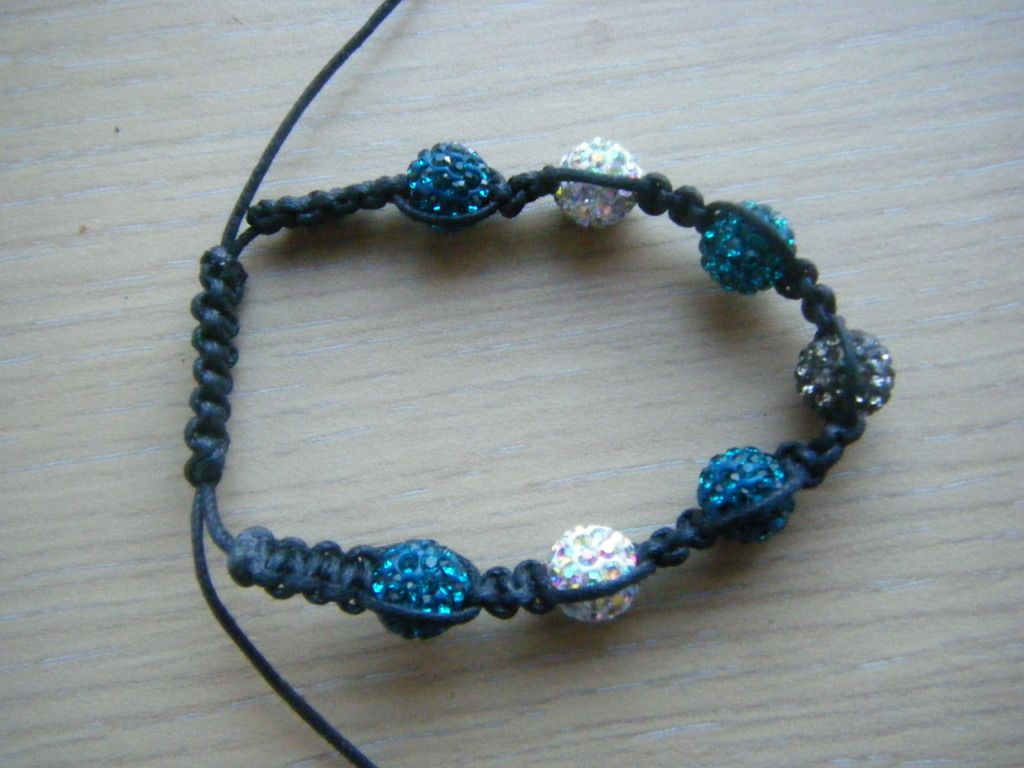
So what did I make? I was going for one of the bracelets in the book, but didn't like my first choice of cord, so made beaded "dangles" instead. OK, they won't catch the light, but they look nice hanging from my window. The photo is upside down in case you're wondering!
If you want to buy MiniEco: A Craft Book you can get it on Amazon, and probably a lot of other places too! I'd love to know what you think.