Showing posts with label painting. Show all posts

Saturday, 5 May 2018

Stencilling a floor


A couple of years ago, I came across a blog post by Mrs H about her new studio floor that she and her husband had created.  Then, last year, after the bag retreat, I had the pleasure of visiting Mrs H's home and seeing it in person.  It stuck in my mind.  I knew that one day, I too would create a floor like that.

So I am!


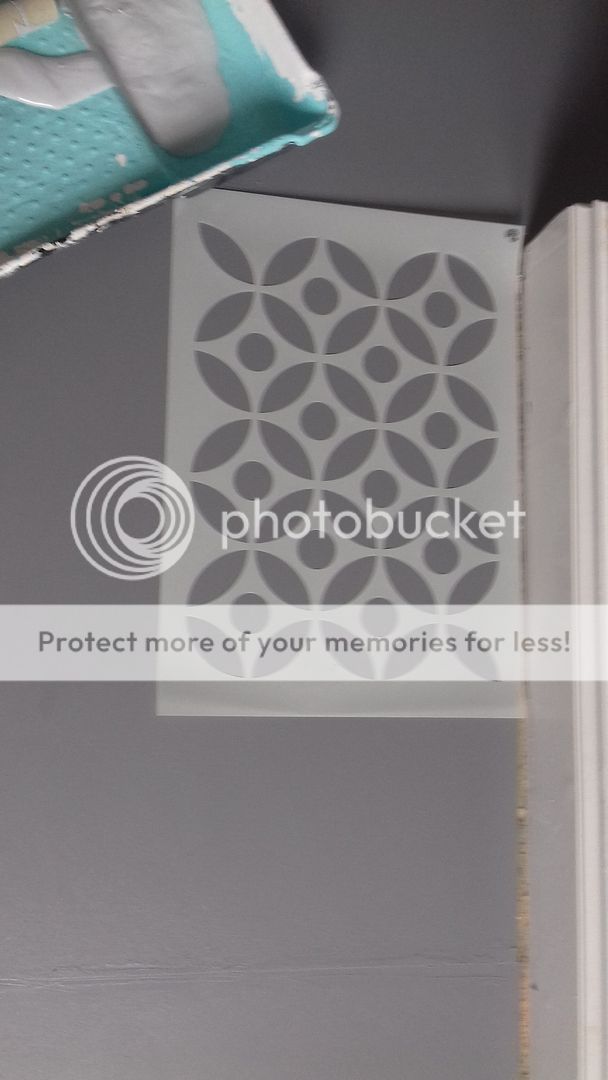
I read through the blog post, and Mrs H sent me some extra details to help me.  I then bought some MDF, cut it to size, screwed it down, filled the seam lines and screw heads, sanded and painted 3 coats of dark grey paint.  Then for the fun part.  I procrastinated this for ages as I was sure I'd mess it up.  Above is the stencil which I bought from Dizzy Duck Designs.


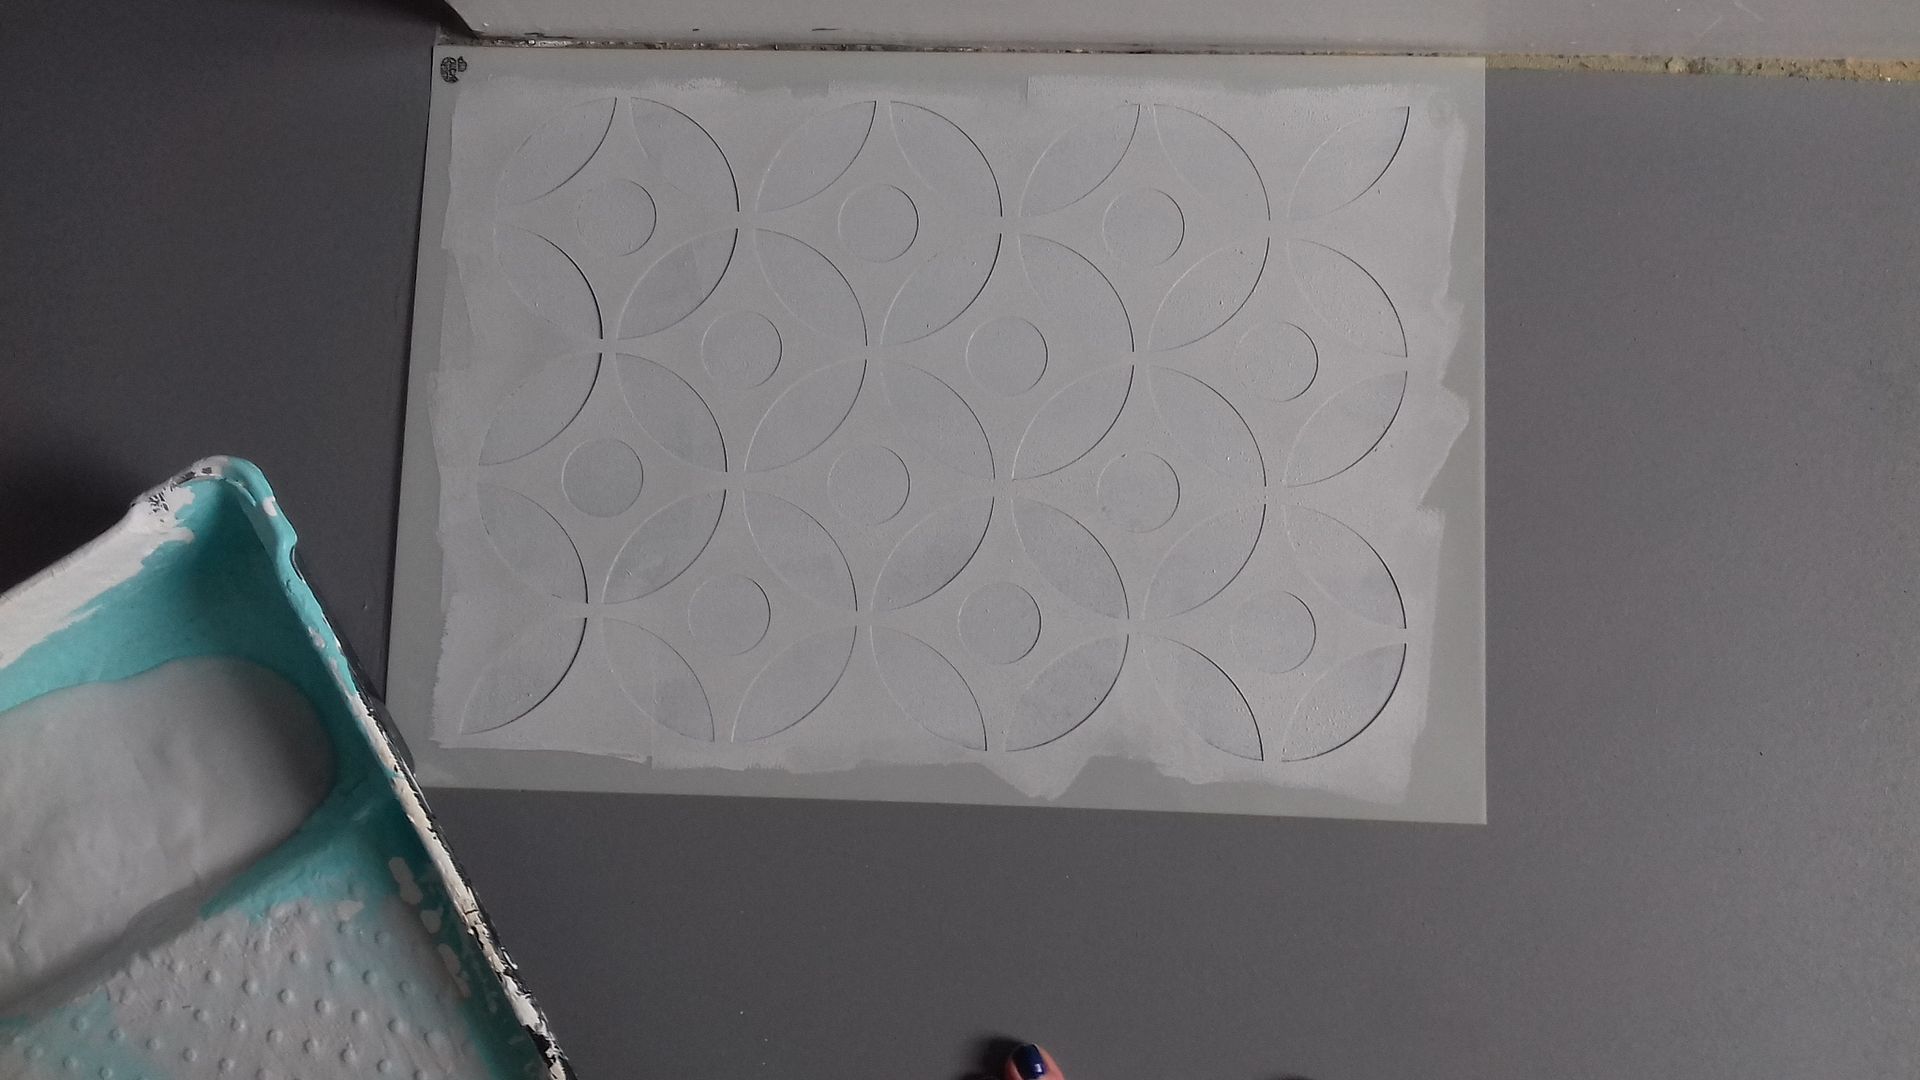
I painted over it using the same emulsion in pale grey I'd used for the walls in that room (it will be my new studio when I FINALLY finish it).  Then I was scared... the moment of truth...


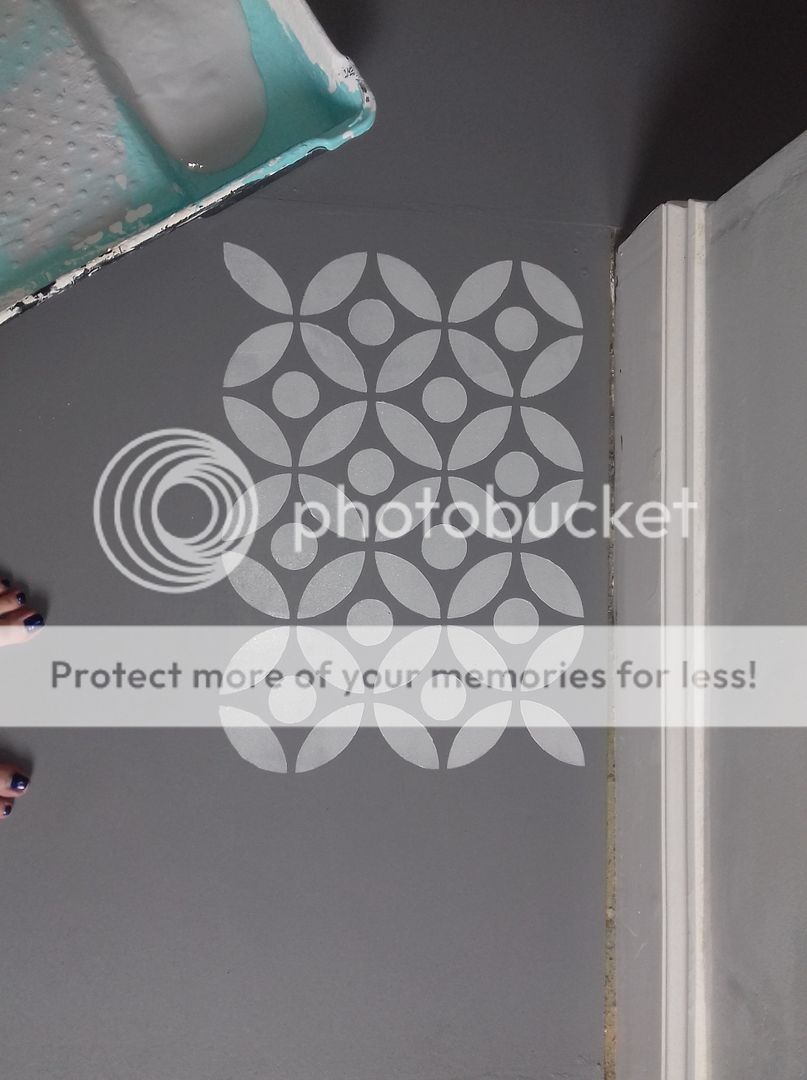
Yay!!! Go me!!  Thanks Mrs H, thanks Dizzy Duck Designs, thanks Dulux!  I was sooooo chuffed.


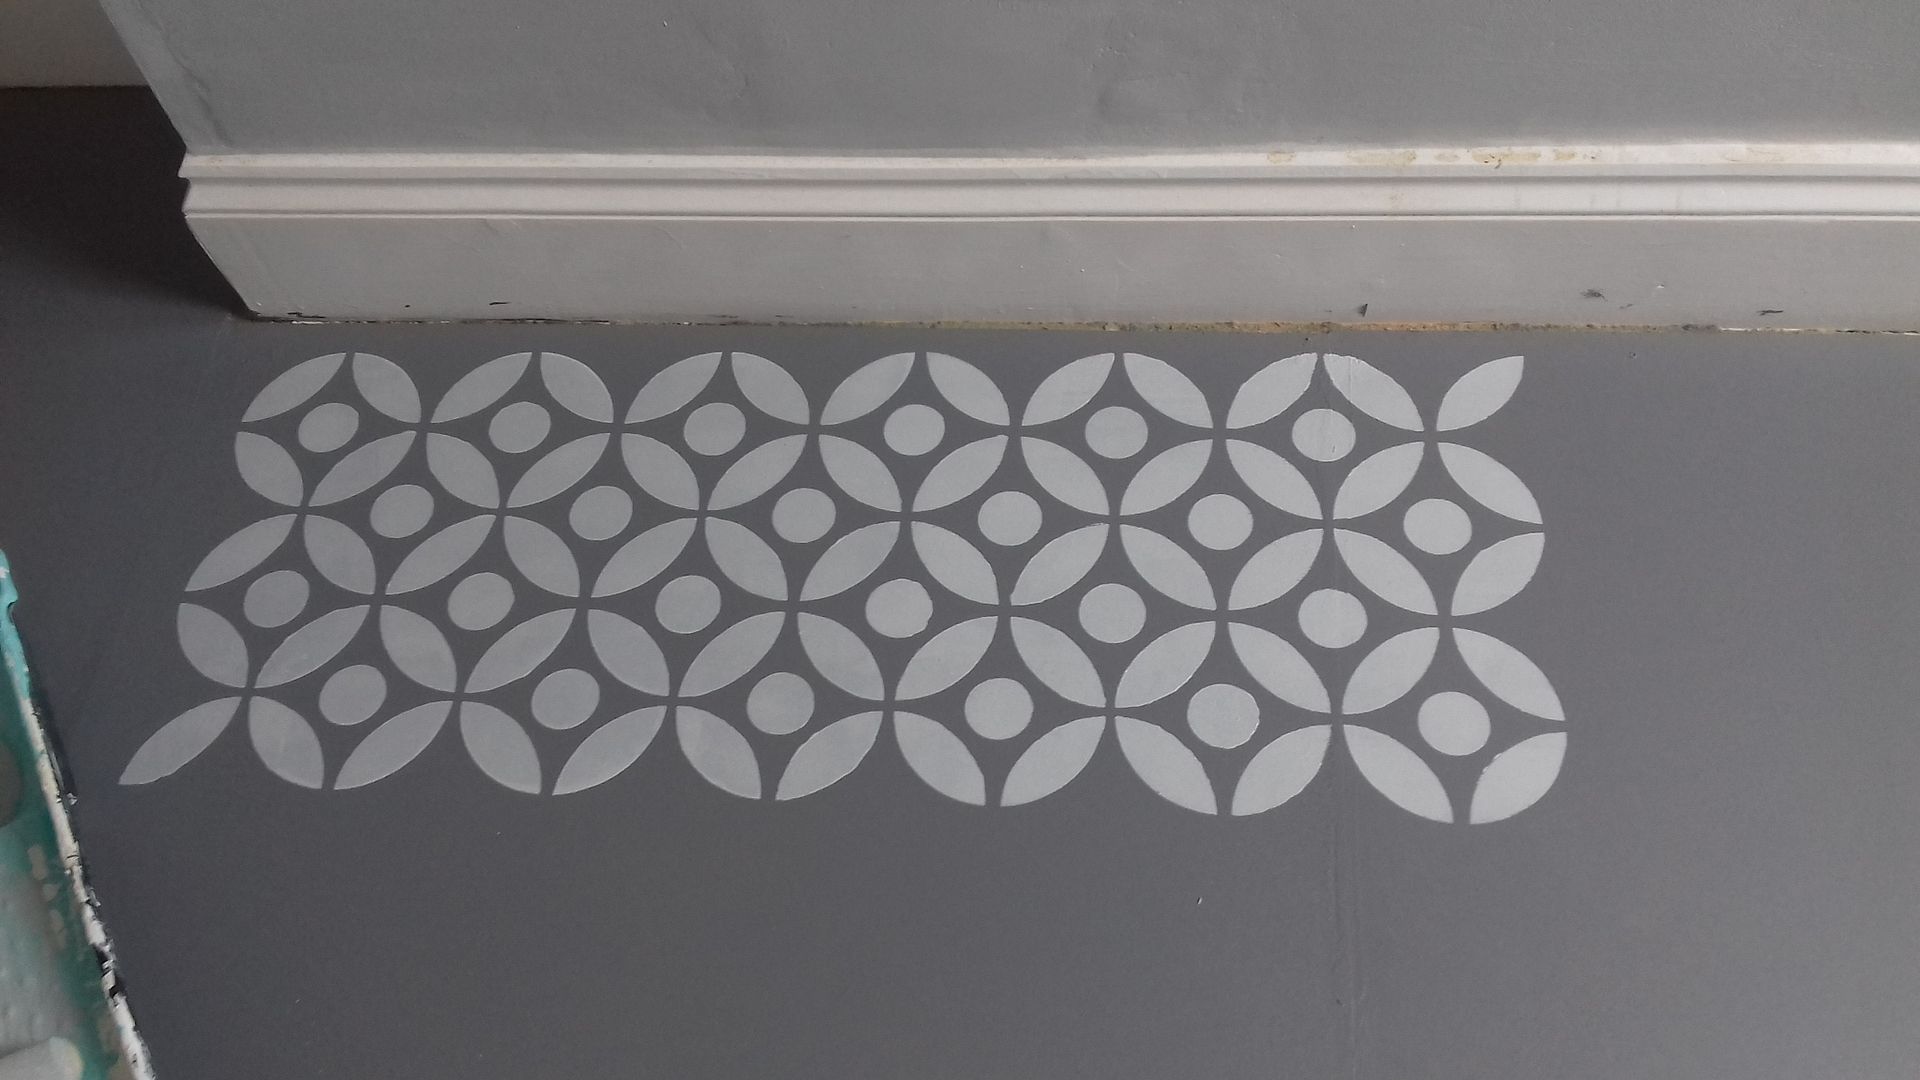
I carried on, overlapping the stencil each time to line it up correctly.


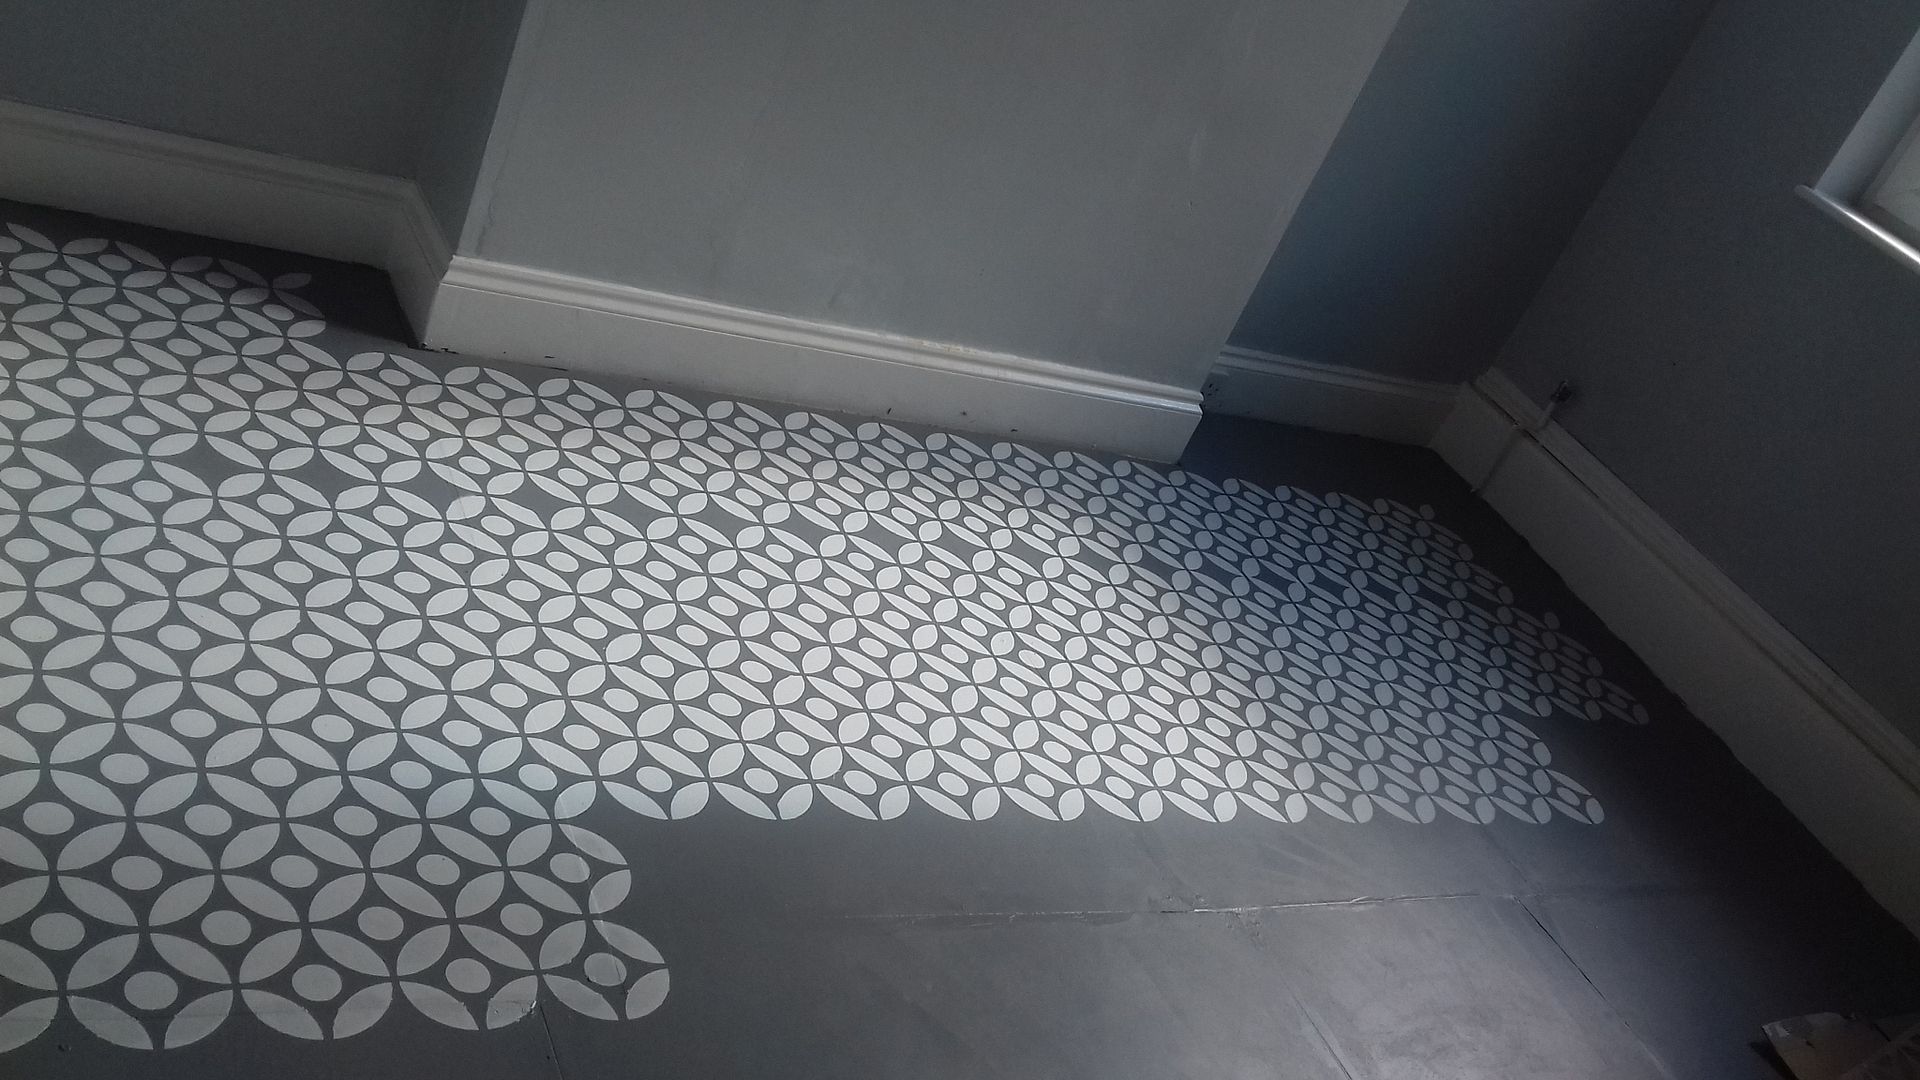
Except where I didn't!  That line without dots was my mistake when doing the second row.  I will go back and fill it with dots later.  This is how far I got before I had to give up for the day.  I'd already painted an airing cupboard and a ceiling and I was tired!  It's quite slow going as it requires precision, also the stencil needs washing and thoroughly drying every 5 or 6 applications.  Hopefully I'll be able to show you the finished room soon...  Just got to finish stencilling, then varnish, then do the beading, then sort out the faulty window, get a radiator fitted, put up curtains, sort out the light fixtures, move my furniture in and set up my craft stuff...  so... end of summer maybe??

Monday, 31 July 2017

Garden bench

I recently explained I haven't done much crafting this summer as I've been working on my house.  I really hoped to have a bathroom update for you by now.  I had a new suite fitted, but painting the room is taking a lot longer than anticipated!  I generally have one or two hours a week during the evenings to work on the house, and often I have a few hours or even a whole day on the Sunday.  It doesn't add up to much!  I took last Monday off work to work on the bathroom, but was struck down with a horrible bug and ended up spending three days lying on the sofa.  I did put a few stitches in a cross stitch piece, but not much really!

Anyway, that was a long winded introduction to a post showing you my garden bench as I don't really have much else to show you!


I bought my house over 10 years ago and mum and dad bought me this bench not long after I moved in.  As you can see, I never varnished it!  I hate the look of varnished wood so I'm glad I didn't, but it was time for some TLC.


Sanding took ages, and made a right mess!  It became easier when I discovered the seat is removable.  Then it was on to painting.  I used a B&Q outdoor paint and it took three coats.


Much better!  I also got rid of Harry's old hutch and the spare hutch, creating loads more room in my tiny yard (UK version of yard - concrete area behind my house).


The paint was left over from painting my back door which I did a couple of months ago and which kick-started this whole renovation business in the first place!  I still have over a third of a can of paint left... garden gate is next up!


Thursday, 20 April 2017

Candle jars

Ooops!  It seems I completely forgot to blog!  I have been really busy recently, a day embroidery class, 3 days at the Bag Retreat with Mrs H, then a week in Devon with my family saying goodbye to mum.  It hasn't left much time for making, blogging or reading blogs.  I'm behind by 10 days on my reader and I have scores of unanswered emails in my inbox... I hope you'll all let me off this time!

I've mentioned before that a friend of mine has started a Christmas Craft Club, well we had another meeting earlier in the month and made candle jars.


We used sticky-backed plastic to mask of the areas we wanted to keep clear and then painted the jars.  I decorated the top of this one with some jingle bells on wire, and a bit of lace that I threaded ribbon through.


I love the colour of this one, it just has a simple ribbon topper.  They are for using with little tea lights, no idea if the ribbon is dangerous!


It was really hard to get the paint on evenly - we used acrylic paint which probably isn't the best kind of paint for the job, some of it is scratched off already!  I tried a two-tone effect on the blue one - probably not that successfully!  

I'll be back on Sunday with a SAL update - if I get a chance to stitch!!

Monday, 30 January 2017

Speed craft

Back in October, wonderful mum and I went to Speedcraft at Debbie Bryan.  You may remember me posting about these events before.  5 tables, 40 attendees (1 man this time which was great to see), 5 x 50 minutes to do a craft, cake, coffee, cake, coffee, lunch, cake, coffee etc.etc.  Mum loved speedcraft and had booked us on to the one in April.  I will go, but I will miss her.

I'm not going to write 5 posts, I'm going to tell you about it all in one post.  I thought I'd made some notes about the tutor's names and websites, but I can't find them.


One of the tables was papercraft and we made 3d hanging decorations using sugar paper, metallic paper and vintage papers including old lace patterns.  Debbie is a bit fan of stitching so there is always thread on all the tables, we used it to add some accents.


I really like some of the papers used here.


Next we did wirework.  We started by scribing the copper circles using various tools, then made a hanger from a piece of wire.  I added tiny paper "bunting" and tassels to mine. I really like this!


It's about necklace size, maybe a bit longer (width-wise), but it's too delicate to wear, so I've hung it up in my craft room.


I did a different pattern on each side of the circle, just to try something new.


One table was weaving which I've never tried before.  OK, maybe as a kid, but I don't remember.  This was great fun, using all kinds of different materials from ribbons and lace to lengths of fabric and yarn.  

I just need to sew the ends under to tidy it up.  I could really fancy doing this again... the only problem is, what do you do with it?


As usual, Katie Almond was there to do ceramics with us.  Me and mum really had the knack of this by then, and we made our pieces in about 10 minutes, leaving lots of time for the delicate painting!  We were both improving too.  Above is the pre-baked piece.


And this is it when I got it back.  I didn't have a Christmas tree this year, so I propped it on my mantelpiece!  it will be the star of the tree next year.  

There was a fifth craft.  It was printing using acrylic inks brayered onto tiles and impressing stamps and tools into the paint before placing paper on top and making an impression.  Unfortunately, we hung them up to dry and forgot to collect them!  You're not missing much, printing is not one of my greatest skills!

Thursday, 11 August 2016

heart chalk board

I took a little accidental blog break there, I didn't have a free minute to write any posts, but what have I been doing?  I don't know!  This summer is just flying by and leaving me in its wake.  On my last trip to Hobbycrafts at the NEC, I bought an MDF heart set, the two hearts below cost £2, in total, not each!


As you can see, I started painting and forgot to take a before picture.  I painted the outer heart in blue chalk paint, which is just beautiful to work with.  Then I painted the "behind" heart with chalkboard paint.  I then glued to top to the bottom.


I don't know what the two holes at the bottom are for, perhaps they are the reason this was only £2?  I haven't quite finished it, I think it needs decorating to within an inch of its life and I'm wondering about paper flowers...  any ideas?

Edited to add: the bottom holes are only on the frame piece, they are not on the solid heart so you can't screw through them or hang anything on them

Saturday, 4 January 2014

What have I been up to?

Not blogging, that's for sure!  I'm struggling to get back in the rhythm of it, bear with me...

There has been some craft going on though.

A bit of this:


A smattering of this:


A dose of this:


A handful of this:


A smidgin of this:


A soupçon of this:


And a LOT of this:


You know me, attention span of a gnat... maybe my word for '14 should be "focus"!

Friday, 21 June 2013

feeling blue

I have a lot of brooches.  I love them, so I make a lot a buy a few.  They're all piled up on my dressing table.  It's not actually a dressing table, it's a mantle piece as we have a fireplace in our bedroom.  Well, not really, we have a chimney breast and a board covering the empty hole where a fireplace used to be, but it has a mantle and that's where I keep my stuff.  Some kind of storage was needed so I bought two little wooden divided boxes and got out the paint I got in the Crafty Creatives Club box last month.


The paint was blue and blue is my favourite colour, so I selected 2 shades and painted.


I did the insides of the holes in one shade and the outside and rims in another, then swapped them over for the other box.


I cut some pieces of decorative handmade paper to size and mod-podged them in place.  It was tricky getting them the right size, then getting them out so I could glue them!


Some of my brooches are a little big, but it works OK.  I just need to decide if I want to hang them from the wall or stack them up - I have no idea how I'd hang them so I'll probably go for the stacking option!