Showing posts with label my house. Show all posts

Tuesday, 4 September 2018

Studio update


Hello!  I disappeared then... not that I've been very good about blogging consistently over the past year or so.  I went on holiday, I had intended to post before I went, but ran out of time and then didn't want to advertise that I was away.  I mean, I am THAT famous that surely everyone knows where I live and all the local criminals read my blog...

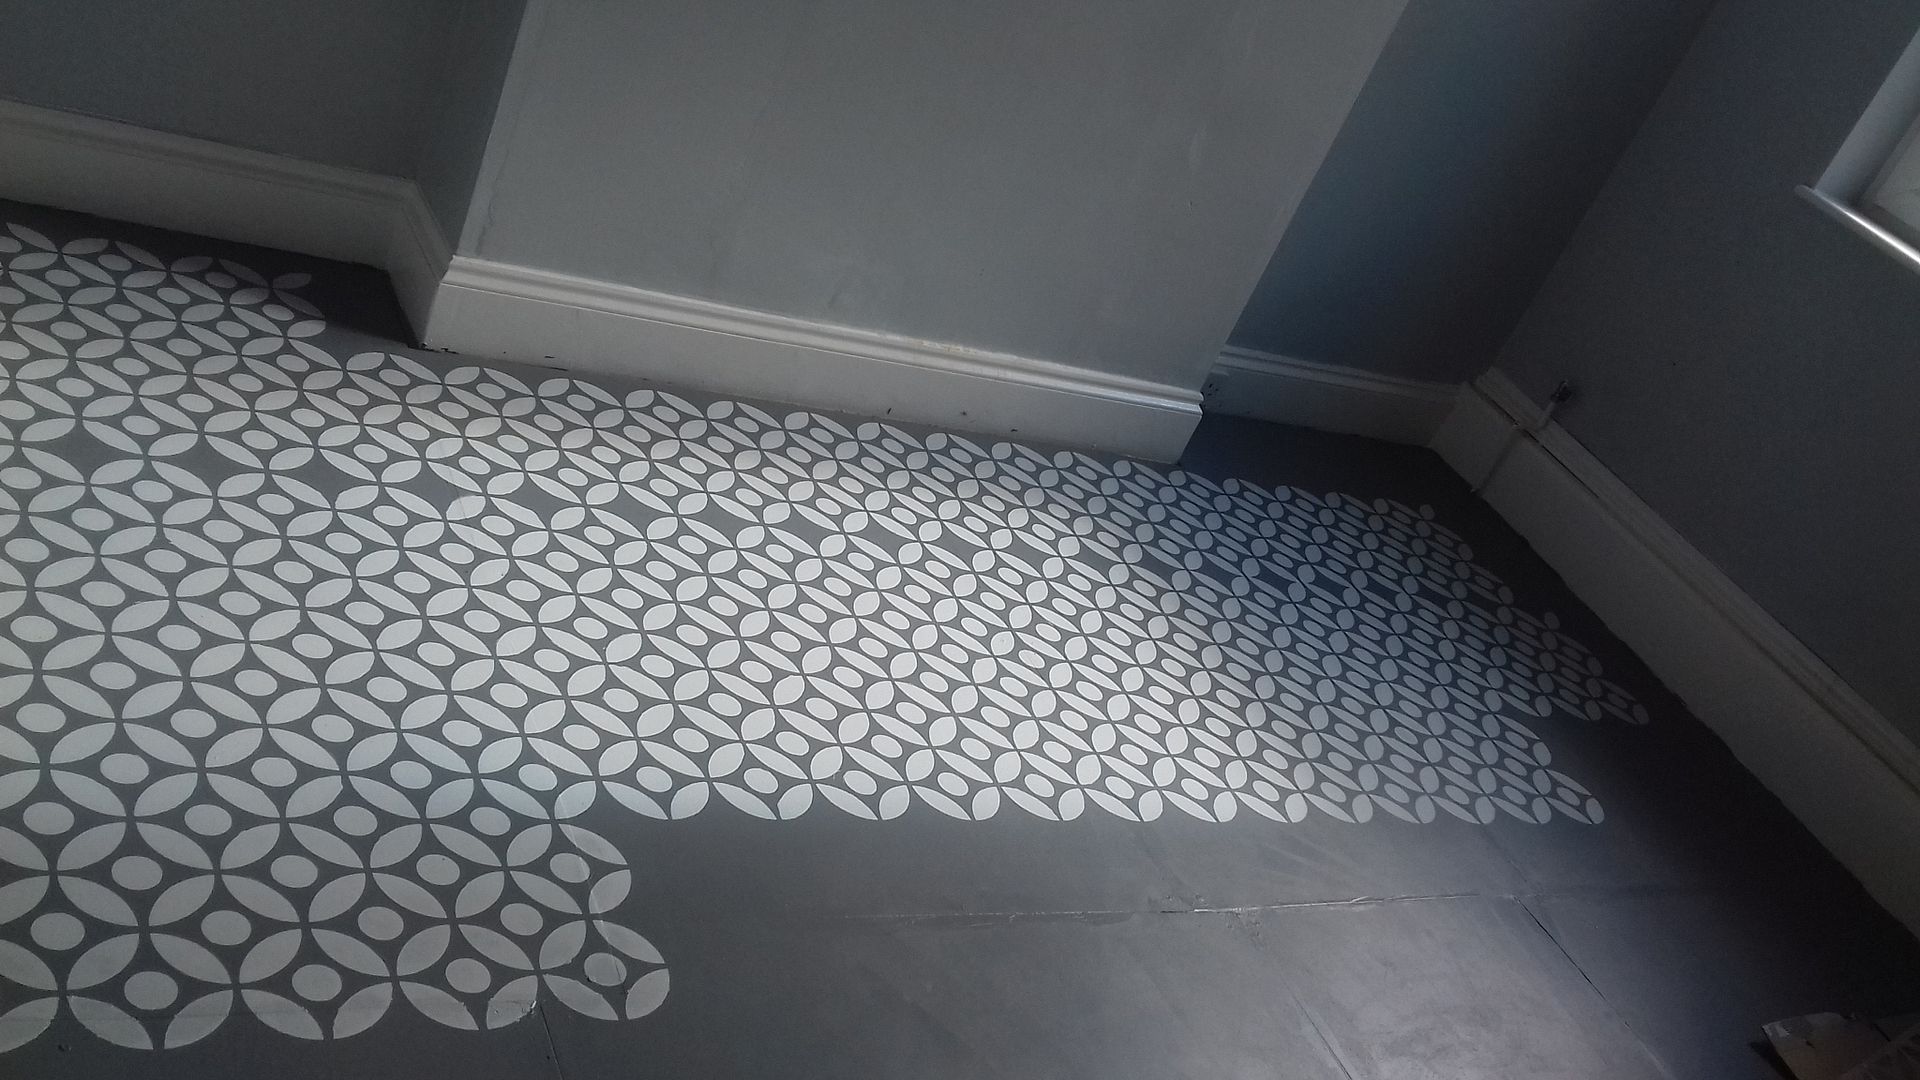
So, I showed you the floor I was laying in my craft room/studio.  You can see that post here. I've nearly finished...


The weekend before I went away, I laid the beading between the skirting and the floor.


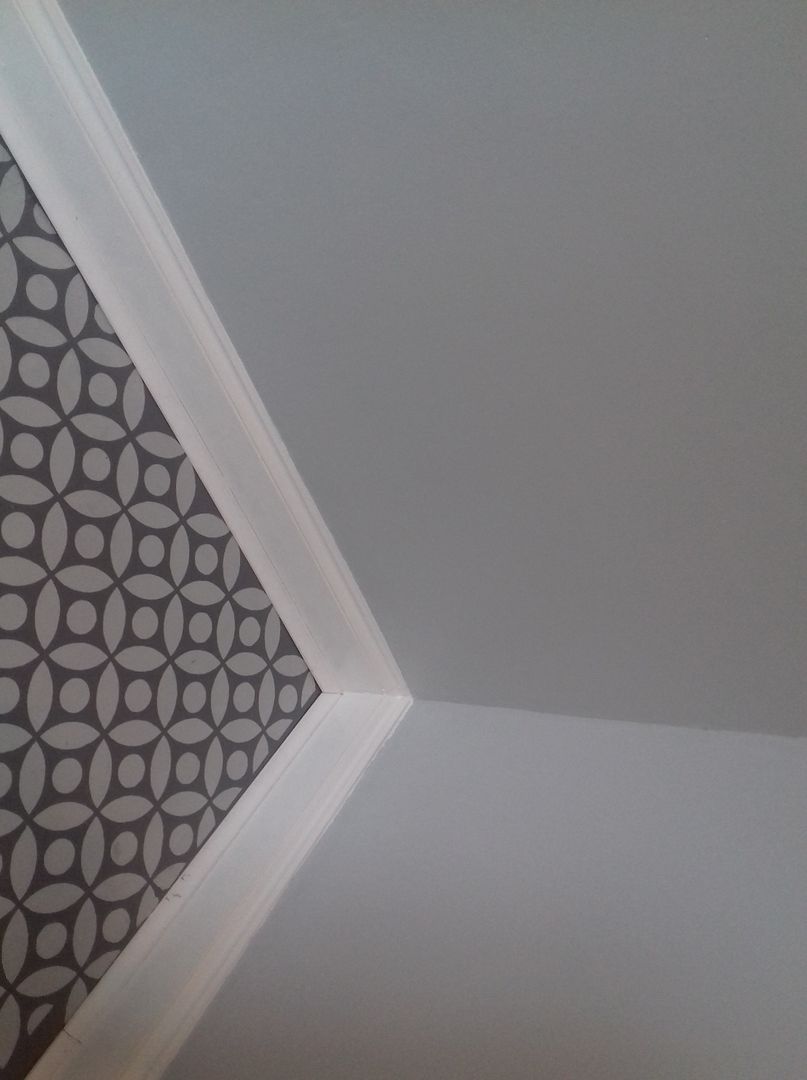
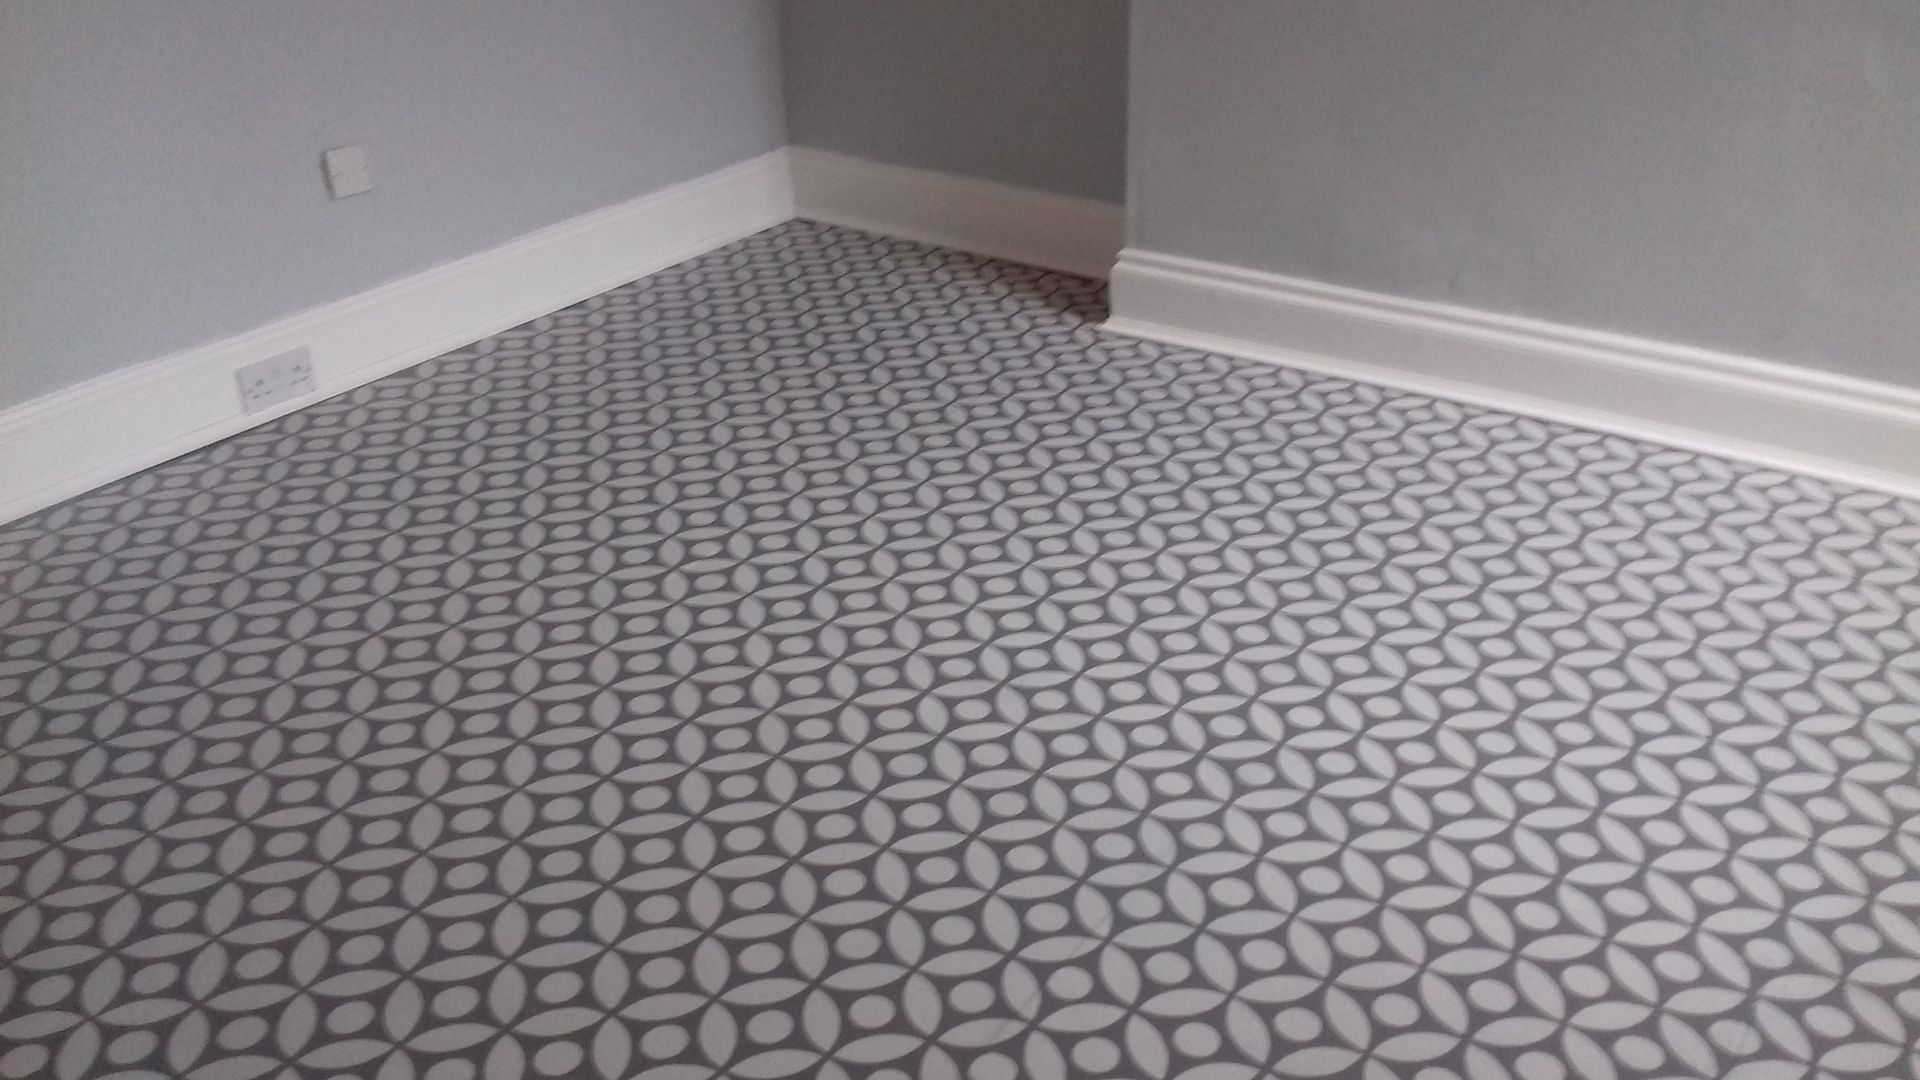
I don't think I did too badly with my corner mitres!


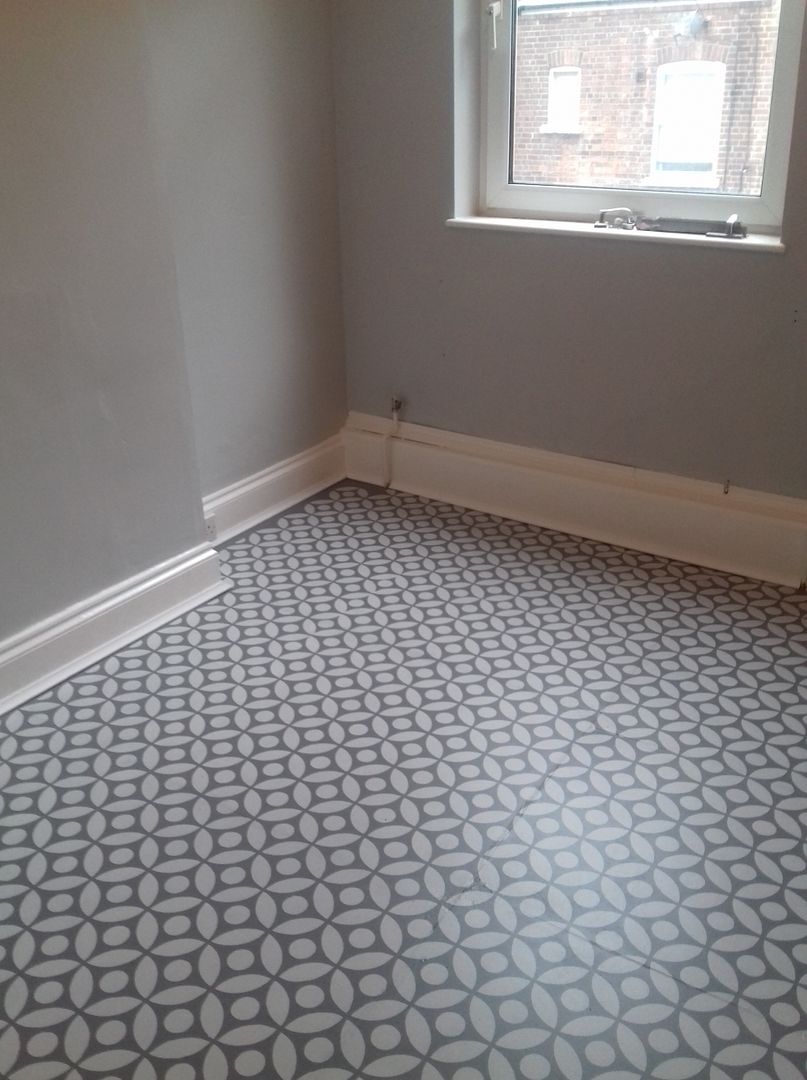
I did the window wall last as it involved the 2 pipes and I thought it would be complicated.  It really wasn't!


The slight gaps are bigger in the photos than in real life, but I have already been round and pollyfilled them.


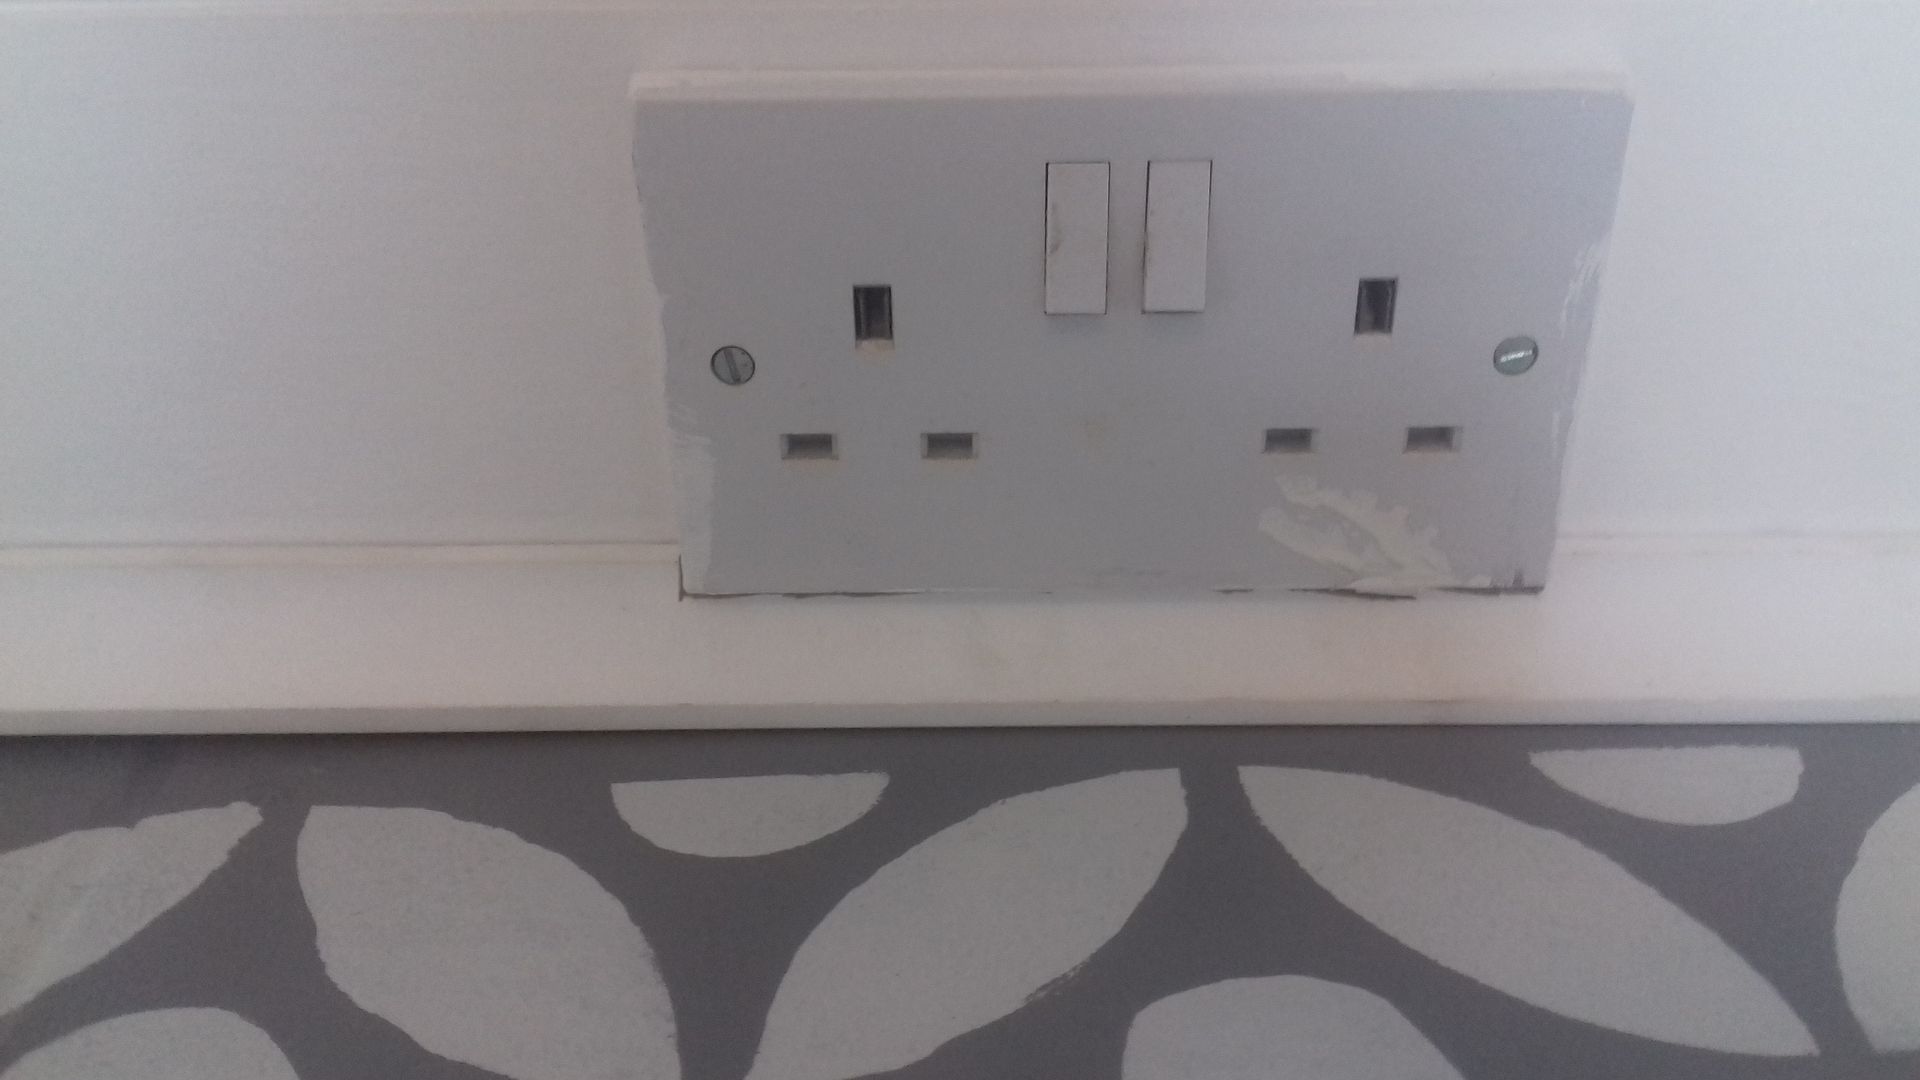
I had to cut a rebate for the plug sockets (3 of them!).  It wasn't really difficult, though I didn't have the right tools and had to use a big hacksaw.  I could have done with a jigsaw for this.


Bit of a mess by the door frame.  I wasn't sure what to do here.  After cutting and gluing it all, I showed my (engineer) friend at work on the Monday and she told me how I SHOULD have done it.  Ah well!  This will be behind the door anyway.

So, next up is sanding the filler and then a quick coat of paint.  I bought white beading to avoid painting but wasn't counting on my clumsiness and it's scrapped in many places.  Then the room arranging can begin!

Saturday, 5 May 2018

Stencilling a floor


A couple of years ago, I came across a blog post by Mrs H about her new studio floor that she and her husband had created.  Then, last year, after the bag retreat, I had the pleasure of visiting Mrs H's home and seeing it in person.  It stuck in my mind.  I knew that one day, I too would create a floor like that.

So I am!


I read through the blog post, and Mrs H sent me some extra details to help me.  I then bought some MDF, cut it to size, screwed it down, filled the seam lines and screw heads, sanded and painted 3 coats of dark grey paint.  Then for the fun part.  I procrastinated this for ages as I was sure I'd mess it up.  Above is the stencil which I bought from Dizzy Duck Designs.


I painted over it using the same emulsion in pale grey I'd used for the walls in that room (it will be my new studio when I FINALLY finish it).  Then I was scared... the moment of truth...


Yay!!! Go me!!  Thanks Mrs H, thanks Dizzy Duck Designs, thanks Dulux!  I was sooooo chuffed.


I carried on, overlapping the stencil each time to line it up correctly.


Except where I didn't!  That line without dots was my mistake when doing the second row.  I will go back and fill it with dots later.  This is how far I got before I had to give up for the day.  I'd already painted an airing cupboard and a ceiling and I was tired!  It's quite slow going as it requires precision, also the stencil needs washing and thoroughly drying every 5 or 6 applications.  Hopefully I'll be able to show you the finished room soon...  Just got to finish stencilling, then varnish, then do the beading, then sort out the faulty window, get a radiator fitted, put up curtains, sort out the light fixtures, move my furniture in and set up my craft stuff...  so... end of summer maybe??

Monday, 31 July 2017

Garden bench

I recently explained I haven't done much crafting this summer as I've been working on my house.  I really hoped to have a bathroom update for you by now.  I had a new suite fitted, but painting the room is taking a lot longer than anticipated!  I generally have one or two hours a week during the evenings to work on the house, and often I have a few hours or even a whole day on the Sunday.  It doesn't add up to much!  I took last Monday off work to work on the bathroom, but was struck down with a horrible bug and ended up spending three days lying on the sofa.  I did put a few stitches in a cross stitch piece, but not much really!

Anyway, that was a long winded introduction to a post showing you my garden bench as I don't really have much else to show you!


I bought my house over 10 years ago and mum and dad bought me this bench not long after I moved in.  As you can see, I never varnished it!  I hate the look of varnished wood so I'm glad I didn't, but it was time for some TLC.


Sanding took ages, and made a right mess!  It became easier when I discovered the seat is removable.  Then it was on to painting.  I used a B&Q outdoor paint and it took three coats.


Much better!  I also got rid of Harry's old hutch and the spare hutch, creating loads more room in my tiny yard (UK version of yard - concrete area behind my house).


The paint was left over from painting my back door which I did a couple of months ago and which kick-started this whole renovation business in the first place!  I still have over a third of a can of paint left... garden gate is next up!