Showing posts with label basket. Show all posts

Friday, 18 December 2015

Basket weaving - a craft cliché


Now I call myself a multi-crafter, so really that should involve the most crafty of crafts.  The stereotype of crafts, and of old ladies.  I suppose I am sort of an old lady, well I feel like one with my lack of teeth.  I took lovely mum and mum-in-law to deepest darkest Derbyshire for a one day course making willow baskets.


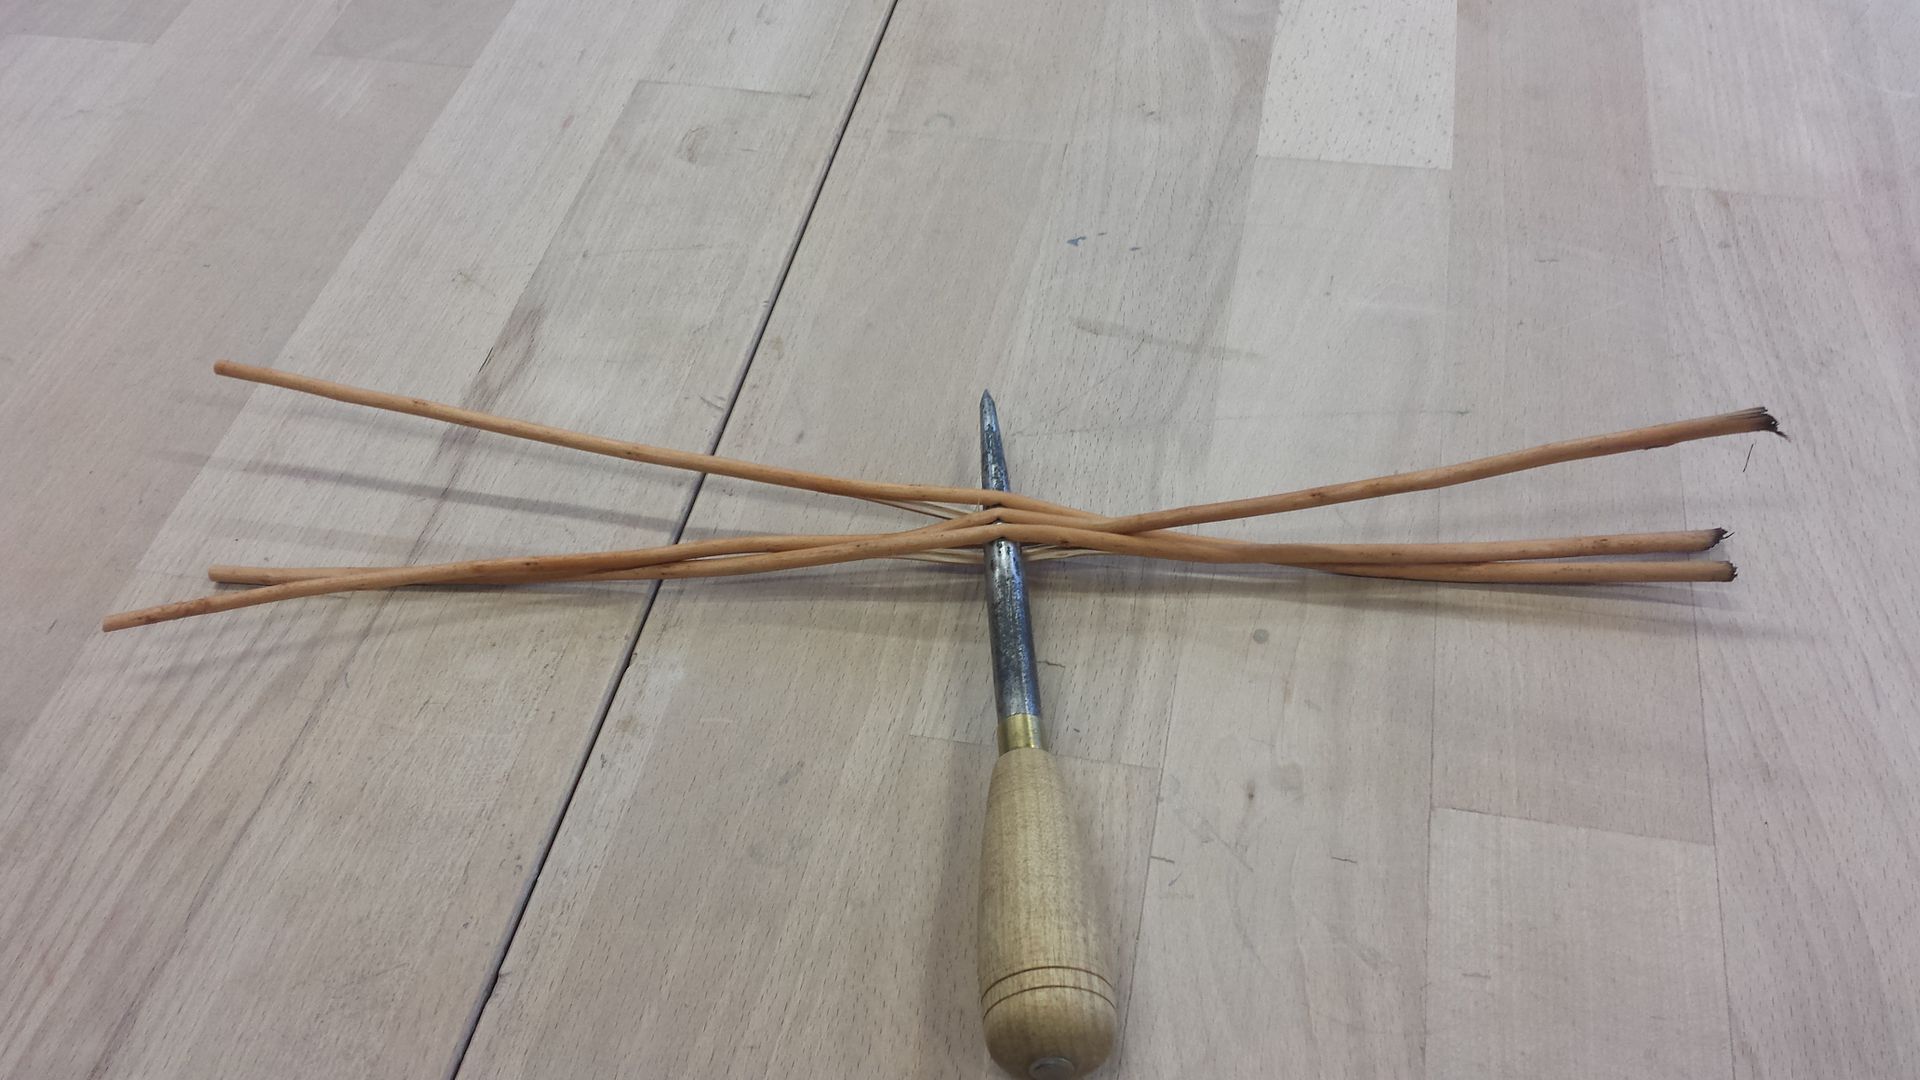
There were long sticks of damp willow, secateurs and pointy tools.


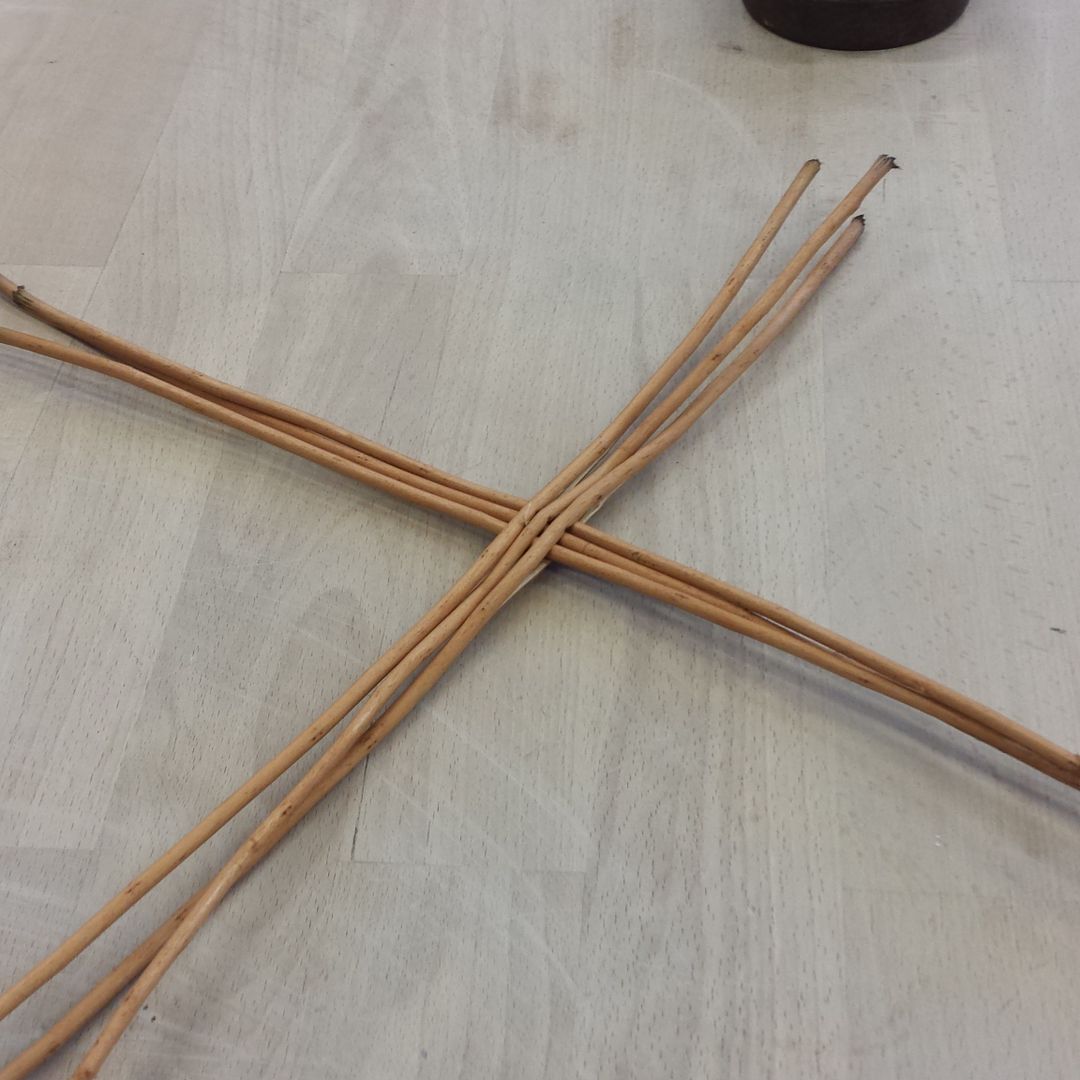
We started with the base.  The spokes start off like this, 3 jammed inside another 3.  Then the weaving begins.


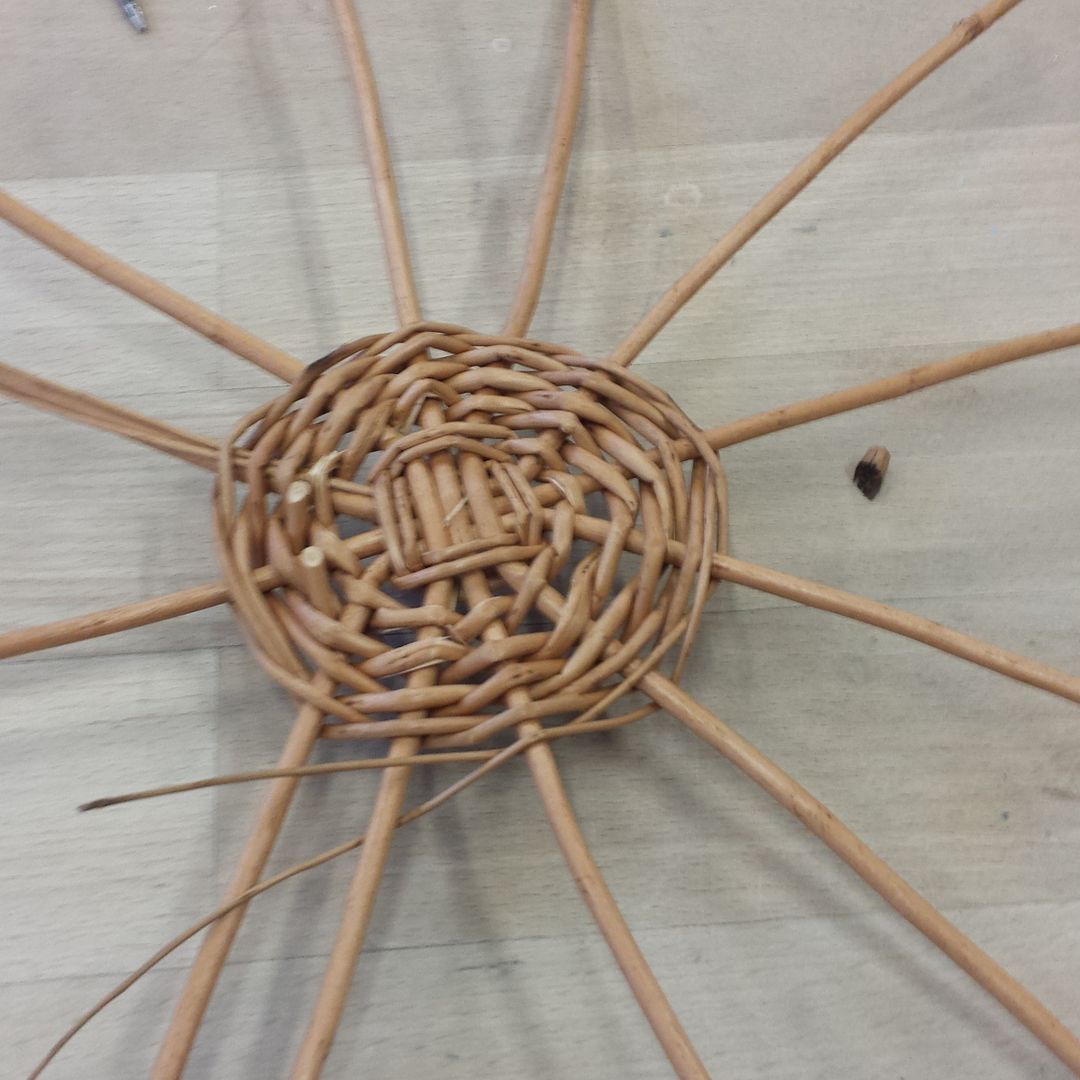
Wow, it was tough.  The willow branches used for the base were pretty thick and not very pliable, so weaving round and keeping them pushed down was a bit of a fight.


There were a few different colours of willow available, so as soon as I could, I swapped to the green which was much easier to weave.  It hasn't stayed green though, now my basket is home and in a warm house, they've turned light brown.


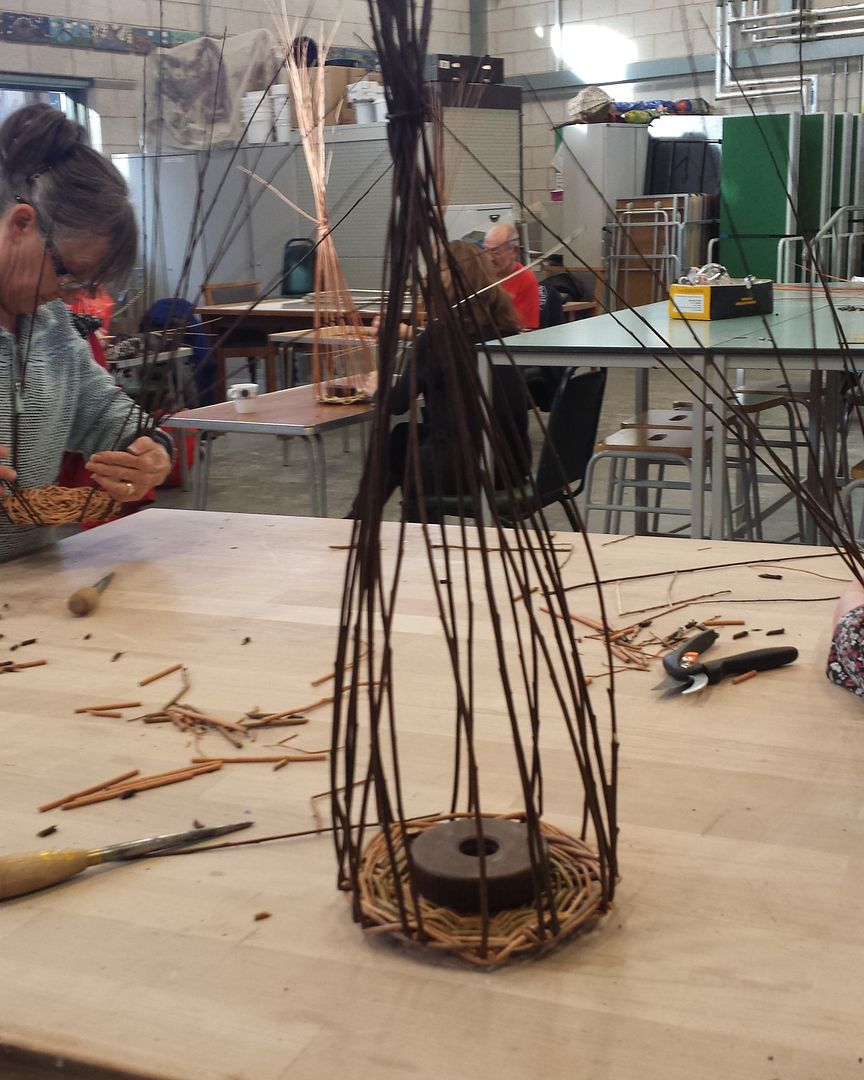
With the base finished, the spokes are bent upwards and tied in place.  A weight is placed inside to hold the base down as we worked.  It's at this point that you could shape the basket, but I was having such a struggle keeping the spokes all tied up that I didn't even attempt shape!


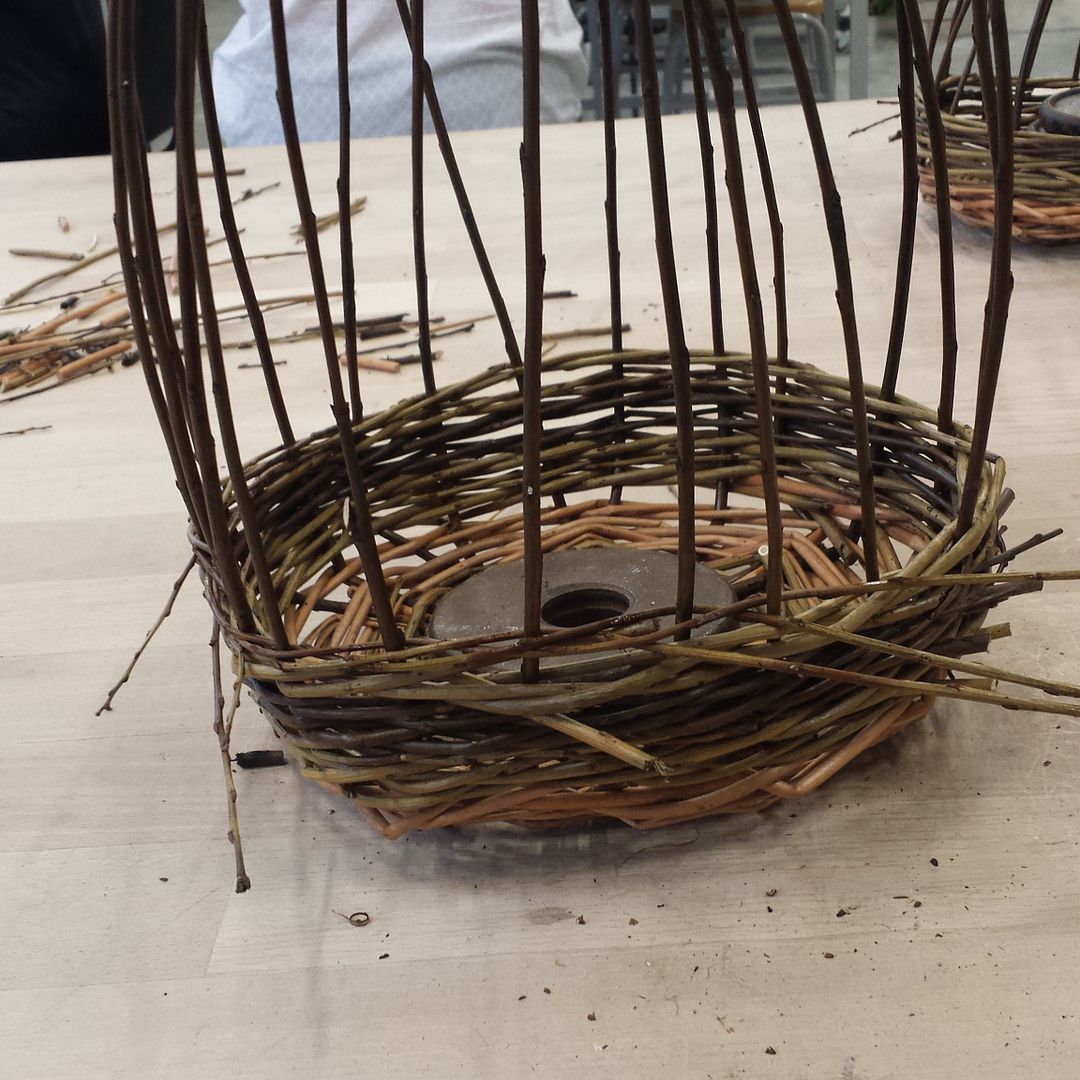
I abandoned the willow used for the base altogether as it was too hard to weave, instead I did stripes of the green and a dark brown.  It was fun.  I did enjoy doing this part.  I weaved and weaved until the class was nearly over.


Then the top was kind of plaited to finish it off and all ends were cut off.  Ta-dah!  Not a bad effort eh?  It's not particularly round, or particularly neat, but I'm pretty proud of it.  The one in the background to the left is mum-in-law's and the one in the background to the right is my mum's handbag!

Wednesday, 12 February 2014

the taming of the stash

I've always said I don't have much of a stash.   

Turns out that's not true. I've got a 4-drawer unit full of fat quarters.  This is how the contents of those drawers looked:


I did some ironing, some folding and some colour arranging and now the pink/red/orange and black/white/grey/brown drawers are nice and neat like this!


I removed anything that was less than a fat 1/8, folded all the FQs, then folded the fat 1/8s nicely too.  Anything smaller is to be a scrap.  Want to see my scrap cupboard?


Yeah, I know.  Just call me Mrs Organised.  Actually, that's only some of my scraps.  The rest live in this linen basket:


As you can see, I've started sorting them by colour.  At the time of writing I've sorted all the scraps in the linen basket, but none in the cupboard.


I decided something needed to be done.  These scraps had to be tamed and organised.  Cue a lot of ironing and some quilting as you go.  Wow QAYG takes FOREVER.


I'd think I was going great guns when I'd find a bit of raw edge hanging out or a spot I'd missed!  I resorted to folding the edges of a scrap and stitching it down.  Eventually, after a LOT of sewing and one and a half spools of thread, I had enough...


... to make this basket.  It measured 33" x 14" when it was a flat piece.  I QAYGed (can I say that, or should it be QAIW?) onto a piece of wadding with part of an old sheet behind it.  I then applied firm interfacing to that and it stands up really well.  As I couldn't be bothered with binding, I made a lining from an old pillow case.  It's a simple tote construction with boxed bottoms, no pattern.


It has a large hanging loop as I'd like to fix a rail up somewhere to hang them all on, but so I can take them off.  It requires some more thought.  I didn't interface the loop which may be a mistake.


I intend to make one for each colour of prints, then I'll think about solids.  I don't have so many scraps so I'm thinking I might do divided baskets to hold 2 colours - possibly à la Vera as I LOVE her basket.  I doubt I'll do them all as QAYG as it's so time consuming.  I think I'll also use it as a way to make blocks that I like and then practice my FMQ.


I put some ironed scraps in.  I've now added all the ironed scraps from the linen basket, I think it will be full when I've done!  Maybe it's time to start on the Tula Pink's City Sampler: 100 Modern Quilt Blocks quilt! *

*affiliate link.  If you click over and buy something, I get a few pennies towards a voucher.

p.s. my craft room is an absolute tip!


Tuesday, 31 July 2012

Zakka Style Sew Along week 18 - Bread basket

For once, I'm not late with my Zakka Style Sew Along project!  I made it right after I finished the linen pouch.  I wasn't sure I was going to make this bread basket as I have no use for a basket for baguettes, but I did think it was cute and I have managed to find another use for it.  Nope, not to hold yarn as you'd guess from the photos, it holds all my spools of thread that don't fit on my thread racks.
Zakka Style Sew Along

I used my favourite grey linen with some FQs of Le Petit Ecole, gifted to me by the incredibly generous Nancy


I wasn't sure at all how this was going to come together, but the construction was actually pretty clever and very easy.


For once, there were no errors in the book!  Or if there were, I didn't notice them.  The picture below shows the back and the closure loop.  I didn't have any twine to hand, and as my basket isn't particularly rustic, I didn't think it would go anyway.  Instead I used 3 strands of black elastic plaited.


I was supposed to top stitch around the top of the basket, but my machine had a hissy fit and refused to do it... that machine is so damn temperamental! 


It looks a bit like the top is bound, but it isn't.  That's the lining.  I'm not sure what happened but my lining turned out bigger than the shell, I like it though, so I ironed it in place. 

Next week's challenge is the sugar cookies play biscuits.  I think I might make them for a certain little lady in my life.