Showing posts with label piercing. Show all posts

Sunday, 21 October 2018

Silver and gold necklace

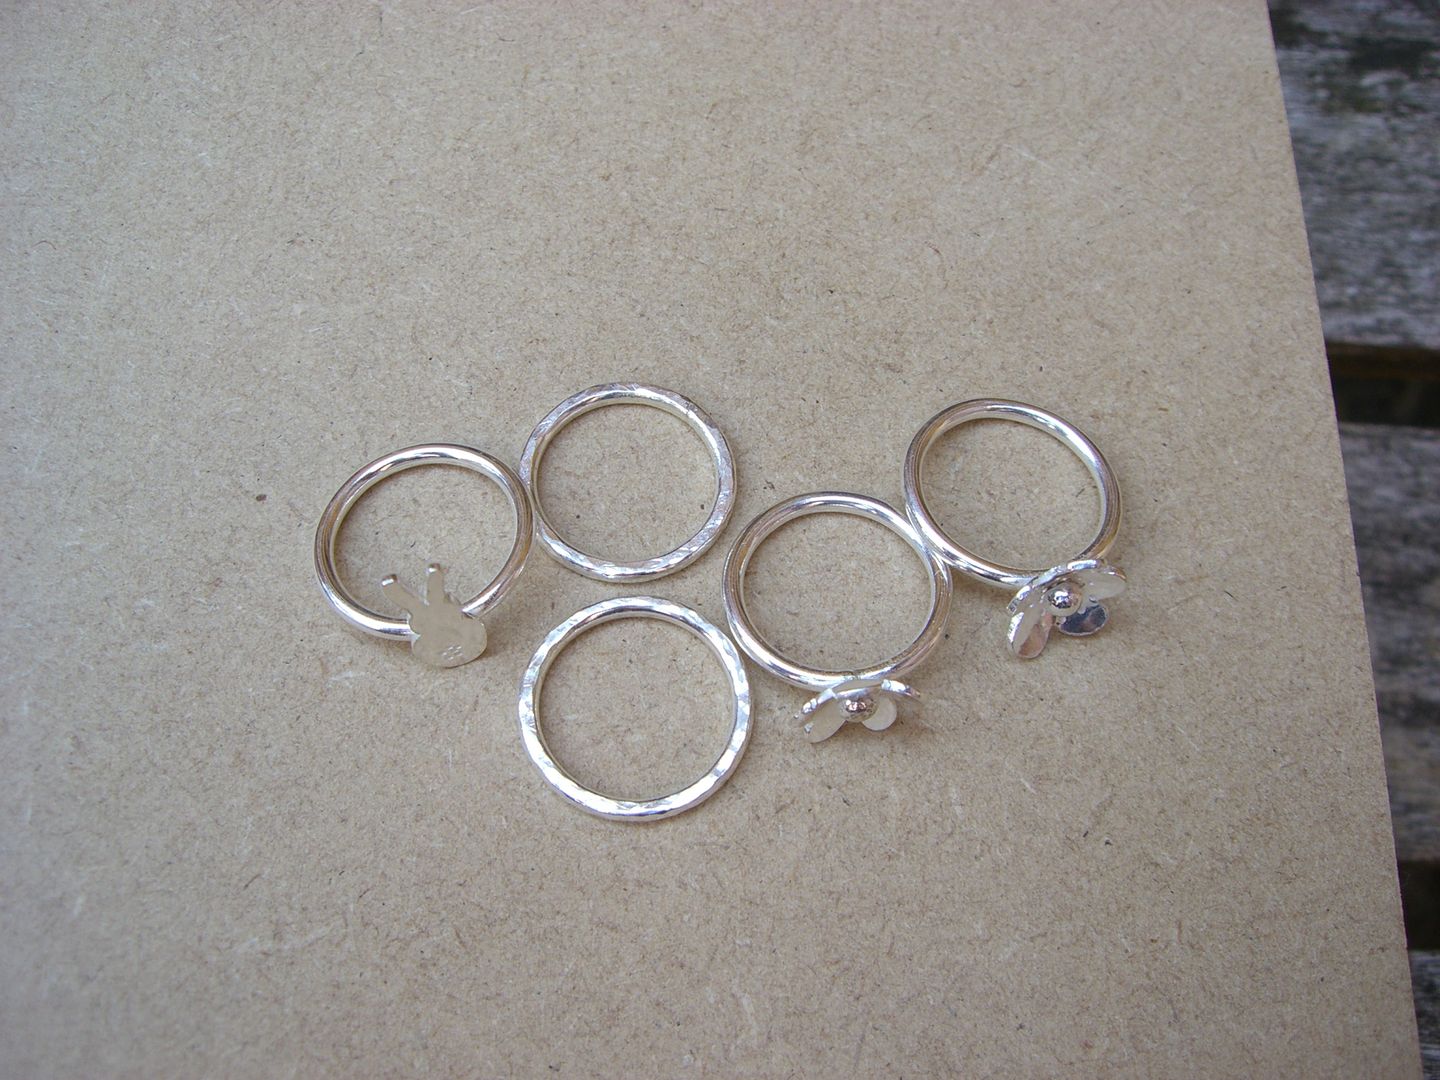
I managed to start and finish a piece of silver jewellery in just a couple of weeks rather than a few months or a year or more!  OK, so I started it back in July before the summer break, but technically it was only a few weeks!  


I thought I had some process photos of this necklace, but I can't find them so maybe I don't.  I used argentium, which I used before making my brother's ring, and again I used pieces of my mum's wedding ring.


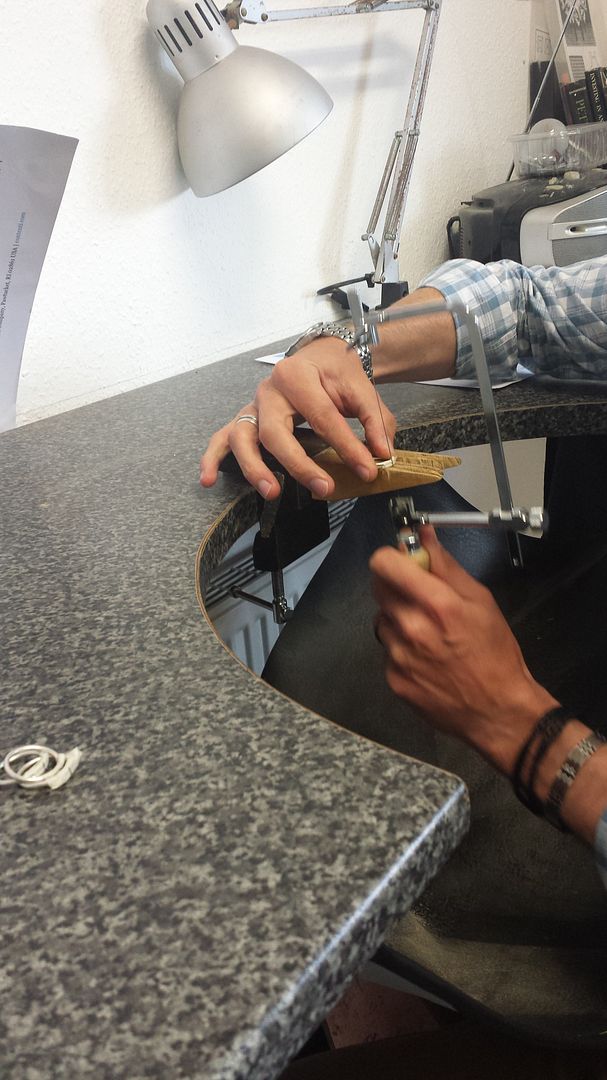
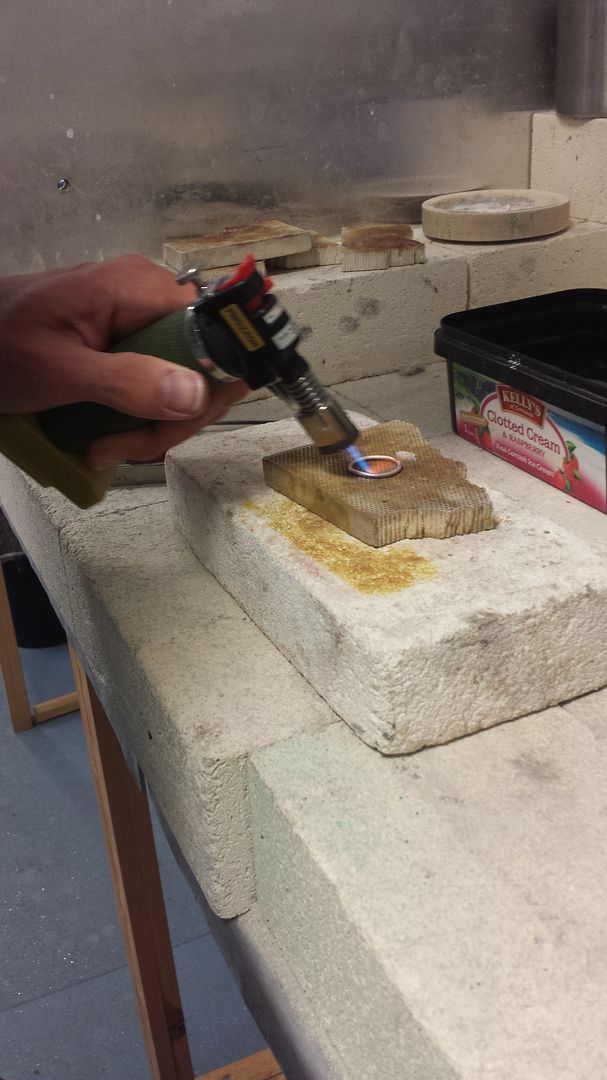
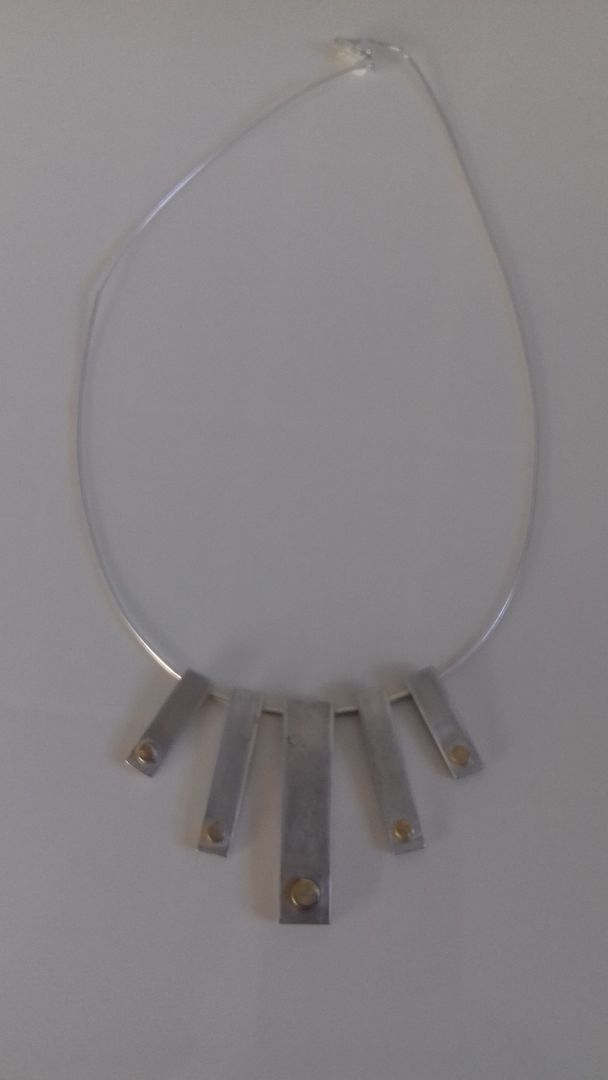
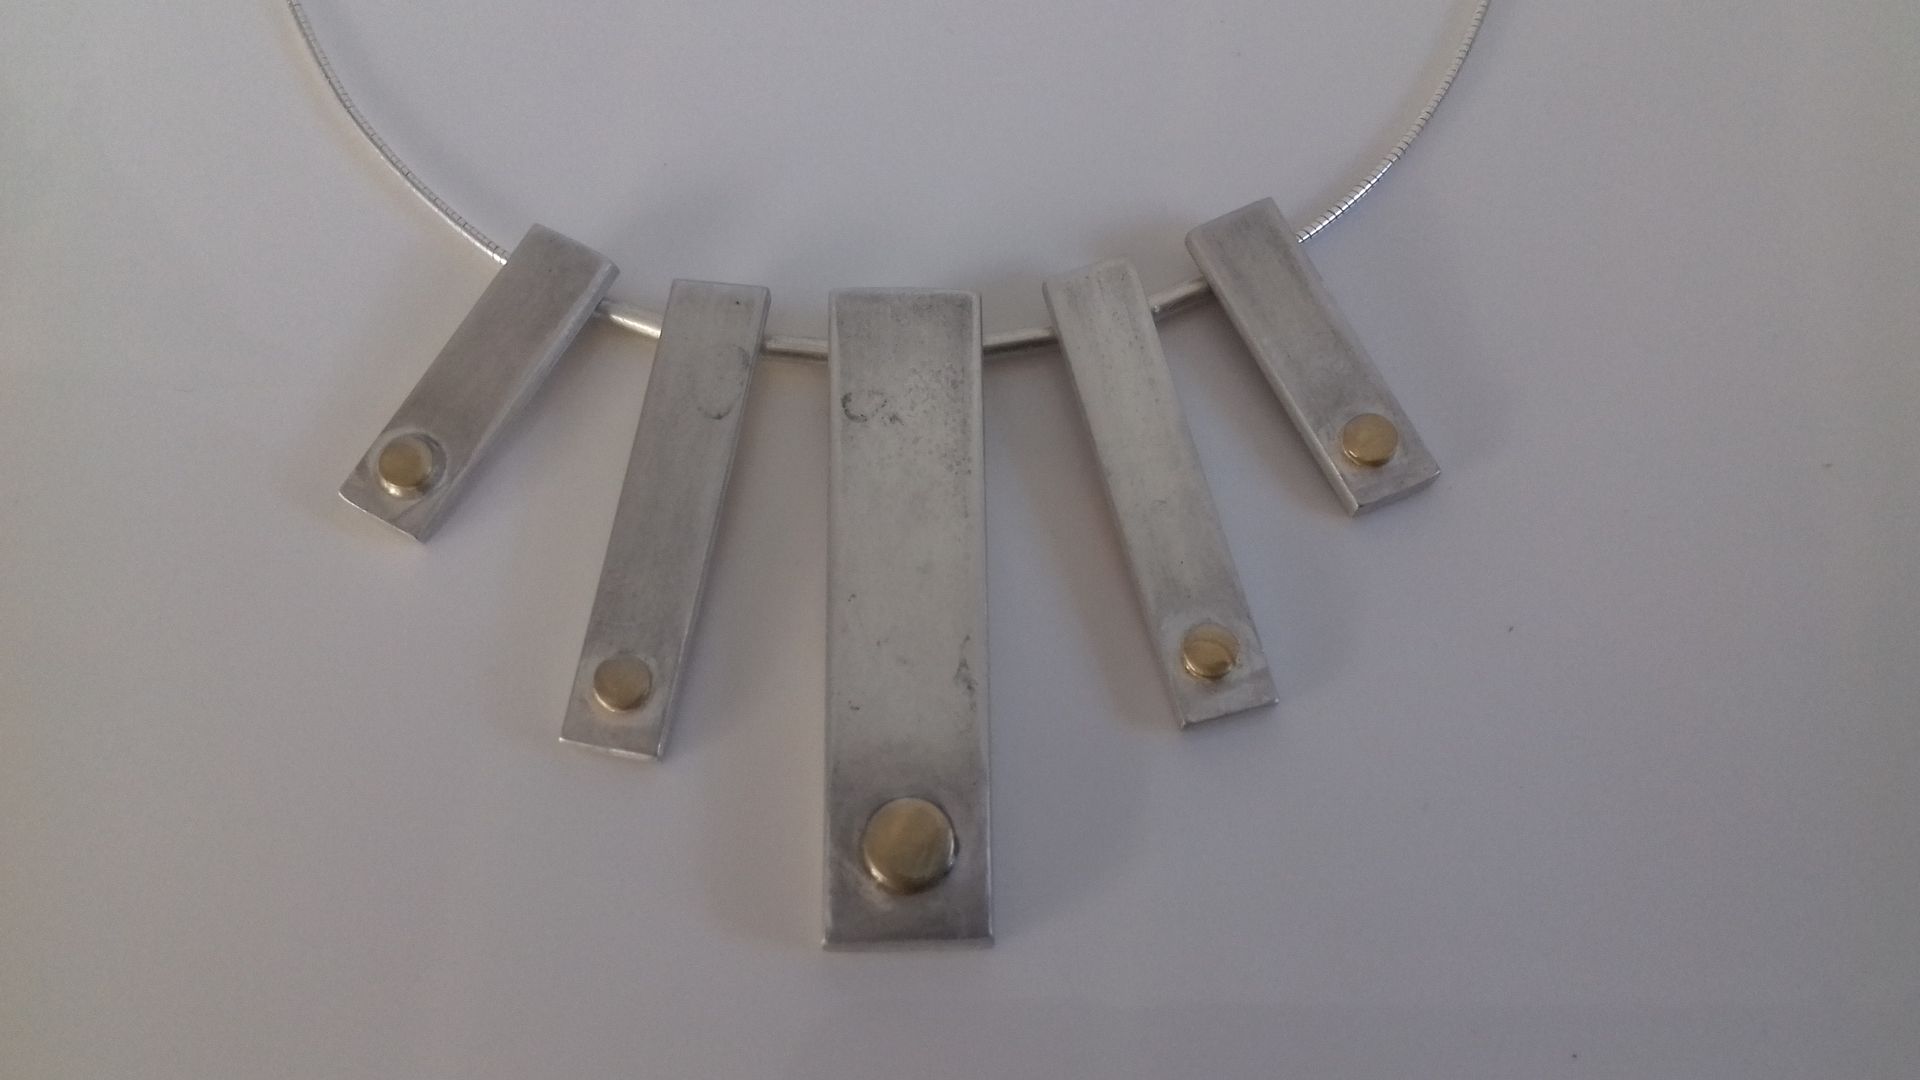
I pierced out the five pieces of argentium in varying sizes and cleaned them up.  I punched the circles from mum's wedding ring using the hydrolic press and my circle punch kit.  The original idea was to completely inlay them into the silver batons, as I did with my brother's ring.  After fusing the gold to the argentium, I loved the way they protruded, so decided not to roll them in.


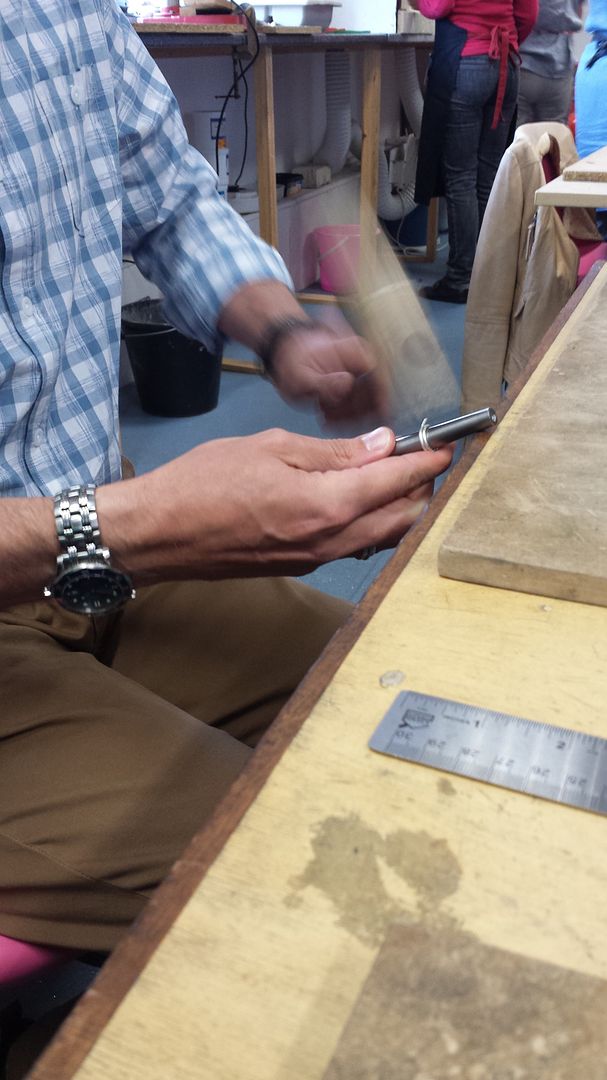
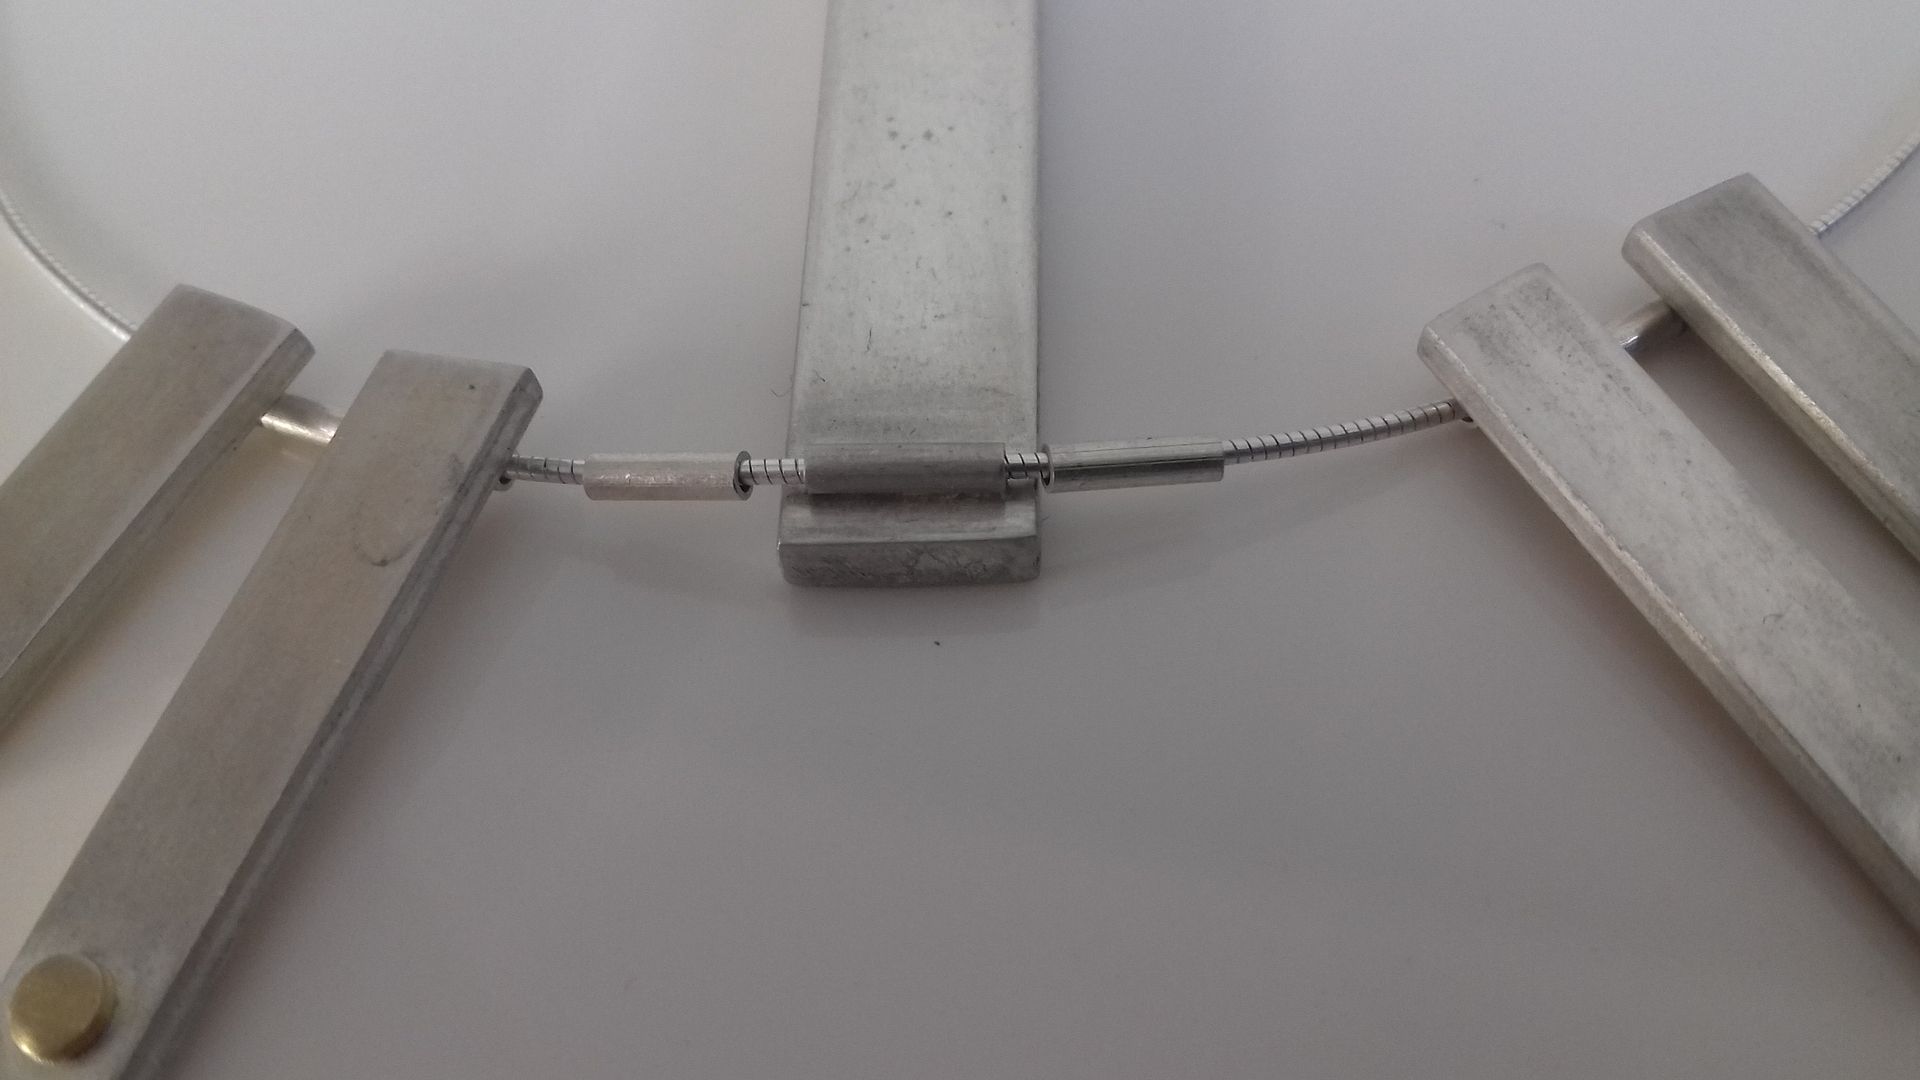
I bought some thin tube and the omega chain, then cut the tube to fit the backs of the batons.  I soldered them in place before cleaning everything up.  I then cut more pieces of tube to act as spacers.


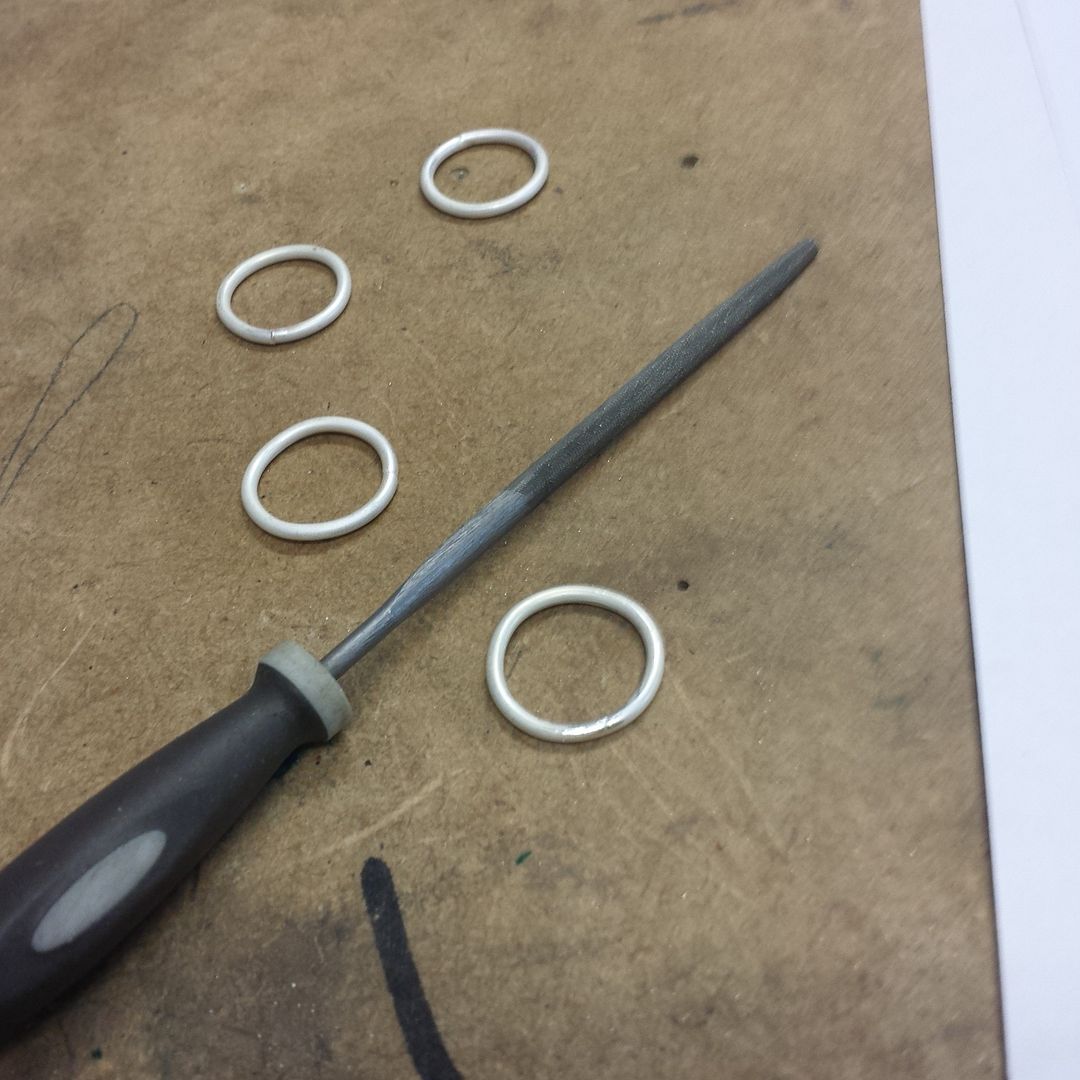
You can see them on the photo above.  Then it was just a case of threading everything on to the chain and resoldering the clasp.  Job done!  This is a necklace I will treasure.


Tuesday, 29 September 2015

Silversmithing

Mr CA and I went on a fab silversmithing workshop ran by the local college at a local venue The Textile Workshop.  Yes, you read that right, Mr CA came with me!  It's his first time to one of my craft classes but it's something he's fancied giving a go for a while and we have talked about it in the past.  I found this class on the Textile Workshop's website and as it was £38 per person for a 2-day course (excluding materials) there was no way I was passing it up!

It was a great class, the tutor - Lisa Pearson - was brilliant and we both enjoyed it.  Mr CA will be my beautiful assistant, demonstrating the various stages we went through to make these rings.  (I made these rings, Mr CA made a masculine one for himself).


We started with 2mm silver wire which we bent around a ring mandrel and hammered with a rawhide mallet to get it to the correct size and a perfect circle.

As there was an overlap, we used a piercing saw (like a hacksaw) on a bench peg to saw the join between the overlaps to make our ring bases.


This is what you come out with after that stage:


Then comes the fun bit - soldering!  The join is painted with flux which is a liquid that helps the solder to run.  A tiny pallion of hard solder was added to the join and then you use a blowtorch to melt the solder into the join.

It is quenched in cold water, then placed into pickle - an acid-based liquid heated to 60 degrees centigrade - to burn off the fire scale.  It's then rinsed in cold water.  Then it was time to file to get the joins lovely and perfect.

It was about this time that I became so engrossed in what I was doing that I forgot to take many more photos!  At this stage you could hammer the ring with a ball pein (round) or cross pein (wide and short) hammer to create a texture.  I did that on 2 of my rings.  I forgot to say at the start, we were making a set of 5 stacking rings, though I quickly discovered my fingers are too stumpy for 5 rings, so I made a set of 2 stacking rings to be worn with 1 spacer, and a single ring to be worn with 2 spacers.


I cut out these shapes from 0.8mm silver metal sheet using the piercing saw we used to cut the rings.  It was quite tricky and fiddly but I didn't cut myself.  I hammered some dots on one of the flowers (that's what they're supposed to be!) and for a tail of the bunny using a centre punch which is a spike you hit with a hammer.  There's a lot of hammering in silversmithing!


I shaped the flower using this.  This is a doming block and the doming punches to use with it.  I put the flowers into the concave slots, then hammered the punch on top to create the curves.  I made a couple of silver balls by just heating a small piece of silver, then soldered these into the rings.  The ring tops were then soldered onto the bases using easy solder, pickled and rinsed.


The penultimate step is to clean up the rings using needle files and them emery paper of various grades until the rings are as perfect as you can get them.  As you can see in the above photo, the soldering process leaves them white.  We put them into a barrel polisher and they came out all sparkly!


Here are the spacer rings with the bunny, can you see the light glinting off the spacer rings?


I had a bit of time left, so I used a piece of copper to cut some circles using a circle punch, then domed them in the doming block.  I drilled top and bottom, except for one which was just drilled at the bottom.  I plan to do some enamelling on them and turn them into a pendent.

I also used some more 2mm wire to make necklace connectors.  I spiralled them using pliers which was really difficult as the wire was so thick.  I then ran them through the rolling mill which flattens them.  I have plans for these, hopefully I'll show you before too long.  I also pierced out the heart, though I didn't have much time for finishing it properly.  I think I'll texture it, then I can use it in a piece.


Well that was a long post!  It was a brilliant class and I WILL be doing more silversmithing!  I'm on the waiting list for an evening class, but I also intend to do some at home... watch this space (but not too soon, you know how it takes me an age to get to anything!).  This class was also responsible for pulling me out of a depressive episode which just shows the power of craft!