Showing posts with label gift bag. Show all posts

Monday, 4 January 2016

A couple of Christmas makes

I know I'm a bit late to talk about Christmas, but I wanted to document these little makes.

First, gift tags for the mums and Nana CA.  I made these using a free kit from Pretty Patches magazine.  Simple shapes cut out and hand appliqued in place.  I added the date in back stitch.  An eyelet through the top (the eyelet setter included in the kit didn't work so I used my trusty Cropodile Big Bite) and threaded with ribbon.


Mr CA came home from shopping just before Christmas with a gingerbread house kit for me.  I made it on Boxing Day morning so I could take it with me to family dinner with my parents and my brother's family.  My 3-year old nephew ate nearly all of it, he didn't like the sweets though!


It is far from perfect, and I'm definitely not going to win a place on The Great British Bake Off, but I enjoyed it!


Oh that reminds me.  There was a gingerbread house making competition on Kirstie's Handmade Christmas.  I was invited by the show producer to go on the advent calendar competition on the first episode of the show and I forgot to tell you!  I turned it down... You couldn't pay me enough to go on TV!

Saturday, 26 November 2011

gift bag tutorial

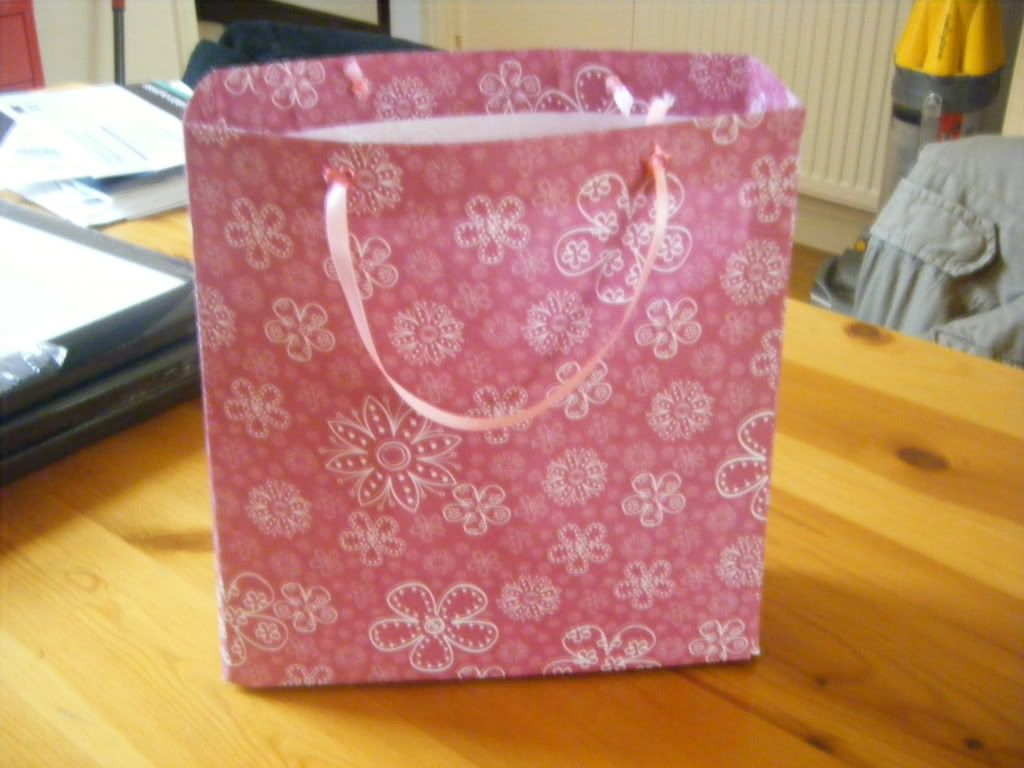
I've shown you the paper gift bags I make before, and I promised you a tutorial, so here we go!

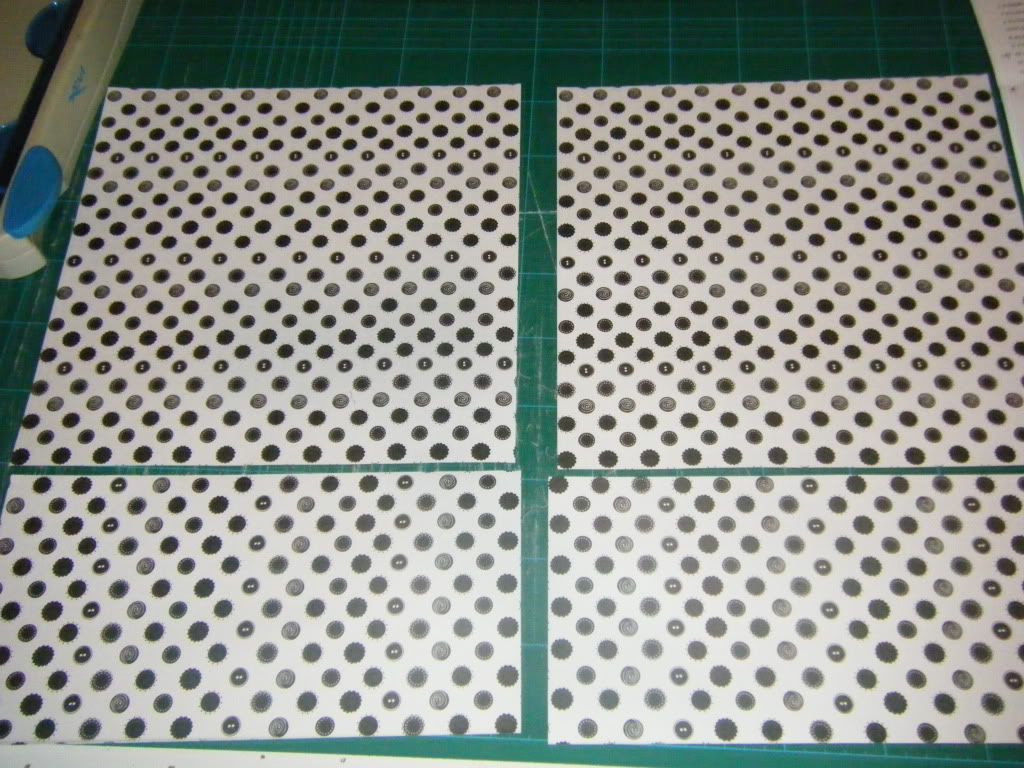
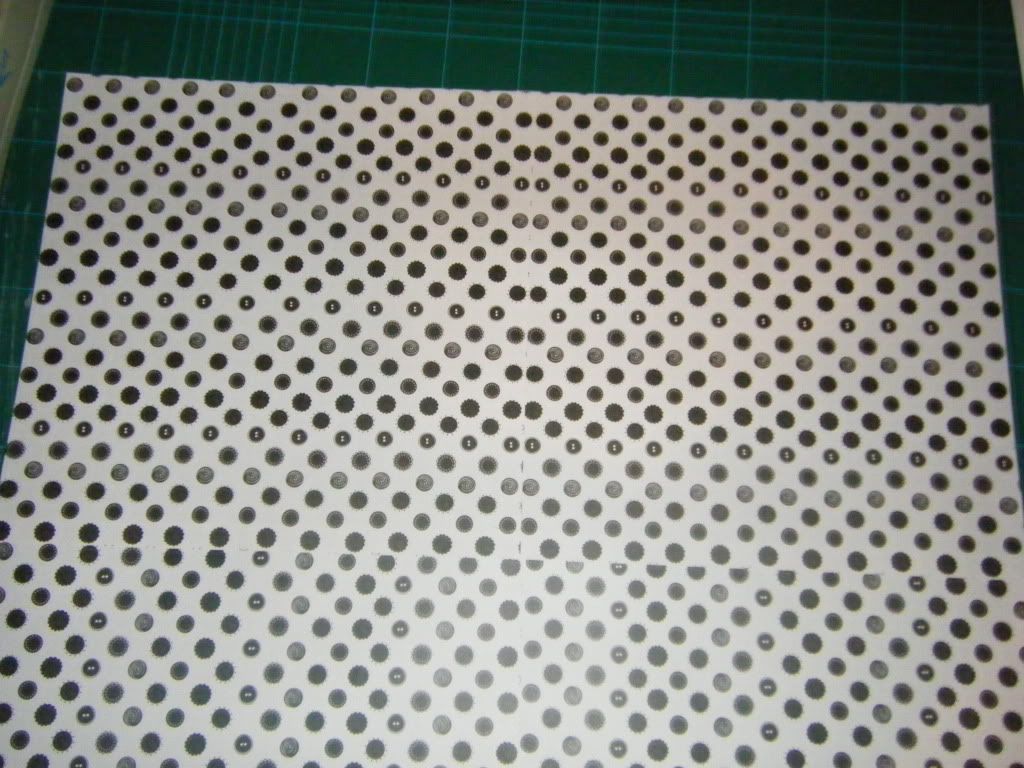
I use scrapbook paper for these which is 12" x 12".  I have a big pad of it that I'll never get through and there are about 3 sheets of each design in each colourway so it's perfect for ideas like this.  You can make a bag any size you like.  You can use a single sheet of paper to make a small bag, or you can join more pieces together.  For this version I used three sheets, but it did end up a little tall, I generally make them from two sheets. 


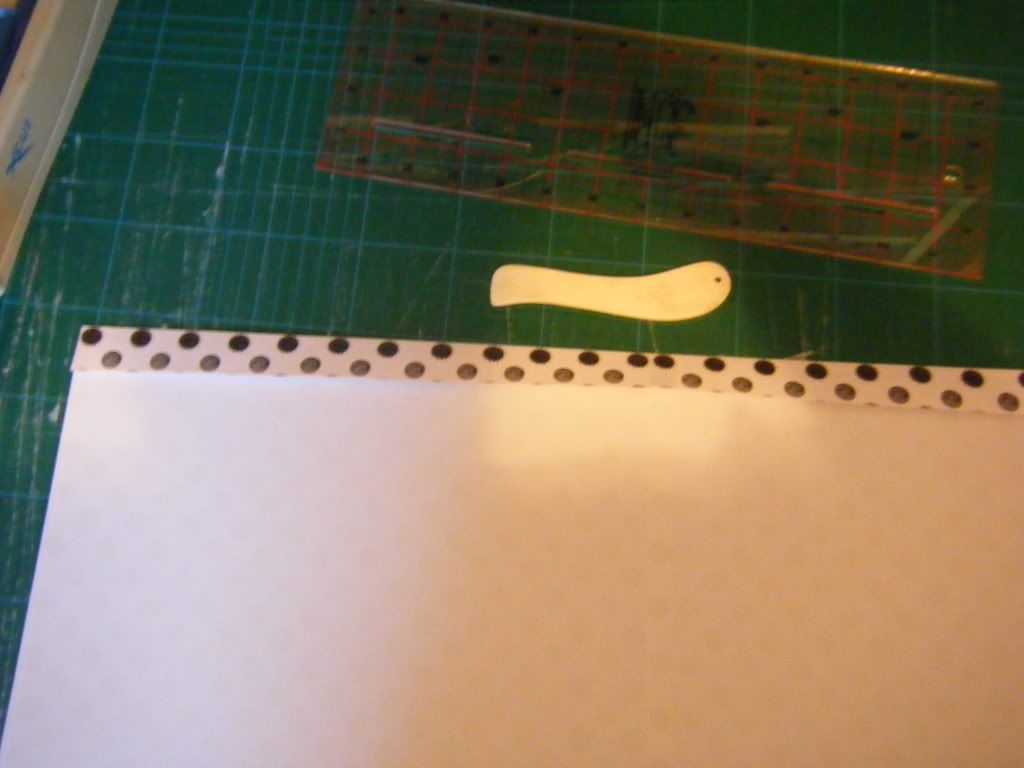
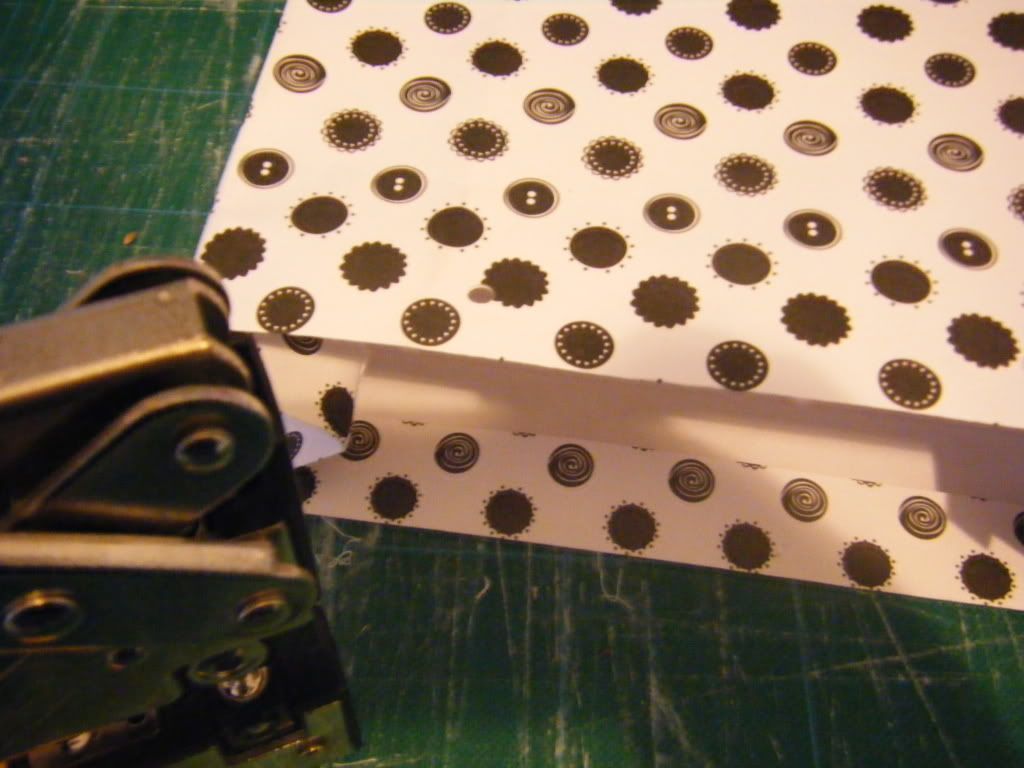
Take your sheets of paper.  I cut one in half.


Fix them together, I used double sided tape for a nice, neat finish.


Fold the top over about 1/2 " and press down.  I used that little tool at the top which is a bone folder used in papercraft, but you could use the end of a paintbrush, a lolly stick or your finger nail.


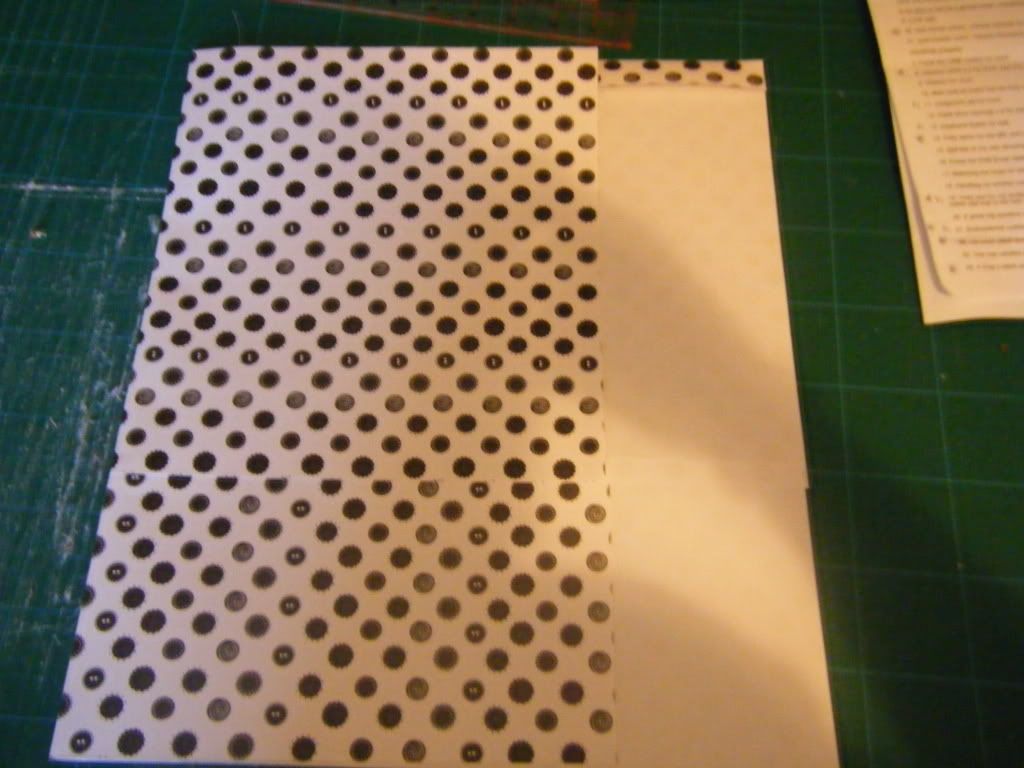
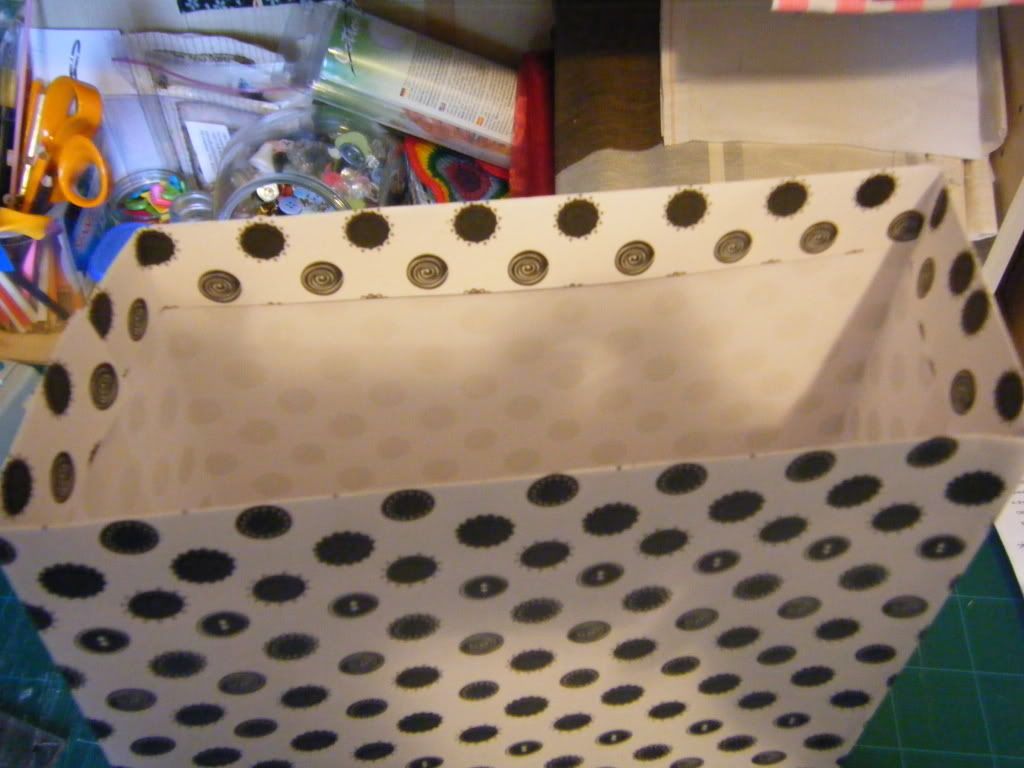
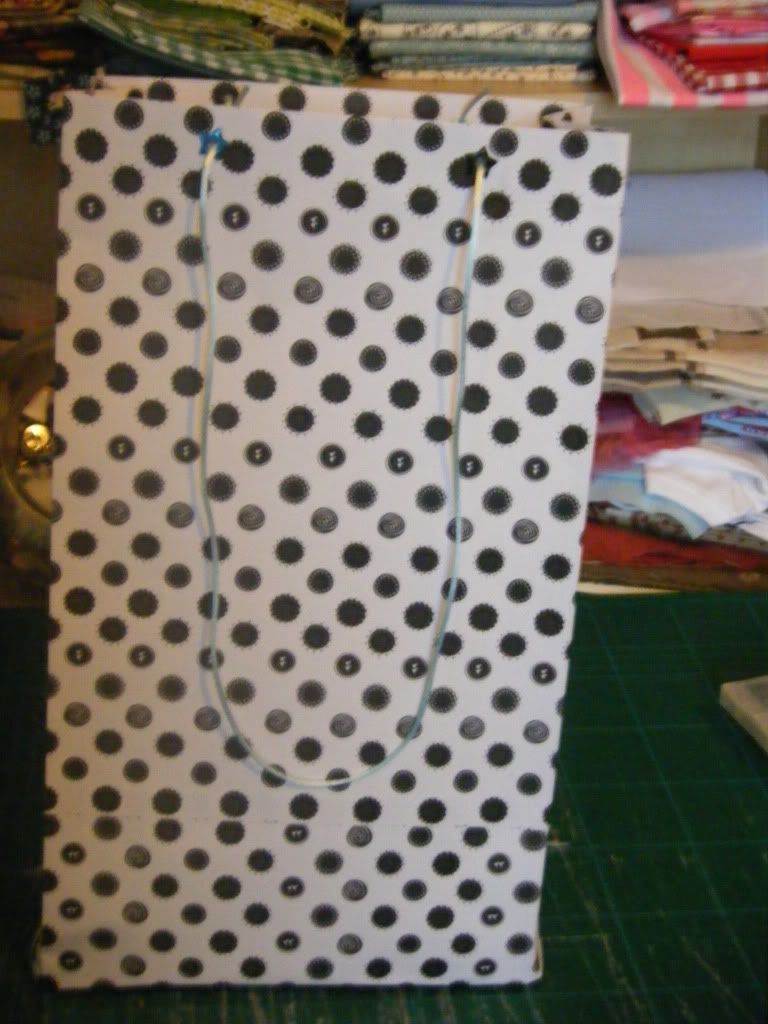
Now we are going to create the sides of the bag.  You're aiming for a square tube, or a box without base or lid!  Fold one of the sides in and crease with whichever tool you have to hand.  If you've joined your two sheets together, there'll be a join, you want to avoid this join and fold the bag in to one side of it.  My first fold is at about 8", the second a further 4" from that.  Fold the right hand side over until there is about a 1/2" overlap of the two papers.  I did take a photo of this but it was a white with black dotty blur and you couldn't see the joins.  Hold the join in place and push the top layer to the right until the first crease (the one at 8") is lying flat on the table, this is to creat a symmetrical fold for both side "corners".  Wow, does that make any sense??  Does the picture below help?


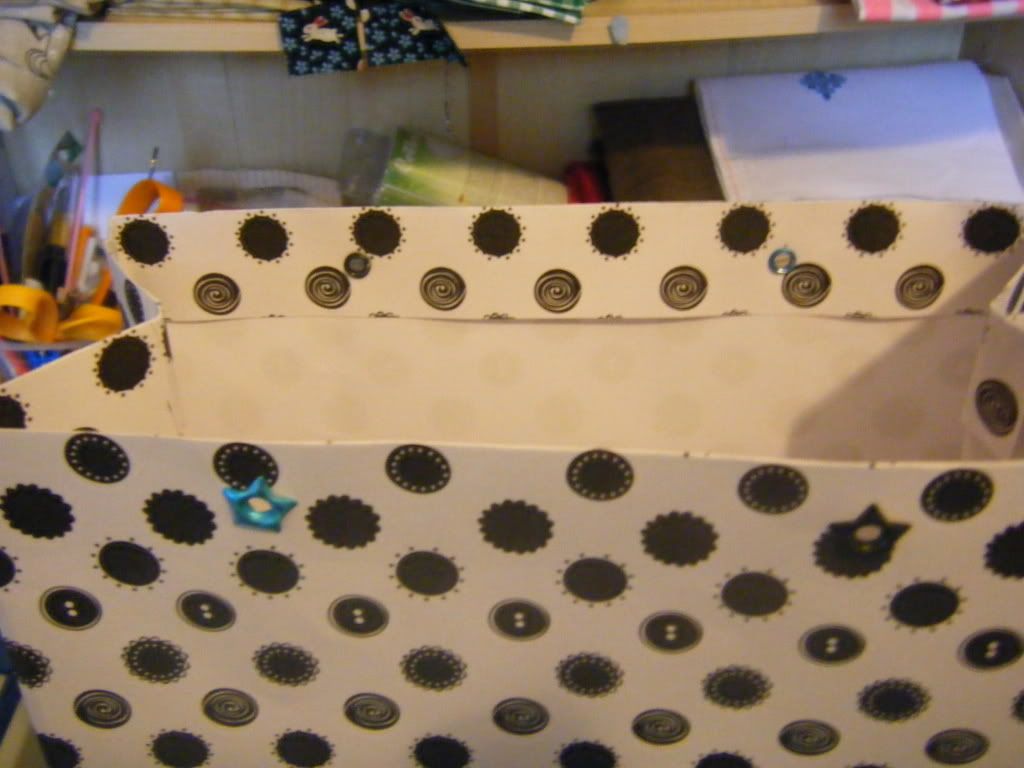
Here you can see that I've got a "gusset" in the middle (I hate that word!!) and then two smaller folds at the edges which will join together to make the second side of the bag.  The two larger portions should be equal.


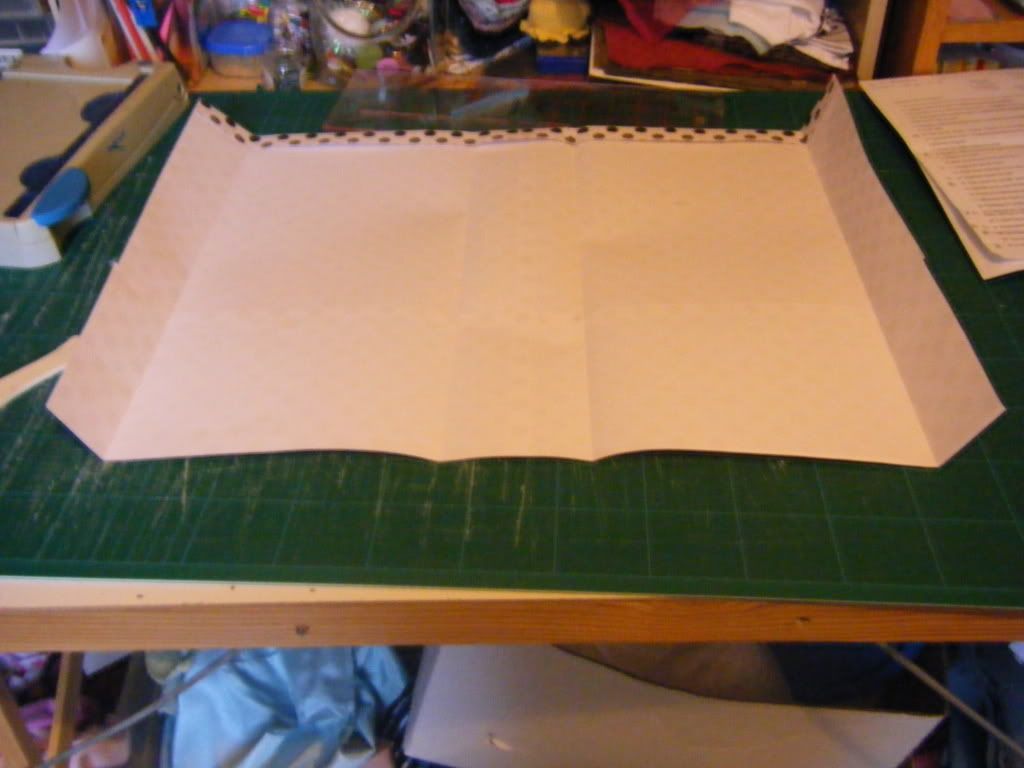
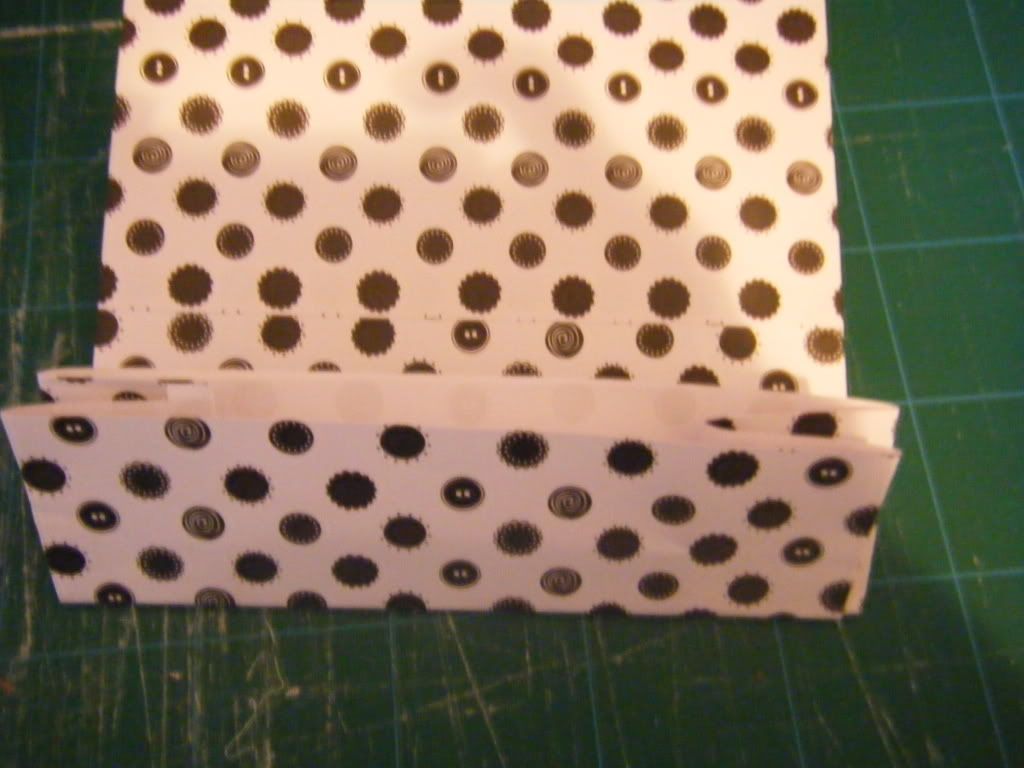
Pull the two edges together and join neatly without pulling or distorting the bag.  Again, I used double sided tape.  You now need to create a crease in the sides of the bag.  Fold them inwards so the two corners on one side touch, and the same the other side.  You can only just make out my crease in the photo above so I hope you understand what I mean! 


Measure the depth of your bag (front to back), measure the same distance from the bottom of the bag and fold.  Open up your tube and fold each side inwards along the line created.


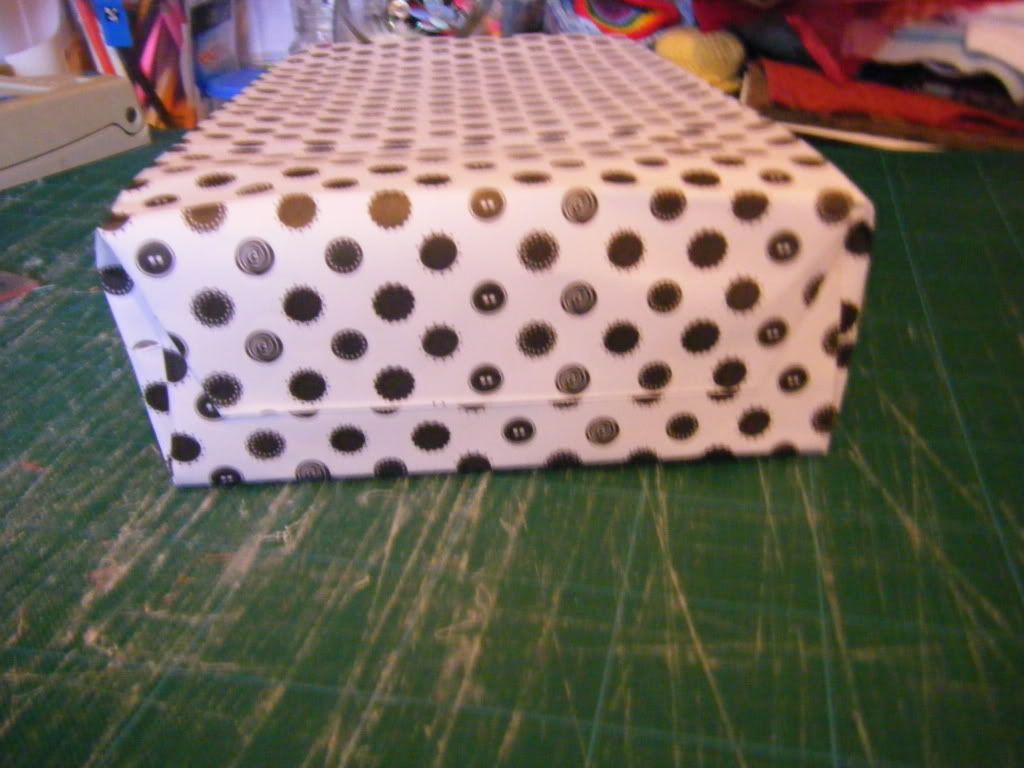
This folded portion will be the base.  You need to create the base as if you were wrapping a present.


Seal with double sided tape.


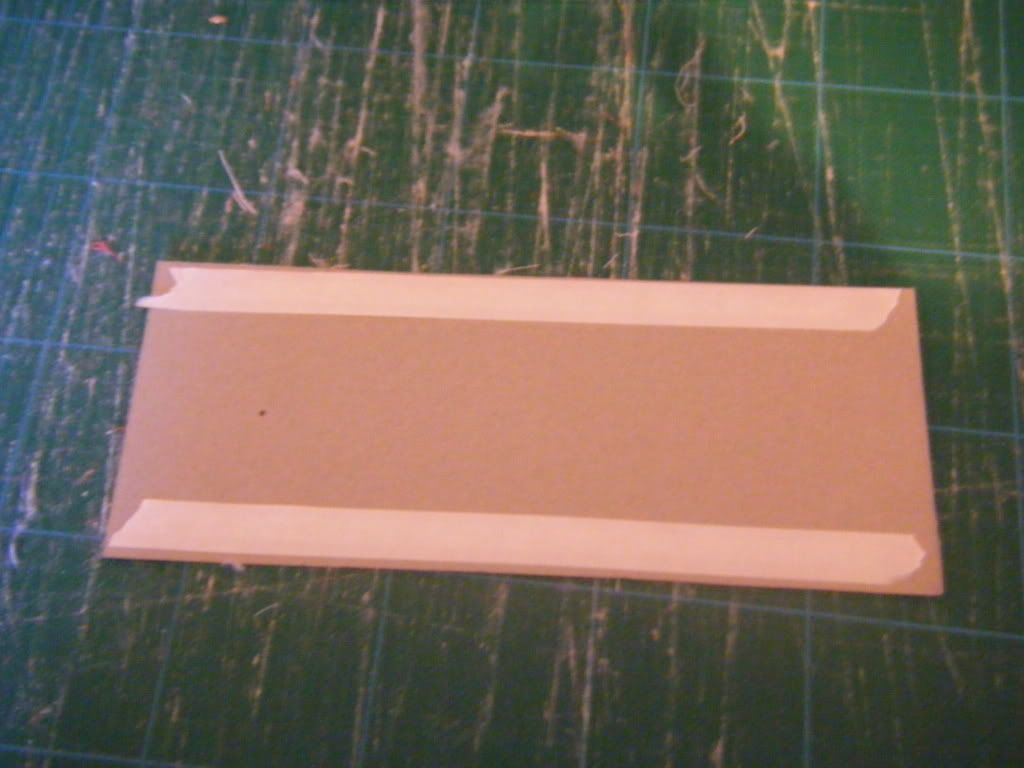
Measure the newly-created base of your bag and cut a piece of thickish card the same size.  Mine was once some form of packaging.  Apply double sided tape and carefully drop it into the bag, when it's in position, press down firmly to stick it in place.


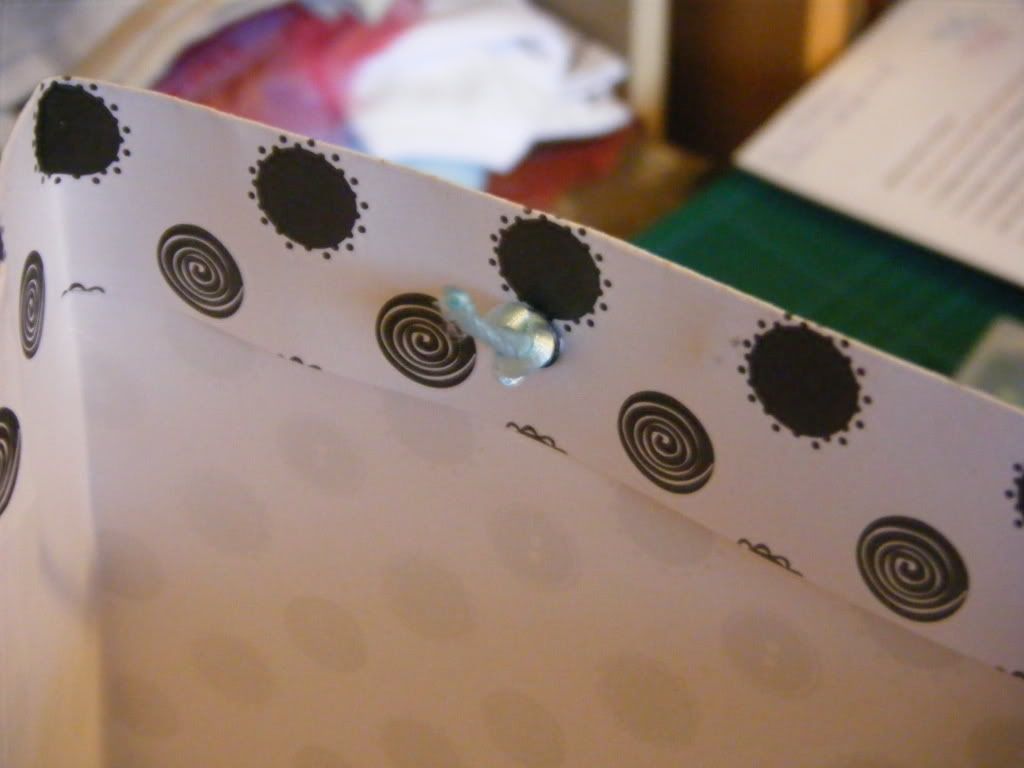
Now we need to punch holes for the handles.  I used my fancy Big Bite which is made for setting eyelets, but you can use an ordinary hole punch.  Decide where you want your handles, then make sure they are equidistant from each end.  You'll need to punch 2 holes in each side.


I then added eyelets, but this is optional.


Take some ribbon, thin cord, yarn, twine, string, whatever and thread the end through one hole, tie a big knot so it doesn't pull through.  If it comes undone by itself you can add a blob of glue.


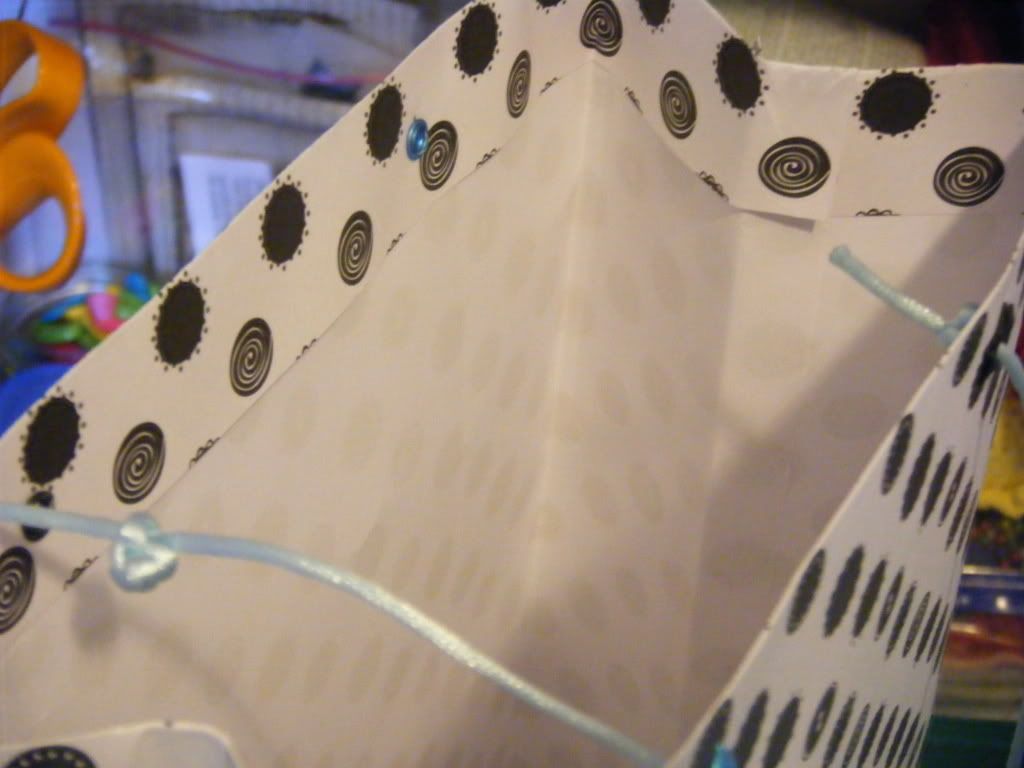
Pass the other end of the lenght of ribbon/cord/string etc (the length is up to you) through the hole on the SAME side and knot.  Repeat for the other side of the bag.


And tadah!  You have one custom made gift bag, I have one very tall gift bag and one very crap tutorial!  I do apologise.

Thursday, 1 September 2011

the difficult second post

Wow, I wasn't expecting the reaction that I had to my last post and I'm not sure how I'm going to follow after that!  It is perfectly acceptable to laugh at my misfortunes, I thought as they were happening how funny they would seem.  It's the only reason I have a full head of hair.  Clearly Mr CA had some troubles making fold-up shopping bags before he met me as he's almost totally bald... he's never confessed to it.

Despite being off work this week, I don't have much to show you.  I've been out and about, running errands, taking the bunnies to the vets for their jabs, visiting friends, looking after small children...  I went to Ikea yesterday in search of a doll's bed for my god-daughter's birthday.  She'll be 3 in 2 weeks and loves to tuck her teddies up in bed, any bed will do, or any blanket, jacket or jumper, so I thought a doll's bed would be the perfect solution and I get to have a go at a mini quilt.  Not a mini quilt like the ones you see made for the Doll's Quilt Swap, this will be a basic patchwork quilt but it should be fun anyway.  In Ikea, I also accidentally bought 2 funky slimline filing cabinets, 4 glass jars to store ribbon in (one of which I smashed carrying it from the car) and I nearly bought fabric.  I think I've said before that there's never the wonderful fabric in stock that I see on other people's blogs which they've bought from Ikea, well this time there was one fabric I liked.  £6 a metre, so I cut a metre and stood waiting to have it bagged and priced.  I waited for about 10 minutes then got seriously p***d off, dumped the fabric and left to wander round the Market Hall muttering under my breath and glaring at everyone that wasn't practically running round the displays as they were in my way.

So, all I have to show you is two cards:


A gift bag, this one went better than the last:


My progress on the Rennie Mackintosh cross stitch:


And my giant granny, I've just finished round 36 but I haven't been working on it much as I'm planning on taking this to China to work on:


I'm on my last ball of the whitish colour and was worried, but I managed to track some down in the very colours I needed from Black Sheep, on sale too, so now I'm happy.  It's going to be a great big, wrap round me on the sofa, blanket.

I've just read my comments from my last post and found out I won Sarah's Bloggiversary Giveaway.   Wahoo!  I won, I won, I won, I won...  not to sound ungracious or anything but I won!!