Showing posts with label chair. Show all posts

Monday, 26 March 2018

Bentwood chair - part 2

In my last post I talked about the first day of the Bentwood chair making class I attended at Rural Antics.  Today I'll talk about the second day and finishing the chair.


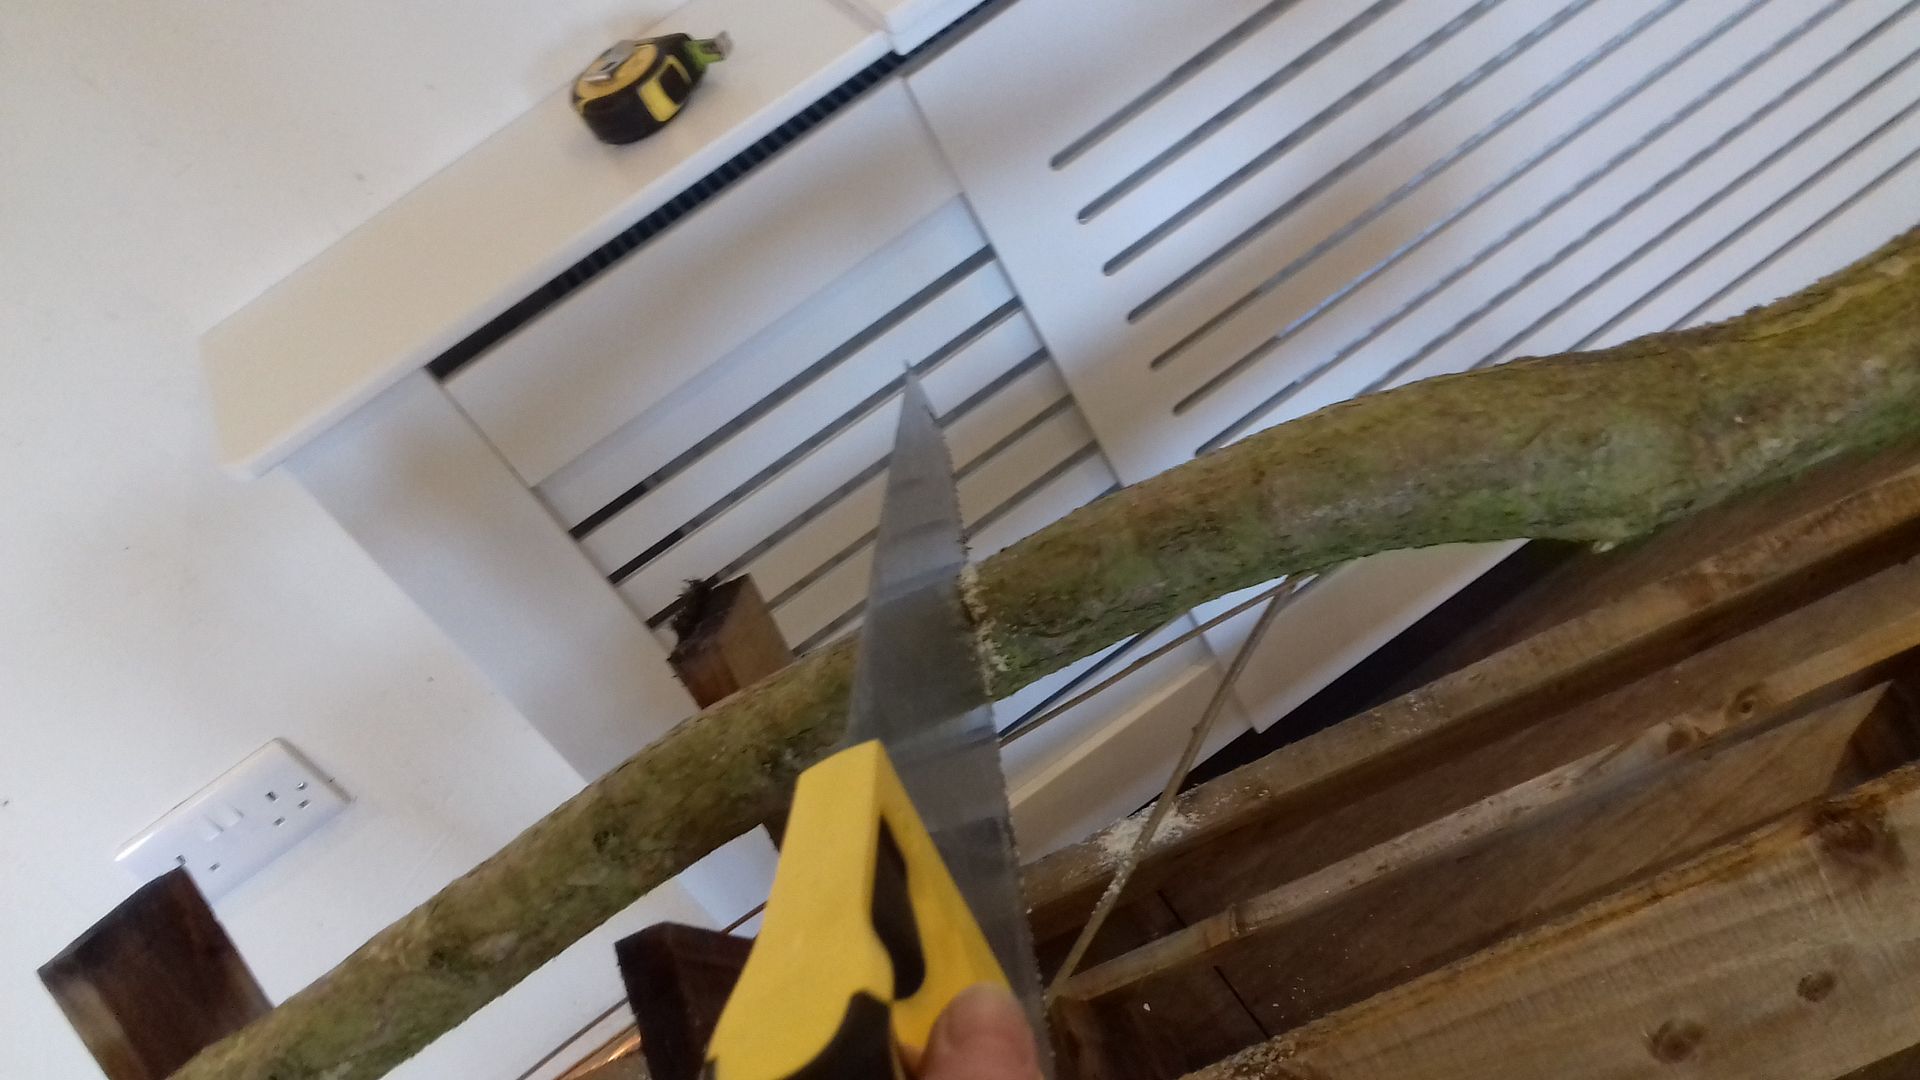
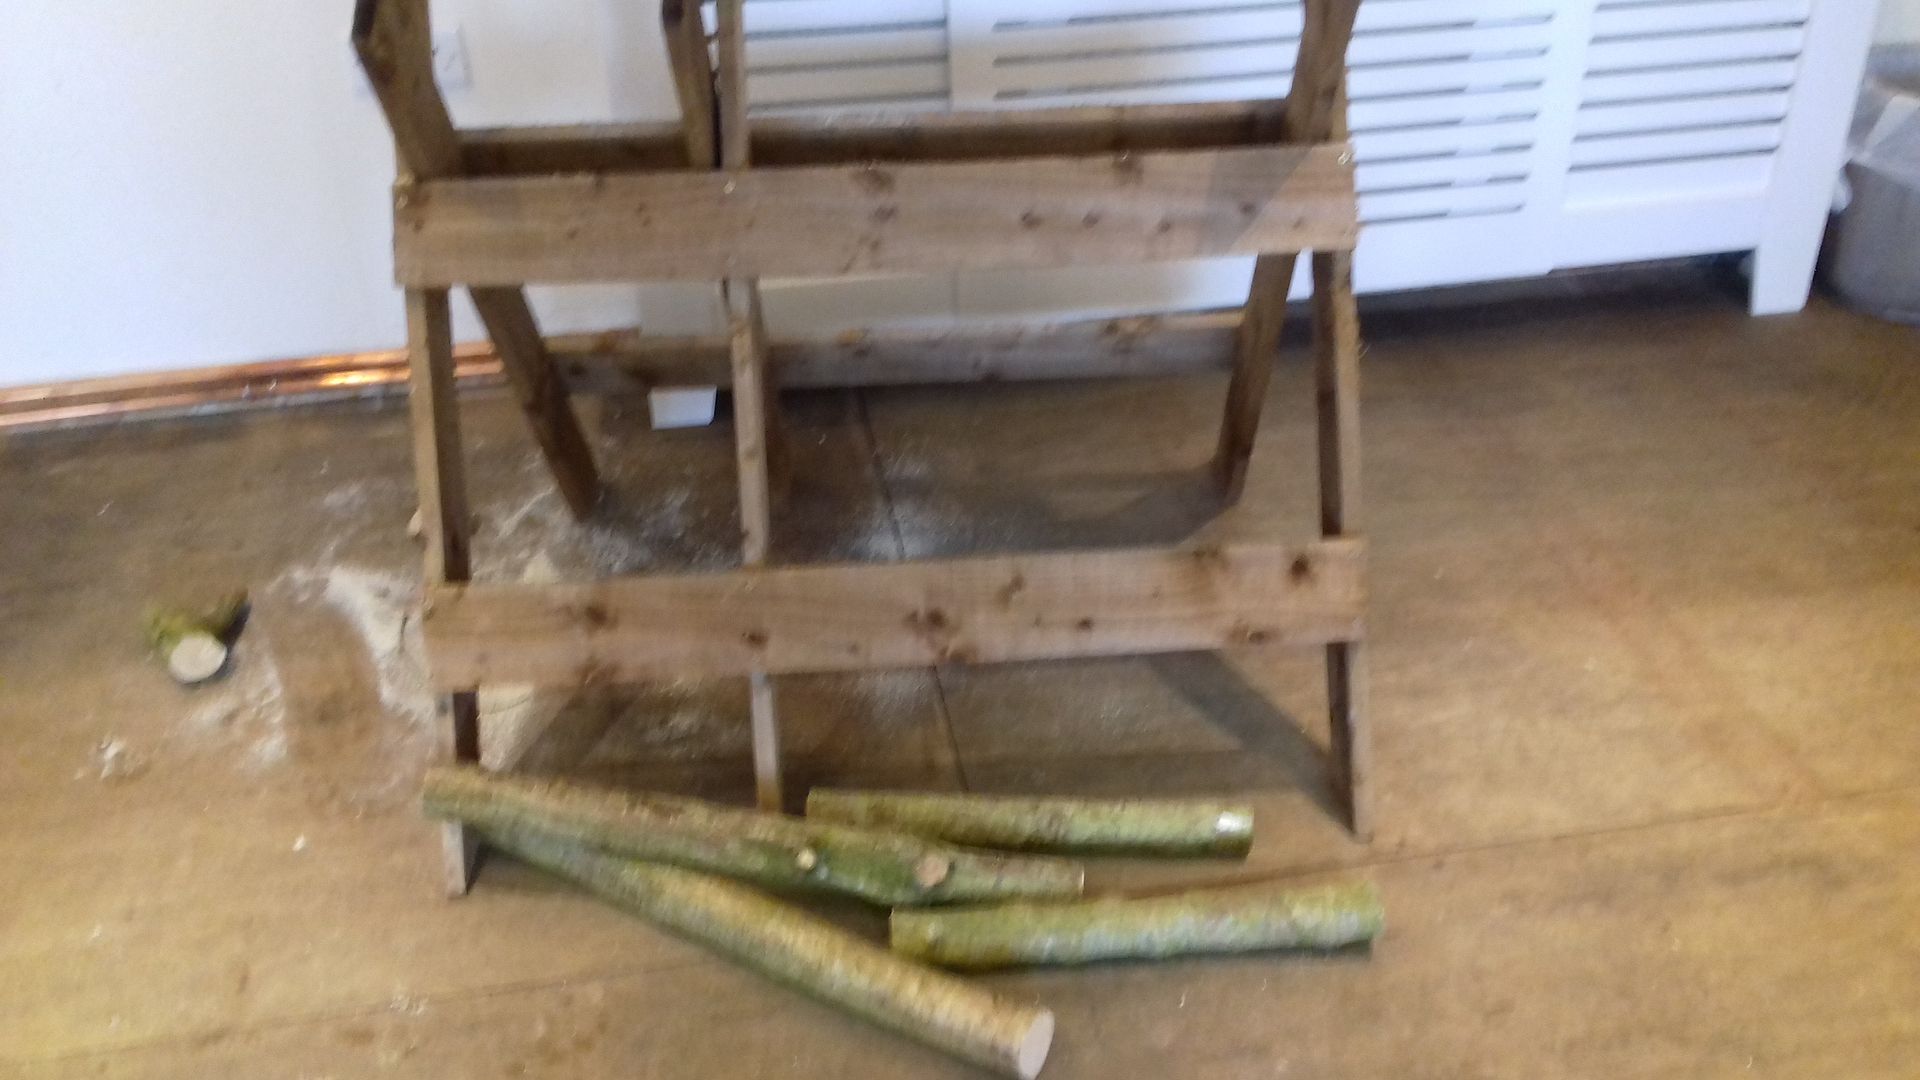
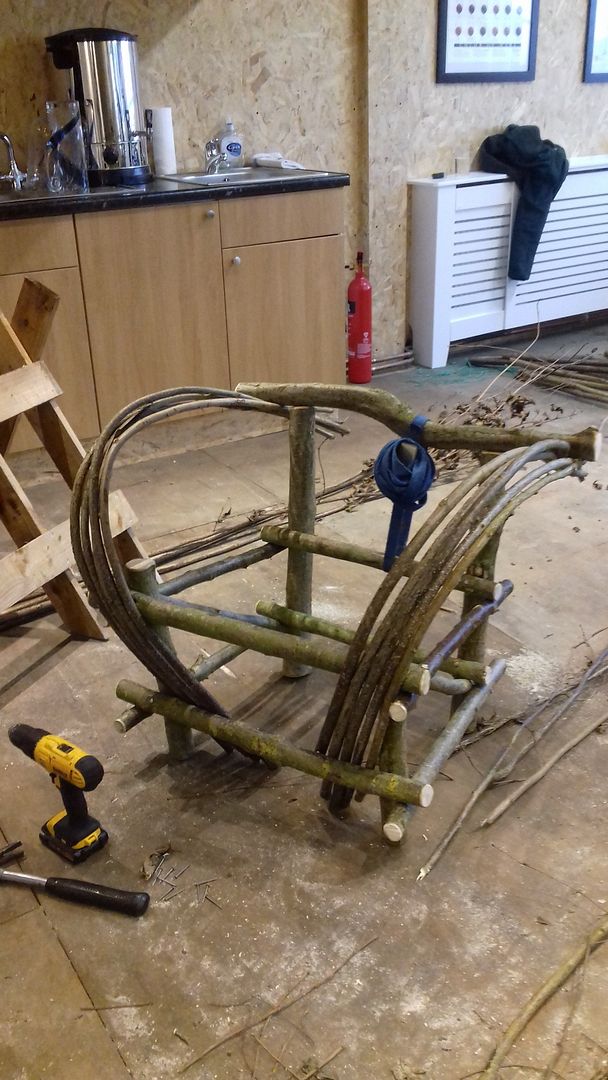
Having finished the arms, it was time to start the back! We had several very long hazel sticks that we were using for the curved part of the back.  To start we only put one of these in place and fixed it.  Then was time to add the cross struts of the back, and time to get creative.  I really wanted forked and bent pieces so I had a good old search through the pile of hazel the tutor had brought with him.


The sticks were nailed into place at the curved piece and the base, but left long to add in additional curved pieces afterwards.


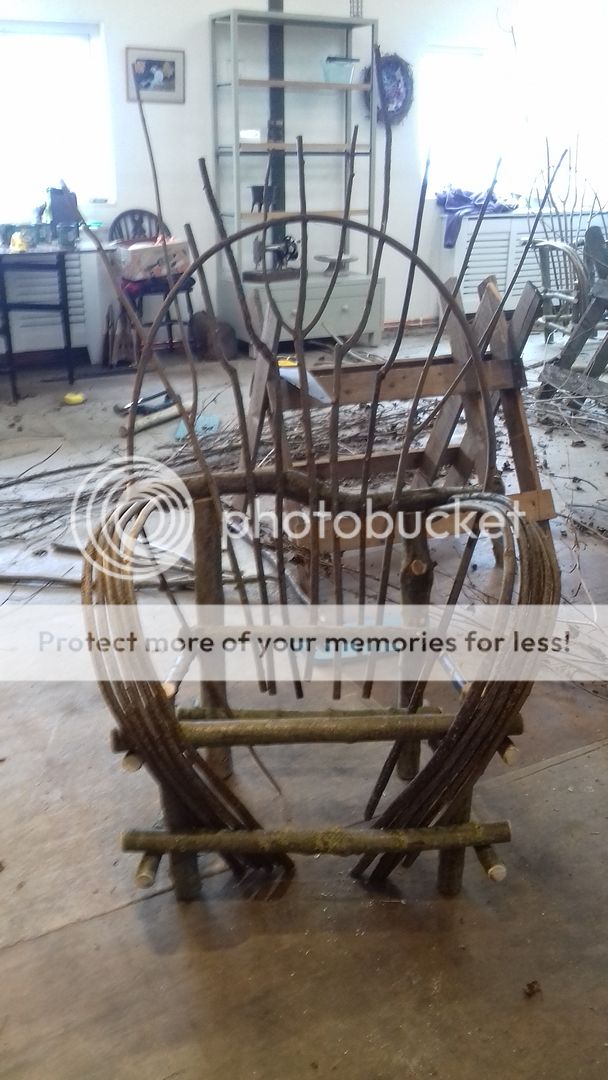
Sorry, blurry photo!  But I think you can see what I'm showing.  This was adding in the other curved pieces.  Each one had to be nailed at each and every joint so this took a while!  Several times I used a nail that was too long.  Because they were threaded nails, they were nigh-on impossible to remove, so instead they were riveted by placing a steel hammer on the pointed end that was sticking through and hammering the back to make a flat "plate" at the front.


Finally the seat was added - lengths of thickish wood all cut to the same length and nailed in place.  Then everything was rasped to neaten the edges.


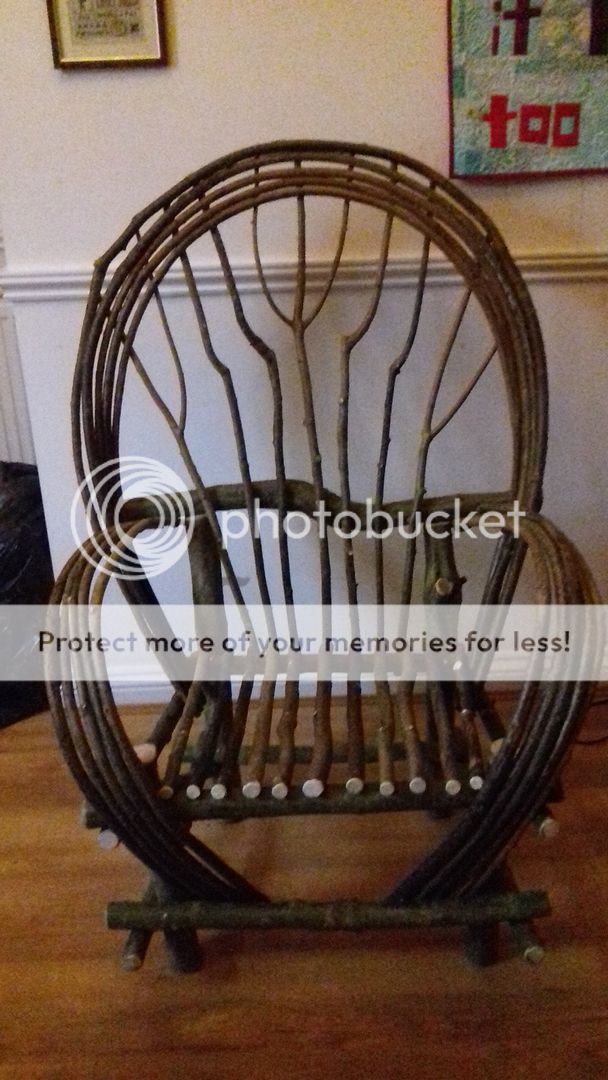
I was worried about getting it home and thought I might have to send my dad with his big car, but this fit in the boot of a Ford Focus, I only had to remove the parcel shelf!  I never measured it, but I do know that the back legs are 24", the front legs 17" and the long piece at the back going from side to side is 24" so that should give you an idea of the size.


It is an outdoor chair but it's currently sitting in my dining room.  I will put it outside, but thought I'd wait until all these blizzards we keep having finish to give it a chance of surviving!  The tutor said the life-span will be about 5 years if we look after them.  I'm not sure if I'll be able to bring it in in winters, but I do intend to coat it in Danish oil to help it last longer.


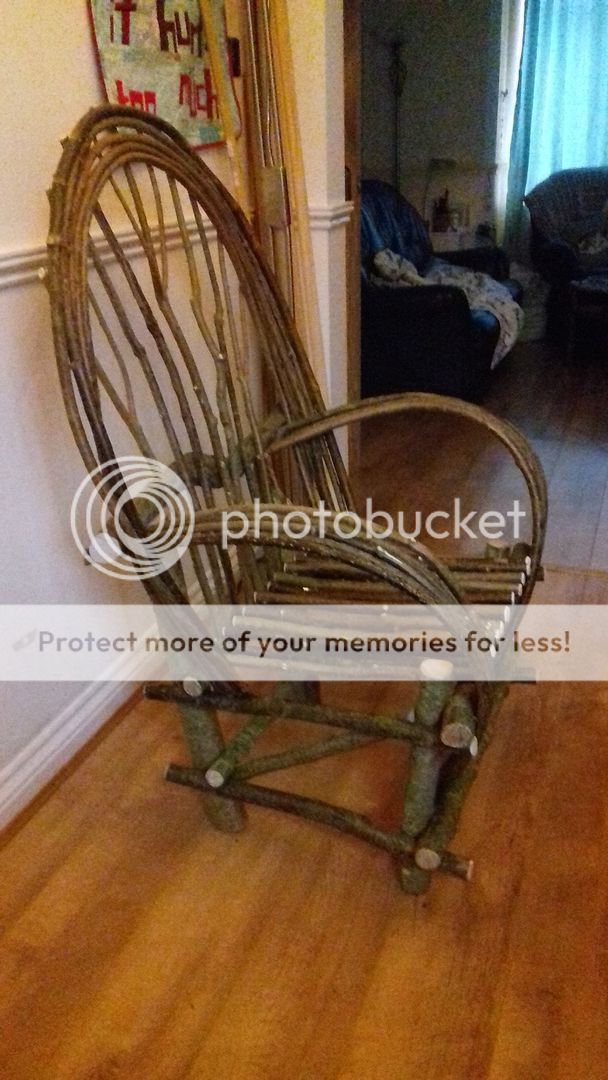
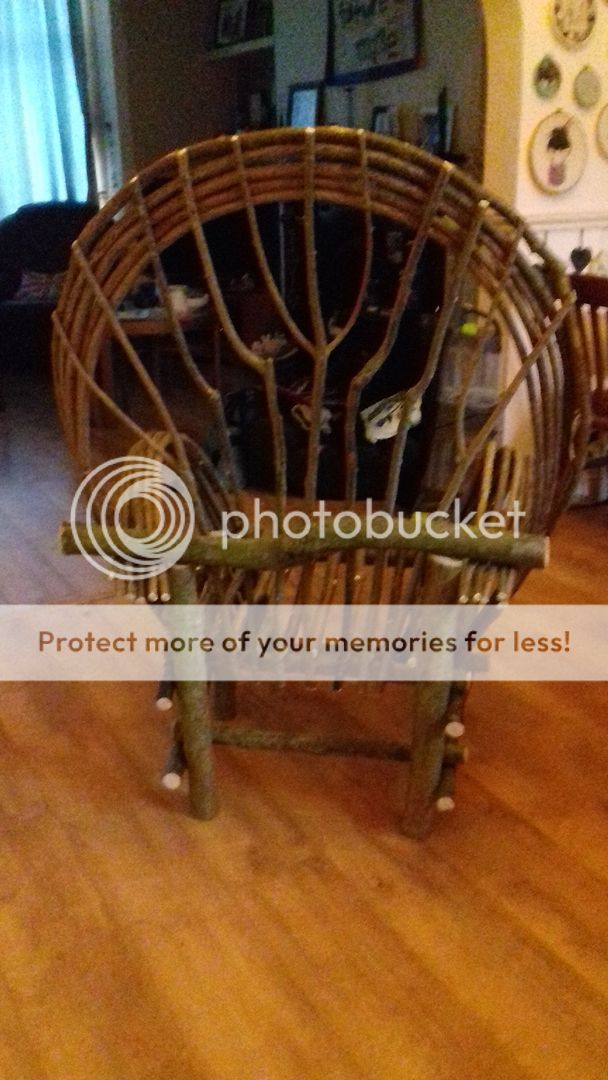
Just thought I'd show you from all angles!


I thoroughly enjoyed this class and intend to sign up for the make a stool workshop at some point.  I couldn't believe how much I enjoyed sawing, drilling and nailing and the satisfaction of building a chair was immense!


Wednesday, 21 March 2018

Bentwood chair - part 1

It's been ages since I last wrote a post, and this one has been sitting in my drafts folder.  Life seems to be getting busy again, especially as I went to 3 gigs last week! I'm still struggling a little with work / life / craft balance, but I hope this will improve once my craft room is finished.


At the beginning of March, I attended a 2-day craft class at Rural Antics to make a Bentwood chair.  After the stained glass window I made a few years ago, this is probably my biggest project to date!  We started on a freezing-cold and snowy Saturday in the barn.  We were provided with loads of hazel sticks and we had to cut them down.  Above is my first cut with the saw!


The wooden structure is the saw horse we used to cut our sticks.  Here are the first four that I cut - the legs.  The fronts are shorter than the backs.


After cutting, we rasped the ends using a small tool which looks a bit like a cheese grater.  This smoothed off the ends and took the bark from round the sides of the end, giving a lovely finish and helping to prevent the wood from soaking up too much moisture.  


Next up were the cross struts for the sides of the chair.   We were selecting thicknesses of stick as appropriate to the function of that piece, and also how we wanted the chair to look overall.


Then came the drilling and hammering!  I LOVED this part.  Actually, I loved the sawing and rasping too...  The drill made a pilot hole, then long threaded nails were used to hold the chair securely.


Here are my two side panels against the saw horse to give you an idea of scale.  As I was making this, I was posting on Facebook and got a lot of comments as to whether I was making a child's chair or a chair for a gnome.  It's actually a full-size chair and is pretty big!


Balancing the sides to drill and hammer in the back and front struts was tricky to say the least!  With it propped against the wall, I actually had to enlist the help of another course-goer to keep it steady while I worked.


The back-bar is one of the focal points of the chair so that piece of stick was selected with great care.  I wanted a piece that wasn't uniform and straight.  I found the perfect stick and then had to do a bit of sawing, rasping and chiselling to make sure it sat firmly on the back legs.


At this point the backs had to be strapped up to make sure they didn't ping off when we started adding the pieces of bent wood.  As we were basically using bits of twig that were bent to shape, they would exert an upwards pressure on the chair back, so we strapped them up and then periodically checked to make sure the nails hadn't come loose.


Then came the arms.  We chose long, straightish pieces of hazel that were relatively thin and bent and pushed them into place.  At this point, they are just held in place by magic, but afterwards I did nail them all together.

At this point, it was after 4 on Saturday and time for us to go home.  We were all exhausted!  We went back the next day to finish the chair, so I will put that in a separate post (and try not to leave it so long before I publish it!)