Showing posts with label craft class. Show all posts

Wednesday, 28 November 2018

Temari ball craft class


A couple of months ago I did a workshop at Threads in Derbyshire.  It's taken me this long to post about it as my life has been so hectic recently.  I'm not sure I'm going to be able to continue blogging, I haven't blogged in weeks and I'm 2 weeks behind on my blog reading... time will tell.

Anyway, back to the class.  We made Temari balls!


The photos above and below are my ball at the end of the class... I was so close to finishing!  And, first time ever, I finished it off when I got home - photos later.


Cathy always provides a kit, and scissors are available, so you don't need to bring anything except your lunch.  There's also plenty of homemade cake throughout the day...


We chose our colour schemes from packs that Cathy had made up, I deviated slightly from my usual blue/purple preference to blue/pink!  The ball is a small styrofoam ball that Cathy had wound with old tights before the class to save time. This gives you something to sew into.


First we wound the ball with yarn, just to cover the black from the tights.  We chose something close to our thread cover in case we missed any parts, or any peeked through.


And then we wound the ball with thread.  Just ordinary sewing thread.  Yes, it took quite a while!
  

Next came measuring to divide the ball up - I think we made 10 section balls?  This stage took AGES as it had to work from all different directions.


Perle 5 was used to mark out the divisions...


Then the embroidery began!  We started with a pretty basic ball.  It's fun and soothing.  During the class Cathy showed us various other examples and wow... you can make some amazing Temari balls.  If you haven't come across this before I would recommend Googling it.


More embroidery... We had 3 different colours of Perle cotton plus one sparkly thread in our packs.  It was up to us what combination we used and how many rounds of each before changing colours.


As my measuring wasn't completely accurate, I did have to fudge a bit on the number of outer rounds to make the edges meet.  Cathy did point out that it doesn't matter too much and showed us some examples of embroidering other designs over those marking threads you can see a tiny bit of above.


I'm not sure what the picture above was taken to illustrate!


And here's my ball with the internal silvery bits added!  They didn't take long at all and, I think, really finish it off.


This was massively enjoyable and a great way to spend a day.  If you are in the East Midlands area, I'd definitely recommend any of Cathy's classes, I've done a few in the past, including Schwalm and Crewel.  I bought another kit to make a second ball...  of course, I haven't got round to it yet!

Thursday, 11 October 2018

Green wood working class

Near my house is a lovely area.  It used to be a wholesale market and has recently been regenerated.  It is made up of a series of units occupied by artists/crafters, along with a Handmade shop (where I took the lampworking class), cafe, brewery and tap room; and a Vietnamese cooking school.  New units are constantly opening up.  One that opened a while ago, and that I've been eyeing up, is By Our Hands.  Martin owns the business and runs workshops making things from green wood using traditional tools.  There is no electricity in this workshop, no machines, nothing modern!  


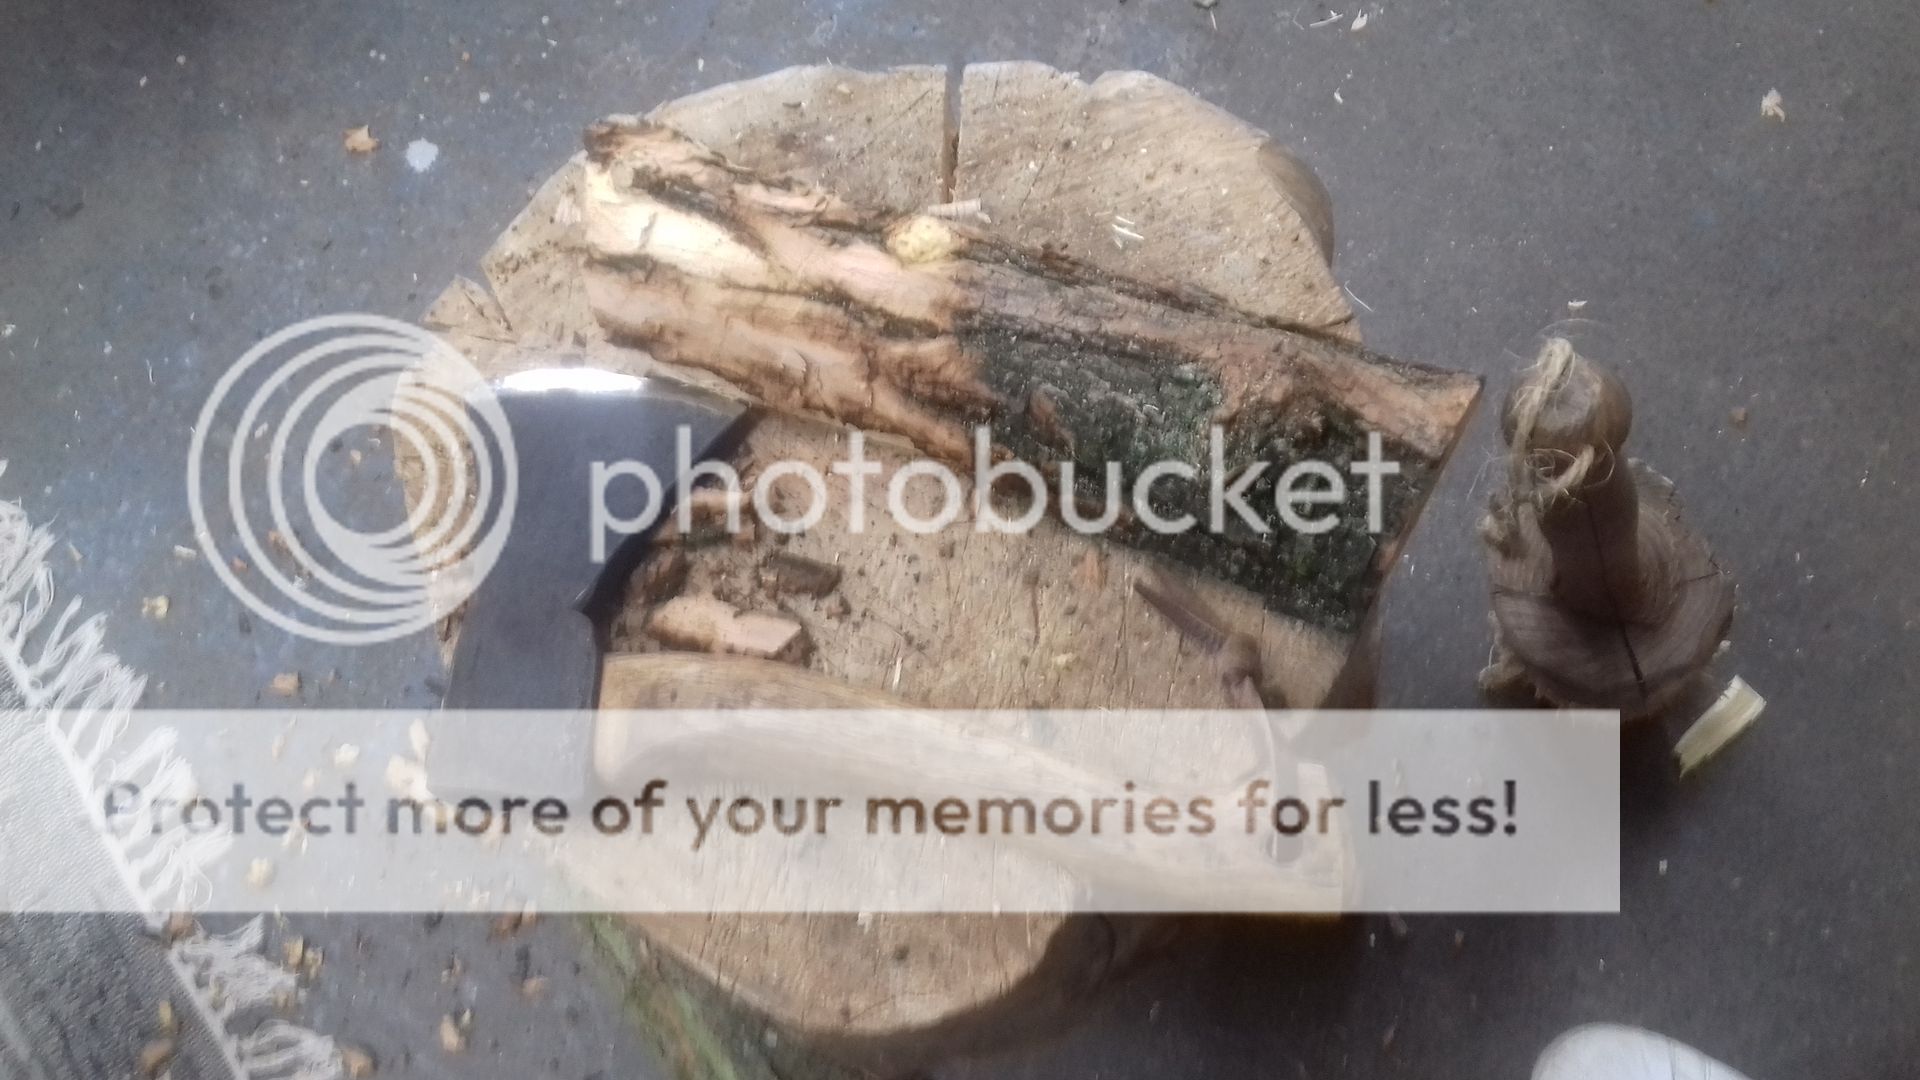
I went along with Zach, who was also interested in learning a bit of woodwork, to make a "something".  Martin runs stool making and spoon carving workshops, but this one was an Introduction to Greenwork and we were to make a spatula, or something simple.  We started off with logs and an axe.  I managed to damage Zach at this stage, I hit him with the axe!  Luckily it was the handle that hit him, and no, I didn't aim for him!  


After chopping off a chunk of wood to work with, we carried on with the axes, stripping the bark.  Zach moved over to the other side of the room...  He actually carried on using the axe to shape his spatula/spoon, but I found my comfort zone with a draw knife.


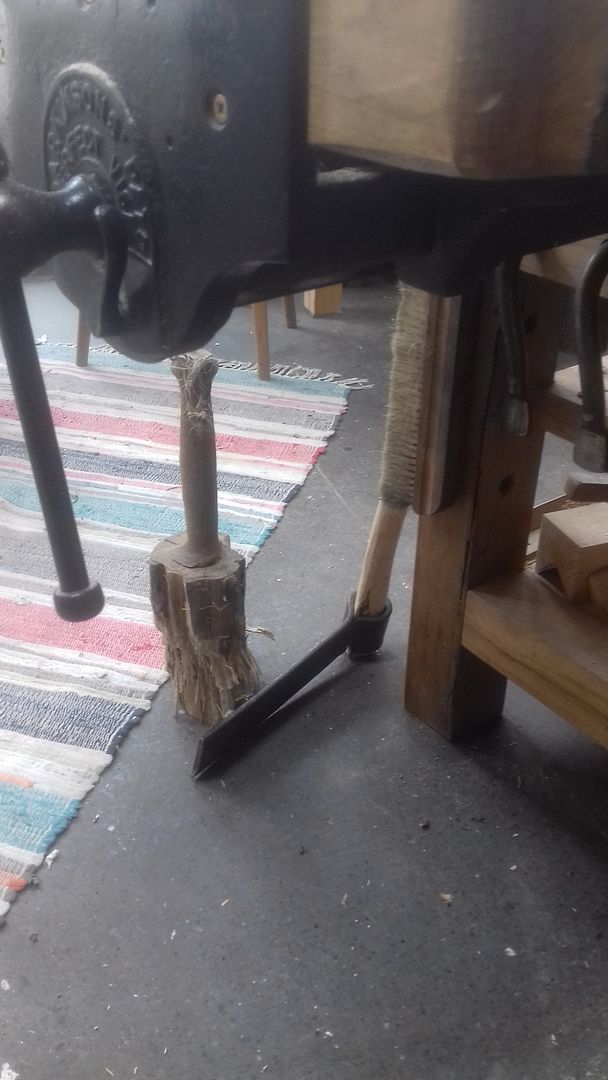
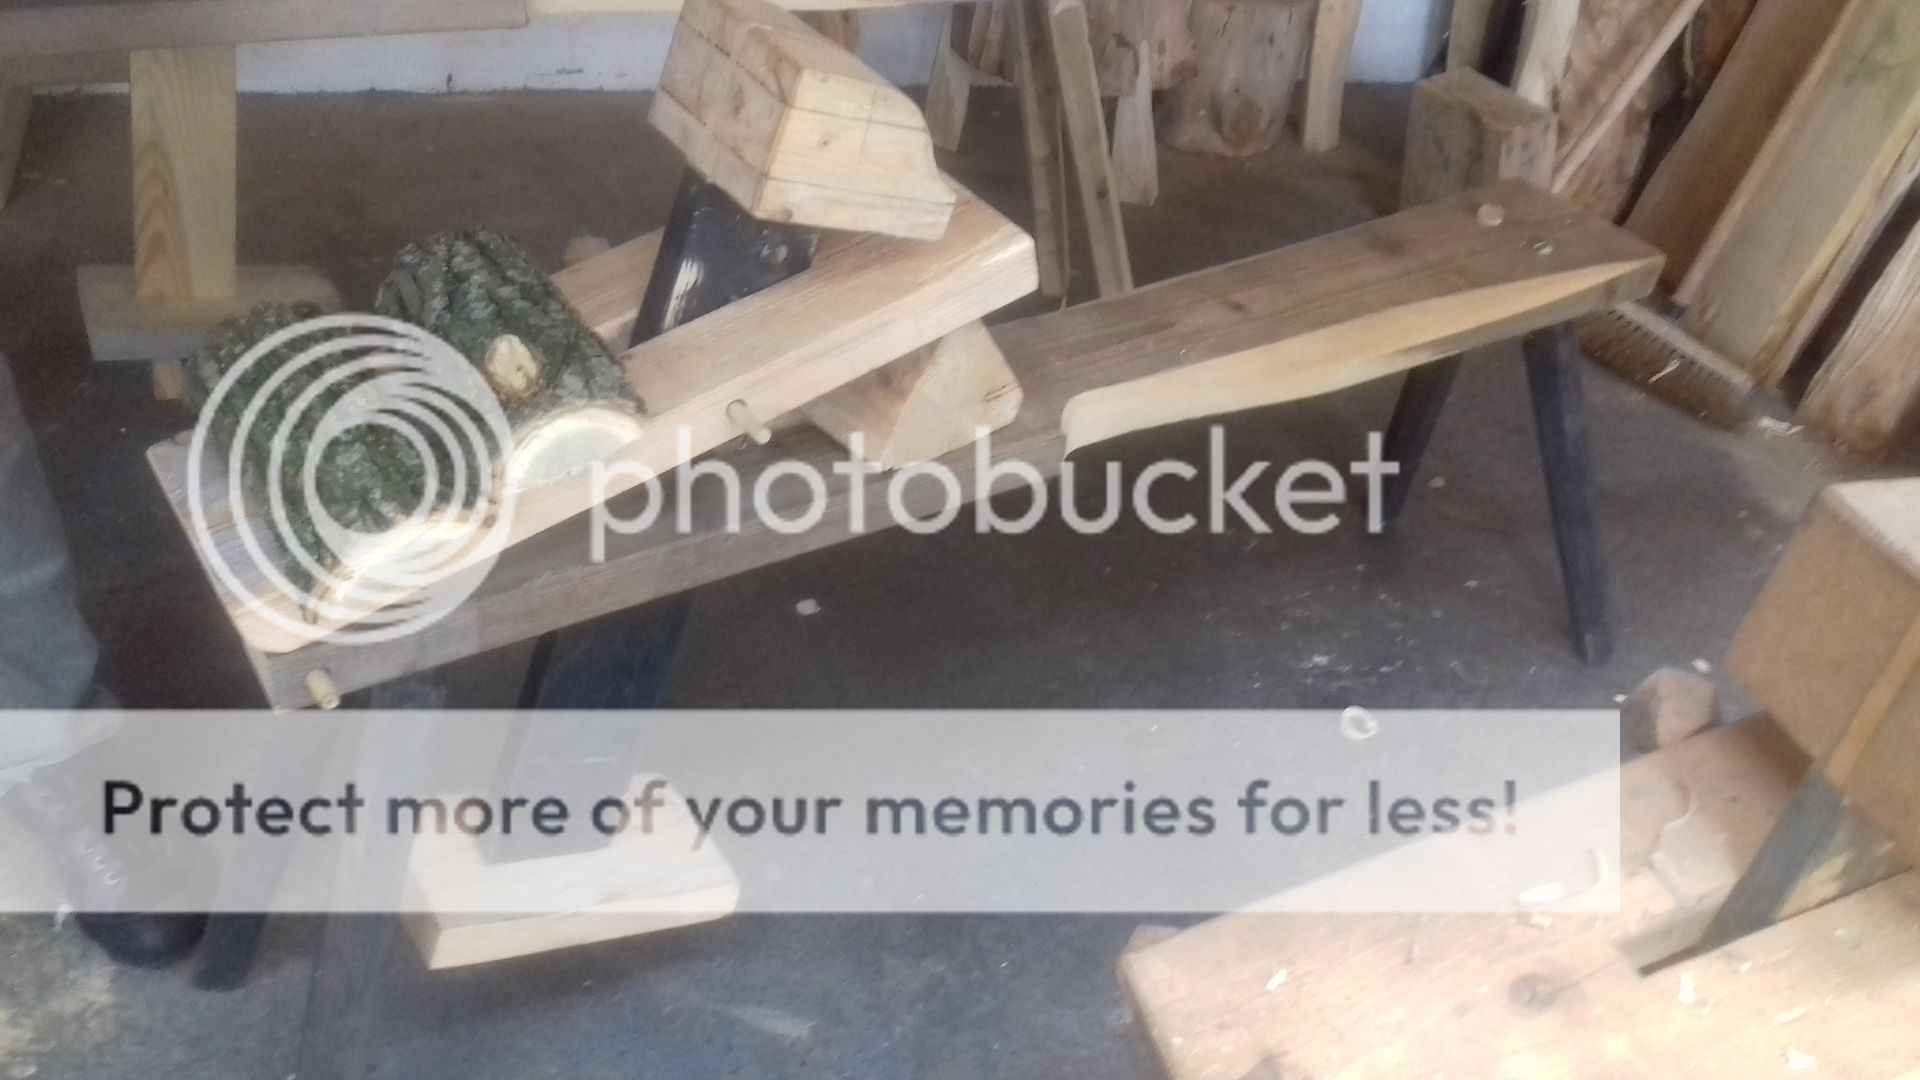
I worked sitting astride this bench.  The wood was clamped in the top and held in place by pressure from my feet on the pedals.  Much like driving a sewing machine! 


I used the draw knife to skim and slice bits off the wood to get the shape I wanted for my spatula.  I really enjoyed this!


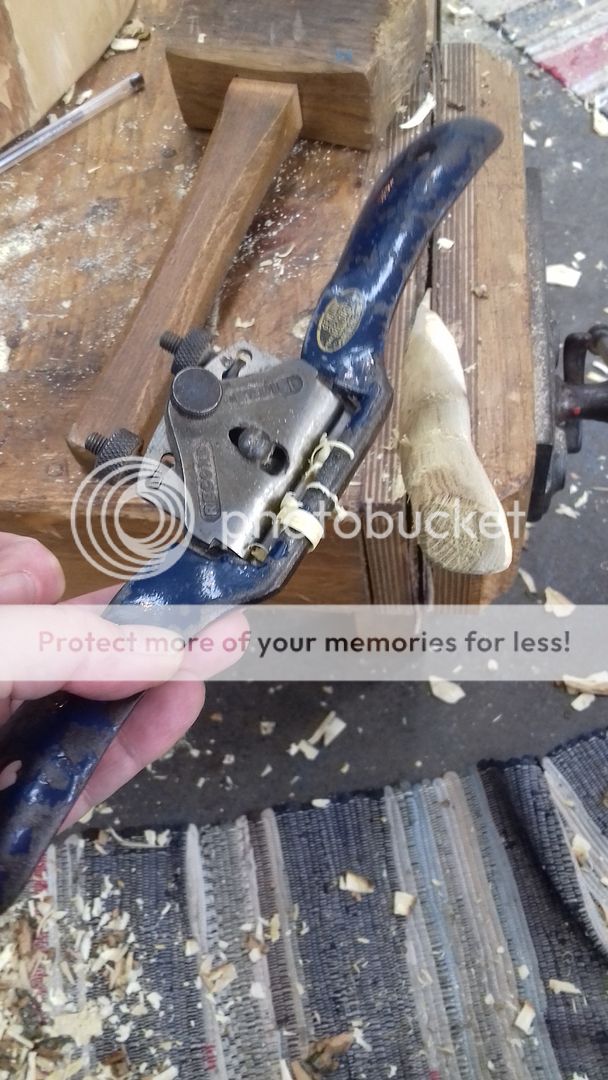
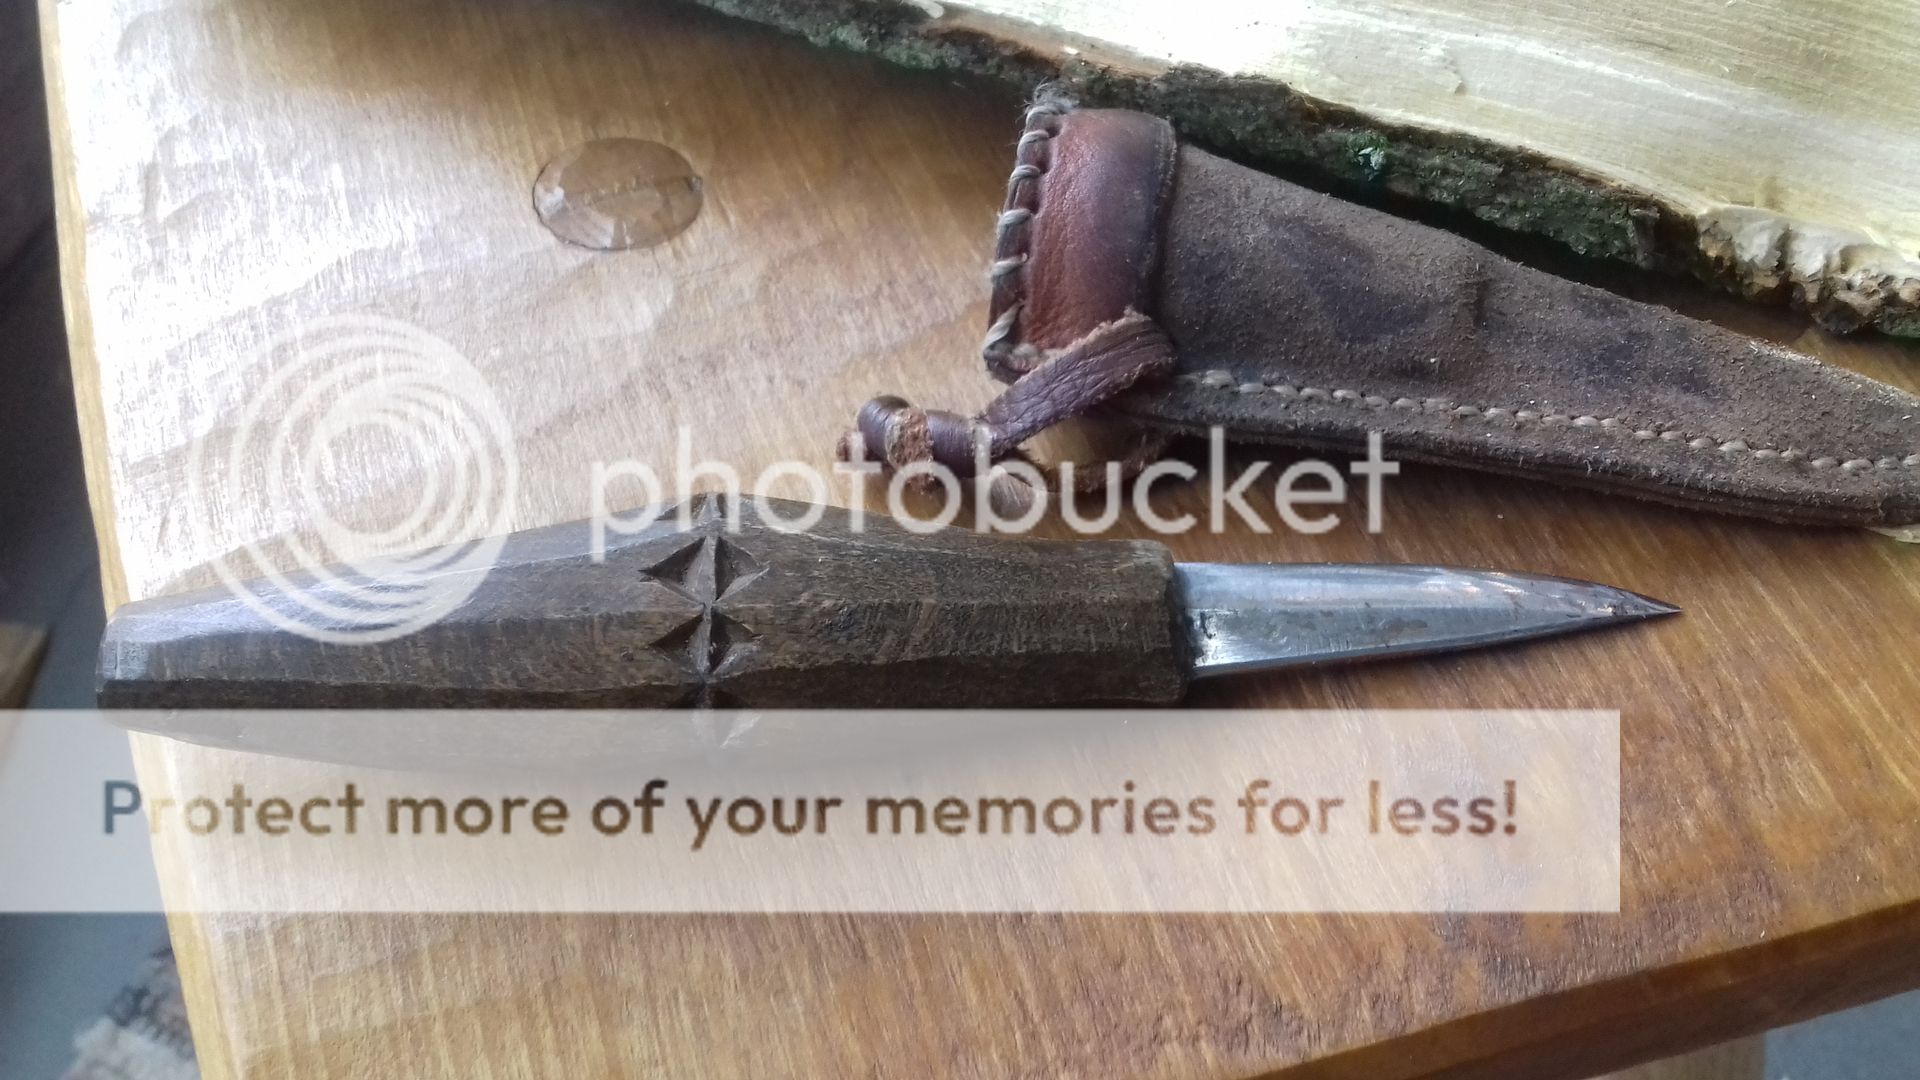
When I had a good shape, I was handed the knife shown above and a leather apron and the close-up work began.  Whittling, I suppose you could call it.  I then attacked it with sandpaper and a bit of oil and...


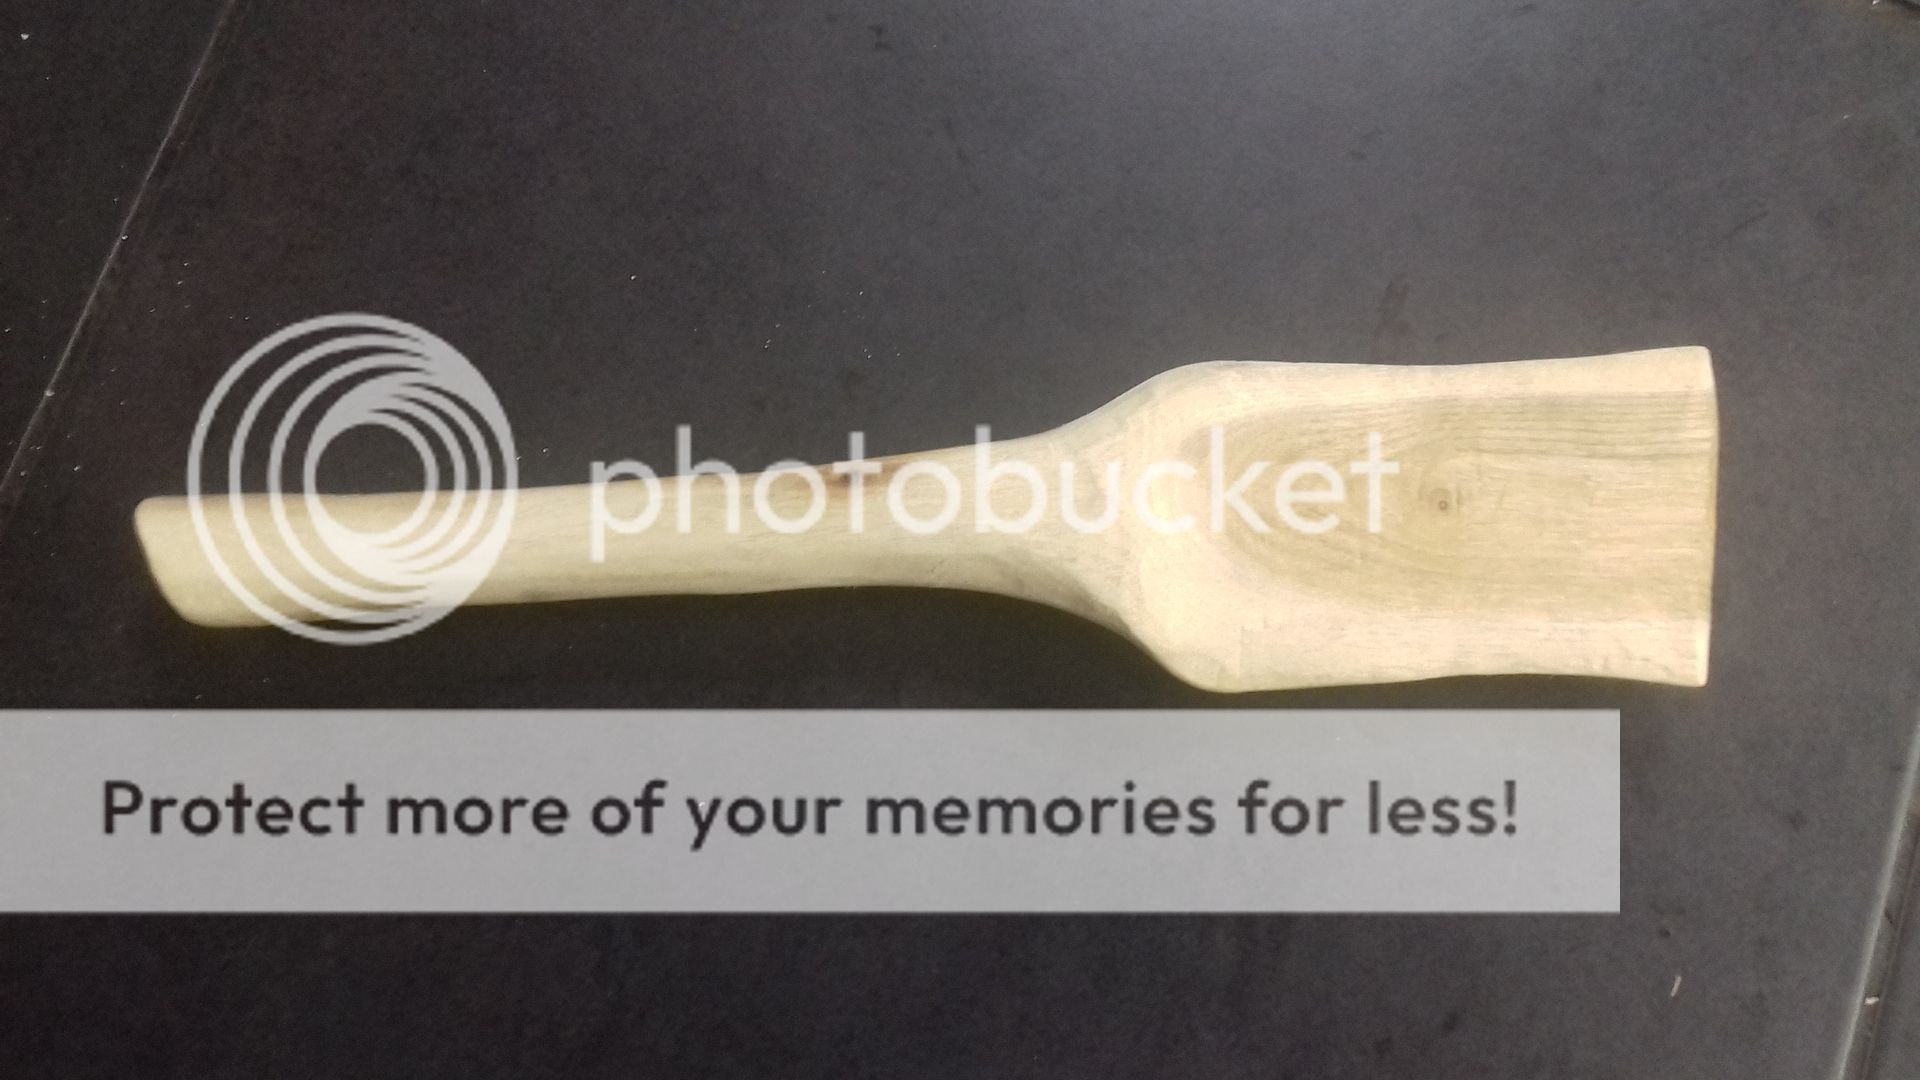
Ta-dah!  It's a spatula.  Yes, really, it is!  I carved that from a log.  I'm very proud!


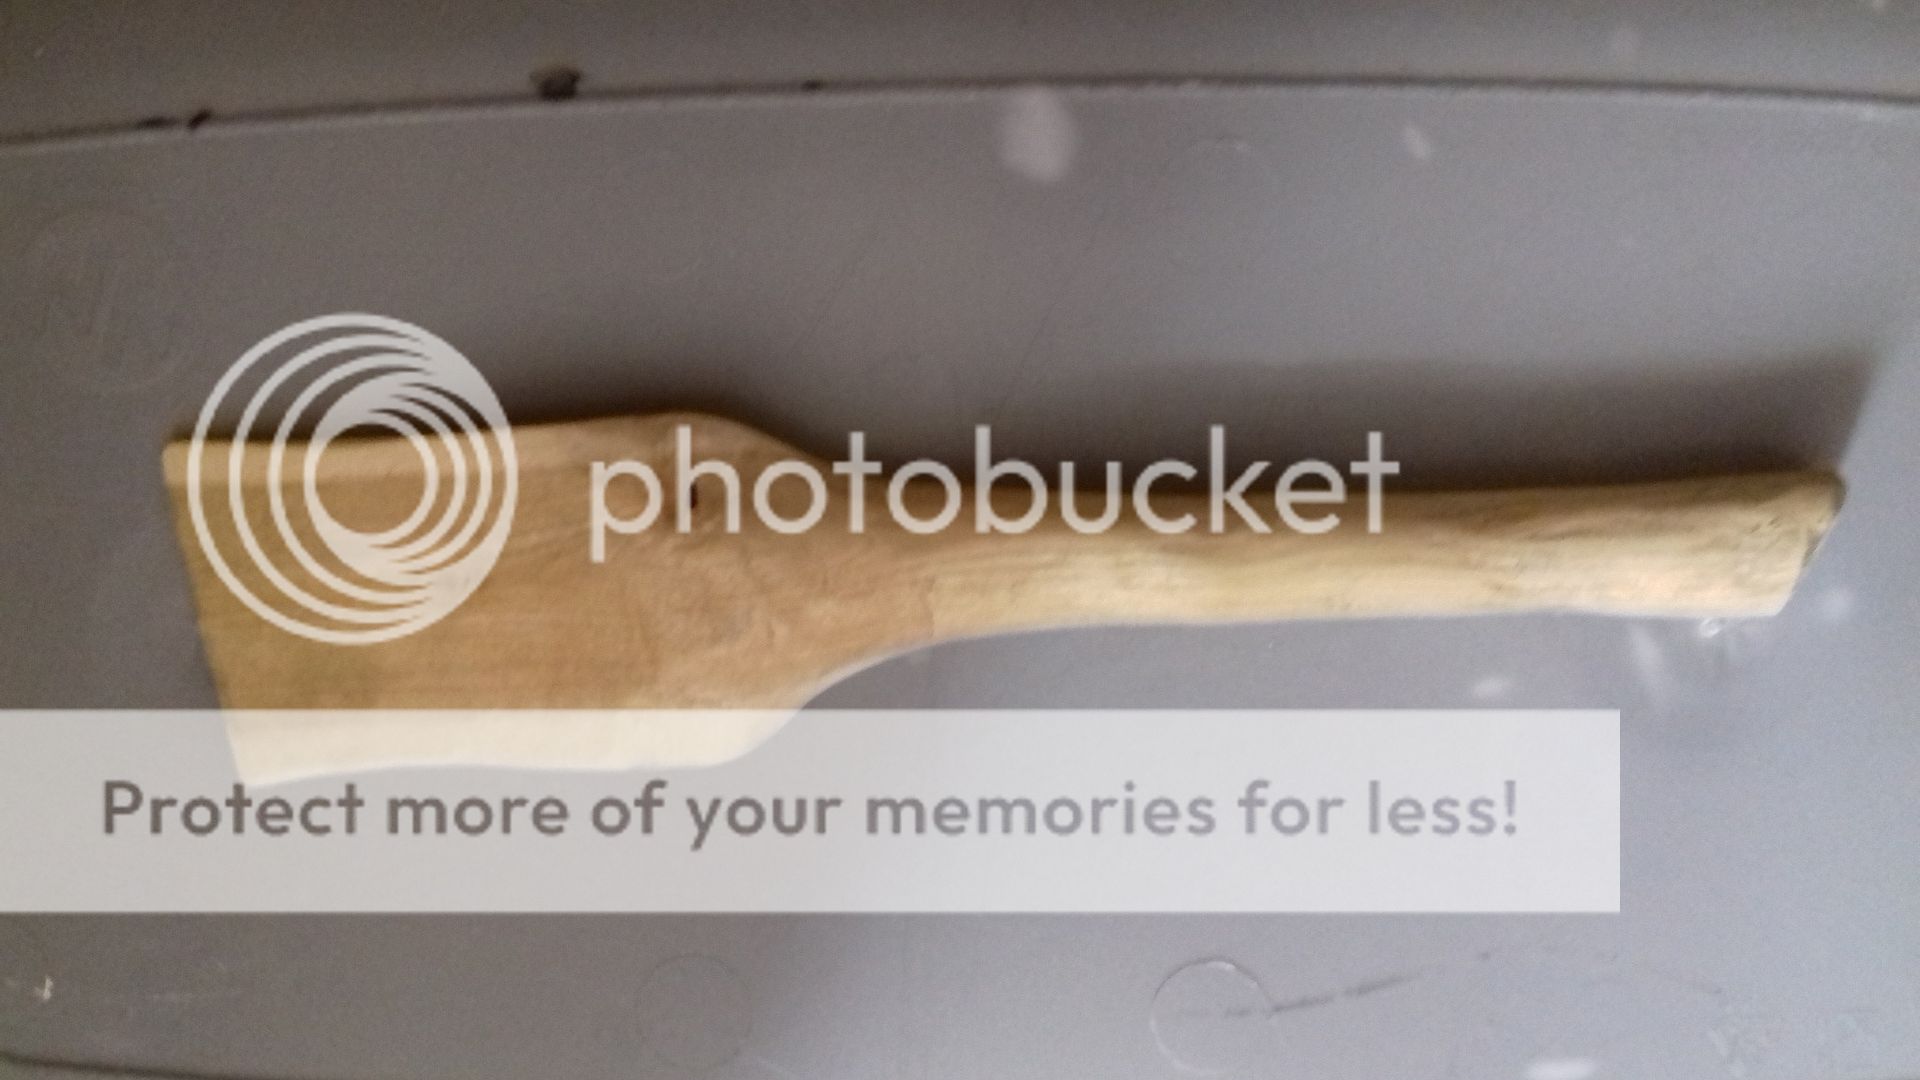
Here's the other side.  Not the best shape in the world, but hey, it was my first time and we only had 3 hours!  I didn't take a photo of Zach's spoon - although we weren't supposed to be carving spoons, he was so good with the tools and wood that he was allowed to give it a go.


Detail of the base of the handle.


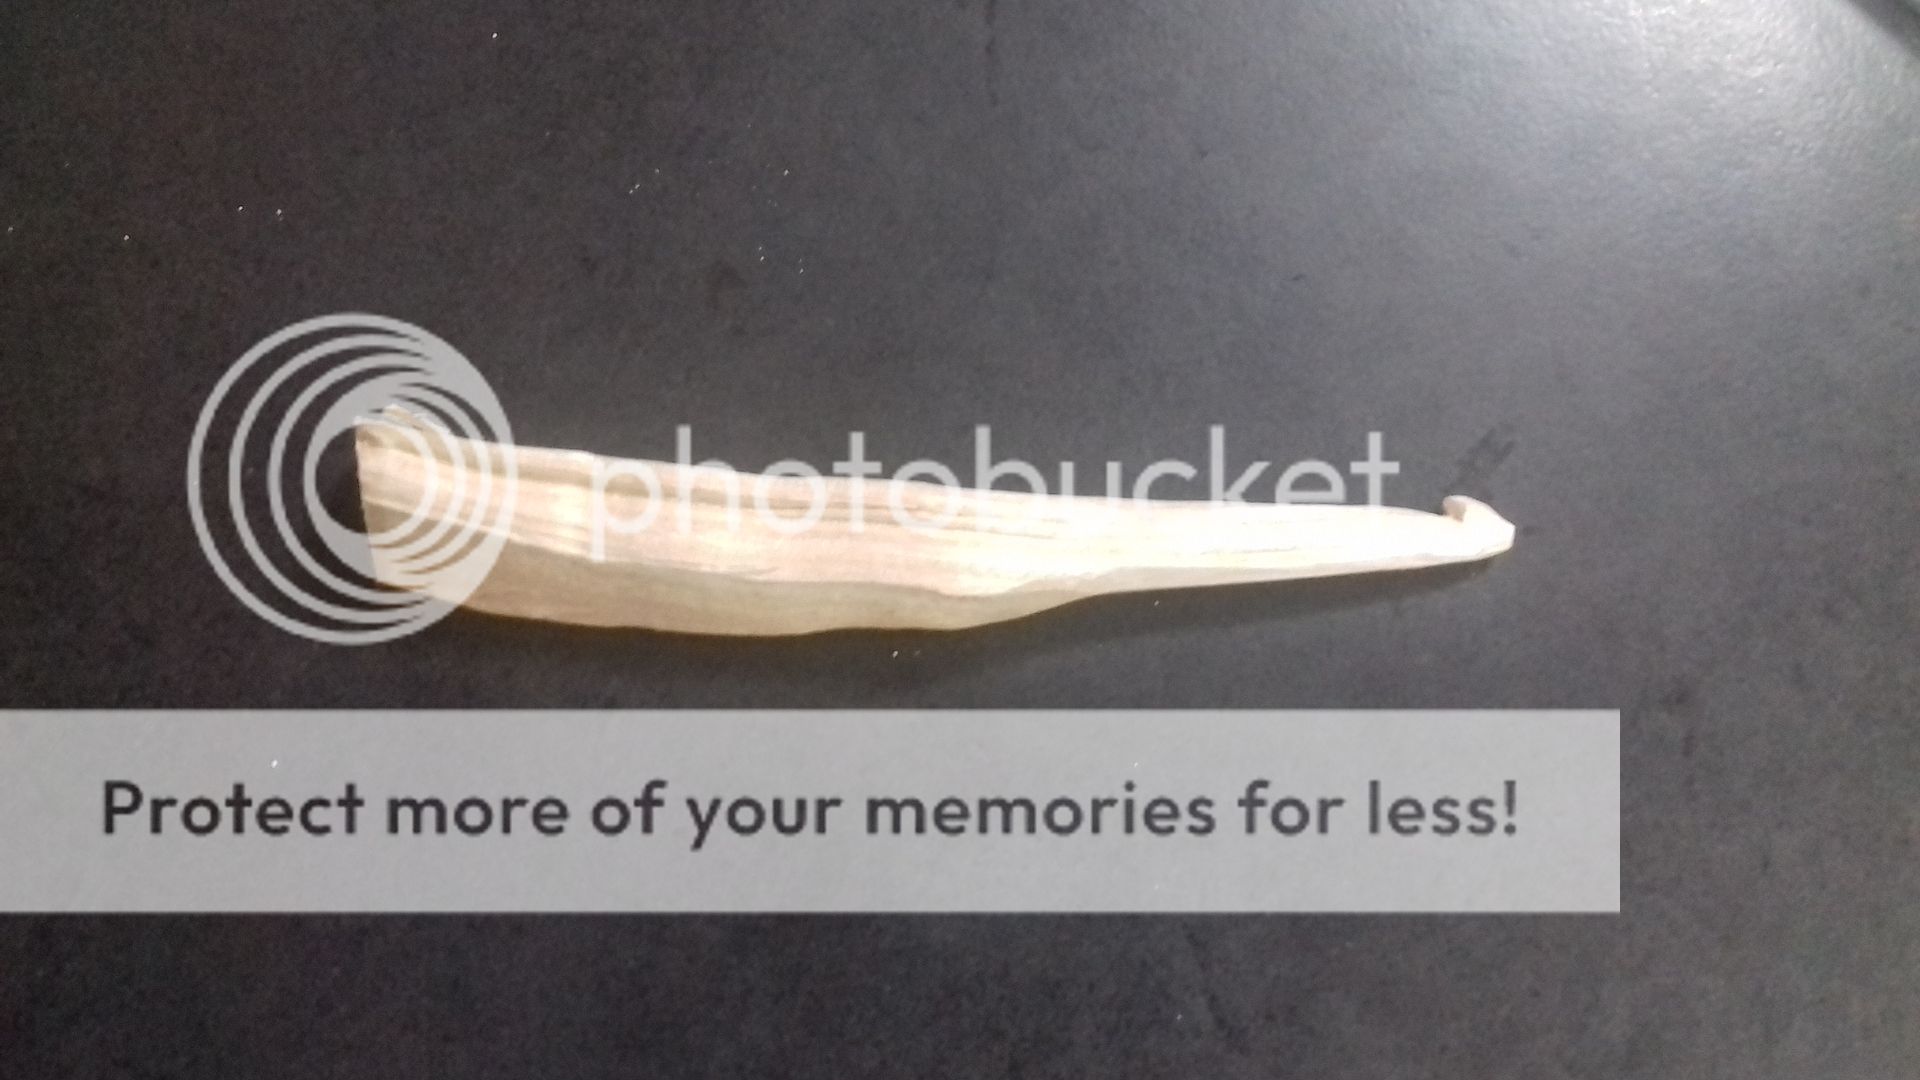
Martin carved this crochet hook for me - to show me the possibilities.  I guess I need to get myself a knife!  And a tree...

We both LOVED this workshop and will be going back to the make a stool workshop at some point.  I also want to try wood turning.  So far I've made a clock on a scroll saw; made a picture frame from scratch; made a bent hazelwood chair and laid a floor.  These are some of my favourite workshops, maybe I should give up the day job and become a carpenter!!

Wednesday, 1 August 2018

Copper Embossing - craft class

A short walk from my house is an old wholesale market.  It has been regenerated and boasts a pub, a brewery and tap room, cafe, Vietnamese cooking school, artisan chocolate maker, a shop full of hand-made goods (where I did the lampwork class) and a coffee roaster, among other things.  It's a lovely area and a great destination as they've been hosting a lot of events.  I've been to night markets and outdoor cinema there recently.  Anyway, there is also a craft shop.  It's called Curious? and although I've seen it, this was my first class there.

The tutor was Dawn Feeney who I have seen around at craft fairs and admired her work.  We were doing copper embossing.  


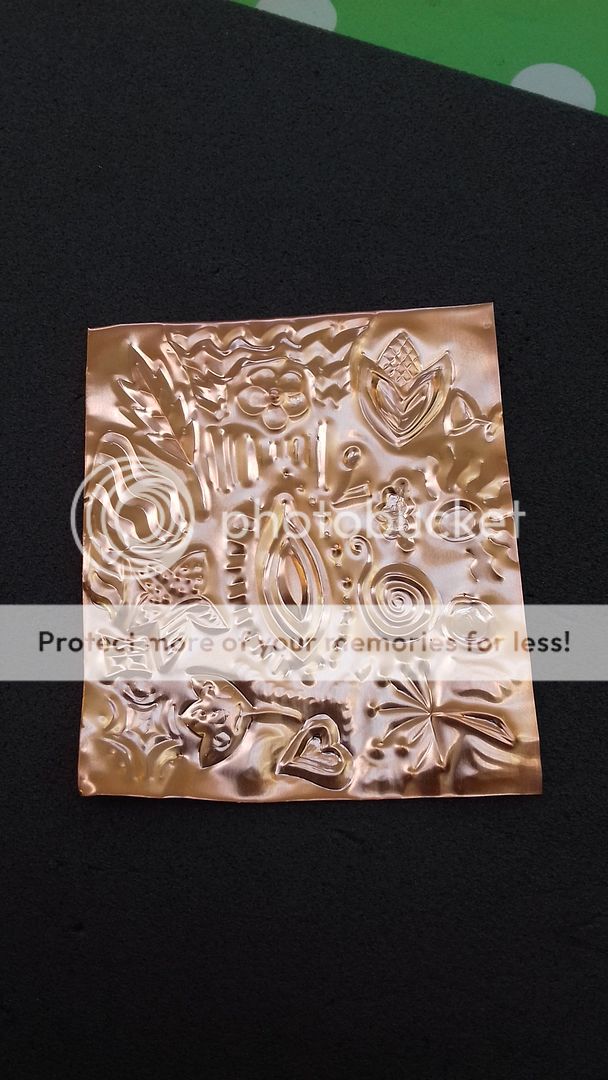
We were given a mouse mat, a selection of tools and a small piece of copper to practice on.  Dawn did a demonstration and showed us what kind of textures can be created using the various tools.  We got to work experimenting.


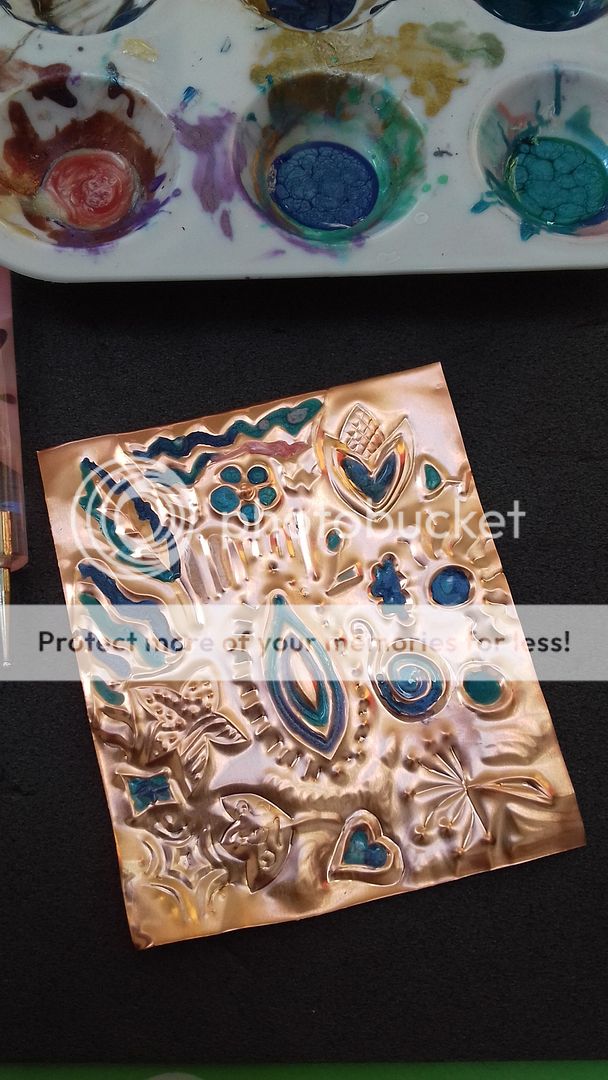
Then we had a go with the colours.  These are faux enamel paints - Pebeo Fantasy Moon and Pebeo Prism.  I have had a go with these before when I did a mixed media class at the Bead Shop, and I have some at home.  


The paints sit nicely in the little wells made by embossing from the back using a metal stylus and then flattening down the front with a wooden tool.  This was just a trial piece, so I tried a few colours out and experimented with running the colours together or layer blobs of one colour over the other.


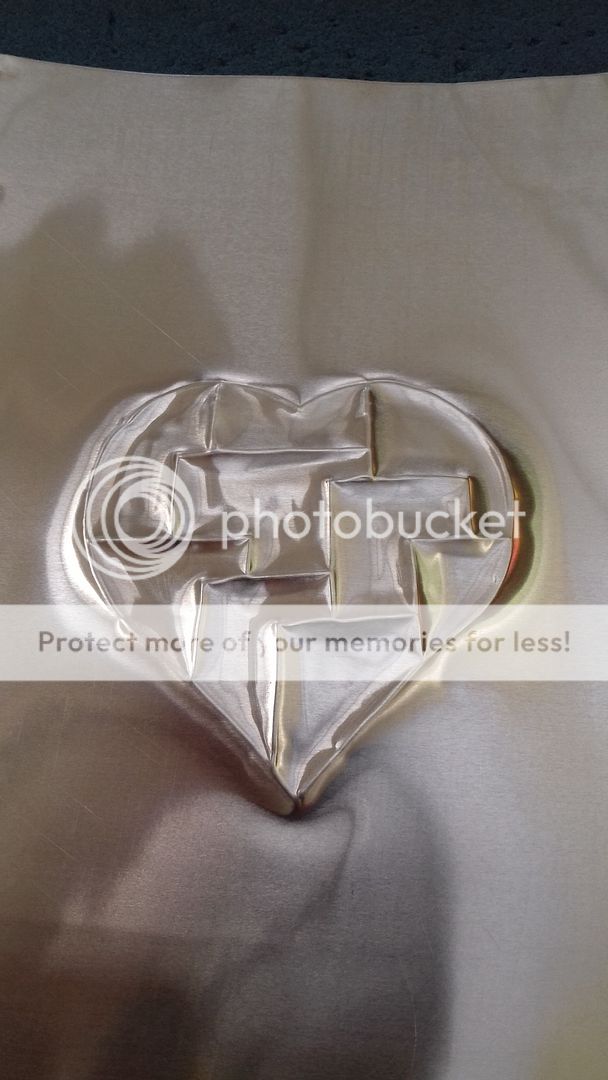
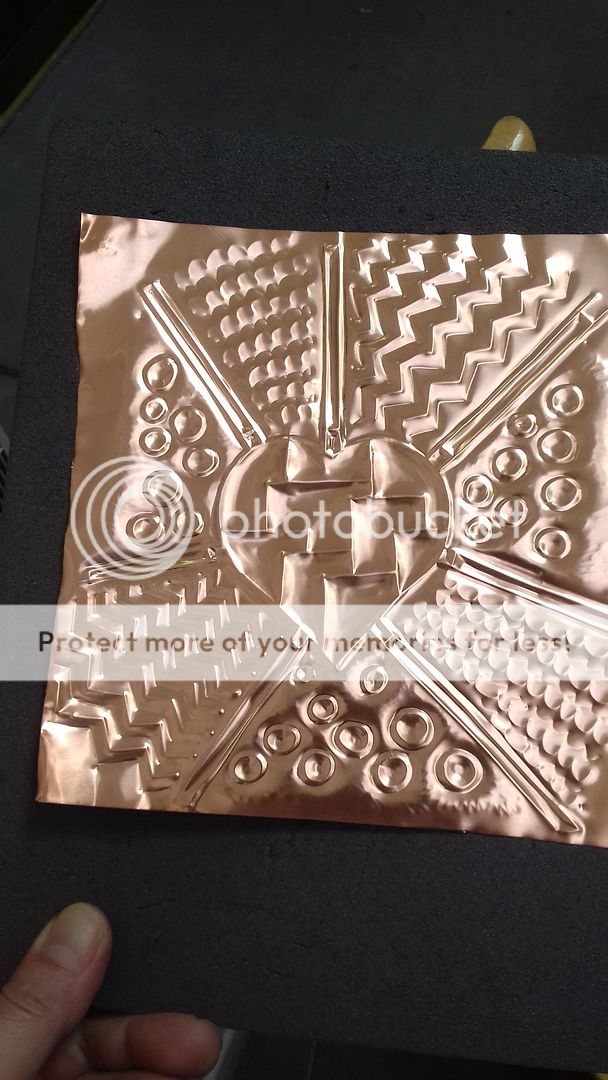
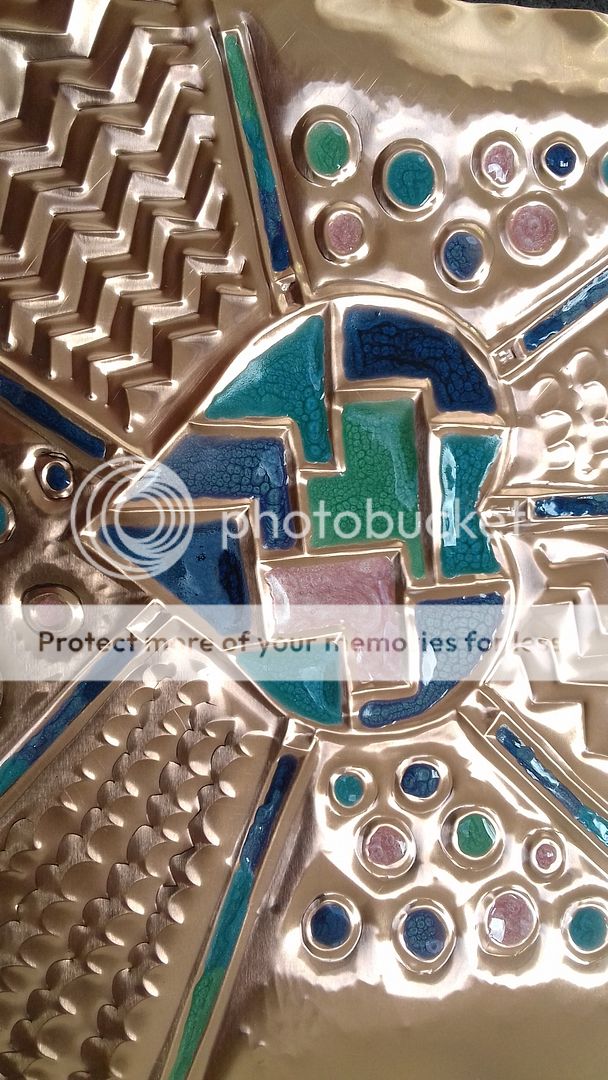
Then we got to work on our main piece, which was a copper blank about 20cm square.  I'd sketched out an idea.  Being crap at drawing, I had to stick to patterns!  I started with a heart (I drew round a paper template for that) and filled it with boxes to put paint into.


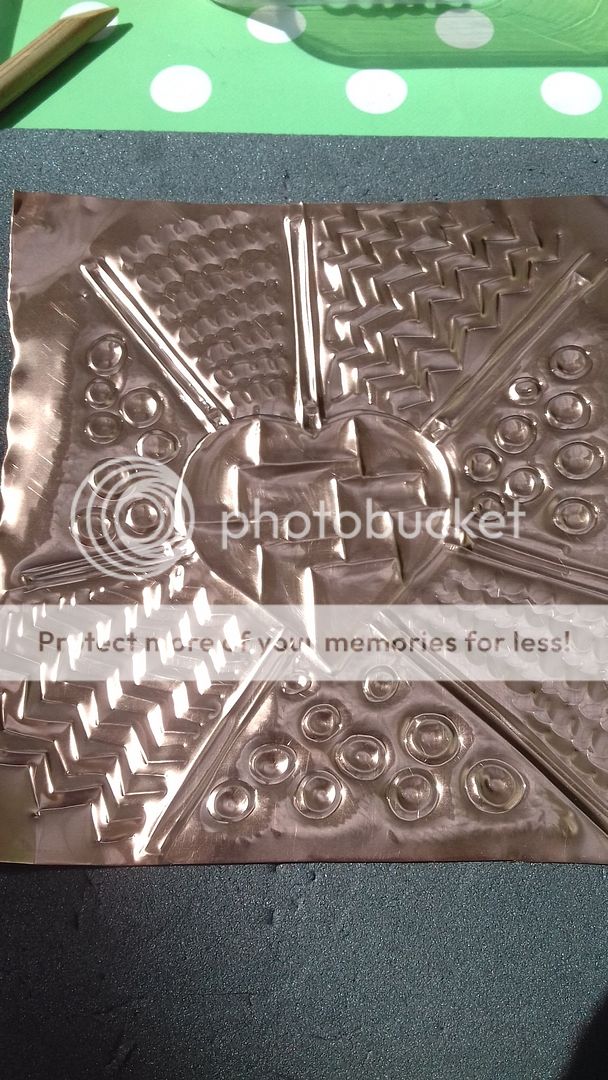
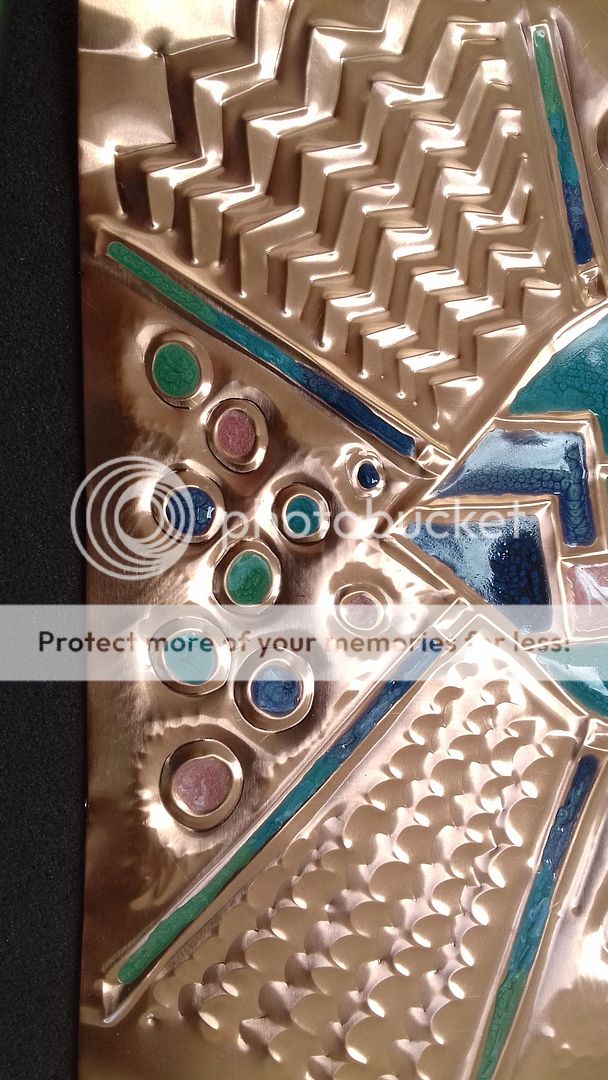
Some radiating lines to section off the background, and I experimented with different patterns.  The line based patterns are embossed from the back and debossed, by embossing on the front.  I love the texture this creates, with three different depths.


For the circles, I embossed from the back, and then went round them from the front to make the stand out more.


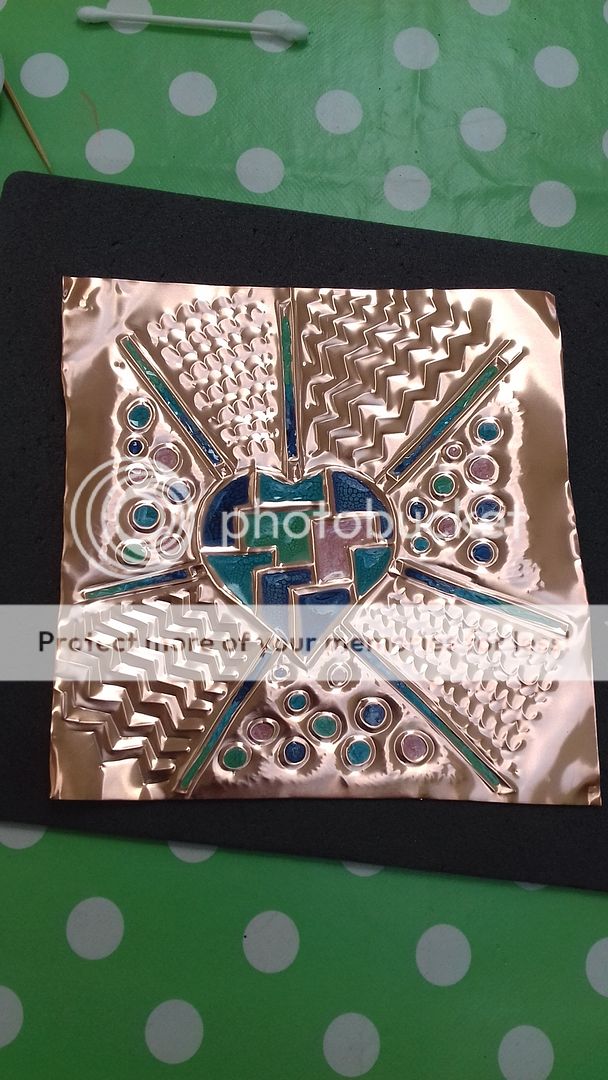
Time for the colour!  I wanted to use teal/turquoise/blue/green as these are my favourite colours.  I added in a bit of pink for contrast.  Originally I only painted the one section in the heart pink, but then felt it was a bit unbalanced, so added pink in some of the circles too.


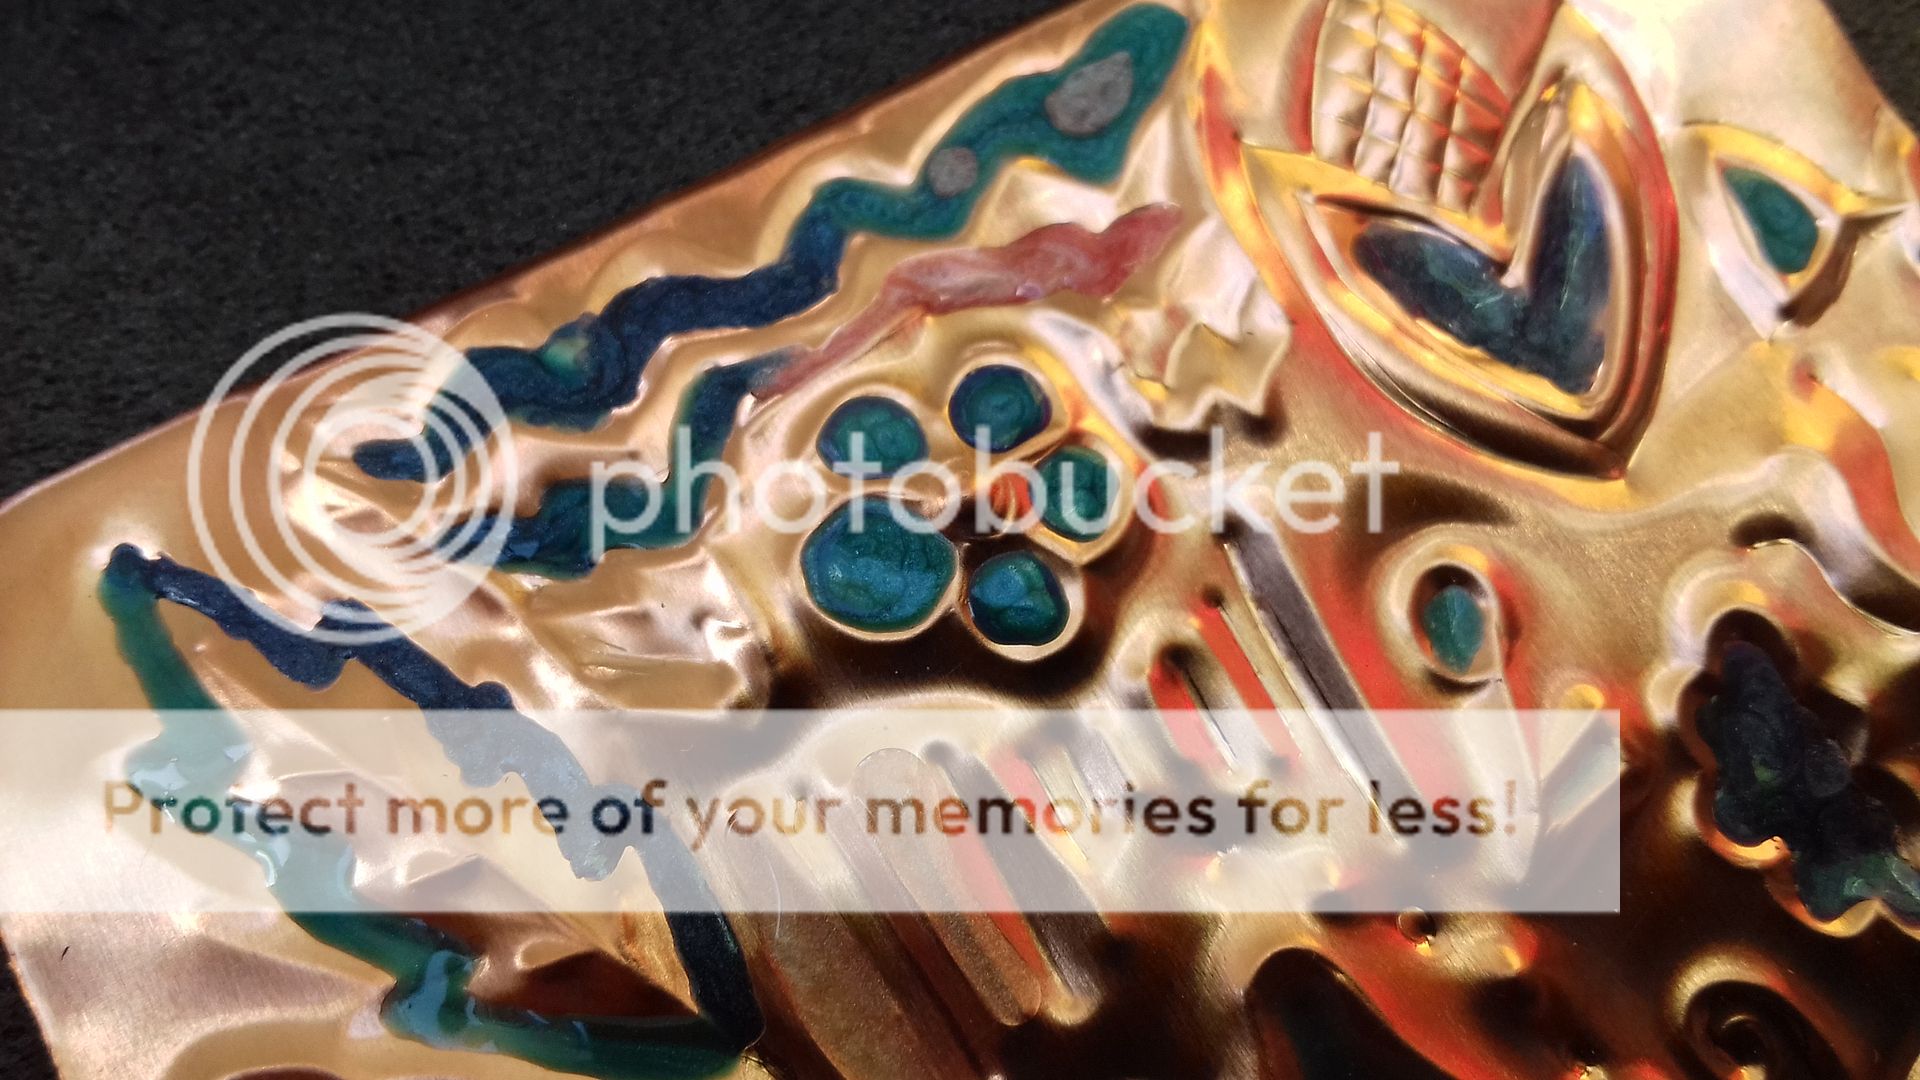
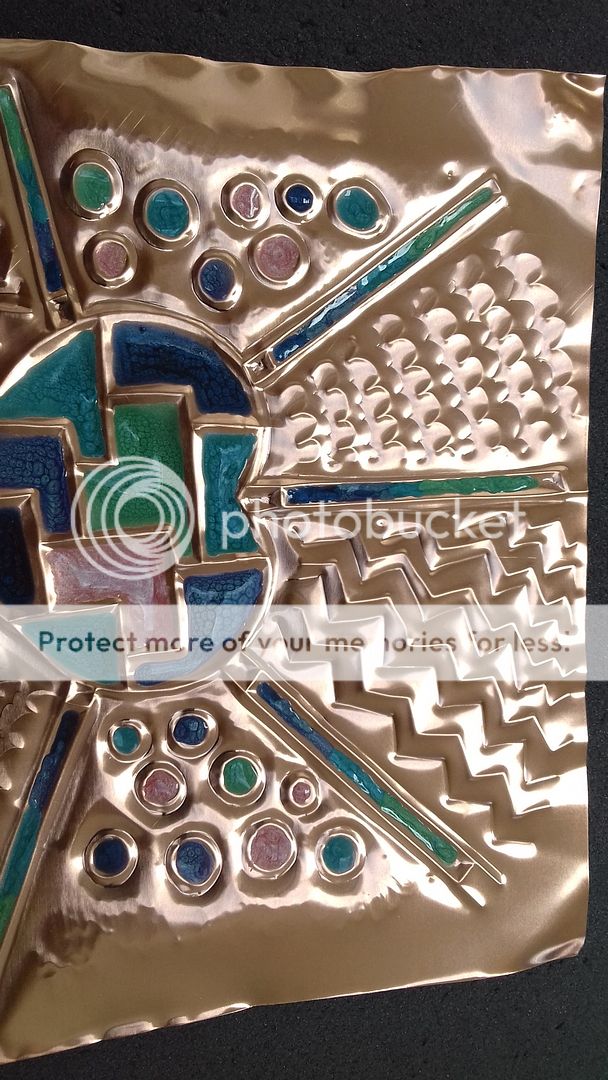
I took some close up shots, but I didn't think to take a picture of the finished object framed.  In a lovely touch, we each got an IKEA box frame to take away!  Dawn lightly mounted my picture with masking tape, but as the paint was still wet, I have to re-mount it more securely before I hang it.


You can make out the different textures of the paint in some of these pictures.  The Fantasy Moon looks like the surface of the moon with tiny craters, and the Prism is more abstract - the pink paint is Prism.


I thoroughly enjoyed this class.  Great venue with coffee and cake provided, and Dawn was a good teacher (much better than my last craft class experience!).  I'd love to take another class with her, but alas, there's not really much more to learn!  It's more a case of practice and experimenting.  You can also cut out the images and shape them, but that's something to try at home.  She did say she could do a class at her home using heat to create colour effects (there's a great example here on her home page, scroll down).  We weren't allowed to do that at the venue due to health and safety restrictions!

I can see me doing more of this, it was relaxing and enjoyable.  I just need to get some more work done on the house (studio nearly done!) and finish off summer really.  There are too many festivals/gigs/events to go to during the summer for me to get much craft done!

Friday, 20 July 2018

Craft class - Pottery throwing

A very photo-light post today as it's about the pottery throwing class I went on, and being covered in clay is not conducive to handling your phone!

I threw a pot at the Manor House Hotel back in 2014 when I had a fab week there with my mum.  Since then, I've wanted to try it again, but could never find a class.  There is a regular class near to where I live, but it's at the same time as silversmithing so I'd never made it.  Then I noticed you could book a one-off class on a Sunday.  So I did.

10 of us gathered round a table and learnt how to wedge clay.  At this point, I was already a bit mistrustful of the teacher as she seemed rather rude.  As it turns out, it did not bode well.  Clay wedged, we went through to the throwing room where the teacher gave us a 10 minute demonstration covering everything from centering the clay to bringing it up, taking it back down, making the hole and drawing it up, then cleaning it up and cutting it off.  Then we were let loose.  Great, my favourite way to learn.


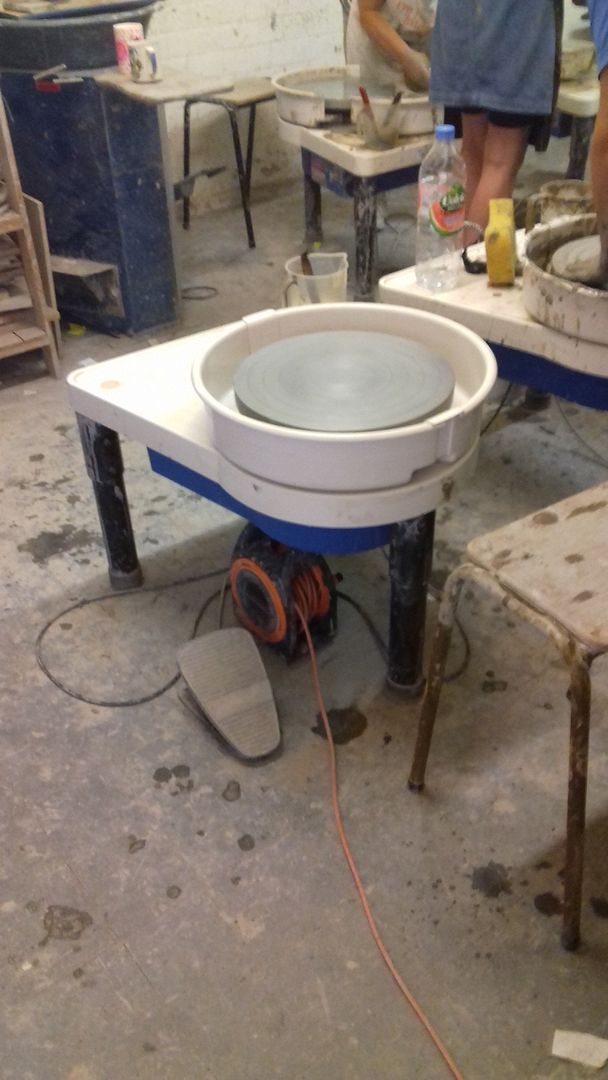
This was my workstation.  An electric wheel and a stool.  My first fight was to switch the machine to left handed.  The teacher had asked if anyone was left handed, just me, then told me I would try to throw right handed.  Having watched the demonstration, I knew I couldn't.  I just don't have any control with my non-dominant hand.  She was very pissed off with me.  Turned out that throwing left handed involves nothing more than pressing a switch on the side to change the direction of the wheel and moving the foot pedal to the left (which I did myself) which she also fought against me doing!  Years of sewing on a sewing machine meant that I KNOW I can't control speed with my right foot.  But what do I know?

So we began. At first there was much laughter, but then things started to go wrong.  No problem.  We were a room full of beginners, of course things would go wrong.  When they did, the teacher said, very aggressively I might add, "that's not how you do it!  Do it how I showed you!".  Hmmmm....  After being yelled at a few times, people stopped asking...
I was having trouble making my hole.  I could centre the clay and draw it up, but as soon as I put that hole in the top (to make a pot), it went off centre.  She refused to believe me.  Said the problem was it wasn't centred at the start.  So I showed her it was... then she'd walk off and not watch the bit I was having trouble with!


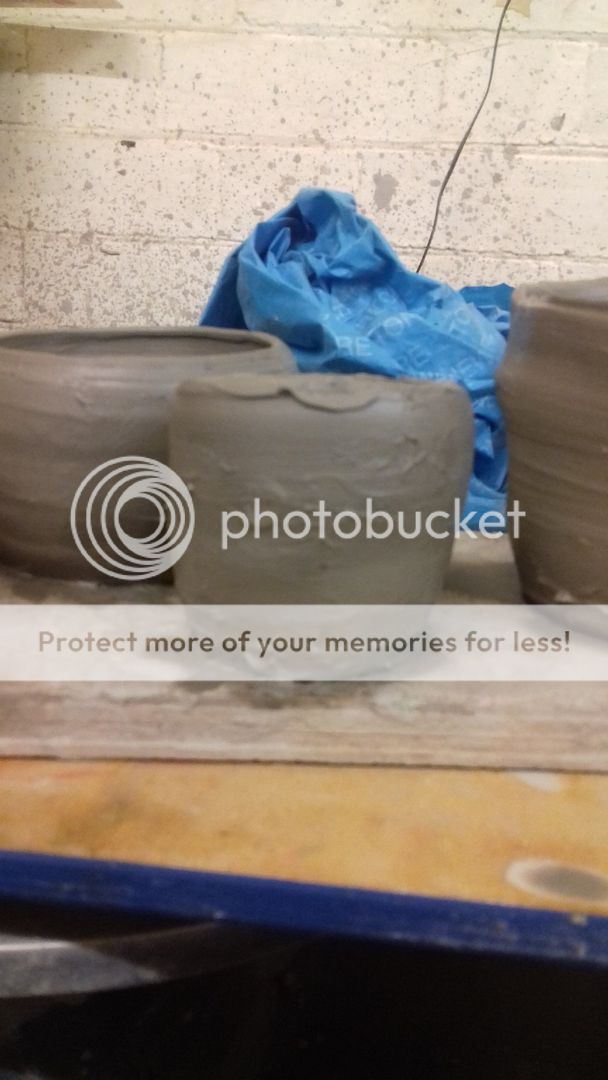
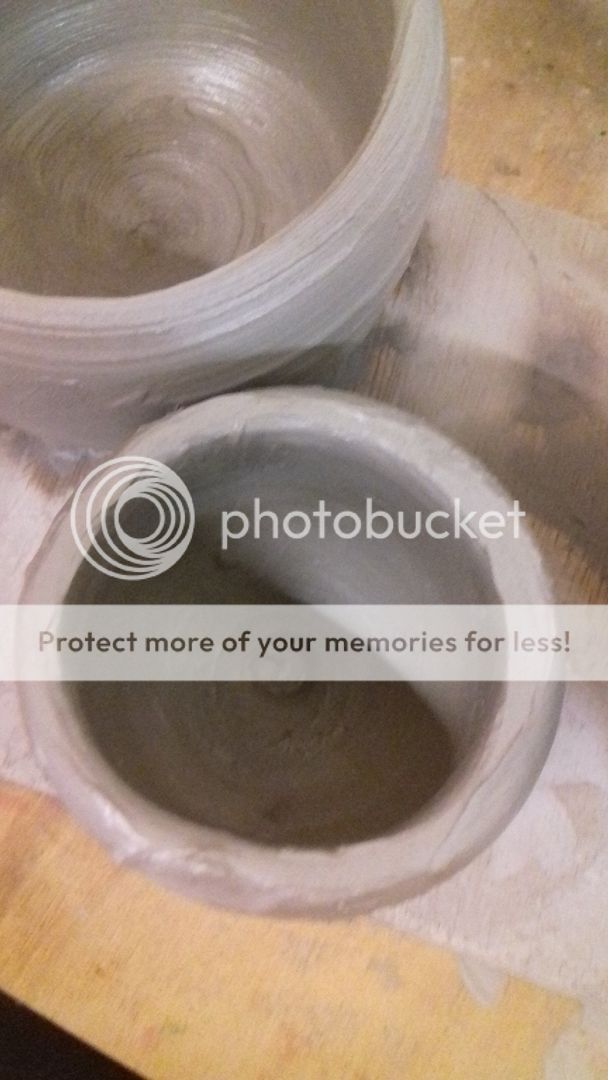
I threw 10 pots.  9 of which collapsed.  The survivor (which is crap!) is in the middle of the photo above.  At that point, I went home!  She said I could throw some more, but what's the point?  I was unable to solve my de-centering problem myself and she just gave me abuse if I asked for help...


(Mine is the one at the bottom).  NOT a good class.  I will NOT be going back.  I don't think pottery is my "thing", but I do think I could do better than this.  Maybe I'll try again with another teacher, if I can find one.

I have chosen not to name the teacher or the place I went to learn as I realise this is a very scathing post.

If my pot survives the kiln (which I doubt!) I will come back and show you the pot.  Oh, another thing!  She said they'd be ready in about 3 weeks.  I asked if she'd email us and she said she doesn't have time to email us and we have to email her to ask if it's ready.  So she doesn't have time to send one group email, but does have time to answer 10 people asking if the pots are ready (and if they're not, these 10 people will email again)... customer service??

Friday, 6 July 2018

Craft Class - Screen Printing

Last Sunday I went to a craft class at Two Little Magpies. You may (or may not) remember that I've done craft classes at this lovely little handmade shop before.  Once again, the standard of the class was high and it was great fun.

I usually just take photo and whack them in my blog.  This time, a lot of them were taken sideways on, so I tried rotating and cropping a little.  They're looking very odd in this post as I write... I'm hoping they publish ok!  If not, I'll try to redo them.


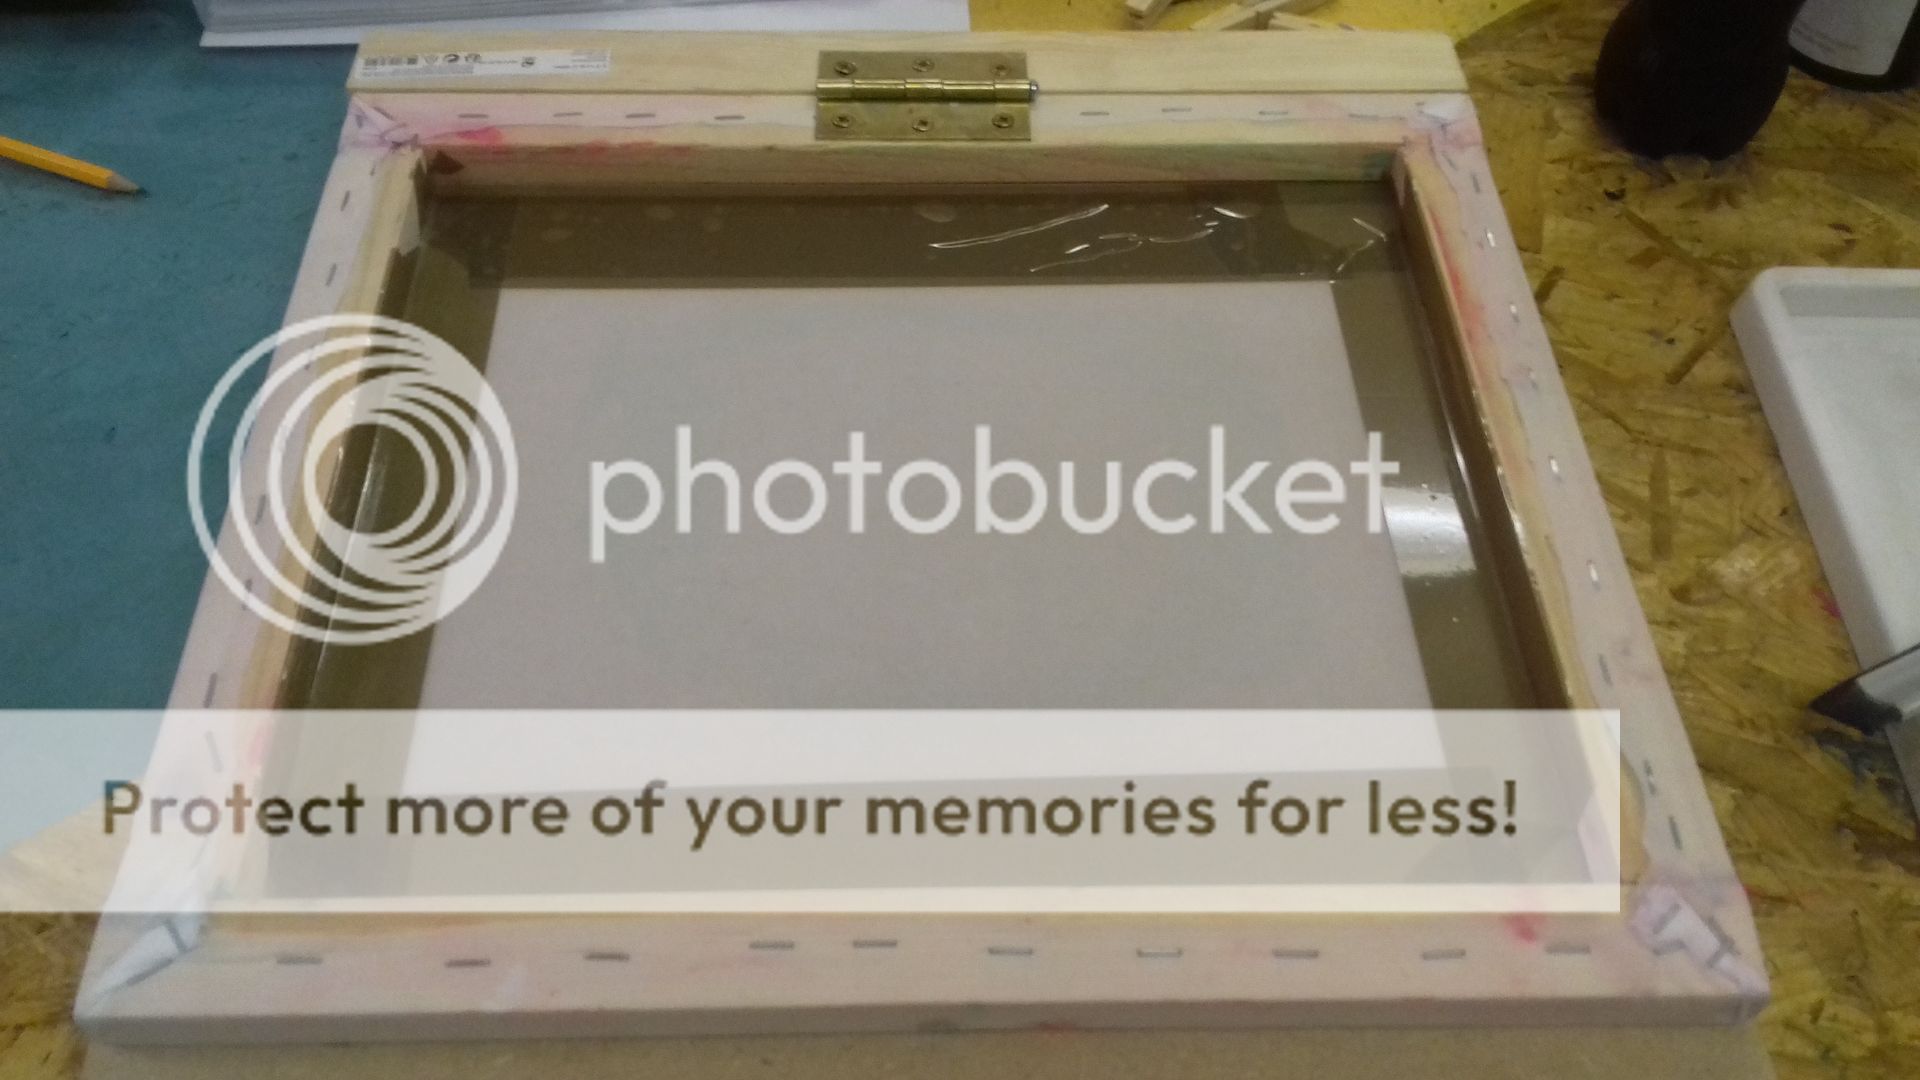
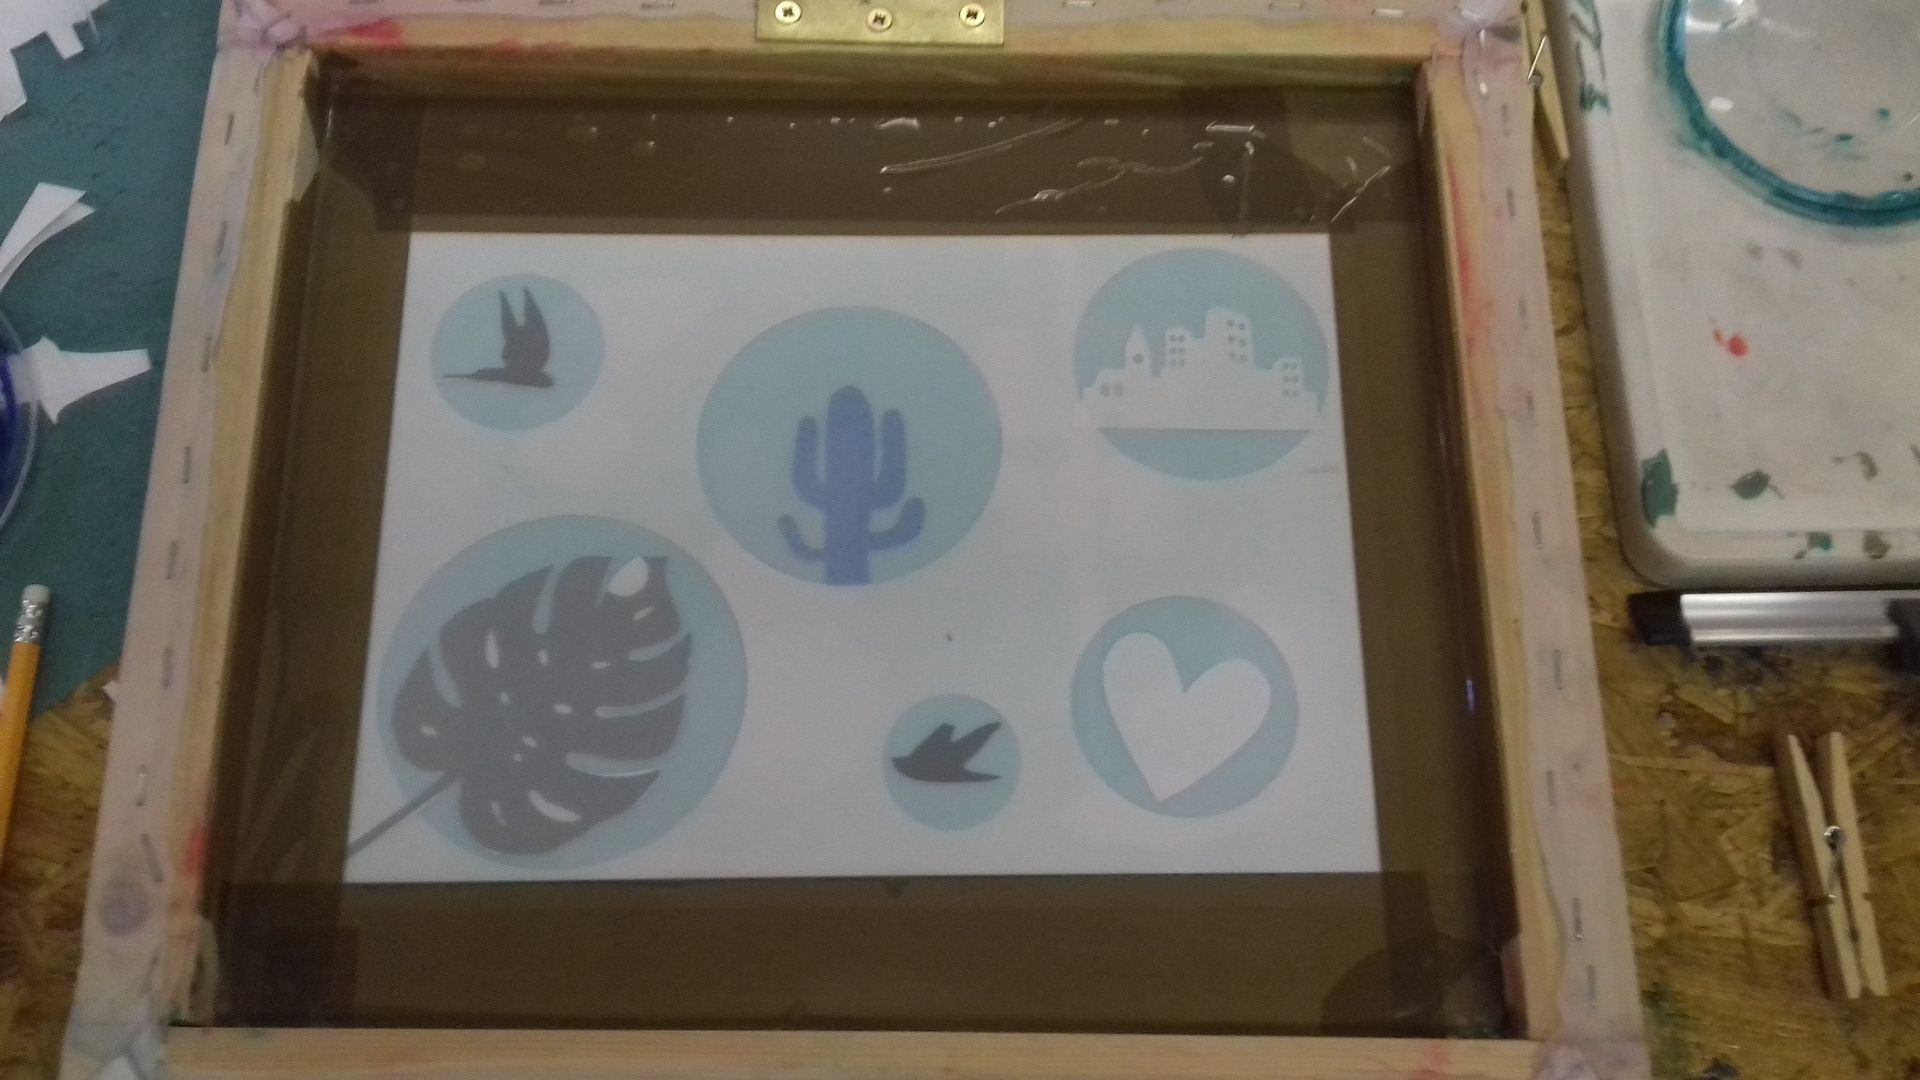
We were learning to screen print using paper stencils.  We each had a handmade frame.  I thought this was genius, I may just have to make my own!


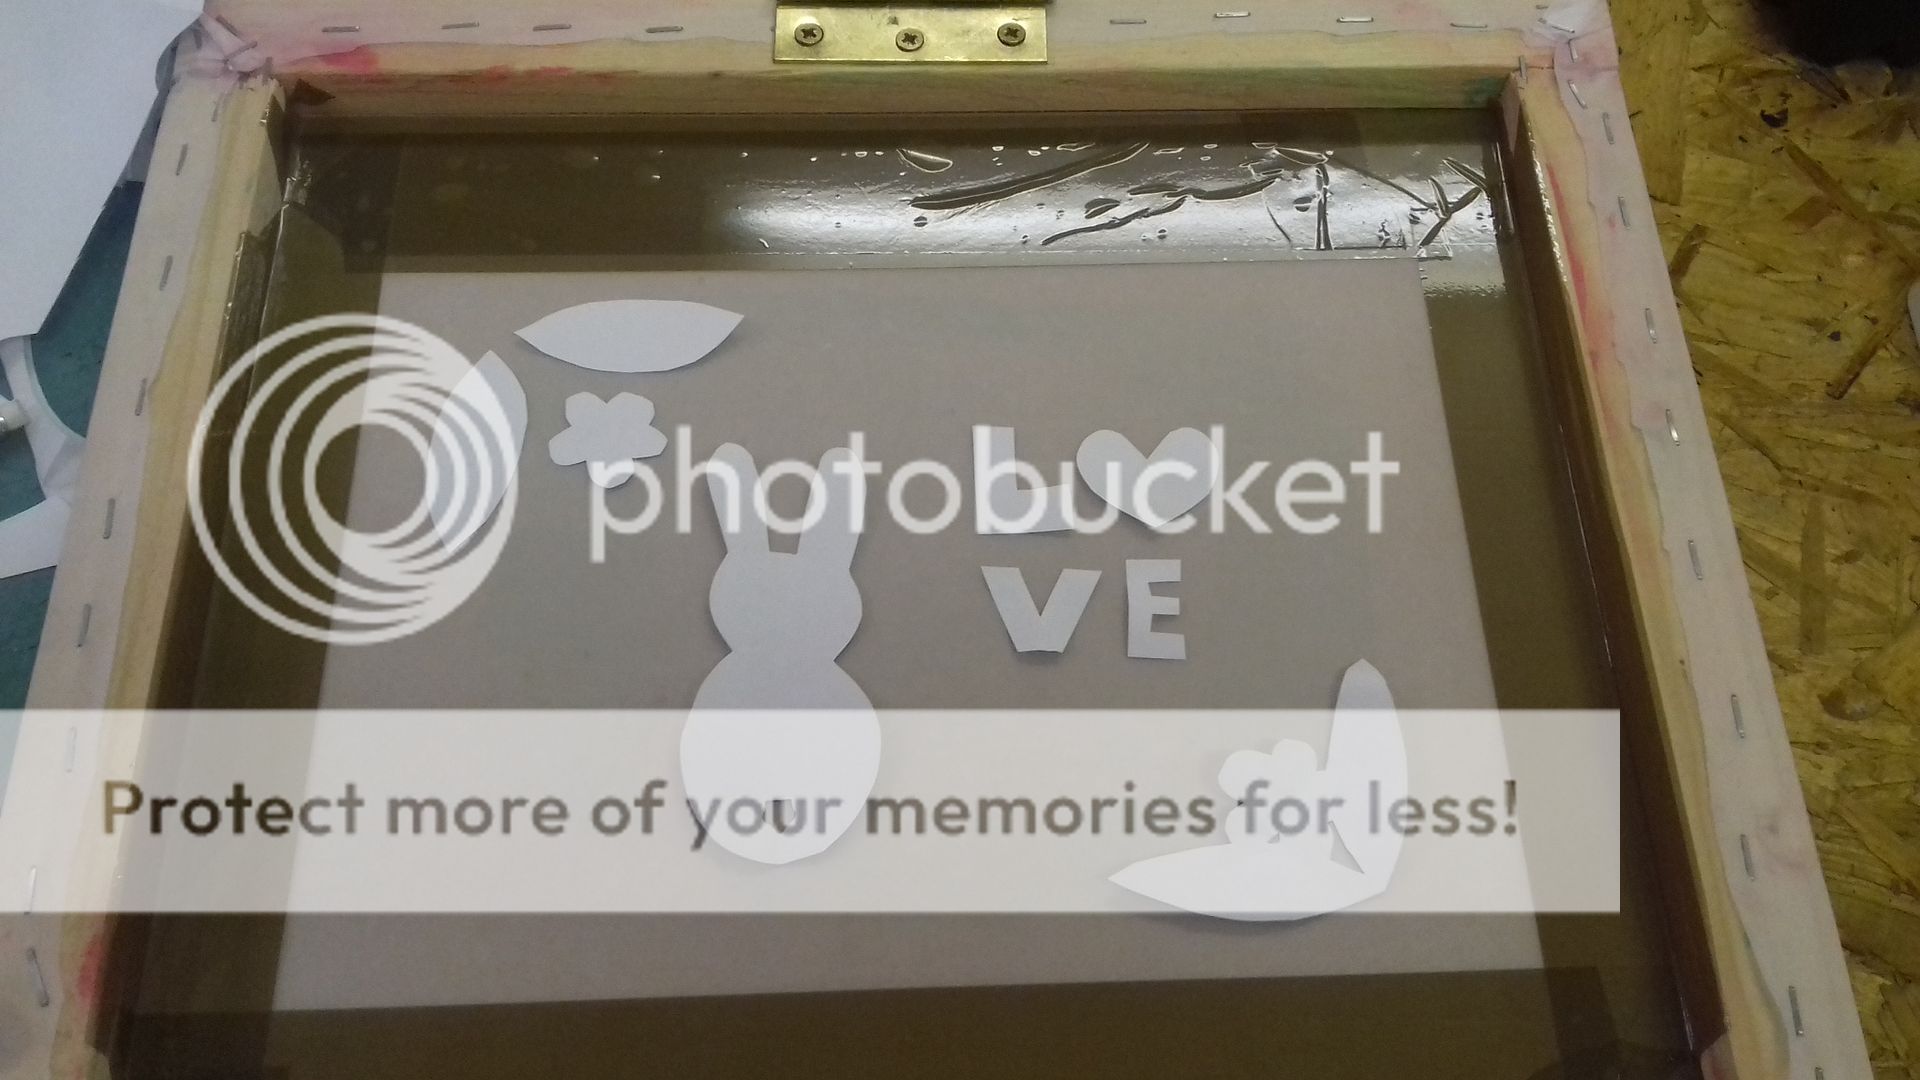
We cut stencils out of paper and placed them on top of a sheet of paper, under the frame.


Then we squeegeed paint on.  It was acrylic paint with a paint medium mixed in.  I didn't think to take any photos of this stage.


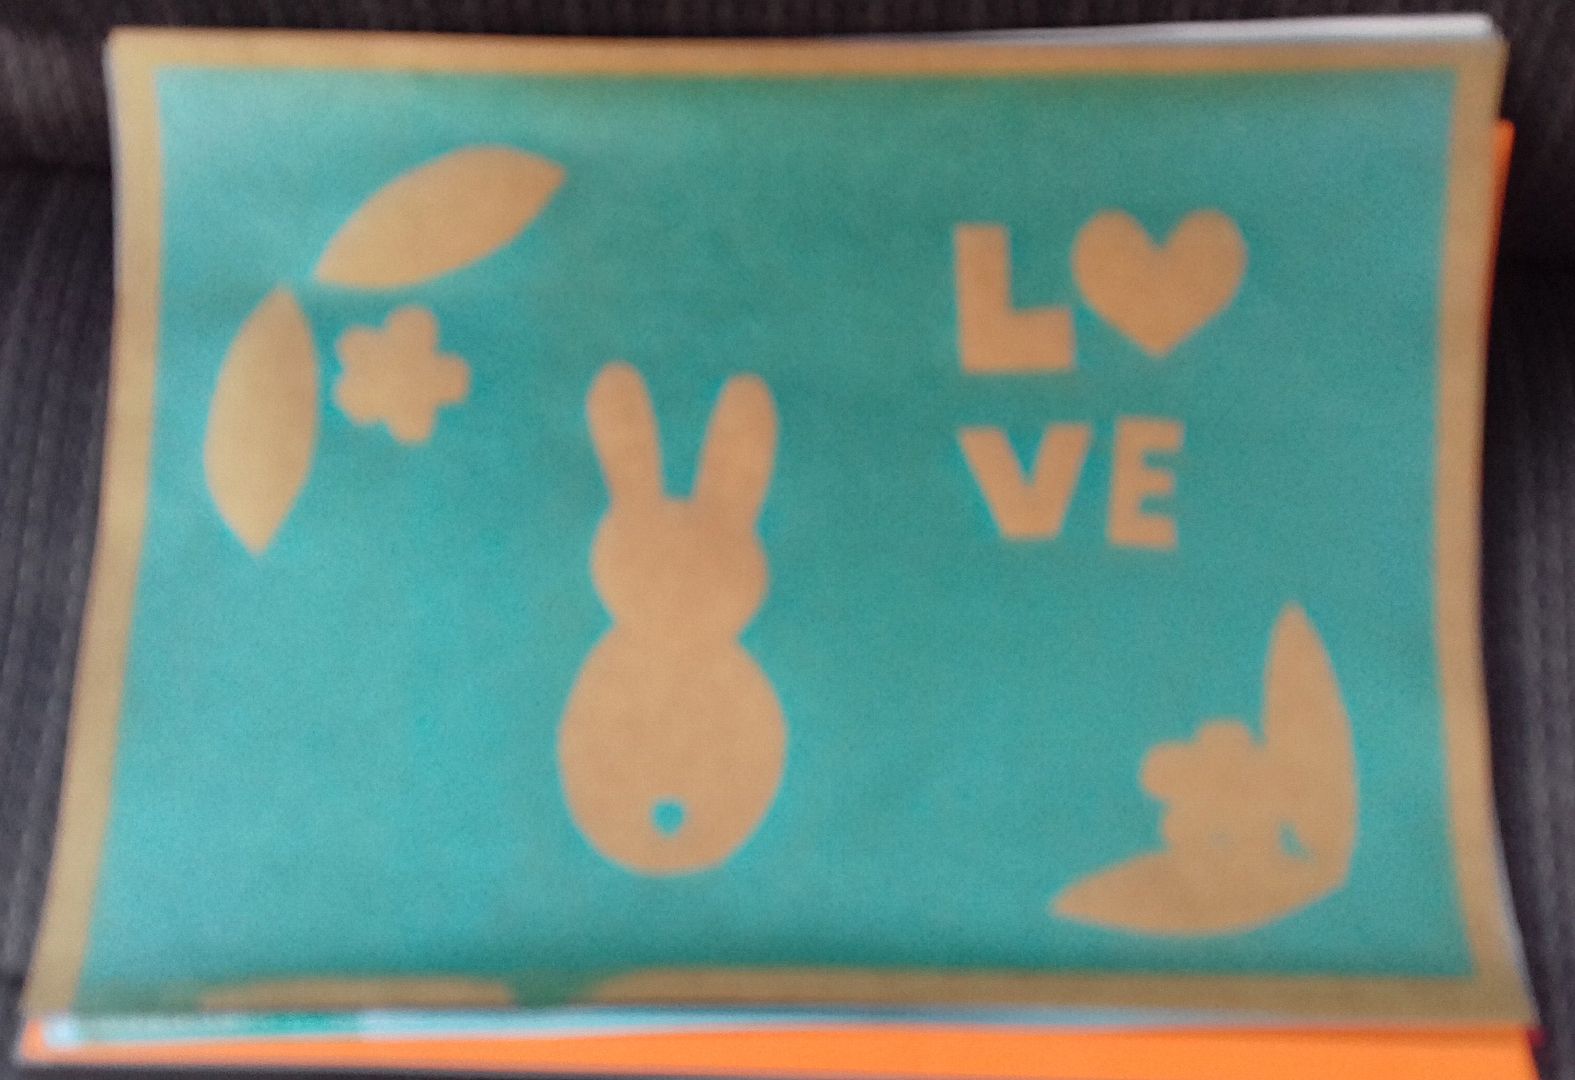
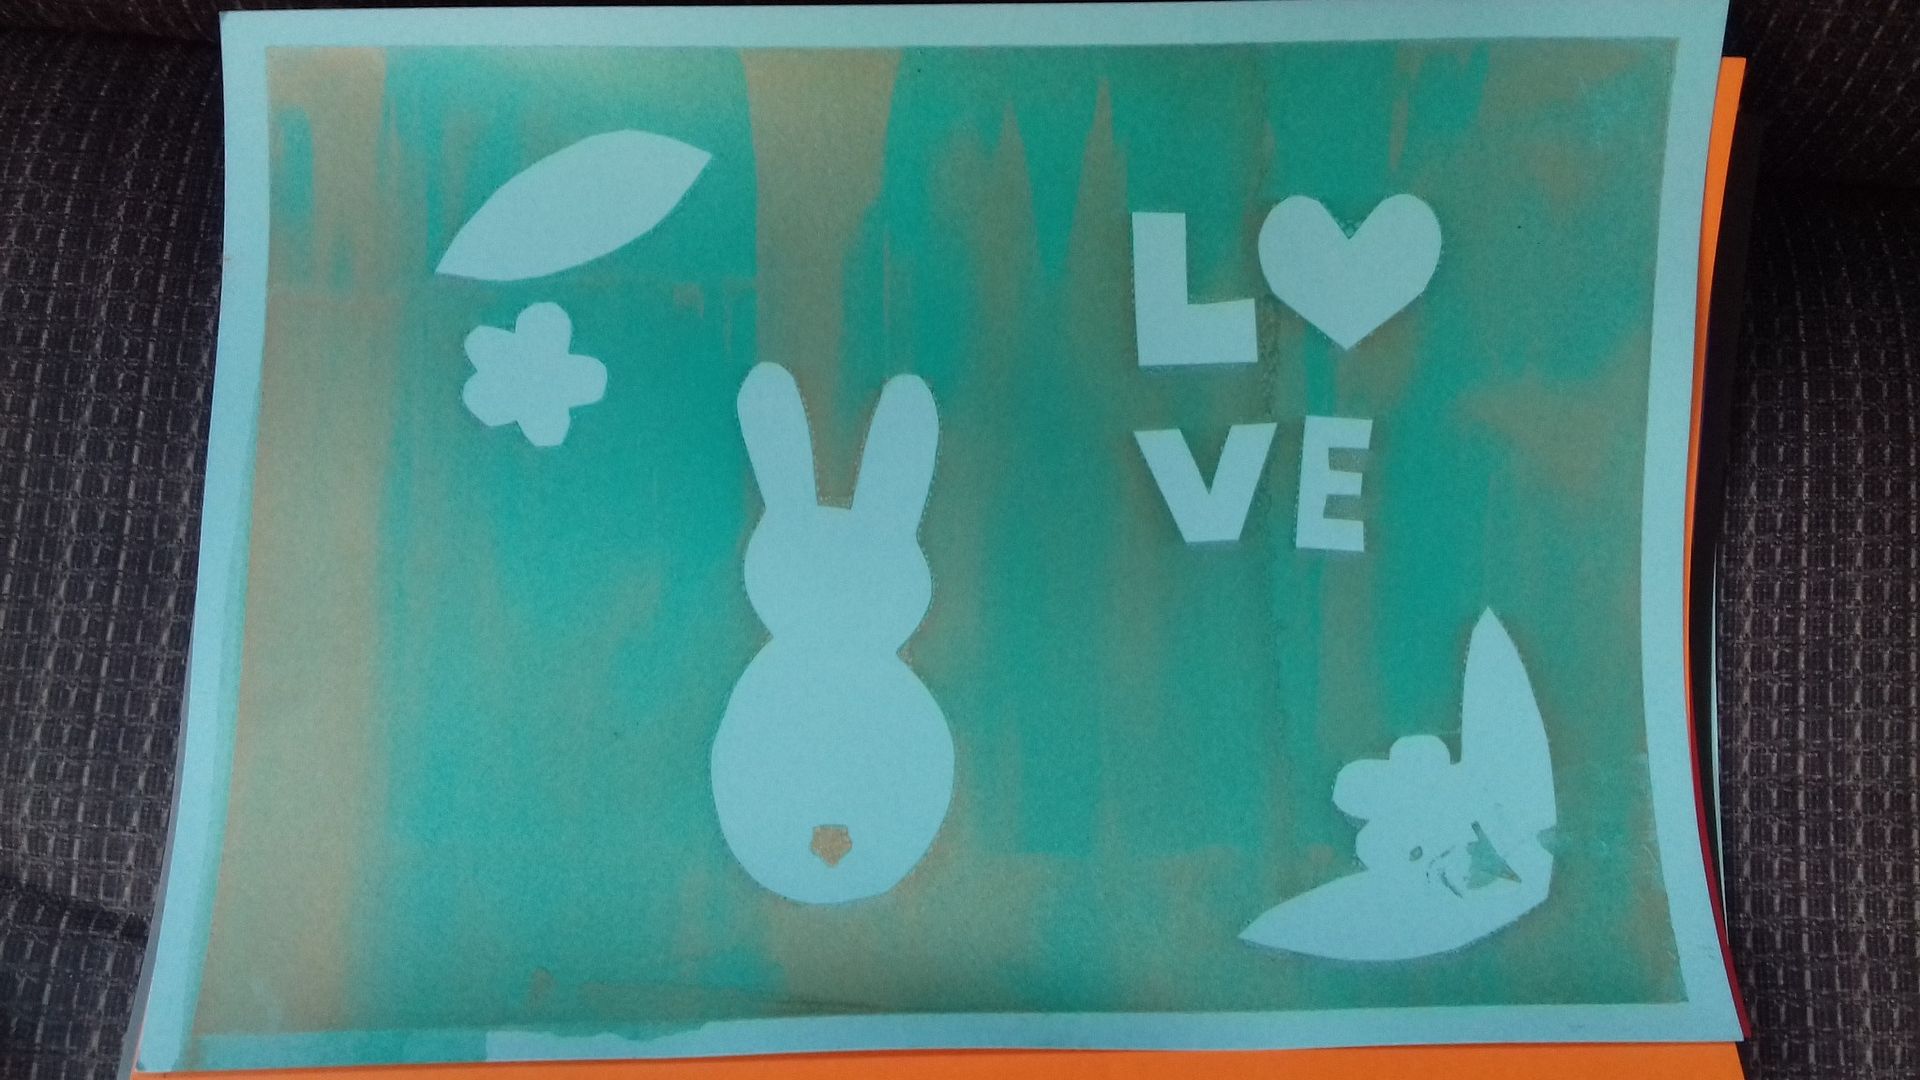
Ta dah!  I used copper paper and a turquoise paint.


You can use each stencil several times, so I added some metallic copper paint into the mix.  I made several more after this, adding a different colour in each time, including a bright pink, but they didn't come out great.  I put the excess paint into a little tub and it made the most amazing metallic purple colour!


Next we were let loose on the shop's stack of paper stencils.  Some hand cut, some cut using a die cut machine.  I found this circles template and picked out some little images to put in each "window".


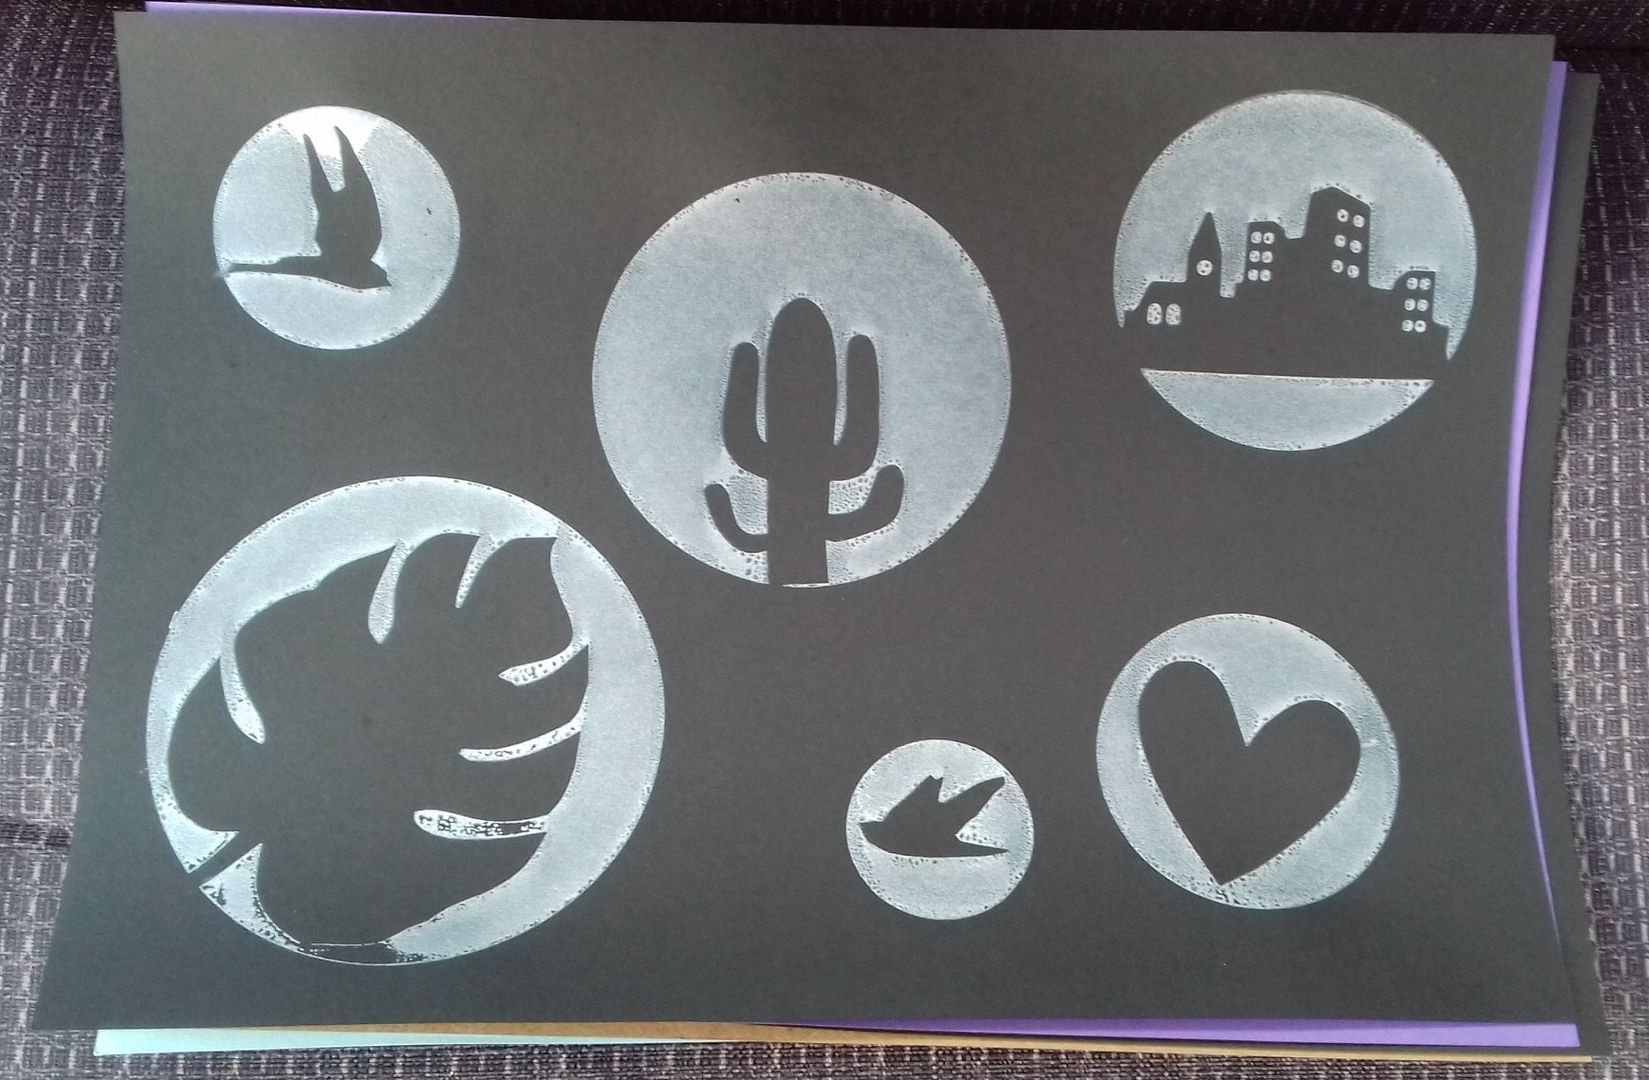
I printed in silver on black.  I love this!  I'm so chuffed with this stencil/picture/paint and paper combination.  I did a couple more, then started to experiment.


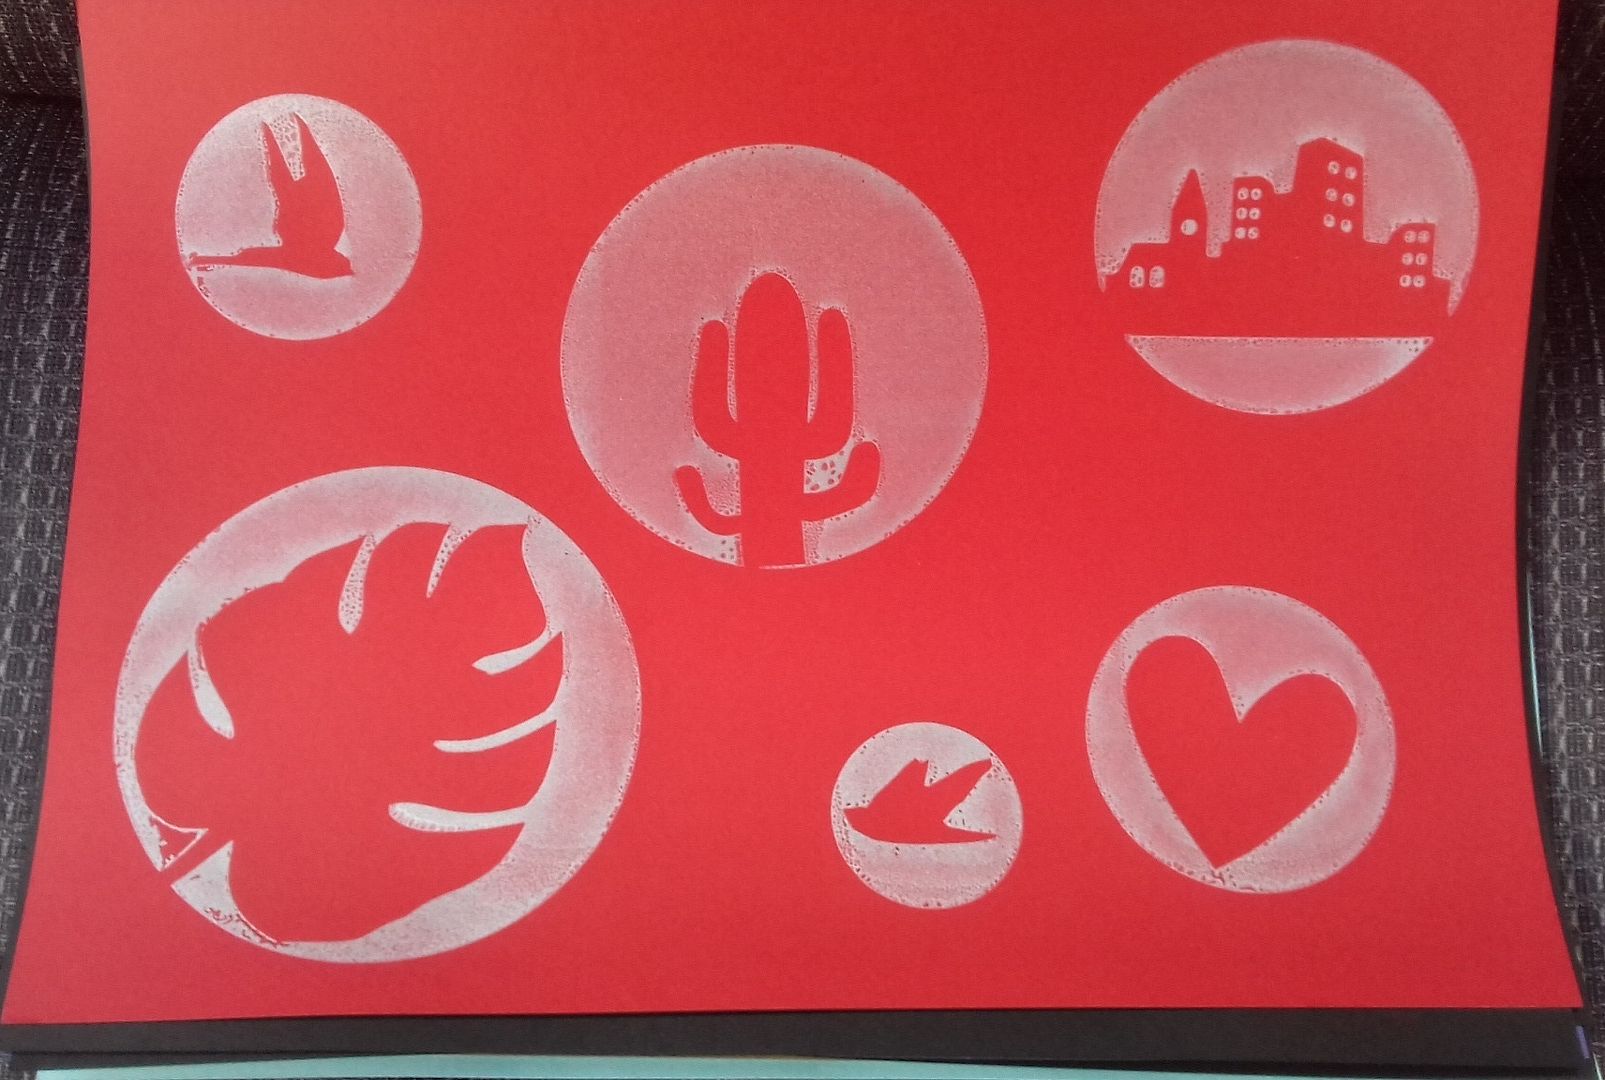
Silver paint on red.  I'm also pleased with this.


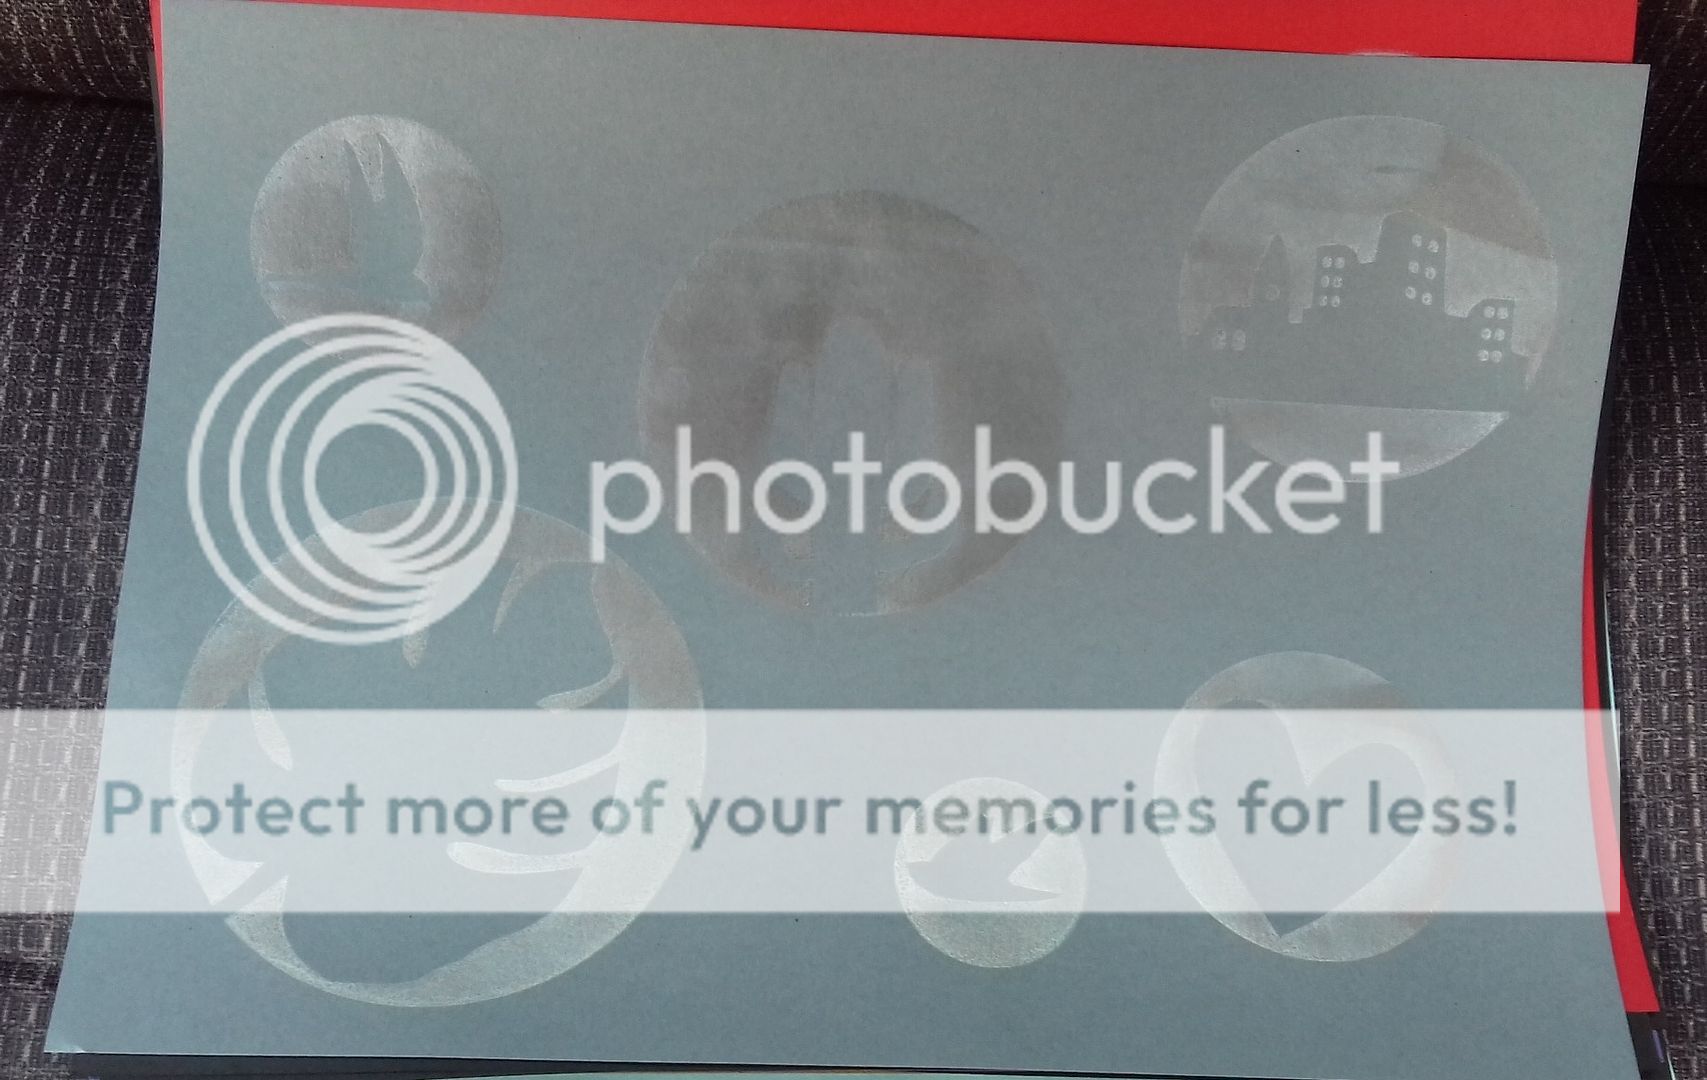
Silver on grey, this didn't come out so well.


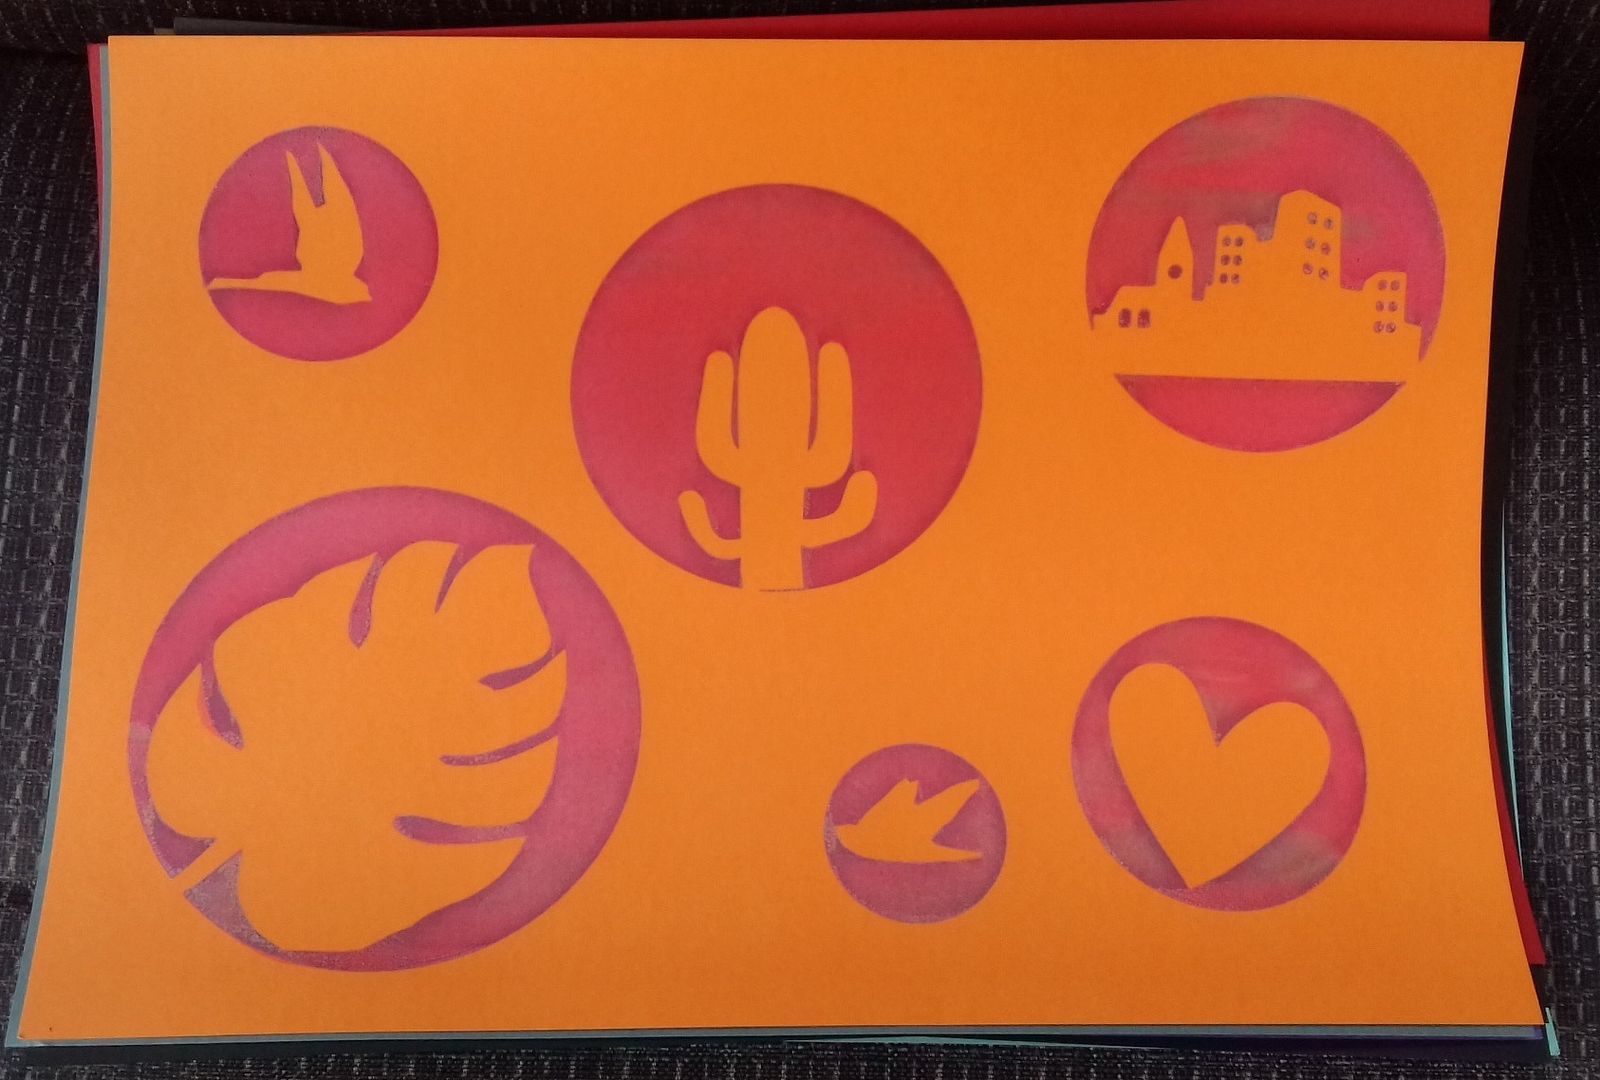
Possibly my favourite of all.  I used bright pink on orange paper.  Because I couldn't wash the screen between uses as the stencils were stuck to it, some of the silver from previous prints bled through.  I love the effect.


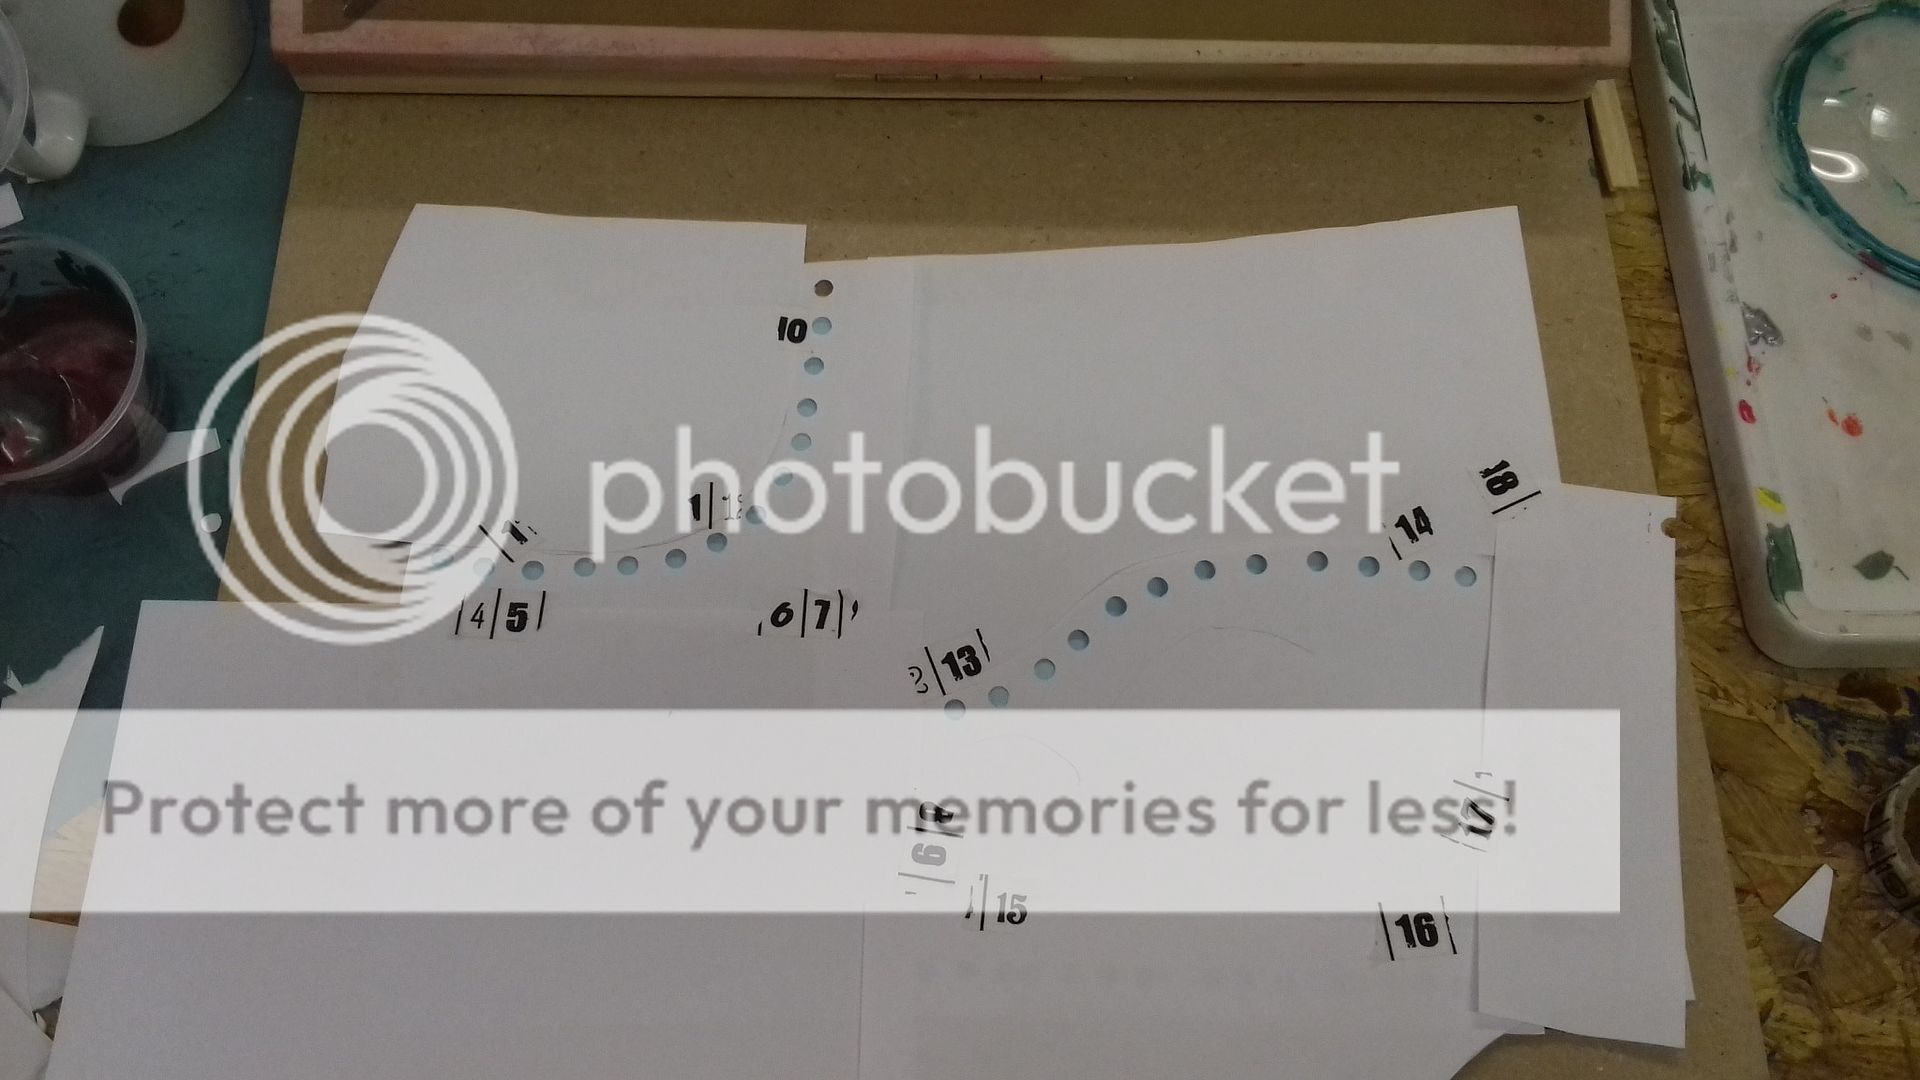
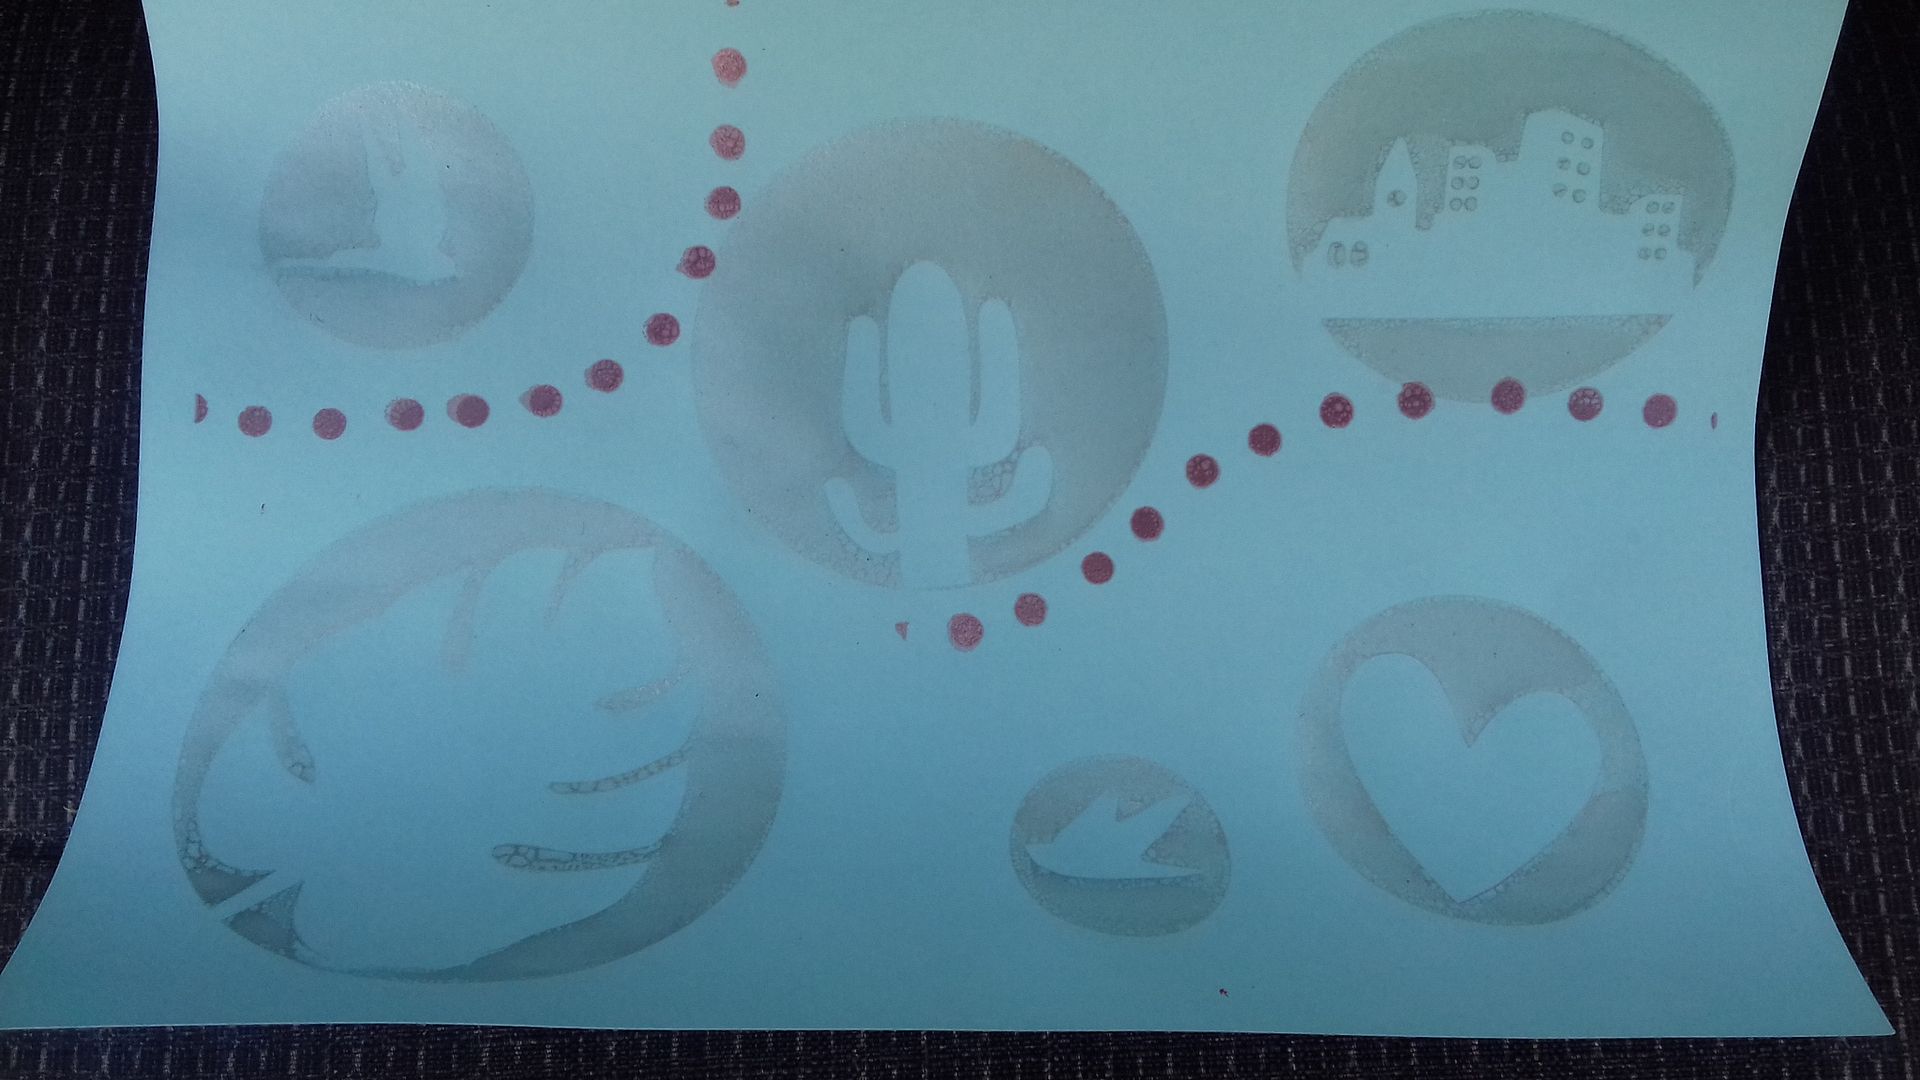
I had a vision of a train of dots in my hand mixed metallic purple on top of the black print.  I got a hole punch and some scrap paper and made a stencil.


I practiced first on the failure print.  I didn't like it.  Experiment over.  I'm glad I tried it on the print I didn't like!


The screens have to be washed between stencils, but it's a quick job, so I thought I'd have a go with some more of the stencils.


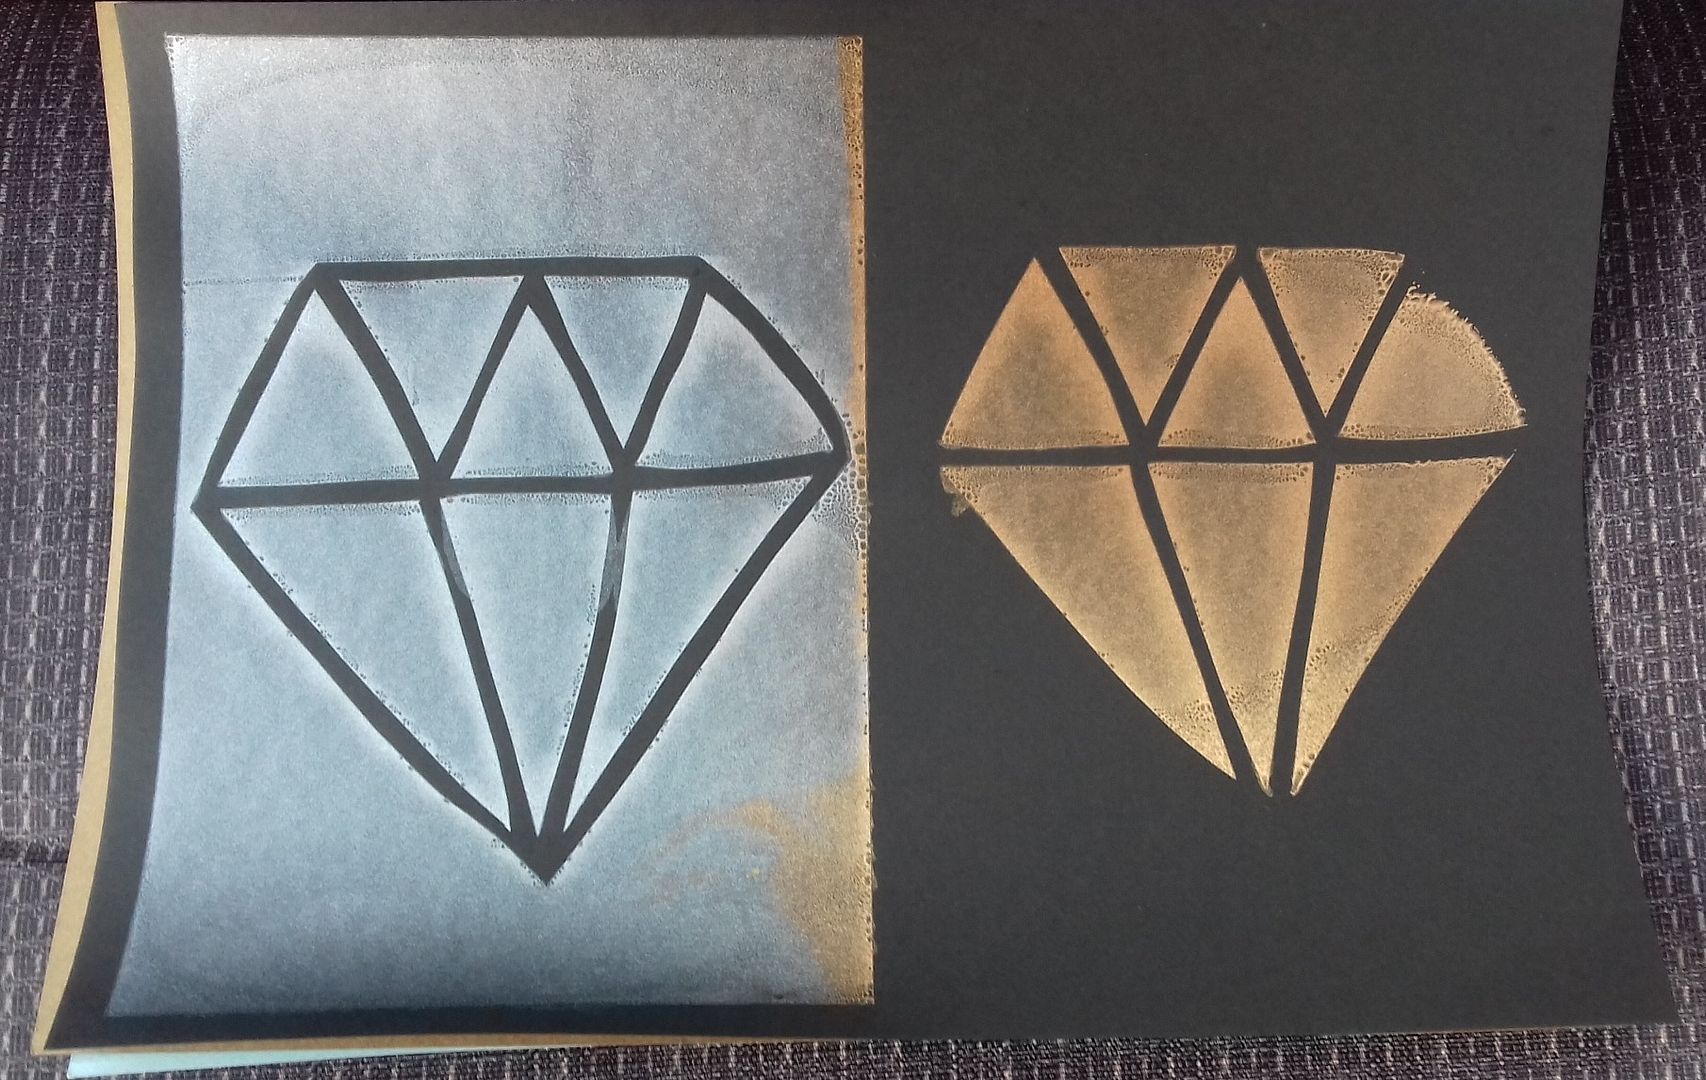
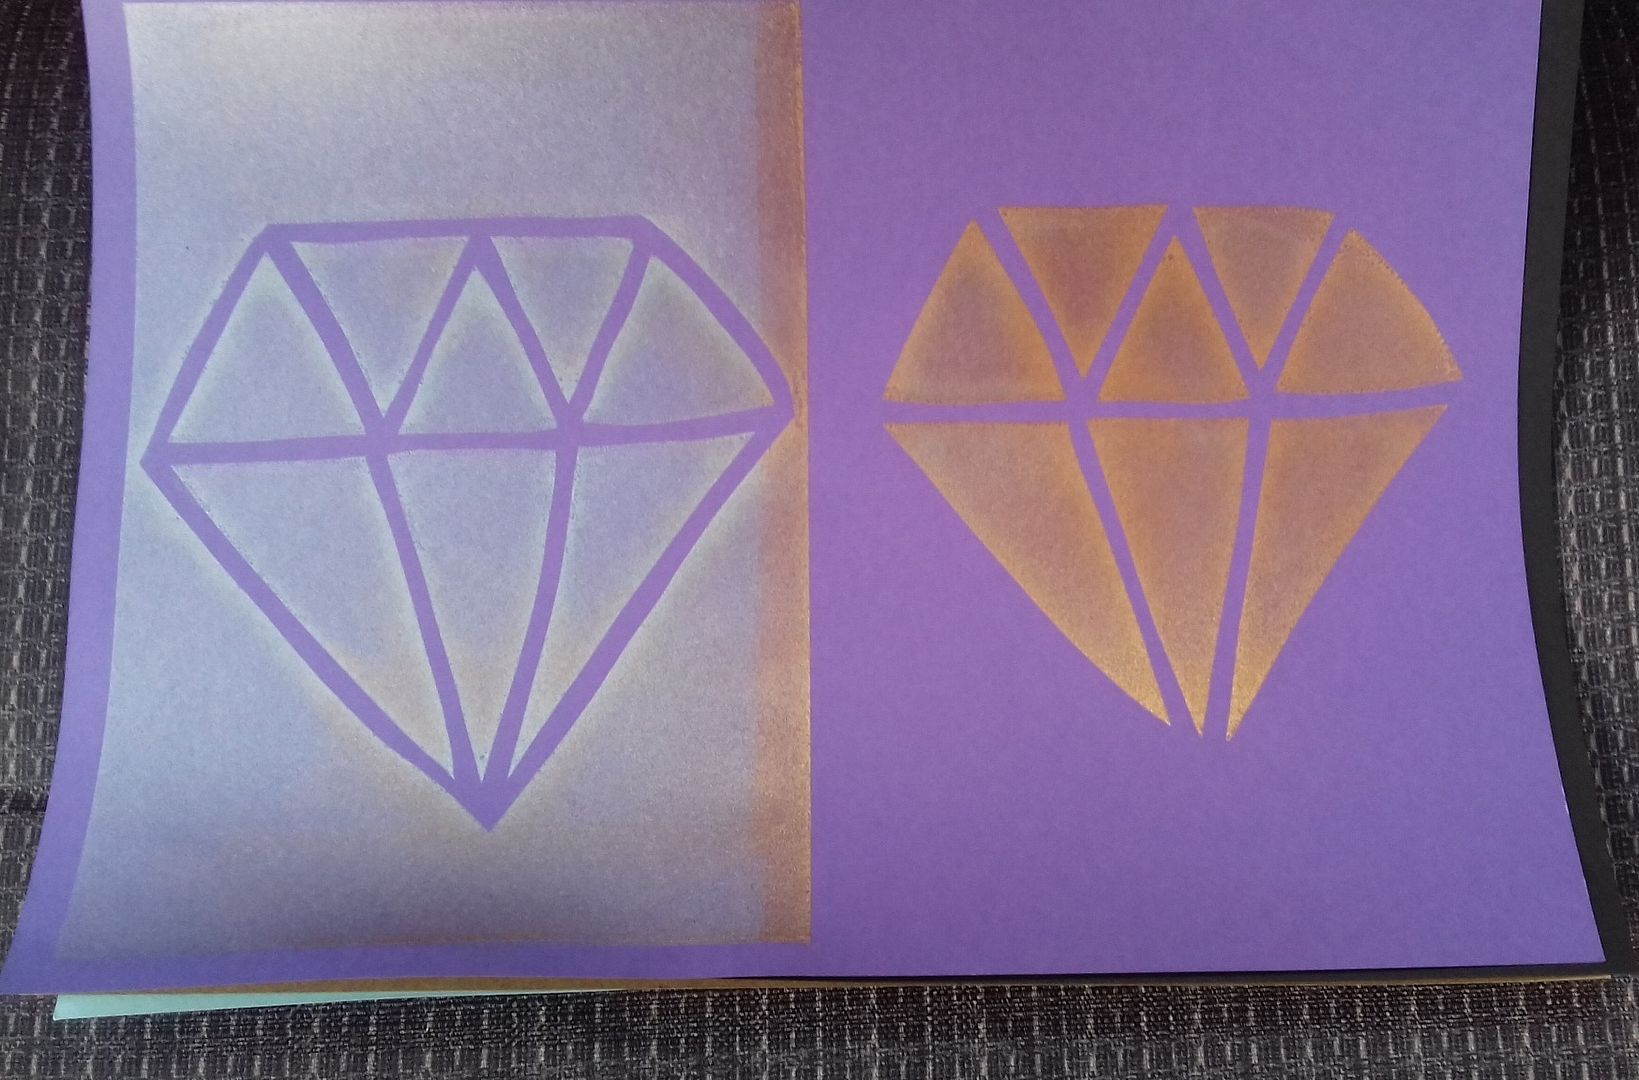
One negative gem, one positive.  A mixture of copper and silver paint.  Not exactly sticking to its own side!


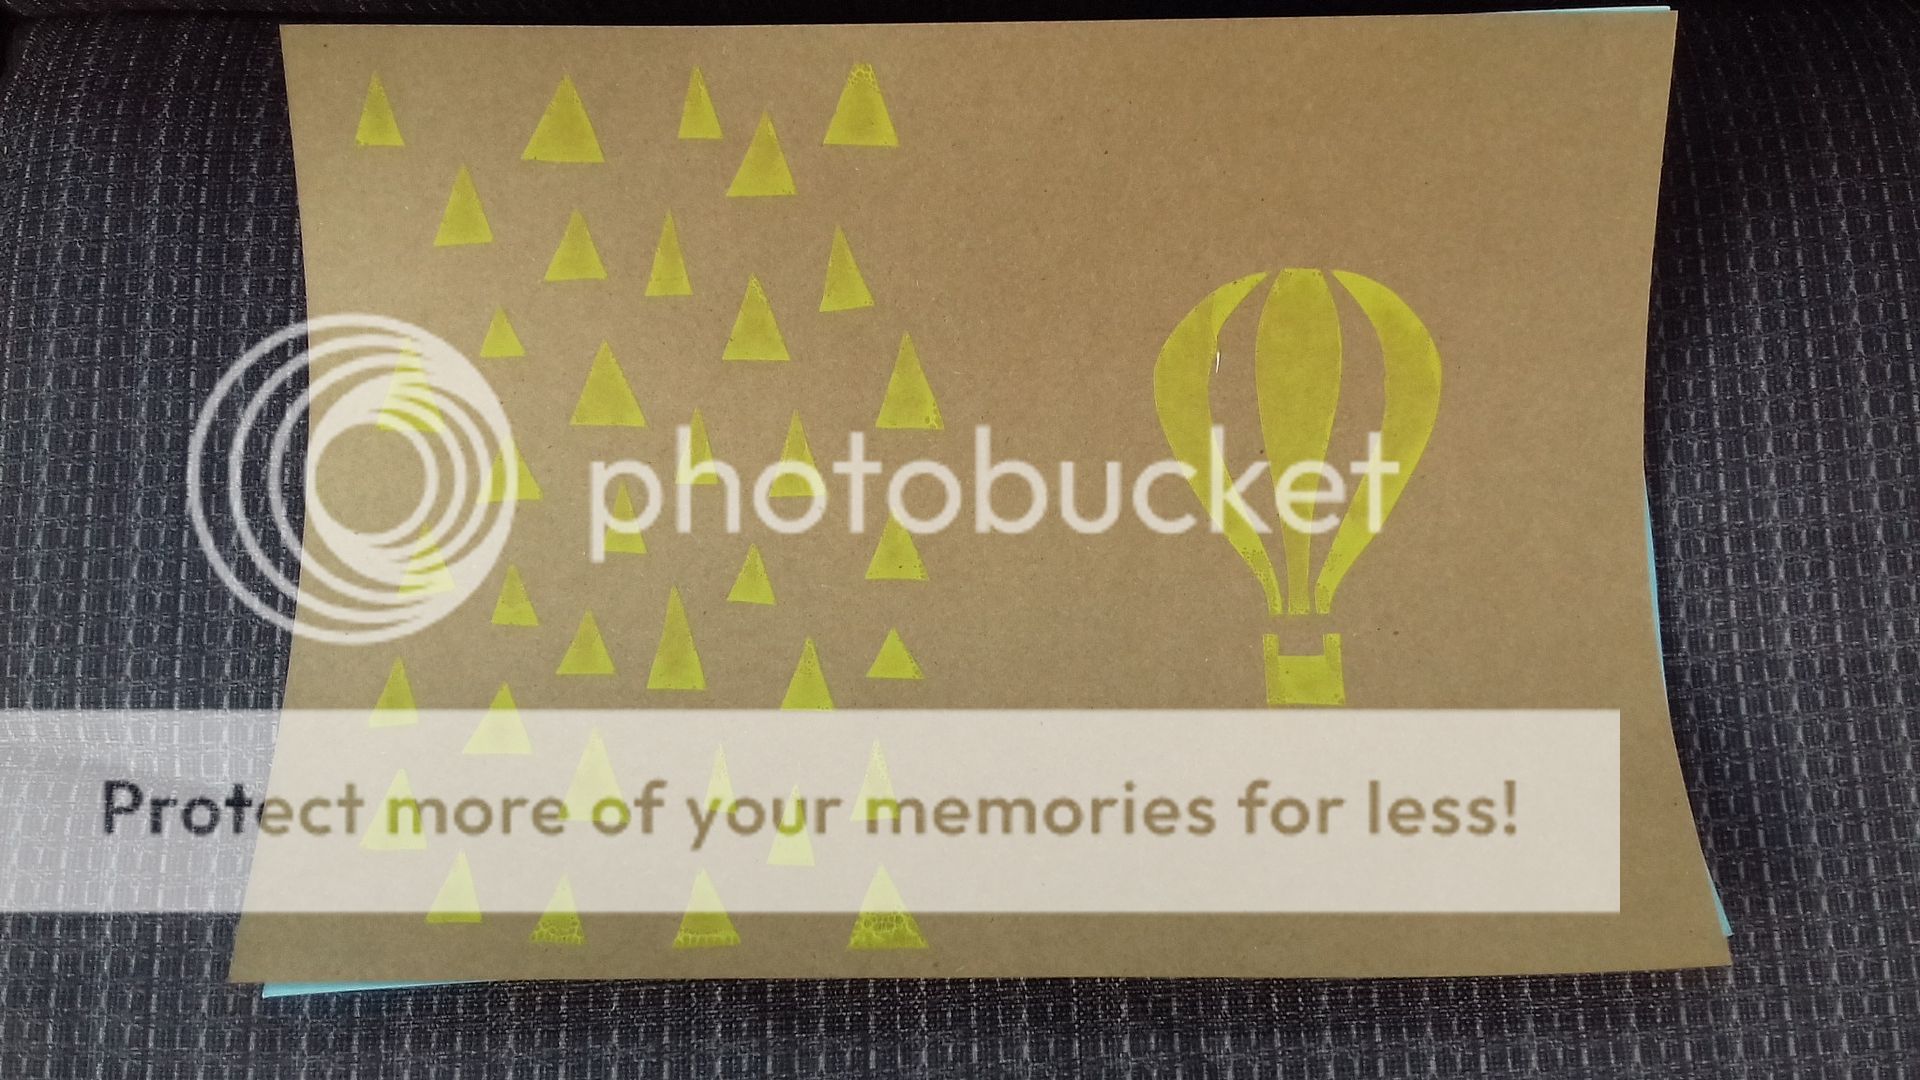
I printed these triangles and balloon intending to print over the top, but ran out of time.  Actually, I did another and I DID print over the top - looks like I left that one in the shop as I don't have it!

This was a fantastic workshop, I love Two Little Magpies as a workshop venue and I really enjoyed screen printing, I just wish I were a bit more artistic.  Maybe when I've finished decorating my craft room (yes, still ongoing!), I'll have time to make a frame and experiment some more.