Near my house is a lovely area. It used to be a wholesale market and has recently been regenerated. It is made up of a series of units occupied by artists/crafters, along with a Handmade shop (where I took the lampworking class), cafe, brewery and tap room; and a Vietnamese cooking school. New units are constantly opening up. One that opened a while ago, and that I've been eyeing up, is By Our Hands. Martin owns the business and runs workshops making things from green wood using traditional tools. There is no electricity in this workshop, no machines, nothing modern!
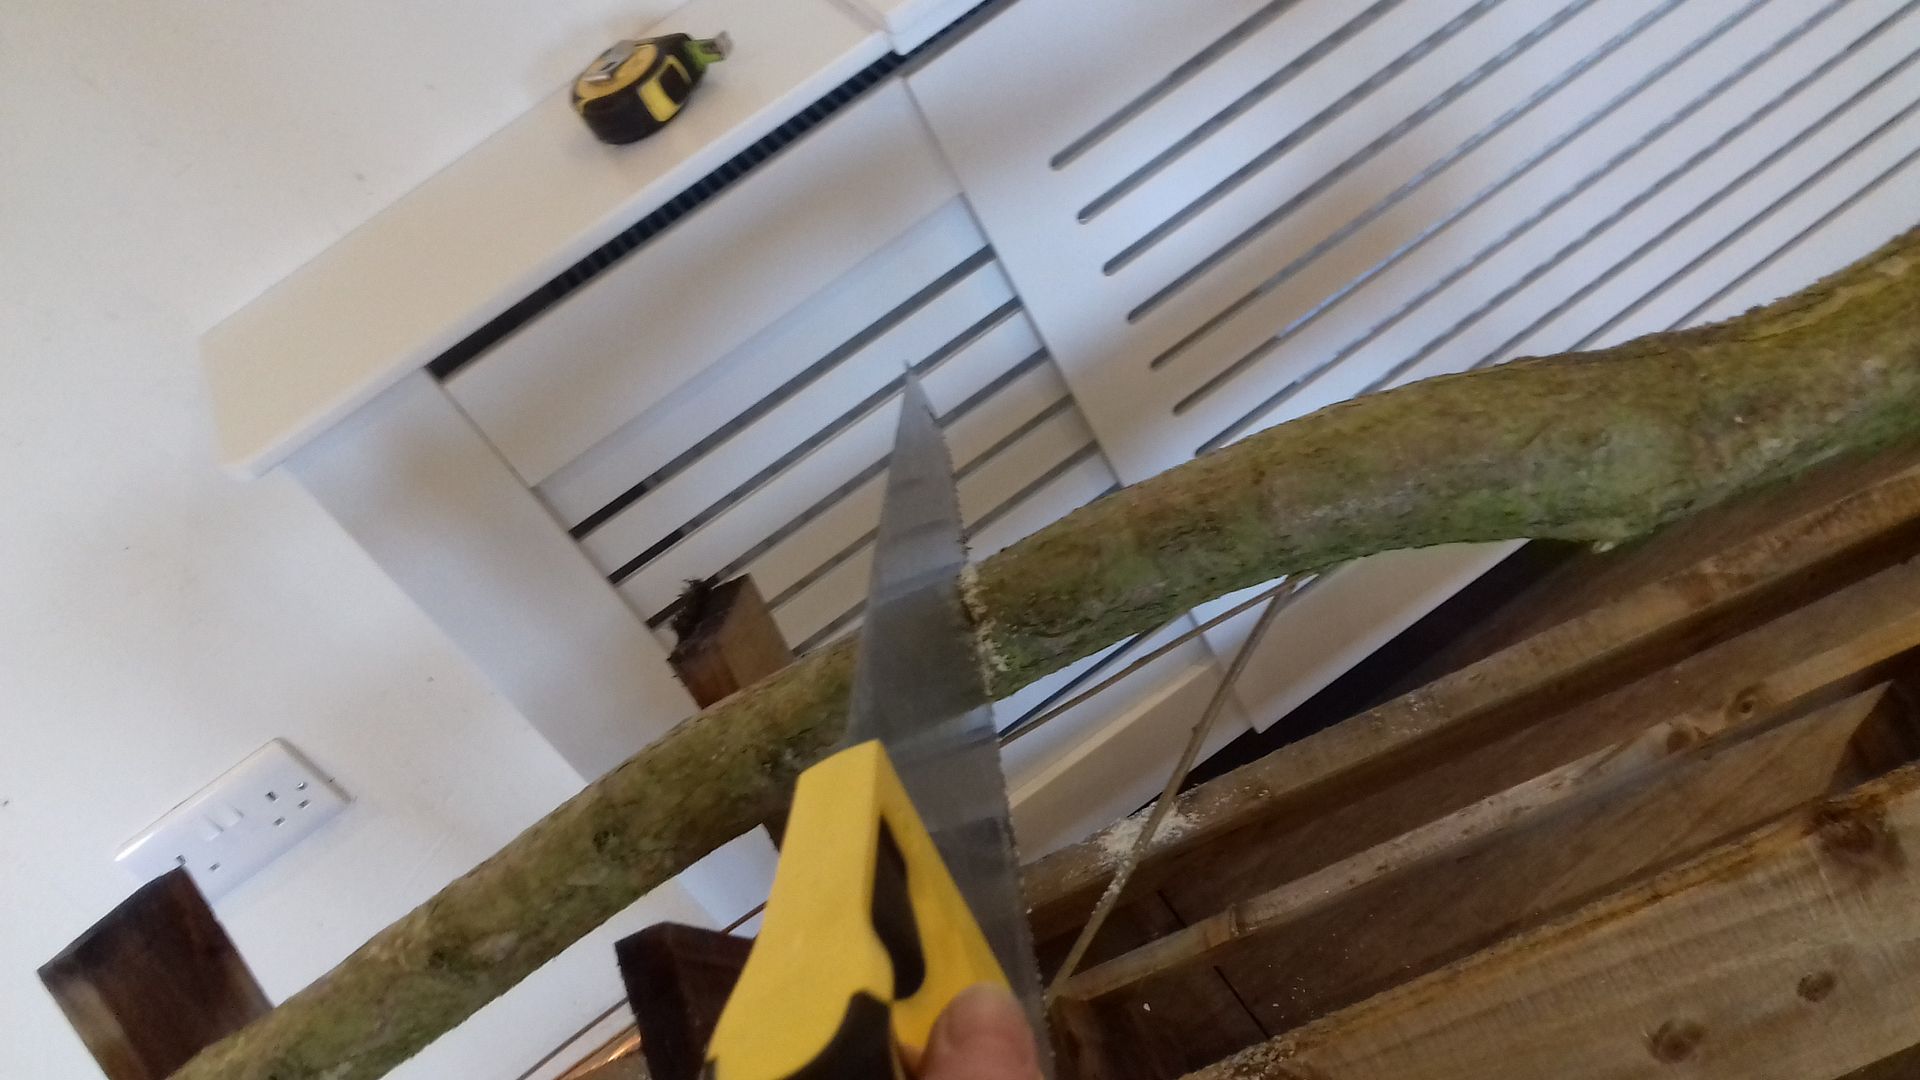
I went along with Zach, who was also interested in learning a bit of woodwork, to make a "something". Martin runs stool making and spoon carving workshops, but this one was an Introduction to Greenwork and we were to make a spatula, or something simple. We started off with logs and an axe. I managed to damage Zach at this stage, I hit him with the axe! Luckily it was the handle that hit him, and no, I didn't aim for him!
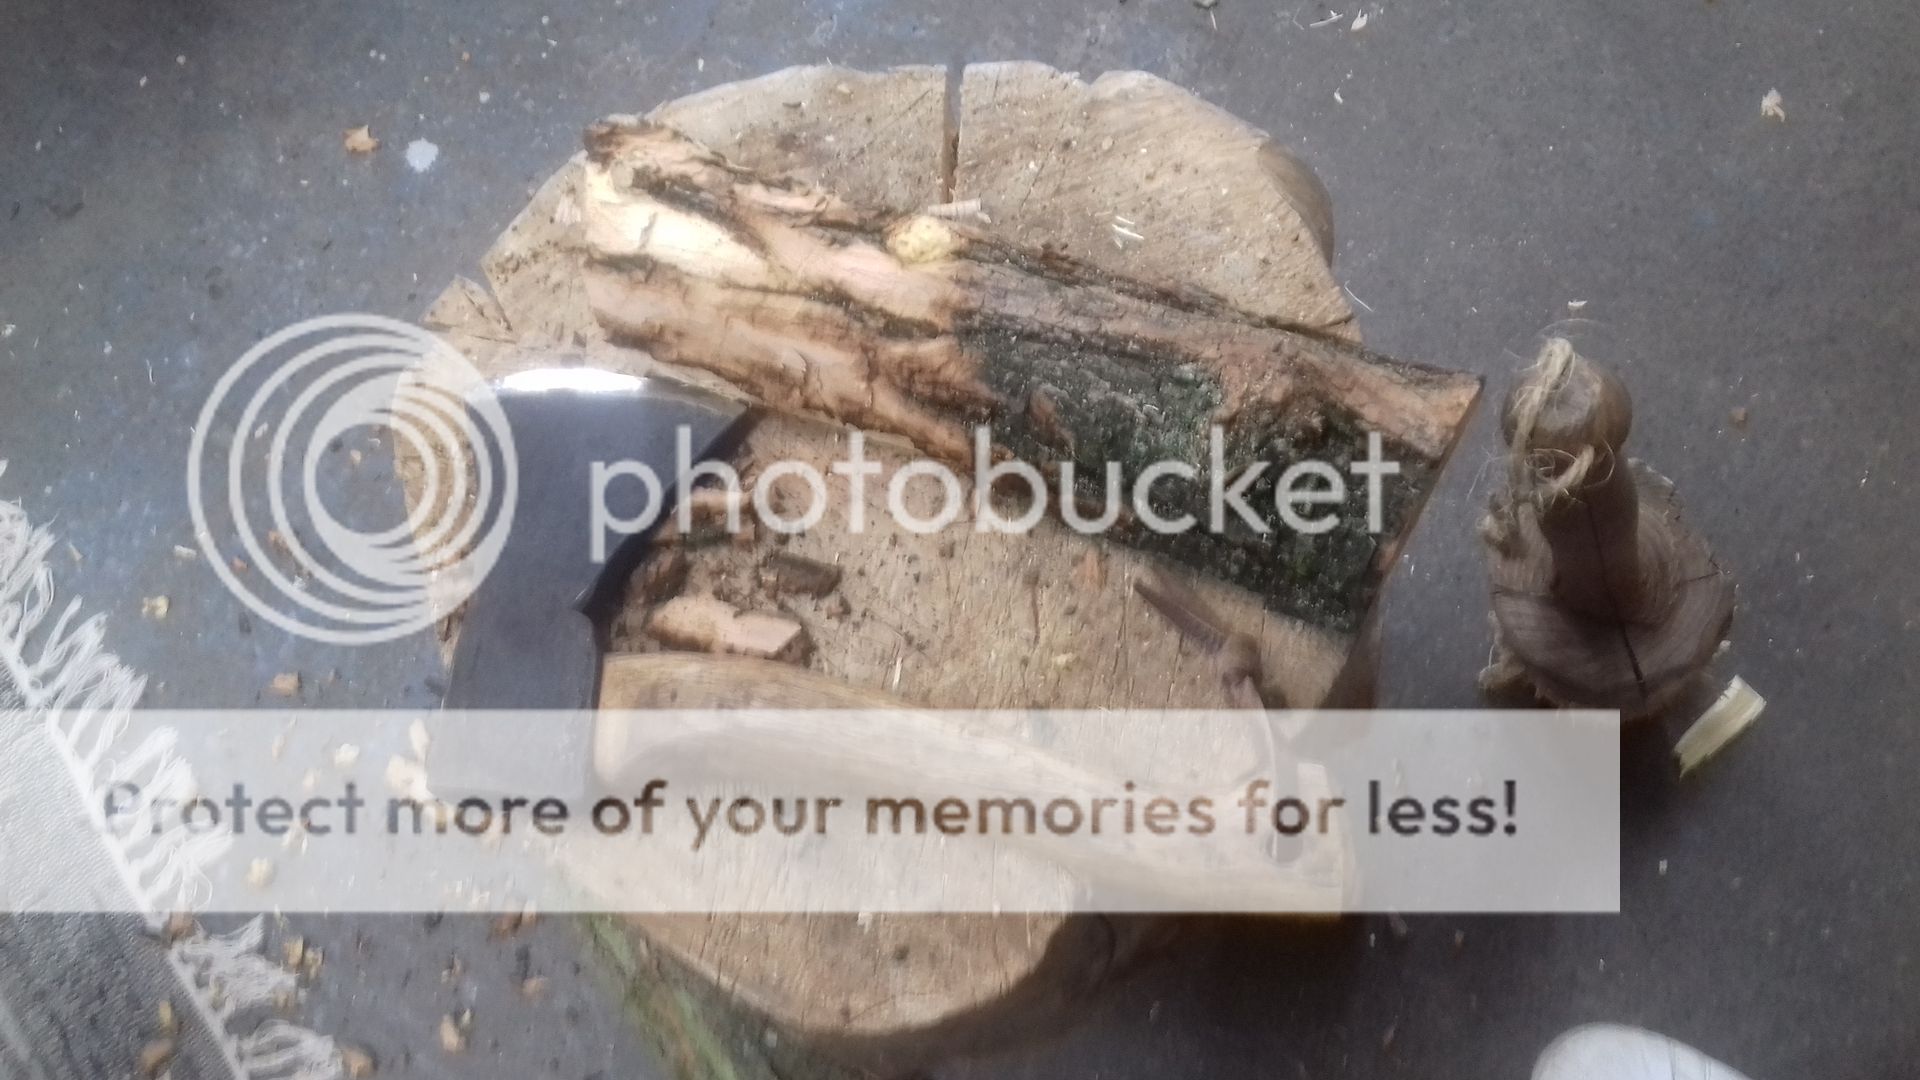
After chopping off a chunk of wood to work with, we carried on with the axes, stripping the bark. Zach moved over to the other side of the room... He actually carried on using the axe to shape his spatula/spoon, but I found my comfort zone with a draw knife.
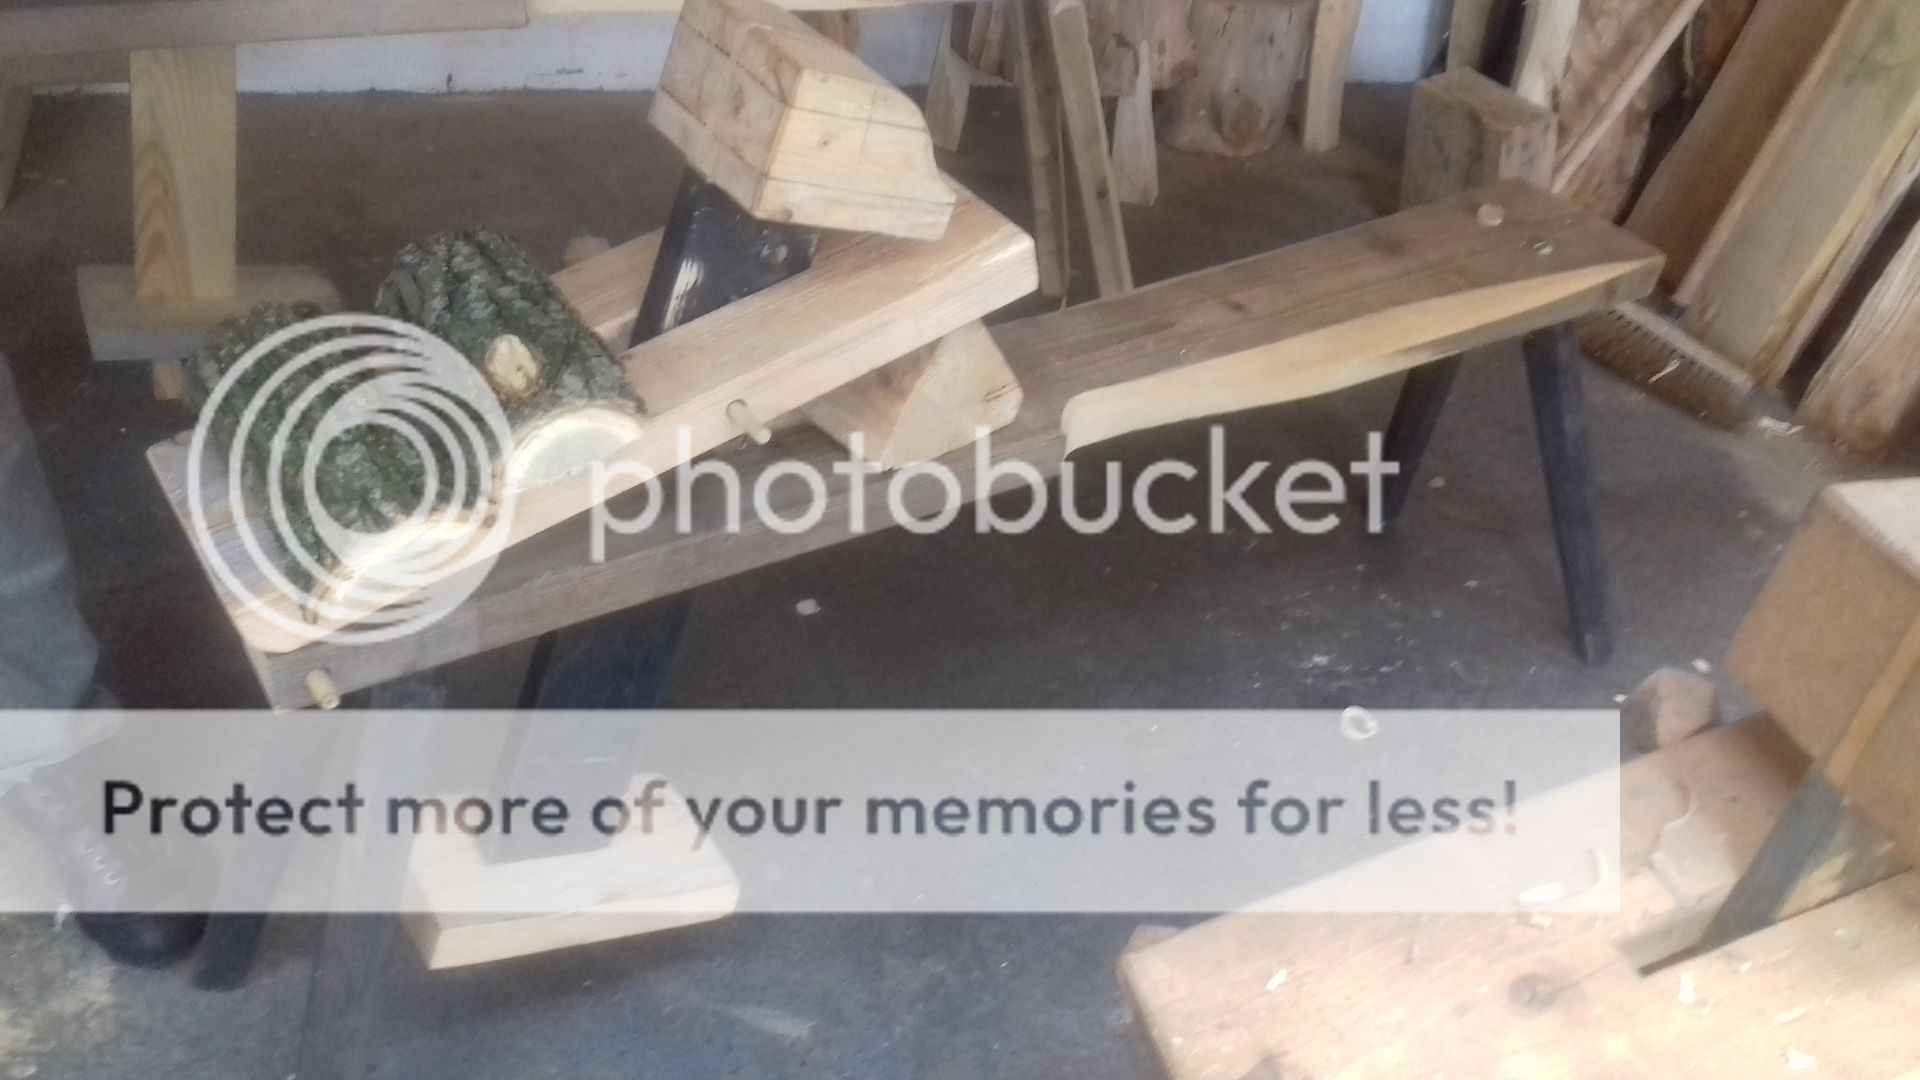
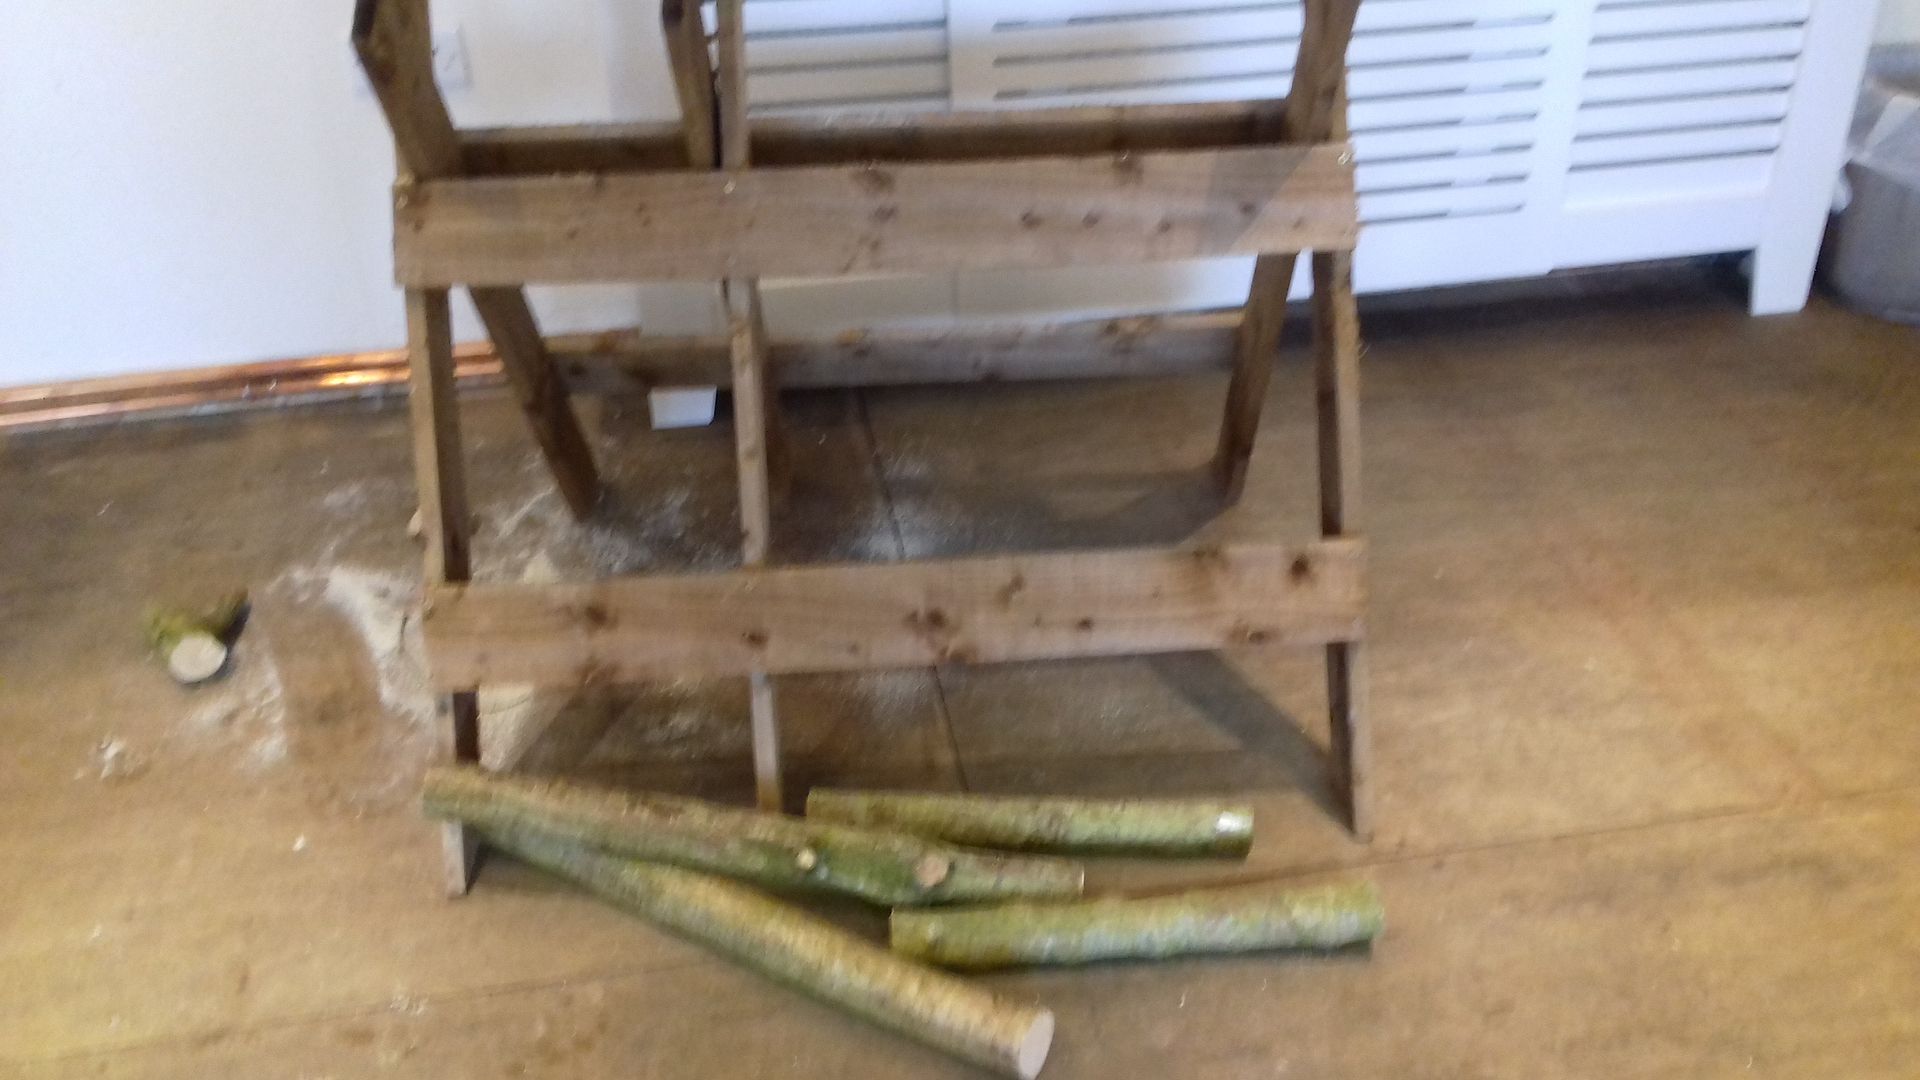
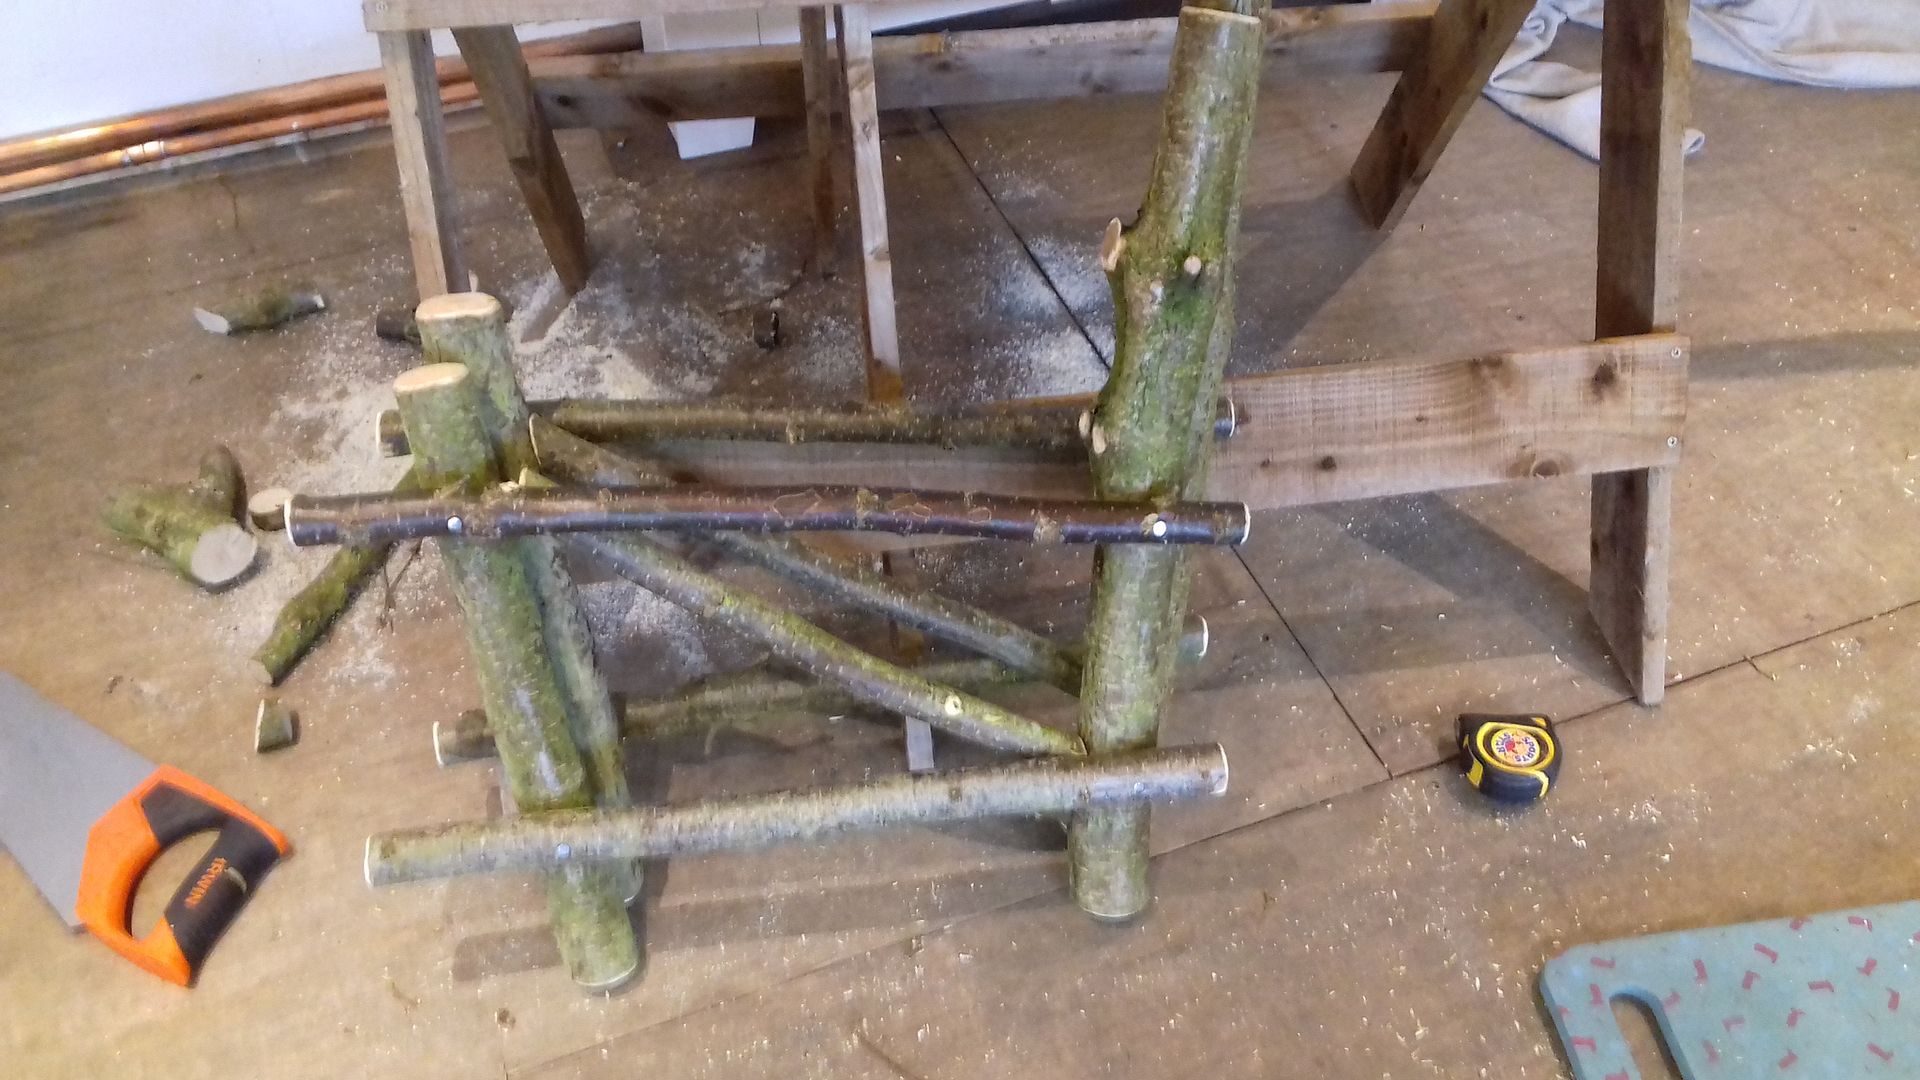
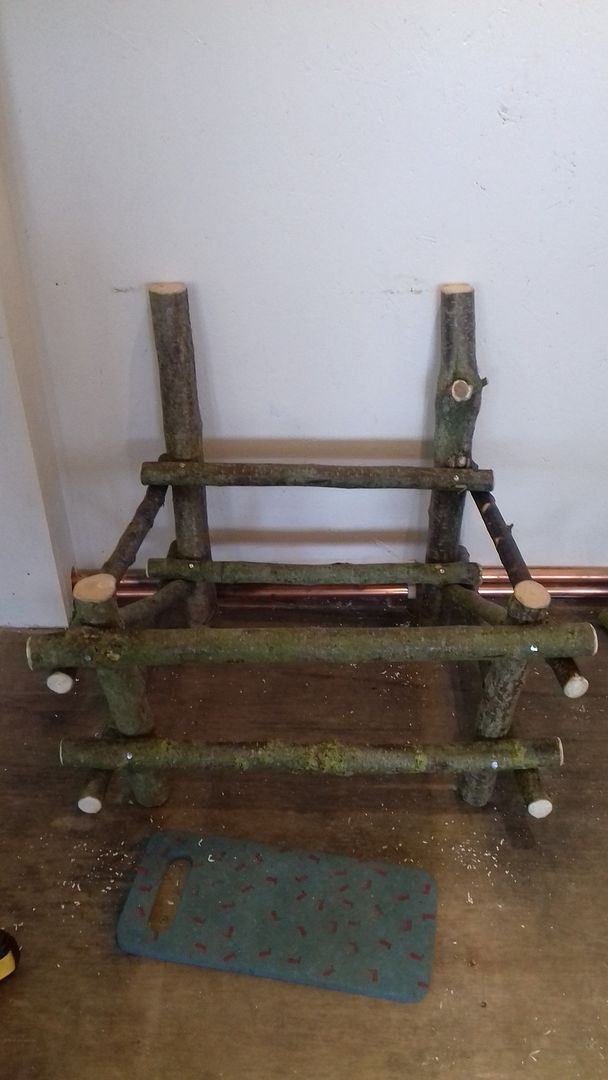
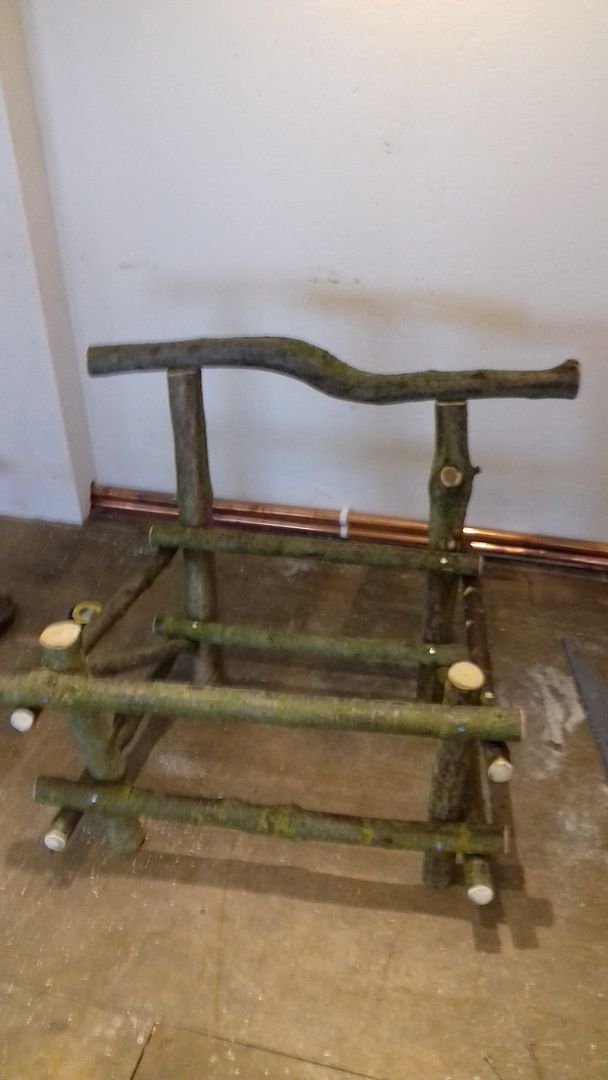
I worked sitting astride this bench. The wood was clamped in the top and held in place by pressure from my feet on the pedals. Much like driving a sewing machine!
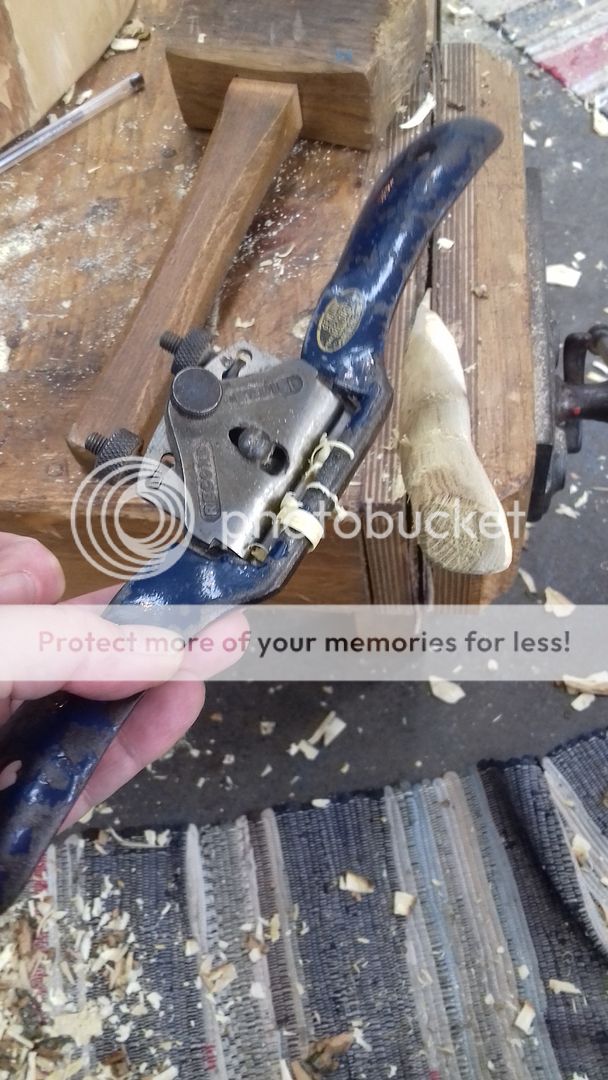
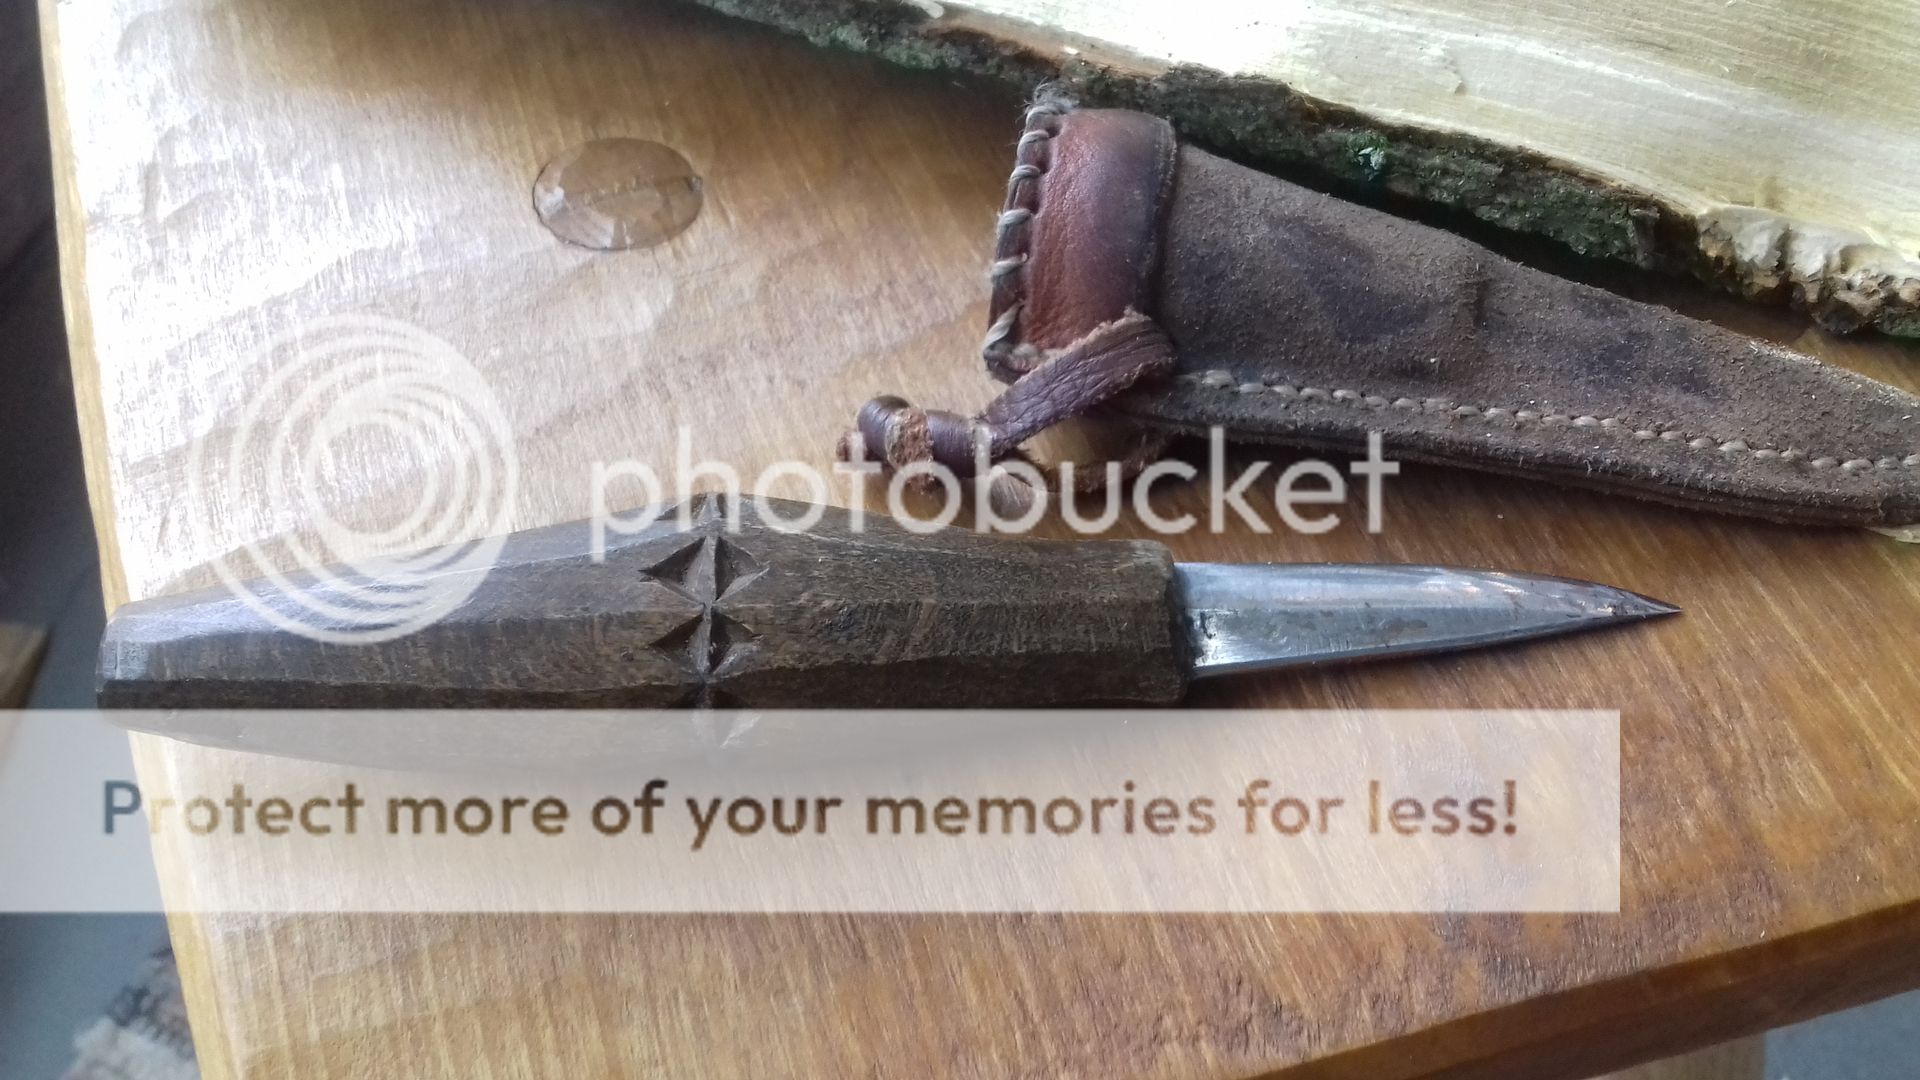
When I had a good shape, I was handed the knife shown above and a leather apron and the close-up work began. Whittling, I suppose you could call it. I then attacked it with sandpaper and a bit of oil and...
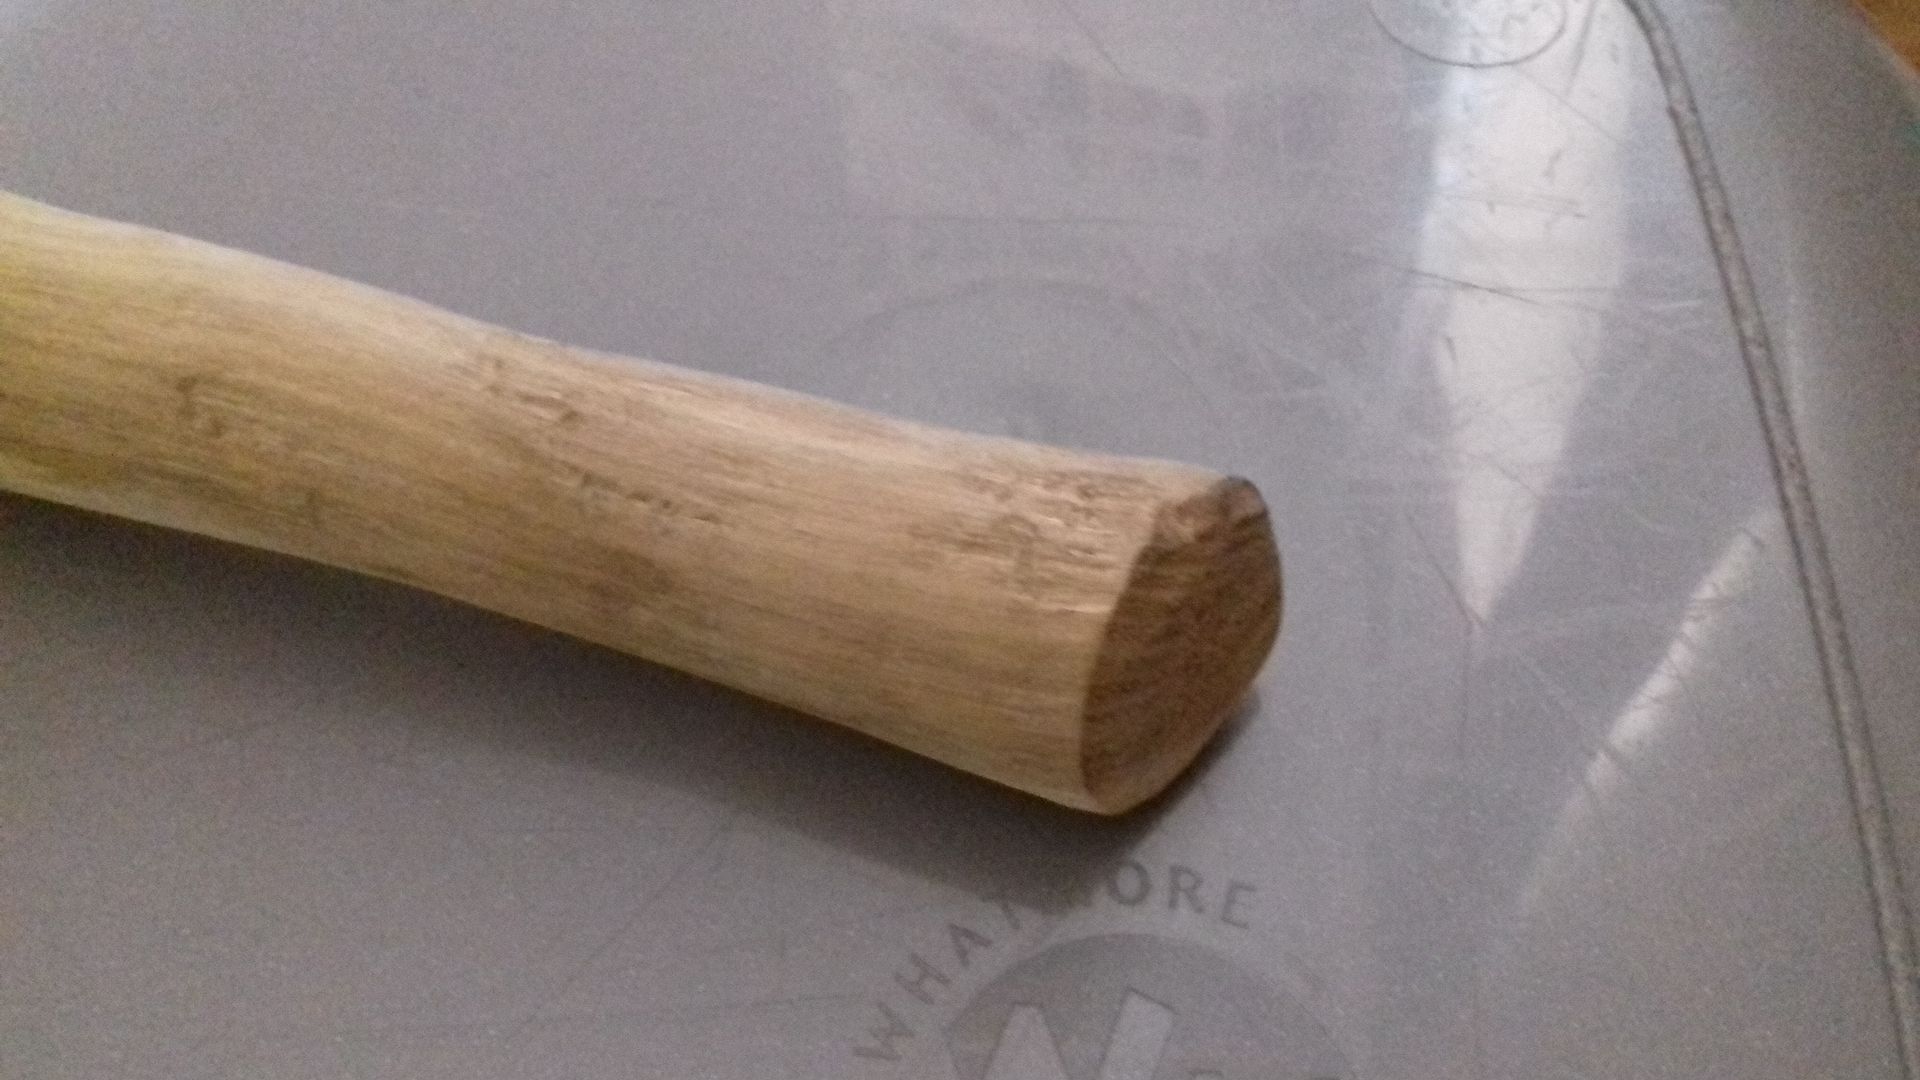
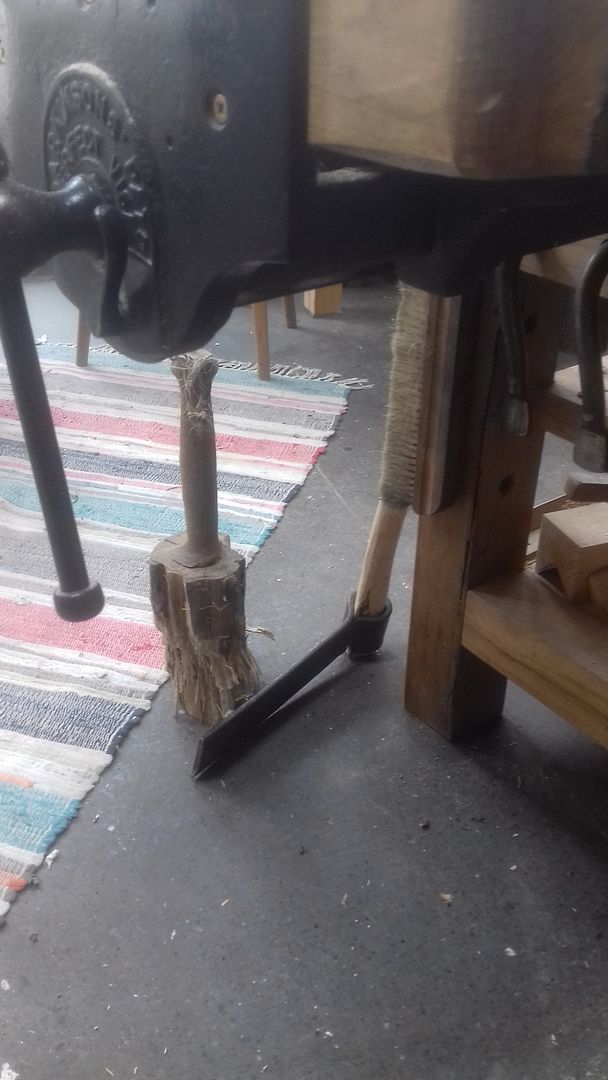
Detail of the base of the handle.

I went along with Zach, who was also interested in learning a bit of woodwork, to make a "something". Martin runs stool making and spoon carving workshops, but this one was an Introduction to Greenwork and we were to make a spatula, or something simple. We started off with logs and an axe. I managed to damage Zach at this stage, I hit him with the axe! Luckily it was the handle that hit him, and no, I didn't aim for him!

After chopping off a chunk of wood to work with, we carried on with the axes, stripping the bark. Zach moved over to the other side of the room... He actually carried on using the axe to shape his spatula/spoon, but I found my comfort zone with a draw knife.

I worked sitting astride this bench. The wood was clamped in the top and held in place by pressure from my feet on the pedals. Much like driving a sewing machine!

I used the draw knife to skim and slice bits off the wood to get the shape I wanted for my spatula. I really enjoyed this!

When I had a good shape, I was handed the knife shown above and a leather apron and the close-up work began. Whittling, I suppose you could call it. I then attacked it with sandpaper and a bit of oil and...

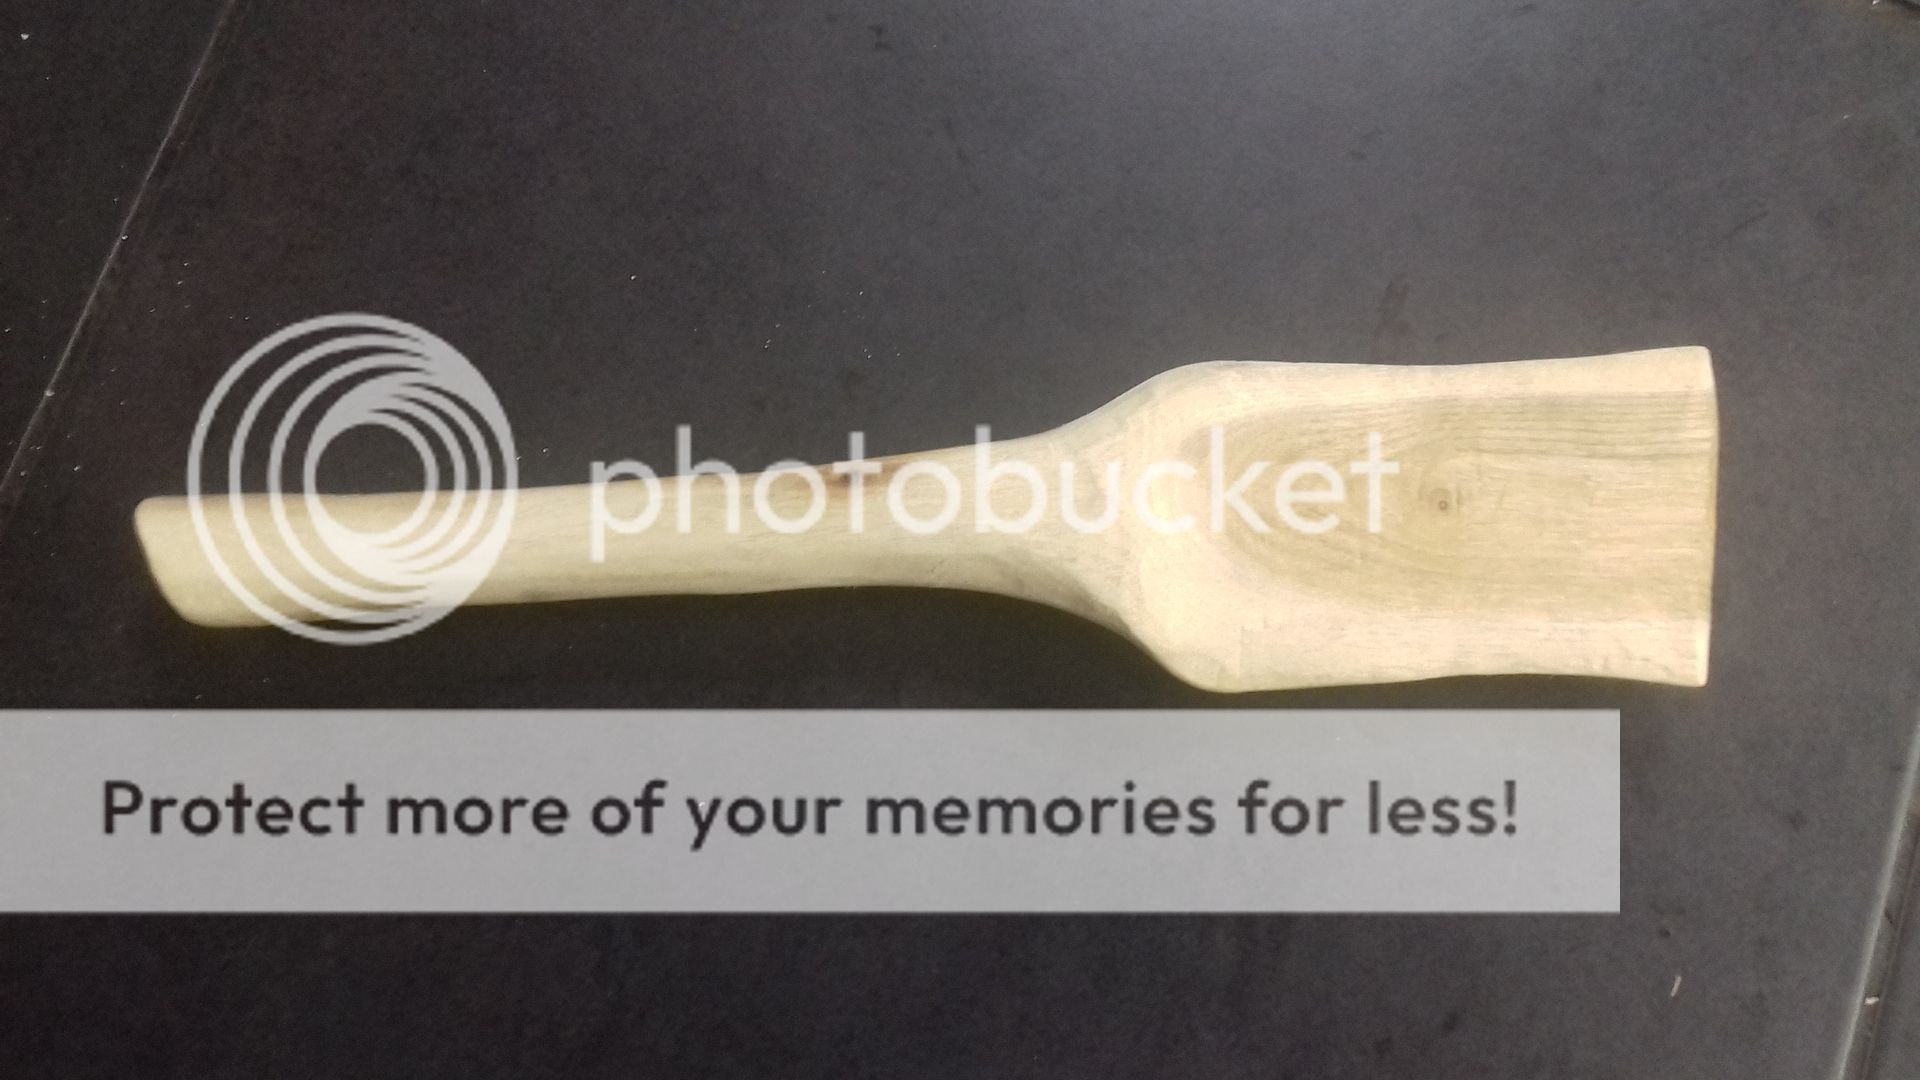
Ta-dah! It's a spatula. Yes, really, it is! I carved that from a log. I'm very proud!

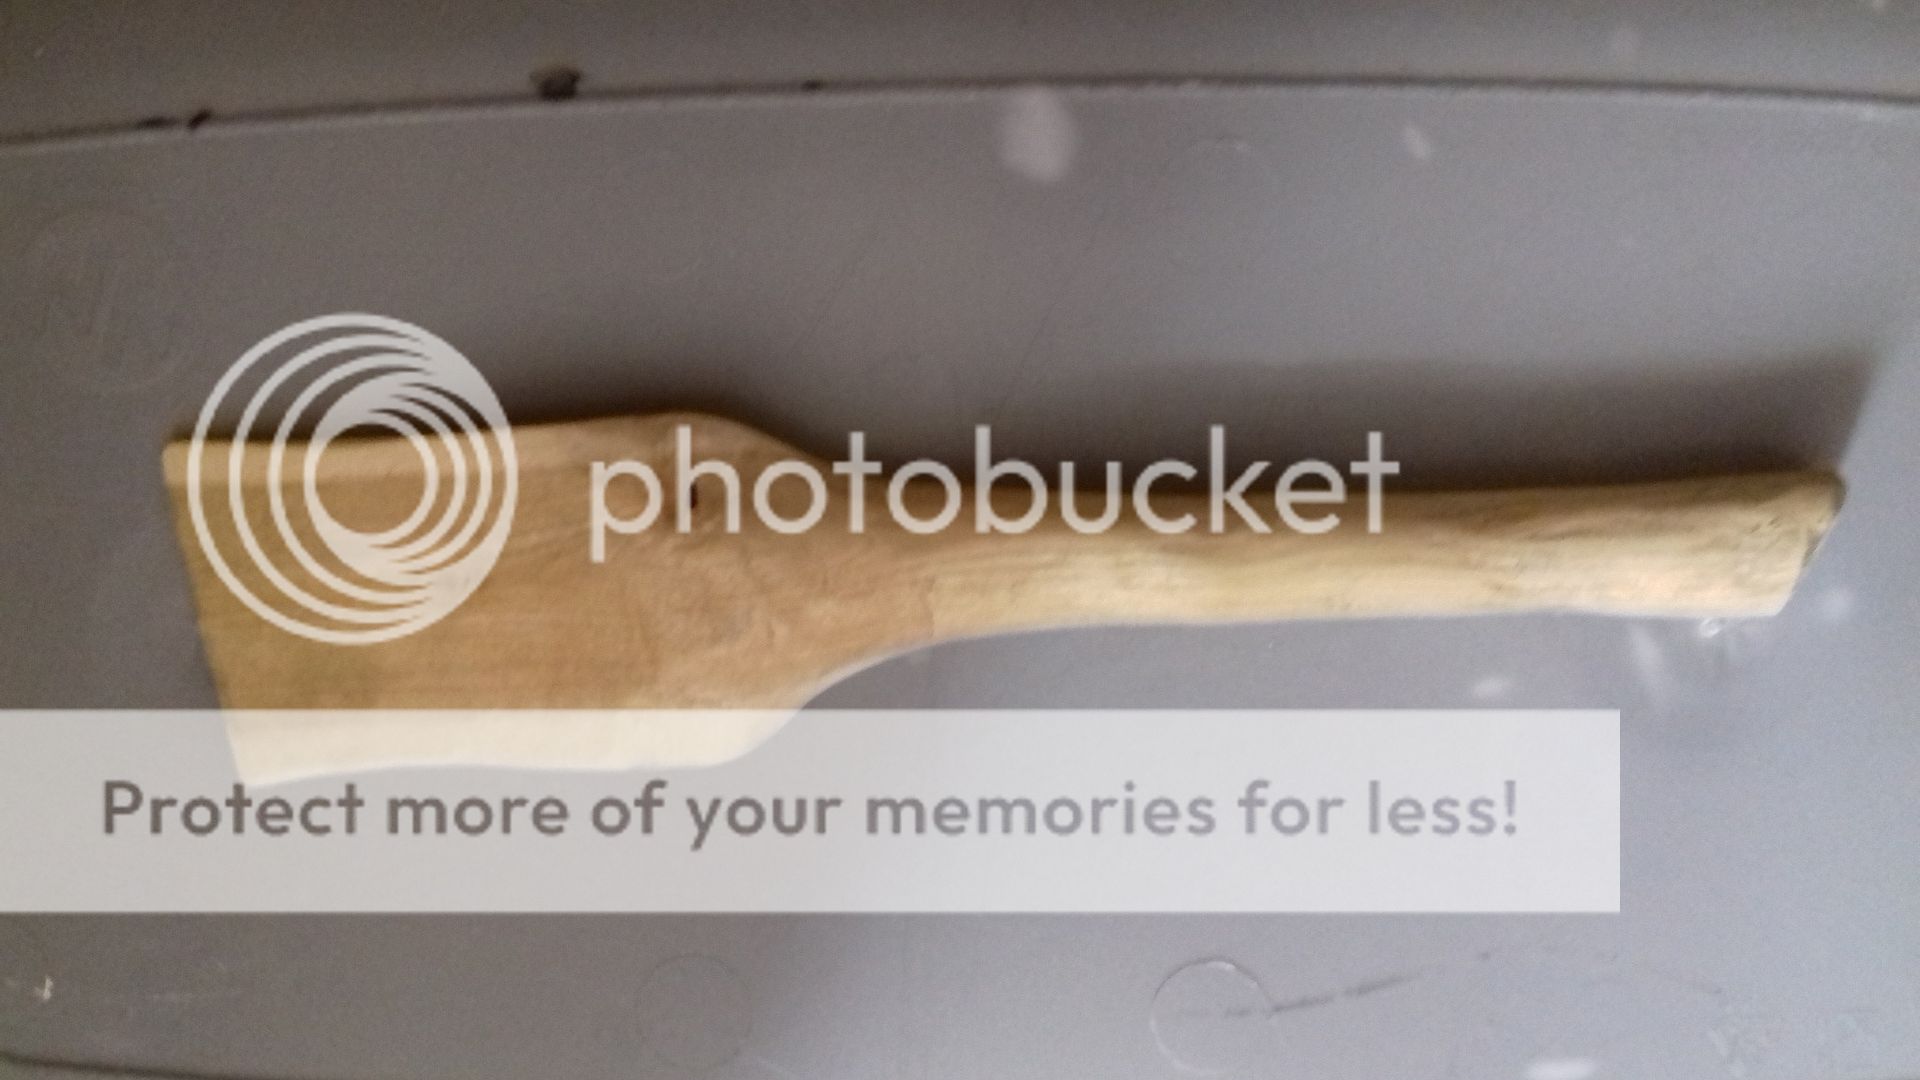
Here's the other side. Not the best shape in the world, but hey, it was my first time and we only had 3 hours! I didn't take a photo of Zach's spoon - although we weren't supposed to be carving spoons, he was so good with the tools and wood that he was allowed to give it a go.

Detail of the base of the handle.

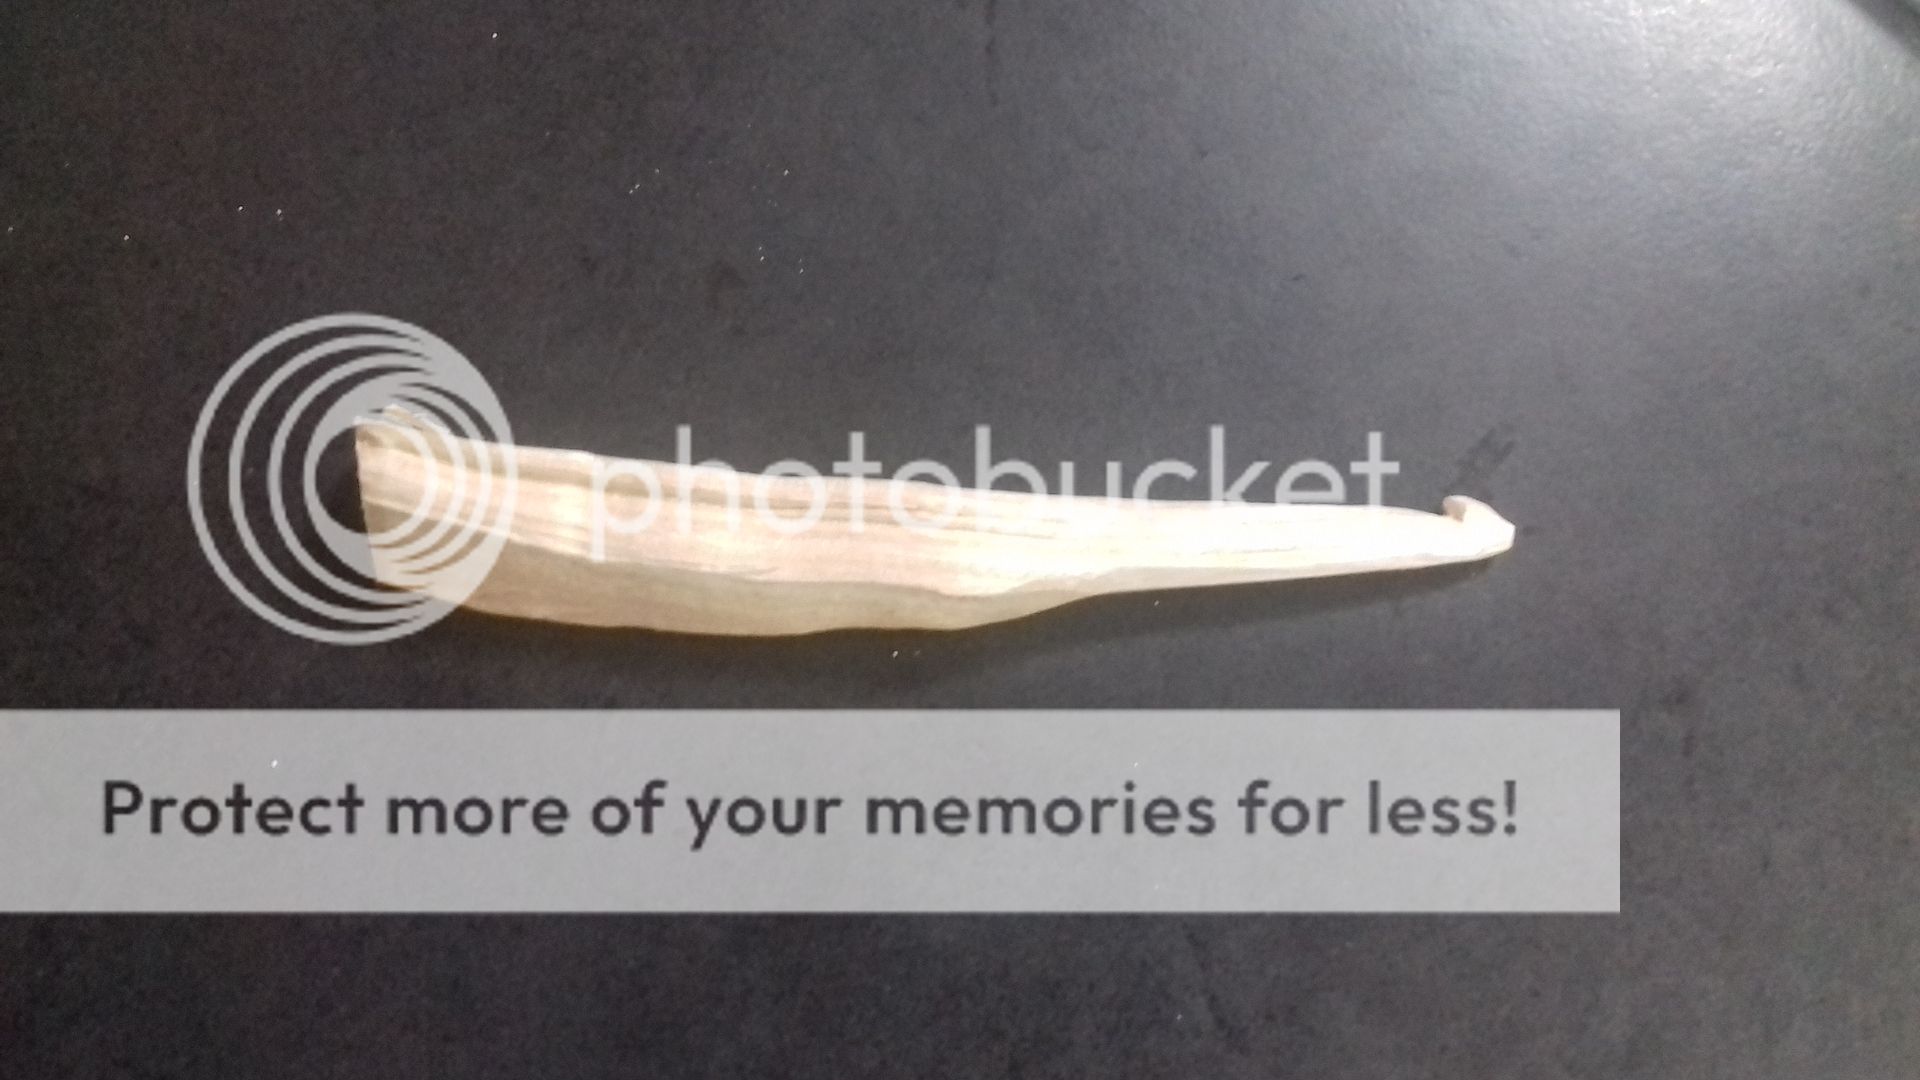
Martin carved this crochet hook for me - to show me the possibilities. I guess I need to get myself a knife! And a tree...
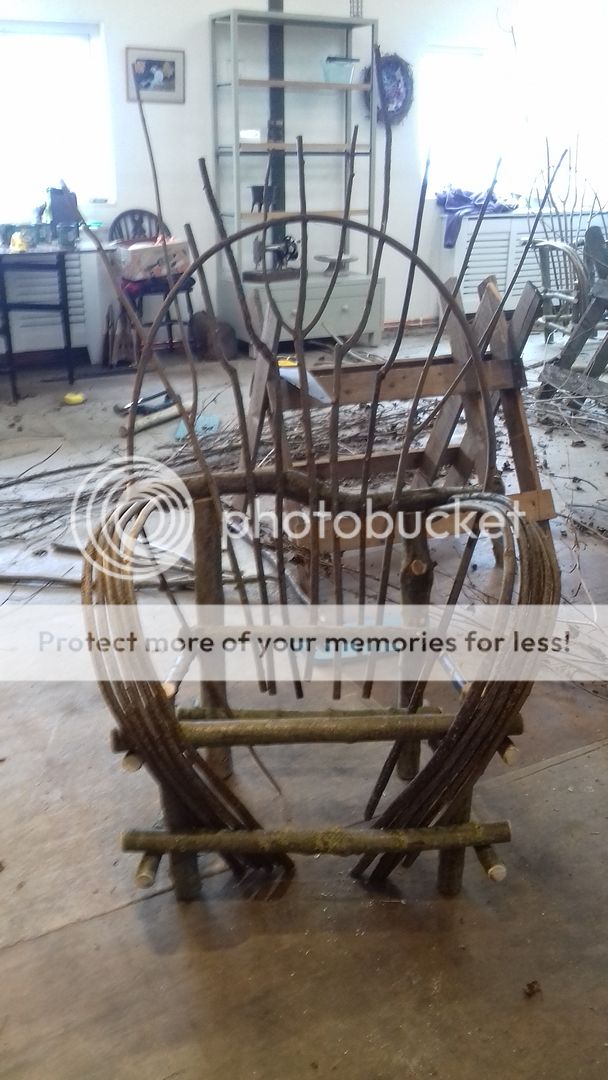
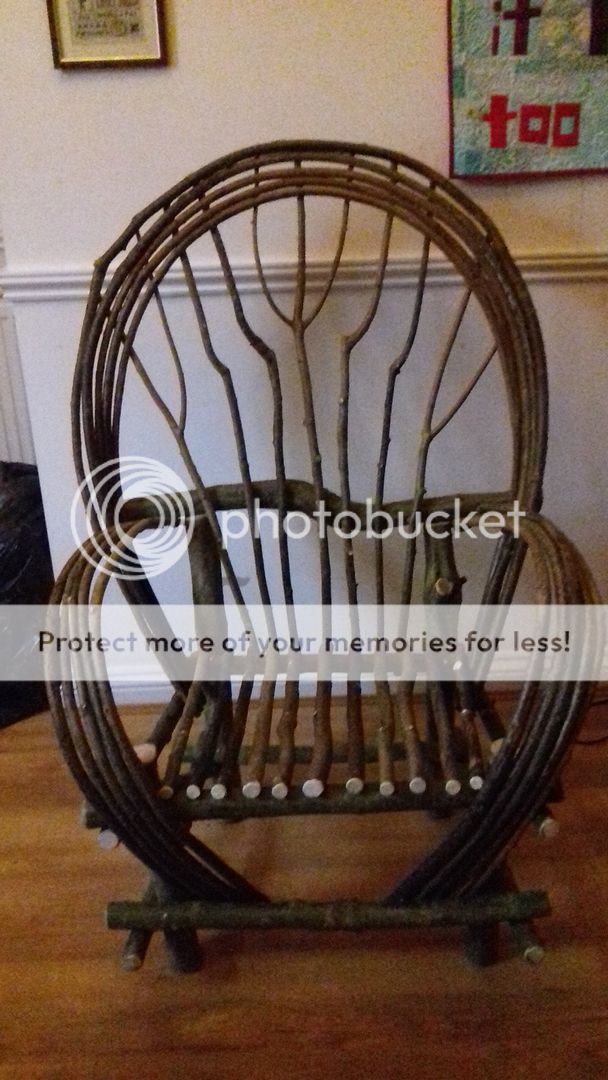
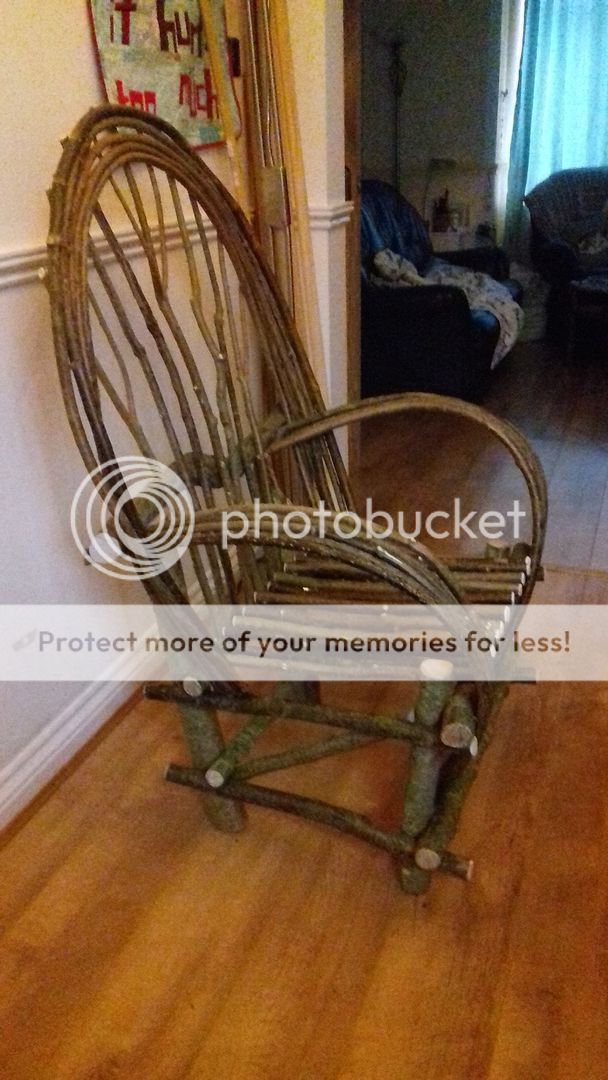
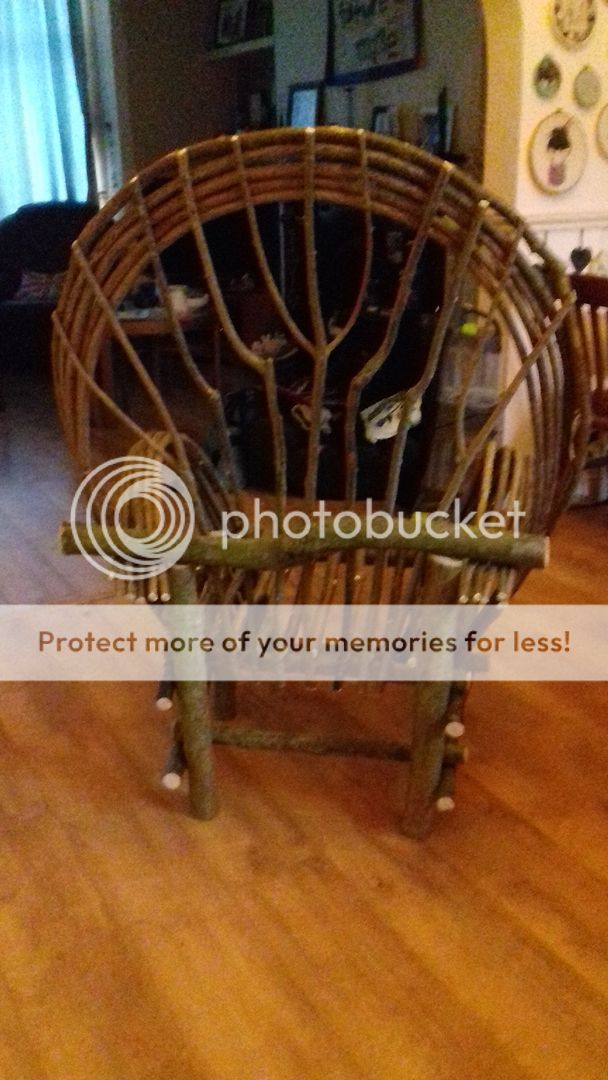
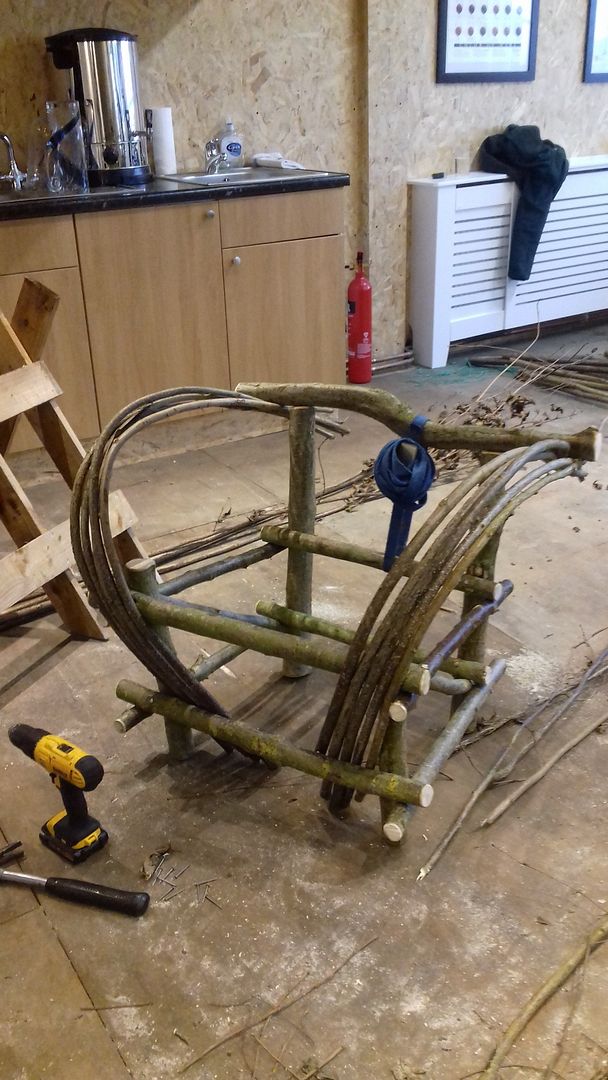
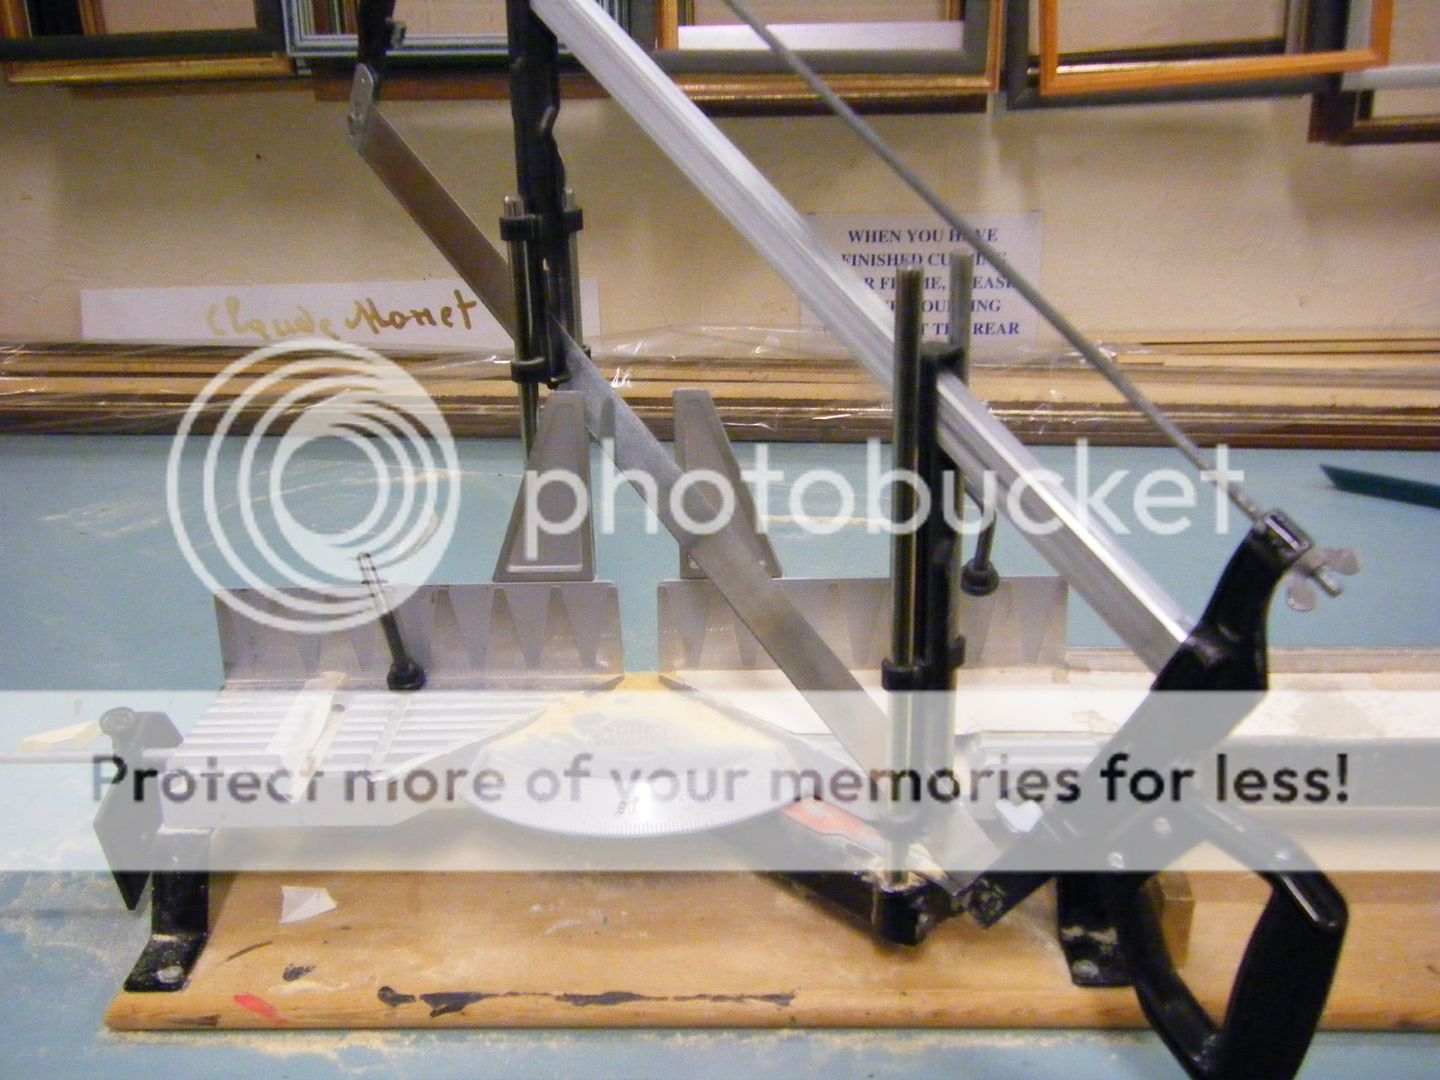
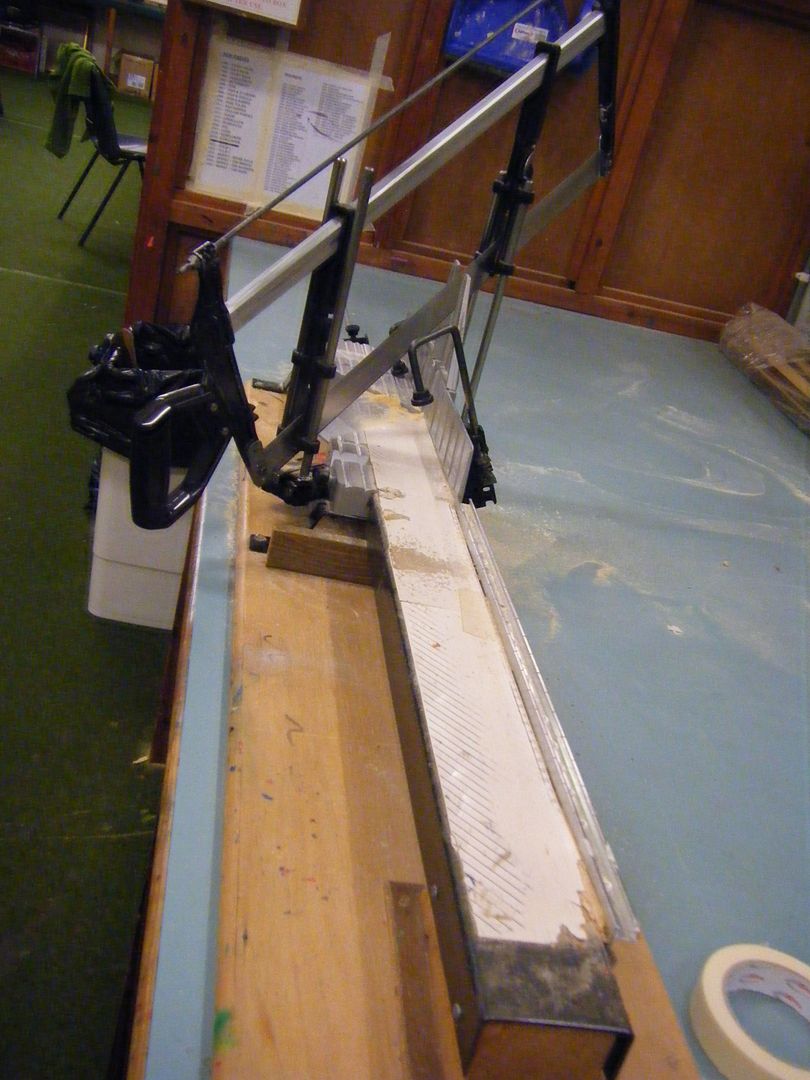
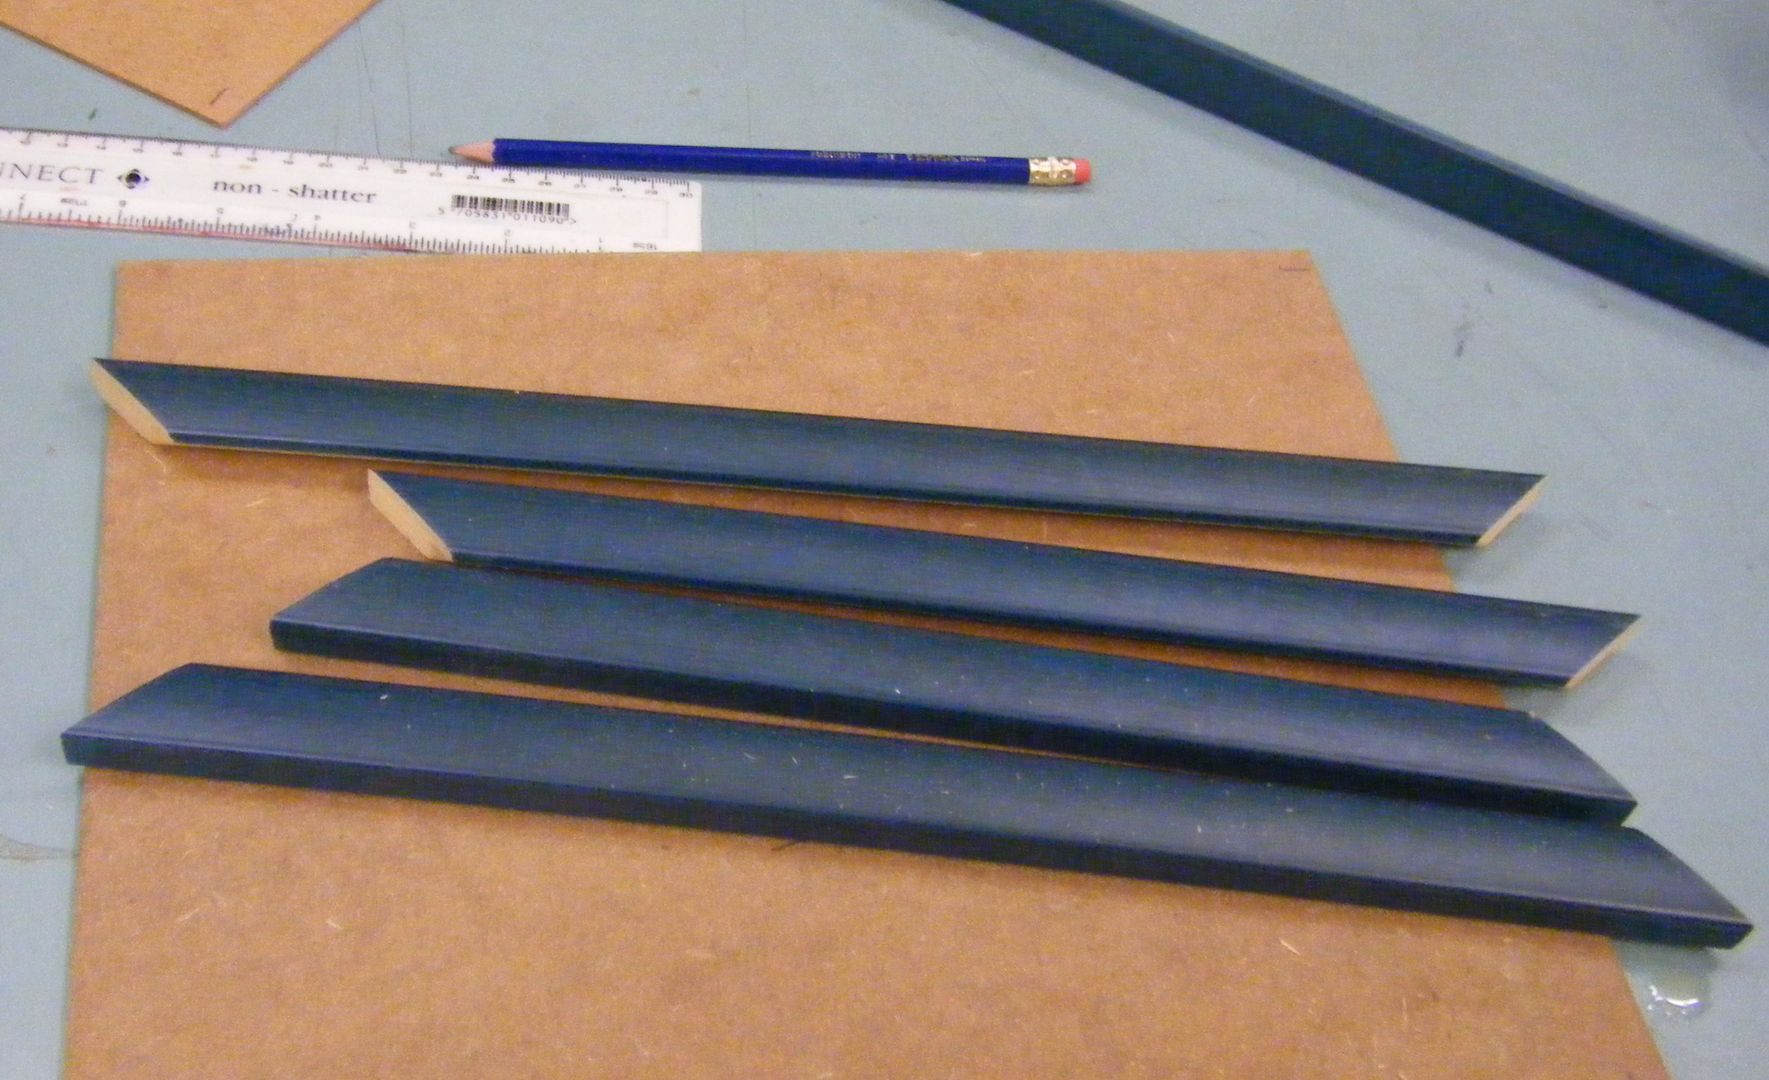
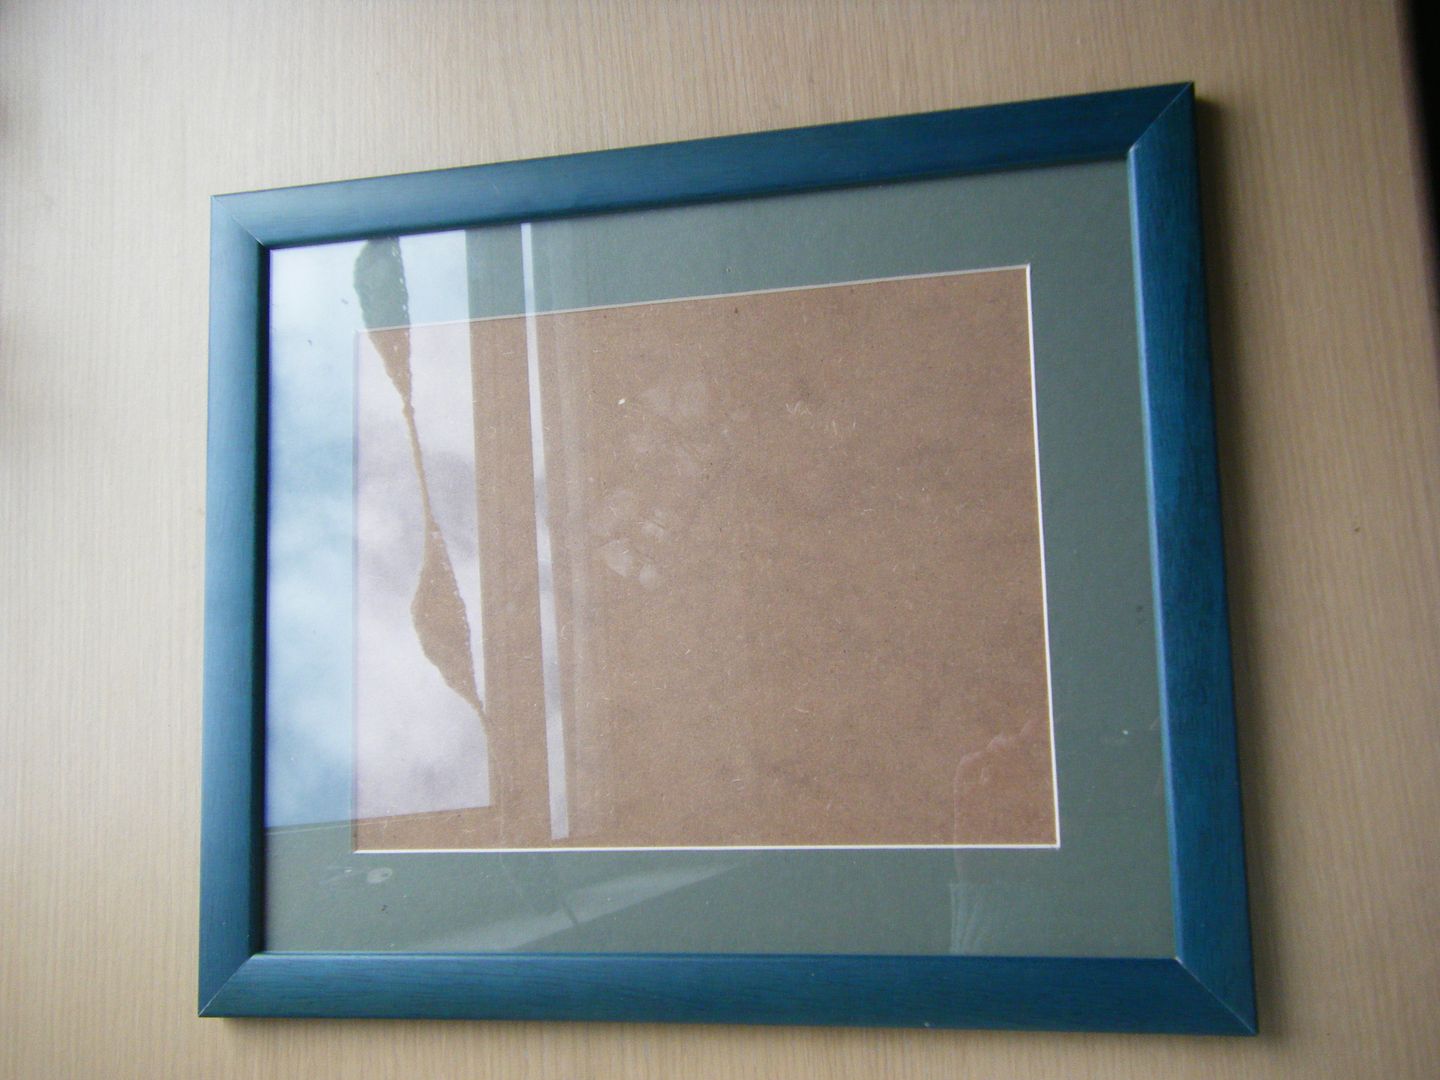
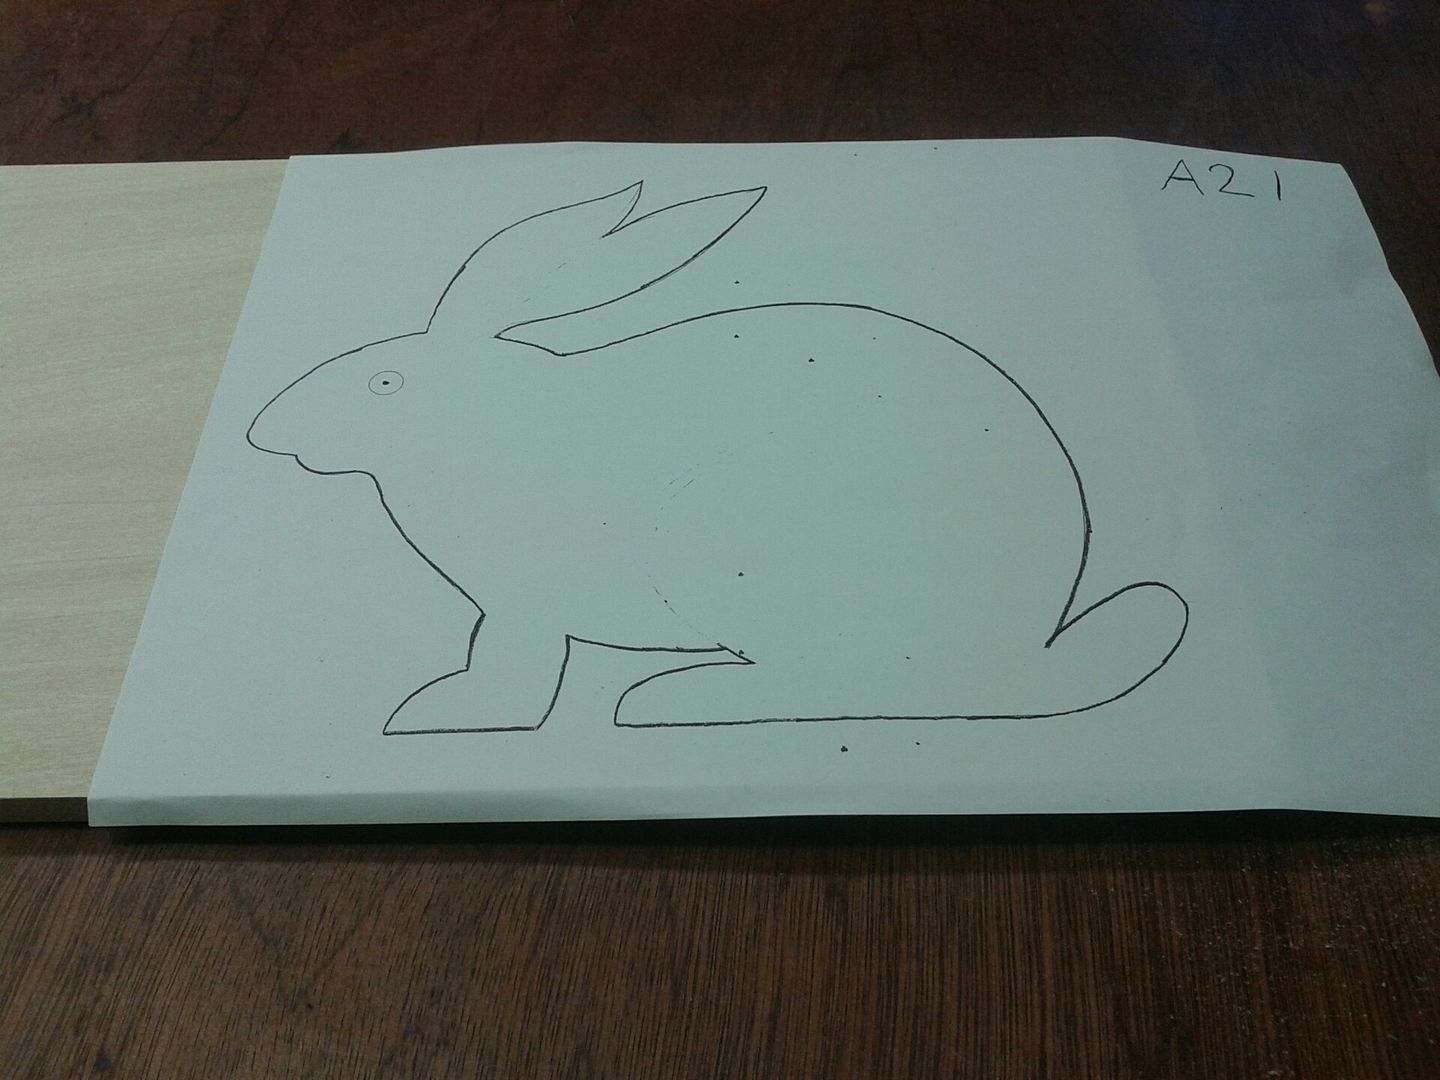
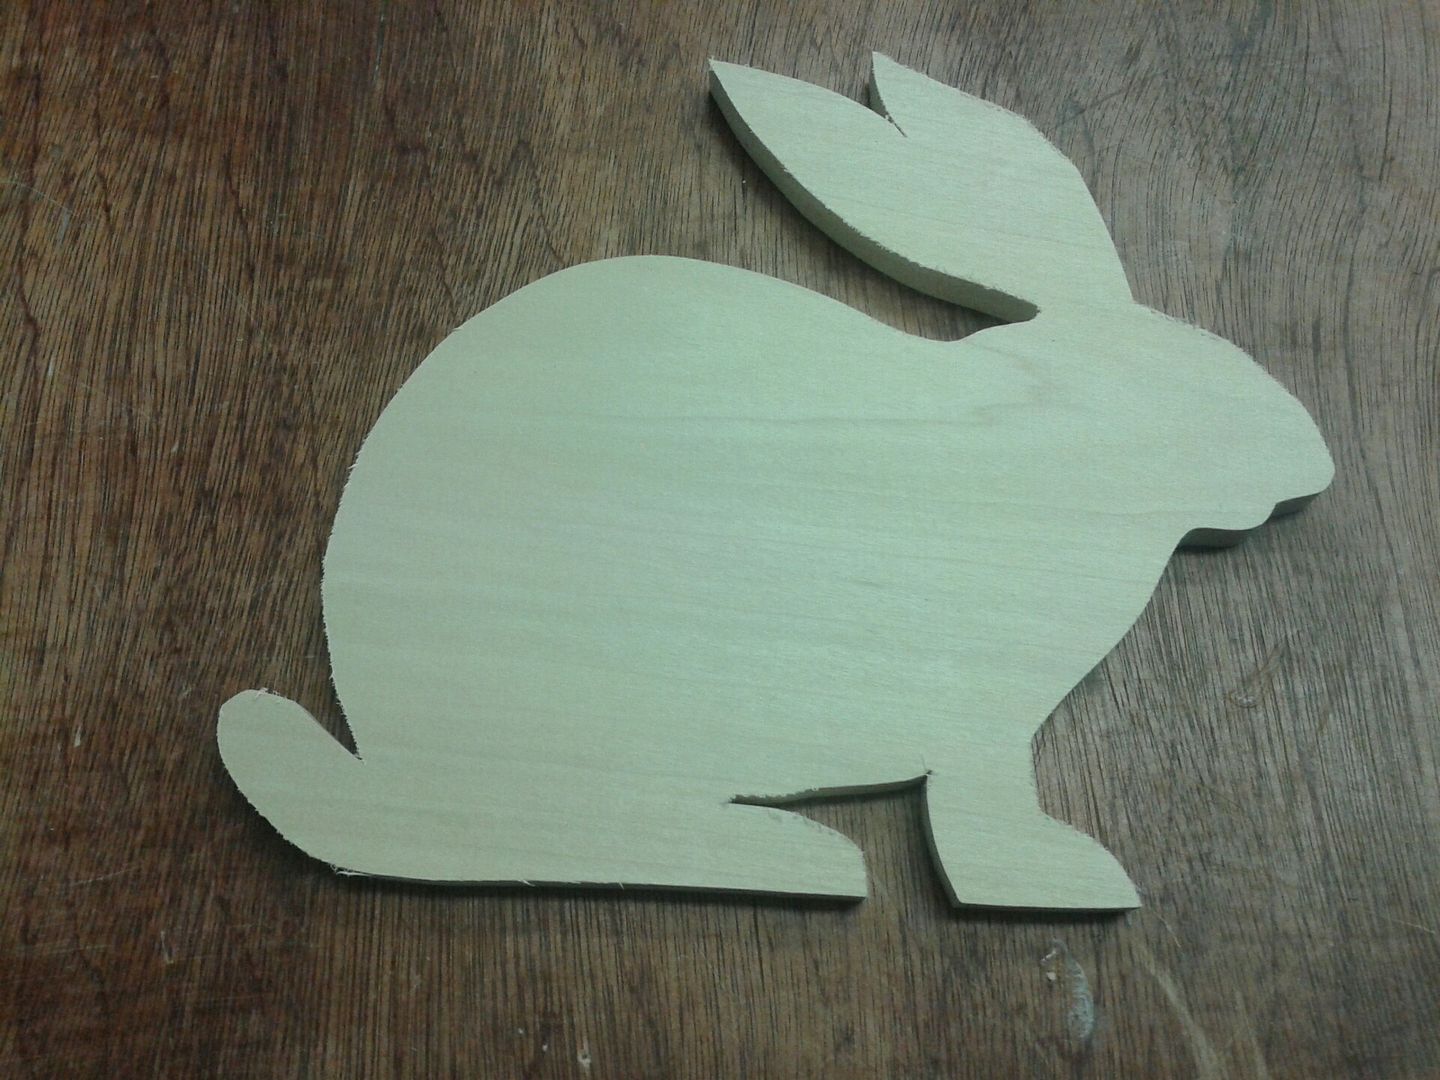
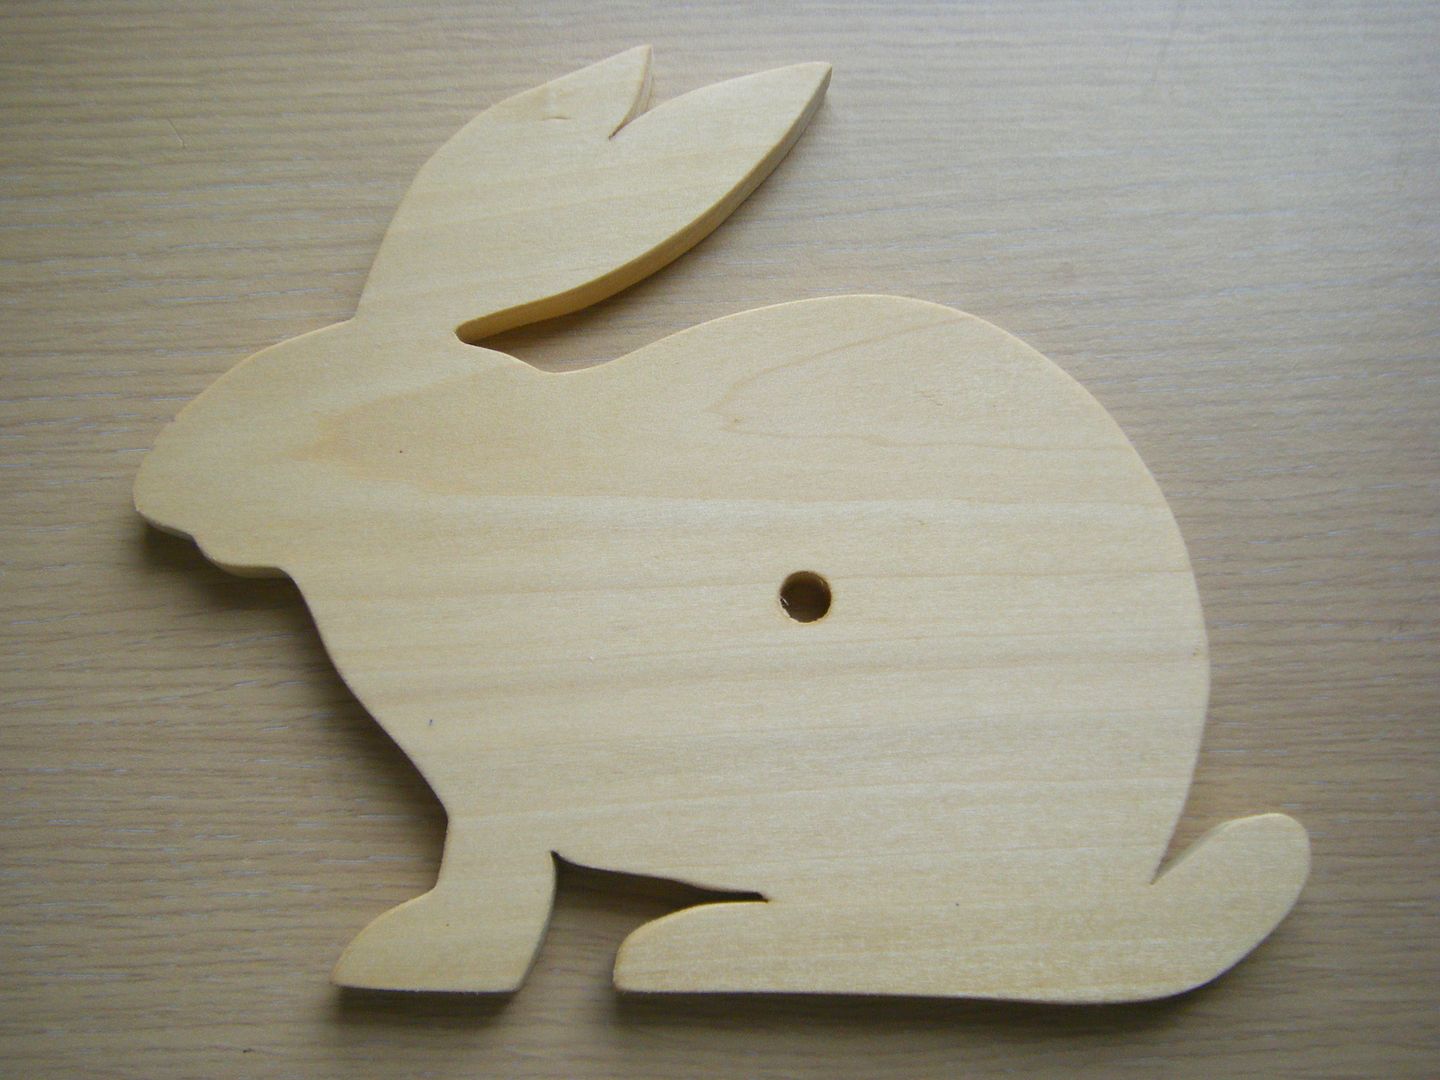
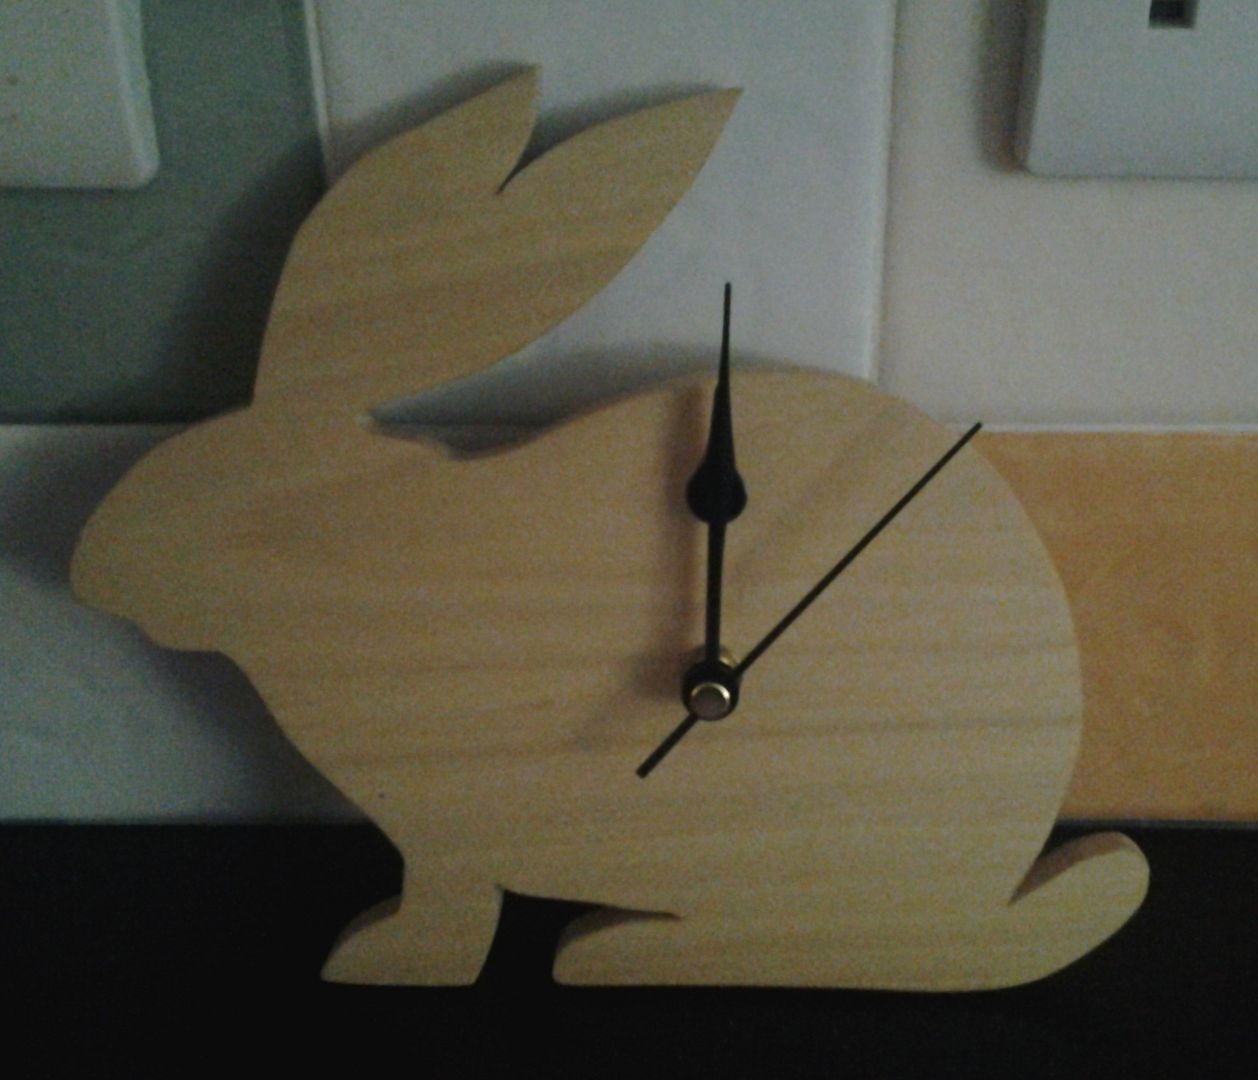
We both LOVED this workshop and will be going back to the make a stool workshop at some point. I also want to try wood turning. So far I've made a clock on a scroll saw; made a picture frame from scratch; made a bent hazelwood chair and laid a floor. These are some of my favourite workshops, maybe I should give up the day job and become a carpenter!!
We both LOVED this workshop and will be going back to the make a stool workshop at some point. I also want to try wood turning. So far I've made a clock on a scroll saw; made a picture frame from scratch; made a bent hazelwood chair and laid a floor. These are some of my favourite workshops, maybe I should give up the day job and become a carpenter!!